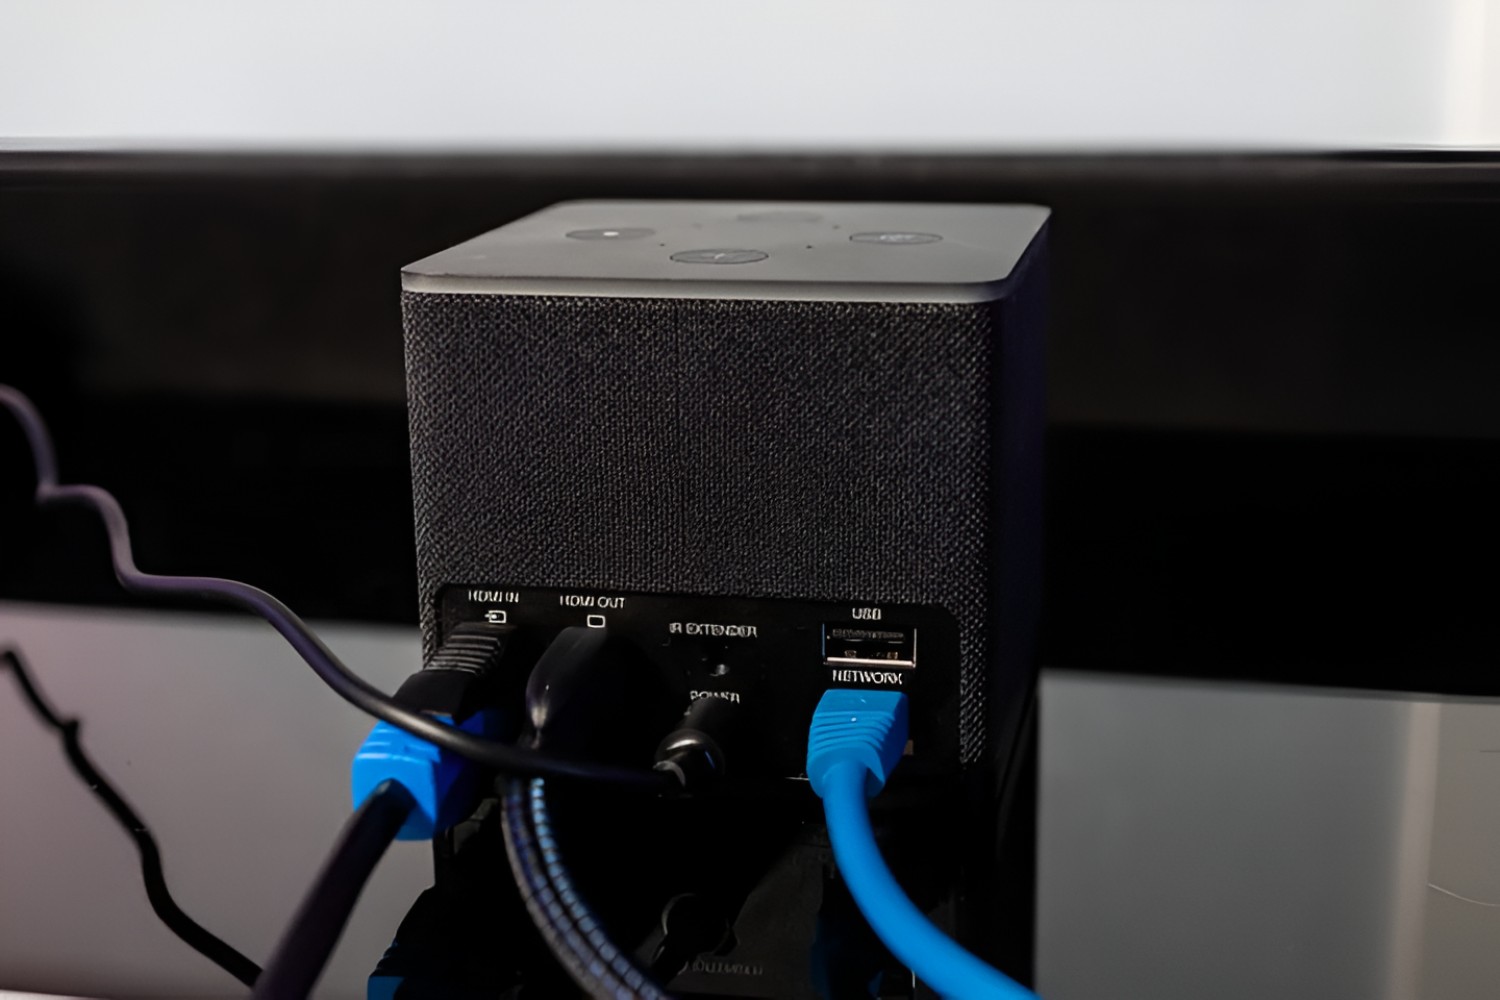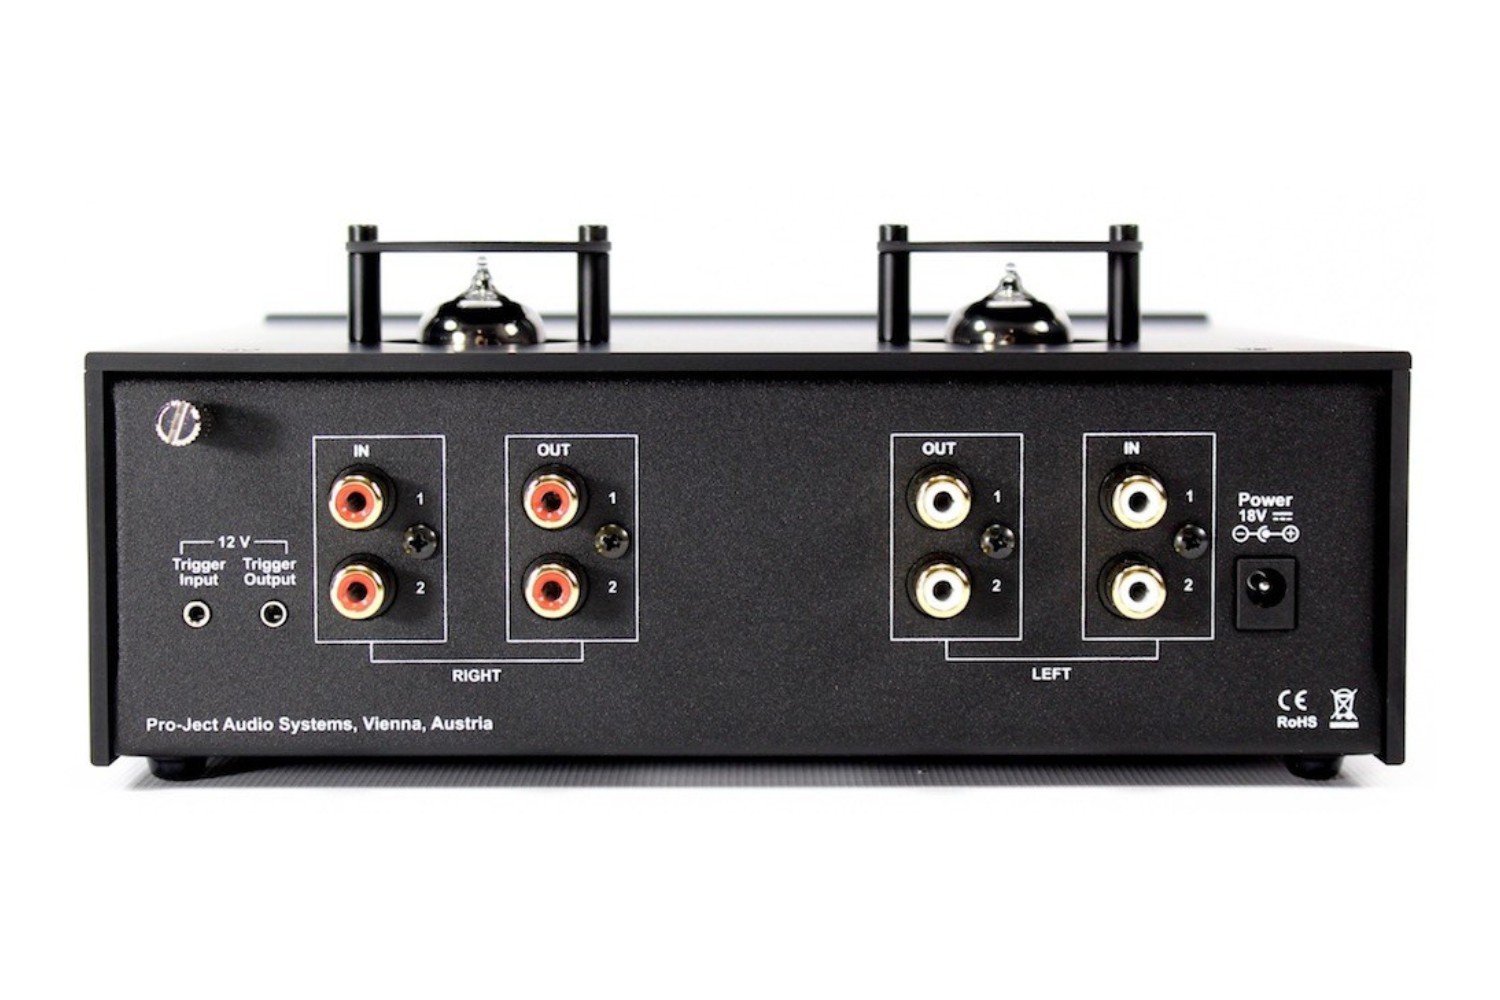
A trigger in and out on an AV receiver is a pair of 3.5mm jacks that send or receive a low-voltage 12V DC control signal, letting you automatically power on or off other compatible equipment whenever the receiver itself powers on, switches zones, or changes input. The “Trigger Out” jack sends that signal to a connected device, while the “Trigger In” jack receives a signal from another component, giving you synchronized power management across your entire system with a single action on the receiver.
What is a trigger in and out on an AV receiver?
Trigger in and out on an AV receiver refers to two dedicated control ports, usually labeled “Trigger Out” and “Trigger In,” that carry a 12V DC signal. The Trigger Out jack is the sender: when the receiver powers on (or enters a specific zone or input state), it outputs a small voltage that tells the connected device to turn on. The Trigger In jack is the receiver: it accepts a similar 12V signal from another component, allowing that component to wake the receiver or switch its state. The primary purpose is to eliminate the need to manually power on each piece of gear, your amplifier, projector, or motorized screen can all come alive the instant your receiver does.
How a 12V trigger connection works
The technical principle is simple: the receiver sends a low-voltage DC signal (typically 12V) through the trigger cable, and the receiving device detects that voltage as a command to power on or enter standby. The signal is not audio or data, it is purely a control voltage, so the cable only needs a single conductor plus ground. That is why most manufacturers, including Denon, Onkyo, Pioneer, and Yamaha, specify using a monaural mini-plug cable (3.5mm or 1/8″) with no resistance. A stereo cable has an extra conductor that can short the signal or fail to carry it properly, which is a common cause of trigger failures.
There is one notable exception: Harman Kardon states its 12V trigger output works with a standard stereo 3.5mm jack cable, with the signal present on the ring (right) channel. If you own a Harman Kardon receiver, a stereo cable is acceptable; for every other major brand, stick with a mono cable to avoid issues.
Before connecting anything, check the current limit on your receiver’s trigger output. Typical outputs range from 25 mA to 150 mA per jack, depending on the model (for example, some Pioneer units output 25 mA, while certain Denon models output 150 mA). Exceeding that limit, by connecting multiple devices in parallel or using a device that draws more current, can damage the receiver’s trigger circuit. If you need to control several devices from one trigger, use a relay or distribution box designed for 12V triggers rather than wiring them directly in parallel.
Common devices you can control
Most AV gear that supports 12V triggers can be automated with your receiver. The most common targets are:
- Power amplifiers (including multi-channel amps and mono blocks)
- Projectors and projector screens (motorized lift or drop-down screens)
- Subwoofers with trigger inputs
- Media players, streamers, or other source components with trigger jacks
- Lighting controllers or other smart-home relay modules
For example, you can connect your receiver’s Trigger Out to a power amplifier’s Trigger In, so the amp powers on the instant you turn on the receiver, no separate power button press needed. Similarly, a motorized projector screen can lower automatically when you select “Blu-ray” as your input, then retract when you switch to music or turn the receiver off.
How to configure trigger settings on your receiver
Most AV receivers let you assign trigger behavior to specific zones or input sources, so you control exactly when the 12V signal is sent. The exact menu path varies by brand, but the general process is the same:
- Open the receiver’s setup menu using the on-screen display or front-panel buttons.
- Navigate to the trigger or “12V Trigger” settings (often under “Install Settings,” “Setup,” or “System”).
- Choose which zone the trigger should follow, Main Zone, Zone 2, or Zone 3. If you select Main Zone, the trigger fires whenever the main listening area powers on or off. If you select Zone 2, the trigger fires only when that secondary zone is active.
- Optionally assign the trigger to a specific input source. For instance, you can set the trigger to activate only when you select “HDMI 1” (your projector input) and stay off when you listen to music on a different input.
- Save your settings and test by powering the receiver on and off while watching the connected device.
On Sony receivers (such as the STR-AZ3000ES), the trigger settings are found under [Setup] → [Install Settings] → [Trigger], with options for [Zone], [Input], and [Output] (HDMI OUT). This lets you tie the trigger to a specific HDMI output, which is useful if you have a projector on one output and a TV on another.
Troubleshooting: why is my 12V trigger not working?
The most common fix is also the simplest: check that you are using a mono 3.5mm cable, not a stereo one. A stereo cable has an extra ring conductor that can prevent the 12V signal from reaching the receiving device, or it can short the signal to ground. Swap in a mono cable and test again, this resolves the majority of trigger failures.
If the cable is correct, verify your receiver’s menu settings. Make sure the trigger is enabled and assigned to the zone or input you are actually using. For example, if you set the trigger to follow Zone 2 but you are powering on the Main Zone, the trigger will not fire. Also confirm that the receiving device has its own trigger input enabled (some amplifiers have a switch or menu setting to enable 12V trigger operation).
Finally, inspect the physical connections. Ensure the plug is fully seated in both jacks, and check for bent tips, debris, or loose solder inside the connector. If the trigger works intermittently, try a different cable or move the cable away from power cords and other sources of electromagnetic interference. If none of these steps resolve the issue, consult your receiver’s manual or the connected device’s manual for specific trigger voltage and current requirements, your receiver may not output enough current for the device, or the device may require a different trigger voltage (some older components use 5V or 9V triggers).