Introduction
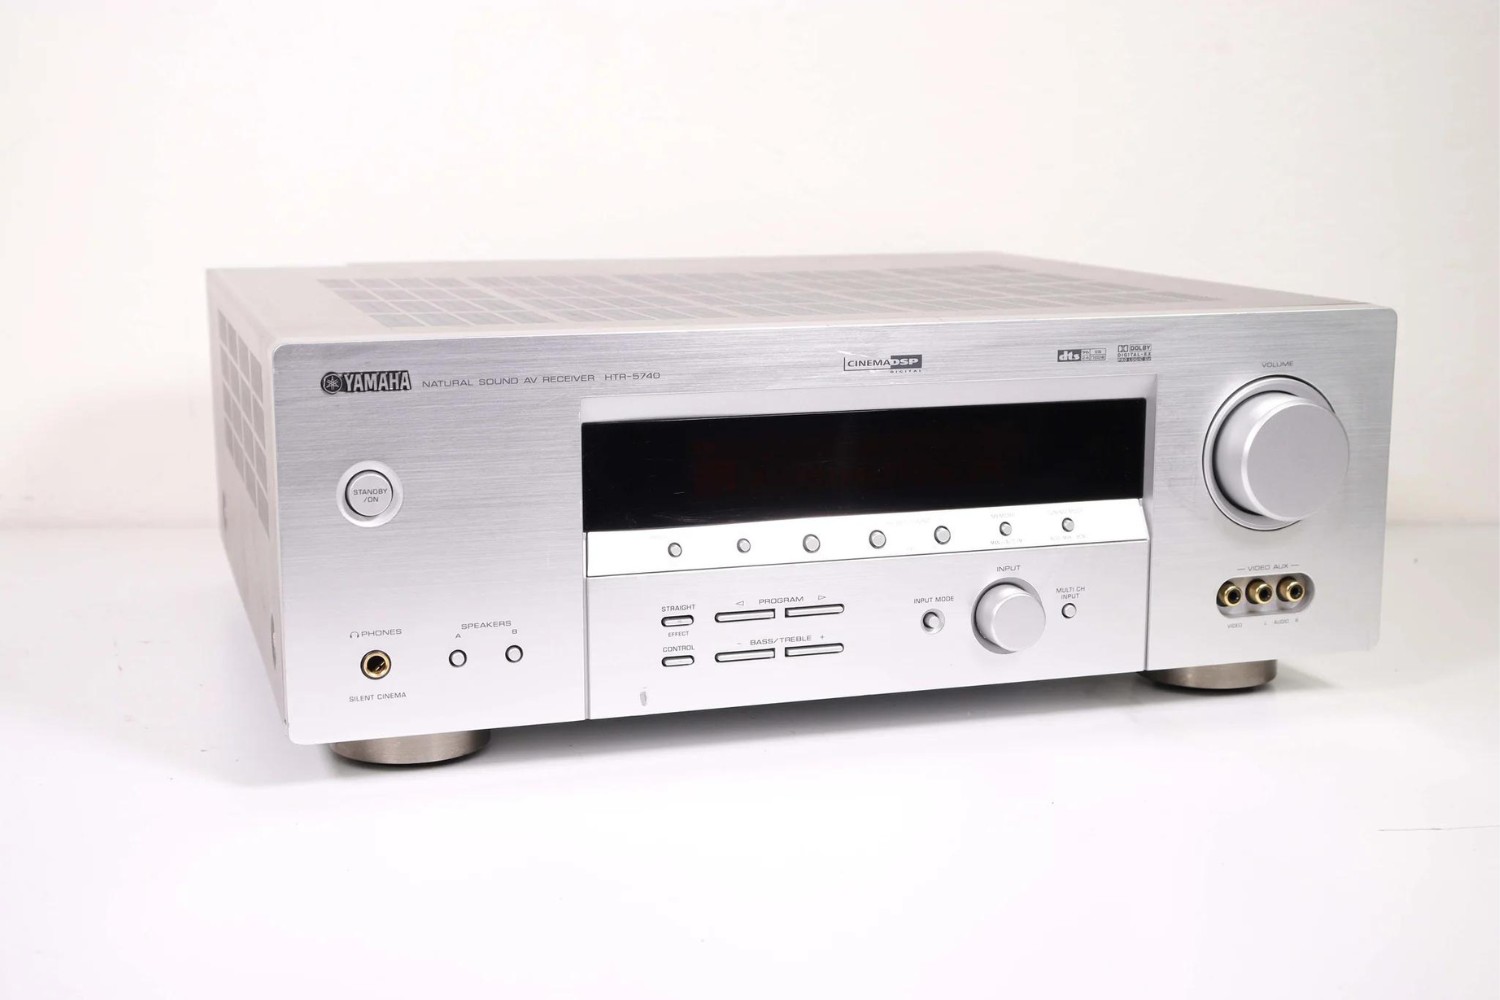
Resetting your Yamaha Natural Sound AV Receiver HTR 6030 to its factory settings can be a useful troubleshooting step if you encounter persistent issues with the device. This process can help resolve various performance issues, such as audio or video distortion, connectivity problems, or software glitches. By restoring the receiver to its original state, you can effectively erase any custom settings or configurations that may be contributing to the malfunctions.
Before initiating the factory reset, it's important to understand that this action will revert the receiver to its default settings, erasing any personalized configurations. Therefore, it's advisable to exhaust other troubleshooting methods and backup any essential settings or data before proceeding with the reset.
In the following steps, you will learn how to access the setup menu of the Yamaha Natural Sound AV Receiver HTR 6030 and navigate to the factory reset option. By following these instructions, you can perform a factory reset with confidence, knowing that you have taken the necessary precautions and are equipped with the knowledge to effectively carry out this procedure.
Step 1: Accessing the Setup Menu
To begin the process of factory resetting your Yamaha Natural Sound AV Receiver HTR 6030, you will first need to access the setup menu. This menu provides access to various configuration options, including the factory reset function. Follow these steps to navigate to the setup menu:
- Power On the Receiver: Ensure that the receiver is powered on and that it is in standby mode. You can do this by pressing the “Standby/On” button on the front panel of the receiver or using the corresponding button on the remote control.
- Access the Main Menu: Once the receiver is powered on, locate and press the “On Screen” button on the remote control. This action will display the main menu on your TV screen, providing access to the receiver’s settings and configurations.
- Navigate to the Setup Menu: Within the main menu, use the arrow keys on the remote control to navigate to the “Setup” option. Once highlighted, press the “Enter” or “OK” button to enter the setup menu.
- Explore the Setup Options: Within the setup menu, you will find a range of configuration settings for your receiver. Take note of the available options, as you will be using this menu to initiate the factory reset process in the subsequent steps.
Upon completing these steps, you will have successfully accessed the setup menu of your Yamaha Natural Sound AV Receiver HTR 6030, setting the stage for the next phase of the factory reset procedure.
Step 2: Selecting the Initialize Option
Once you have accessed the setup menu of your Yamaha Natural Sound AV Receiver HTR 6030, the next step in the factory reset process is to select the “Initialize” or “Reset” option. This action will allow you to initiate the restoration of the receiver to its factory default settings. Follow these steps to locate and select the initialize option:
- Navigate to the Initialize Option: Within the setup menu, use the arrow keys on the remote control to navigate through the available options. Look for a section or category that contains the reset or initialize function. This may be labeled as “System Reset,” “Factory Reset,” or “Initialize,” depending on the specific menu structure of your receiver.
- Highlight the Reset Option: Once you have located the reset or initialize option, use the arrow keys to highlight it. This will typically be represented by a specific menu item, such as “Initialize System” or “Factory Reset.” Ensure that this option is selected before proceeding to the next step.
- Enter the Reset Submenu: After highlighting the reset option, press the “Enter” or “OK” button on the remote control to access the submenu associated with the reset function. This submenu will contain the final steps required to confirm and execute the factory reset.
- Review the Reset Confirmation: Within the reset submenu, you may encounter a confirmation prompt that outlines the implications of the factory reset. Take a moment to review this information, as it will typically provide details about the settings and data that will be affected by the reset.
By following these steps, you will have successfully navigated to the initialize option within the setup menu of your Yamaha Natural Sound AV Receiver HTR 6030, bringing you one step closer to initiating the factory reset process.
Step 3: Confirming the Factory Reset
After selecting the initialize or reset option in the setup menu of your Yamaha Natural Sound AV Receiver HTR 6030, the final step in the factory reset process is to confirm the reset and initiate the restoration of the receiver to its factory default settings. Follow these essential steps to complete the factory reset:
- Read the Confirmation Message: Upon accessing the reset submenu, you may encounter a confirmation message that provides additional details about the implications of the factory reset. This message will typically inform you about the settings and configurations that will be reset to their default values. Take the time to review this information carefully before proceeding.
- Confirm the Reset: Once you have reviewed the confirmation message, you will be prompted to confirm the factory reset. This confirmation may be in the form of a dialogue box or a series of on-screen prompts. Use the remote control to select the option that confirms your intention to proceed with the reset.
- Initiate the Reset: After confirming the factory reset, initiate the process by selecting the “OK,” “Yes,” or equivalent option on the screen. This action will trigger the receiver to begin the reset procedure, reverting all settings and configurations to their original factory defaults.
- Wait for the Reset to Complete: Once the factory reset has been initiated, allow the receiver sufficient time to complete the process. This may involve the device powering off and then restarting with the default settings restored. Exercise patience during this phase, as the receiver undergoes the necessary adjustments.
By following these steps, you will have successfully confirmed and initiated the factory reset of your Yamaha Natural Sound AV Receiver HTR 6030, effectively restoring the device to its original factory settings.
Conclusion
Performing a factory reset on your Yamaha Natural Sound AV Receiver HTR 6030 can serve as a valuable troubleshooting step to address persistent issues and restore the device to its default state. By following the detailed steps outlined in this guide, you have gained the knowledge and confidence to navigate the setup menu, select the initialize option, and confirm the factory reset, ultimately resetting the receiver to its original settings.
It’s important to remember that a factory reset will erase all custom settings and configurations, so it’s advisable to exhaust other troubleshooting methods and back up any essential settings before proceeding with the reset. Additionally, familiarizing yourself with the specific menu structure and options of your receiver will facilitate a smoother navigation through the reset process.
After completing the factory reset, you may need to reconfigure the receiver’s settings according to your preferences and reconnect any external devices. Take the time to ensure that the receiver is set up to meet your audio and video requirements, and test its functionality to verify that the issues have been resolved.
By following these instructions, you have taken a proactive step in addressing potential performance issues with your Yamaha Natural Sound AV Receiver HTR 6030, allowing you to enjoy a refreshed and optimized audio-visual experience.