Introduction
Setting up Bluetooth on your Yamaha AV receiver allows you to wirelessly stream audio from your smartphone, tablet, or other compatible devices, enhancing your entertainment experience. Whether you want to enjoy your favorite music, podcasts, or audio from videos without the hassle of cables, Bluetooth connectivity offers convenience and flexibility.
By following a few simple steps, you can seamlessly integrate your Yamaha AV receiver with your Bluetooth-enabled devices, unlocking a world of wireless audio possibilities. In this guide, we will walk you through the process of setting up Bluetooth on your Yamaha AV receiver, from accessing the Bluetooth settings to pairing your devices and playing audio wirelessly.
With Bluetooth connectivity, you can eliminate the constraints of physical connections and revel in the freedom to stream audio from various sources with ease. Whether you're hosting a gathering, relaxing at home, or simply want to enjoy your favorite tunes without being tethered to your AV receiver, Bluetooth functionality provides a versatile and user-friendly solution.
Now, let's delve into the step-by-step process of setting up Bluetooth on your Yamaha AV receiver, empowering you to enjoy a seamless and wireless audio experience.
Are you ready to embark on this wireless audio journey with your Yamaha AV receiver? Let's get started!
Step 1: Accessing the Bluetooth Settings
Before you can begin streaming audio via Bluetooth on your Yamaha AV receiver, you need to access the Bluetooth settings. Here’s how to do it:
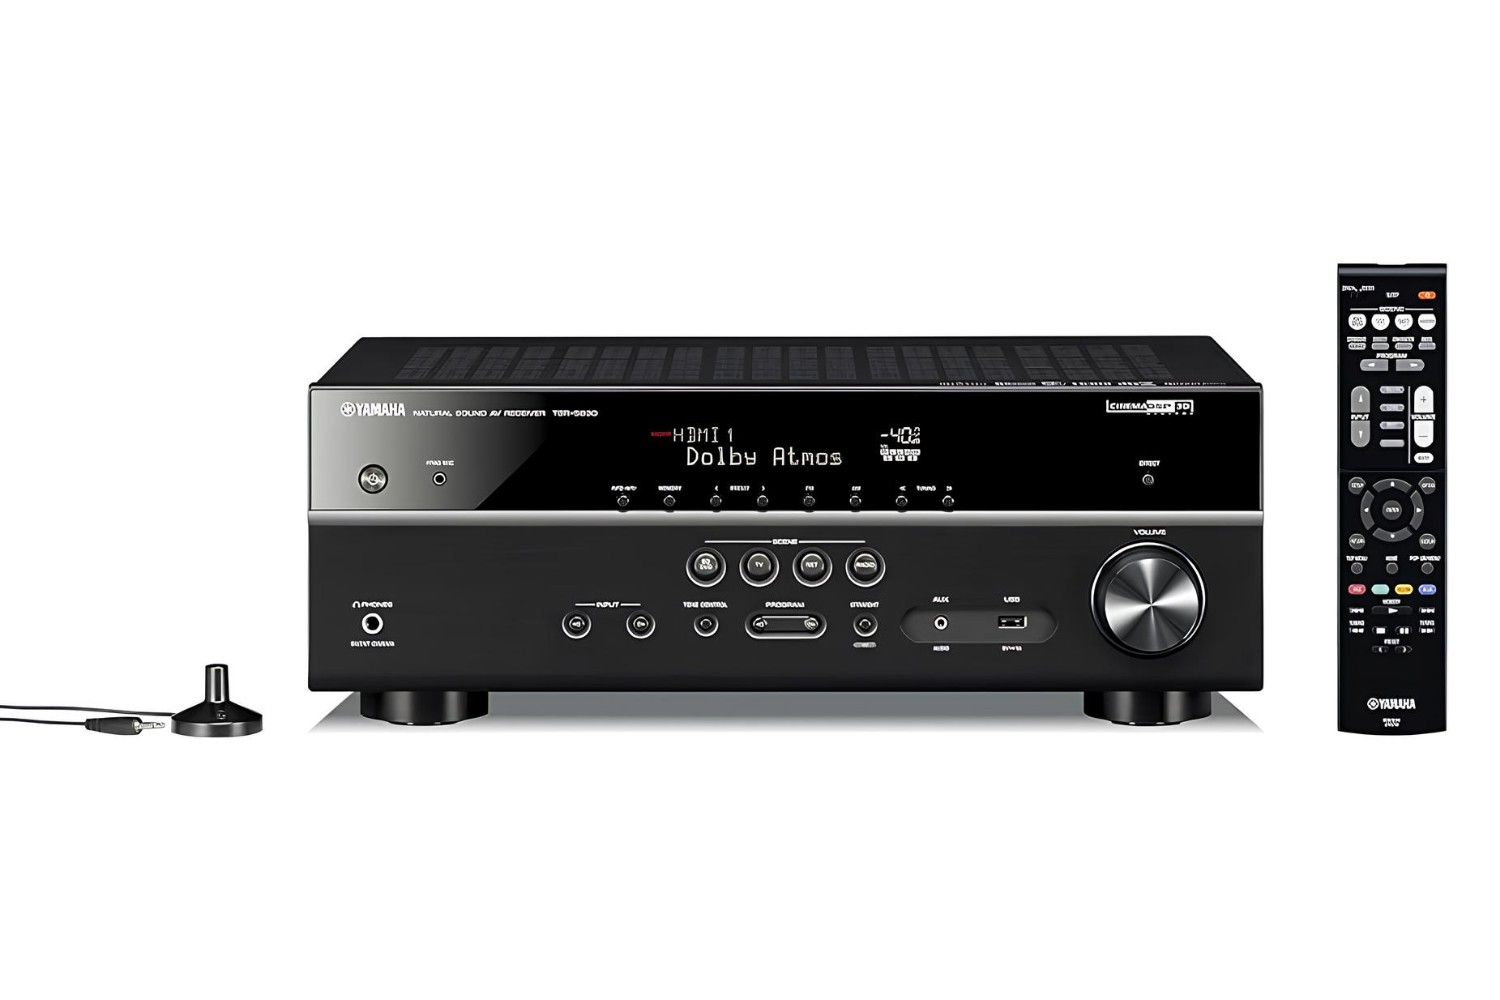
- Power On Your Yamaha AV Receiver: Ensure that your Yamaha AV receiver is powered on and ready for configuration. If it’s not already on, press the power button to activate the unit.
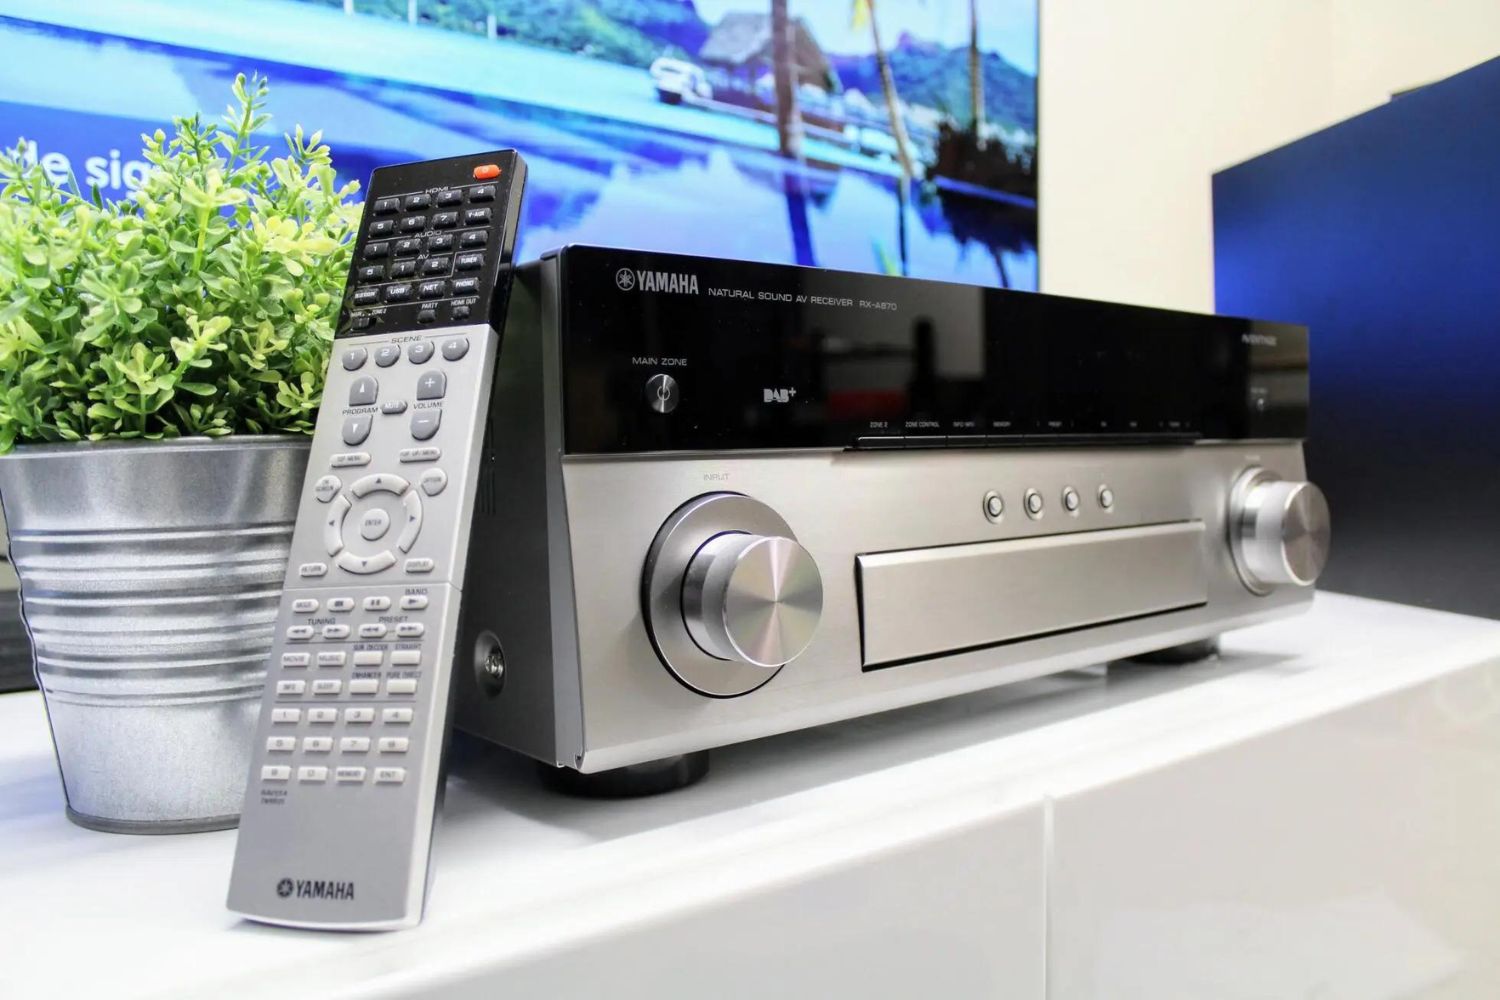
- Access the Home Menu: Using the remote control or the front panel of the receiver, navigate to the Home Menu. This menu serves as the central hub for accessing various settings and features of your Yamaha AV receiver.
- Select the Setup Option: Within the Home Menu, locate and select the “Setup” option. This will lead you to a submenu where you can customize and configure different aspects of your AV receiver’s functionality.
- Navigate to Bluetooth Settings: Within the Setup submenu, you should find the “Bluetooth Settings” or “Bluetooth Configuration” option. Select this option to access the Bluetooth settings of your Yamaha AV receiver.
- Enable Bluetooth Functionality: Once you’ve accessed the Bluetooth settings, you may need to enable Bluetooth functionality if it’s not already active. Follow the on-screen prompts or consult your receiver’s manual for specific instructions on enabling Bluetooth.
By following these steps, you’ll successfully access the Bluetooth settings on your Yamaha AV receiver, paving the way for seamless Bluetooth connectivity with your compatible devices. Now that you’ve accessed the Bluetooth settings, it’s time to move on to the next step: pairing a device with your AV receiver.
Step 2: Pairing a Device
After accessing the Bluetooth settings on your Yamaha AV receiver, the next step is to pair a compatible device, such as a smartphone or tablet, with your receiver. Pairing establishes a wireless connection between the two devices, allowing seamless audio streaming. Here’s how to pair a device with your Yamaha AV receiver:
- Enable Bluetooth on Your Device: Ensure that the Bluetooth feature on your smartphone, tablet, or other compatible device is turned on. This allows your device to be discoverable by the AV receiver.
- Initiate Pairing Mode on the Receiver: Within the Bluetooth settings on your Yamaha AV receiver, look for the option to initiate pairing mode or search for available devices. This action enables the receiver to detect and connect to your device.
- Select Your Receiver on the Device: On your smartphone or tablet, navigate to the Bluetooth settings and select your Yamaha AV receiver from the list of available devices. The receiver’s name or model number should be displayed as an option for pairing.
- Confirm the Pairing Request: Once you’ve selected your receiver on the device, a pairing request may appear on the receiver’s display or on your device’s screen. Confirm the pairing request to establish the Bluetooth connection between the two devices.
- Successful Pairing Confirmation: Upon successful pairing, you should see a confirmation message on both the receiver and your device, indicating that the pairing process is complete. Your device is now successfully paired with your Yamaha AV receiver.
With your device successfully paired with the AV receiver, you’re now ready to enjoy wireless audio streaming via Bluetooth. Whether you’re playing music, podcasts, or other audio content, the paired device can seamlessly transmit audio to your Yamaha AV receiver, enriching your entertainment experience.
Now that your device is paired, let’s move on to the next step: playing audio via Bluetooth on your Yamaha AV receiver.
Step 3: Playing Audio via Bluetooth
Now that your device is successfully paired with your Yamaha AV receiver, you’re ready to start playing audio wirelessly via Bluetooth. Whether you want to stream your favorite music, podcasts, or other audio content, the Bluetooth connectivity allows you to enjoy a seamless and cable-free listening experience. Here’s how to play audio via Bluetooth on your Yamaha AV receiver:
- Select the Audio Source: On your paired device, choose the audio source you want to stream to your Yamaha AV receiver. This could be a music app, podcast player, or any other audio application that supports Bluetooth output.
- Start Playback: Once you’ve selected the audio source, start playback on your device. The audio will be transmitted wirelessly to your Yamaha AV receiver, allowing you to enjoy high-quality sound through your audio system.
- Adjust Volume and Settings: Use the receiver’s remote control or front panel to adjust the volume and audio settings to your preference. You can also utilize the controls on your paired device to manage playback and make any necessary adjustments.
- Explore Additional Features: Depending on your Yamaha AV receiver model, you may have access to additional features and settings for optimizing your Bluetooth audio experience. Refer to the receiver’s manual or on-screen menus to explore these options.
With audio streaming seamlessly from your paired device to your Yamaha AV receiver, you can immerse yourself in your favorite content without the constraints of physical connections. Whether you’re hosting a gathering, relaxing at home, or simply enjoying your personal audio collection, Bluetooth connectivity offers the flexibility and convenience to enhance your listening experience.
Now that you’ve learned how to play audio via Bluetooth on your Yamaha AV receiver, you’re equipped to enjoy wireless audio streaming at your convenience. Should you encounter any Bluetooth connection issues, the troubleshooting section will provide guidance on resolving common concerns.
Troubleshooting Bluetooth Connection Issues
While Bluetooth technology offers the convenience of wireless audio streaming, you may encounter occasional connectivity issues. If you experience difficulties with the Bluetooth connection on your Yamaha AV receiver, the following troubleshooting steps can help you address common concerns:
- Ensure Device Compatibility: Confirm that the device you’re attempting to pair with your Yamaha AV receiver is compatible with Bluetooth and supports the necessary profiles for audio streaming. Some devices may have limitations or require specific settings to establish a stable Bluetooth connection.
- Check Bluetooth Signal Strength: Verify that the paired device is within a reasonable range of the AV receiver to ensure a strong and stable Bluetooth signal. Physical obstructions and interference from other electronic devices can impact signal quality.
- Restart Devices: Power cycle both the Yamaha AV receiver and the paired device. Sometimes, a simple restart can resolve temporary connectivity issues and reestablish a stable Bluetooth connection.
- Update Firmware and Software: Ensure that your Yamaha AV receiver’s firmware is up to date, as well as the operating system and Bluetooth software on your paired device. Updates can address compatibility issues and improve Bluetooth performance.
- Reset Bluetooth Settings: If you continue to experience connectivity issues, consider resetting the Bluetooth settings on both the receiver and the paired device. This process can clear any lingering connection issues and allow for a fresh pairing attempt.
- Perform a Factory Reset: As a last resort, you can perform a factory reset on your Yamaha AV receiver to restore all settings to their default state. Be aware that this action will erase any custom configurations, so it should only be done after exhausting other troubleshooting options.
By following these troubleshooting steps, you can address common Bluetooth connection issues and ensure a reliable wireless audio experience with your Yamaha AV receiver. If you require further assistance, consult the receiver’s manual or reach out to Yamaha’s customer support for personalized guidance.
With these troubleshooting tips at your disposal, you can overcome Bluetooth connectivity challenges and continue enjoying the convenience of wireless audio streaming on your Yamaha AV receiver.
Conclusion
Congratulations! You’ve successfully navigated the process of setting up Bluetooth on your Yamaha AV receiver, allowing you to enjoy the convenience of wireless audio streaming from your favorite devices. By accessing the Bluetooth settings, pairing your device, and seamlessly playing audio via Bluetooth, you’ve unlocked a world of possibilities for enhancing your entertainment experience.
With Bluetooth connectivity, you can bid farewell to cumbersome cables and revel in the freedom to stream music, podcasts, and other audio content effortlessly. Whether you’re hosting a gathering, relaxing at home, or simply unwinding with your favorite tunes, the wireless capabilities of your Yamaha AV receiver offer flexibility and convenience.
Should you encounter any Bluetooth connection issues along the way, the troubleshooting steps provided in this guide empower you to address common concerns and ensure a stable and reliable wireless audio experience. By following these troubleshooting tips, you can overcome potential obstacles and continue enjoying seamless Bluetooth connectivity with your AV receiver.
As you embark on your wireless audio journey with your Yamaha AV receiver, remember to explore the full range of features and settings available to optimize your Bluetooth experience. Whether it’s adjusting audio settings, exploring additional connectivity options, or discovering new ways to elevate your audio enjoyment, your AV receiver offers a myriad of possibilities for customization and personalization.
Now that you’re equipped with the knowledge and guidance to set up and troubleshoot Bluetooth on your Yamaha AV receiver, you’re ready to immerse yourself in a wireless audio experience that aligns with your lifestyle and preferences. Embrace the freedom of wireless connectivity and savor the rich sound quality delivered by your Yamaha AV receiver as you indulge in your favorite audio content.
Thank you for joining us on this wireless audio journey. May your Yamaha AV receiver continue to be a source of joy and entertainment, seamlessly connecting you to the world of wireless audio streaming.


