Introduction
Television enthusiasts and audio aficionados often seek to optimize their home entertainment systems for a superior viewing and listening experience. Integrating a Yamaha AV receiver into the setup can significantly enhance the audio output, delivering immersive sound quality that complements the visual spectacle on the screen. This comprehensive guide will walk you through the process of connecting your television to the Yamaha AV receiver, configuring the audio settings, and troubleshooting common issues that may arise. By following these steps, you can enjoy the full potential of your home theater system and elevate your entertainment experience to new heights.
Whether you’re a cinephile craving cinematic audio, a sports fan wanting to feel the roar of the crowd, or a music lover seeking concert-like sound in the comfort of your living room, harnessing the capabilities of your Yamaha AV receiver is essential. With the right connections and settings, you can channel the audio from your television through the receiver, unlocking its powerful amplification and surround sound capabilities. This guide will empower you to seamlessly integrate your television with the Yamaha AV receiver, ensuring that every viewing session is accompanied by rich, detailed, and captivating audio.
Connecting Your Television to the Yamaha AV Receiver
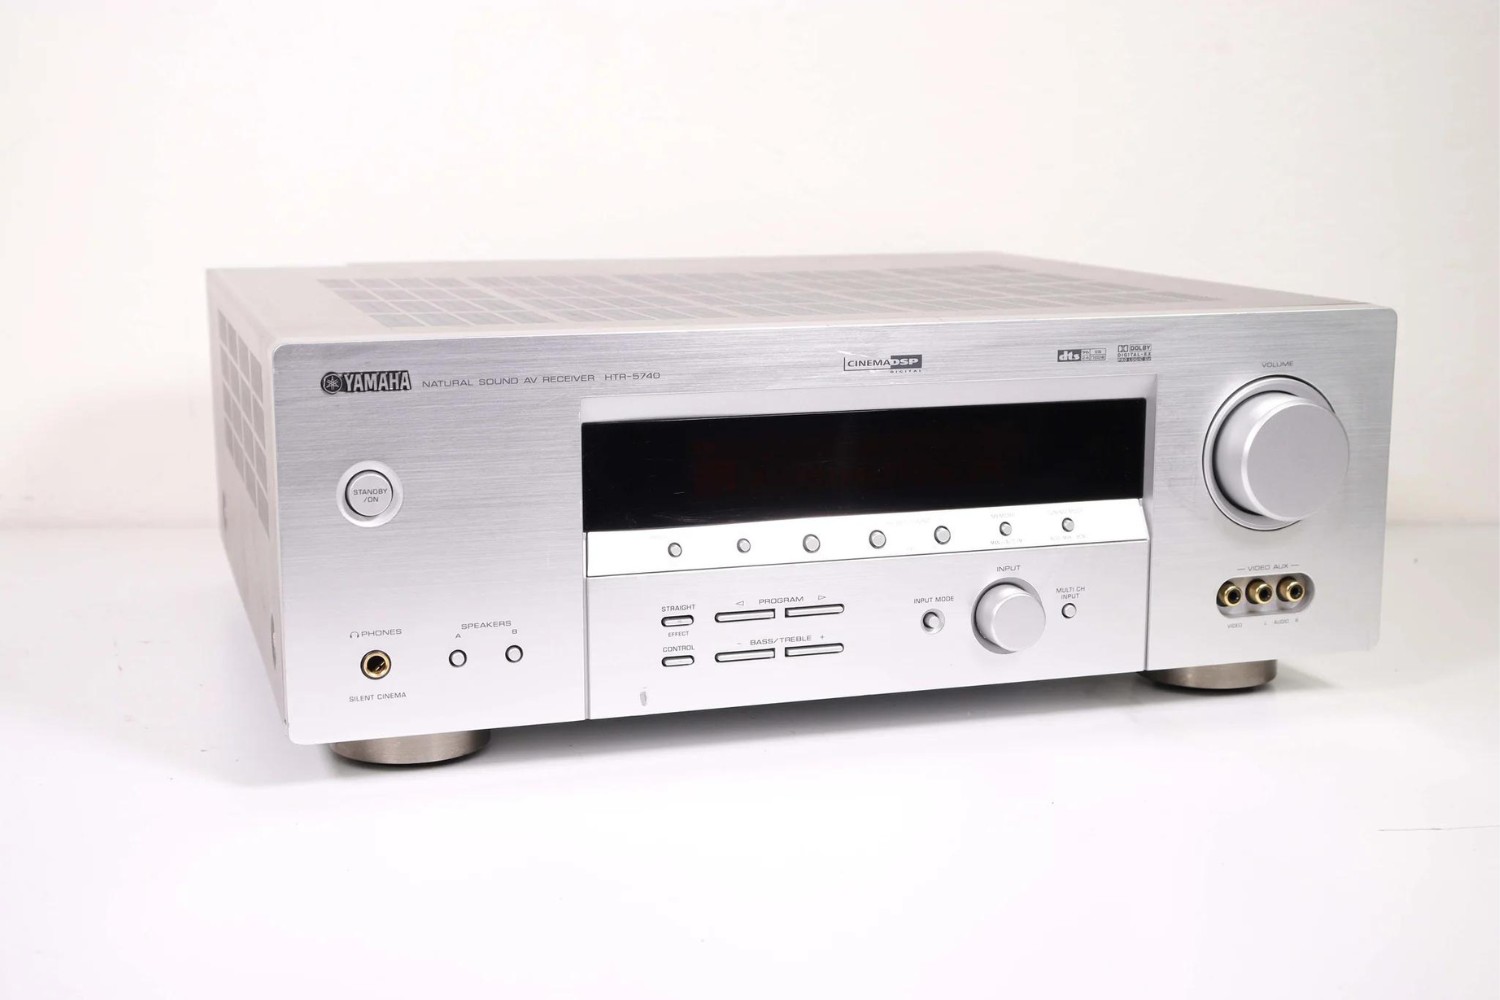
The first step in harnessing the audio prowess of your Yamaha AV receiver is establishing a physical connection between your television and the receiver. To achieve this, you will need an HDMI cable, which serves as the primary conduit for transmitting both high-definition video and audio signals. Begin by locating the HDMI output port on your television and the HDMI input port on your Yamaha AV receiver. These ports are typically labeled “HDMI Out” on the television and “HDMI In” on the receiver.
Once you’ve identified the corresponding ports, simply connect one end of the HDMI cable to the HDMI output port on your television and the other end to an available HDMI input port on your Yamaha AV receiver. It’s important to ensure that the cable is securely inserted into each port to guarantee a stable connection. If your television or AV receiver supports HDMI ARC (Audio Return Channel), consider utilizing this feature to streamline the audio transmission process, allowing the receiver to receive audio signals from the TV without the need for a separate optical or analog audio connection.
For older televisions that lack HDMI connectivity, alternative audio connection methods can be utilized. Optical digital audio cables and analog RCA cables offer viable options for transmitting audio from the television to the Yamaha AV receiver. Simply connect the appropriate cable from the audio output on the television to the corresponding audio input on the receiver, ensuring a snug and secure connection. While HDMI is the preferred method due to its ability to carry high-quality audio and video signals through a single cable, these alternative connections can still deliver impressive audio performance when configured correctly.
Setting Up the Audio Output on Your Television
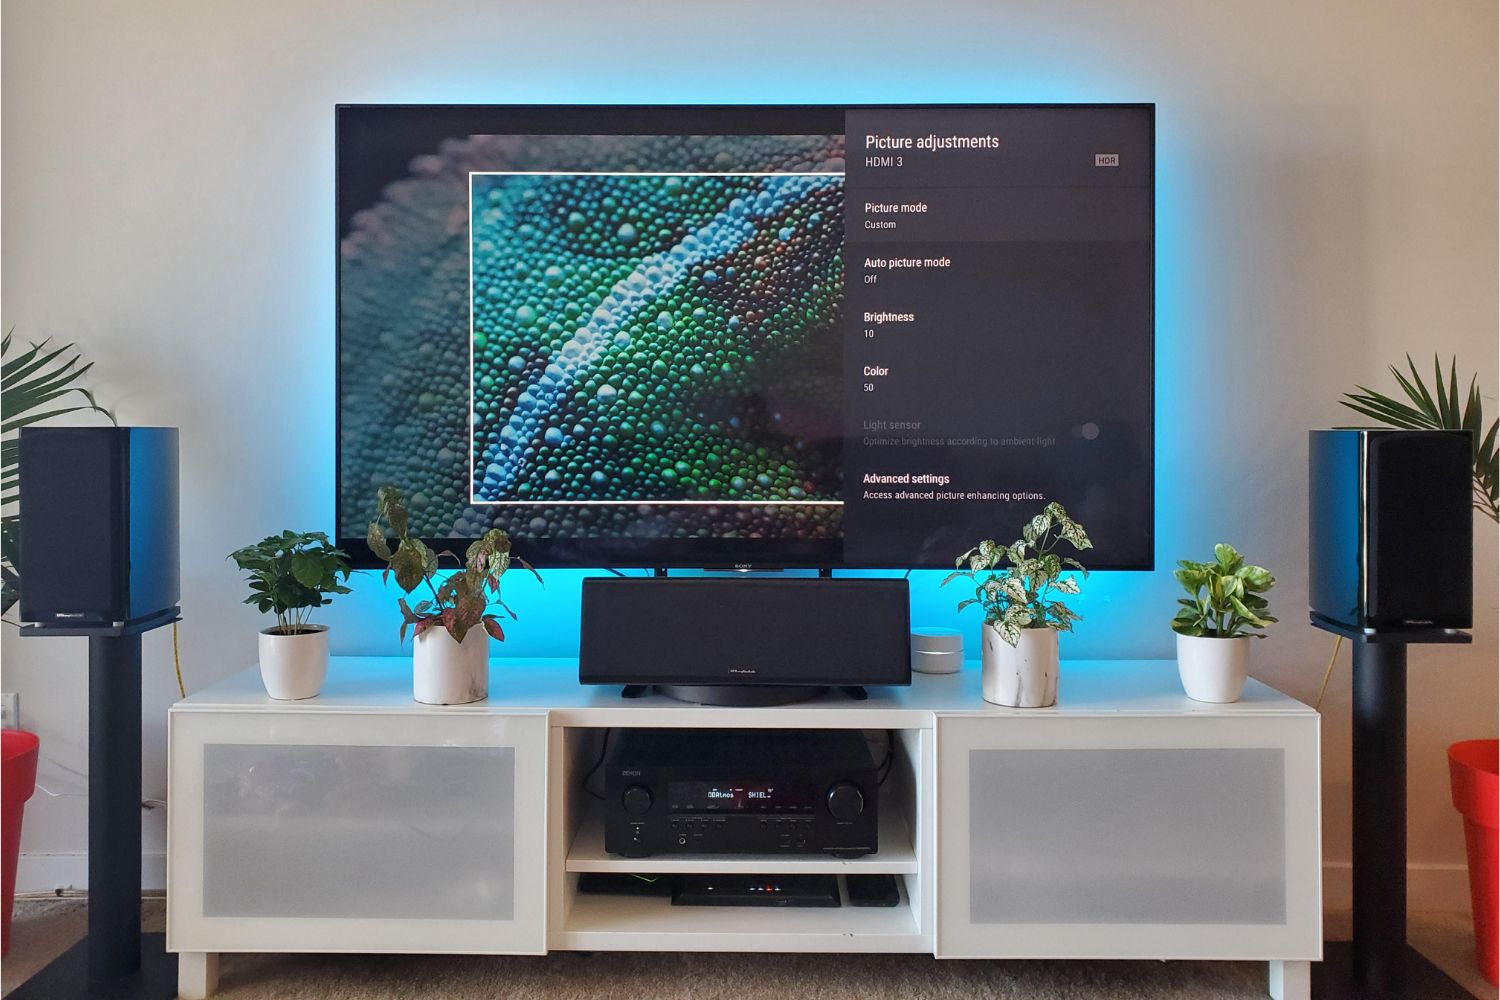
After establishing the physical connection between your television and the Yamaha AV receiver, it’s crucial to configure the audio output settings on your TV to ensure that the audio signal is properly routed to the receiver. Access the television’s settings menu, typically found in the on-screen display or through a dedicated button on the remote control. Navigate to the audio settings or sound output options, where you can select the audio output format and designate the connected Yamaha AV receiver as the audio output device.
For HDMI connections, ensure that the television’s audio output is set to “HDMI” or “AV Receiver” to direct the audio signal through the HDMI cable to the receiver. If you’re using an optical or analog connection, choose the corresponding audio output option that corresponds to the type of cable you’ve connected. Some televisions may offer specific audio output settings for surround sound or enhanced audio formats, allowing you to optimize the audio output based on your preferences and the capabilities of your Yamaha AV receiver.
Additionally, if your television supports HDMI-CEC (Consumer Electronics Control), enabling this feature can facilitate seamless integration with the Yamaha AV receiver. HDMI-CEC allows for convenient control of multiple devices using a single remote, enabling functions such as power on/off synchronization and volume control through the TV’s remote, which can be transmitted to the AV receiver. This simplifies the overall user experience and eliminates the need to juggle multiple remotes when adjusting audio settings or powering on the home theater system.
By configuring the audio output settings on your television to align with the connection method and audio format supported by your Yamaha AV receiver, you can ensure a harmonious audio transmission that maximizes the capabilities of your home entertainment system. This step is pivotal in establishing a seamless audio pipeline from your television to the AV receiver, setting the stage for immersive and captivating sound reproduction during every viewing experience.
Configuring the Audio Settings on Your Yamaha AV Receiver
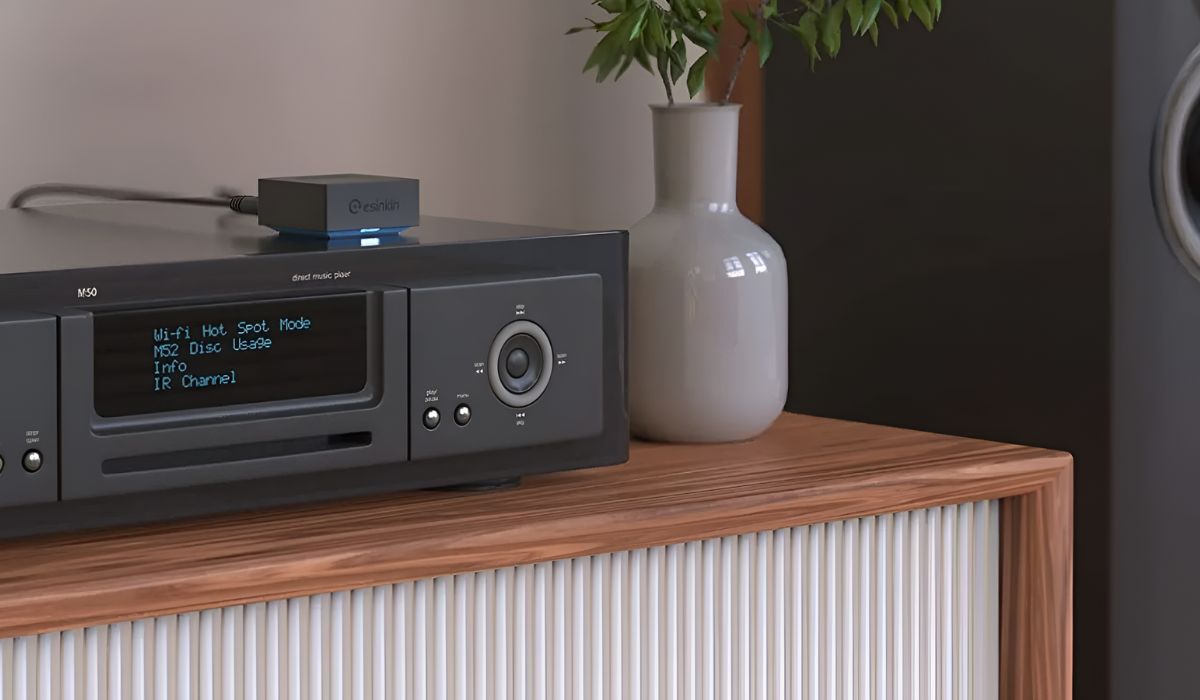
Once the physical and audio output connections between your television and the Yamaha AV receiver are established, it’s essential to configure the receiver’s audio settings to optimize the sound output according to your preferences and the capabilities of your home theater system. Begin by powering on the AV receiver and accessing the on-screen setup menu or the front panel display, depending on the model of your Yamaha receiver. Navigate to the audio settings or setup options to customize the audio parameters for an optimal listening experience.
First, ensure that the input source on the AV receiver corresponds to the input to which your television is connected, whether it’s the HDMI input, optical input, or analog input. This allows the receiver to recognize and process the incoming audio signal from the television. If your receiver supports HDMI-CEC, verify that this feature is enabled to facilitate seamless communication and control between the television and the receiver, enhancing the overall user experience.
Next, explore the audio processing and sound optimization features offered by your Yamaha AV receiver. Many models provide a range of audio enhancement options, including surround sound modes, equalizer settings, and dialogue enhancement features. Experiment with these settings to tailor the audio output to your preferences and the content being viewed. For example, select a surround sound mode such as Dolby Atmos, DTS:X, or Yamaha’s proprietary Cinema DSP to envelop yourself in a multidimensional audio environment that complements various types of media, from movies and TV shows to music and gaming.
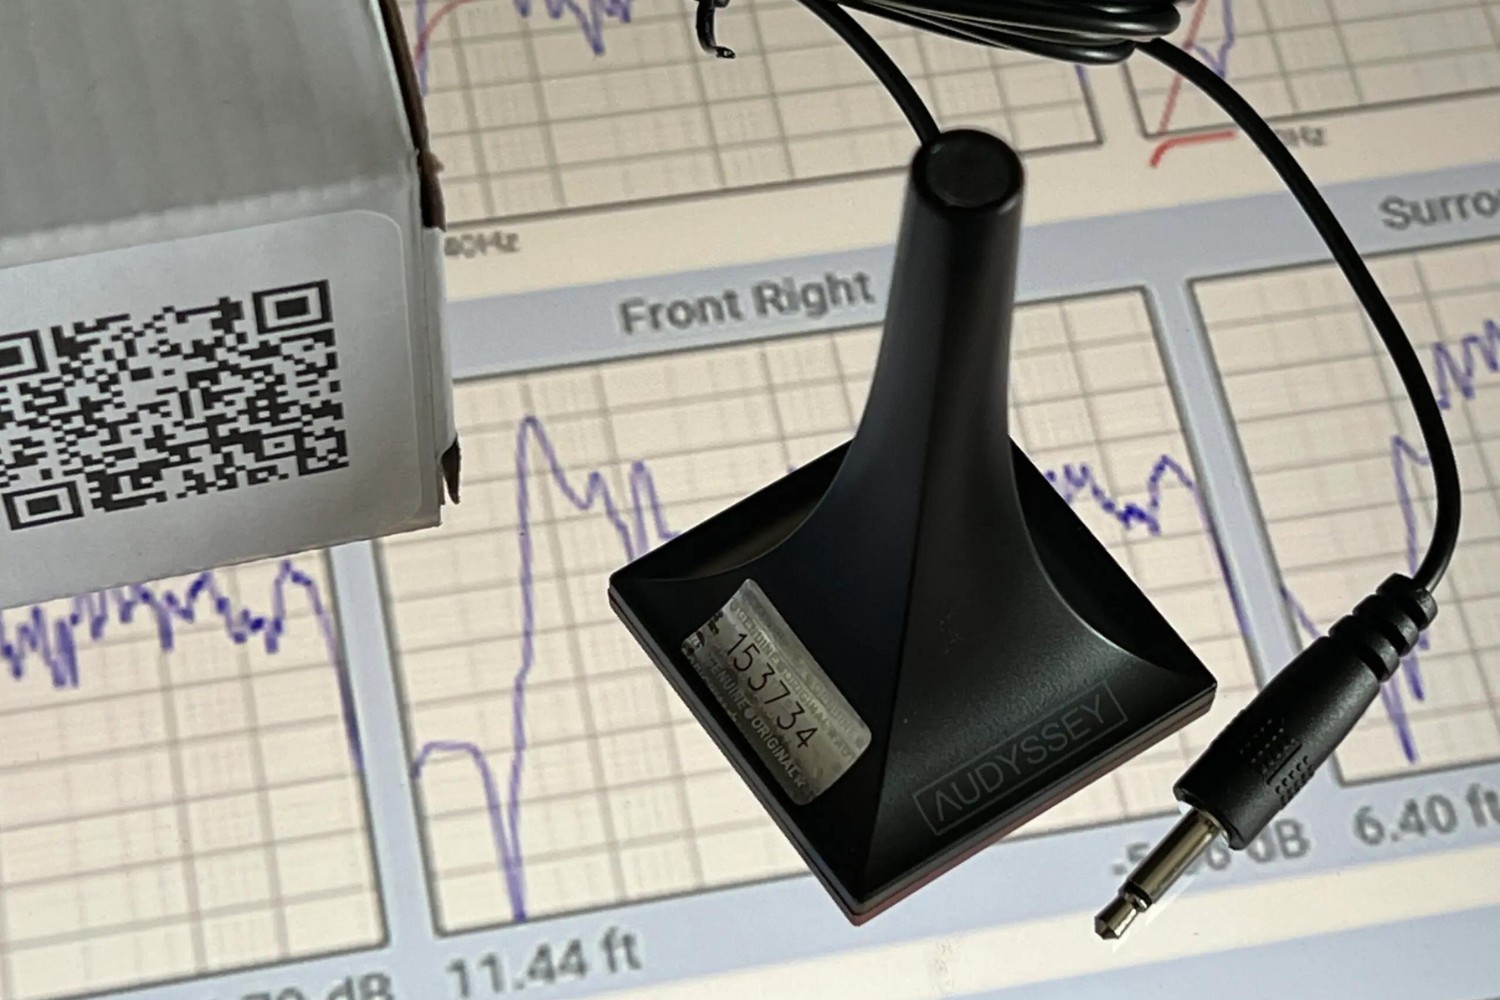
If your receiver supports advanced audio formats such as Dolby Atmos or DTS:X, ensure that these formats are enabled and configured correctly to unleash the full potential of immersive, object-based audio. This may involve specifying the speaker layout, adjusting the volume levels for each channel, and fine-tuning the audio parameters to align with the acoustic characteristics of your viewing space. Additionally, if your AV receiver offers room calibration and optimization features, such as Yamaha’s YPAO (Yamaha Parametric Acoustic Optimizer), consider running the calibration process to tailor the audio output to the acoustics of your room, ensuring balanced sound distribution and optimal performance.
By customizing the audio settings on your Yamaha AV receiver, you can elevate the auditory experience to new heights, immersing yourself in rich, detailed sound that complements the stunning visuals on your television. Whether you’re seeking spine-tingling surround sound for movie nights or pristine audio reproduction for music and gaming, the configurable audio settings on your AV receiver empower you to tailor the sound to suit your preferences and the content being enjoyed.
Testing the Audio Connection
After establishing the physical and audio connections between your television and the Yamaha AV receiver, it’s essential to conduct a thorough audio test to ensure that the audio signal is successfully transmitted and reproduced with the desired quality and fidelity. By performing a comprehensive audio test, you can verify the functionality of the audio setup, identify any potential issues, and make necessary adjustments to achieve optimal audio performance.
To begin the audio testing process, power on your television and the Yamaha AV receiver. Select the input source on the receiver that corresponds to the connection from the television, whether it’s the HDMI input, optical input, or analog input. Ensure that the television’s audio output is set to the designated audio output format, such as HDMI or optical, and that the volume level is adjusted to a suitable level for testing. If your receiver features a graphical on-screen display, this is an opportune time to verify that the audio signal is being received from the television and is ready for playback.
Next, play a variety of audio-visual content to assess the performance of the audio connection. Start by streaming a high-definition video with rich, dynamic sound to gauge the receiver’s ability to process and reproduce immersive audio. Pay close attention to the clarity of dialogue, the spatial distribution of sound effects, and the overall balance and tonality of the audio output. If your receiver supports surround sound formats, such as Dolby Atmos or DTS:X, select content that is encoded with these formats to experience the full breadth of multidimensional audio immersion.
During the audio test, consider adjusting the audio settings on the Yamaha AV receiver to explore different sound modes, equalizer settings, and audio processing features. This allows you to fine-tune the audio output to suit the content being played and your personal preferences. For instance, switch between different surround sound modes to discern the unique characteristics of each mode and determine which mode best complements the content, whether it’s a movie, a sports event, or a musical performance.
Additionally, evaluate the synchronization of audio and video to ensure that there are no perceptible delays or discrepancies between the on-screen action and the accompanying sound. This is particularly important when utilizing advanced audio processing features or when streaming content from external devices. If you encounter any issues during the audio test, such as intermittent sound dropout, distorted audio, or improper channel mapping, refer to the troubleshooting section of this guide to address and resolve common audio connection issues.
By conducting a comprehensive audio test, you can ascertain the integrity and performance of the audio connection between your television and the Yamaha AV receiver, enabling you to fine-tune the audio settings and address any potential issues that may impact the overall audio experience. This proactive approach ensures that your home theater system delivers captivating, high-fidelity audio that complements the visual splendor of your favorite entertainment content.
Troubleshooting Common Issues
While setting up the audio connection between your television and the Yamaha AV receiver, you may encounter common issues that can affect the quality and reliability of the audio transmission. By familiarizing yourself with these potential issues and their corresponding troubleshooting steps, you can swiftly address any challenges that arise, ensuring a seamless and immersive audio experience. Below are some common issues and troubleshooting strategies to help you overcome them.
- No Audio Output: If you’re not hearing any sound from the speakers connected to your AV receiver, start by checking the audio input and output settings on both the television and the receiver. Ensure that the correct input source is selected on the receiver, and verify that the television’s audio output is configured to the appropriate format (e.g., HDMI, optical, analog). Additionally, confirm that the volume levels on the receiver and the television are adjusted to audible levels, and inspect the speaker connections to ensure they are secure.
- Intermittent Audio Dropout: If the audio signal sporadically cuts out or experiences brief interruptions, inspect the HDMI, optical, or analog cables for any signs of damage or loose connections. Replace the cables if necessary, and ensure that they are firmly plugged into the respective ports on both the television and the AV receiver. If using HDMI, consider using high-quality, certified cables to mitigate potential signal dropouts.
- Audio Delay or Synchronization Issues: In cases where the audio is out of sync with the video, access the audio settings on the Yamaha AV receiver to enable any available audio synchronization or lip-sync adjustment features. These settings allow you to fine-tune the audio delay to align with the video playback, resolving any perceptible discrepancies between the audio and video signals.
- Incorrect Audio Format: If the audio output from the television to the receiver is not in the expected format (e.g., stereo instead of surround sound), review the audio output settings on the television to ensure that the correct audio format is selected. Additionally, on the AV receiver, verify that the input source is configured to process the incoming audio signal in the desired format, such as Dolby Digital, DTS, or other surround sound modes.
- HDMI-CEC Control Issues: When utilizing HDMI-CEC for seamless device control, ensure that this feature is enabled on both the television and the AV receiver. If experiencing issues with HDMI-CEC functionality, such as inconsistent power control or volume adjustments, consult the user manuals for both devices to troubleshoot HDMI-CEC-related issues and optimize device interoperability.
By employing these troubleshooting strategies, you can effectively address common audio connection issues that may arise when integrating your television with the Yamaha AV receiver. Swiftly identifying and resolving these issues ensures that you can fully enjoy the immersive audio capabilities of your home entertainment system, creating a captivating and engaging audiovisual experience for all your viewing and listening pursuits.
Conclusion
In conclusion, the process of channeling television audio through your Yamaha AV receiver opens the gateway to a world of captivating, immersive sound that enriches your home entertainment experience. By carefully connecting your television to the AV receiver and configuring the audio settings, you can unlock the full potential of your audiovisual setup, creating a dynamic and engaging environment for enjoying movies, music, sports, and gaming.
The seamless integration of your television and the Yamaha AV receiver lays the foundation for a multi-dimensional audio experience that complements the visual splendor of your favorite content. Whether you’re delving into the cinematic landscape of a blockbuster film, immersing yourself in the sonic intricacies of a musical performance, or feeling the pulse-pounding excitement of a live sports event, the combined power of your television and AV receiver delivers rich, detailed sound that enhances every moment.
By following the steps outlined in this guide and addressing common audio connection issues with the troubleshooting strategies provided, you can ensure that your home theater system operates at its peak performance, delivering high-fidelity audio that resonates with clarity and depth. The meticulous attention to audio setup and the utilization of advanced features such as surround sound modes and audio optimization tools allow you to tailor the audio output to your preferences, creating a personalized sonic environment that elevates your viewing experiences.
As you embark on your audio journey with the Yamaha AV receiver, remember that the pursuit of exceptional sound is a continuous endeavor. Regularly exploring the audio settings, experimenting with different sound modes, and fine-tuning the system to adapt to various types of content can further enhance your audio experience. Embrace the versatility and capabilities of your Yamaha AV receiver as you immerse yourself in a world of captivating soundscapes that breathe life into your entertainment endeavors.
With the knowledge and insights gained from this guide, you are well-equipped to harness the full potential of your home entertainment system, transforming your living space into a sonic sanctuary where every viewing session becomes an auditory delight. Embrace the power of television audio through your Yamaha AV receiver, and let the symphony of sound elevate your entertainment experiences to new heights.