Introduction
So, you’ve just acquired a Yamaha Natural Sound AV Receiver, and you’re ready to take your home entertainment setup to the next level. Congratulations on your choice! The Yamaha Natural Sound AV Receiver is renowned for its exceptional audio quality, robust build, and versatile connectivity options, making it a top choice for audio enthusiasts and home theater aficionados alike.
Setting up your Yamaha AV Receiver may seem daunting at first, especially with the myriad of cables and connections involved. However, with the right guidance, you’ll find that the process is more straightforward than you might think. In this comprehensive guide, we’ll walk you through each step of the setup process, from unboxing to testing the system. By the end of this tutorial, you’ll be ready to immerse yourself in a captivating audio-visual experience that only a Yamaha Natural Sound AV Receiver can deliver.
Whether you’re a seasoned audiophile or a newcomer to the world of home theater systems, this guide is designed to provide clear, concise instructions that will help you unleash the full potential of your Yamaha AV Receiver. So, without further ado, let’s dive into the exciting world of home entertainment setup and get your Yamaha Natural Sound AV Receiver up and running!
Step 1: Unboxing and Setup
Before delving into the intricate process of connecting your Yamaha Natural Sound AV Receiver, it’s essential to start with the unboxing and initial setup. Unpack the receiver and its accompanying accessories, ensuring that all the components are present and in good condition. Take a moment to familiarize yourself with the layout of the receiver and the functions of its various buttons and ports.
Once you’ve assessed the contents of the package, it’s time to position the receiver in your desired location. Choose a well-ventilated area with sufficient space around the receiver to prevent overheating and allow for easy access to the rear panel for connections. Remember to leave some clearance above the receiver to facilitate proper airflow.
Next, connect the power cord to the receiver and plug it into a reliable power outlet. It’s crucial to use a surge protector to safeguard the receiver from power fluctuations and electrical surges. Once the receiver is powered on, you’ll be prompted to select the language and perform the initial setup, including network configuration if applicable. Follow the on-screen prompts to complete this process.
As you progress through the initial setup, take note of any firmware updates that may be available for the receiver. Keeping the firmware up to date ensures optimal performance and access to the latest features and enhancements. If an update is available, connect the receiver to your home network and initiate the update process as directed in the user manual.
With the initial setup completed, you’re now ready to move on to the next step of connecting speakers to your Yamaha Natural Sound AV Receiver. This pivotal stage sets the foundation for an immersive audio experience that will elevate your home entertainment to new heights. So, let’s proceed to the next step and bring your audio system to life!
Step 2: Connecting Speakers
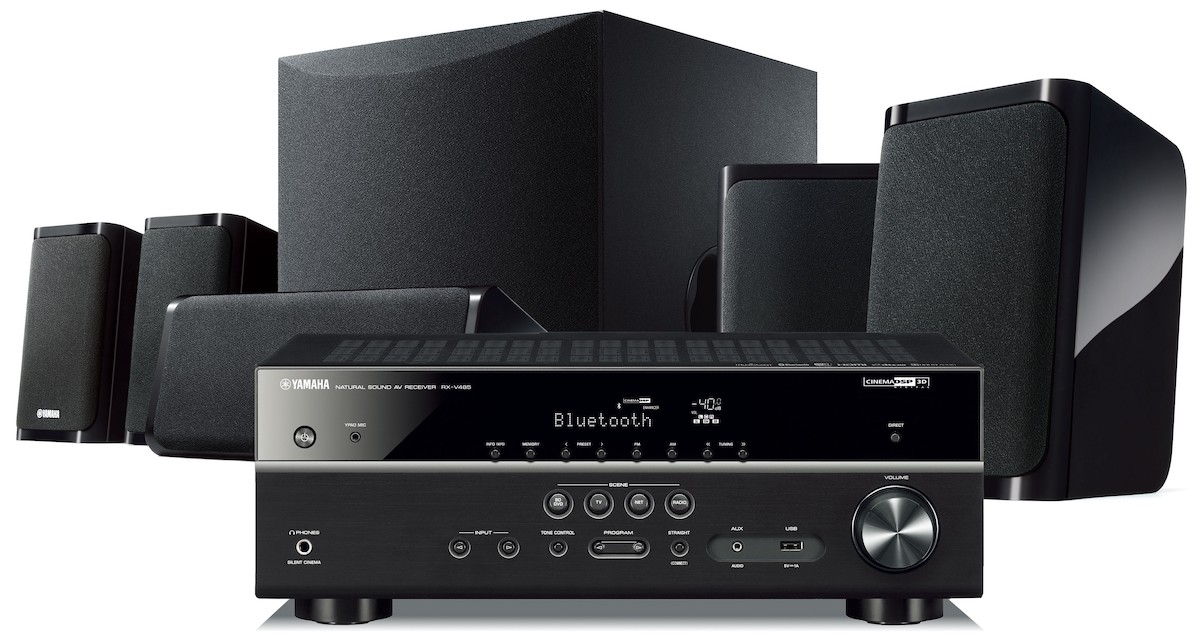
Now that the initial setup of your Yamaha Natural Sound AV Receiver is complete, it’s time to establish the vital connection between the receiver and your speakers. The way in which you configure your speakers can significantly impact the audio quality and spatial immersion of your home theater setup. Whether you’re aiming for a traditional stereo arrangement or a full-fledged surround sound experience, the Yamaha AV Receiver offers versatile options to cater to your preferences.
Begin by identifying the speaker terminals on the back of the receiver. These terminals are typically labeled to correspond with the different channels, such as front left, front right, center, surround left, surround right, and subwoofer. If you’re setting up a 5.1 or 7.1 surround sound system, ensure that you have the appropriate number of speakers to match the configuration.
For each speaker, carefully strip a small portion of the insulation from the end of the speaker wire to expose the bare conductors. Then, insert the bare wire into the corresponding speaker terminal on the receiver, taking care to maintain the polarity (positive and negative) of the connections. Once inserted, secure the connection by tightening the terminal screws to ensure a snug fit.
With the speaker wires securely connected to the receiver, it’s time to position the speakers in their designated locations within your entertainment area. Whether you’re arranging them on stands, mounting them on walls, or integrating them into your furniture, aim for an optimal layout that complements the acoustics of the room and delivers an immersive audio experience.
After positioning the speakers, carefully run the speaker wires to each speaker, taking care to conceal or secure the wires along the way to maintain a tidy and unobtrusive setup. Once the wires are connected to the speakers, double-check the polarity to ensure that the positive and negative terminals align correctly with the corresponding terminals on the speakers.
With the speakers connected and positioned, your Yamaha Natural Sound AV Receiver is now primed to deliver captivating audio that fills your space with rich, dynamic sound. The next step involves connecting your preferred audio and video sources to the receiver, allowing you to access a wide array of content and unleash the full potential of your home entertainment system.
Step 3: Connecting Audio and Video Sources
With the speakers seamlessly integrated into your Yamaha Natural Sound AV Receiver, it’s time to expand the connectivity by linking your audio and video sources to the receiver. Whether you’re connecting a Blu-ray player, gaming console, streaming device, or any other audio-visual source, the Yamaha AV Receiver offers a multitude of input options to accommodate your diverse entertainment needs.
Begin by identifying the array of input ports on the back of the receiver, including HDMI, optical, coaxial, analog audio, and other specialized connections. Depending on the specific devices you intend to connect, select the appropriate input ports that align with the output ports of your audio and video sources.
If you’re connecting a Blu-ray player, gaming console, or media streaming device, HDMI cables are the preferred choice for transmitting high-definition audio and video signals. Simply connect one end of the HDMI cable to the output port of the source device and the other end to an available HDMI input port on the receiver. This streamlined connection method ensures optimal signal integrity and simplifies the setup process.
For devices that utilize optical or coaxial audio connections, such as a digital audio output from a TV or a dedicated audio player, locate the corresponding input ports on the receiver and establish the connections using the appropriate optical or coaxial cables. These digital audio connections preserve the fidelity of the audio signal and are particularly well-suited for multi-channel audio formats.
When integrating analog audio sources, such as a turntable, cassette deck, or older audio player, utilize the analog audio input ports on the receiver. Ensure that the left and right channels are connected to their respective input terminals, maintaining the correct polarity to preserve stereo imaging and audio balance.
In addition to audio connections, you may also have video sources that require direct connectivity to your TV or display. If your receiver features video pass-through functionality, use HDMI cables to link the video sources to the receiver and then connect another HDMI cable from the receiver’s HDMI output to the TV. This setup enables seamless video transmission through the receiver while simplifying the overall cable management.
By establishing these vital connections, you’re empowering your Yamaha Natural Sound AV Receiver to serve as the central hub for all your audio and video sources, consolidating the entertainment experience and providing convenient access to a diverse range of content. As we proceed to the next step, we’ll explore the process of connecting the receiver to your TV, culminating in a cohesive and immersive home entertainment setup.
Step 4: Connecting to the TV
As you venture further into the setup of your home entertainment system, the integration of your Yamaha Natural Sound AV Receiver with your TV marks a pivotal stage in creating a cohesive and immersive viewing experience. The connection between the receiver and the TV serves as a conduit for transmitting video signals, accessing on-screen menus, and leveraging the receiver’s advanced video processing capabilities.
Most modern TVs and AV receivers are equipped with HDMI connectivity, offering a seamless and high-fidelity interface for transmitting both audio and video signals. Begin by identifying an available HDMI output port on the receiver and connecting it to an HDMI input port on your TV. This direct HDMI link establishes a unified pathway for video signals to pass through the receiver, enabling convenient control and optimization of your viewing experience.
Utilizing HDMI-ARC (Audio Return Channel) functionality further enhances the integration between the receiver and the TV. If your TV supports HDMI-ARC, connect the HDMI-ARC compatible port on the TV to the HDMI-ARC port on the receiver. This bidirectional connection streamlines the audio transmission from the TV to the receiver, allowing for a simplified audio setup and eliminating the need for separate audio cables.
In scenarios where HDMI-ARC is not available or if you prefer an alternative audio connection, you can utilize the optical or coaxial digital audio output on the TV and connect it to the corresponding input on the receiver. While these connections primarily cater to audio transmission, they provide a viable solution for integrating the TV’s audio output into the receiver’s audio system.
For legacy TVs or specialized display setups that rely on analog video connections, such as component or composite video, the receiver offers dedicated input ports to accommodate these analog video signals. By establishing these connections, you can consolidate the video sources and route them through the receiver, leveraging its video processing capabilities to enhance the visual output.
Once the connection between the receiver and the TV is established, you’ll gain access to a unified control interface that simplifies the management of audio and video sources, on-screen settings, and audiovisual parameters. This seamless integration sets the stage for the next step, which involves powering on the system and navigating through the initial setup to ensure optimal performance and compatibility with your entertainment environment.
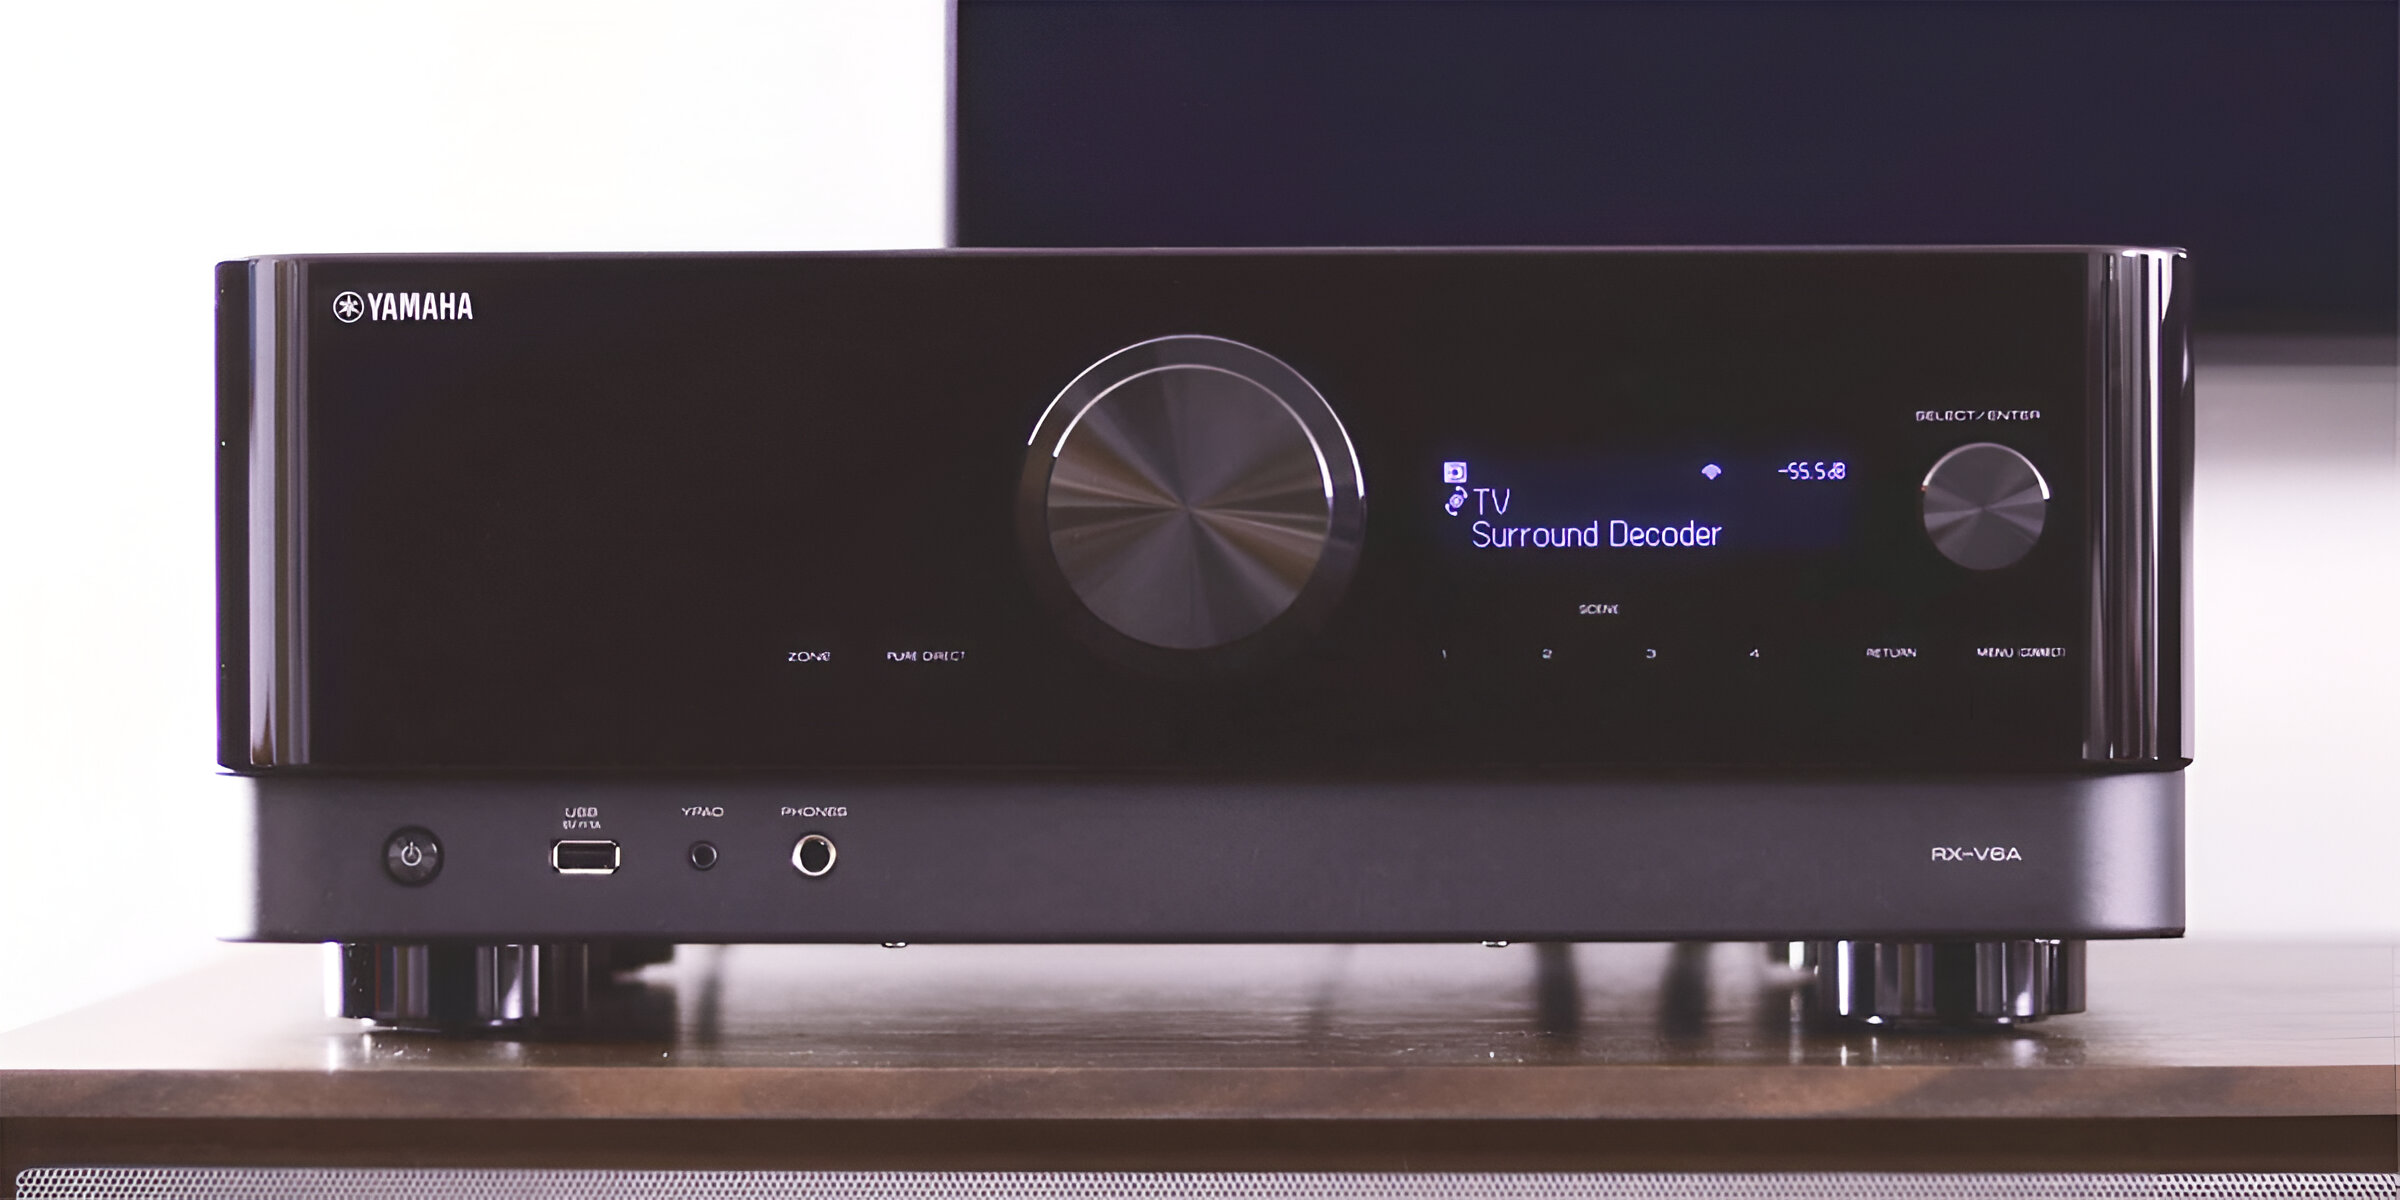
Step 5: Powering On and Initial Setup
With the physical connections in place, it’s time to power on your Yamaha Natural Sound AV Receiver and embark on the initial setup process. This pivotal step lays the groundwork for configuring the receiver’s settings, optimizing audio and video parameters, and tailoring the system to suit your specific preferences and viewing environment.
Before powering on the receiver, ensure that all connected devices, including the speakers and the TV, are also powered on and set to the appropriate input sources. This synchronization ensures that the audio and video signals flow seamlessly through the receiver, allowing for a harmonized startup sequence.
As you power on the receiver, take note of the initial prompts and on-screen displays that guide you through the setup process. You may be prompted to select the preferred language, configure the network settings if applicable, and perform a system check to verify the connected devices and their respective inputs.
During the initial setup, it’s also advisable to explore the receiver’s menu system to familiarize yourself with the available settings and customization options. This includes adjusting audio parameters such as speaker configuration, channel levels, equalization settings, and surround sound modes. Additionally, you may have the opportunity to fine-tune video settings, including display resolution, color balance, and video processing preferences.
If your receiver features advanced calibration and room optimization capabilities, such as YPAO (Yamaha Parametric Room Acoustic Optimizer), take advantage of these features to automatically analyze the acoustic characteristics of your listening environment and adjust the audio output to deliver an optimal listening experience. Follow the on-screen instructions to initiate the calibration process and ensure that the microphone used for calibration is positioned at the designated listening position.
As you navigate through the initial setup, keep an eye out for any firmware updates that may be available for the receiver. Staying current with firmware updates ensures access to the latest features, performance enhancements, and compatibility improvements. If an update is available, follow the on-screen prompts to initiate the update process and allow the receiver to install the latest firmware version.
By meticulously navigating through the initial setup and configuration process, you’re laying the foundation for a personalized and immersive home entertainment experience. The next step involves fine-tuning the audio and video settings to optimize the system’s performance and ensure that it seamlessly integrates with your viewing environment and entertainment preferences.
Step 6: Adjusting Audio and Video Settings
With the initial setup completed, it’s time to delve into the intricate process of fine-tuning the audio and video settings of your Yamaha Natural Sound AV Receiver. This crucial step allows you to tailor the system’s performance to your specific preferences, optimize audio parameters, and enhance the visual output to deliver a captivating and immersive entertainment experience.
Begin by accessing the receiver’s menu system and navigating to the audio settings. Here, you’ll have the opportunity to configure the speaker layout, adjust channel levels, and customize the equalization settings to achieve a balanced and dynamic audio output. Depending on your preferences and the characteristics of your listening environment, you can fine-tune the bass, treble, and midrange frequencies to suit your sonic preferences.
If your receiver supports advanced audio processing and surround sound modes, explore the available options to select the desired audio format that complements the content you’re enjoying. Whether it’s a Dolby Atmos-enabled movie, a concert recording, or a gaming session, the receiver’s array of surround sound modes allows you to tailor the audio presentation to suit the specific genre and source material.
For those seeking a more hands-on approach to audio optimization, consider utilizing the manual equalization settings to fine-tune the frequency response of the speakers and subwoofer. This meticulous adjustment allows you to sculpt the audio output to match the acoustic characteristics of your listening space, resulting in a more immersive and tailored listening experience.
When it comes to video settings, the receiver offers a range of options to optimize the visual output. Navigate to the video settings menu to adjust parameters such as display resolution, color balance, and video processing preferences. Depending on the capabilities of your TV or display, you may have the opportunity to enable advanced video processing features to enhance the clarity, color accuracy, and motion handling of the visual output.
If your receiver supports video upscaling and enhancement, take advantage of these features to elevate the visual presentation of standard-definition and high-definition content to near-4K quality. This advanced processing capability ensures that your viewing experience is enriched with sharper details and enhanced visual fidelity, regardless of the source material.
As you meticulously adjust the audio and video settings, take the time to audition various content types, including music, movies, and gaming, to assess the impact of your adjustments on the overall entertainment experience. By fine-tuning the audio and video parameters to your preferences, you’re ensuring that your Yamaha Natural Sound AV Receiver delivers a personalized and captivating audio-visual presentation that resonates with your unique tastes and viewing environment.
Step 7: Testing the System
With the audio and video settings finely tuned, it’s time to put your meticulously configured Yamaha Natural Sound AV Receiver to the test. This critical step involves evaluating the system’s performance across a diverse range of content, assessing its audio fidelity, surround sound immersion, and video presentation to ensure that it delivers a captivating and immersive home entertainment experience.
Begin by selecting a variety of audio content that showcases the receiver’s audio capabilities. Whether it’s your favorite music album, a high-resolution audio track, or a surround sound movie soundtrack, the goal is to evaluate the system’s ability to reproduce intricate details, dynamic range, and spatial imaging. Listen for the clarity of vocals, the precision of instrument placement, and the impact of low-frequency effects to gauge the system’s fidelity and tonal balance.
As you explore different audio genres and formats, experiment with the receiver’s surround sound modes to experience the enveloping and three-dimensional audio presentation. Whether it’s simulating the ambiance of a concert hall, the immersive effects of a blockbuster movie, or the spatial cues of a video game, the receiver’s surround sound processing capabilities allow you to tailor the audio experience to suit the content and your personal preferences.
When evaluating the video performance, select a range of visual content that spans different resolutions, color palettes, and motion characteristics. This includes high-definition movies, streaming content, and gaming visuals. Assess the clarity of details, the richness of colors, and the fluidity of motion to gauge the system’s ability to deliver a visually captivating experience that complements the audio immersion.
During the testing phase, pay attention to the system’s ability to seamlessly switch between audio and video sources, navigate on-screen menus, and respond to control commands. This ensures that the receiver’s integration with your entertainment setup is seamless and intuitive, allowing for effortless access to a diverse range of content without compromising on performance or convenience.
As you immerse yourself in the captivating audio-visual experience facilitated by your Yamaha Natural Sound AV Receiver, take note of any refinements or adjustments that may further enhance the system’s performance. Whether it’s fine-tuning the audio settings for specific content types or exploring additional video processing features, the testing phase serves as an opportunity to tailor the system to your evolving entertainment preferences.
By meticulously testing the system across various content types and genres, you’re affirming the culmination of your efforts in setting up and configuring the Yamaha AV Receiver. The comprehensive evaluation ensures that the system delivers a personalized and captivating entertainment experience that resonates with your unique tastes and elevates your home entertainment to new heights.