Introduction
Are you eager to experience the immersive sound quality of your Yamaha AV receiver while enjoying your favorite shows and movies through your AT&T box? Connecting these two devices is a straightforward process that can significantly enhance your home entertainment setup. By following a few simple steps, you can unlock the full potential of your audio-visual experience.
In this guide, we will walk you through the process of connecting your AT&T box to your Yamaha AV receiver to ensure that the sound from your AT&T box is seamlessly channeled through your high-quality speakers. Whether you are a tech enthusiast or a casual user, this step-by-step tutorial will equip you with the knowledge and confidence to complete the setup with ease.
By the end of this guide, you will have a clear understanding of how to establish a seamless connection between your AT&T box and Yamaha AV receiver, allowing you to revel in the captivating audio output that your home theater system is capable of delivering.
Let's dive into the process of connecting your AT&T box to your Yamaha AV receiver and unlock the full potential of your home entertainment system.
Step 1: Gather Necessary Cables and Equipment
Before embarking on the process of connecting your AT&T box to your Yamaha AV receiver, it is essential to ensure that you have all the necessary cables and equipment at your disposal. By gathering these items beforehand, you can streamline the setup process and minimize any potential interruptions.
To begin, you will need the following cables and equipment:
- HDMI Cable: This cable will serve as the primary connection between your AT&T box and Yamaha AV receiver, facilitating the transfer of both audio and video signals.
- Power Cables: Ensure that both your AT&T box and Yamaha AV receiver are connected to power sources, and have the respective power cables readily available.
- Remote Control: Have the remote controls for both devices on hand, as you may need to access certain settings during the setup process.
- User Manuals: Keep the user manuals for your AT&T box and Yamaha AV receiver within reach, as they can provide valuable guidance in case of any uncertainties.
By having these cables and equipment prepared, you can proceed with confidence, knowing that you have everything necessary to establish a seamless connection between your AT&T box and Yamaha AV receiver.
Now that you have gathered the essential cables and equipment, you are ready to move on to the next step: connecting the AT&T box to the Yamaha AV receiver.
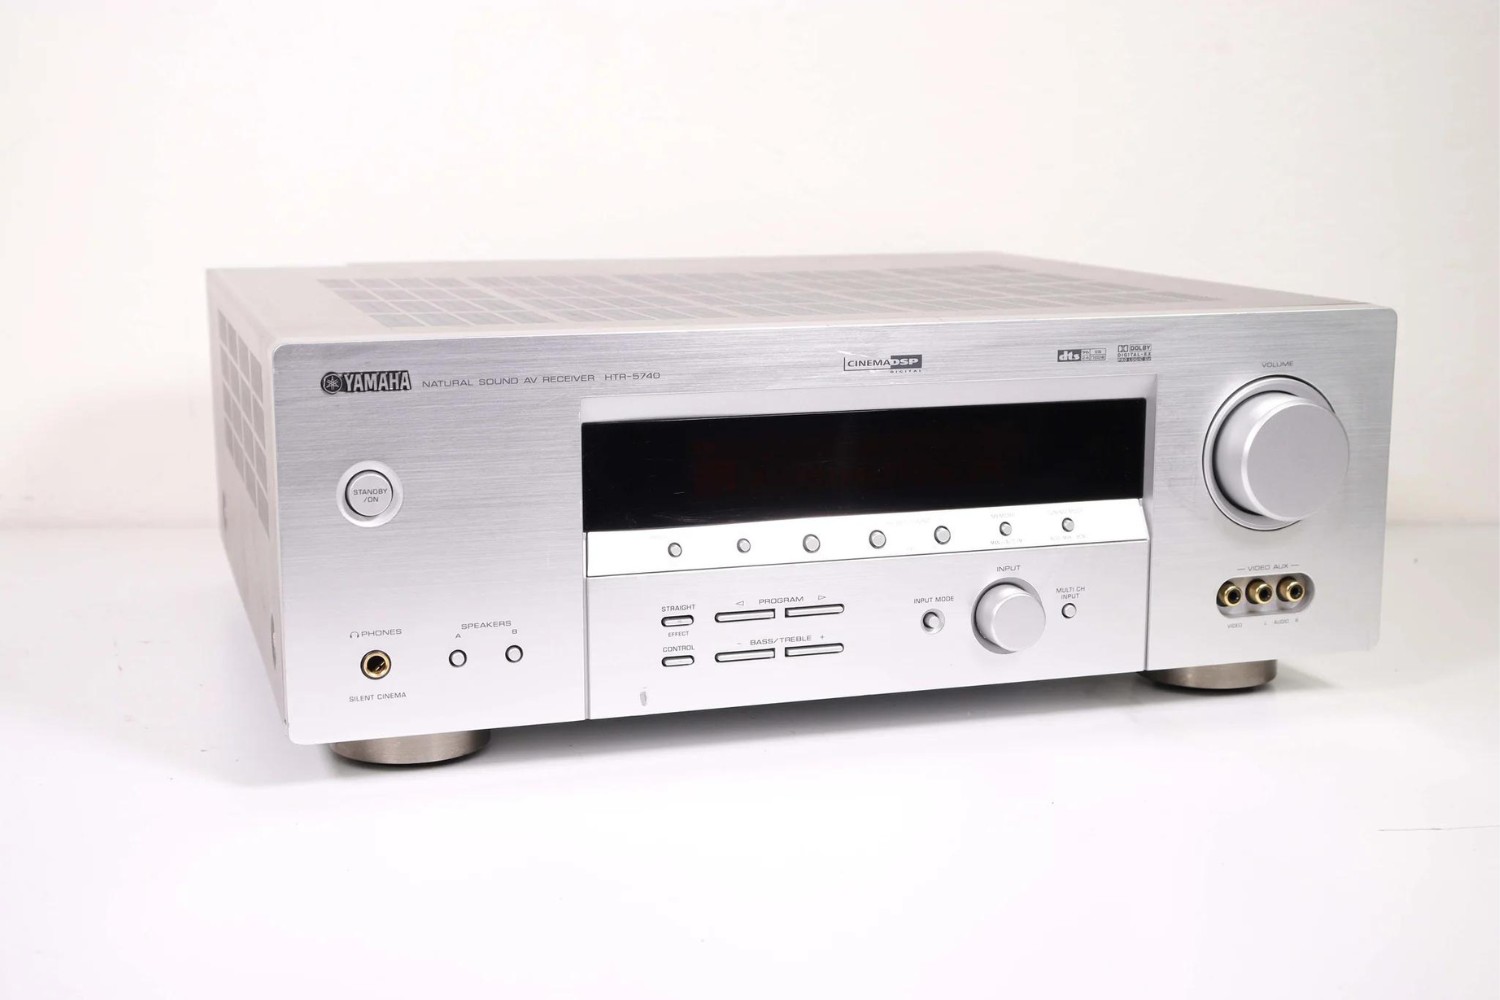
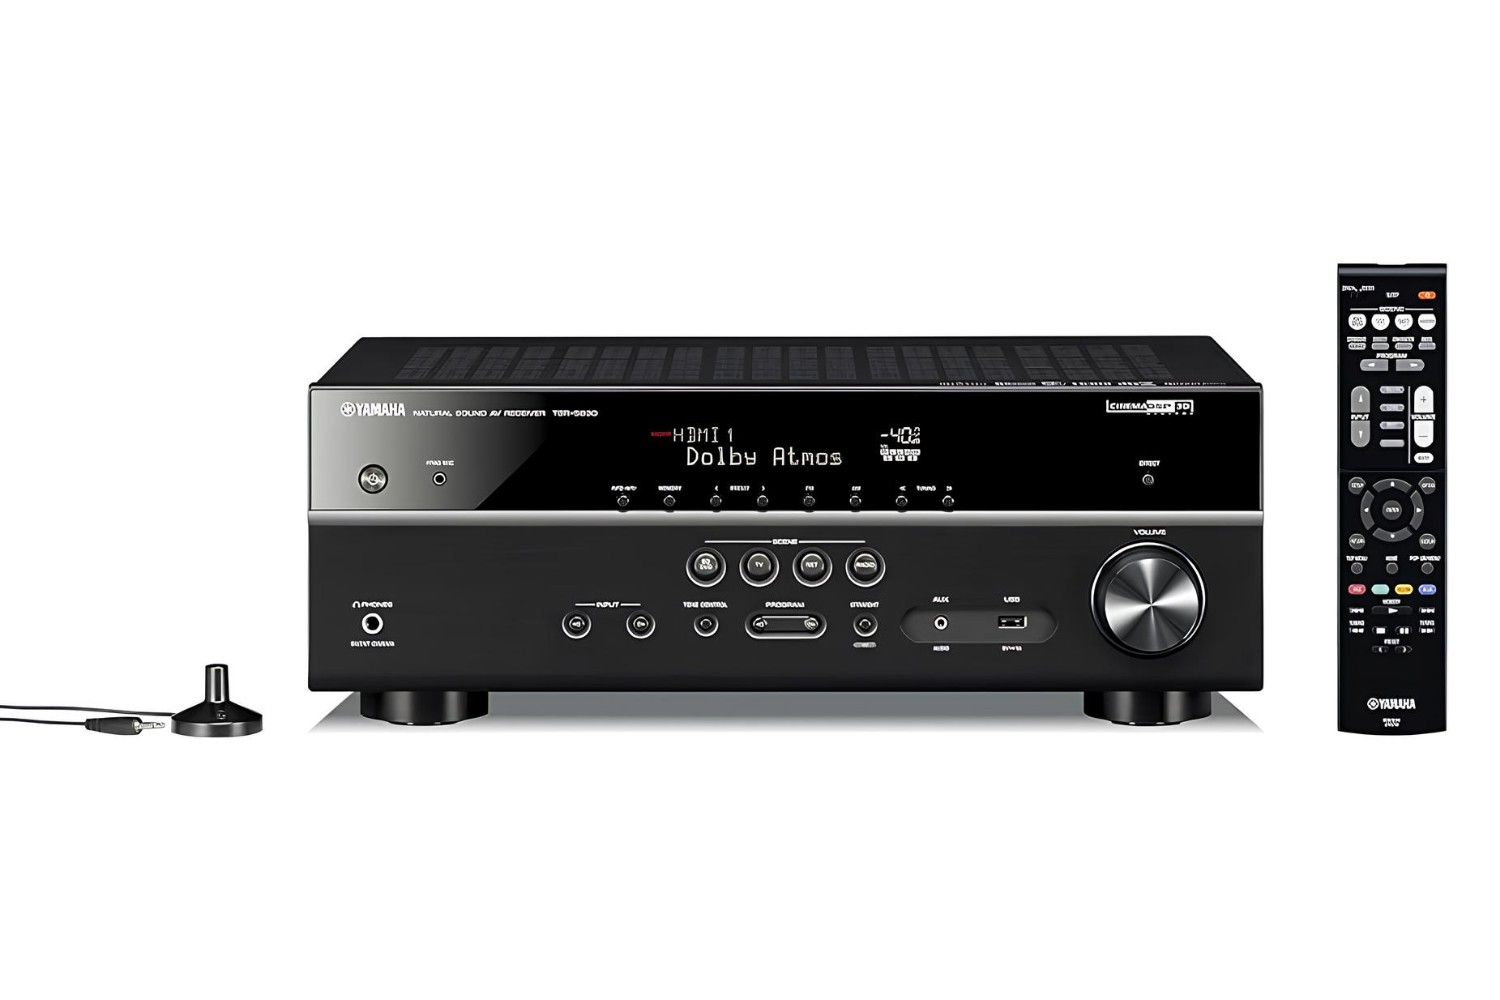
Step 2: Connect the AT&T Box to the Yamaha AV Receiver
Now that you have assembled the necessary cables and equipment, it’s time to proceed with connecting your AT&T box to your Yamaha AV receiver. Follow these steps to establish a seamless audio-visual connection between the two devices:
- Locate the HDMI Ports: Identify the HDMI output port on your AT&T box and the HDMI input port on your Yamaha AV receiver. These ports are typically labeled for easy identification.
- Connect the HDMI Cable: Take the HDMI cable and insert one end into the HDMI output port on your AT&T box and the other end into the HDMI input port on your Yamaha AV receiver. Ensure a secure connection to prevent signal loss.
- Power On the Devices: Power on both the AT&T box and the Yamaha AV receiver. Allow the devices to initialize and recognize the newly established HDMI connection.
- Select the Input Source: On your Yamaha AV receiver, use the remote control or front panel interface to select the input source corresponding to the HDMI port to which the AT&T box is connected. This will ensure that the receiver is ready to receive signals from the AT&T box.
- Verify the Connection: Once the input source is selected, verify that the AT&T box’s output is successfully displayed on your TV or monitor, indicating that the connection to the Yamaha AV receiver has been established correctly.
By following these steps, you can effectively connect your AT&T box to your Yamaha AV receiver, enabling the seamless transmission of audio and video signals between the two devices. With this connection in place, you are now ready to configure the settings on your Yamaha AV receiver to optimize the audio output from your AT&T box.
Next, we will delve into the process of configuring the settings on your Yamaha AV receiver to ensure an enhanced audio-visual experience.
Step 3: Configure the Yamaha AV Receiver Settings
With the AT&T box successfully connected to your Yamaha AV receiver, it’s time to optimize the audio settings to ensure a rich and immersive sound experience. Follow these steps to configure the settings on your Yamaha AV receiver:
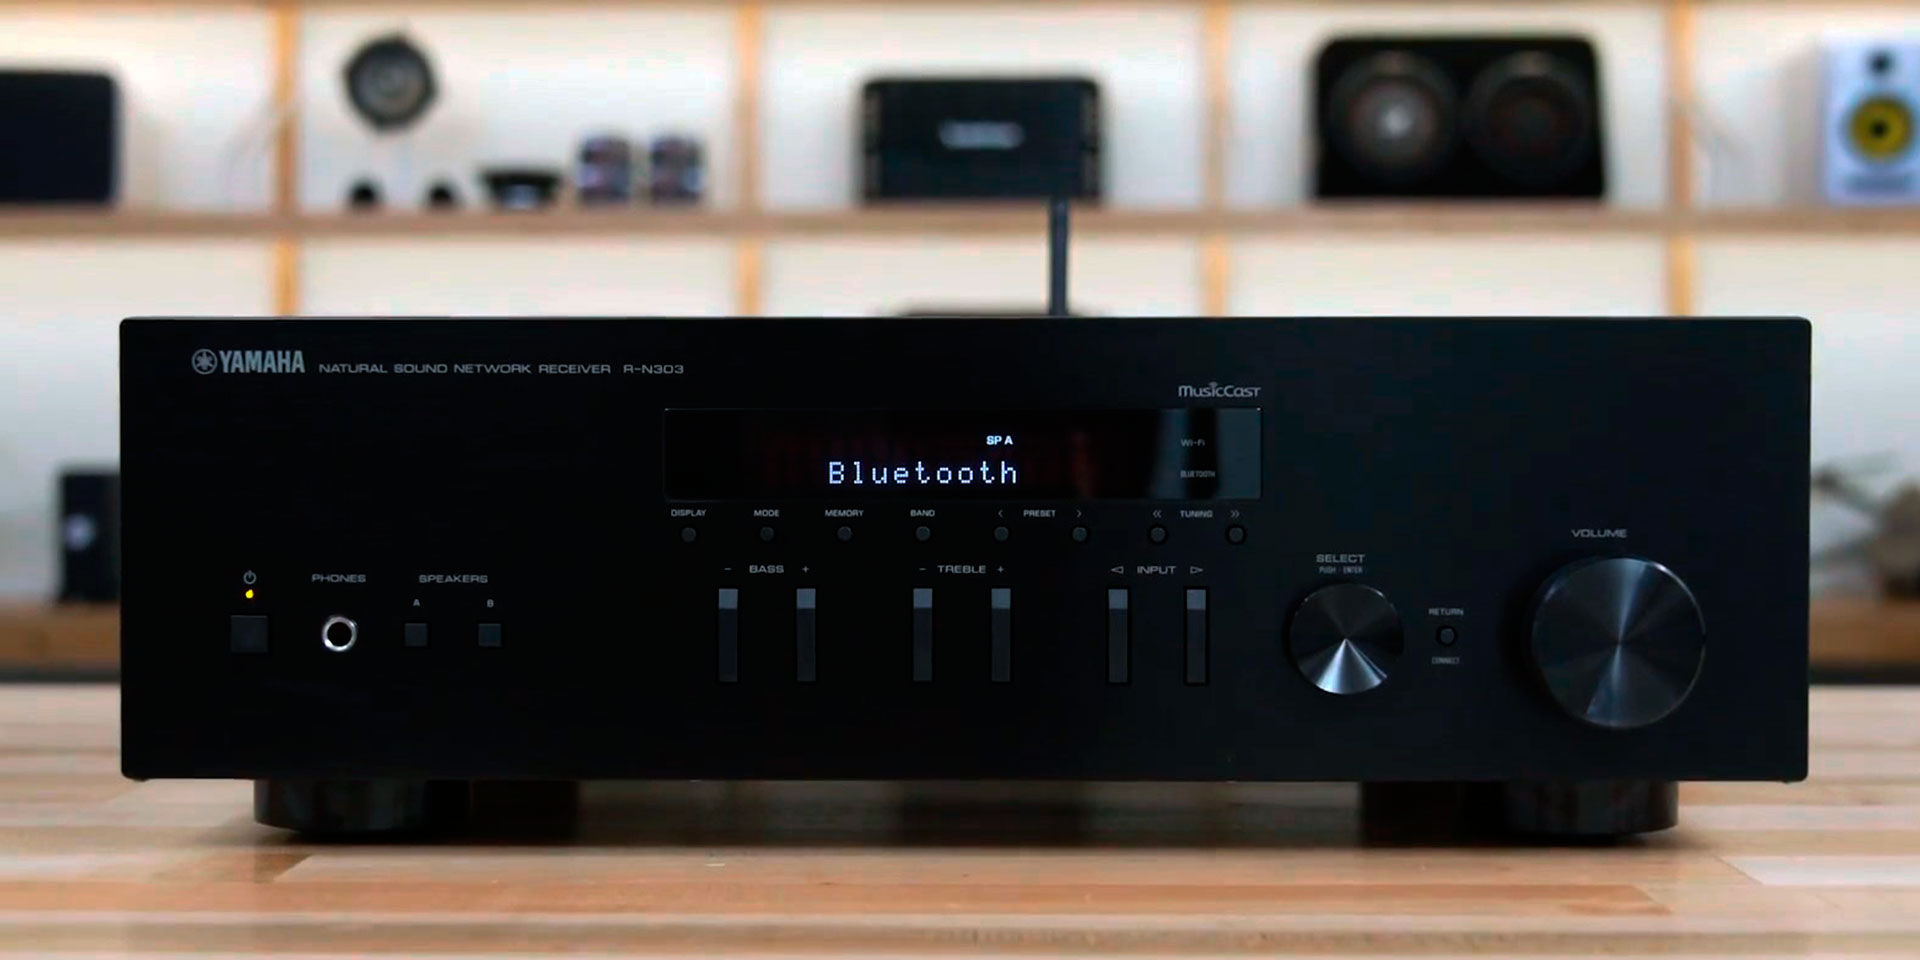
- Access the Receiver’s Menu: Using the remote control or front panel interface, access the menu of your Yamaha AV receiver. Navigate to the audio settings section to begin customizing the sound output.
- Select the Input Source: Within the audio settings menu, select the input source corresponding to the HDMI port to which your AT&T box is connected. This ensures that the receiver’s audio processing is tailored to the signals received from the AT&T box.
- Adjust Sound Modes: Explore the available sound modes on your Yamaha AV receiver and choose the one that best suits your preferences. Options such as “Movie,” “Music,” or “Gaming” may be available, each offering distinct audio enhancements tailored to different types of content.
- Customize Equalizer Settings: Fine-tune the equalizer settings to adjust the audio frequencies according to your personal preferences. You can emphasize bass, enhance treble, or create a custom sound profile to suit your specific audio requirements.
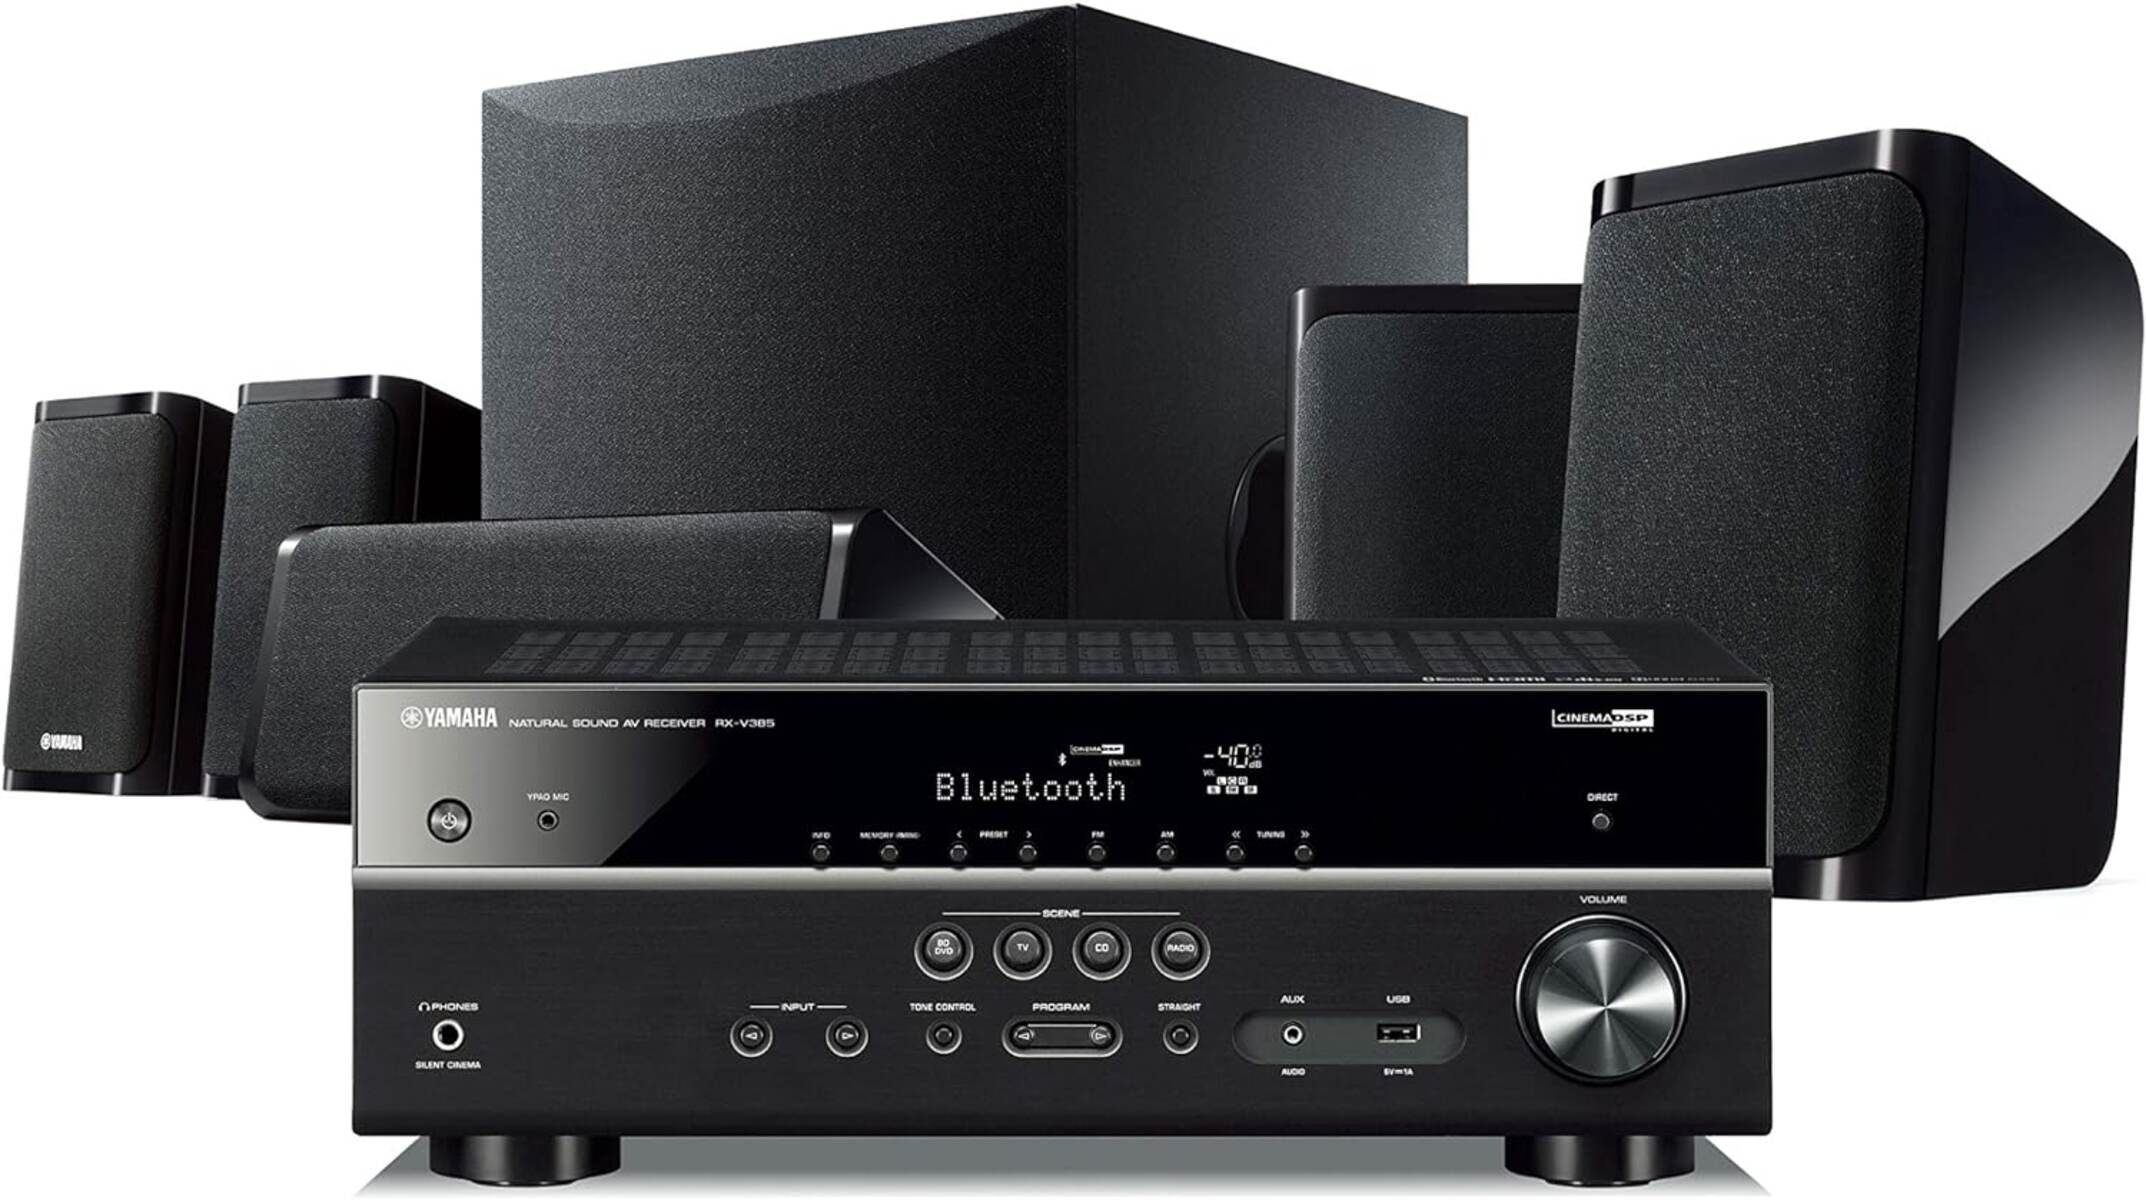
- Enable Surround Sound Features: If your Yamaha AV receiver supports surround sound technologies such as Dolby Atmos or DTS:X, ensure that these features are enabled to unlock a truly immersive audio experience, enveloping you in a three-dimensional soundstage.
- Save the Settings: Once you have customized the audio settings to your satisfaction, save the changes within the receiver’s menu to apply the optimized sound configuration for the connected AT&T box.
By following these steps, you can tailor the audio output from your AT&T box to match your preferences and take full advantage of the capabilities offered by your Yamaha AV receiver. With the settings configured, you are now ready to test the connection and ensure that the audio is seamlessly channeled through your speakers.
Next, we will explore the process of testing the connection and troubleshooting any potential issues that may arise.
Step 4: Test the Connection and Troubleshoot Any Issues
After connecting your AT&T box to your Yamaha AV receiver and configuring the audio settings, it’s crucial to test the connection to ensure that the sound is being accurately transmitted from the AT&T box to the speakers. Follow these steps to test the connection and troubleshoot any potential issues:
- Play Audio Content: Select a piece of audio or video content on your AT&T box, such as a movie, TV show, or music track, and play it through your connected setup to assess the audio output.
- Verify Sound Output: Listen for the audio output from your speakers to confirm that the sound is being transmitted from the AT&T box through the Yamaha AV receiver. Ensure that the audio is clear, balanced, and synchronized with the visual content.
- Check Surround Sound Features: If your Yamaha AV receiver supports surround sound technologies, verify that the surround sound features are functioning as expected, creating an immersive audio environment that enhances your viewing or listening experience.
- Address Audio Delays or Distortions: If you encounter any audio delays or distortions, revisit the audio settings on your Yamaha AV receiver to fine-tune the configurations. Adjust the equalizer, sound modes, or surround sound features to rectify any issues and optimize the audio output.
- Inspect Cable Connections: Ensure that the HDMI cable connecting the AT&T box to the Yamaha AV receiver is securely plugged in and that there are no physical damages to the cable that may impede the transmission of audio signals.
- Consult User Manuals: If persistent issues arise, refer to the user manuals of your AT&T box and Yamaha AV receiver for troubleshooting guidance. The manuals may contain specific troubleshooting steps tailored to the devices’ functionalities.
By conducting these tests and addressing any potential issues that may arise, you can ensure that the connection between your AT&T box and Yamaha AV receiver is functioning optimally, delivering high-quality audio output that complements your home entertainment experience.
With the connection tested and any issues resolved, you can now fully enjoy the immersive sound experience facilitated by your connected AT&T box and Yamaha AV receiver.
Conclusion
Congratulations! You have successfully connected your AT&T box to your Yamaha AV receiver, unlocking the full potential of your home entertainment system. By following the step-by-step process outlined in this guide, you have seamlessly integrated your AT&T box with your high-quality speakers, allowing for an immersive audio-visual experience.
Through the meticulous gathering of necessary cables and equipment, the precise connection of devices, the optimization of audio settings, and the thorough testing of the setup, you have ensured that the sound from your AT&T box is flawlessly transmitted through your Yamaha AV receiver, enriching your viewing and listening pleasure.
As you revel in the captivating audio output and seamless integration of your devices, you can now immerse yourself in your favorite movies, TV shows, and music with enhanced sound quality that elevates your overall entertainment experience.
Remember, should you encounter any challenges in the future, the user manuals for your AT&T box and Yamaha AV receiver are valuable resources for troubleshooting and guidance. Additionally, staying informed about the latest firmware updates and technical support from the manufacturers can further enhance your setup and resolve any potential issues.
With your AT&T box and Yamaha AV receiver working in harmony, you are poised to enjoy a heightened audio-visual journey, enriching your home entertainment endeavors with unparalleled sound fidelity and immersive experiences.
Now, sit back, relax, and indulge in the captivating audio output that your meticulously connected AT&T box and Yamaha AV receiver have to offer.