Introduction
Welcome to the world of immersive audio and stunning visual experience with the Yamaha AV receiver. Setting up your Yamaha AV receiver may seem like a daunting task at first, but with the right guidance, you can easily transform your living room into a home theater paradise. Whether you're a seasoned audiophile or a novice enthusiast, this step-by-step guide will walk you through the process of setting up your Yamaha AV receiver, connecting it to your speakers and TV, and optimizing the audio and video settings to unlock its full potential.
The Yamaha AV receiver is a powerhouse of technology, designed to deliver exceptional audio and video performance. With features like Dolby Atmos, DTS:X, 4K Ultra HD, and wireless streaming capabilities, your Yamaha AV receiver is poised to revolutionize your home entertainment experience. This guide will take you through the unboxing and inspection process, connecting the AV receiver to your speakers and TV, configuring the audio settings, calibrating the speakers for optimal sound, and setting up network and streaming features.
Whether you're a movie buff, a music lover, or a gaming enthusiast, the Yamaha AV receiver offers versatility and performance that cater to all your entertainment needs. By the end of this guide, you'll be ready to unleash the full potential of your Yamaha AV receiver and elevate your home entertainment to new heights. So, let's dive in and embark on this exciting journey of setting up your Yamaha AV receiver for an unparalleled audio-visual experience.
Unboxing and Inspection
Unboxing your new Yamaha AV receiver is an exciting first step towards creating your home theater setup. Upon receiving the package, carefully inspect the exterior for any signs of damage during transit. Once you ensure the package is intact, it’s time to unbox the contents and marvel at the sleek design and robust build of your Yamaha AV receiver.
As you lift the lid, you’ll be greeted by the main unit of the AV receiver, meticulously encased to prevent any damage. Take a moment to appreciate the craftsmanship and attention to detail that Yamaha is renowned for. Alongside the main unit, you’ll find essential accessories such as the remote control, batteries, setup microphone, FM antenna, AM loop antenna, and the user manual. Each component is designed to complement the AV receiver and streamline the setup process.
Inspect the rear panel of the AV receiver to familiarize yourself with the array of input and output ports. These include HDMI inputs and outputs, audio inputs, speaker terminals, and network connections. The layout is designed for convenience and functionality, ensuring seamless integration with your existing audio-visual equipment.
Before proceeding with the setup, it’s crucial to ensure that all the components are included and in pristine condition. Carefully inspect the accessories and cables to verify their integrity. Any discrepancies should be promptly addressed with the retailer to guarantee a smooth setup process.
Unboxing and inspecting your Yamaha AV receiver sets the stage for the subsequent steps in the setup process. The attention to detail during this phase ensures that you begin your home theater journey with confidence and excitement, knowing that you have a top-notch AV receiver at your disposal.
Connecting the AV Receiver
Once you’ve unboxed and inspected your Yamaha AV receiver, it’s time to embark on the pivotal step of connecting it to your existing audio-visual setup. The seamless integration of the AV receiver with your speakers, TV, and other devices is essential for unlocking its full potential.
Begin by identifying a suitable location for the AV receiver. Opt for a well-ventilated area with ample space to accommodate the unit and allow for proper airflow to prevent overheating. Ensure that the location provides easy access to the rear panel for effortless cable connections.
Next, gather the necessary cables to establish the connections. HDMI cables are indispensable for linking your TV, gaming consoles, Blu-ray players, and other media devices to the AV receiver. Additionally, prepare the speaker cables for connecting the speakers to the AV receiver. It’s advisable to use high-quality cables to minimize signal loss and ensure optimal audio and video transmission.
With the cables at the ready, carefully connect the HDMI cables from your media devices to the corresponding HDMI inputs on the AV receiver. The HDMI output of the AV receiver is then connected to the HDMI input on your TV, creating a seamless audio-visual link between all your devices.
As for the speaker connections, match the polarity of each speaker wire with the corresponding terminals on the AV receiver, ensuring a secure and snug fit to prevent any signal interference. Take note of the designated speaker channels on the AV receiver, such as front, center, surround, and height channels for Dolby Atmos setups, and connect the speakers accordingly.
Once all the connections are in place, perform a thorough check to ensure everything is securely linked. This stage is crucial in laying the foundation for the immersive audio and visual experience that your Yamaha AV receiver is poised to deliver. With the AV receiver seamlessly integrated into your entertainment setup, you’re one step closer to transforming your living space into a captivating home theater environment.
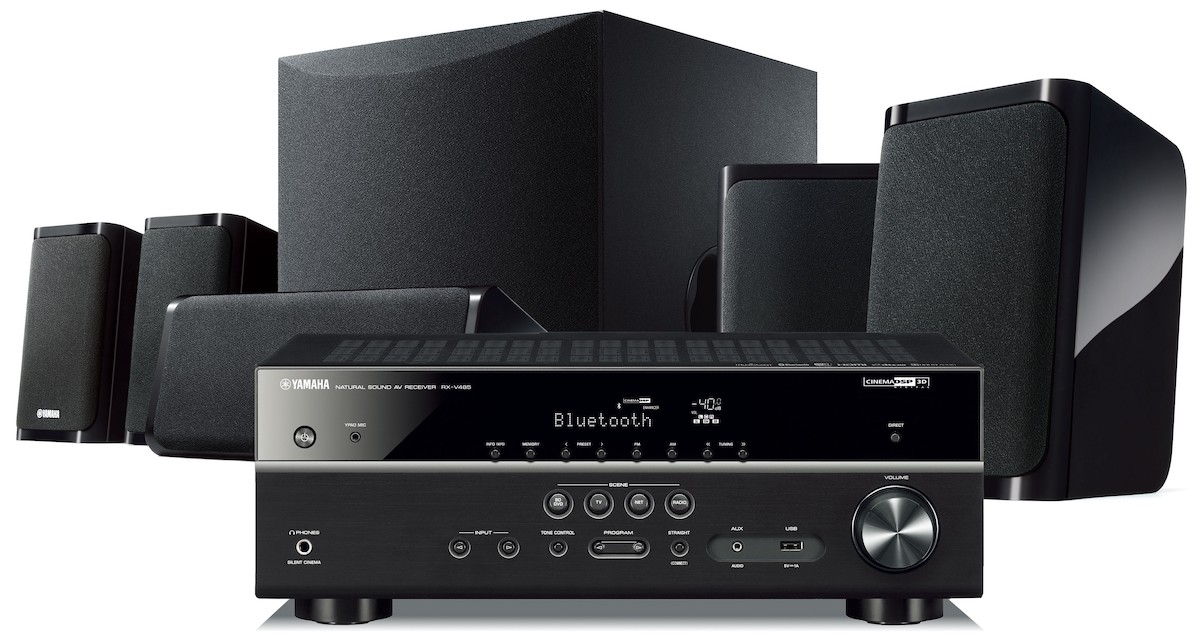
Setting Up the Speakers
Setting up the speakers is a critical aspect of maximizing the audio performance of your Yamaha AV receiver. Whether you have a 5.1, 7.1, or Dolby Atmos speaker configuration, proper placement and calibration are essential for an immersive and balanced soundstage.
First, identify the optimal placement for each speaker in your setup. The front speakers should ideally be positioned at ear level, forming an equidistant triangle with the primary seating area. The center speaker, responsible for dialogue and vocals, should be placed above or below the TV, ensuring clear and intelligible sound reproduction.
For surround speakers in a 5.1 or 7.1 setup, position them to the sides or slightly behind the primary seating area, creating enveloping sound effects. In a Dolby Atmos setup, additional height speakers or upward-firing modules should be installed to deliver three-dimensional audio immersion. Adhering to these placement guidelines ensures that the speakers work in harmony to deliver a captivating audio experience.
Once the physical placement is finalized, it’s time to fine-tune the speaker settings on the Yamaha AV receiver. Access the receiver’s setup menu and navigate to the speaker configuration section. Here, you can specify the size, distance, and crossover frequency for each speaker to optimize their performance in relation to the room acoustics and your listening preferences.
Utilize the included setup microphone, often provided with the AV receiver, to perform an automated calibration process. Place the microphone at the primary listening position and initiate the auto-calibration feature on the receiver. This process analyzes the acoustic characteristics of the room and adjusts the speaker settings accordingly, ensuring a balanced soundstage tailored to your specific environment.
By meticulously setting up your speakers and leveraging the advanced calibration features of the Yamaha AV receiver, you pave the way for an immersive audio experience that transports you into the heart of the action, whether you’re watching movies, gaming, or enjoying your favorite music.
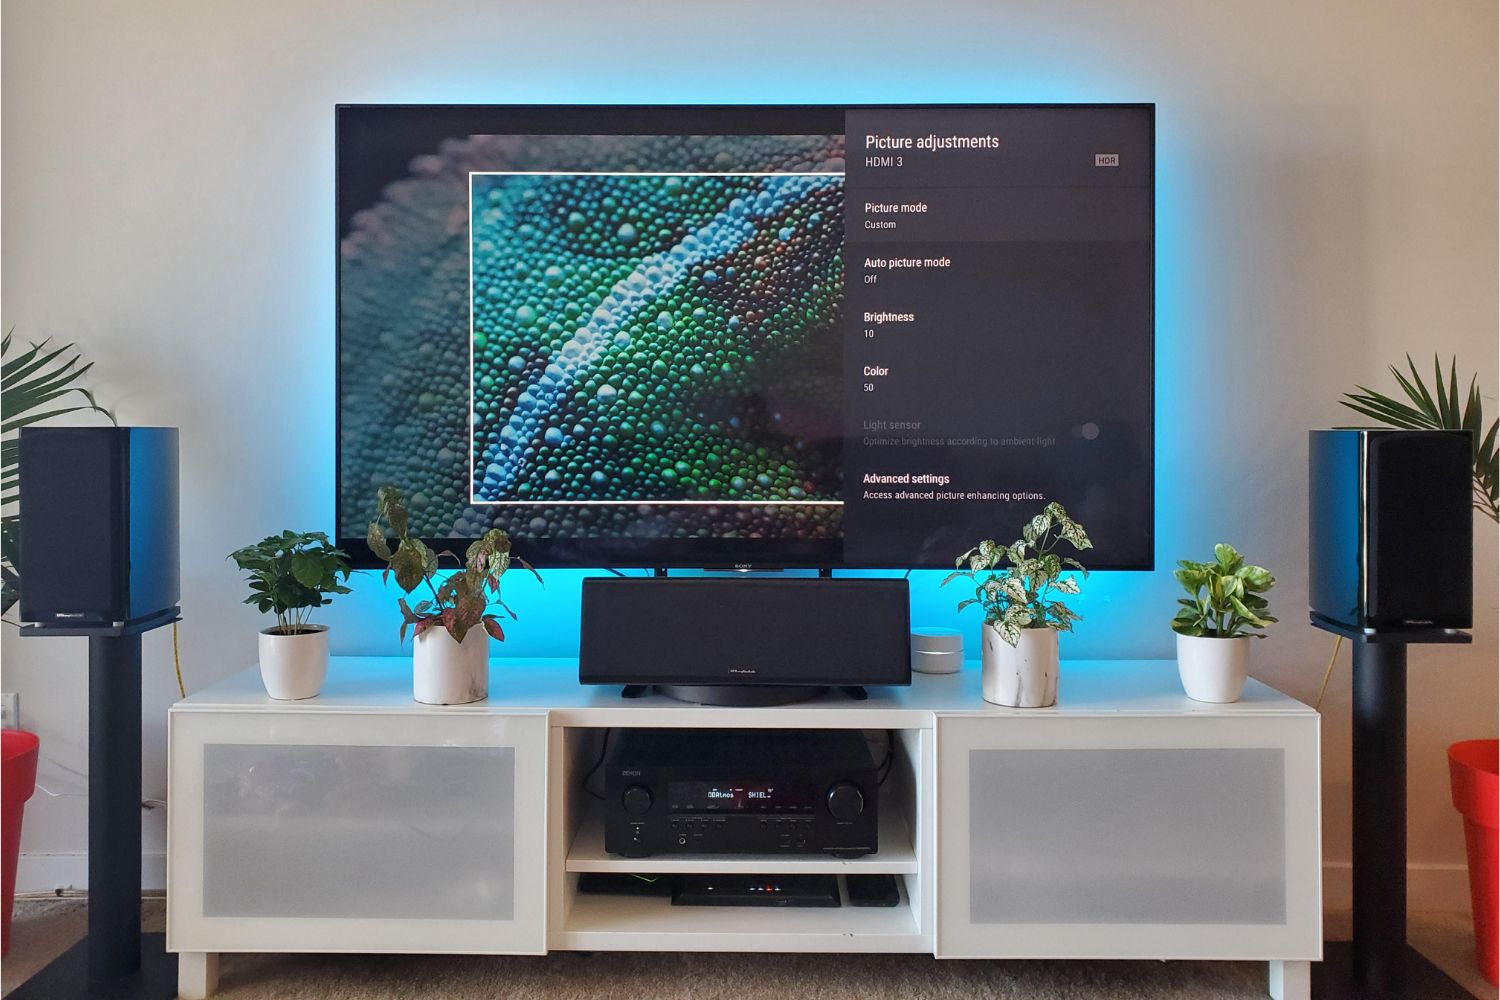
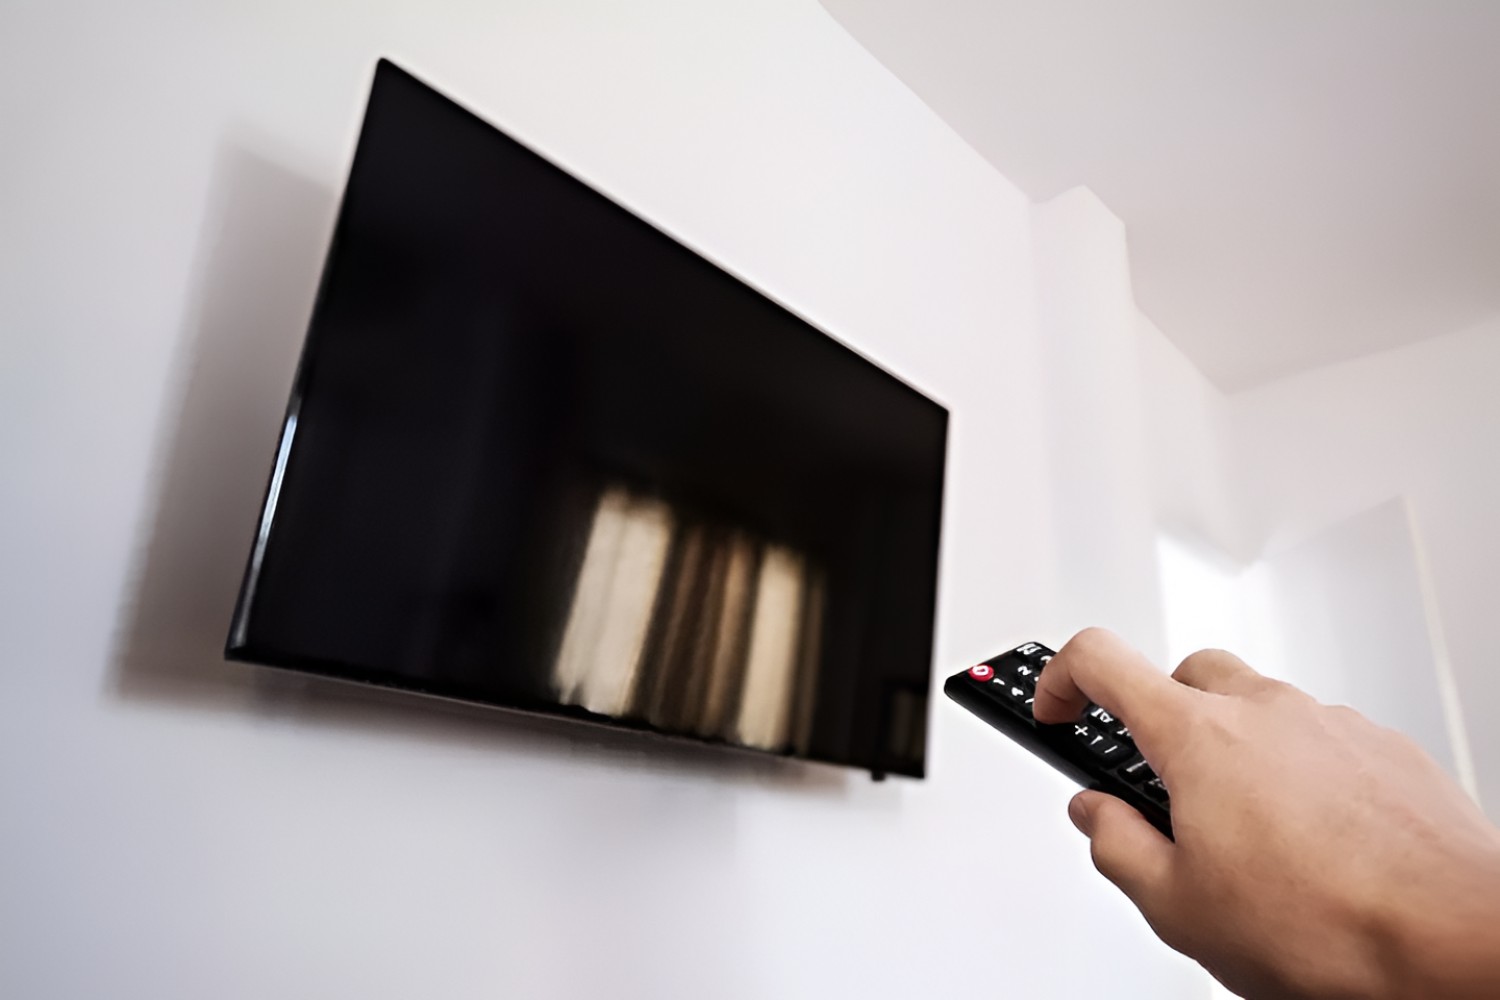
Connecting to the TV and Other Devices
Connecting your Yamaha AV receiver to the TV and other media devices is a pivotal step in creating a cohesive and integrated home entertainment system. By establishing seamless audio-visual connections, you can unlock the full potential of your AV receiver and enjoy a captivating multimedia experience.
Begin by identifying the available input and output ports on your TV. Most modern TVs feature multiple HDMI inputs, which serve as the primary interface for connecting external devices. Locate an available HDMI input on your TV and connect the HDMI output of the AV receiver to this input, ensuring a secure and snug connection to facilitate audio and video transmission.
For media devices such as gaming consoles, Blu-ray players, and streaming devices, connect their respective HDMI outputs to the HDMI inputs on the AV receiver. This centralized connection hub allows the AV receiver to serve as the primary conduit for audio and video signals, streamlining the overall setup and enhancing convenience.
Furthermore, if you have legacy devices that rely on analog connections, the AV receiver offers a range of audio and video input options, including composite and component inputs, accommodating a diverse array of devices without compromising on audio-visual quality.
With the physical connections established, configure the input settings on the AV receiver to correspond to each connected device. This ensures that the audio and video signals are routed accurately, allowing for seamless switching between different sources without the hassle of manually reconfiguring the connections each time.
Once the connections are in place, power on the AV receiver and the connected devices, and select the corresponding input on the TV to verify that the audio and video signals are successfully transmitted through the AV receiver. This pivotal step ensures that all your media devices are harmoniously integrated, ready to deliver an immersive and captivating audio-visual experience.
By meticulously connecting your Yamaha AV receiver to the TV and other media devices, you establish a unified entertainment ecosystem that seamlessly integrates all your audio-visual sources, setting the stage for an unparalleled home theater experience.
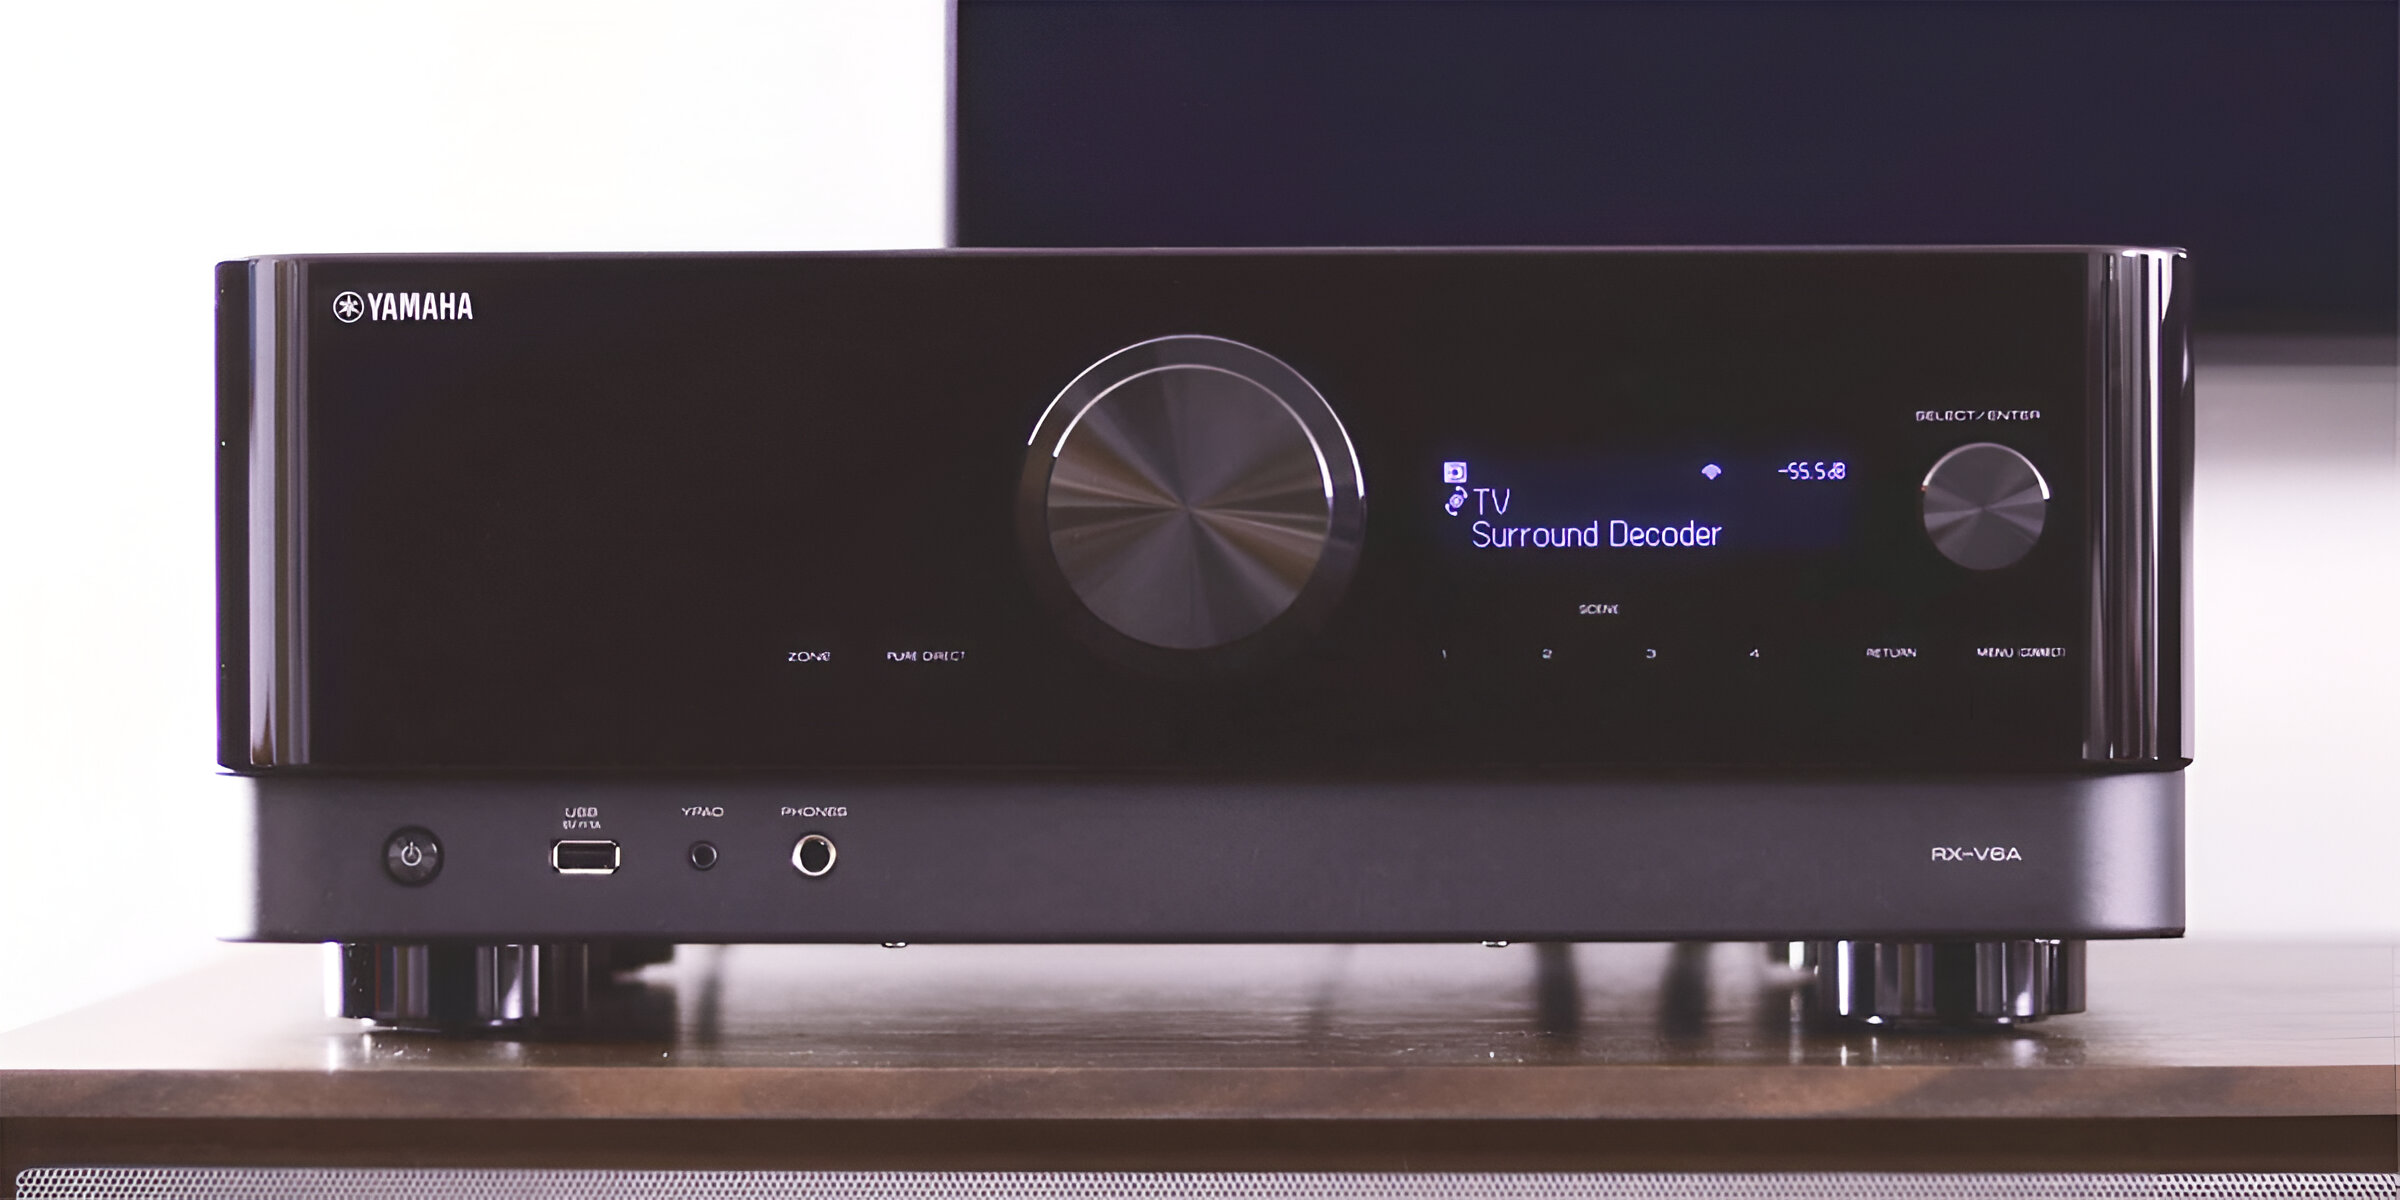
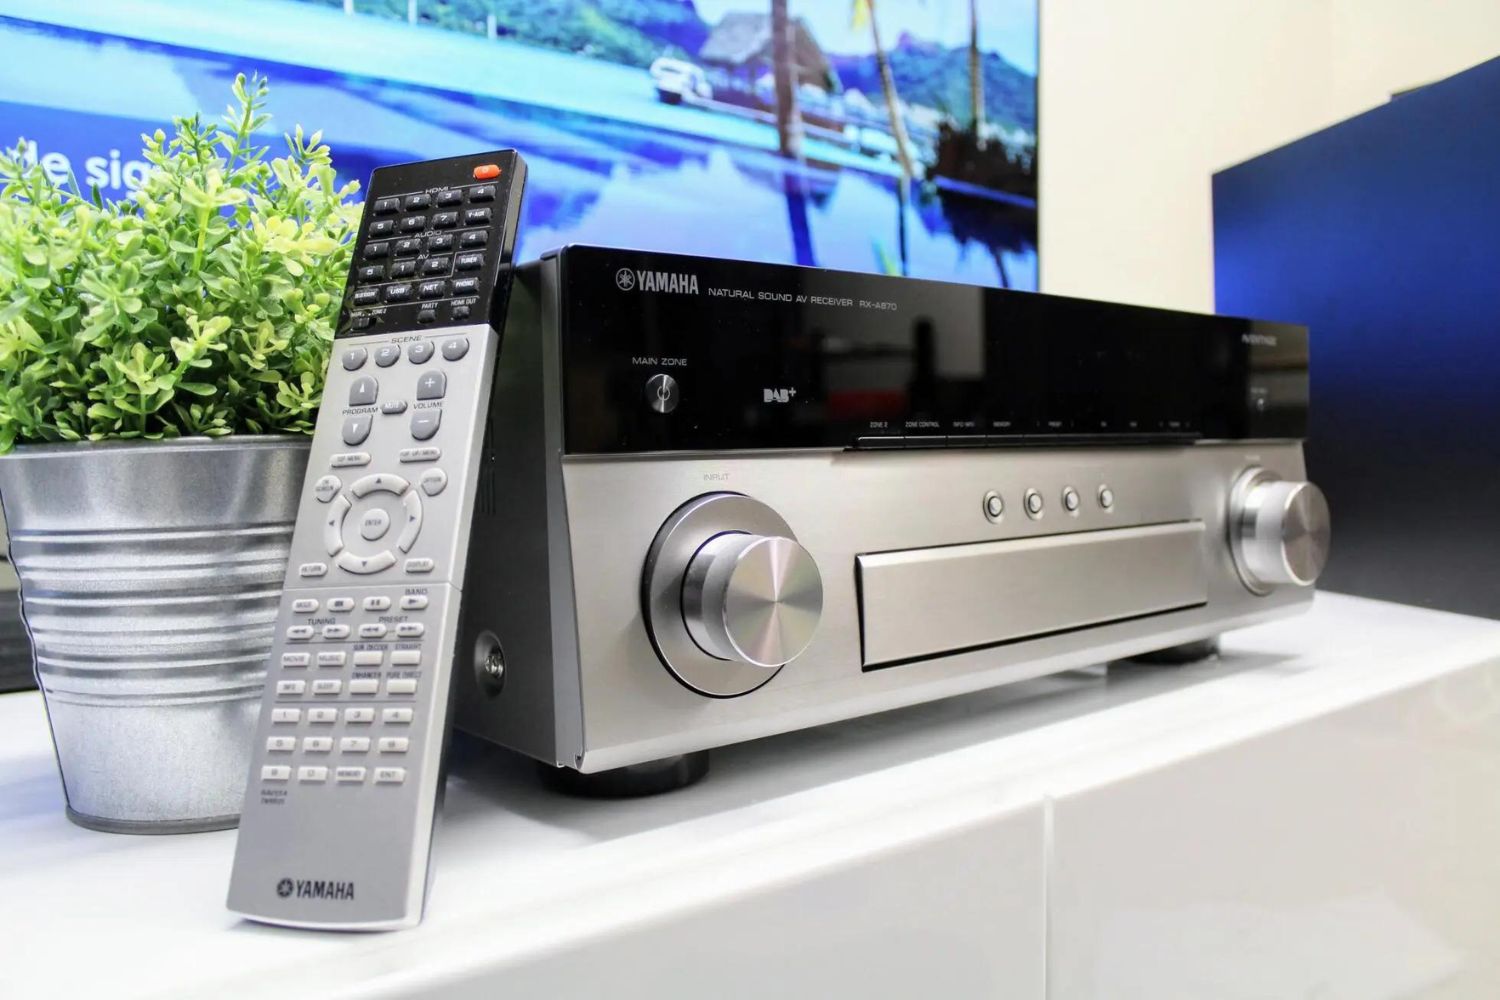
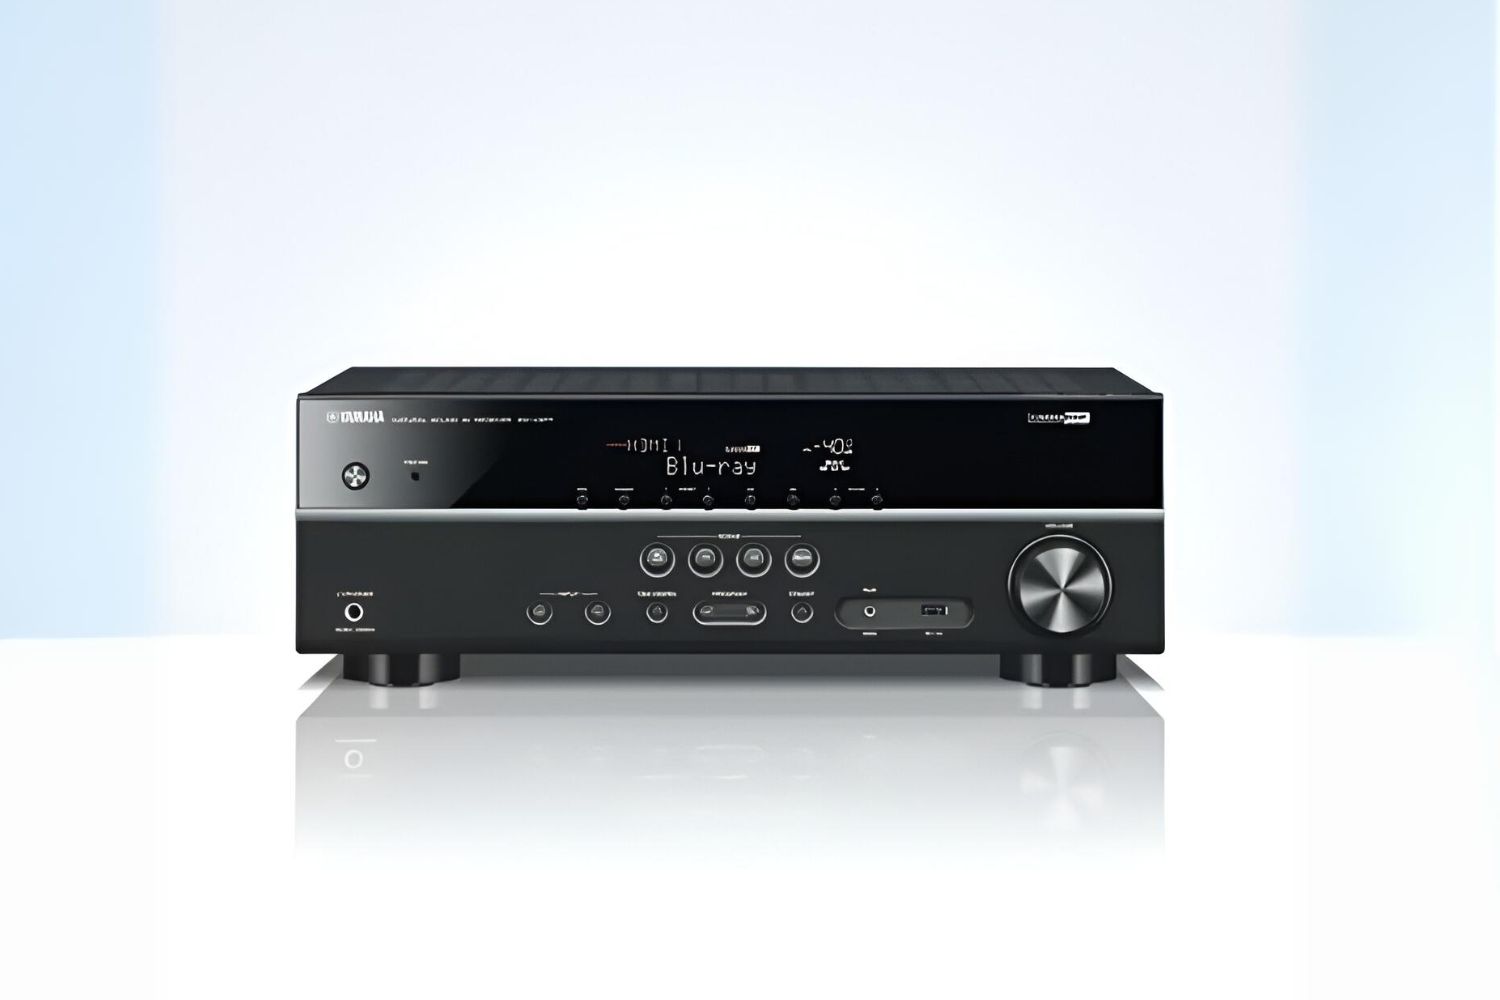
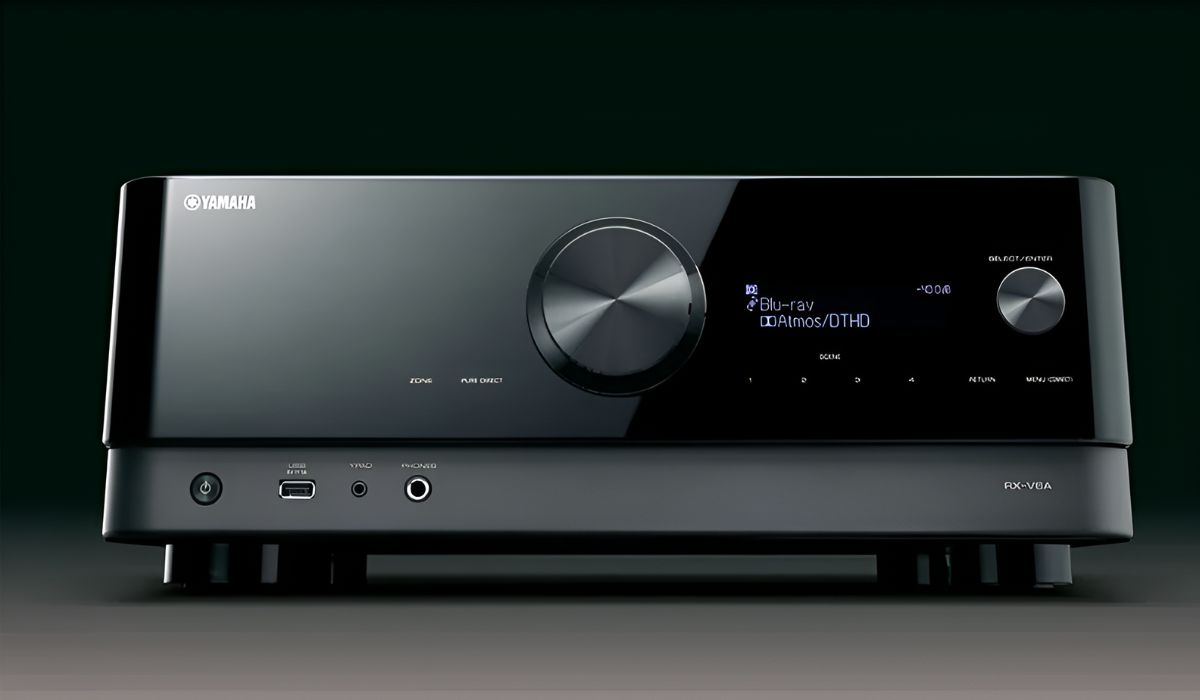
Powering On and Initial Setup
After successfully connecting your Yamaha AV receiver to the TV and other media devices, it’s time to power on the unit and proceed with the initial setup. This pivotal stage lays the foundation for configuring essential settings and ensuring that the AV receiver operates optimally within your home entertainment environment.
Begin by plugging in the power cord of the AV receiver and connecting it to a reliable power source. Upon powering on the unit, you’ll be greeted by the intuitive on-screen display or the front panel display, depending on the model. This marks the commencement of the initial setup process, guiding you through essential configurations to tailor the AV receiver to your preferences.
As you navigate through the initial setup menu, you’ll have the opportunity to specify crucial settings such as language preferences, network connectivity, and display options. Ensure that the AV receiver is connected to your home network to unlock a myriad of streaming and content access features, allowing you to seamlessly enjoy music, movies, and online content.
Furthermore, the initial setup phase provides an opportunity to configure the HDMI settings, including video resolution, audio format compatibility, and HDMI control options. These settings ensure that the AV receiver seamlessly integrates with your TV and other connected devices, facilitating effortless control and optimal audio-visual performance.
During this phase, you may also have the opportunity to update the firmware of the AV receiver to access the latest features and performance enhancements. Keeping the firmware up to date ensures that your AV receiver remains at the forefront of technological advancements, delivering an enriched entertainment experience with each update.
As you progress through the initial setup, take the time to familiarize yourself with the on-screen display and the remote control, acquainting yourself with the intuitive navigation and control features that empower you to customize the AV receiver to your preferences effortlessly.
By meticulously powering on the AV receiver and navigating through the initial setup process, you lay the groundwork for a personalized and optimized home entertainment system, setting the stage for an immersive audio-visual journey that caters to your unique preferences and elevates your viewing and listening experiences.
Configuring the Audio Settings
Configuring the audio settings on your Yamaha AV receiver is a crucial step in tailoring the sound output to your specific preferences and optimizing the performance of your home theater system. By delving into the audio settings, you can unleash the full potential of the AV receiver and customize the sound to suit various media types and listening environments.
Access the audio settings menu on the AV receiver, where you’ll encounter a wealth of customization options designed to fine-tune the audio output. Begin by selecting the appropriate sound mode, which may include settings for movies, music, gaming, and more. These presets are engineered to enhance the audio characteristics based on the content being played, delivering an immersive and tailored listening experience.
Next, explore the equalizer settings to adjust the frequency response and tonal balance according to your preferences. Whether you prefer a more pronounced bass for action-packed movies or a balanced sound profile for music, the equalizer empowers you to sculpt the audio output to align with your unique listening tastes.
For those seeking a truly immersive audio experience, the AV receiver may offer advanced audio processing features such as Dolby Atmos, DTS:X, and virtual surround sound technologies. These settings enable three-dimensional audio reproduction, creating a captivating sonic atmosphere that envelops you in a rich and expansive soundstage.
Furthermore, the AV receiver may provide dialogue enhancement features, dynamic range control, and adaptive audio technologies to optimize the clarity and impact of speech and sound effects, ensuring that every nuance is faithfully reproduced and intelligible, regardless of the source material.
As you navigate through the audio settings, take advantage of the room acoustic calibration features, which utilize the included setup microphone to analyze the acoustic characteristics of your listening environment and automatically adjust the audio parameters for optimal performance. This process ensures that the audio output is tailored to the unique acoustics of your room, delivering a balanced and cohesive soundstage.
By meticulously configuring the audio settings on your Yamaha AV receiver, you personalize the sound output to align with your preferences, creating a tailored listening experience that elevates your enjoyment of movies, music, gaming, and more. These settings empower you to unleash the full potential of your AV receiver, transforming your living space into a captivating home theater environment.
Calibrating the Speakers
Calibrating the speakers of your Yamaha AV receiver is a pivotal step in ensuring optimal audio performance and creating a balanced and immersive soundstage within your home theater environment. By meticulously calibrating the speakers, you can fine-tune their output to suit the acoustics of your room and your specific listening preferences, resulting in a captivating audio experience.
Utilize the included setup microphone, often provided with the AV receiver, to initiate the automated speaker calibration process. Position the microphone at the primary listening area, ensuring it is at ear level and free from obstructions. Once in place, activate the auto-calibration feature on the AV receiver, prompting it to emit test tones and analyze the acoustic characteristics of the room.
During the calibration process, the AV receiver measures the distance and relative levels of each speaker, as well as the acoustic properties of the room, such as reflections and resonances. This data is then used to automatically adjust the speaker settings, including distance, level, and frequency response, ensuring that the audio output is tailored to the specific nuances of your listening environment.
As the calibration process unfolds, take note of the adjustments made to each speaker’s settings, including the level and crossover frequency. These refinements are designed to optimize the audio performance, creating a cohesive and balanced soundstage that faithfully reproduces the nuances of the source material.
For those with Dolby Atmos or DTS:X speaker configurations, the calibration process extends to the height or overhead speakers, ensuring that the three-dimensional audio reproduction is precisely tailored to deliver an enveloping and immersive sonic experience that transcends traditional surround sound setups.
Once the calibration process is complete, take the time to audition various audio sources, such as movies, music, and gaming content, to assess the impact of the calibration on the overall sound quality. Fine-tune the speaker settings further, if necessary, to align with your specific preferences and the characteristics of the content being enjoyed.
By meticulously calibrating the speakers of your Yamaha AV receiver, you optimize the audio performance to suit your room’s acoustics and your unique listening preferences, creating a captivating and immersive sonic environment that elevates your home entertainment experience to new heights.
Network and Streaming Setup
Unlocking the network and streaming capabilities of your Yamaha AV receiver opens the door to a world of digital content and seamless connectivity, enriching your home entertainment experience with a wealth of audio-visual resources. By setting up the network and streaming features, you gain access to online music services, streaming platforms, and multi-room audio capabilities, transforming your living space into a versatile and interconnected entertainment hub.
Begin by connecting the AV receiver to your home network, either via Ethernet or Wi-Fi, leveraging the integrated network connectivity options. A wired Ethernet connection offers robust and reliable network access, while a wireless connection provides flexibility and convenience. Once connected, navigate to the network settings menu on the AV receiver to configure the network connection, ensuring seamless access to online content and firmware updates.
Explore the array of supported music streaming services and online radio platforms accessible through the AV receiver. By linking your accounts or accessing these services directly from the receiver’s interface, you can stream your favorite playlists, discover new artists, and enjoy a diverse range of music genres without the need for external devices.
For those seeking a multi-room audio setup, the AV receiver may offer support for wireless multi-room audio platforms, allowing you to synchronize audio playback across multiple rooms or zones within your home. This feature facilitates a cohesive and immersive listening experience, whether you’re entertaining guests or enjoying music throughout your living space.
Furthermore, the network and streaming setup empowers you to access firmware updates for the AV receiver, ensuring that it remains equipped with the latest features, performance enhancements, and compatibility with emerging technologies. Keeping the firmware up to date guarantees that your AV receiver continues to evolve and deliver an enriched entertainment experience.
As you delve into the network and streaming setup, take advantage of the AV receiver’s integration with voice assistants and smart home ecosystems, allowing you to control and manage your entertainment system with voice commands and seamlessly integrate it into your connected home environment.
By harnessing the network and streaming capabilities of your Yamaha AV receiver, you expand your entertainment horizons, accessing a diverse array of digital content, streaming services, and multi-room audio features that enrich your home entertainment experience and cater to your evolving audio-visual preferences.
Conclusion
Congratulations on successfully setting up your Yamaha AV receiver and unlocking its full potential to deliver an unparalleled audio-visual experience. By following the comprehensive guide outlined in this tutorial, you’ve embarked on a journey that has transformed your living space into a captivating home theater environment, tailored to your unique preferences and entertainment needs.
From the initial unboxing and inspection, where you marveled at the craftsmanship and attention to detail, to meticulously connecting the AV receiver to your speakers and TV, you’ve laid the foundation for a cohesive and integrated home entertainment system. The careful consideration given to speaker placement and calibration has ensured that the audio performance is optimized to suit your room’s acoustics, delivering a balanced and immersive soundstage.
By embracing the advanced audio settings and calibration features, you’ve personalized the sound output to align with your specific preferences, creating a tailored listening experience that elevates your enjoyment of movies, music, gaming, and more. The network and streaming setup has expanded your entertainment horizons, granting access to a diverse array of digital content, streaming services, and multi-room audio features that enrich your home entertainment experience.
As you navigate the myriad of features and capabilities offered by your Yamaha AV receiver, from Dolby Atmos and DTS:X support to wireless streaming and voice assistant integration, you’ve unlocked a world of possibilities that cater to your evolving audio-visual preferences and technological advancements.
With each firmware update, your AV receiver remains at the forefront of technological advancements, ensuring that it continues to evolve and deliver an enriched entertainment experience. The seamless integration with voice assistants and smart home ecosystems empowers you to control and manage your entertainment system with ease, seamlessly integrating it into your connected home environment.
As you immerse yourself in the captivating audio-visual experiences facilitated by your Yamaha AV receiver, you’ve embraced the epitome of home entertainment, where every movie, music track, and gaming session comes to life with unparalleled clarity, depth, and impact. Your journey with the Yamaha AV receiver is a testament to the power of technology to transform your living space into a captivating home theater paradise, where every moment is enriched by the magic of immersive audio and stunning visual experiences.