Introduction
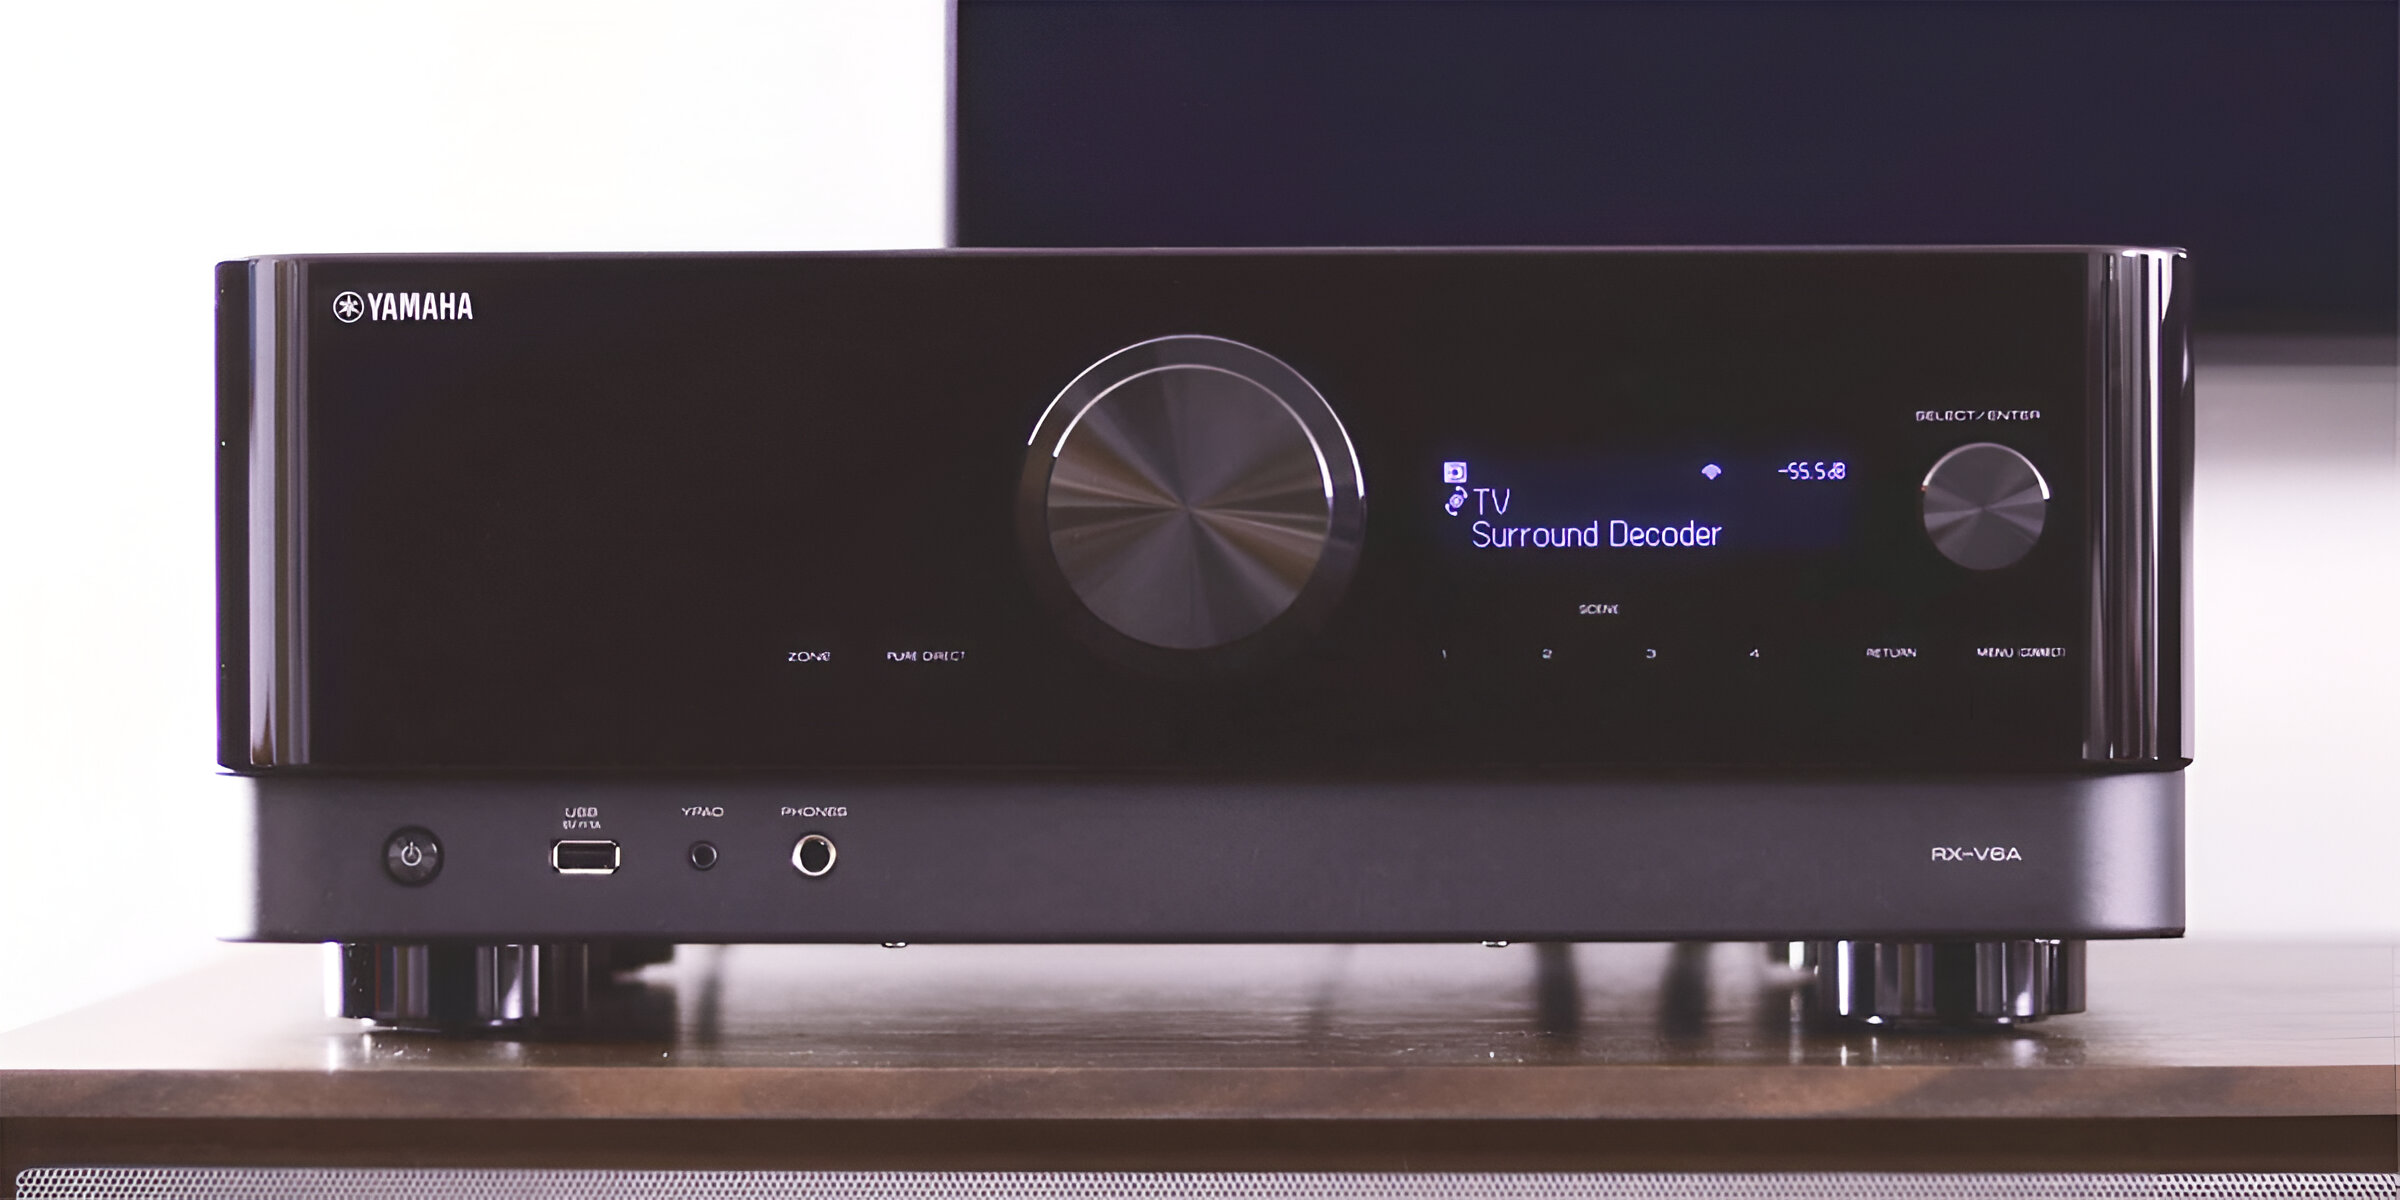
Resetting a Yamaha AV receiver may become necessary if it experiences technical issues, malfunctions, or if you wish to restore it to its original factory settings. This process can help resolve various problems such as audio or video distortion, connectivity issues, or software glitches.
Resetting the receiver is a straightforward procedure that can often be done without the need for professional assistance. By following a few simple steps, you can restore your Yamaha AV receiver to its default state, potentially resolving any issues you may be experiencing.
In this guide, we will walk you through the step-by-step process of resetting your Yamaha AV receiver, ensuring that you can carry out this task with confidence and ease. Whether you are a seasoned audio enthusiast or a novice user, resetting your receiver can be an effective way to troubleshoot common problems and restore optimal performance.
By the end of this guide, you will have a clear understanding of how to reset your Yamaha AV receiver, empowering you to address technical issues and enjoy uninterrupted audio-visual experiences. Let's delve into the process and get your receiver back to its pristine state.
Step 1: Power Off the Receiver
The first step in resetting your Yamaha AV receiver is to power it off. Locate the power button on the front panel of the receiver or on the remote control. Press the power button once to initiate the shutdown process. Ensure that the receiver is completely powered down before proceeding to the next step.
It is essential to allow the receiver to fully power off to initiate the reset process effectively. This ensures that any temporary data or settings stored in the receiver’s memory are cleared, paving the way for a complete reset. Take a moment to confirm that the receiver has shut down completely before moving on to the next step.
Powering off the receiver is a critical initial step in the reset process, as it sets the stage for the subsequent actions that will restore the device to its default state. Once the receiver is powered down, you can proceed with confidence to the next step, knowing that the reset process will be initiated from a clean slate.
Step 2: Press and Hold the Straight Button
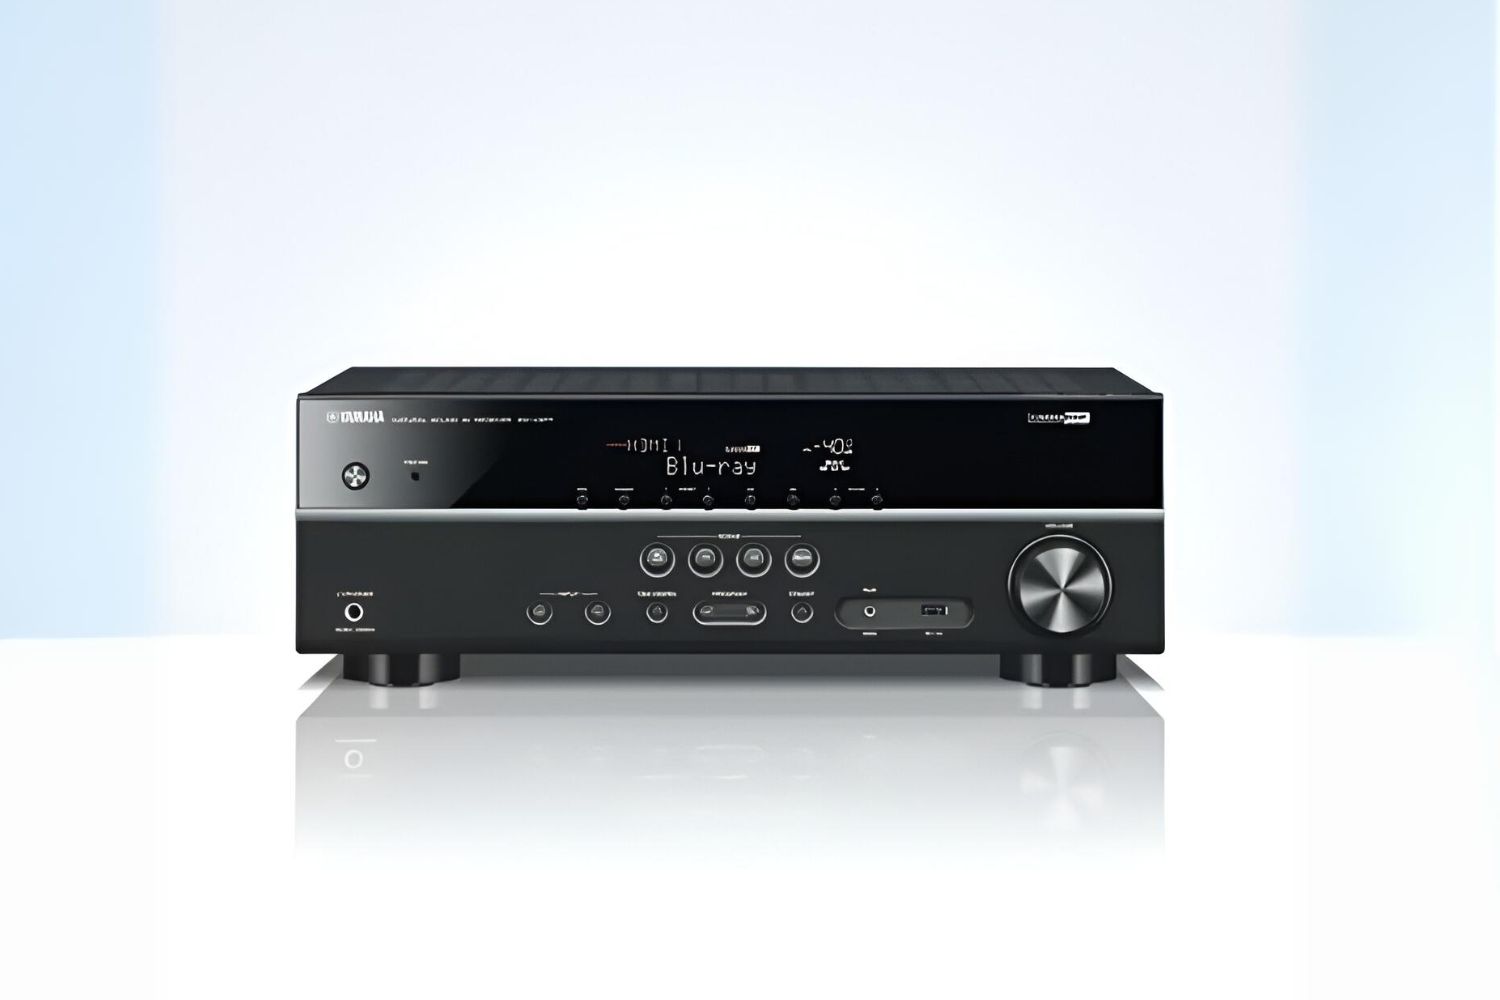
After powering off the Yamaha AV receiver, the next step is to locate the “Straight” button on the front panel of the device. Press and hold the “Straight” button firmly. This button is typically found among the array of control buttons on the receiver’s front panel.
By pressing and holding the “Straight” button, you are preparing the receiver for the reset process. This action serves as a trigger for the subsequent steps that will restore the receiver to its default settings. The “Straight” button plays a pivotal role in initiating the reset sequence, and holding it down as instructed is crucial to the overall success of the reset procedure.
Ensure that you maintain steady pressure on the “Straight” button as you proceed to the next step. This step sets the stage for the subsequent actions that will bring your Yamaha AV receiver one step closer to being reset and ready for optimal performance.
Step 3: Power On the Receiver
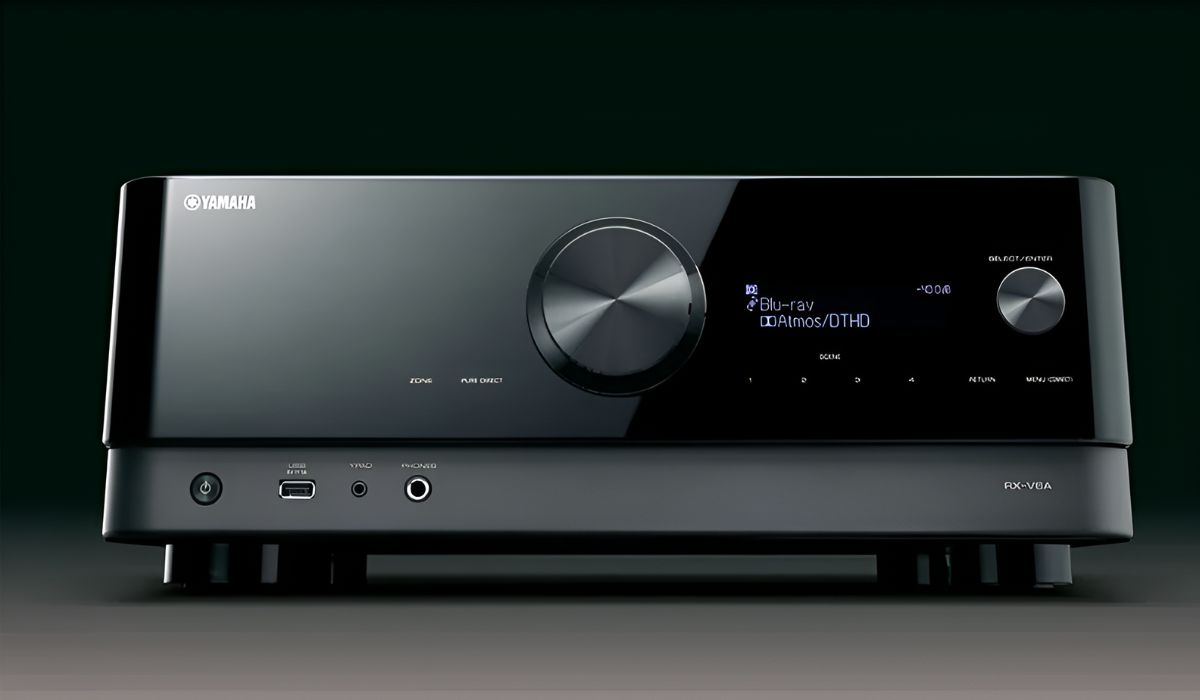
With the “Straight” button held down, proceed to power on the Yamaha AV receiver. Locate the power button on the front panel or the remote control, and press it to turn the receiver back on. As the receiver powers up, continue to hold the “Straight” button throughout the startup process.
Powering on the receiver while keeping the “Straight” button depressed is a crucial step in the reset process. This action signals to the receiver that it needs to initiate the reset sequence, and holding the “Straight” button during the power-up phase is essential to ensure that the reset process is properly triggered.
As the receiver powers on, you may notice various indicators or displays on the front panel or the screen. Continue to hold the “Straight” button until you are ready to proceed to the next step. This step sets the stage for the subsequent actions that will guide the receiver toward a complete reset, restoring it to its default state.
Step 4: Release the Straight Button
Once the Yamaha AV receiver has powered on, and you have held the “Straight” button throughout the startup process, it is time to release the button. Carefully let go of the “Straight” button, allowing the receiver to proceed with the reset sequence. As you release the button, the receiver will begin the process of restoring its default settings.
Releasing the “Straight” button at the appropriate moment is crucial to the successful completion of the reset process. This action signals to the receiver that it should proceed with the reset sequence, ensuring that the device transitions to its default state. By releasing the “Straight” button as instructed, you enable the receiver to initiate the final steps of the reset procedure.
As you release the “Straight” button, take a moment to observe any indicators or displays on the receiver. This step marks a pivotal moment in the reset process, as the receiver begins to implement the necessary changes to restore its default settings. With the “Straight” button released, the receiver is now on its way to completing the reset process, bringing it closer to optimal performance.
Step 5: Reset Complete
Once the Yamaha AV receiver has gone through the reset sequence, you will receive confirmation that the reset is complete. This may be indicated by specific on-screen messages, LED notifications, or changes in the receiver’s display. The completion of the reset process signifies that the receiver has been restored to its original factory settings.
After the reset is complete, you can power off the receiver and then power it back on to begin using it in its reset state. You may need to reconfigure certain settings, such as speaker configurations, input assignments, and network connections, to align with your specific preferences and setup. However, the receiver is now ready to operate with its default settings restored.
With the reset process finalized, you can now enjoy improved performance and potentially resolve any technical issues or glitches that prompted the reset. The receiver is now primed to deliver optimal audio-visual experiences, free from the issues that may have necessitated the reset in the first place.
Conclusion
Resetting a Yamaha AV receiver is a valuable troubleshooting tool that can help resolve technical issues and restore the device to its default state. By following the step-by-step process outlined in this guide, you can confidently initiate the reset procedure and bring your receiver back to optimal performance.
From powering off the receiver to releasing the “Straight” button, each step plays a crucial role in guiding the receiver through the reset sequence. The completion of the reset process marks a fresh beginning for your Yamaha AV receiver, allowing you to enjoy uninterrupted audio-visual experiences.
Whether you encountered connectivity issues, software glitches, or audio-visual distortions, the reset process offers a reliable solution to address these challenges. By restoring the receiver to its factory settings, you can effectively troubleshoot and potentially resolve the issues that prompted the reset.
As you power on the receiver following the reset, you can look forward to enhanced performance and the opportunity to reconfigure settings to suit your preferences. The receiver is now poised to deliver exceptional audio and visual quality, free from the technical hiccups that may have previously hindered its performance.
By understanding the process of resetting your Yamaha AV receiver, you have gained valuable insight into troubleshooting and maintaining your audio equipment. Armed with this knowledge, you can confidently address technical issues and ensure that your receiver operates at its best.
With the reset process complete, you are now equipped to harness the full potential of your Yamaha AV receiver and enjoy seamless audio-visual experiences. Embrace the benefits of a reset receiver and immerse yourself in the captivating world of high-quality audio and visual entertainment.