Introduction
So, you've got an Xbox One and an AV receiver, and you want to take your gaming and entertainment experience to the next level by connecting the two. By doing so, you can enjoy immersive sound and stunning visuals that will truly elevate your gaming, movie-watching, and music-listening experiences. Connecting your Xbox One to an AV receiver is a straightforward process that can greatly enhance the audio and video quality of your entertainment setup.
In this guide, we will walk you through the step-by-step process of hooking up your Xbox One to an AV receiver. You'll learn how to gather the necessary equipment, make the physical connections, configure the settings on your AV receiver, and test the connection to ensure everything is working as it should. Whether you're a gaming enthusiast, a movie buff, or a music lover, this guide will help you unleash the full potential of your Xbox One and AV receiver combination.
By the end of this guide, you'll be ready to immerse yourself in a world of high-fidelity audio and stunning visuals, taking your entertainment experience to new heights. So, let's dive in and get your Xbox One connected to your AV receiver for an unparalleled audio-visual journey.
Step 1: Gather Your Equipment
Before you begin the process of connecting your Xbox One to an AV receiver, it’s essential to gather all the necessary equipment. Having the right tools at your disposal will ensure a smooth and hassle-free setup, allowing you to enjoy the full capabilities of your AV receiver with your Xbox One.
Here’s what you’ll need:
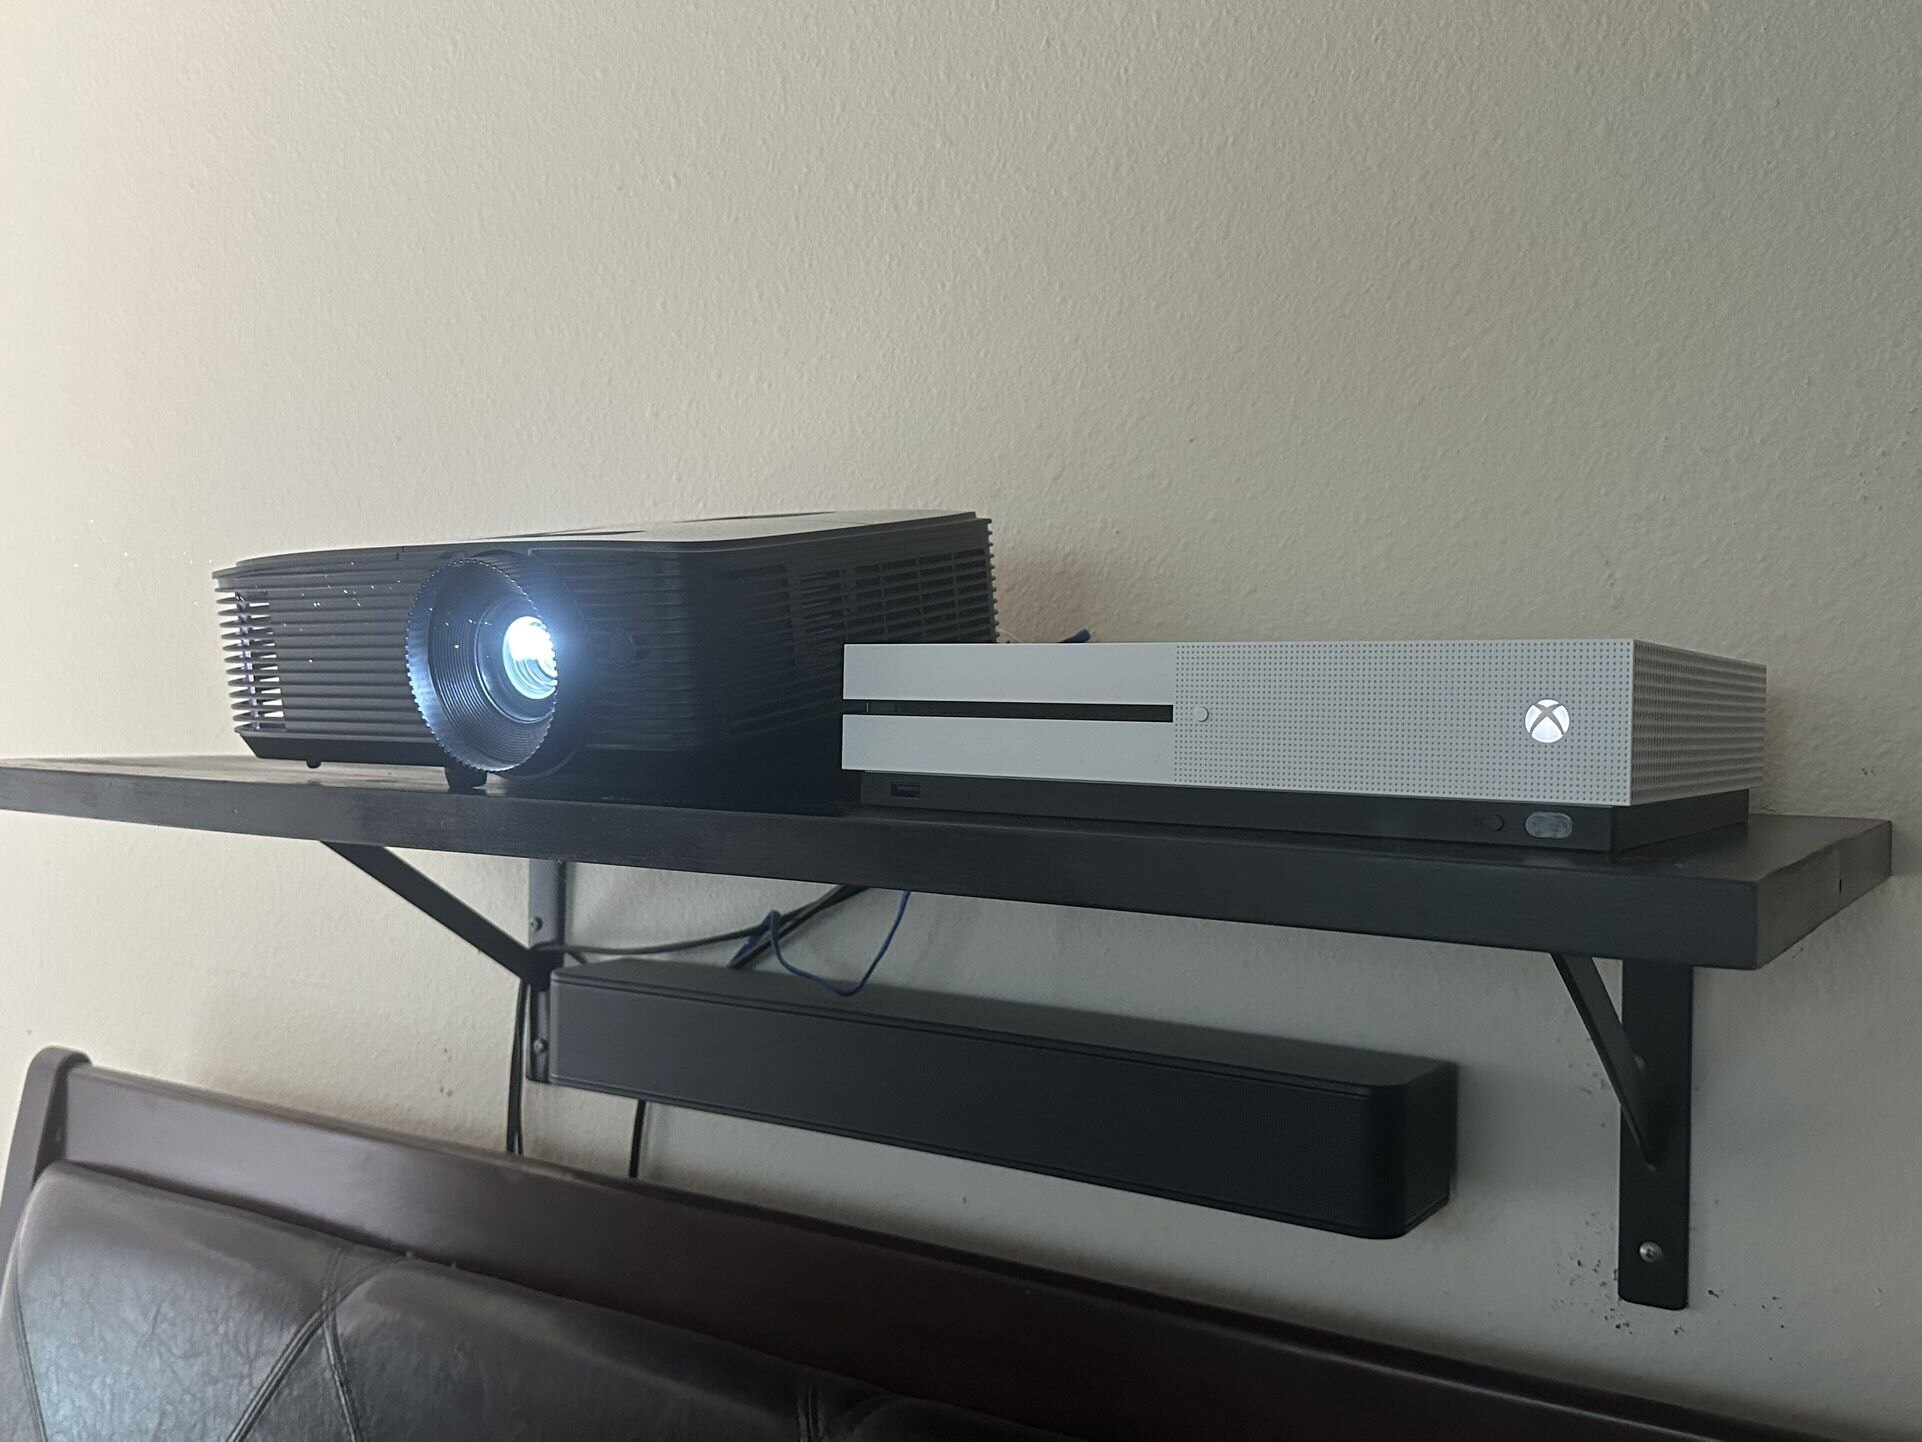
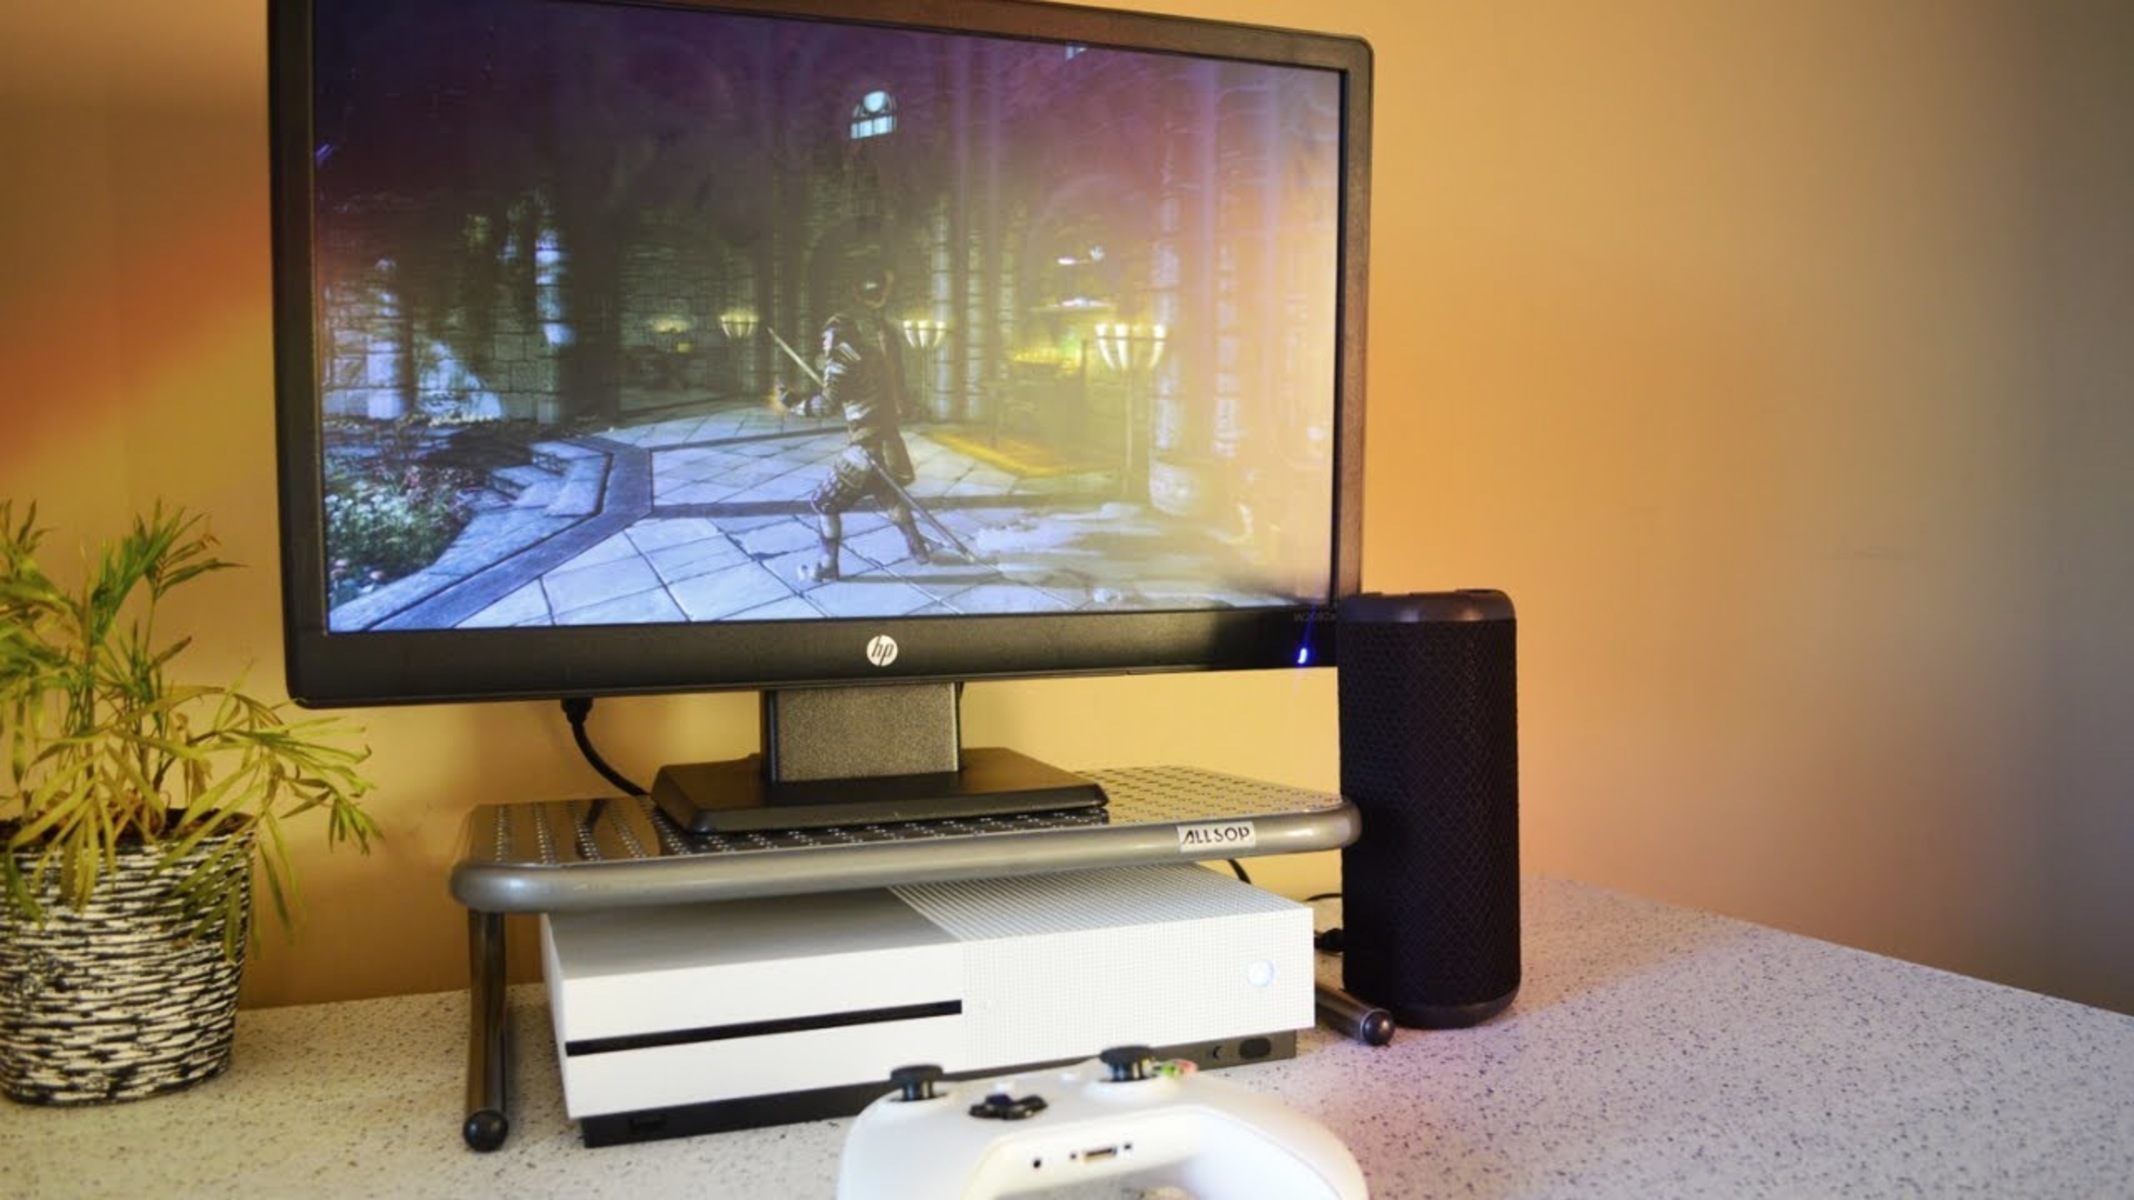
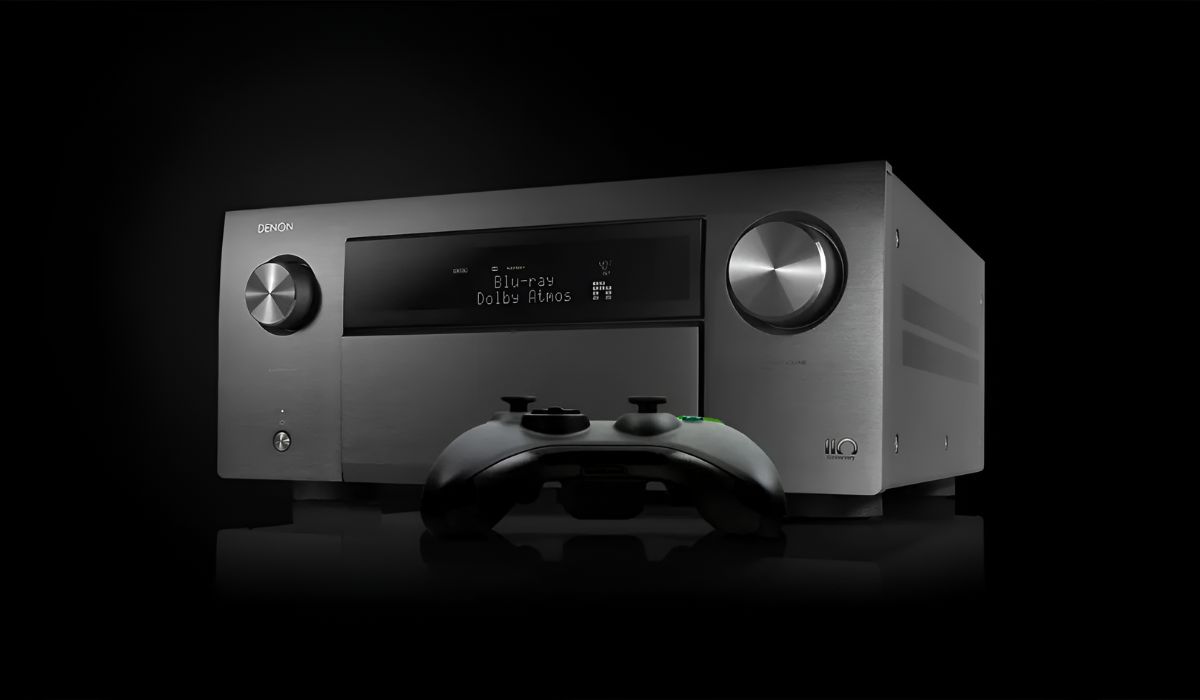
- Xbox One: This is the heart of your gaming and entertainment setup. Ensure that your Xbox One is in good working condition and has all the required cables.
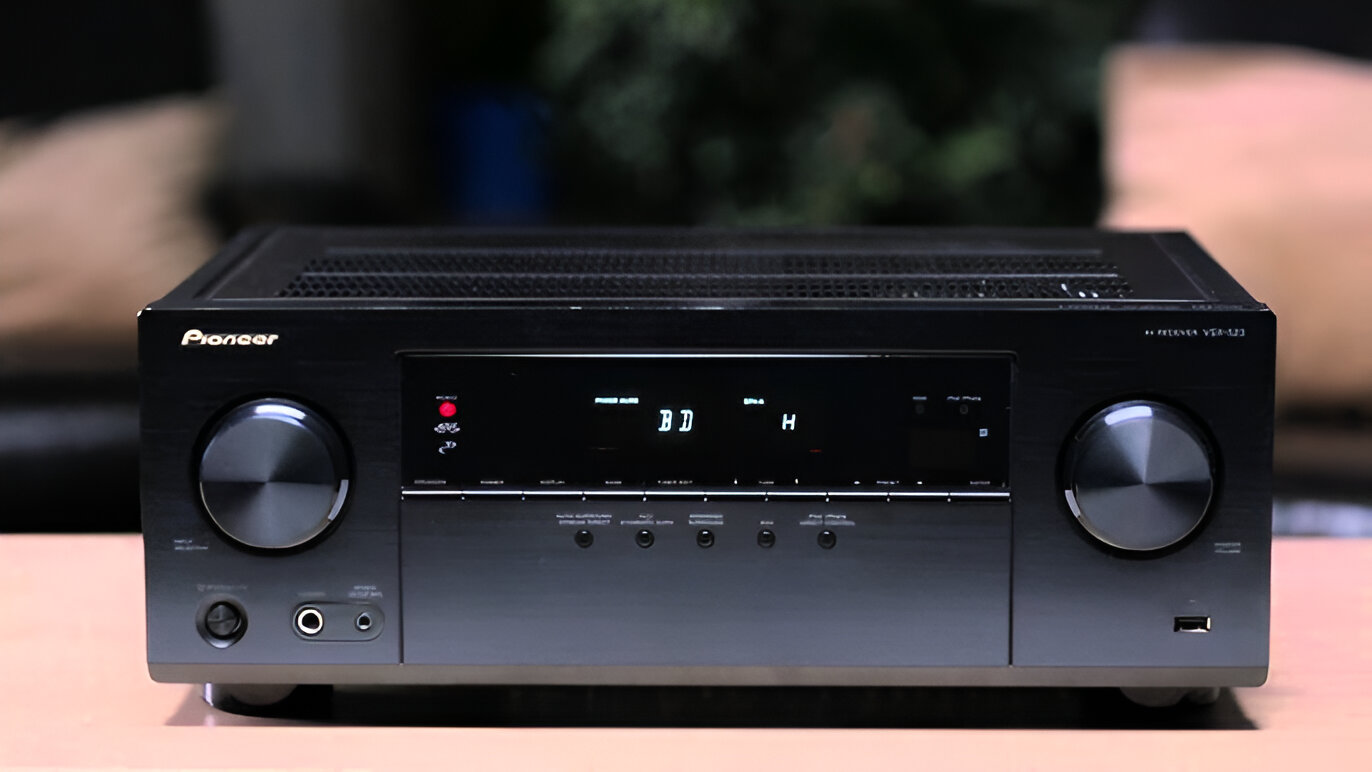
- AV Receiver: Choose an AV receiver that meets your audio and video needs. Look for one that supports the latest audio and video formats, as well as the necessary input and output options for seamless connectivity.
- HDMI Cable: A high-quality HDMI cable is essential for transmitting both audio and video signals between your Xbox One and AV receiver. Make sure the cable is long enough to reach from the Xbox One to the AV receiver without tension.
- Power Cables: Ensure that you have the power cables for both the Xbox One and the AV receiver. Having these cables readily available will save you time and frustration during the setup process.
- Remote Control: The remote control for your AV receiver will be needed to configure the audio settings and input sources. Keep it handy for the setup process.
- Speaker System (Optional): If you have a speaker system, ensure that it is compatible with your AV receiver. This may include speakers, a subwoofer, and any additional cables required for the audio setup.
By gathering these essential pieces of equipment, you’ll be well-prepared to proceed with the physical connections and configuration processes. Once you have everything in place, you’ll be ready to embark on the next steps to connect your Xbox One to your AV receiver seamlessly.
Step 2: Connect the Xbox One to the AV Receiver
With all the necessary equipment gathered, it’s time to make the physical connections between your Xbox One and the AV receiver. This step is crucial to ensure that both audio and video signals are transmitted seamlessly, allowing you to experience the full capabilities of your AV receiver.
Follow these steps to connect your Xbox One to the AV receiver:
- Locate the HDMI Ports: Identify the HDMI output port on your Xbox One and the HDMI input port on your AV receiver. These ports are typically labeled for easy identification.
- Connect the HDMI Cable: Take one end of the HDMI cable and plug it into the HDMI output port on your Xbox One. Then, connect the other end to an available HDMI input port on your AV receiver. Ensure that the cable is securely inserted into both devices.
- Power On the Devices: Power on your Xbox One and the AV receiver. This will initiate the detection of the connected devices and establish the HDMI connection between them.
- Select the Input Source: Using the remote control for your AV receiver, select the input source corresponding to the HDMI port to which your Xbox One is connected. This allows the AV receiver to receive the audio and video signals from your Xbox One.
- Configure Additional Connections (Optional): If you have a speaker system or other audio devices, you may need to make additional connections to the AV receiver. Follow the manufacturer’s instructions for connecting and configuring these devices to work in tandem with your Xbox One.
Once you’ve completed these steps, your Xbox One will be successfully connected to your AV receiver, paving the way for an enhanced audio-visual experience. The physical connections are a crucial part of the setup process, and ensuring that they are secure and correctly configured will set the stage for the next steps in optimizing your AV receiver settings.
Step 3: Configure the AV Receiver Settings
Now that your Xbox One is connected to the AV receiver, it’s time to configure the settings on the receiver to optimize the audio and video output. Proper configuration of the AV receiver is essential for achieving the best possible sound quality and ensuring that the video signals are processed correctly.
Follow these steps to configure the settings on your AV receiver:
- Access the Receiver Menu: Using the remote control, access the menu of your AV receiver. The menu button is typically labeled and easy to locate.
- Audio Settings: Navigate to the audio settings within the receiver’s menu. Here, you can adjust parameters such as speaker configuration, audio format, and equalizer settings to tailor the sound output to your preferences.
- Video Settings: Explore the video settings in the receiver’s menu to ensure that the video signals from your Xbox One are being processed optimally. Adjust parameters such as video resolution, color settings, and input labeling to enhance the visual output.
- HDMI Control: If your AV receiver supports HDMI control features, consider enabling them to streamline the operation of connected devices. HDMI control allows for synchronized operation between the Xbox One and the AV receiver, simplifying the overall user experience.
- Network and Firmware Settings: If your AV receiver is network-enabled, take this opportunity to check for firmware updates and configure network settings. Keeping the receiver’s firmware up to date ensures compatibility with the latest audio and video formats.
By carefully configuring the settings on your AV receiver, you can unlock its full potential and tailor the audio-visual output to suit your preferences and the capabilities of your entertainment setup. Once the settings have been adjusted to your satisfaction, you’ll be ready to put the connection to the test and ensure that everything is functioning as intended.
Step 4: Test the Connection
With the physical connections established and the AV receiver settings configured, it’s time to put the connection to the test. Testing the connection ensures that both audio and video signals are being transmitted seamlessly between your Xbox One and the AV receiver, allowing you to confirm that everything is functioning as intended.
Here’s how to test the connection and verify that everything is working correctly:
- Audio Playback: Play a piece of audio content, such as music or a game with sound effects, on your Xbox One. Listen for the audio output through your speaker system or the connected audio devices. Ensure that the sound is clear, balanced, and free from any distortions.
- Video Playback: Launch a video game or a movie on your Xbox One and pay attention to the visual output. Check for any issues with the video display, such as flickering, color inaccuracies, or resolution problems. The video should be displayed in high definition with vibrant colors and sharp details.
- Surround Sound Test: If you have a surround sound speaker system, conduct a surround sound test to ensure that the audio is being distributed correctly across all channels. This test allows you to confirm that the AV receiver is processing the audio signals and delivering an immersive surround sound experience.
- Input Switching: Test the input switching functionality of the AV receiver by switching between different input sources. Verify that the receiver seamlessly transitions between the Xbox One and other connected devices, allowing for a smooth and uninterrupted entertainment experience.
- Remote Control Operation: Use the remote control to adjust the volume, audio settings, and input sources. Verify that the remote control operates the AV receiver without any issues, allowing you to fine-tune the audio-visual output to your preferences.
By conducting these tests, you can ensure that the connection between your Xbox One and the AV receiver is robust and reliable, delivering an exceptional audio-visual experience for all your entertainment activities. If any issues are identified during the testing phase, revisit the physical connections and settings configuration to address and resolve the issues.
Conclusion
Congratulations! You’ve successfully connected your Xbox One to an AV receiver, unlocking the full potential of your gaming and entertainment setup. By following the steps outlined in this guide, you’ve established a seamless connection that allows for immersive audio and stunning visuals, elevating your overall entertainment experience.
Through the process of gathering the necessary equipment, making the physical connections, configuring the AV receiver settings, and testing the connection, you’ve taken a significant step toward enhancing the audio-visual capabilities of your entertainment system. The careful attention to detail in each step ensures that your Xbox One and AV receiver work in harmony to deliver high-quality sound and video performance.
With your Xbox One now seamlessly integrated with the AV receiver, you can look forward to enjoying an array of entertainment content, from blockbuster games and movies to music and streaming services, with enhanced audio fidelity and visual clarity. The immersive surround sound and crisp video output will truly transform your entertainment experiences, allowing you to be fully immersed in the content you love.
As you continue to explore the capabilities of your connected Xbox One and AV receiver, consider experimenting with different audio and video settings to tailor the output to your preferences. Whether you’re a discerning audiophile, a dedicated gamer, or a cinephile seeking a cinematic experience, the versatility of your connected setup provides ample opportunities for customization and optimization.
By mastering the art of connecting and configuring your Xbox One with an AV receiver, you’ve set the stage for a captivating and immersive entertainment journey. Embrace the enhanced audio-visual capabilities at your disposal and immerse yourself in a world of unparalleled entertainment, where every sound and image comes to life with remarkable clarity and depth.