Introduction
Welcome to our guide on how to connect your Xbox One gaming console to a projector. Whether you want to enjoy gaming on a larger screen or host a gaming party at your place, connecting your Xbox One to a projector can provide an immersive gaming experience. In this article, we will explore various options for connecting your Xbox One to a projector and provide step-by-step instructions to help you get started.
Before diving into the different connection options, it’s important to ensure that you have the necessary equipment. You will need an Xbox One gaming console, a projector with the appropriate ports, and the necessary cables to establish the connection. The most common connection options include HDMI, VGA, DisplayPort, Component AV, Composite AV, and Wireless HDMI. The availability of these ports may vary based on the model of your projector, so it’s essential to check the specifications before proceeding.
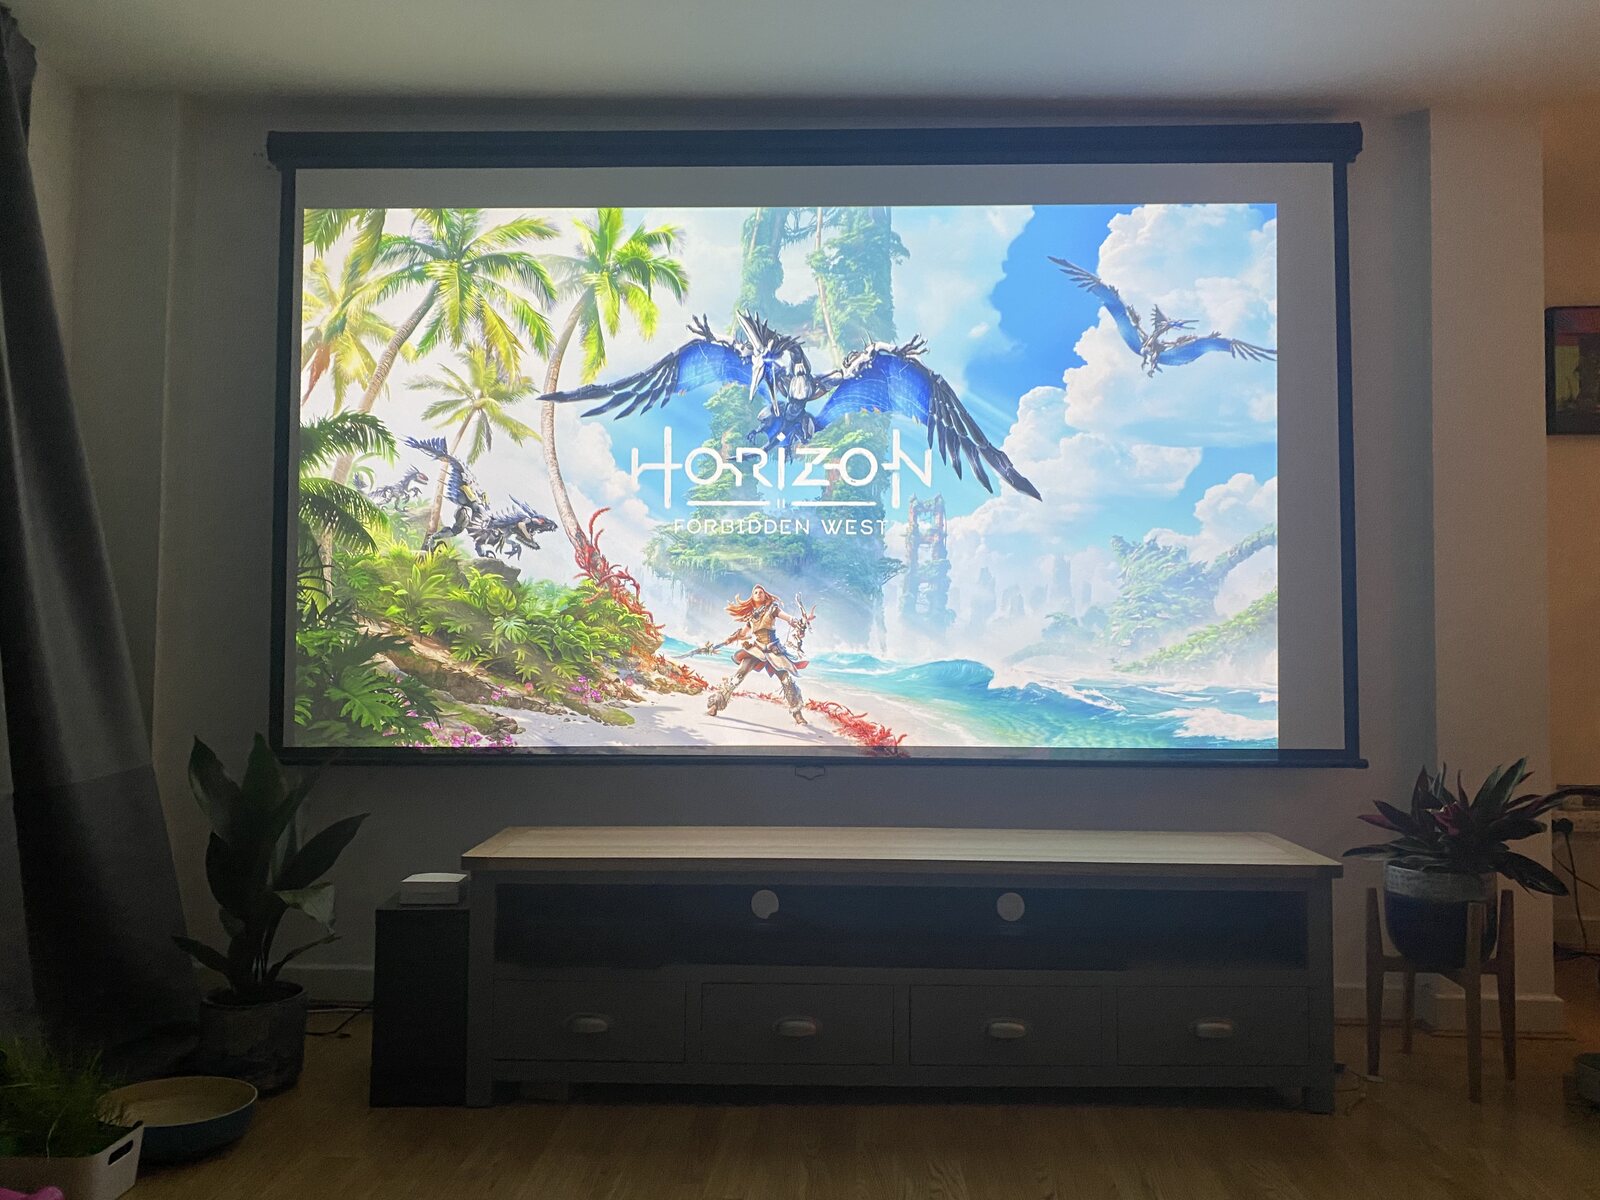
Connecting your Xbox One to a projector opens up a world of possibilities, allowing you to enjoy gaming on a large screen and create a cinematic experience. Whether you are playing alone or with friends, the combination of high-definition visuals and a projector can elevate your gaming experience to the next level. So let’s explore the various connection options and find the best one for your setup.
Now, let’s delve into each connection option in detail to help you choose the one that suits your needs and equipment. Whether you have an HDMI, VGA, DisplayPort, Component AV, or Composite AV port available on your projector, we have got you covered. Additionally, we will also explore the possibility of connecting your Xbox One to a projector wirelessly using a Wireless HDMI system. Regardless of your unique setup, this guide will provide you with clear instructions for establishing a seamless connection.
Option 1: Connecting via HDMI
One of the most common and straightforward ways to connect your Xbox One to a projector is through an HDMI cable. HDMI (High-Definition Multimedia Interface) provides both high-quality video and audio transmission, making it a popular choice for connecting devices. Here’s how you can connect your Xbox One to a projector using an HDMI cable:
- Start by locating the HDMI output port on your Xbox One gaming console. It is typically found on the back of the console.
- Next, identify the HDMI input port on your projector. This port is usually labeled as “HDMI” or “Input” on the projector’s rear or side panel.
- Connect one end of the HDMI cable to the HDMI output port of your Xbox One console.
- Take the other end of the HDMI cable and plug it into the HDMI input port on your projector.
- Now, turn on your projector and switch the input source to the HDMI port that you connected your Xbox One to. This can usually be done through the projector’s remote control or on-screen menu.
- Finally, power on your Xbox One gaming console and wait for the projector to display the Xbox One home screen.
That’s it! You have successfully connected your Xbox One to the projector using an HDMI cable. Enjoy your gaming experience on the big screen.
It is important to note that some projectors may require additional settings adjustment to optimize the display for gaming. These settings may include adjusting the resolution, aspect ratio, and display mode. Refer to your projector’s user manual for instructions on how to access these settings.
Connecting your Xbox One to a projector via HDMI offers a simple and reliable way to enjoy high-quality gaming visuals and immersive audio. HDMI cables are widely available, ensuring that you can easily find the right cable for your setup. With a stable HDMI connection, you can experience gaming on a larger screen without any compromise in visual quality.
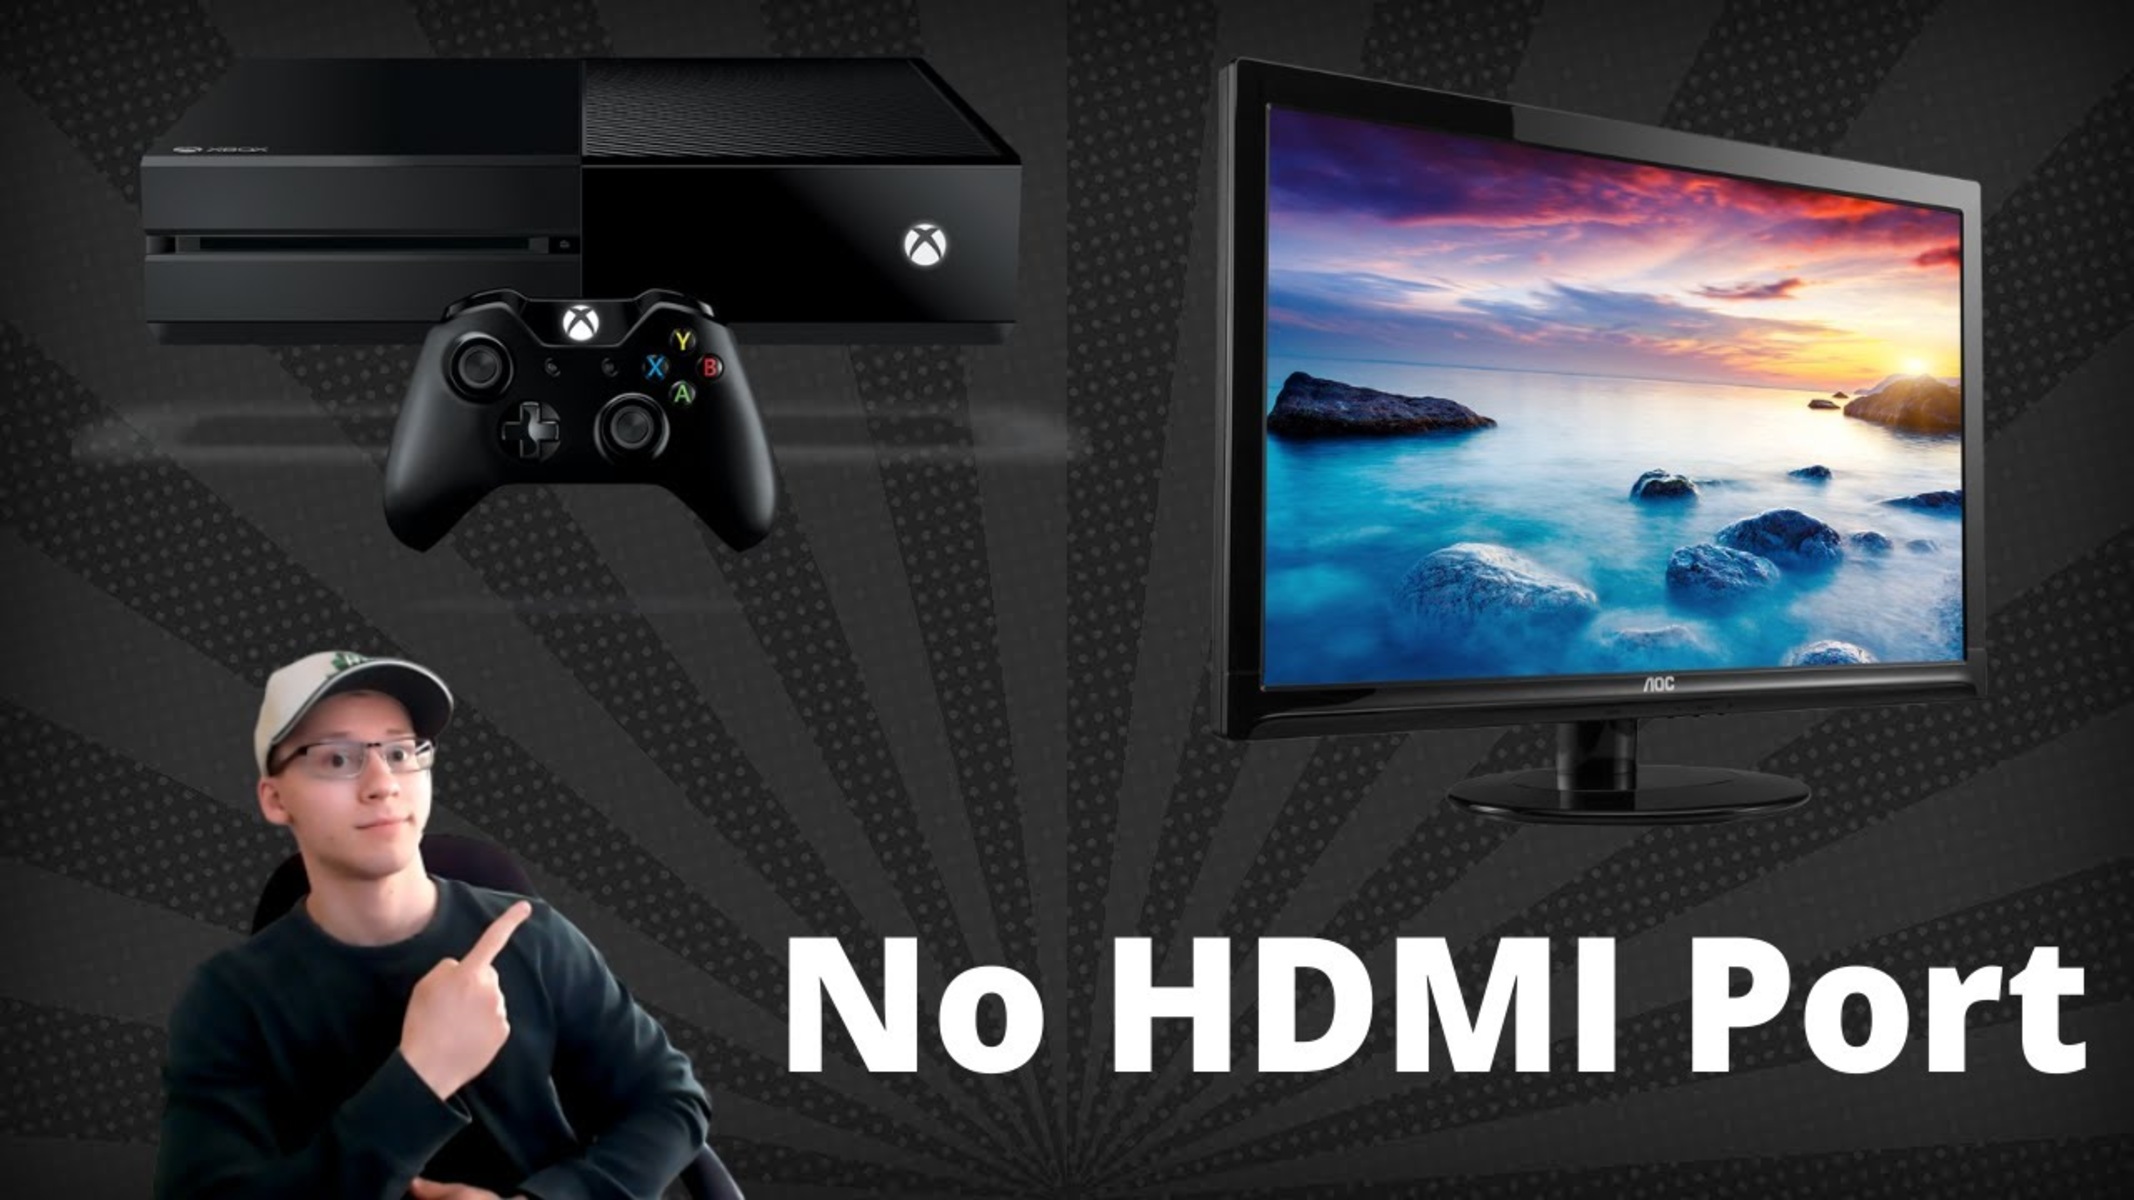
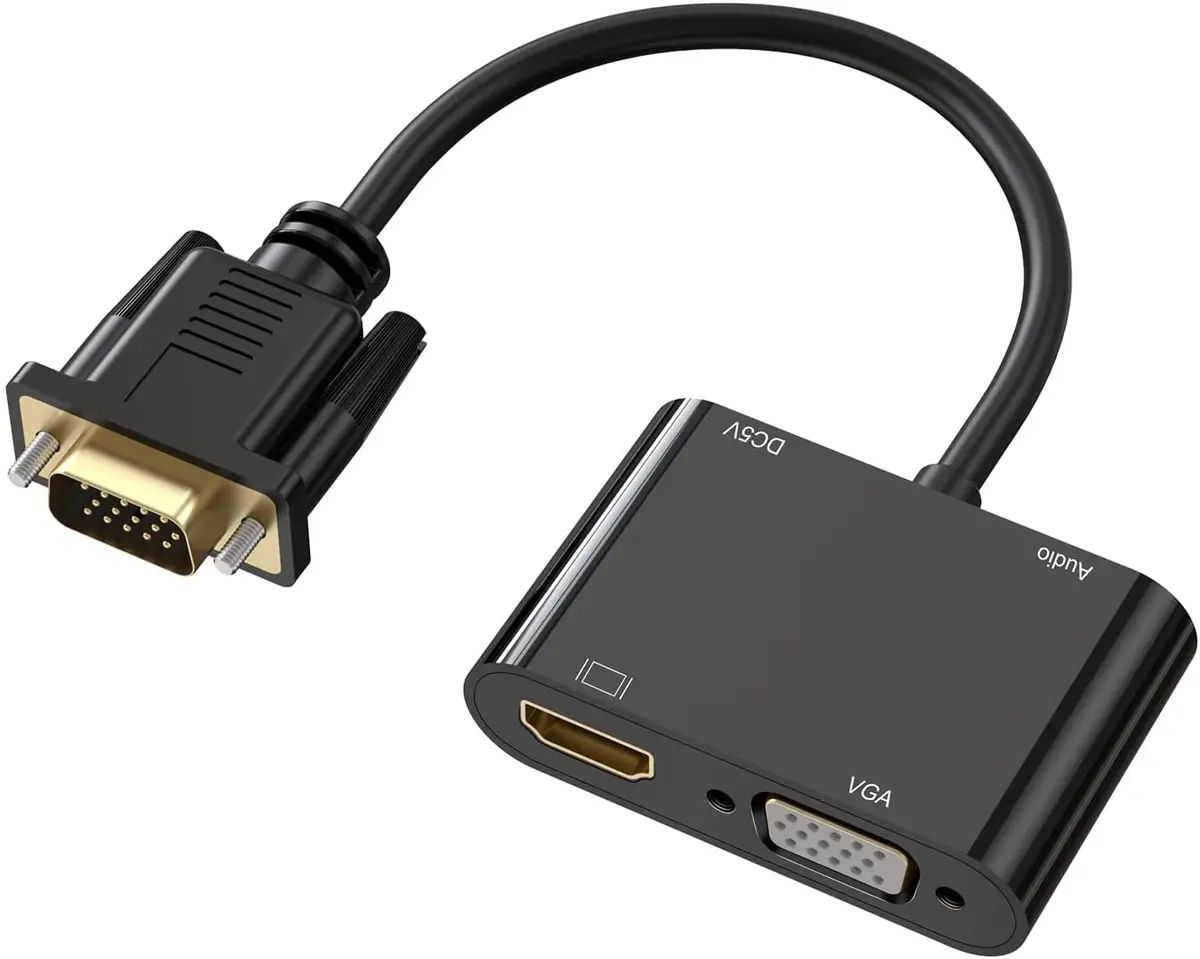
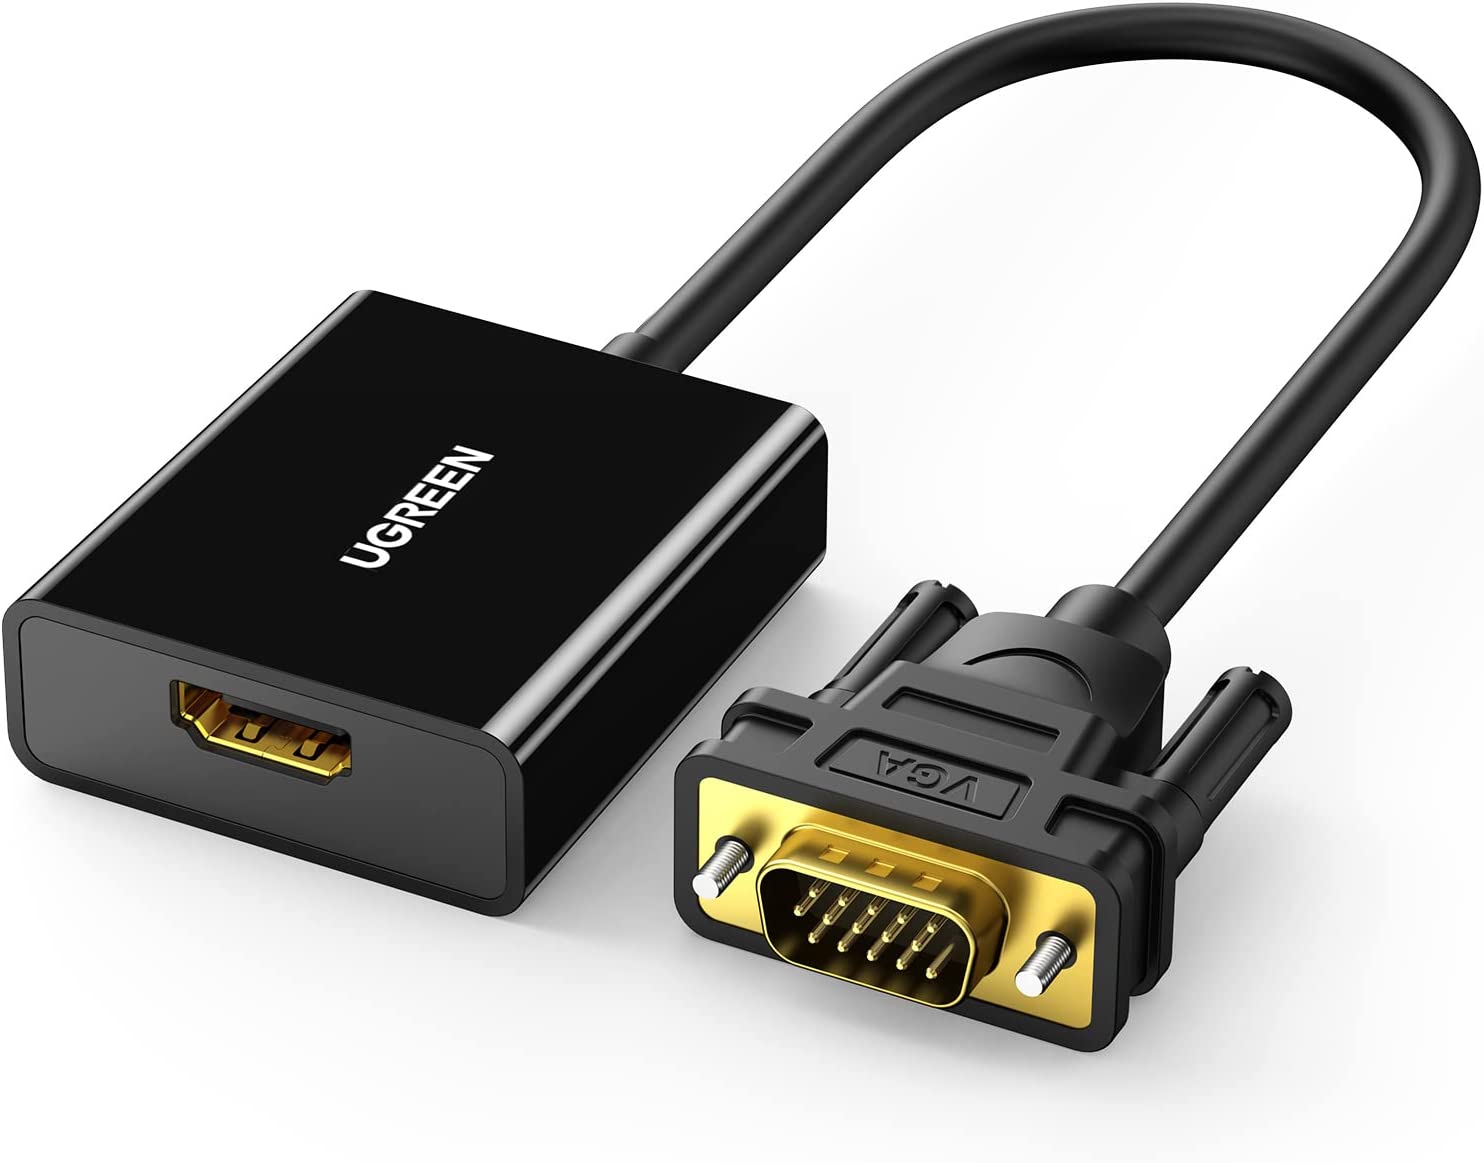
Option 2: Connecting via VGA
If your projector does not have an HDMI input port, an alternative option for connecting your Xbox One is through a VGA (Video Graphics Array) cable. Although VGA does not support audio transmission, you can still connect your Xbox One to external speakers or a sound system for audio output. Follow these steps to connect your Xbox One to a projector using a VGA cable:
- Locate the VGA output port on your Xbox One gaming console. It is usually located on the back of the console.
- Identify the VGA input port on your projector. This port may be labeled as “VGA” or “PC” on the projector’s rear or side panel.
- Connect one end of the VGA cable to the VGA output port of your Xbox One console.
- Take the other end of the VGA cable and plug it into the VGA input port on your projector.
- To transmit audio, connect the 3.5mm audio jack from your Xbox One controller or audio adapter to an external speaker or sound system.
- Now, turn on your projector and select the VGA input source using the projector’s remote control or on-screen menu.
- Power on your Xbox One console and wait for the projector to display the Xbox One home screen.
Voila! You have successfully connected your Xbox One to the projector using a VGA cable. Despite VGA not supporting audio transmission, you can still enjoy immersive gaming by routing the audio through external speakers or a sound system.
It’s worth noting that using a VGA connection may result in slightly reduced video quality compared to an HDMI connection, as VGA supports lower resolutions. However, the difference in quality is generally negligible, and you can still enjoy a satisfactory gaming experience.
If your projector supports HDMI input, it is recommended to use an HDMI connection for the best video and audio quality. However, if VGA is your only option, this method will allow you to connect your Xbox One and enjoy gaming on the big screen.
Option 3: Connecting via DisplayPort
If your projector has a DisplayPort input, you can connect your Xbox One gaming console to it for high-quality video and audio transmission. DisplayPort is a digital display interface that supports high-definition video and audio signals. Follow these steps to connect your Xbox One to a projector using a DisplayPort cable:
- Locate the DisplayPort output port on your Xbox One console. It is usually located on the back or rear panel.
- Identify the DisplayPort input port on your projector. This port may be labeled as “DisplayPort” or “DP” on the projector’s rear or side panel.
- Connect one end of the DisplayPort cable to the DisplayPort output port of your Xbox One console.
- Take the other end of the DisplayPort cable and plug it into the DisplayPort input port on your projector.
- Now, power on your projector and switch the input source to the DisplayPort that you connected your Xbox One to. This can typically be done through the projector’s remote control or on-screen menu.
- Turn on your Xbox One console and wait for the projector to display the Xbox One home screen.
Excellent! You have successfully connected your Xbox One to the projector using a DisplayPort connection. Enjoy your gaming sessions on the larger display with high-quality video and audio.
DisplayPort is an excellent choice for connecting your Xbox One to a projector, as it supports high-definition video resolutions and audio transmission. It provides a seamless and crisp gaming experience without any compromise in quality.
If your projector does not have a DisplayPort input, you can explore other available connection options such as HDMI, VGA, or Component AV, depending on the available ports on your projector.
Now that you know how to connect your Xbox One to a projector via DisplayPort, you can enjoy gaming on a bigger screen and immerse yourself in the excitement of your favorite games.
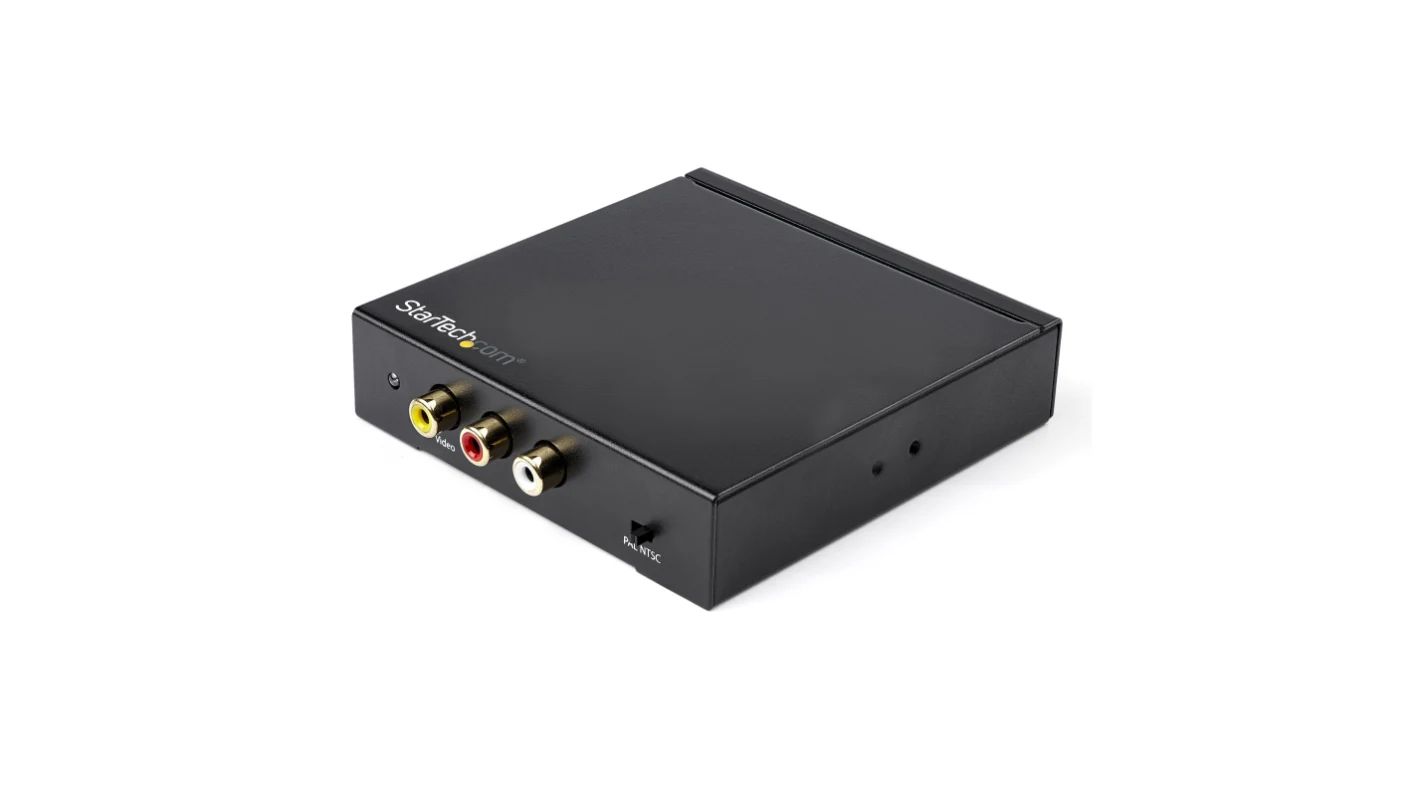
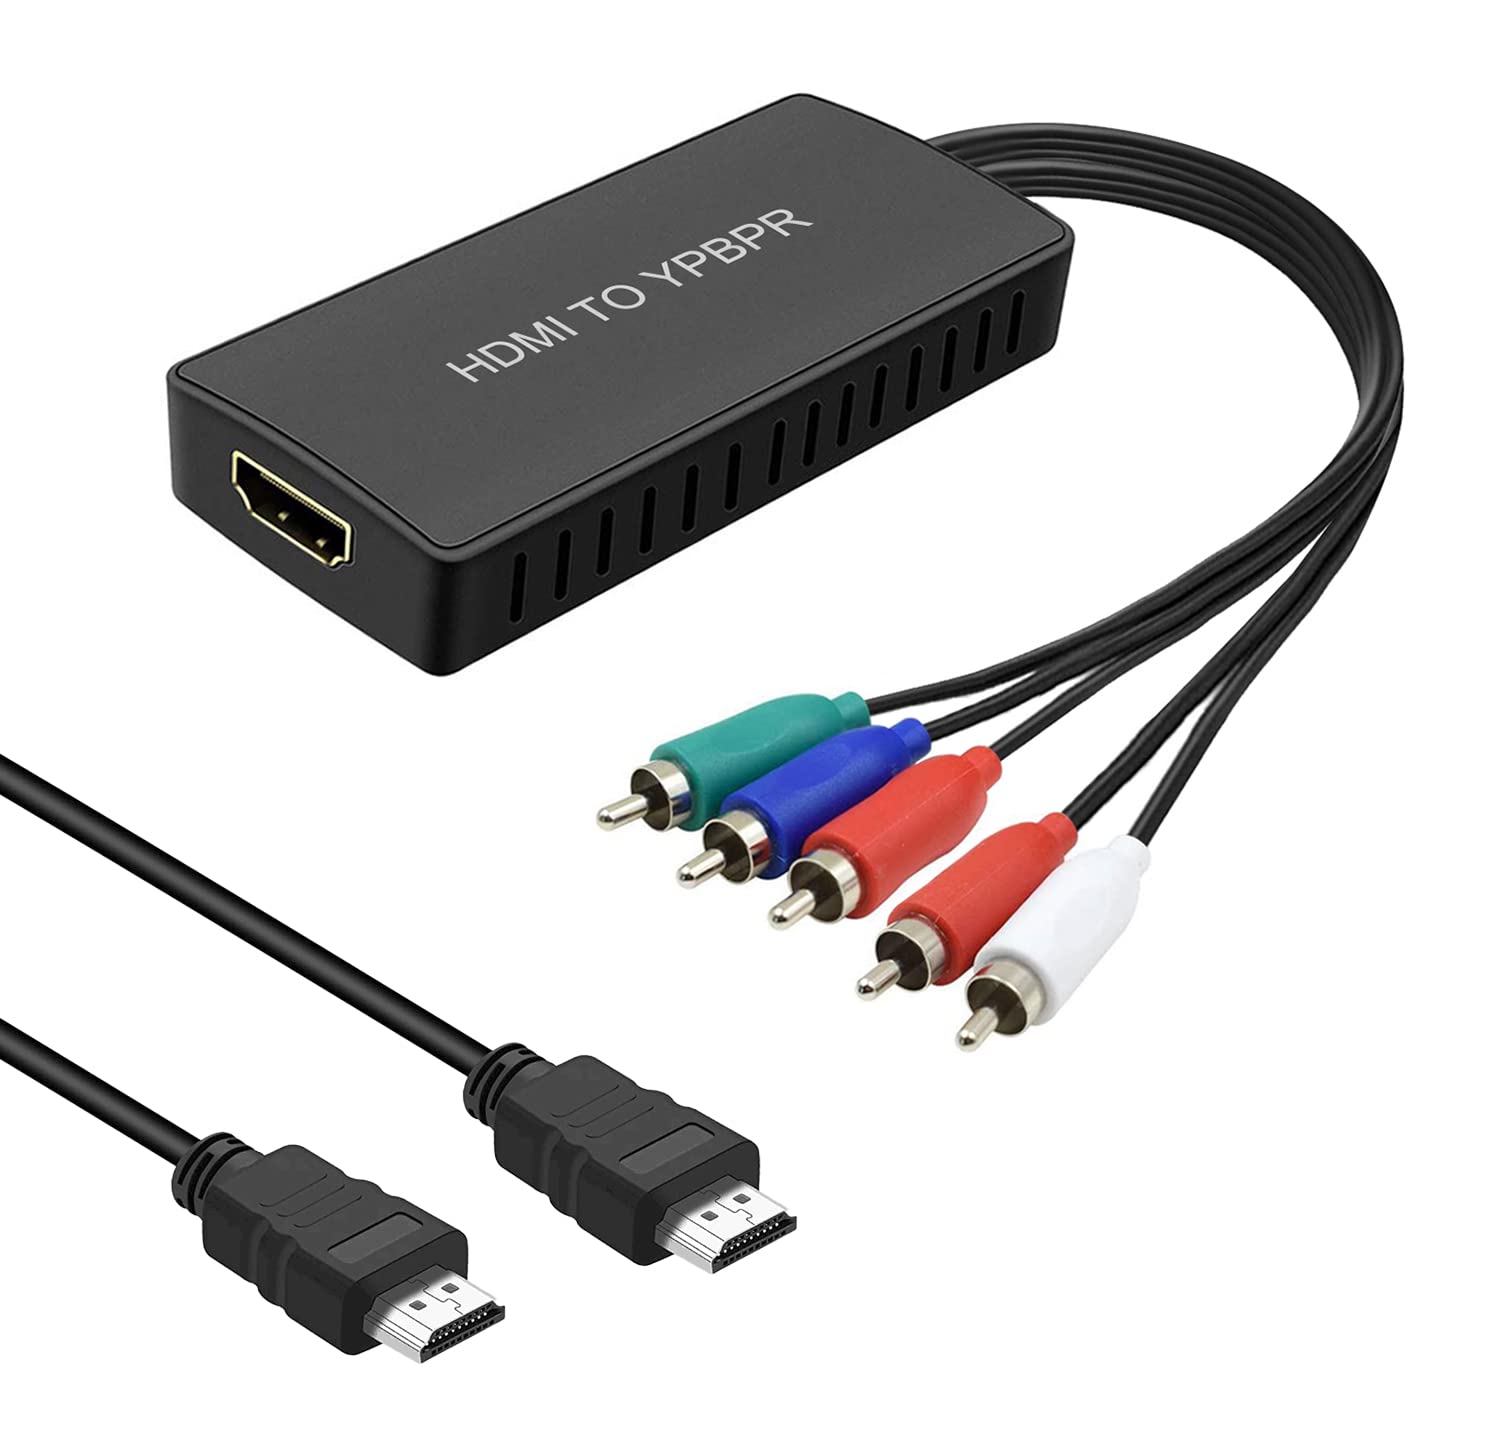
Option 4: Connecting via Component AV
If your projector has Component AV inputs, you can connect your Xbox One gaming console to it using Component AV cables. The Component AV connection allows for high-quality video transmission, but separate audio cables are required for audio output. Follow these steps to connect your Xbox One to a projector using Component AV cables:
- Locate the Component AV output ports on your Xbox One console. They are color-coded as red, green, and blue for video, and red and white for audio.
- Identify the Component AV input ports on your projector. These ports are also color-coded to match the corresponding cables.
- Connect the red, green, and blue video cables to their respective Component AV output ports on your Xbox One.
- Take the red and white audio cables and connect them to the corresponding red and white audio output ports on your Xbox One.
- Plug the other ends of the video and audio cables into their respective Component AV input ports on your projector.
- Now, power on your projector and switch the input source to the Component AV input that you connected your Xbox One to. This can typically be done through the projector’s remote control or on-screen menu.
- Turn on your Xbox One console and wait for the projector to display the Xbox One home screen.
Great! You have successfully connected your Xbox One to the projector using Component AV cables. Enjoy gaming on the big screen with vibrant video and audio output.
It’s important to note that Component AV cables do not carry audio and video signals in the same cable like HDMI or DisplayPort. Therefore, for audio output, you need to make sure to connect the separate audio cables to an external speaker system or soundbar.
Connecting your Xbox One to a projector via Component AV is a viable option if your projector does not have HDMI or DisplayPort inputs. While the video quality may not be as high-definition as HDMI or DisplayPort, the Component AV connection still offers a decent gaming experience with good visual clarity.
If your projector does not have Component AV inputs, you can explore other available connection options such as HDMI, VGA, or Composite AV, depending on the available ports on your projector.
Now that you know how to connect your Xbox One to a projector using Component AV, you can enjoy your favorite games on a larger screen and experience gaming in a whole new way.
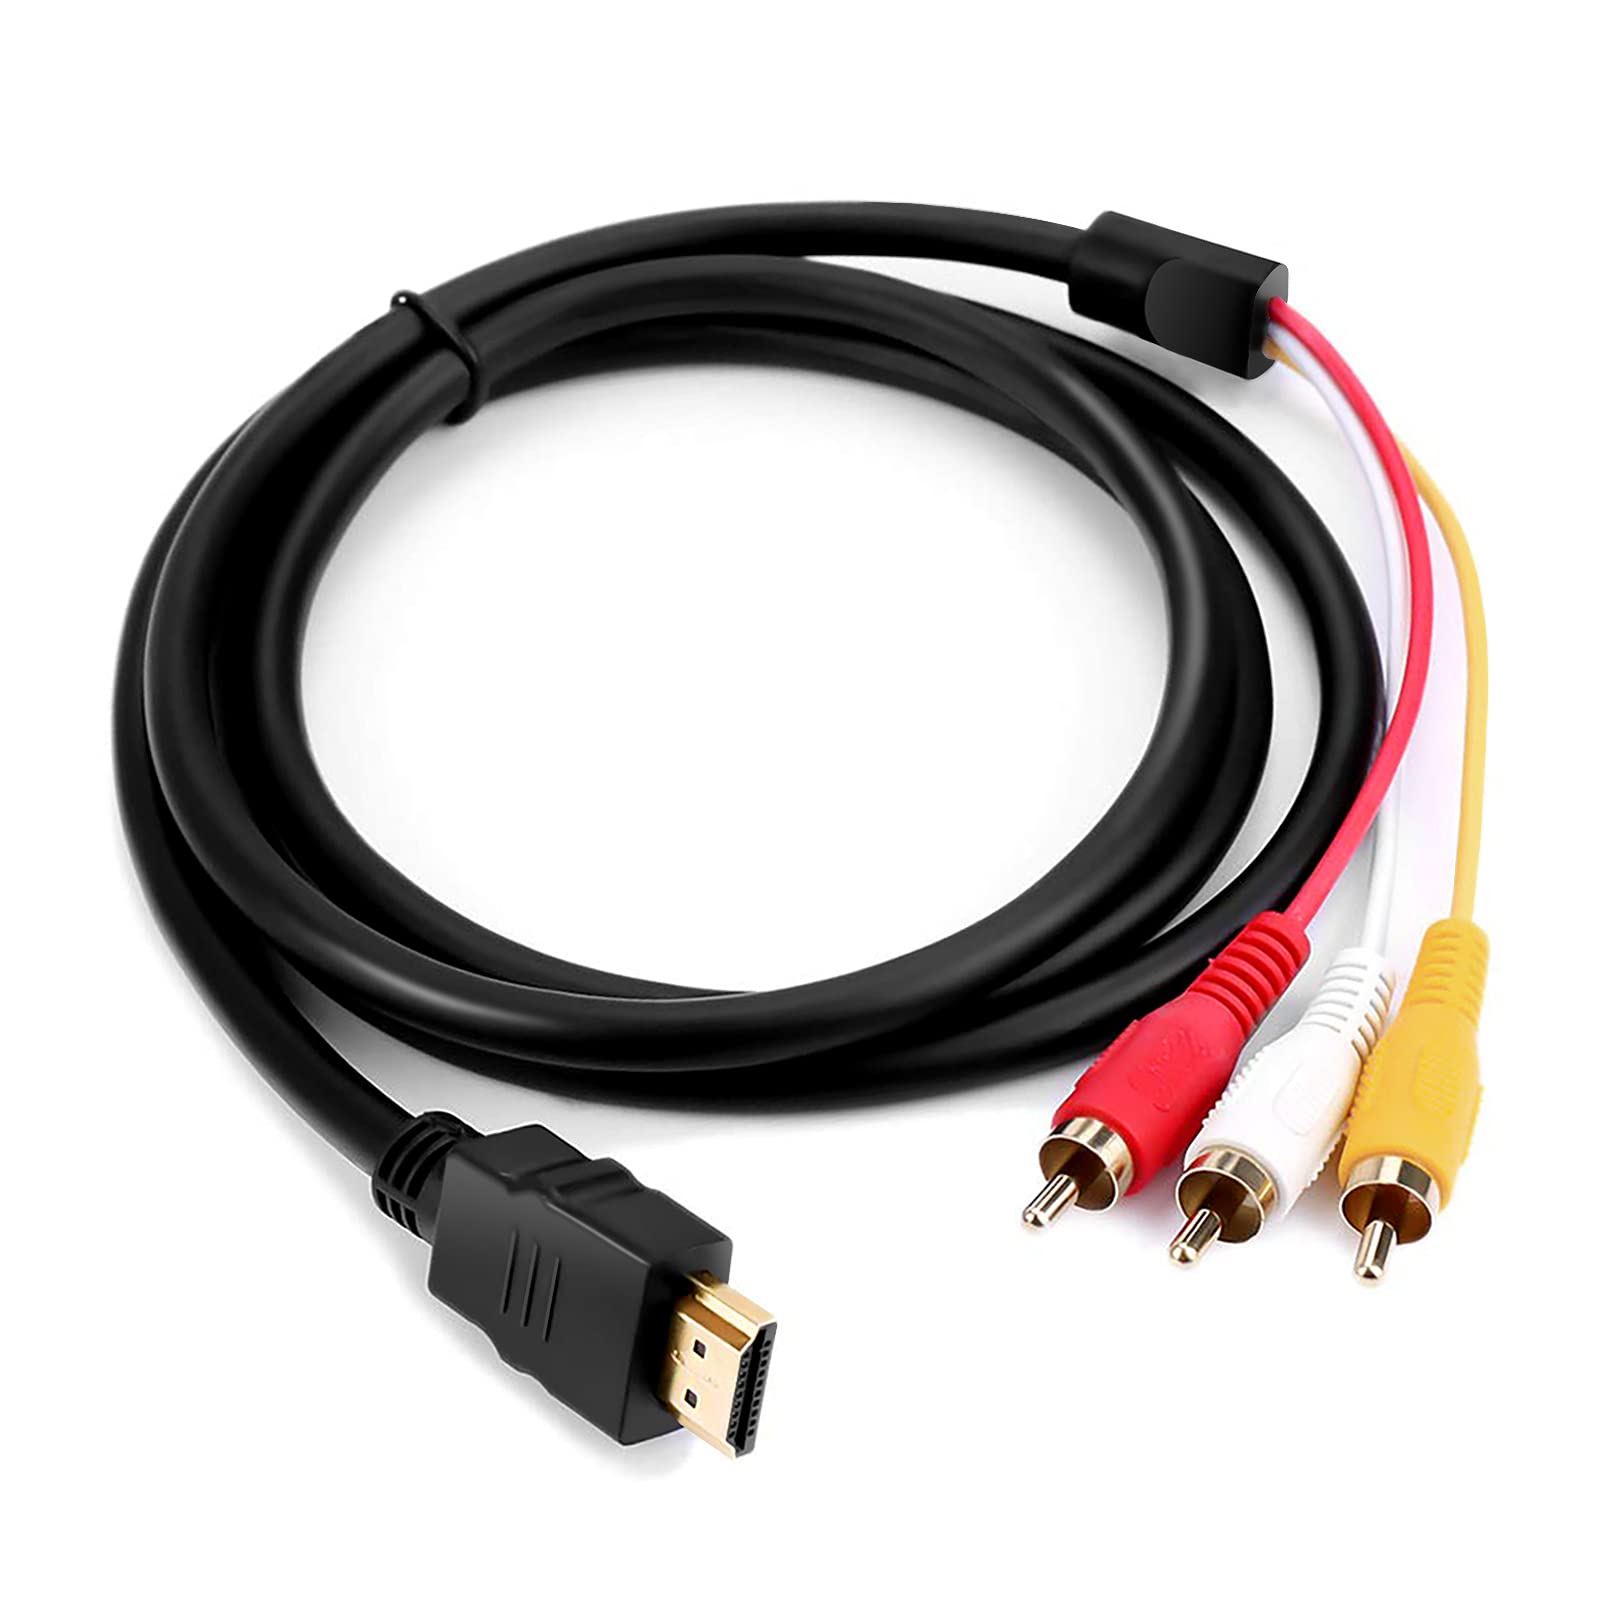
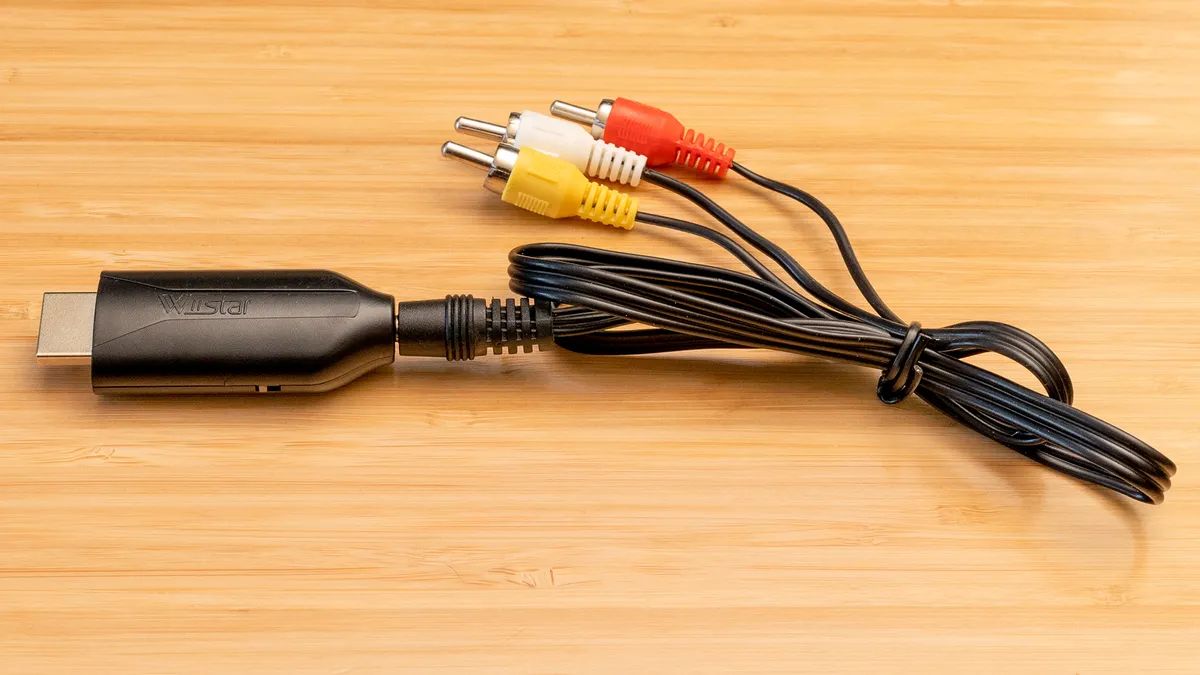
Option 5: Connecting via Composite AV
If your projector has Composite AV inputs, you can connect your Xbox One gaming console to it using Composite AV cables. This method provides a standard-definition video and audio connection. Follow these steps to connect your Xbox One to a projector using Composite AV cables:
- Locate the Composite AV output ports on your Xbox One console. They are color-coded as yellow for video and red and white for audio.
- Identify the Composite AV input ports on your projector. These ports are also color-coded to match the corresponding cables.
- Connect the yellow video cable to the yellow Composite AV output port on your Xbox One.
- Take the red and white audio cables and connect them to the respective red and white audio output ports on your Xbox One.
- Plug the other ends of the video and audio cables into their respective Composite AV input ports on your projector.
- Now, power on your projector and switch the input source to the Composite AV input that you connected your Xbox One to. This can typically be done through the projector’s remote control or on-screen menu.
- Turn on your Xbox One console and wait for the projector to display the Xbox One home screen.
Well done! You have successfully connected your Xbox One to the projector using Composite AV cables. Enjoy your gaming experience on the larger screen, although the video quality will be in standard definition.
It’s important to note that the Composite AV connection provides standard-definition video, which may not offer the same level of visual clarity as higher-resolution connections like HDMI or Component AV. However, if your projector only has Composite AV inputs, this method allows you to connect and enjoy gaming on a larger display.
Additionally, like the Component AV connection, the Composite AV cables do not transmit audio and video signals in the same cable. Therefore, it’s necessary to connect the separate audio cables to an external speaker system or soundbar to ensure audio output during gaming.
If your projector does not have Composite AV inputs, you can explore other available connection options such as HDMI, VGA, or Component AV, depending on the available ports on your projector.
Now that you know how to connect your Xbox One to a projector using Composite AV, you can enjoy gaming on a bigger screen and experience your favorite games in a new way, albeit in standard definition.
Option 6: Connecting via Wireless HDMI
If you prefer a cable-free setup or your projector is not located near your Xbox One console, you can opt to connect them wirelessly using a Wireless HDMI system. This option allows for convenient and flexible placement of both devices without the hassle of cables. Here’s how you can connect your Xbox One to a projector wirelessly:
- First, acquire a Wireless HDMI transmitter and receiver set that is compatible with your Xbox One console and projector.
- Connect the HDMI output port of the wireless transmitter to the HDMI output port of your Xbox One console using a standard HDMI cable.
- Plug the wireless receiver into the HDMI input port of your projector.
- Follow the manufacturer’s instructions to synchronize and pair the wireless transmitter and receiver.
- Once the wireless connection is established, turn on your Xbox One console and power on your projector.
- Select the HDMI input on your projector that corresponds to the wireless receiver.
- You should now see the Xbox One output on the projector screen, wirelessly.
Great job! You have successfully connected your Xbox One to the projector wirelessly using a Wireless HDMI system. Enjoy your gaming sessions without the constraints of cables.
Wireless HDMI systems eliminate the need for long cables and allow you to set up your Xbox One and projector in a more flexible and convenient way. It offers the advantage of freedom in projector placement, enabling you to create a clutter-free and seamless gaming setup.
It is important to note that the performance of wireless HDMI systems may vary depending on factors such as distance, interference, and signal quality. Ensure that your wireless HDMI system is of good quality and has a suitable operational range for your setup.
If your projector and Xbox One are in close proximity and you prefer a wired connection, it is generally recommended to use an HDMI, DisplayPort, or other cable connection options for the best possible video and audio quality.
Now that you know how to connect your Xbox One to a projector wirelessly using a Wireless HDMI system, you can enjoy gaming on the big screen without the limitations of cables, providing a hassle-free and immersive gaming experience.
Option 7: Output settings on Xbox One
After connecting your Xbox One to a projector, it’s essential to ensure that the output settings are properly configured to optimize the display and audio quality. Here are the steps to adjust the output settings on your Xbox One gaming console:
- Access the Xbox One home screen by turning on your console and signing in to your account.
- Press the Xbox button on your controller to open the Guide menu.
- Scroll right to the System tab and select “Settings”.
- In the Settings menu, navigate to “Display & sound” and select it.
- Under the Display options, choose “Video output”. Here, you can adjust various settings to optimize the display for your projector.
- Start by selecting the appropriate resolution for your projector’s capabilities. Choose the highest resolution that your projector supports for the best video quality. Select “Auto-detect” if you’re uncertain about the supported resolution.
- Next, adjust the aspect ratio according to your projector’s native aspect ratio. Most projectors have a native aspect ratio of 16:9, so select this option unless you know otherwise.
- Under “Color depth”, choose the highest color depth available for optimal video quality. This setting may be limited by the capabilities of your projector.
- Proceed to the “TV connection” option and select the appropriate setting based on the type of connection you are using, such as HDMI or VGA.
- Finally, under “Calibrate HDTV”, you have the option to fine-tune the display parameters, such as brightness, contrast, and color, to suit your preferences and achieve the best visual output.
That’s it! You have successfully adjusted the output settings on your Xbox One to optimize the display for your projector. Make sure to save the changes and exit the settings menu.
By properly configuring the output settings, you can ensure that the Xbox One’s video and audio are displayed accurately and optimized for your projector’s capabilities. It enhances the overall gaming experience and allows you to enjoy your favorite games on the big screen with optimal visual quality.
It’s worth noting that the available output settings may vary slightly depending on your console version and software updates. The steps provided here are based on the latest Xbox One software at the time of writing.
Now that you have adjusted the output settings on your Xbox One, you are ready to dive into your gaming sessions on the projector and enjoy the immersive experience that it offers.
Conclusion
Connecting your Xbox One gaming console to a projector opens up a whole new world of gaming possibilities. Whether you want to immerse yourself in the action on a larger screen or host an epic gaming party, connecting your Xbox One to a projector can provide a truly cinematic experience. Throughout this guide, we have explored various options for connecting your Xbox One to a projector, including HDMI, VGA, DisplayPort, Component AV, Composite AV, and even wireless HDMI.
By following the step-by-step instructions for each connection option, you can easily establish a connection that best suits your setup and projector’s capabilities. Whether you prefer the simplicity of an HDMI connection, the flexibility of wireless HDMI, or the versatility of VGA or Component AV, there is a suitable option for everyone.
It is important to remember to adjust the output settings on your Xbox One to ensure optimal display and audio quality. Taking the time to fine-tune the resolution, aspect ratio, and color settings can greatly enhance your gaming experience and make the most of your projector’s capabilities.
Regardless of the connection option you choose, connecting your Xbox One to a projector allows you to enjoy gaming on a larger scale. The immersive visuals, enhanced audio, and cinematic experience create an unforgettable gaming journey.
So, grab your Xbox One gaming console, choose the appropriate connection option, adjust the output settings, and embark on an exciting gaming experience on the big screen. Whether you’re exploring open worlds, battling enemies, or conquering sports championships, gaming on a projector adds a new level of excitement and immersion.
Now it’s time to turn on your projector, power up your Xbox One, and get ready to game like never before!