Introduction
Welcome to the ultimate guide on how to hook up the Curtis 5.1 Surround Sound System. If you’re looking to bring the cinema experience to the comfort of your own home, this comprehensive tutorial will walk you through the process step-by-step.
The Curtis 5.1 Surround Sound System is a top-of-the-line audio setup that delivers immersive sound quality for movies, music, and gaming. Whether you’re a tech enthusiast or a beginner, this guide will provide you with all the information you need to set up and connect your Curtis system correctly.
Before we dive into the step-by-step instructions, it’s important to note that setting up a surround sound system requires a basic understanding of audio equipment and some patience. While the process may seem daunting at first, we assure you that it is well worth the effort.
With the Curtis 5.1 Surround Sound System, you’ll enjoy the crisp, realistic audio that brings your entertainment to life. So, let’s get started and transform your living room into a private theater!
Step 1: Unpack the Curtis 5.1 Surround Sound System
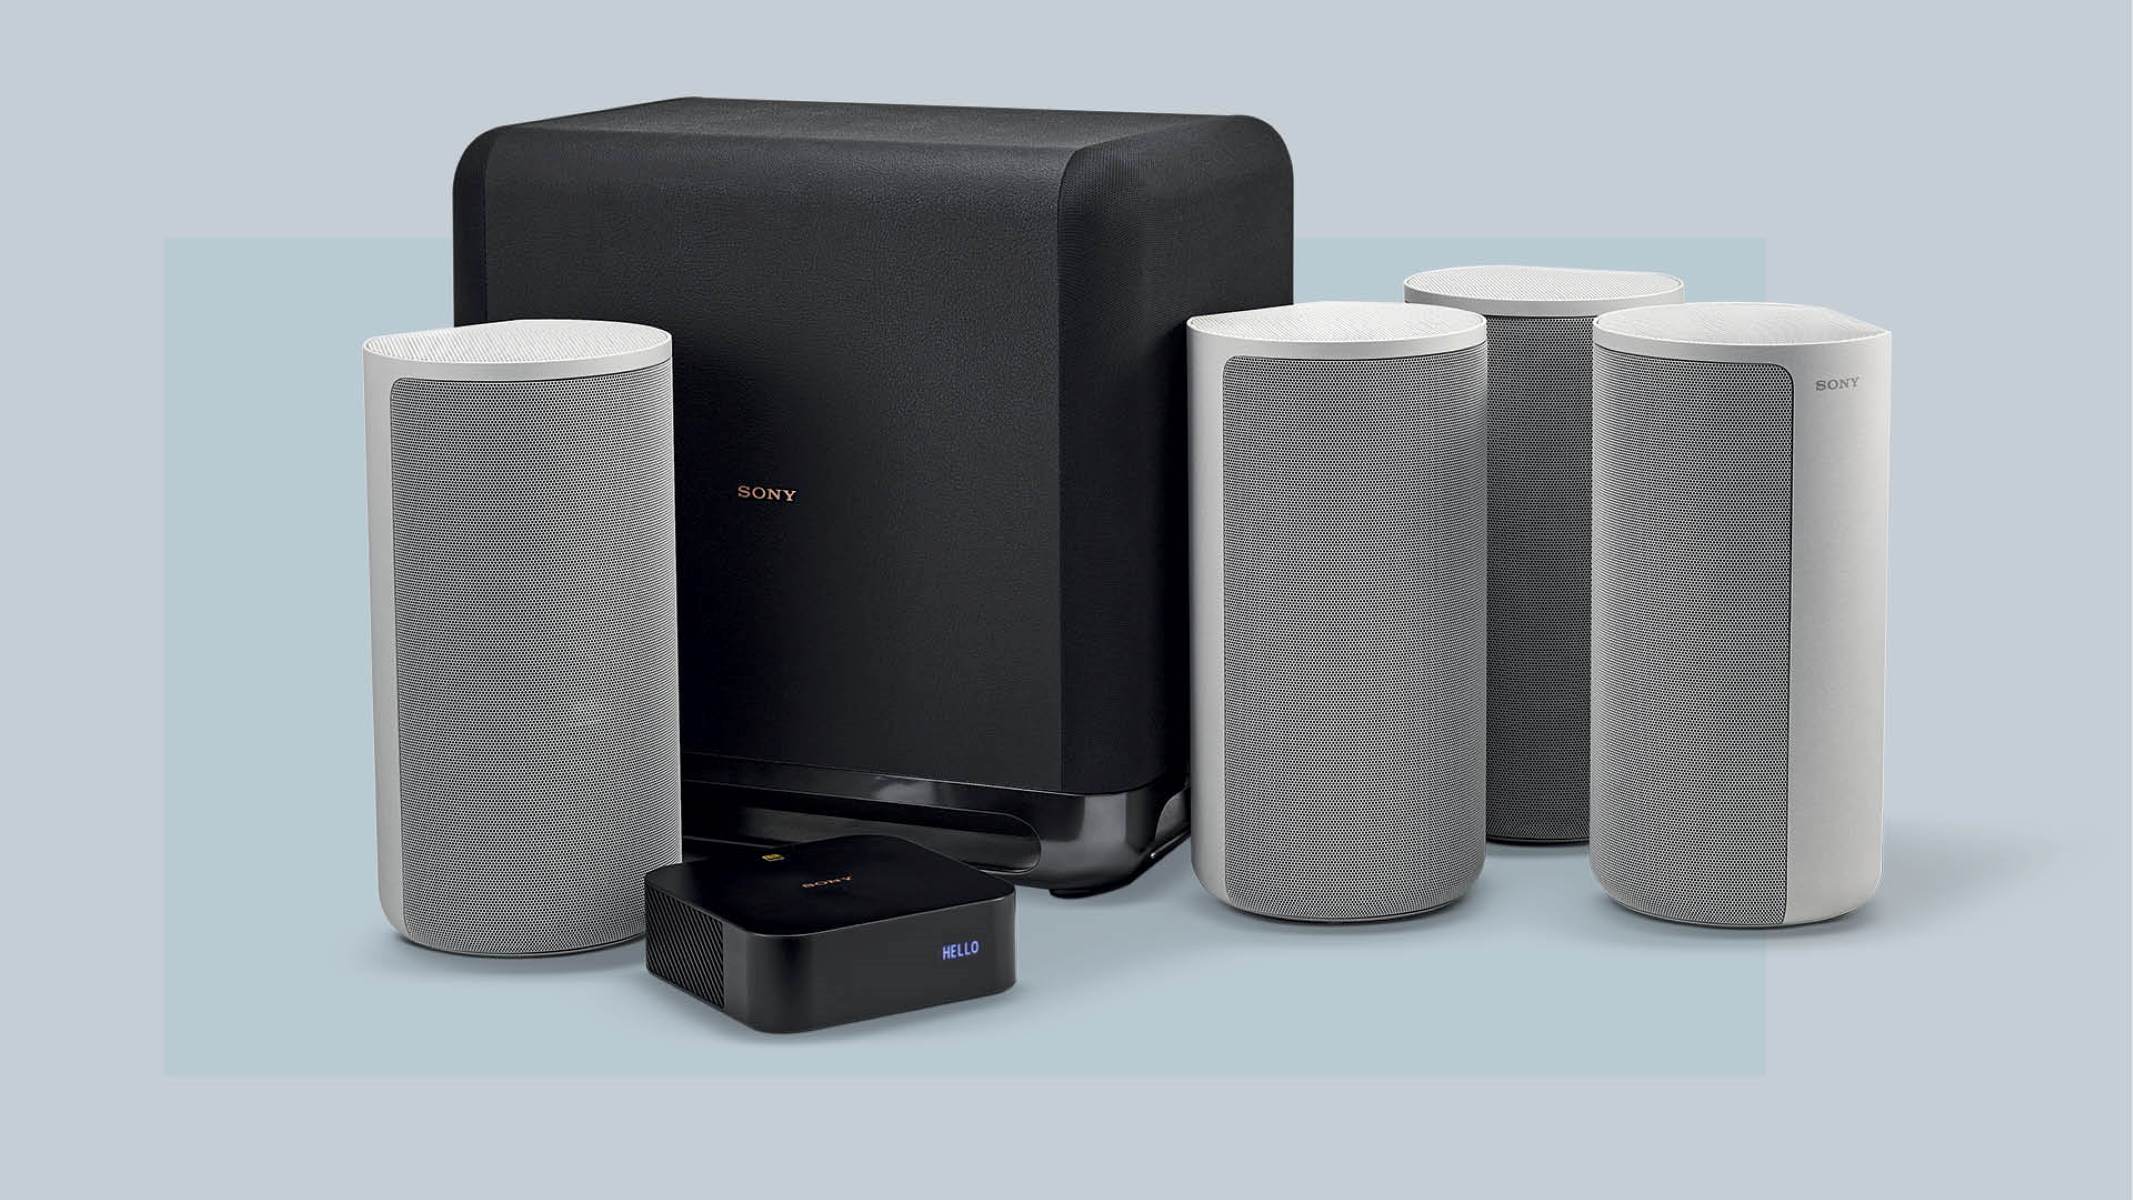
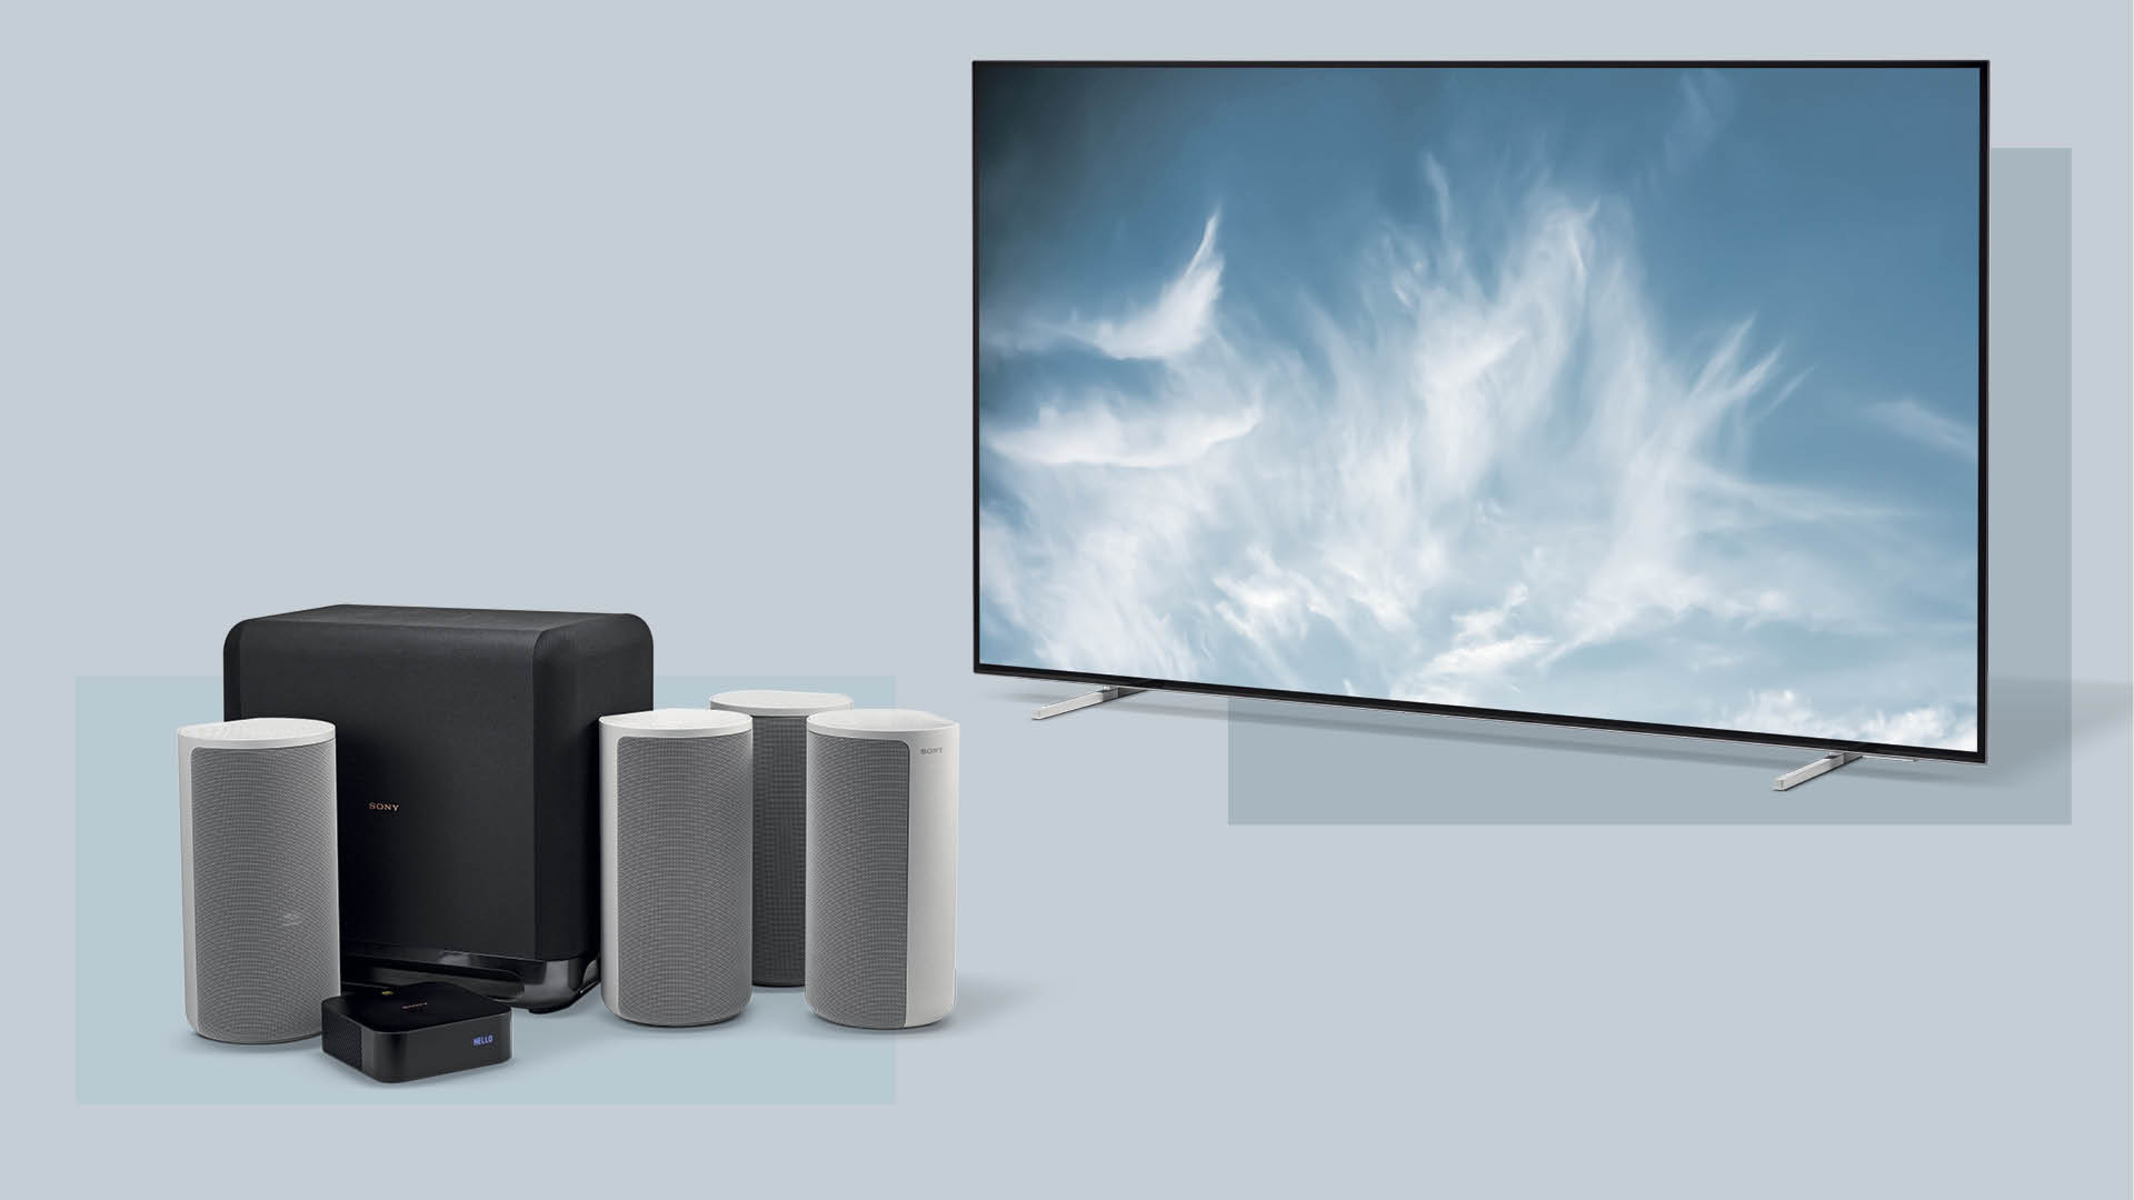
The first step in setting up your Curtis 5.1 Surround Sound System is to unpack all the components from the box. Carefully remove the items and ensure that you have all the necessary parts before proceeding. The typical Curtis 5.1 system includes an AV receiver, five satellite speakers, and a subwoofer.
Once you have confirmed that everything is present, inspect each component for any visible damage. It’s always a good idea to do a quick visual check to ensure that no parts have been damaged during shipping. If you notice any issues, contact the retailer or Curtis customer support for assistance.
Next, find a suitable location to set up your surround sound system. Ideally, the AV receiver should be placed near your television or entertainment center. This will make it easier to connect the system to your TV and other audiovisual devices.
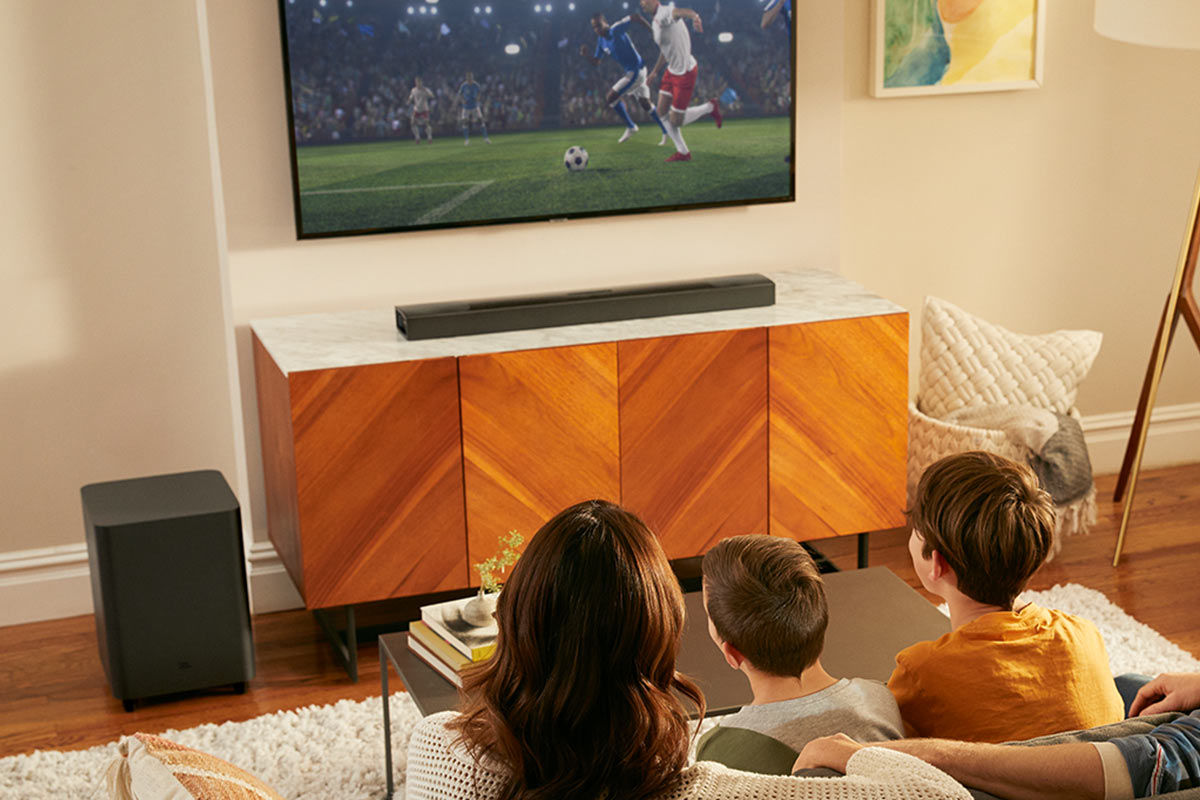
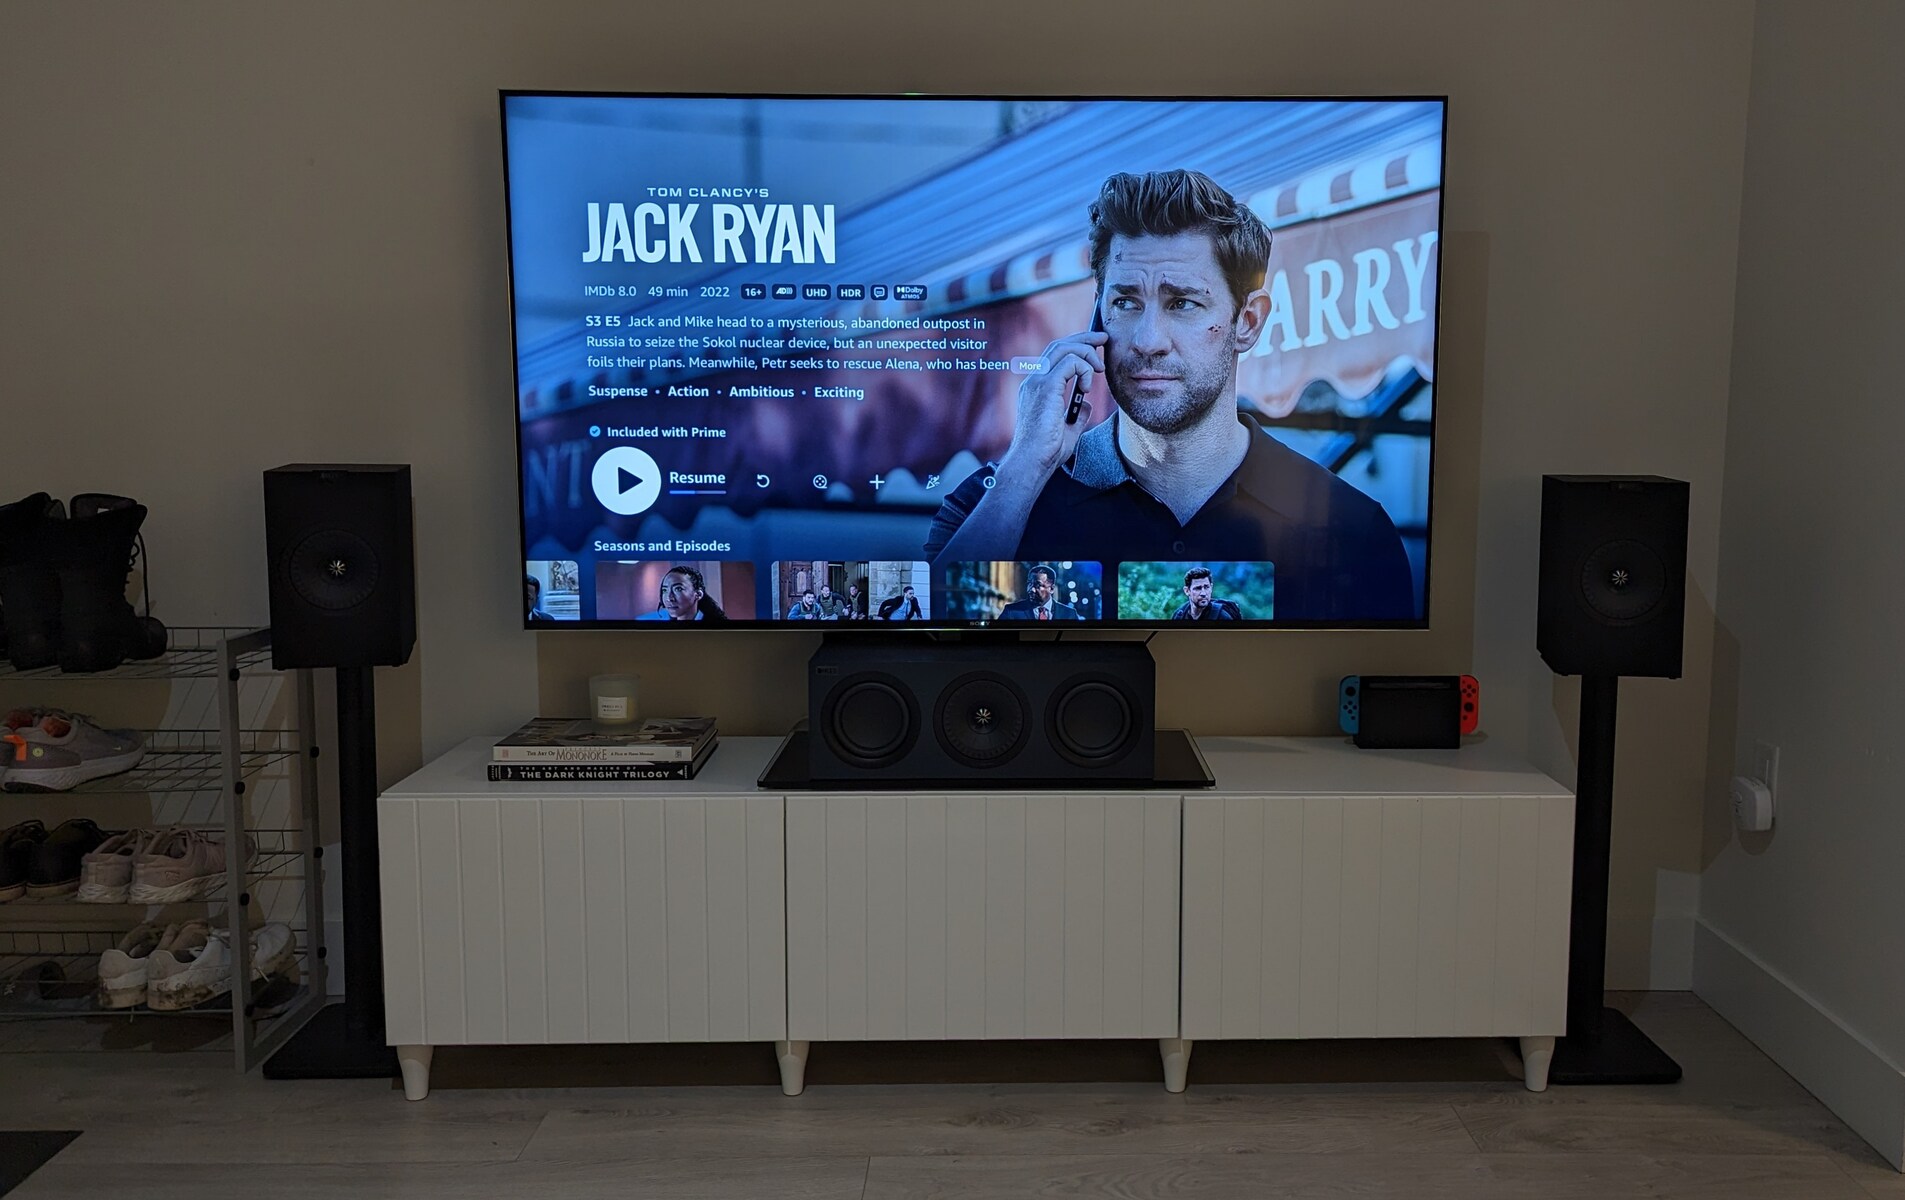
When selecting a spot for the satellite speakers, consider the optimal positioning for surround sound. Generally, the front left and right speakers should be placed equidistant from the TV, forming an angle towards the viewer. The center speaker can be placed either above or below the TV, while the rear speakers should be positioned behind the seating area, slightly above ear level.
For the subwoofer, you have more flexibility in placement as it is responsible for reproducing low-frequency sounds. Experiment with different locations to find the spot that provides the best bass response. Keep in mind that placing the subwoofer in a corner or near a wall can enhance bass performance.
With the components unpacked and the ideal placement in mind, you’re now ready to move on to the next step of the setup process. It’s time to connect the AV receiver and start bringing your Curtis 5.1 Surround Sound System to life!
Step 2: Positioning the Speakers
Now that you have unpacked the Curtis 5.1 Surround Sound System and identified the optimal location for your AV receiver, it’s time to focus on positioning the satellite speakers. The placement of these speakers plays a crucial role in creating an immersive surround sound experience.
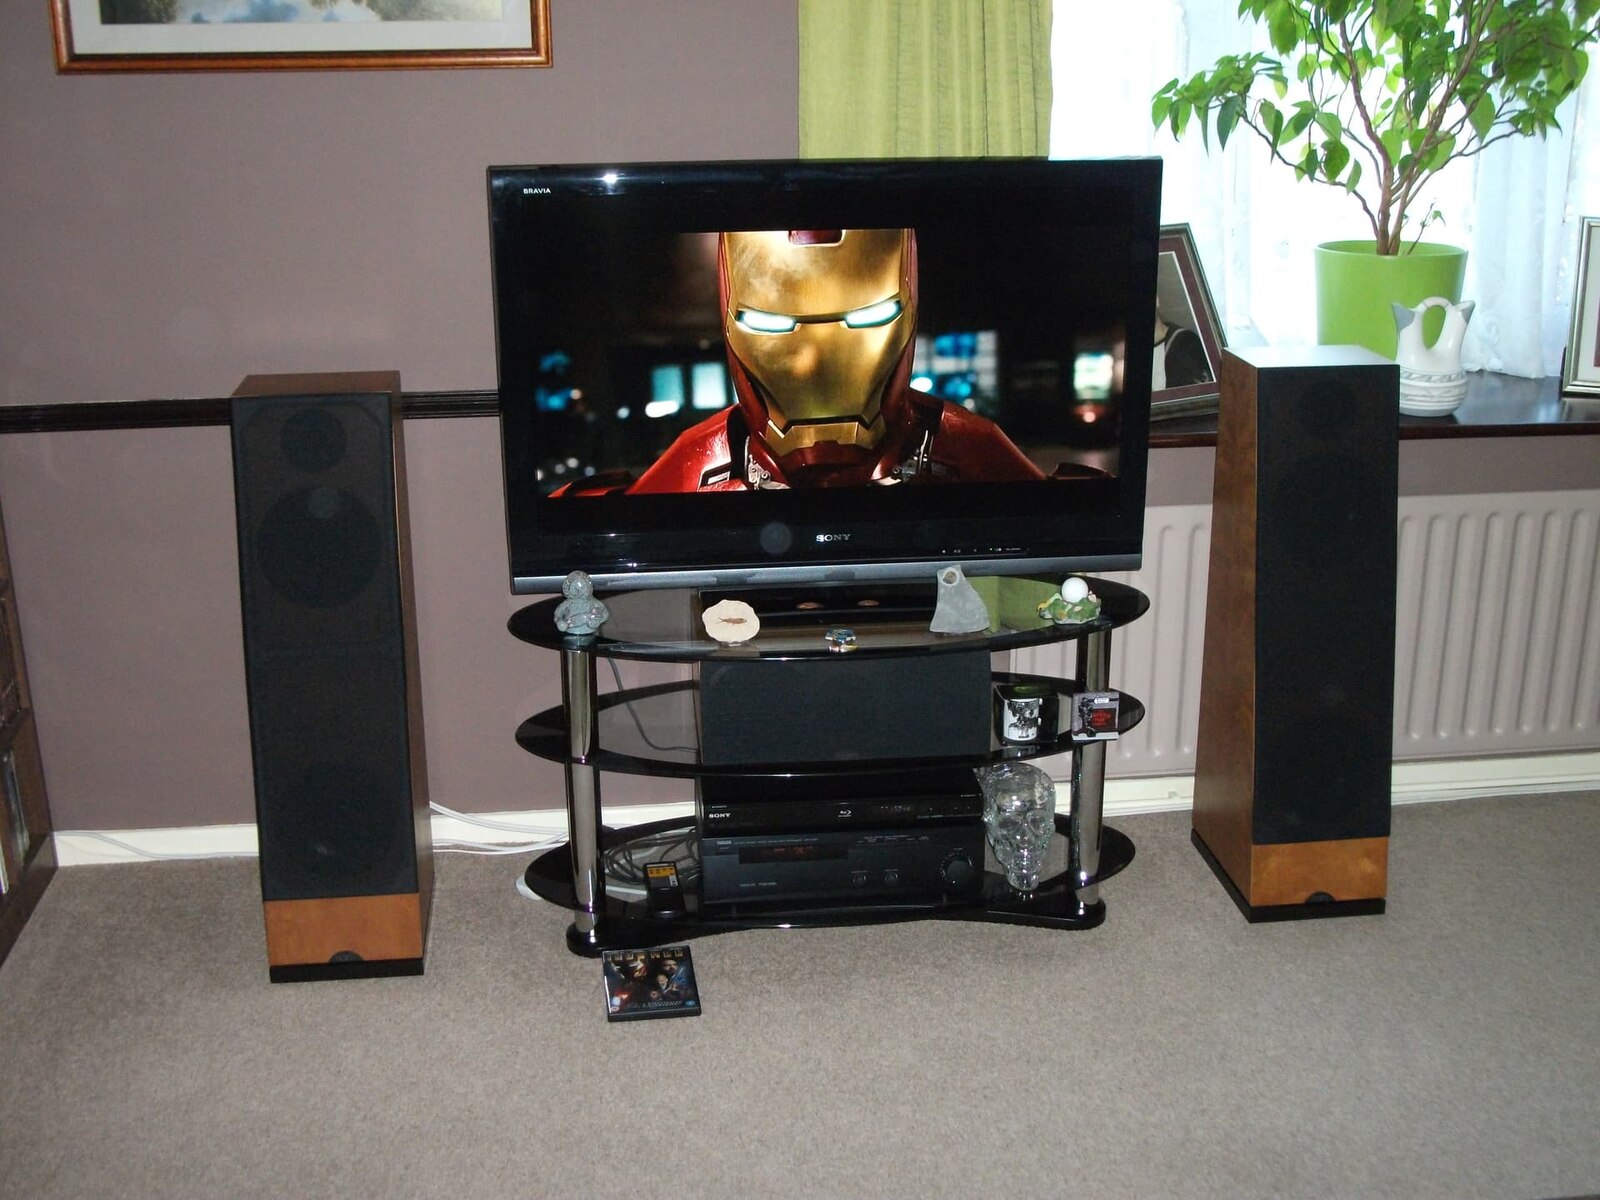
Starting with the front left and right speakers, position them on either side of your TV or entertainment center. Ensure that they are equidistant from the TV and form an angle towards the viewer. This will help to create a spacious and balanced soundstage.
The center speaker, responsible for dialogue and vocals, should ideally be placed either above or below the TV. If you have a shelf or stand that is compatible with the speaker’s size, that can provide a stable and elevated position for optimal audio projection.
For the rear speakers, position them behind the seating area, slightly above ear level. This allows for an enveloping surround sound experience. If wall mounting is an option, it’s recommended to securely mount the rear speakers to maximize their effectiveness.
When setting up the satellite speakers, be mindful of any obstacles or furniture that could obstruct the sound. Avoid placing them too close to walls or corners, as this can result in uneven sound distribution. Experiment with positioning to find the optimal placement for your specific listening environment.
Once you have positioned the satellite speakers, take a moment to ensure they are securely placed and stable. Double-check that all connections are intact and tight to prevent any movement or accidental disconnection during use.
By positioning the Curtis 5.1 Surround Sound System speakers correctly, you will create an immersive audio experience that enhances your entertainment. With the speakers in place, it’s time to move on to the next step: connecting the AV receiver.
Step 3: Connecting the AV Receiver
Now that you have positioned the satellite speakers for your Curtis 5.1 Surround Sound System, it’s time to connect the AV receiver. The AV receiver acts as the central hub for processing and amplifying audio signals from your various devices.
Start by locating the HDMI ports on the back of your AV receiver. These ports allow for both high-definition audio and video signals to pass through. Connect an HDMI cable from the HDMI OUT port on the AV receiver to the HDMI IN port on your TV. This will ensure that both audio and video signals are transmitted to your TV.
Next, connect your source devices, such as a Blu-ray player, game console, or cable box, to the AV receiver. Locate the HDMI IN ports on the back of the receiver and connect an HDMI cable from each device to the corresponding port. This will enable the AV receiver to receive audio signals from these devices.
If your source devices do not have HDMI outputs, you can use alternative connection methods such as digital optical audio cables or RCA cables. Simply connect the corresponding cables from the audio output of your source device to the corresponding audio input ports on the AV receiver.
Now, it’s time to connect the satellite speakers to the AV receiver. Locate the speaker outputs on the back of the receiver and match the corresponding speaker wires. Connect the positive (+) and negative (-) terminals on the speakers to the corresponding terminals on the receiver. Ensure that the connections are secure and tight to avoid any audio issues.
Lastly, connect the subwoofer to the AV receiver. Most Curtis 5.1 systems have a dedicated subwoofer output on the receiver. Connect the subwoofer cable from the subwoofer output on the receiver to the input on the subwoofer itself. Make sure the connection is secure to avoid any loss of bass performance.
Once all the connections are made, double-check that everything is securely plugged in. Take a moment to organize the cables and keep them neatly arranged to avoid tangling or tripping hazards.
With the AV receiver properly connected, you are now one step closer to enjoying the immersive surround sound experience of the Curtis 5.1 Surround Sound System. The next step is connecting the satellite speakers, which we will cover in the next section.
Step 4: Connecting the Speakers
Now that you have successfully connected the AV receiver, it’s time to connect the satellite speakers of your Curtis 5.1 Surround Sound System. Each satellite speaker will require a separate connection to the corresponding speaker output on the AV receiver.
Start by identifying the speaker wires that came with your Curtis system. These wires typically have a color-coded design, with one end stripped bare for connection. Take note of the color-coding as it corresponds to the different speakers in the system.
Starting with the front left speaker, take the speaker wire and insert the stripped end into the corresponding terminal on the back of the speaker. Most speakers have a red terminal for positive (+) and a black terminal for negative (-). Make sure you match the colors correctly.
Once the wire is inserted, secure it by tightening the terminal knob. Make sure the connection is tight to ensure optimal audio transmission.
Next, locate the corresponding front left speaker output on the AV receiver. It should be marked or labeled as “Front Left” or “FL.” Insert the other end of the speaker wire into the corresponding terminal, following the same color-coded pattern.
Repeat this process for the front right speaker, connecting it to the front right speaker output on the AV receiver. Then, connect the center speaker, which is responsible for dialogue and vocals, to the center speaker output on the AV receiver.
Proceed to connect the rear speakers, making sure they are placed on the designated left and right sides. Connect the wires of the left rear speaker to the corresponding left rear speaker output on the AV receiver, and repeat the process for the right rear speaker.
Once all the speaker wires are securely connected, take a moment to verify that each wire is tightly connected and that there are no loose connections. This ensures that the audio signals will be transmitted accurately to each speaker.
With the speakers properly connected, you’re one step away from completing the setup of your Curtis 5.1 Surround Sound System. Keep reading to learn about the final step: connecting the subwoofer.
Step 5: Connecting the Subwoofer
Now that you have successfully connected the satellite speakers of your Curtis 5.1 Surround Sound System, it’s time to connect the subwoofer. The subwoofer is responsible for delivering deep and powerful bass, adding an extra layer of impact to your audio experience.
Start by locating the subwoofer output on the AV receiver. This will usually be labeled as “Subwoofer” or “SW.” Take note of the type of connection required – it could be a dedicated subwoofer output, a single RCA output, or a digital connection.
Next, connect the subwoofer cable to the corresponding subwoofer output on the AV receiver. If you are using a dedicated subwoofer output, connect one end of the cable to this port. If your AV receiver only has a single RCA output for the subwoofer, connect the cable to this output.
If your Curtis 5.1 system uses a digital connection, such as a digital coaxial or optical cable, connect one end to the appropriate output on the AV receiver and the other end to the corresponding input on the subwoofer.
Once the cable is securely connected, proceed to connect the other end of the cable to the subwoofer itself. Most subwoofers have a dedicated input labeled as “Sub In” or “Input.” Insert the cable into this input, making sure it is securely connected.
After connecting the subwoofer, carefully position it in the desired location within your listening area. Since bass sounds are omnidirectional, the placement of the subwoofer is less critical than the other speakers in the system.
Experiment with different placements to find the spot that provides the best bass response. Placing the subwoofer near a wall or in a corner can often enhance the bass performance, as these surfaces help to reinforce the low-frequency sounds.
Once the subwoofer is positioned, take a moment to ensure all connections are secure and that there are no loose cables. Verify that the subwoofer is receiving power, either through a direct power cable or by being plugged into a power outlet.
With the subwoofer connected, you have completed the setup of your Curtis 5.1 Surround Sound System. The next step is to connect any external devices such as Blu-ray players, game consoles, or streaming devices. Keep reading to learn how.
Step 6: Connecting External Devices
Now that you have successfully connected the speakers and subwoofer of your Curtis 5.1 Surround Sound System, it’s time to connect your external devices. This step will allow you to enjoy the full range of audio capabilities of your surround sound system with your favorite media.
Start by identifying the external devices you want to connect to your Curtis system, such as a Blu-ray player, game console, or streaming device. Each device will have its own audio output options, which you can use to connect to the AV receiver.
If your devices support HDMI output, use HDMI cables to connect them to the HDMI inputs on the AV receiver. This allows for both audio and video signals to be transmitted to your system. Simply insert one end of the HDMI cable into the HDMI output of the device and the other end into one of the available HDMI inputs on the AV receiver.
If your external devices only have analog audio outputs, such as RCA or 3.5mm, you can use appropriate cables to connect them to the AV receiver. Connect the audio cables from the output of each device to the corresponding audio inputs on the AV receiver. Make sure to match the colors of the cables with the corresponding ports.
For devices with optical audio outputs, use an optical cable to connect the device to the optical input on the AV receiver. Insert one end of the optical cable into the optical output of the device and the other end into the optical input on the AV receiver. This allows for high-quality digital audio transmission.
Once all your external devices are connected to the AV receiver, double-check that all the cables are securely connected and tight. Ensure that the devices are powered on and set to the correct audio output settings.
You can now enjoy the immersive surround sound experience of your Curtis 5.1 system with your external devices. Whether you’re watching movies, playing games, or streaming your favorite shows, your audio will be enhanced and brought to life.
With the external devices connected, you have completed the setup process. The final step is to power up the system and test it. Keep reading to learn how to do this in the next section.
Step 7: Powering Up and Testing the System
After successfully connecting all the components of your Curtis 5.1 Surround Sound System, it’s time to power up the system and test it. This final step will ensure that everything is functioning as intended, allowing you to fully enjoy the immersive audio experience.
Start by plugging in the power cables of the AV receiver, speakers, and subwoofer into a power outlet. Ensure that all power cables are securely connected and that the power source is turned on.
Once the system is powered up, turn on your TV and switch it to the appropriate input source. If you connected your devices to the AV receiver using HDMI cables, select the corresponding HDMI input on your TV. If you used other connection methods, such as RCA or optical cables, switch to the appropriate input source on your TV and AV receiver.
Next, turn on the AV receiver and select the appropriate input source. This should match the device you want to use (e.g., Blu-ray player, game console). Use the AV receiver remote or the control panel on the receiver itself to make the selection.
With the AV receiver powered on and the correct input selected, sit back and enjoy the surround sound experience. Play your favorite media on your connected devices and listen for the immersive audio coming through the speakers.
Pay attention to the sound quality and the proper distribution of audio across the different speakers. Ensure that all the speakers are producing sound and that there is a balanced audio output from each one.
If you notice any issues, such as low volume, distorted sound, or missing audio from specific speakers, double-check all the connections. Make sure the cables are properly inserted and that there are no loose or disconnected wires.
You may also want to refer to the user manual or troubleshooting guide for your Curtis 5.1 system for further assistance in diagnosing and resolving any audio issues.
Once you’ve verified that everything is functioning properly, it’s time to sit back, relax, and enjoy your favorite movies, music, and games with the true cinematic experience provided by your Curtis 5.1 Surround Sound System.
Conclusion
Congratulations! You have successfully set up and connected your Curtis 5.1 Surround Sound System. By following the step-by-step guide provided in this article, you have transformed your living room into a private theater, allowing you to enjoy immersive and high-quality audio.
Throughout the setup process, you learned how to unpack the components, position the speakers, connect the AV receiver, hook up the satellite speakers, connect the subwoofer, and finally, connect external devices. Each step was crucial in ensuring the optimal performance of your Curtis surround sound system.
Remember to take the time to position your speakers correctly, allowing for an immersive surround sound experience. Double-check all connections and make sure everything is securely plugged in to avoid any audio issues.
With your external devices connected, you can now enjoy movies, games, and music with enhanced audio quality. Sit back and immerse yourself in the rich soundscapes and deep bass provided by the Curtis 5.1 system.
If you encounter any issues or have questions about specific setup steps, make sure to consult the user manual or reach out to Curtis customer support for assistance. They will be able to provide further guidance and troubleshooting solutions.
Now, it’s time to grab some popcorn, dim the lights, and enjoy your own personal cinematic experience with your Curtis 5.1 Surround Sound System. Get ready to be fully immersed in the world of sound and elevate your entertainment to a whole new level.