Introduction
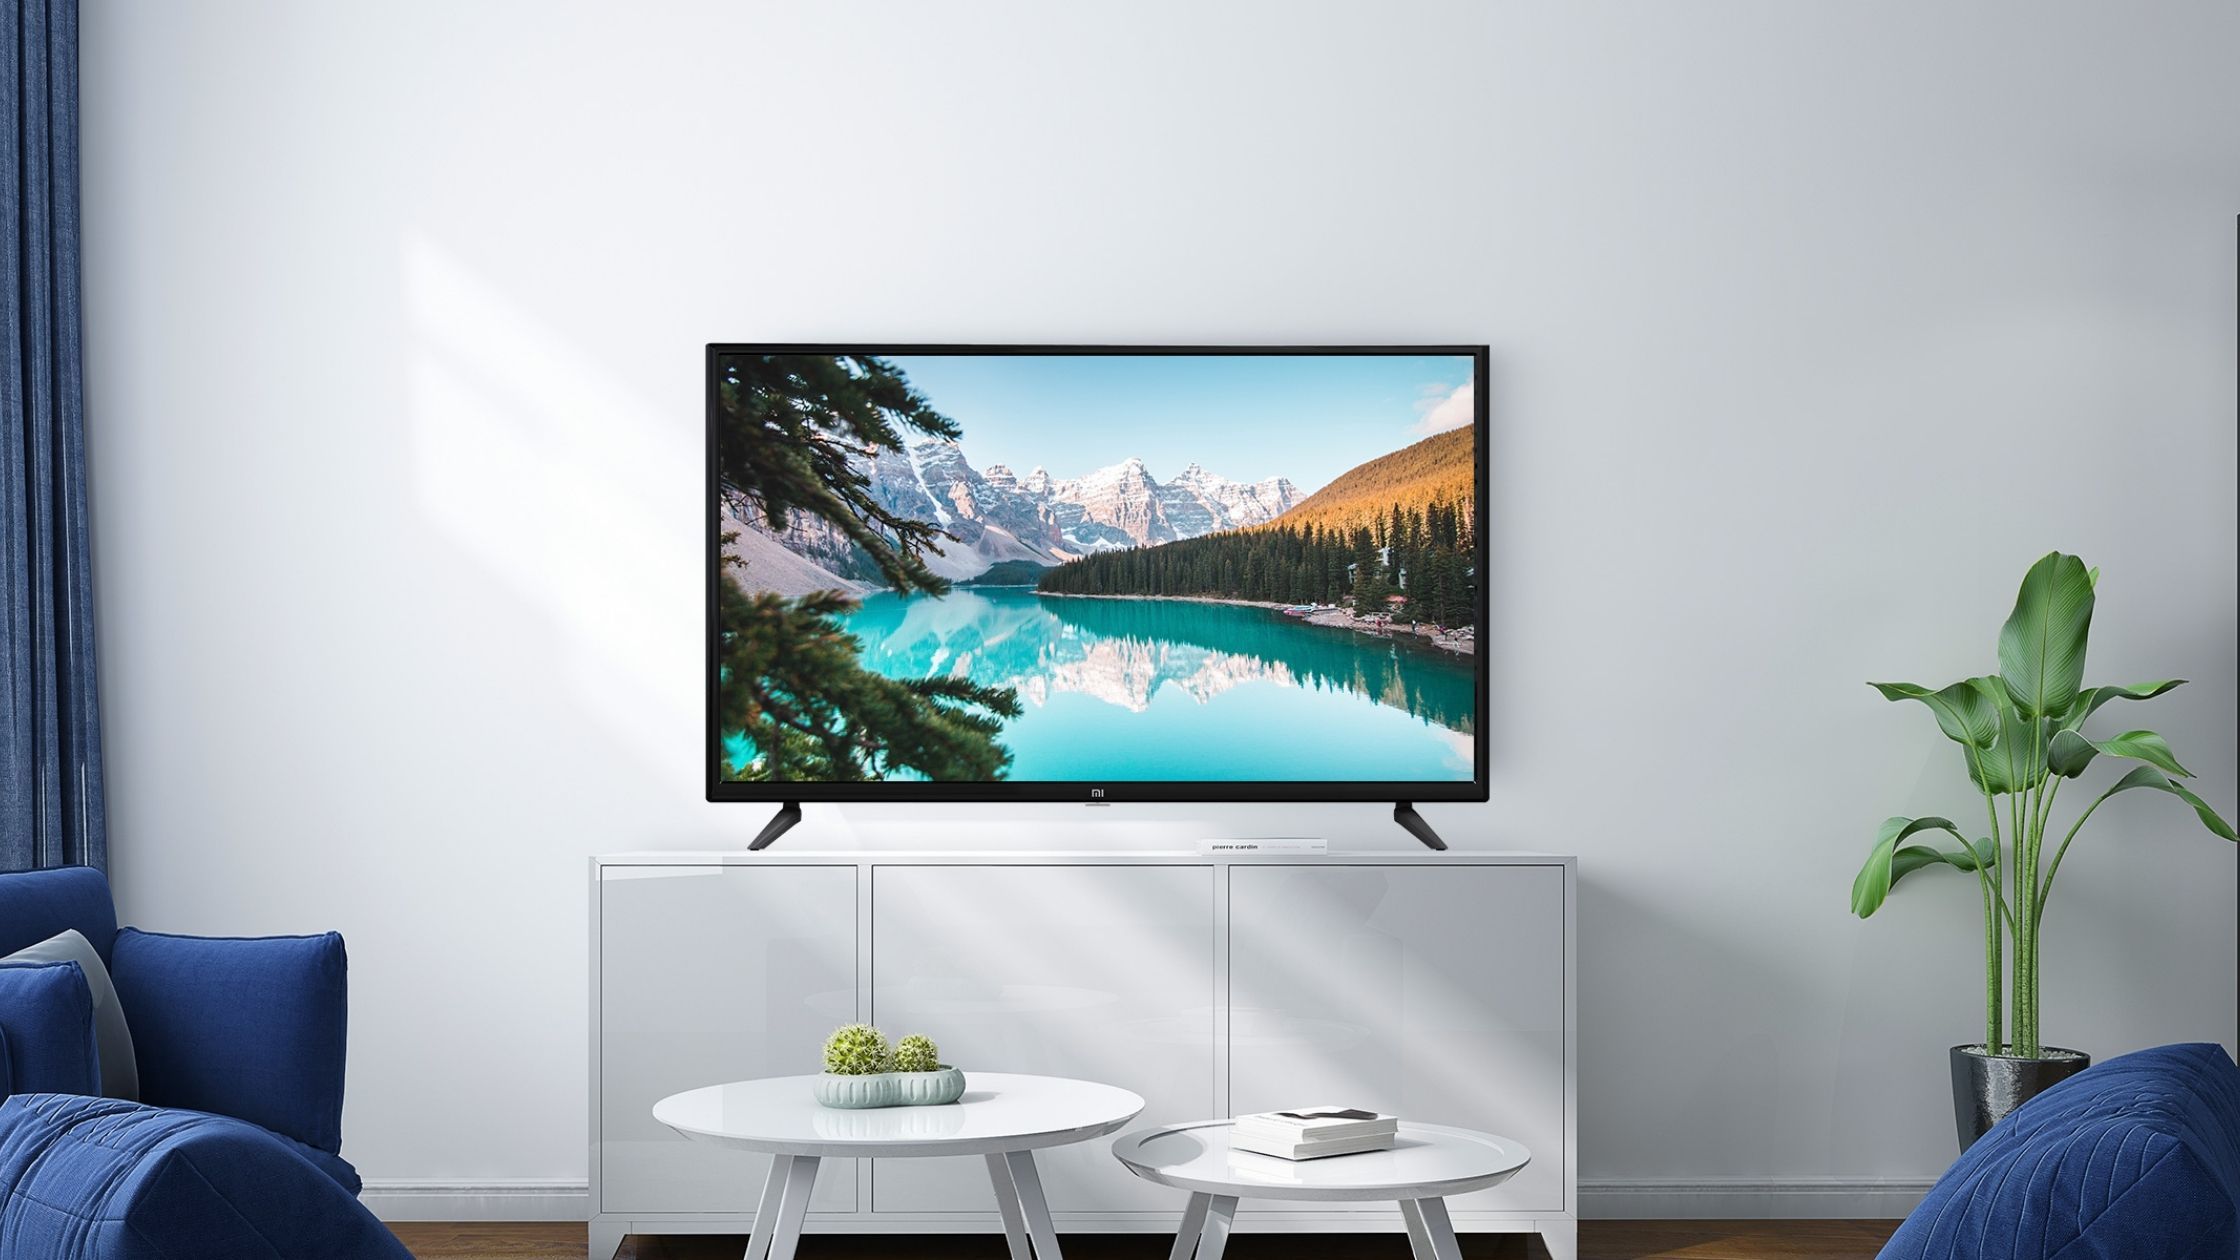
Welcome to the world of immersive sound experience with your Sony KDL-R510C TV! One of the best ways to enhance your television viewing is by connecting it to a surround sound system. With a surround sound system, you can enjoy a more realistic and captivating audio experience, making you feel like you’re right in the midst of the action.
In this guide, we will take you through the step-by-step process of how to hook up your Sony KDL-R510C TV to a surround sound system. Whether you want to bring the theater experience to your living room or simply want to enhance the audio quality of your favorite shows and movies, this guide will help you achieve just that.
Before we dive into the technical details, it’s important to ensure that your Sony KDL-R510C TV is compatible with a surround sound system. Most modern TVs, including the KDL-R510C, are equipped with various audio output options that allow you to connect external audio devices. In addition, make sure to check the specifications of your surround sound system to verify that it is compatible with your Sony TV.
To successfully hook up your Sony KDL-R510C TV to a surround sound system, you will need a few cables and accessories. The most commonly used cables are the HDMI cable and the optical audio cable. These cables are essential for transmitting audio signals from your TV to the surround sound system, providing you with high-quality sound output.
Now that we have covered the basics, let’s move on to the step-by-step process of connecting your Sony KDL-R510C TV to a surround sound system. Follow each step carefully, and soon you’ll be enjoying an enhanced audio experience that will take your TV viewing to the next level.
Compatibility Check
Before you begin the process of connecting your Sony KDL-R510C TV to a surround sound system, it’s crucial to ensure compatibility between the TV and the audio system. This will help you avoid any compatibility issues and ensure a seamless audio experience.
Start by double-checking the specifications of your Sony KDL-R510C TV. Look for audio output options such as HDMI ARC (Audio Return Channel), optical audio output, or audio line-out. These ports are commonly found on the back of the TV and are used to connect external audio devices.
Next, examine the specifications of your surround sound system. Check for audio input options and make sure it supports the same connection types as your TV. Look for HDMI input ports or optical input ports on the surround sound system. This will ensure that you can establish a proper audio connection between your TV and the audio system.
An important aspect to consider is the audio formats supported by both the TV and the surround sound system. Check if they are compatible with each other. The most commonly supported audio formats include Dolby Digital, DTS, and PCM. Having matching audio formats will ensure that your TV can properly output sound to the surround sound system without any loss in quality.
If you are unsure about the compatibility between your Sony KDL-R510C TV and the surround sound system, consult the user manuals or visit the manufacturer’s website for detailed specifications. You can also reach out to customer support for assistance.
By performing a compatibility check, you can avoid the frustration of trying to connect incompatible devices and save yourself time and effort. Once you have verified that your Sony KDL-R510C TV and surround sound system are compatible, you can proceed to the next steps of connecting the devices and enjoying an immersive sound experience.
Required Cables and Accessories
Before you begin the process of connecting your Sony KDL-R510C TV to a surround sound system, gather the necessary cables and accessories. Having the right cables and accessories will ensure a smooth and hassle-free setup process.
The most important cable you will need is an HDMI cable. Look for an HDMI cable that supports the HDMI ARC (Audio Return Channel) feature, as this will allow both audio and video signals to be transmitted through a single cable. Make sure to choose a high-quality HDMI cable that can handle the bandwidth required for high-definition audio and video.
In addition to the HDMI cable, you may also need an optical audio cable. This cable is used for transmitting digital audio signals from your TV to the surround sound system. Ensure that the optical audio cable is of good quality to maintain the integrity of the audio signal.
Depending on the specific setup of your surround sound system, you may also require additional accessories such as speaker wires, a subwoofer cable, or an audio receiver. Refer to the user manual of your surround sound system to determine if any additional accessories are needed.
When purchasing the required cables and accessories, it’s recommended to opt for high-quality products from reputable brands. This will help ensure reliable and efficient audio transmission, resulting in superior sound quality.
Once you have collected all the necessary cables and accessories, you are ready to proceed with connecting your Sony KDL-R510C TV to the surround sound system. The next steps will guide you through the process of setting up the audio connection and configuring the TV’s audio settings.
Step 1: Placement of Surround Sound System
Before you start connecting your Sony KDL-R510C TV to the surround sound system, it’s important to determine the optimal placement for your audio setup. Proper placement of the speakers and subwoofer will greatly enhance your audio experience.
Begin by identifying the central listening position in your room. This is usually where you will be sitting or where the majority of viewers will be located. Place your TV in a location that offers the best visibility and is at eye level for comfortable viewing.
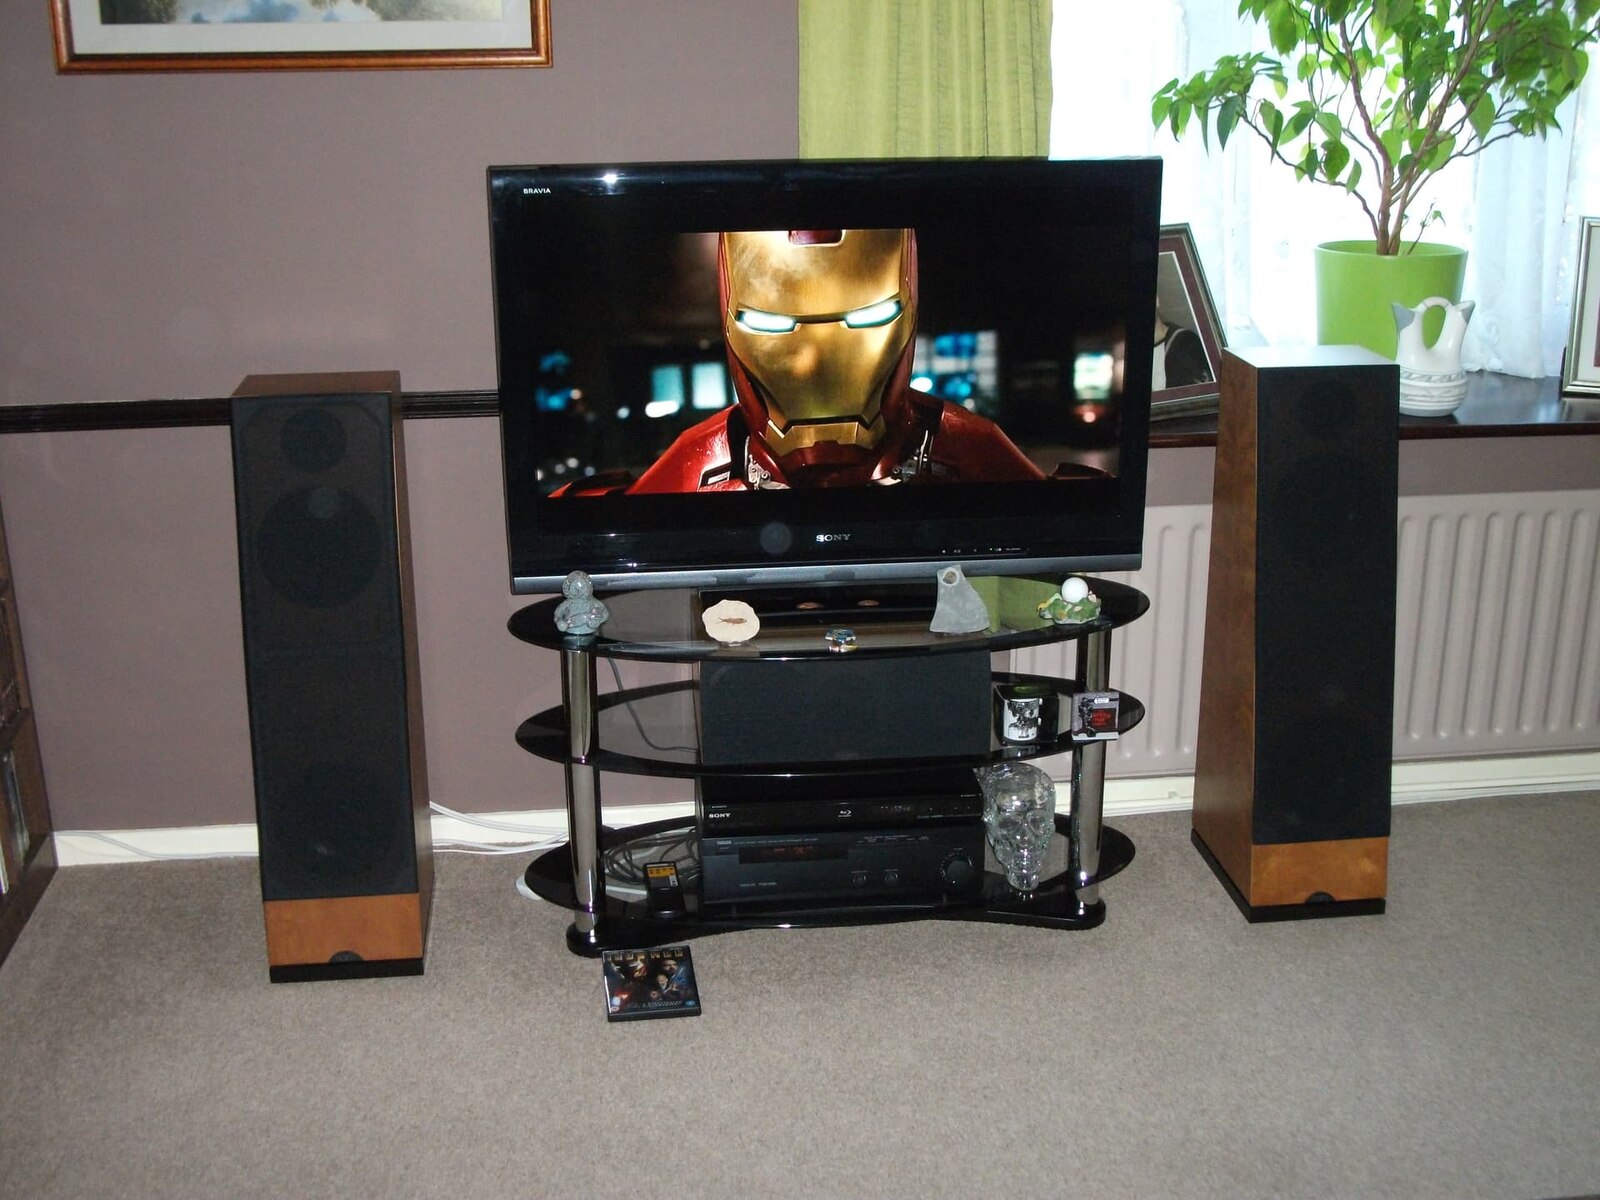
Next, position your surround sound speakers. For a standard 5.1 surround sound setup, place the center speaker directly above or below your TV. This speaker is responsible for handling dialogue and should be aligned with the center of the screen.
Position the front left and right speakers on either side of the TV, ensuring that they are at an equal distance from the central listening position. These speakers will deliver sound effects and music, providing a broader soundstage.
For the rear speakers, place them behind the central listening position and slightly above ear level. Make sure they are at an equal distance from the listeners to create an immersive surround sound experience.
Finally, position the subwoofer in a location that will provide deep and rich bass. Experiment with different placements to find the spot that maximizes low-frequency sound reproduction. Common locations include near the front soundstage or in a corner of the room.
Once you have determined the ideal placement for your surround sound system, proceed to the next step: connecting the HDMI cable.
Step 2: Connecting the HDMI Cable
Now that you have determined the optimal placement for your surround sound system, it’s time to connect the HDMI cable between your Sony KDL-R510C TV and the audio system. The HDMI connection will ensure both audio and video signals are transmitted seamlessly.
Start by locating the HDMI ARC (Audio Return Channel) port on your Sony KDL-R510C TV. This port is usually labeled as “HDMI ARC” or “HDMI Out” and is often color-coded. Make sure your TV is turned off before proceeding with the connection.
Next, locate the HDMI ARC port on your surround sound system. This port is usually labeled as “HDMI ARC” or “Audio Out”. Connect one end of the HDMI cable to the HDMI ARC port on your TV and the other end to the HDMI ARC port on your audio system.
Ensure that the HDMI cable is securely connected to both devices. Gently push the connectors into the HDMI ports until they are fully inserted. A snug fit will ensure a stable connection.
Once the HDMI cable is connected, power on your Sony KDL-R510C TV and your surround sound system. You may need to access the TV’s settings menu to enable the HDMI ARC function. Refer to the user manual of your TV for specific instructions on how to do this.
Your Sony KDL-R510C TV and surround sound system should now be connected via HDMI ARC. This means that both audio and video signals will be transmitted through a single cable. You can now enjoy a seamless audio experience with your surround sound system.
If your audio system does not have HDMI ARC support, you can still use an HDMI cable to connect your TV to the audio system. In this case, connect one end of the HDMI cable to the HDMI output on your Sony KDL-R510C TV and the other end to the HDMI input on your audio system. However, you will also need to connect an additional audio cable, such as an optical audio cable or RCA cables, to transfer the audio signals.
With the HDMI cable connected, you’re ready to move on to the next step: connecting the optical audio cable.
Step 3: Connecting the Optical Audio Cable
In addition to the HDMI connection, you may also need to connect an optical audio cable between your Sony KDL-R510C TV and your surround sound system. This will ensure the transmission of high-quality digital audio signals.
Start by locating the optical audio output port on your Sony KDL-R510C TV. This port is usually labeled as “Optical Audio Out” and is typically found on the back of the TV. Make sure your TV is turned off before proceeding with the connection.
Next, locate the optical audio input port on your surround sound system. This port is usually labeled as “Optical Audio In” or “Digital Audio In” and is often color-coded. Connect one end of the optical audio cable to the optical audio output port on your TV and the other end to the optical audio input port on your audio system.
Ensure that the optical audio cable is securely connected to both devices. Gently push the connectors into the optical ports until they are fully inserted. A secure connection will prevent any audio interruptions.
If your Sony KDL-R510C TV has multiple optical audio output ports, make sure to select the correct one in your TV’s audio settings. Check the user manual of your TV for specific instructions on how to access and configure the audio settings.
Once the optical audio cable is connected, power on your TV and your surround sound system. You may need to switch the audio input setting on your audio system to the optical audio input. Consult the user manual of your audio system for instructions on how to do this.
With the optical audio cable connected, your Sony KDL-R510C TV and surround sound system are now capable of transmitting digital audio signals. This will ensure a high-quality audio experience, allowing you to fully immerse yourself in your favorite movies, TV shows, and games.
It’s important to note that if you have already connected your TV to the audio system using HDMI ARC in the previous step, the optical audio connection may not be necessary. HDMI ARC is capable of transmitting both audio and video signals, eliminating the need for an additional audio cable.
With the optical audio cable connected, you’re ready to move on to the next step: configuring the audio settings on your TV.
Step 4: Configuring the Audio Settings on the TV
After connecting your Sony KDL-R510C TV to the surround sound system, it’s important to configure the audio settings on your TV to ensure optimal sound output. By adjusting the audio settings, you can customize the audio experience according to your preferences.
Start by turning on your Sony KDL-R510C TV and accessing the settings menu. The exact steps to access the settings menu may vary depending on the model, so consult the user manual of your TV if you’re unsure.
In the settings menu, look for the “Audio” or “Sound” options. Here, you will find various audio settings that can be adjusted to enhance your audio experience.
If your TV supports HDMI ARC, make sure to enable the HDMI ARC function in the audio settings. This will ensure that audio signals are properly transmitted through the HDMI cable.
Next, explore the audio output options in the settings menu. Most TVs provide options such as “Stereo,” “Surround Sound,” or “Auto.” Select the option based on your surround sound system setup and personal preference. If you have a 5.1 surround sound system, choose the “Surround Sound” option to fully utilize the capabilities of your audio setup.
Some TVs also offer audio presets or equalizer settings. These settings allow you to adjust the sound characteristics, such as bass, treble, or balance, to suit your preferences. Experiment with these settings to find the balance that provides the best audio experience for you.
If you have connected your TV to the surround sound system using both HDMI ARC and the optical audio cable, make sure to select the correct audio output in the settings menu. You can choose between HDMI ARC or optical audio, depending on your preferred audio connection.
Once you have adjusted the audio settings to your liking, test the sound output using a movie, TV show, or music. Make sure to select content that is known for its immersive sound effects to fully experience the capabilities of your surround sound system.
If you encounter any audio-related issues, such as no sound or distorted sound, double-check the cable connections and ensure that all devices are powered on. You can also consult the user manuals of your TV and audio system or reach out to customer support for further assistance.
With the audio settings properly configured, you’re now ready to enjoy a truly immersive audio experience with your Sony KDL-R510C TV and surround sound system.
Step 5: Testing the Surround Sound System
After setting up and configuring your Sony KDL-R510C TV with the surround sound system, it’s time to test the audio output to ensure everything is working correctly. By conducting a thorough test, you can identify any issues and make any necessary adjustments for an optimal surround sound experience.
Start by selecting a source that supports surround sound, such as a Blu-ray disc with Dolby Atmos or a streaming service that offers movies or TV shows with immersive audio. This will allow you to fully appreciate the capabilities of your surround sound system.
Play the selected source and pay close attention to the audio output. As the audio plays, make sure that sound is coming from all the speakers in your surround sound system. The front speakers should provide clear dialogue and sound effects, while the rear speakers should deliver immersive surround sound.
During the test, pay attention to the sound balance. Ensure that the volume levels of each speaker are well-balanced to create a cohesive and realistic audio experience. Adjust the audio settings on your TV or audio system if necessary to achieve the desired balance.
Listen for any distortion, crackling, or imbalance in the sound. If you notice any issues, check the cable connections to ensure they are securely plugged in. You may also want to revisit the audio settings on both the TV and audio system to confirm that they are correctly configured.
Experiment with different audio content to test the versatility of your surround sound system. Try movies, TV shows, music, and games to explore a variety of sound effects and genres. This will allow you to fully appreciate the capabilities of your audio setup across different media.
If you encounter any issues during the testing phase, refer to the user manuals of your TV and audio system for troubleshooting tips. You can also reach out to customer support for further assistance with specific technical issues or questions.
Remember, the testing phase is crucial for ensuring that your surround sound system is functioning as intended. Take the time to fine-tune the audio settings, make any necessary adjustments, and familiarize yourself with the capabilities of your audio setup. This will ensure an immersive and enjoyable audio experience every time you watch your favorite movies, TV shows, or play games on your Sony KDL-R510C TV.
Troubleshooting Tips
While setting up a surround sound system with your Sony KDL-R510C TV can be an exciting experience, it’s not uncommon to encounter some challenges along the way. Here are some troubleshooting tips to help you overcome common issues and ensure smooth operation of your audio setup.
1. Ensure proper cable connections: Double-check that all cables are securely plugged into their respective ports. Loose connections can result in audio distortions or no sound at all.
2. Restart devices: If you’re experiencing sound issues, try restarting both your TV and audio system. Sometimes, a simple reboot can resolve minor glitches that may be affecting the audio output.
3. Update firmware: Check for any firmware updates available for your Sony KDL-R510C TV and audio system. Updating the firmware can address known issues and improve overall performance.
4. Verify audio settings: Confirm that the audio output settings on your TV are correctly configured. Ensure that the audio is set to output through the appropriate connection (HDMI ARC or optical audio).
5. Check input settings: Make sure the audio input on your surround sound system is correctly set to receive audio from the connected TV. Refer to the user manual of your audio system for instructions on changing the input settings.
6. Test different sources: Try playing audio from different sources, such as different HDMI ports or devices, to determine if the issue is specific to a particular source. This will help you identify whether the problem lies with the TV or the audio system.
7. Adjust audio format settings: Some audio systems allow you to select the audio format. If you’re experiencing issues with audio playback, try adjusting the audio format setting to match the capabilities of your audio system.
8. Check volume levels: Ensure that the volume levels on both your TV and audio system are appropriately set. Imbalanced volume levels can result in one speaker overpowering the others or insufficient sound output.
9. Verify compatibility: Double-check that your Sony KDL-R510C TV and surround sound system are compatible with each other in terms of audio formats and connection types. Incompatibility can lead to audio issues or limited functionality.
10. Seek professional assistance: If you have exhausted all troubleshooting options and are still experiencing audio problems, don’t hesitate to reach out to customer support for further assistance. They can provide specialized guidance based on your specific setup and troubleshoot more complex issues.
By following these troubleshooting tips, you can quickly diagnose and resolve common audio issues that may arise during the setup or operation of your surround sound system. Remember, patience and persistence often pay off when it comes to fine-tuning your audio setup for the best possible sound quality.
Conclusion
Congratulations! You have successfully learned how to hook up your Sony KDL-R510C TV to a surround sound system. By following the step-by-step guide and troubleshooting tips, you can now enjoy an immersive audio experience that complements your TV viewing.
Remember to perform a compatibility check to ensure that your TV and surround sound system are compatible with each other. Gather the necessary cables and accessories, such as HDMI and optical audio cables, to establish the audio connection.
Take the time to properly place your surround sound speakers to optimize sound distribution in your room. Connect the HDMI cable to utilize the HDMI ARC feature or use an optical audio cable for transferring digital audio signals.
Configuring the audio settings on your TV ensures optimal sound output, allowing you to customize the audio experience to your preferences. Test the surround sound system with different sources to ensure all speakers are functioning properly and adjust the audio settings as needed.
If you encounter any audio-related issues, refer to the troubleshooting tips provided to help you identify and resolve common problems. Remember to check cable connections, restart devices, and update firmware when necessary. Consult the user manuals or seek professional assistance if needed.
With your Sony KDL-R510C TV and surround sound system properly set up, you can now enjoy immersive sound quality, bringing your favorite movies, TV shows, and games to life. Sit back, relax, and immerse yourself in a captivating audio experience that enhances your entertainment moments.