Introduction
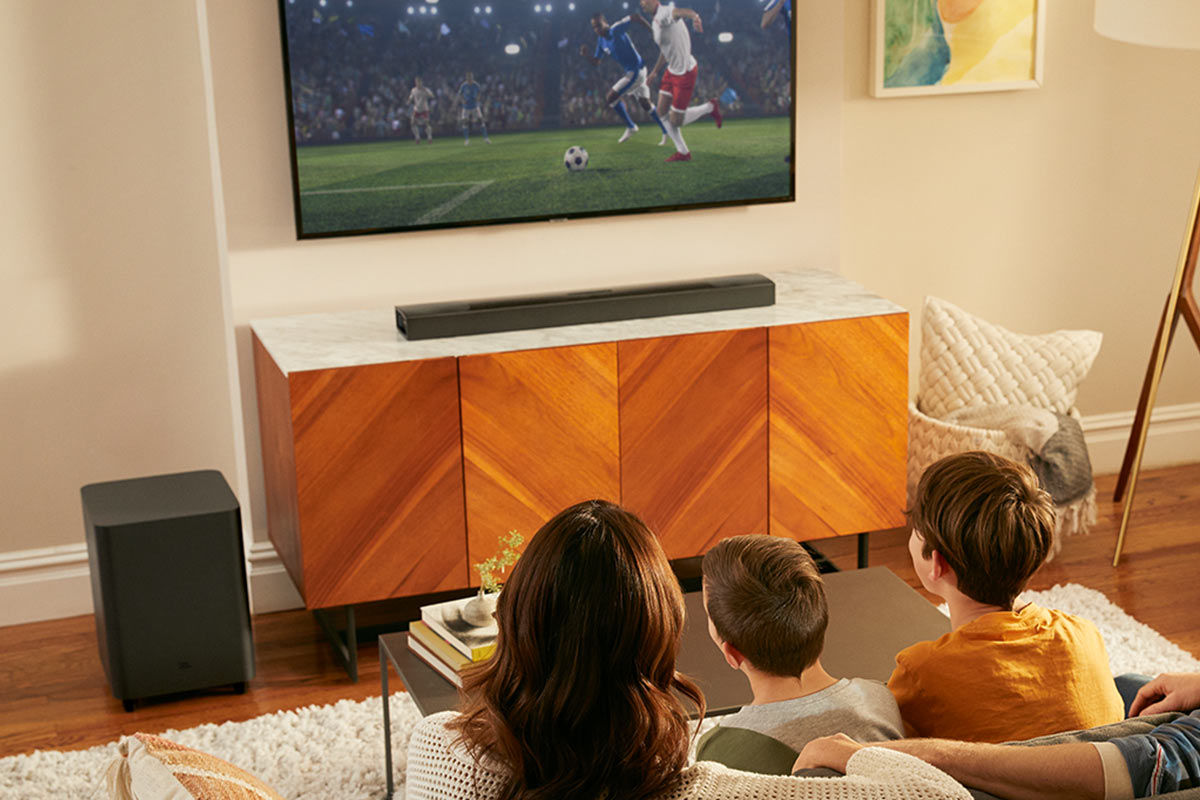
Are you ready to take your home entertainment to the next level? Nothing beats the immersive experience of a surround sound system. By connecting your Smart TV to a surround sound system, you can enjoy movies, TV shows, and music with a rich and dynamic audio experience that will transport you right into the action.
Whether you’re a movie buff, a sports enthusiast, or a music lover, setting up surround sound to your Smart TV will elevate your viewing experience. Picture this: you’re watching your favorite action movie, and as the explosions rumble, you hear the sound coming from different directions, making it feel like you’re right there in the scene. With surround sound, you’ll never settle for ordinary audio again.
But before you dive into the world of surround sound, it’s important to know how to properly hook it up to your Smart TV. In this step-by-step guide, we’ll walk you through the process of connecting your surround sound system to your Smart TV, ensuring that you get the most out of your home theater setup.
Whether you’re a tech-savvy enthusiast or a beginner, don’t worry! We’ll explain everything in a simple and easy-to-understand manner. So, grab your popcorn, sit back, and let’s get started on transforming your living room into a thrilling entertainment hub.
Getting Started
Before you begin connecting your surround sound system to your Smart TV, there are a few things you’ll need to gather. Here’s what you need to get started:
- Smart TV: Ensure that you have a Smart TV with audio output options. Most modern Smart TVs have multiple audio output options, including HDMI, optical audio, and RCA (red and white) audio ports.
- Surround Sound System: Choose the type of surround sound system you want to hook up to your Smart TV. There are various options available, such as soundbars, home theater systems, and component systems with separate speakers.
- Audio Cables: Depending on the type of surround sound system and audio output options of your Smart TV, you’ll need appropriate audio cables. Check the user manuals of your Smart TV and surround sound system to identify the required cables.
- Remote Control: Keep the remote control of your Smart TV and surround sound system within reach. You’ll need them during the setup process to adjust settings and ensure proper configuration.
Once you have gathered these essentials, you’re ready to embark on the journey of connecting your surround sound system to your Smart TV. Now, let’s walk through the step-by-step process to make it happen.
Step 1: Determine the Audio Output Options of Your Smart TV
Before you can connect your surround sound system to your Smart TV, it’s important to know what audio output options are available on your TV. This will help you choose the appropriate cables and ensure a seamless connection. Here are the common audio output options you might find on your Smart TV:
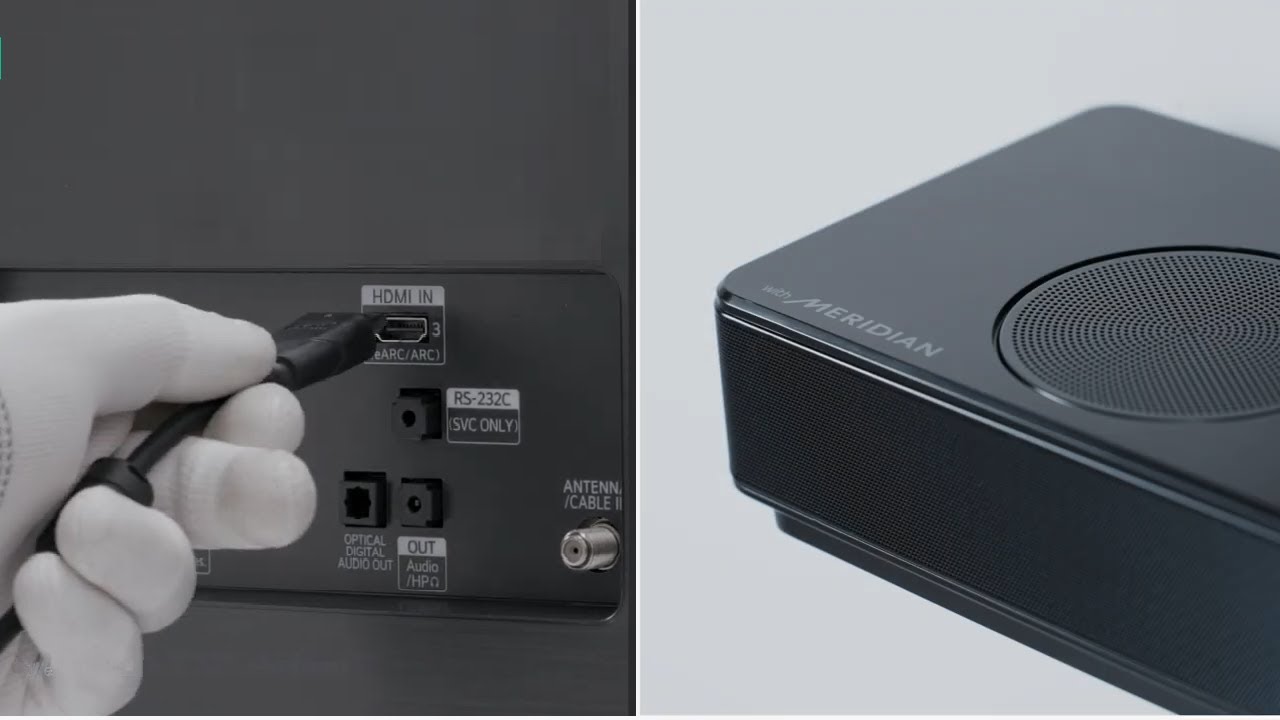
- HDMI: Many modern Smart TVs come equipped with HDMI ports, which provide both high-definition video and audio signals. Look for an HDMI ARC (Audio Return Channel) port, as this will simplify the setup process by allowing audio to be sent from your TV to the surround sound system through a single HDMI cable.
- Optical Audio: Some Smart TVs have optical audio output ports, also known as TOSLINK or SPDIF. These ports transmit audio signals using a fiber optic cable, which can deliver high-quality audio for your surround sound system.
- RCA (Red and White) Audio: Older Smart TVs may feature RCA audio output ports, which are typically colored red and white. These ports are commonly used to connect audio devices, such as speakers or soundbars, providing analog audio signals.
- 3.5mm Headphone Jack: In some cases, your Smart TV may have a 3.5mm headphone jack, allowing you to connect external audio devices, such as speakers or headphones.
To determine the audio output options on your Smart TV, refer to the user manual or look for the corresponding ports on the back or side of your TV. Once you have identified the available options, you can proceed to the next step of choosing the type of surround sound system you want to connect to your Smart TV.
Step 2: Choose the Type of Surround Sound System You Want to Hook Up
Now that you’ve determined the audio output options of your Smart TV, it’s time to choose the type of surround sound system that best fits your needs and preferences. Here are some common options to consider:
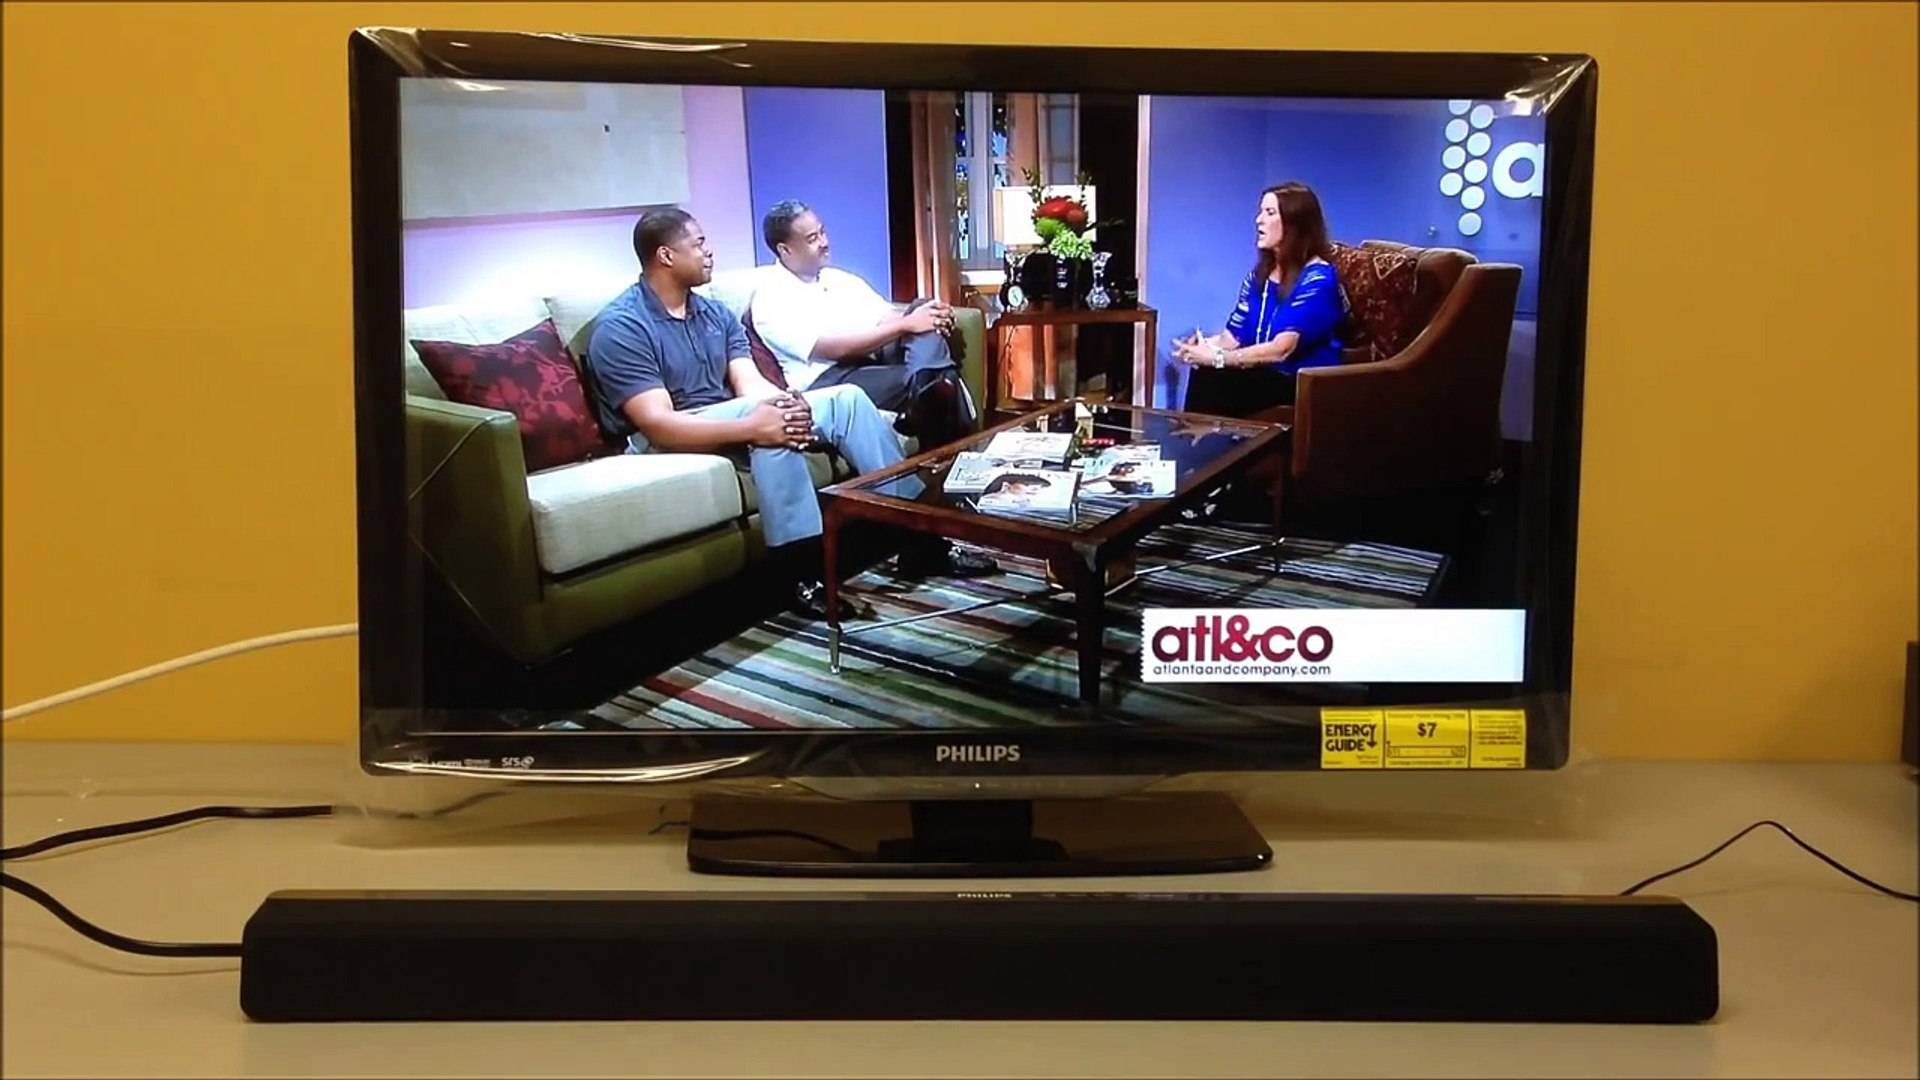
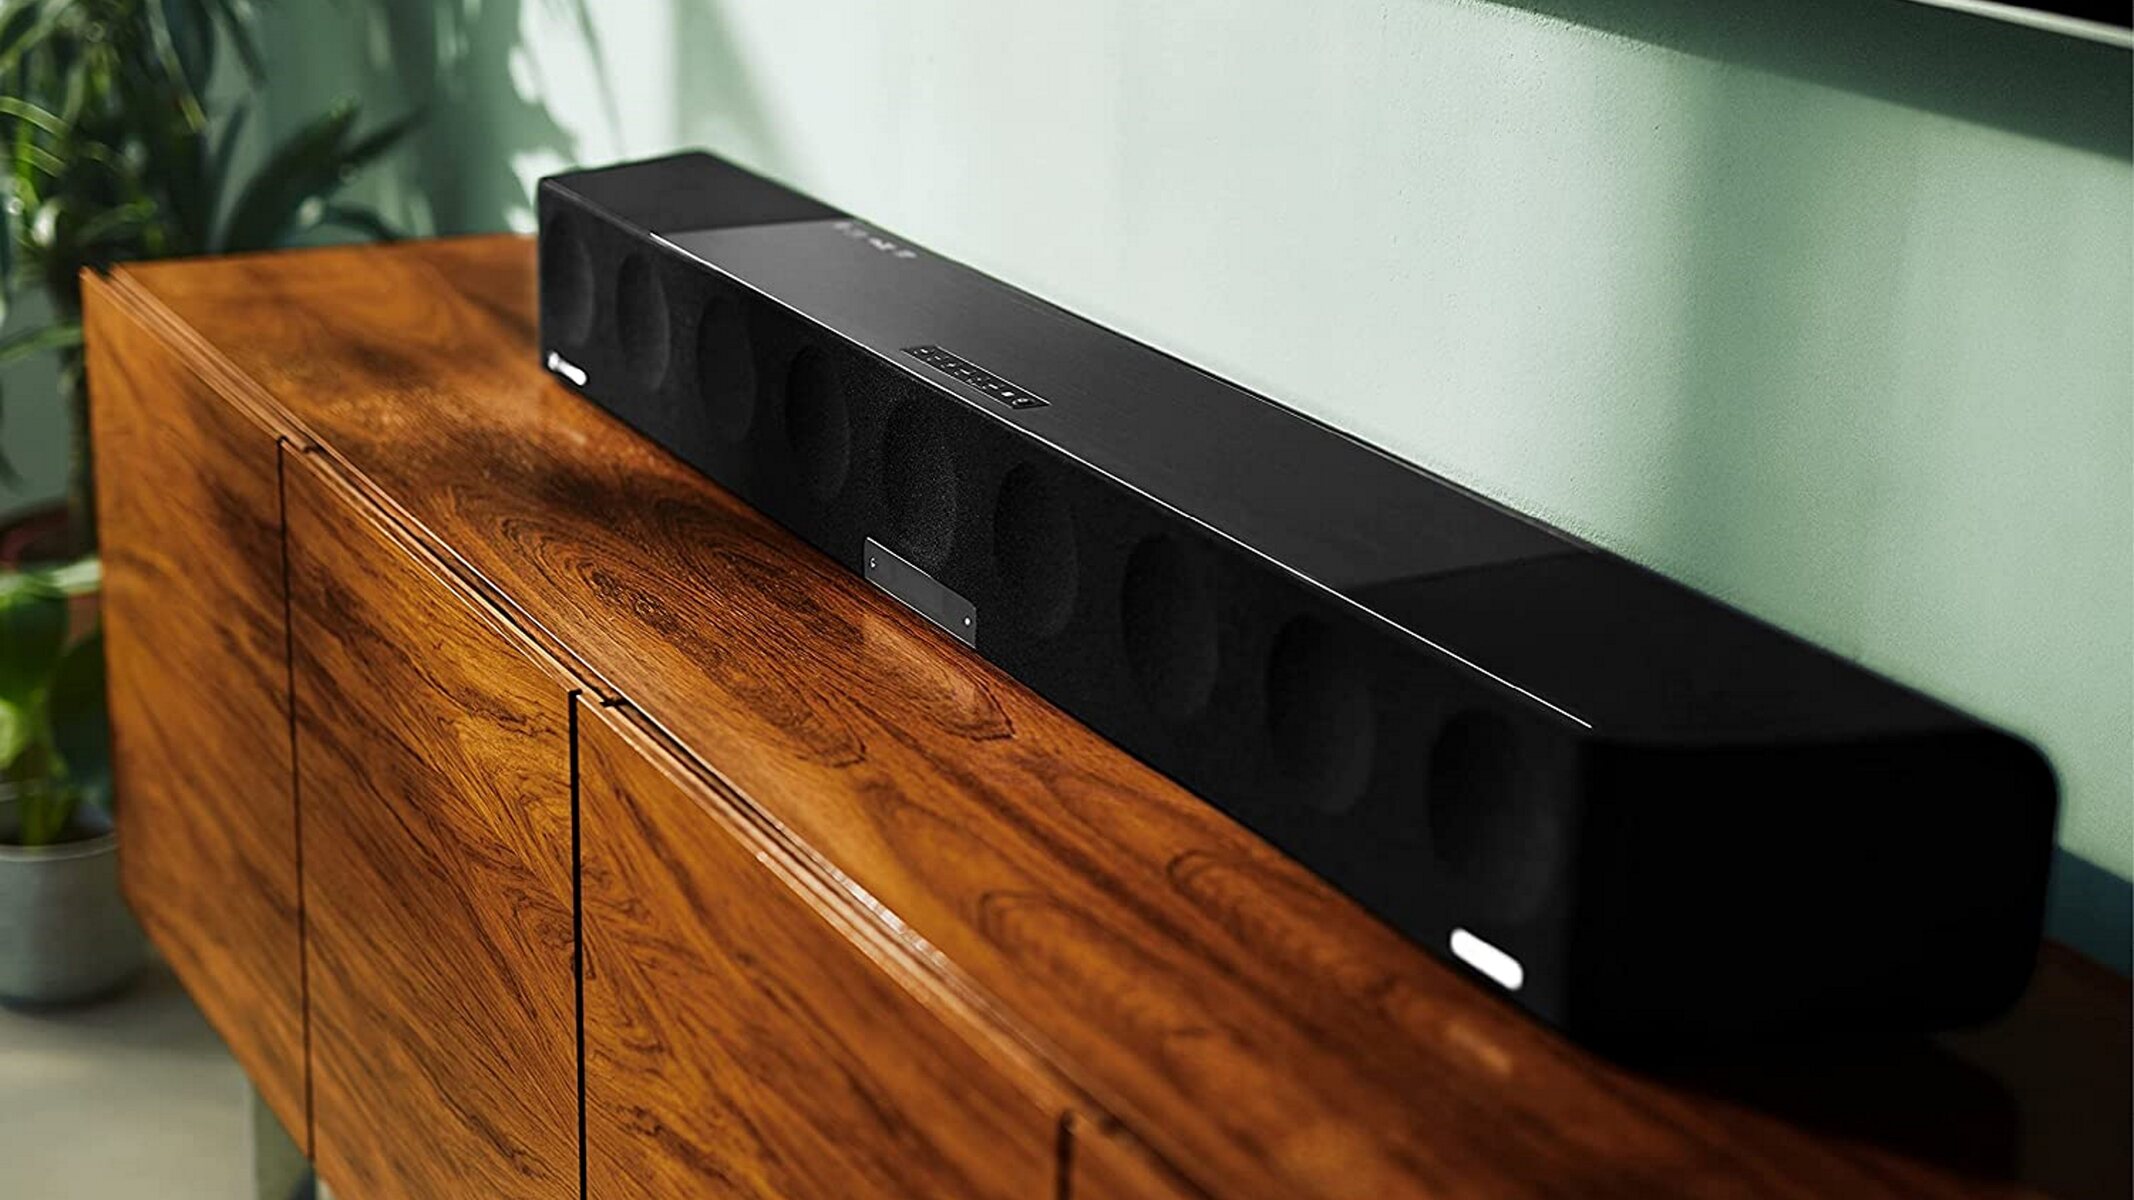
- Soundbars: Soundbars are sleek and compact speakers that sit below or above your TV and provide virtual surround sound. They are an excellent choice for those who want a simple setup and don’t have much space.
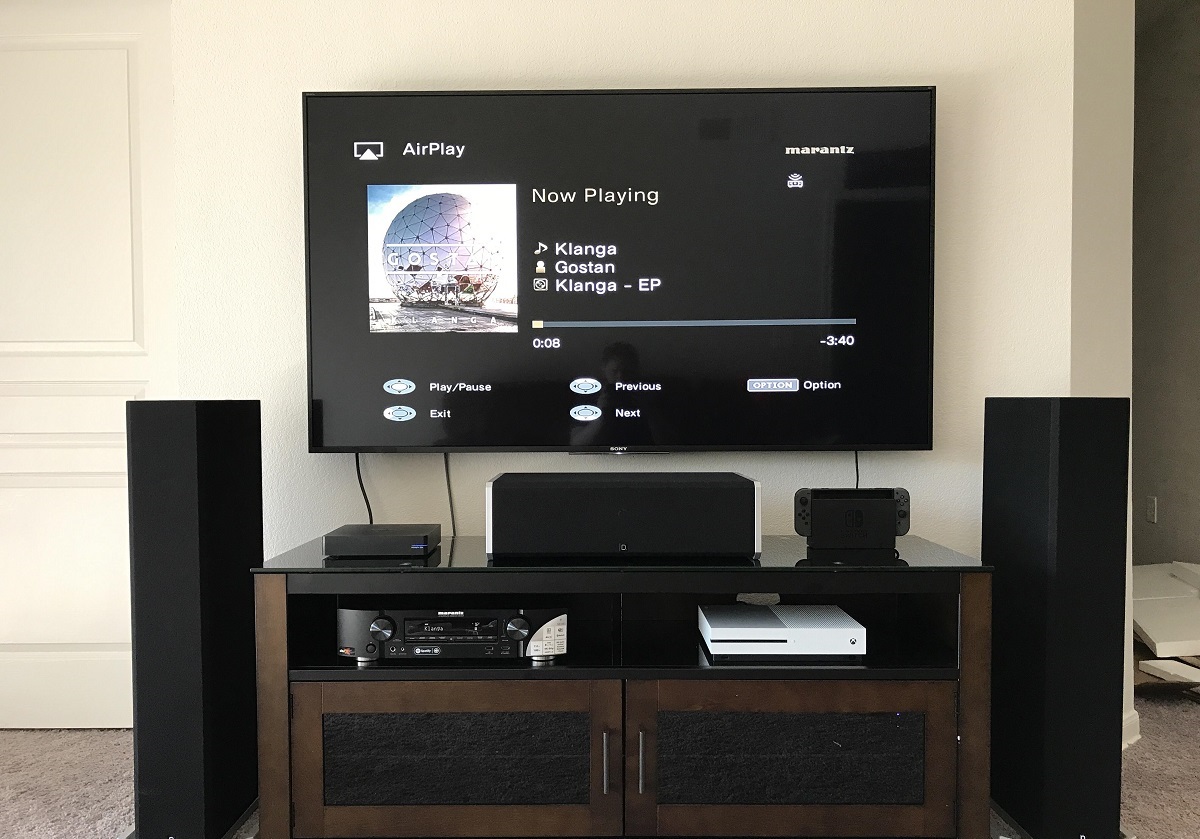
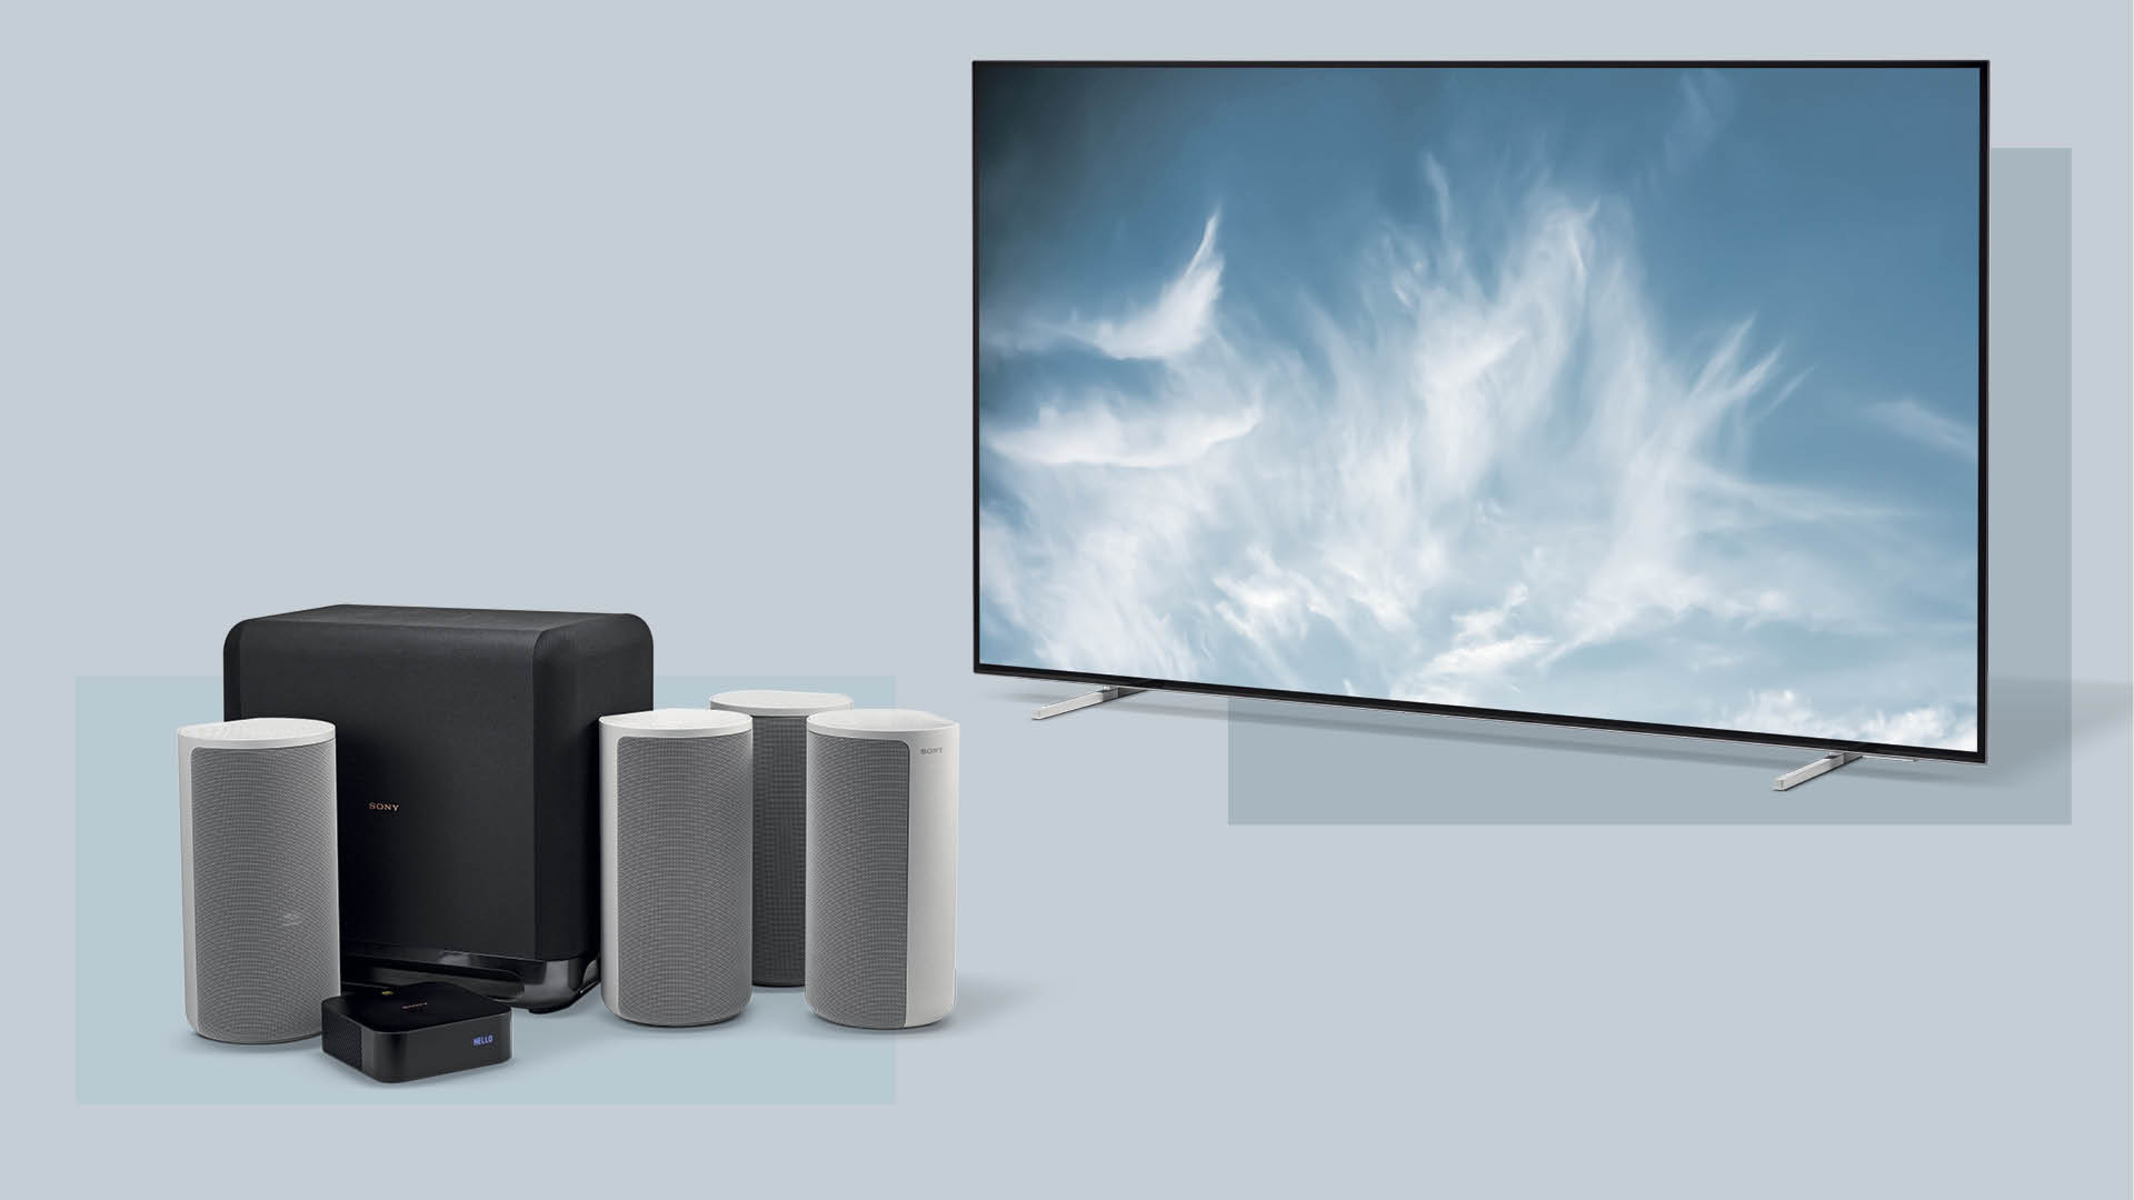
- Home Theater Systems: Home theater systems typically consist of multiple speakers, including front, center, surround, and subwoofer speakers. They offer a more immersive surround sound experience and are perfect for larger rooms or avid movie enthusiasts.
- Component Systems: Component systems allow you to build a customized surround sound setup by selecting individual speakers, AV receivers, and other audio components. This option provides the flexibility to choose the ideal speakers for your space and preferences.
When choosing the right surround sound system, consider factors such as your budget, room size, audio quality preferences, and aesthetic appeal. It’s essential to select a system that suits your needs and complements your Smart TV setup.
Before making a purchase, read reviews, compare prices, and ensure compatibility with your Smart TV’s audio output options. This will help you make an informed decision and ensure a smooth integration between your Smart TV and surround sound system.
Once you have chosen the type of surround sound system that best suits your requirements, it’s time to move on to the next step: connecting the surround sound receiver to your Smart TV.
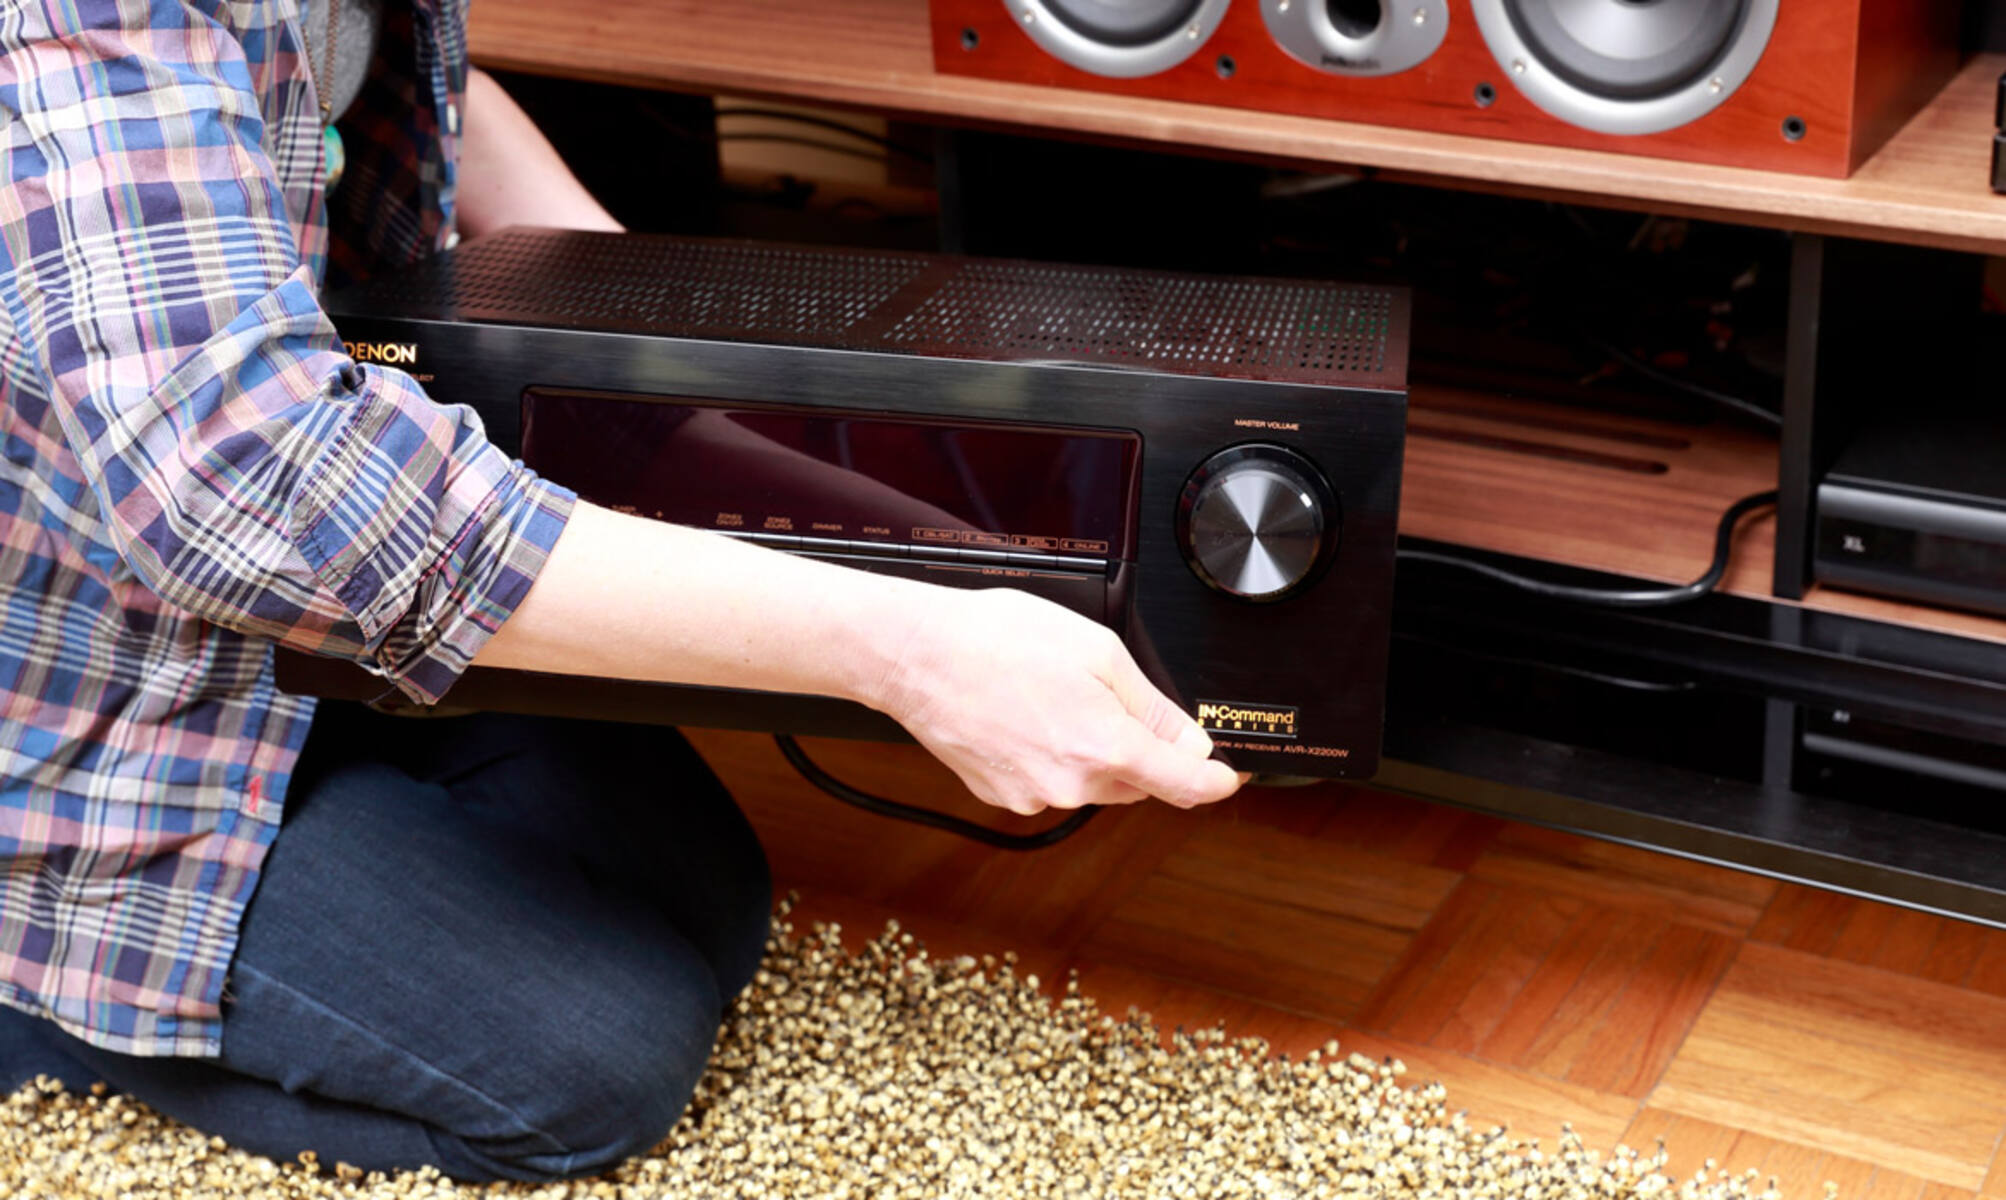
Step 3: Connect the Surround Sound Receiver to Your Smart TV
Now that you have chosen the type of surround sound system you want for your Smart TV, it’s time to connect the surround sound receiver to your TV. The receiver is the hub that receives audio signals from your TV and distributes them to the speakers in your surround sound system. Here’s how to do it:
- Identify the audio output on your Smart TV: Refer to the user manual or check the back or side of your TV to locate the audio output port that you identified in Step 1 (e.g., HDMI ARC, optical audio, RCA).
- Connect the appropriate cable to the audio output: Depending on the audio output option of your TV, use the corresponding cable (e.g., HDMI cable, optical audio cable, RCA cables) to connect the audio output port on your TV to the corresponding input port on the surround sound receiver.
- Ensure a secure connection: Make sure the cable is firmly connected to both the TV and the surround sound receiver. Check for any loose connections or damaged cables that could affect the audio signal transmission.
- Power on the surround sound receiver: Plug in the power cord of the surround sound receiver and turn it on. Make sure it is set to the correct input source that corresponds to the connected TV.
- Configure the audio settings on your Smart TV: Access the settings menu on your Smart TV and navigate to the audio settings. Select the appropriate audio output option (e.g., HDMI ARC, optical audio) to ensure that the TV sends audio signals to the surround sound receiver.
By connecting the surround sound receiver to your Smart TV, you are establishing the communication link between the two devices. The receiver will receive the audio signals from the TV and transmit them to the speakers, allowing you to experience immersive surround sound while watching your favorite shows and movies.
With the receiver connected, it’s time to move on to the next step: connecting the speakers to the surround sound receiver.
Step 4: Connect the Speakers to the Surround Sound Receiver
Now that you have successfully connected the surround sound receiver to your Smart TV, it’s time to bring your speakers into the mix. Connecting the speakers to the surround sound receiver will complete the audio setup and allow you to enjoy the full surround sound experience. Here’s how to do it:
- Identify the speaker connections: Look at the back of your surround sound receiver to locate the speaker output terminals. Typically, these terminals are labeled with corresponding colors or channel names (e.g., front left, front right, center, subwoofer, surround).
- Position the speakers: Decide on the ideal placement for your speakers in your room. Depending on your surround sound system, you may have front speakers, a center speaker, surround speakers, and a subwoofer. Refer to the user manual for guidance on speaker placement.
- Connect the speakers to the receiver: Take the speaker wires provided with your surround sound system and connect each speaker to the corresponding output terminal on the receiver. Ensure that you match the polarity (positive and negative) of the speaker wires to the receiver’s terminals.
- Secure the connections: Once the speaker wires are connected, tighten any screws or binding posts on the receiver to secure the connections. This will help ensure a solid and stable connection for optimal audio performance.
- Set up the subwoofer: If your surround sound system includes a separate subwoofer, connect it to the subwoofer output on the receiver using the provided cable. Place the subwoofer in a suitable location in your room to enhance the low-frequency sounds in your audio.
- Position the surround speakers: If your surround sound system includes separate surround speakers, position them behind and to the sides of your primary seating area. Aim them towards the audience for an immersive sound experience.
By connecting the speakers to the surround sound receiver, you are completing the audio setup and creating a network of speakers that will deliver a surround sound experience like no other. Now that your speakers are ready, it’s time to move on to the next step: configuring the surround sound system settings.
Step 5: Configure the Surround Sound System Settings
With your speakers connected and in place, it’s time to configure the settings of your surround sound system to optimize audio performance and customize your listening experience. Follow these steps to set up your surround sound system:
- Access the surround sound system’s settings: Use the remote control or the control panel on the receiver to access the settings menu of your surround sound system. The procedure may vary depending on the brand and model of your system.
- Speaker configuration: Check the speaker configuration settings and ensure that they match the setup you have. Depending on your system, you may need to specify the number and type of speakers connected (e.g., 5.1, 7.1) and their placement in your room.
- Audio modes and presets: Explore the audio modes and presets available on your surround sound system. These modes can enhance specific types of content, such as movies, music, or sports. Experiment with different modes to find the one that best suits your preferences.
- Adjust audio levels: Fine-tune individual speaker levels to achieve the desired balance and audio immersion. Most surround sound systems provide the option to adjust the volume level of each speaker independently, ensuring that sound is evenly distributed throughout your room.
- Enable additional features: Explore the additional features offered by your surround sound system, such as virtual surround sound, equalizer settings, or dialogue enhancement. Adjust these settings to enhance the audio experience based on your preferences.
- Test the sound: Many surround sound systems offer built-in calibration tools that help analyze your room’s acoustics and adjust audio settings accordingly. Follow the on-screen instructions to run the calibration and optimize the audio output for your specific environment.
Configuring the settings of your surround sound system will allow you to fine-tune the audio experience based on your room’s acoustics and personal preferences. Take your time to explore the available options and make adjustments until you achieve the desired sound quality.
Once you have configured the settings, it’s time for the final step: testing and calibrating your surround sound system to ensure it is set up correctly.
Step 6: Test and Calibrate Your Surround Sound System
Now that you have connected and configured your surround sound system, it’s time to test and calibrate it to ensure optimal audio performance. Testing and calibrating your system will fine-tune the audio settings and ensure that sound is accurately reproduced from each speaker. Follow these steps to complete the process:
- Position yourself in the primary listening area: Sit in the area where you will typically be watching or listening to content. This is usually the center of your seating arrangement.
- Play test content: Use test content specifically designed for surround sound systems. This can be a movie scene, a music track, or a test tone that cycles through each speaker individually.
- Listen for balanced audio: Pay attention to the audio coming from each speaker. Make sure that all speakers are producing sound and that the overall sound is balanced and cohesive. Adjust individual speaker levels if necessary.
- Check channel identification: Ensure that the audio is coming from the correct speaker. For example, if a sound is supposed to come from the front left speaker, make sure it is indeed coming from that speaker and not from another one.
- Utilize surround sound effects: Test different surround sound effects, such as panning effects, to ensure that the sound travels smoothly from one speaker to another, creating an immersive audio experience.
- Make adjustments: Based on your observations during the testing phase, make any necessary adjustments to the speaker placement or audio settings on your receiver to enhance the overall audio quality and listening experience.
- Run an automatic calibration: If your surround sound system offers an automatic calibration feature, follow the instructions in the user manual to run the calibration process. This feature helps adjust audio settings based on the specifics of your room’s acoustics.
Testing and calibrating your surround sound system is vital to ensure that it is set up correctly and delivering an immersive audio experience. Take the time to fine-tune the settings and make necessary adjustments to achieve the best possible sound quality in your home theater.
By completing these steps, you have successfully hooked up your surround sound system to your Smart TV and optimized its performance. Now sit back, relax, and enjoy a truly cinematic experience in the comfort of your own home.
Conclusion
Congratulations! You have successfully hooked up your surround sound system to your Smart TV, and now you can enjoy a truly immersive audio experience. By following the step-by-step process outlined in this guide, you have created a home theater setup that will enhance your movie nights, gaming sessions, and music listening.
Remember, before you begin the setup, determine the audio output options of your Smart TV and choose the type of surround sound system that best suits your needs and preferences. Then, connect the surround sound receiver to your Smart TV using the appropriate cables. Connect the speakers to the receiver, ensuring a secure connection and proper placement. Configure the surround sound system settings to optimize audio performance and customize your listening experience.
Finally, test and calibrate your surround sound system to fine-tune the settings and ensure that each speaker is working correctly. Take the time to make any necessary adjustments and run an automatic calibration if available.
Now sit back, relax, and immerse yourself in the rich and powerful audio that your surround sound system delivers. Whether you’re watching a thrilling action movie, enjoying a concert, or playing the latest video game, the surround sound experience will take your entertainment to new heights.
Thank you for following this guide. We hope that your setup process was smooth and enjoyable. Now, it’s time to grab some popcorn, dim the lights, and let the surround sound system transport you into a world of audio bliss.