Introduction
Welcome to this step-by-step guide on how to hook up an HDMI 3D Rocketfish to your surround sound system and your TV. If you’re a tech enthusiast who loves to enjoy high-quality audio and video, this tutorial is for you. With the HDMI 3D Rocketfish, you can elevate your home entertainment experience to new heights, immersing yourself in stunning visuals and cinematic sound.
Whether you’ve just purchased the HDMI 3D Rocketfish or you’ve had it for a while and need a refresher on how to connect it, this guide will walk you through the process. By following these steps, you’ll be able to effortlessly integrate your HDMI 3D Rocketfish with your TV and surround sound system, ensuring you get the most out of your home theater setup.
The HDMI 3D Rocketfish is a versatile and powerful device that allows you to connect multiple HDMI devices to your TV and route the audio to your surround sound system, creating a seamless and immersive viewing experience. It supports 3D content, ensuring that you can enjoy the latest movies, games, and sports in all their three-dimensional glory.
Before we dive into the step-by-step instructions, let’s quickly go over the equipment you’ll need for this setup. Make sure you have the following items on hand:
- HDMI 3D Rocketfish
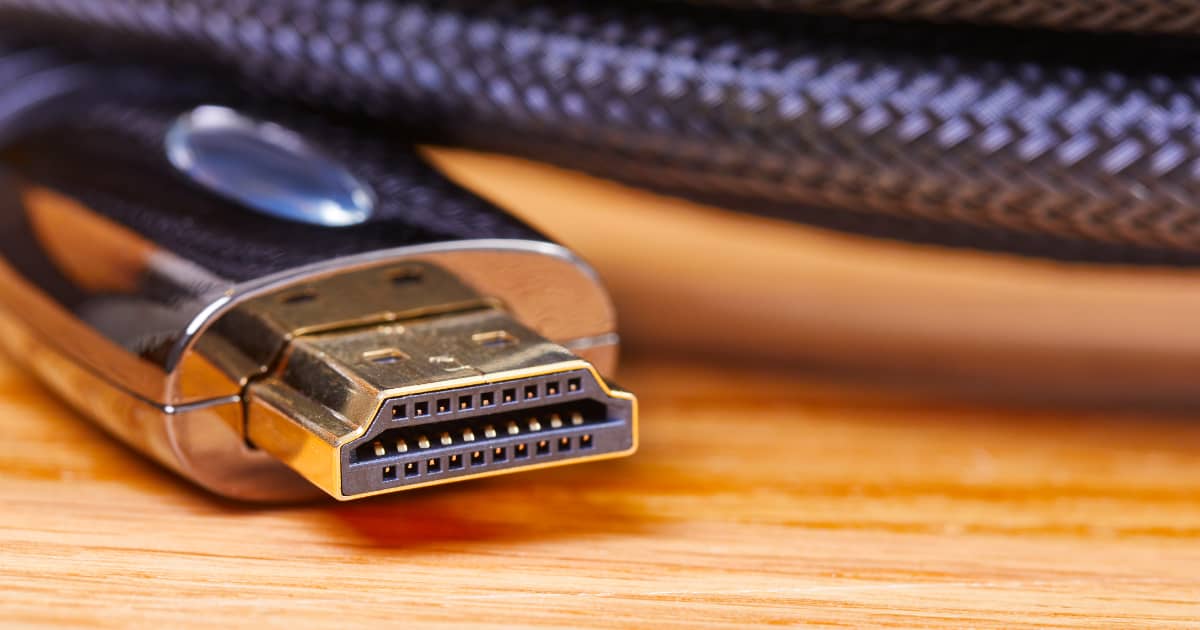
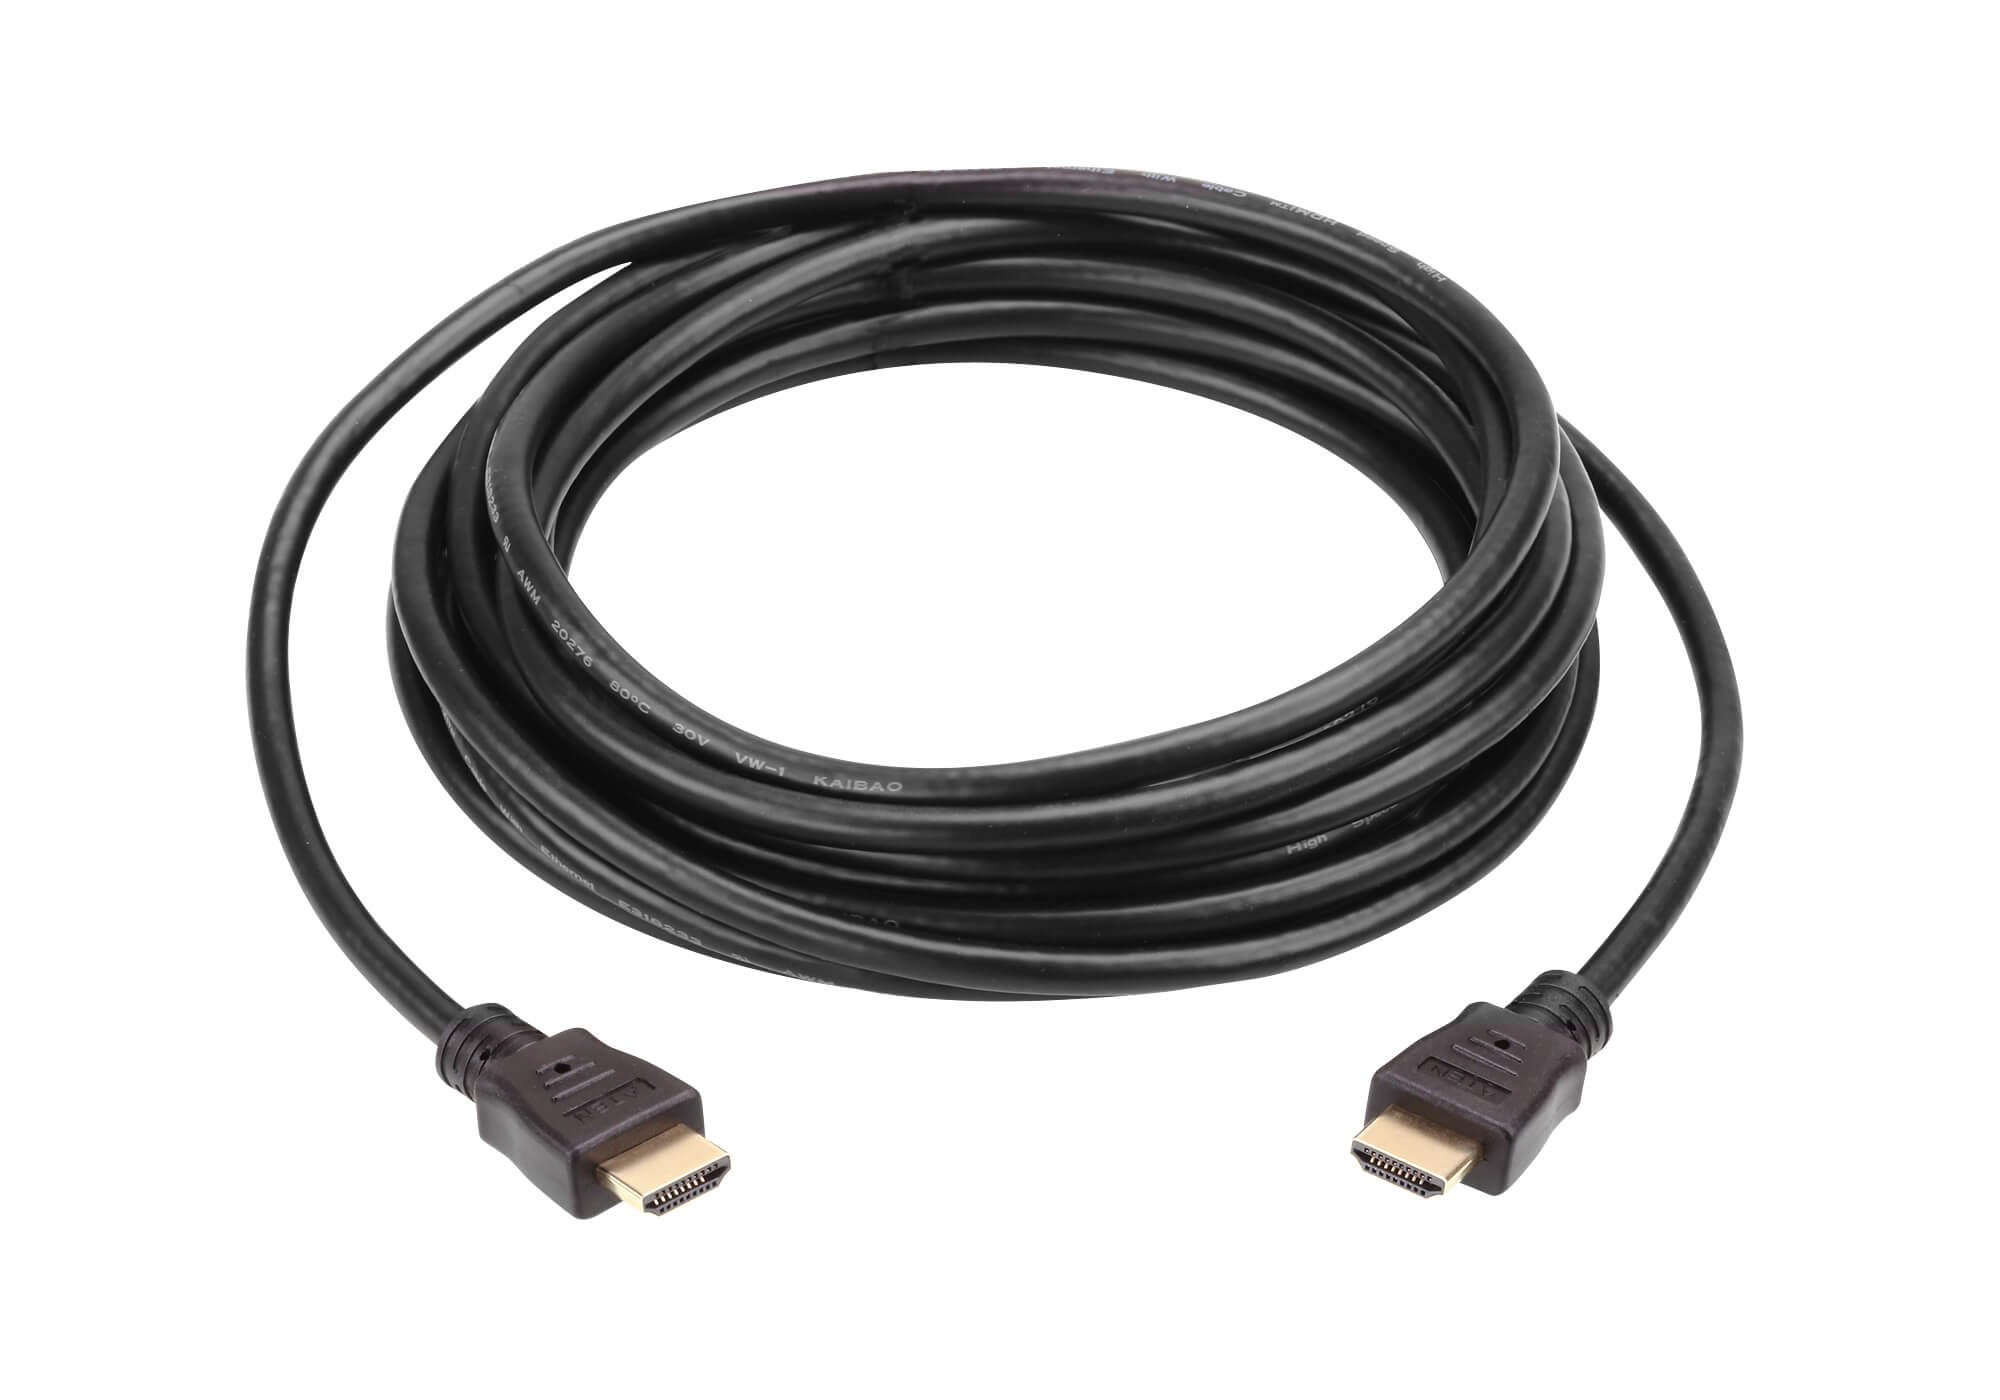
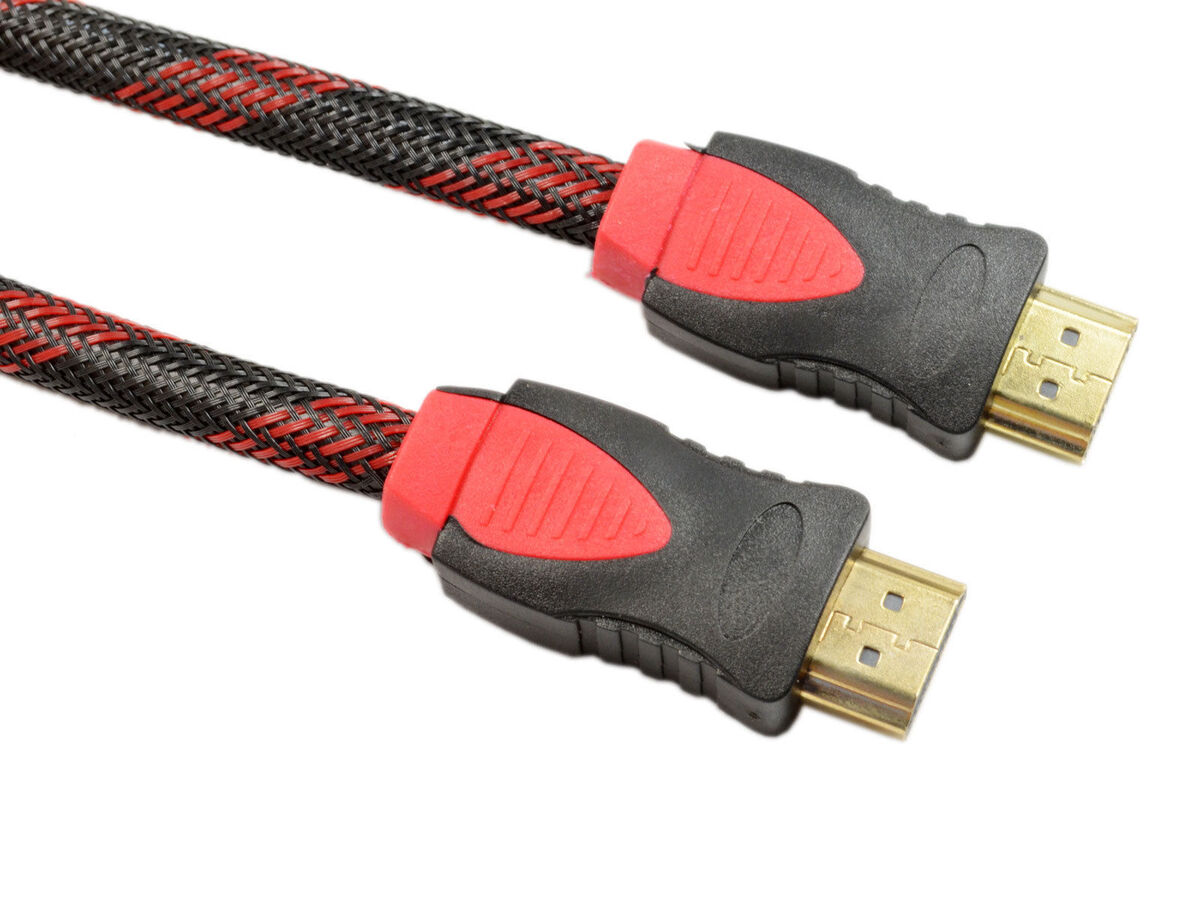
- HDMI cables
- TV
- Surround sound receiver
With these essentials ready, you’re just a few simple steps away from transforming your home entertainment system. So, grab your remote, sit back, and let’s get started on connecting your HDMI 3D Rocketfish to your surround sound system and TV!
Step 1: Gather the necessary equipment
Before you start setting up your HDMI 3D Rocketfish, it’s crucial to ensure that you have all the required equipment. Having everything on hand will make the process much smoother. Here’s a list of the items you’ll need:
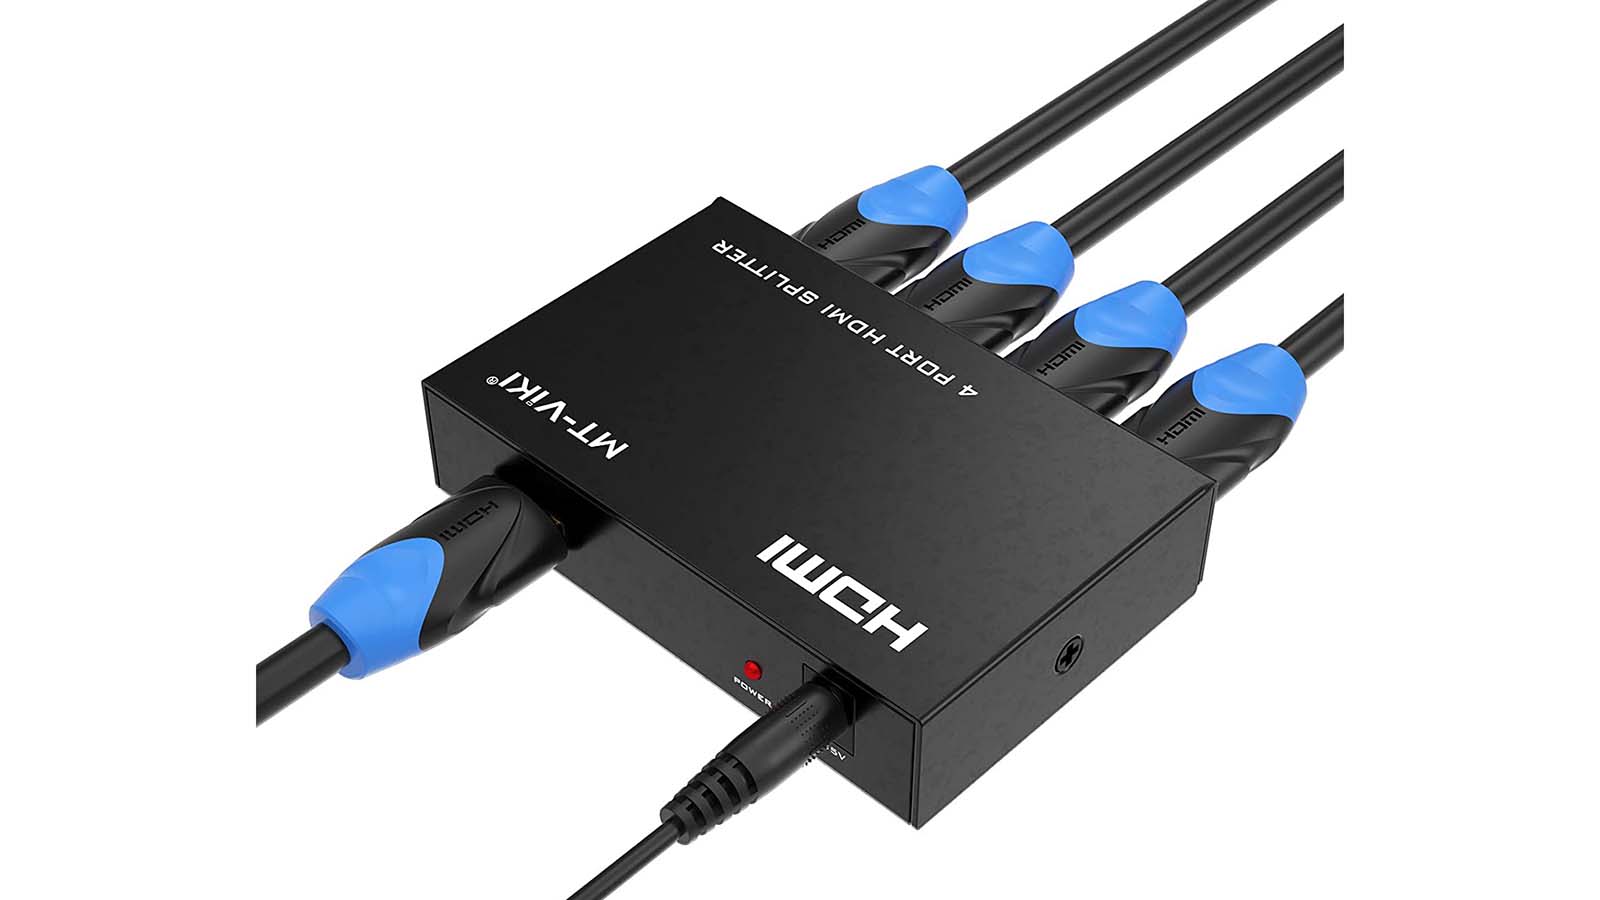
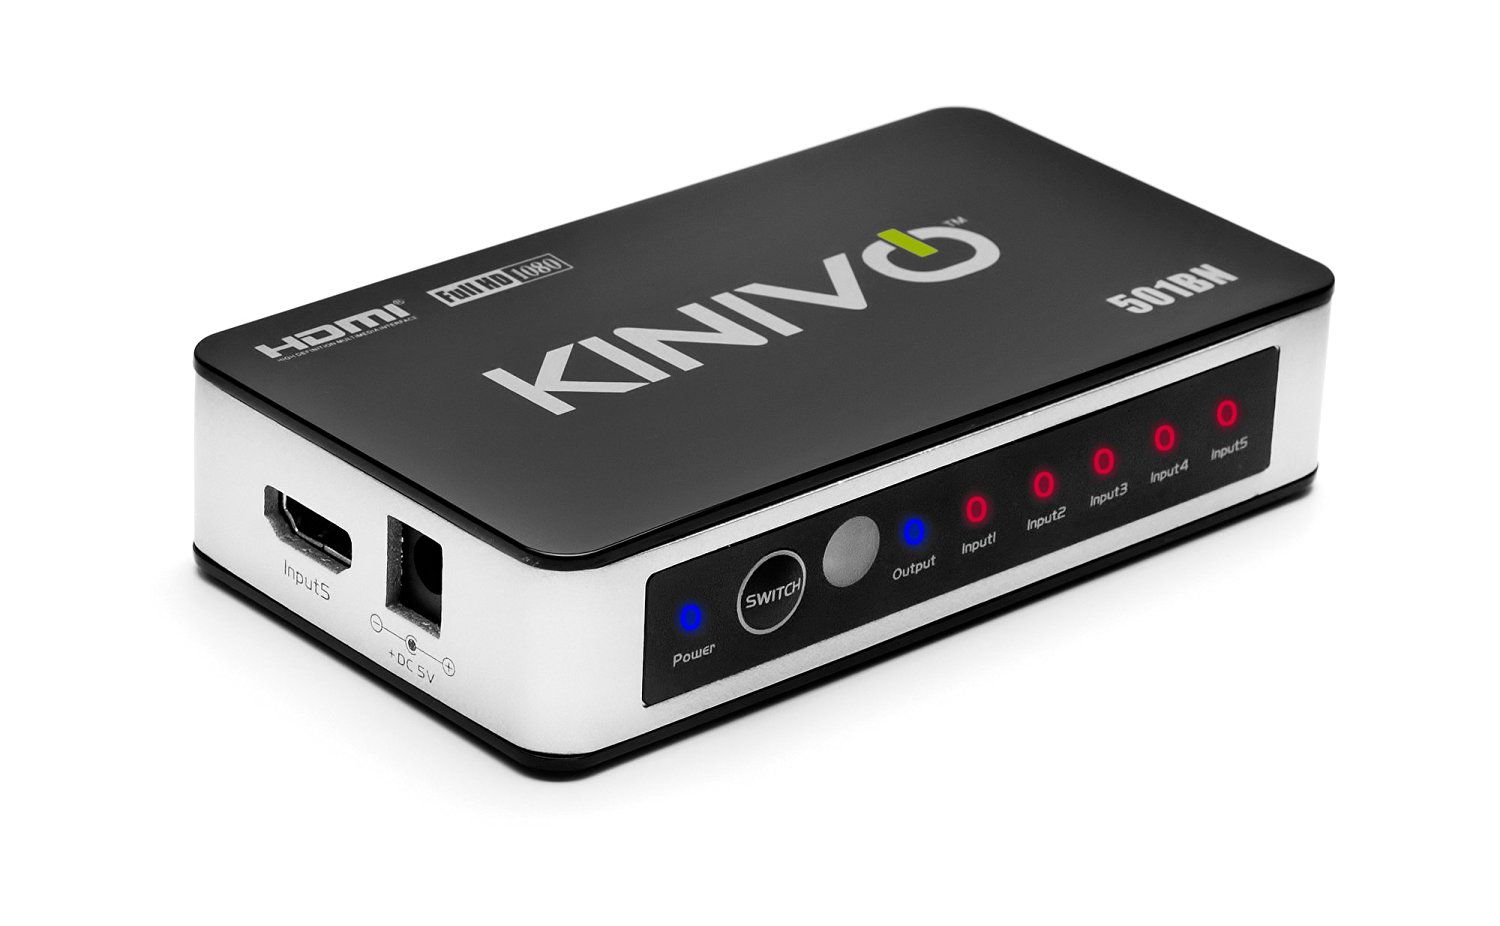
- HDMI 3D Rocketfish: This is the main device that will connect your HDMI devices to your TV and surround sound system.
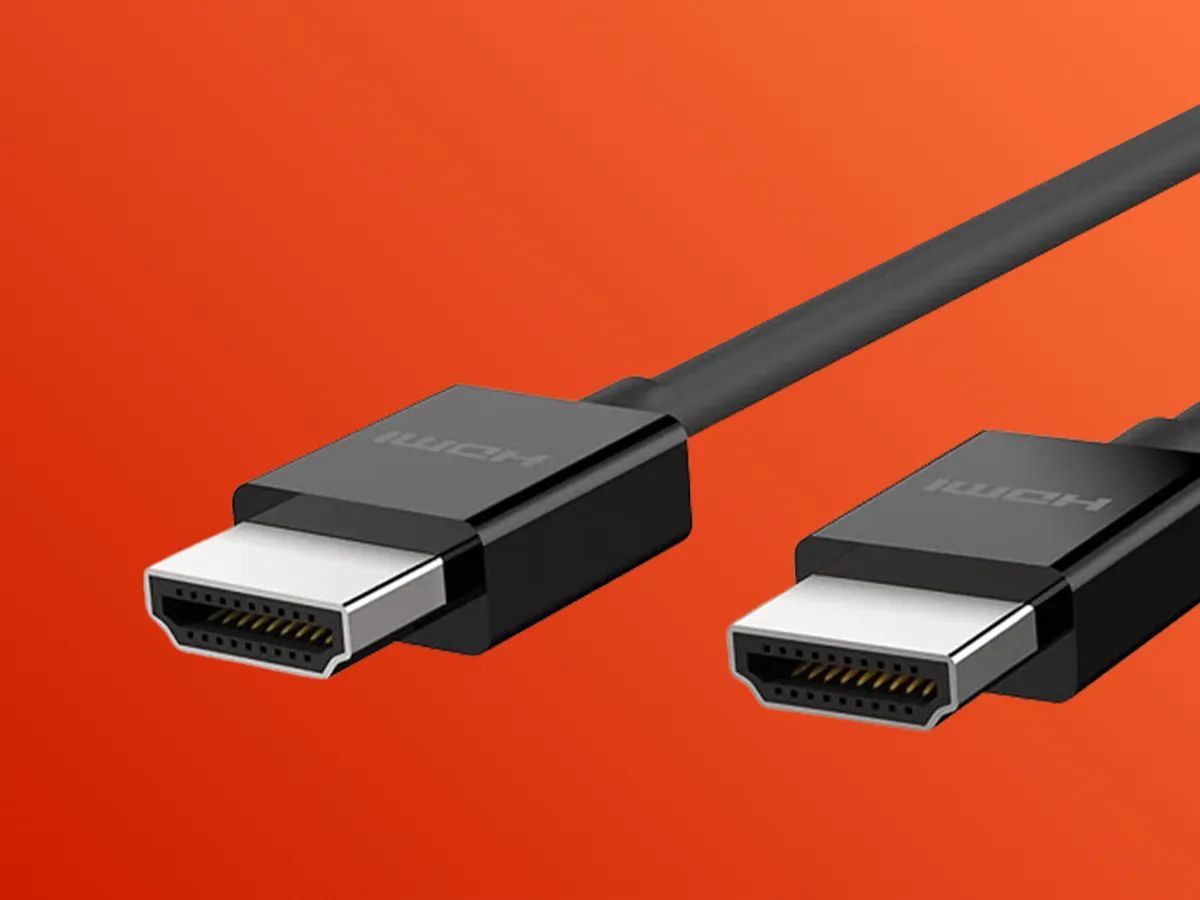
- HDMI cables: You’ll need HDMI cables to establish the connections between the HDMI 3D Rocketfish, your TV, and your surround sound receiver. Make sure you have enough cables for each connection.
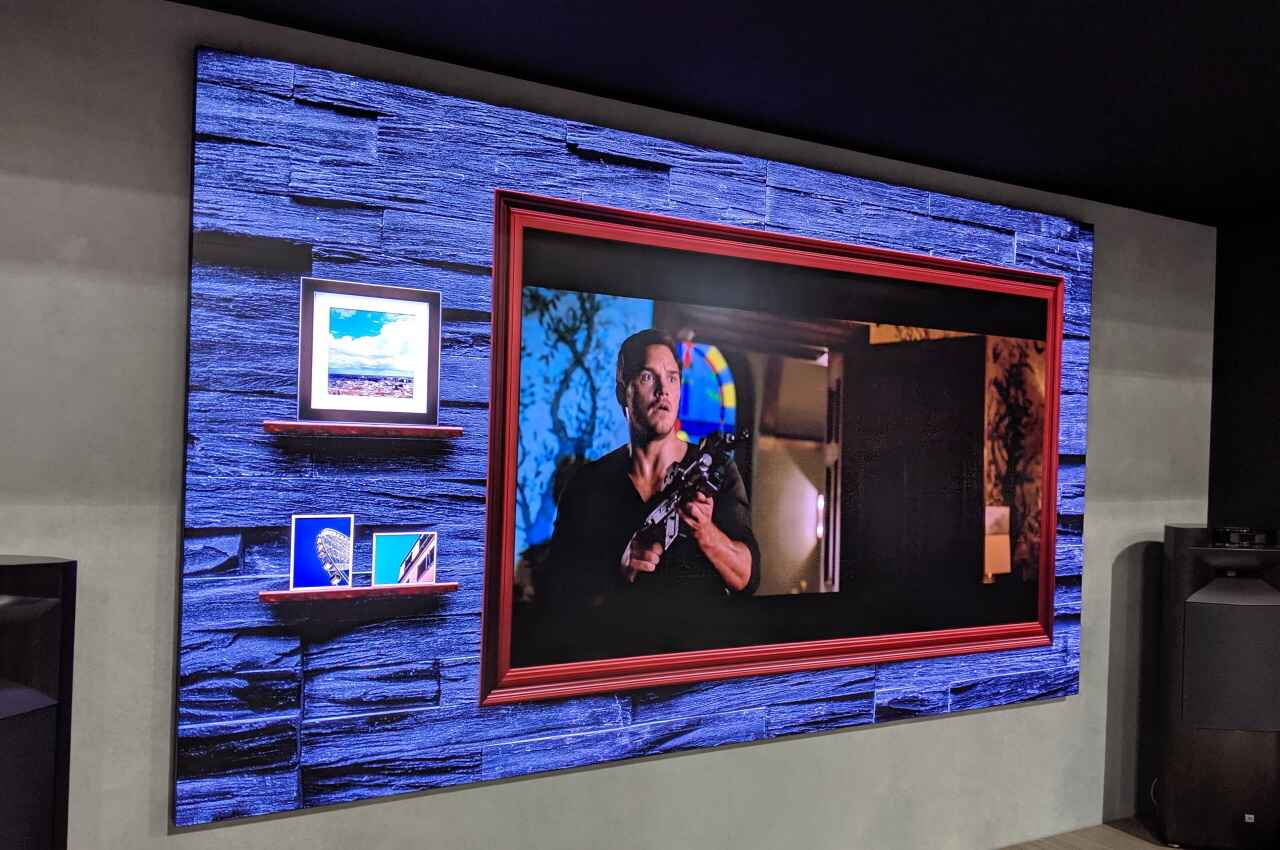
- TV: Your television is where you’ll be enjoying the visual experience. Ensure that your TV has an available HDMI input to connect the HDMI 3D Rocketfish.
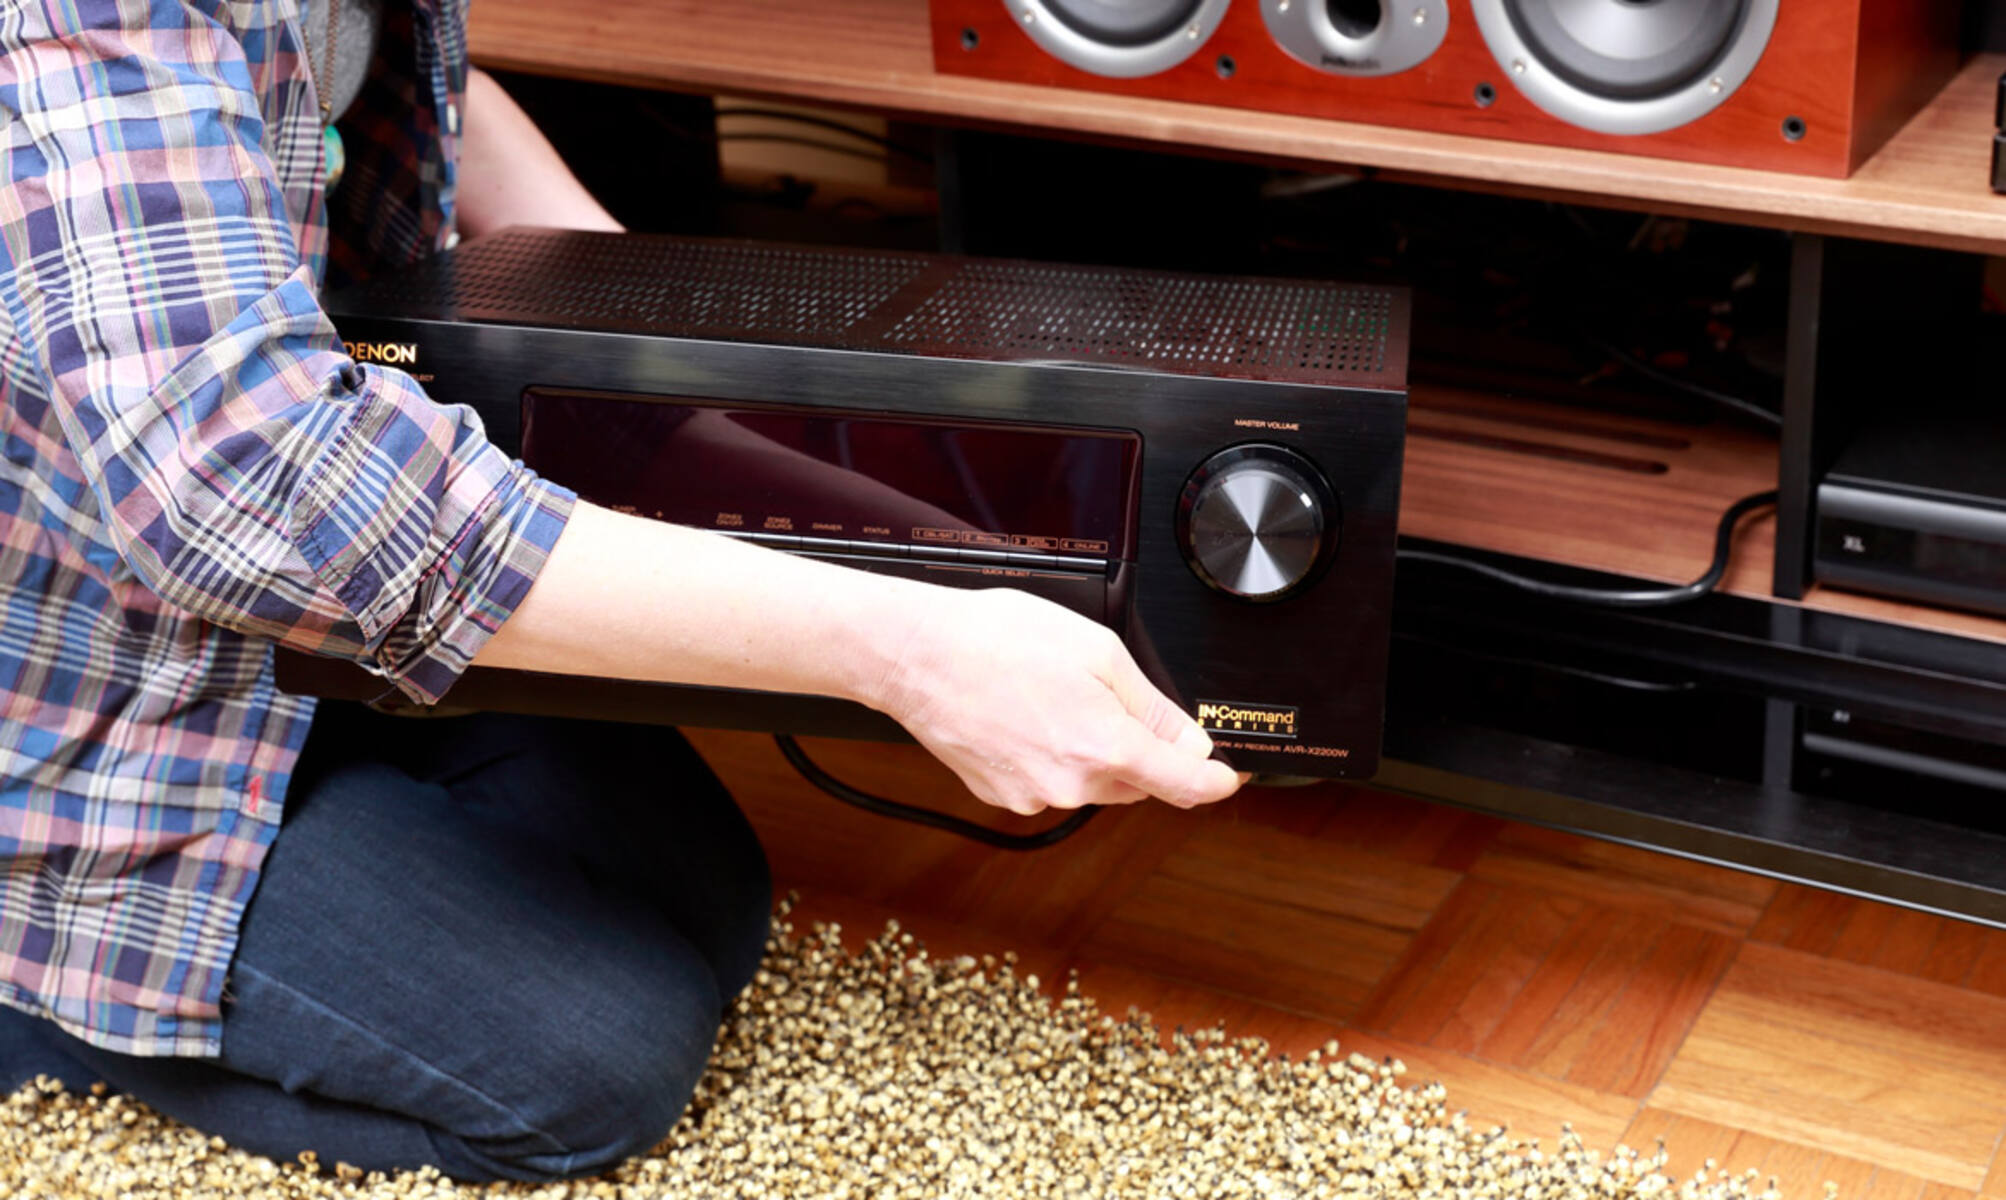
- Surround sound receiver: This is the heart of your audio setup. The surround sound receiver should have HDMI input and output ports to connect to the HDMI 3D Rocketfish and your speakers.
Double-check that all the necessary cables and equipment are in good condition and functioning correctly. If any cables are damaged or you find that you’re missing any components, consider replacing them before proceeding with the setup.
Once you have all the required equipment at your disposal, you can move on to the next step of connecting the HDMI 3D Rocketfish to your TV. With everything in place, you’re well on your way to enhancing your home theater audio and video experience.
Step 2: Connect the HDMI cable from the HDMI 3D Rocketfish to the TV
Now that you have gathered all the necessary equipment, it’s time to start connecting the HDMI 3D Rocketfish to your TV. This step will ensure that you can enjoy crisp and vibrant visuals on your television screen. Follow these simple steps to establish the connection:
- Locate the HDMI output port on the HDMI 3D Rocketfish device. It is usually marked as “HDMI Out” or “Output”.
- Take one end of the HDMI cable and connect it to the HDMI output port on the HDMI 3D Rocketfish.
- Locate the HDMI input port on your TV. It is usually labeled as “HDMI In” or numbered with the corresponding HDMI input.
- Take the other end of the HDMI cable and connect it to the HDMI input port on your TV. Make sure to match the HDMI ports correctly.
- Tighten the HDMI cable connections by gently pushing the cable plugs into the HDMI ports. Ensure that they are securely connected.
Once you have successfully connected the HDMI cable from the HDMI 3D Rocketfish to your TV, you have established the crucial link for transmitting high-definition video signals. This connection will allow you to enjoy immersive visuals with astounding clarity and detail.
Now that you have completed this step, you are ready to move on to the next step, which involves connecting the HDMI cable from the HDMI 3D Rocketfish to your surround sound receiver. By doing so, you will ensure that the audio output from your HDMI devices is properly routed to your surround sound system, fully immersing you in a rich and dynamic sound experience.
Step 3: Connect the HDMI cable from the HDMI 3D Rocketfish to the surround sound receiver
Now that you have completed the connection between the HDMI 3D Rocketfish and your TV, it’s time to establish the audio connection by connecting the HDMI cable from the HDMI 3D Rocketfish to your surround sound receiver. Follow these steps to ensure a seamless audio experience:
- Locate the HDMI input port on your surround sound receiver. It is typically labeled as “HDMI In” or numbered with the corresponding HDMI input.
- Take the other end of the HDMI cable connected to the HDMI 3D Rocketfish (the end you haven’t connected yet) and plug it into the HDMI input port on your surround sound receiver. Ensure that you match the HDMI ports correctly.
- Securely connect the HDMI cable by gently pushing the cable plug into the HDMI input port.
By connecting the HDMI cable from the HDMI 3D Rocketfish to your surround sound receiver, you have established a vital link for transmitting high-quality audio signals. This connection enables your surround sound system to receive and process audio data from your HDMI devices, delivering an immersive and cinematic sound experience.
With the HDMI cable properly connected to your surround sound receiver, you’re one step closer to experiencing top-notch audio quality. Now, let’s move on to the next step, where we’ll configure the settings on your TV and surround sound system to ensure optimal performance.
Step 4: Configure the TV and surround sound settings
Now that you have successfully connected the HDMI 3D Rocketfish to both your TV and surround sound receiver, it’s time to configure the settings on both devices to ensure optimal audio and video performance. Follow these steps to configure your TV and surround sound system:
- Power on your TV and navigate to the settings menu. Look for the “Audio” or “Sound” settings.
- Within the audio settings, select the appropriate audio output source. Choose the option that corresponds to the HDMI input you used to connect the HDMI 3D Rocketfish.
- Adjust the audio settings to your preference. You may want to adjust the volume level, balance, and other audio options based on your personal preferences.
- Next, navigate to the “Video” or “Display” settings on your TV. Ensure that the HDMI input you used to connect the HDMI 3D Rocketfish is selected as the input source for video playback.
- Make any necessary adjustments to the video settings, such as brightness, contrast, and color settings, to optimize your viewing experience.
- Now, turn on your surround sound receiver and navigate to the audio settings on the receiver. Select the HDMI input that corresponds to the connection from the HDMI 3D Rocketfish.
- Adjust the surround sound settings to your liking. You can customize options such as speaker configuration, audio modes, and equalizer settings to match your audio preferences.
By configuring the settings on both your TV and surround sound system, you can ensure that you’re getting the best audio and video performance from your HDMI 3D Rocketfish setup. Take some time to fine-tune the settings until you achieve the desired audio and visual experience.
Once you have completed the configuration of your TV and surround sound settings, you are now ready to move on to the final step – testing the setup and troubleshooting if necessary. Let’s dive into it!
Step 5: Test the setup and troubleshoot if necessary
Now that you have completed the setup and configuration of your HDMI 3D Rocketfish, TV, and surround sound system, it’s time to test the setup and ensure everything is working as expected. Follow these steps to test your setup and troubleshoot any potential issues:
- Power on your TV, surround sound receiver, and any connected HDMI devices, such as a Blu-ray player or gaming console.
- Select the appropriate HDMI input on your TV to match the HDMI input you used to connect the HDMI 3D Rocketfish.
- Play a video or audio content on one of your HDMI devices.
- Ensure that the video is displaying on your TV and that the audio is playing through your surround sound system. Adjust the volume on your surround sound receiver to a comfortable level.
- Pay attention to any audio or video issues, such as distorted sound, flickering picture, or no sound at all.
- If you encounter any issues, first check that all connections are secure. Ensure that the HDMI cables are properly plugged in and that there are no loose connections.
- Try switching to a different HDMI input on your TV and see if the issue persists.
- If necessary, consult the user manuals for your HDMI 3D Rocketfish, TV, and surround sound system for additional troubleshooting steps.
During the testing process, be sure to pay attention to the quality of both the audio and video. If you are experiencing any issues, don’t worry, as troubleshooting is a normal part of setting up a complex audio and video system.
By carefully testing and troubleshooting any potential issues, you can address problems and ensure that your setup is functioning optimally. Don’t hesitate to seek further assistance from manufacturers’ customer support if needed.
Congratulations! You have successfully completed the steps to hook up your HDMI 3D Rocketfish to your surround sound system and TV. Now, sit back, relax, and enjoy an immersive and captivating home entertainment experience like never before!
Conclusion
Through this step-by-step guide, you have learned how to hook up an HDMI 3D Rocketfish to your surround sound system and TV. By following the simple instructions outlined in each step, you can now enjoy breathtaking visuals and immersive audio in your home theater setup.
Starting with gathering the necessary equipment, including the HDMI 3D Rocketfish, HDMI cables, TV, and surround sound receiver, you ensured that you had all the essentials to create a seamless connection.
You then learned how to connect the HDMI cable from the HDMI 3D Rocketfish to your TV, allowing for the transmission of high-definition video signals. This ensures that you can enjoy stunning visuals with clarity and detail.
Next, you connected the HDMI cable from the HDMI 3D Rocketfish to your surround sound receiver, enabling the routing of audio signals to your surround sound system. This creates an immersive and cinematic sound experience, enhancing your overall viewing pleasure.
After the physical connections were established, you moved on to configuring the settings on your TV and surround sound system. This step allows you to customize the audio and video settings to match your preferences, optimizing your home entertainment experience.
With the setup and configuration completed, you tested the setup and performed troubleshooting if necessary. This ensured that any issues were addressed, allowing you to enjoy a smooth and problem-free audio and video experience.
By following these steps, you have successfully hooked up your HDMI 3D Rocketfish to your surround sound system and TV. Now, you can sit back, relax, and immerse yourself in the captivating visuals and incredible audio of your favorite movies, TV shows, and games.
Remember, if you encounter any issues or have further questions, consult the user manuals or reach out to the customer support of the respective devices. Enjoy your enhanced home entertainment experience with the HDMI 3D Rocketfish!