Introduction
Welcome to our guide on how to hook up a Sony surround sound system to a TV. If you’re someone who loves watching movies, playing video games, or listening to music with immersive audio, then setting up a surround sound system can greatly enhance your entertainment experience.
Sony is a well-known brand when it comes to audio equipment, and their surround sound systems are no exception. With their high-quality speakers and receivers, you can transform your living room into a mini home theater.
In this article, we will provide you with step-by-step instructions on how to connect your Sony surround sound system to your TV. Whether you’re a beginner or have some experience with audio setups, this guide will help you get everything up and running smoothly.
Before we dive into the setup process, let’s go over some basics. A surround sound system typically includes multiple speakers that are strategically placed around the room to create a surround sound effect. These speakers are connected to a receiver, which acts as the control center for your audio setup. The receiver is then connected to your TV so that the audio from the TV can be played through the surround sound speakers.
Now that you have a better understanding of what a surround sound system entails, let’s get started with the setup process. By the end of this guide, you’ll be enjoying a cinematic audio experience right in your own home.
Step 1: Gather the necessary equipment
Before you can start setting up your Sony surround sound system, you’ll need to gather the necessary equipment. Here’s a list of what you’ll need:
- Sony surround sound system: This includes speakers and a receiver. Make sure you have all the components necessary for your specific model.
- TV: You’ll, of course, need a TV to connect your surround sound system to. Make sure your TV has an available audio output.
- Audio cables: Depending on your specific model, you may need HDMI cables, optical cables, or RCA cables to connect your devices.
- Power cords: Ensure that you have all the required power cords for your surround sound system and TV.
- Remote control: Keep your remote control handy, as you’ll need it to navigate the settings on your surround sound system.
- User manual: Don’t forget to have the user manual for your surround sound system on hand. It will provide specific instructions and troubleshooting tips.
By having all the necessary equipment ready, you’ll ensure a smooth setup process without any interruptions. Take a few moments to double-check that you have everything listed above before moving on to the next step.
Once you have gathered all the required equipment, you’re ready to move on to the next step: positioning your speakers.
Step 2: Position your speakers
Now that you have all the necessary equipment ready, it’s time to position your speakers for optimal sound quality. The placement of your speakers greatly affects the overall audio experience.
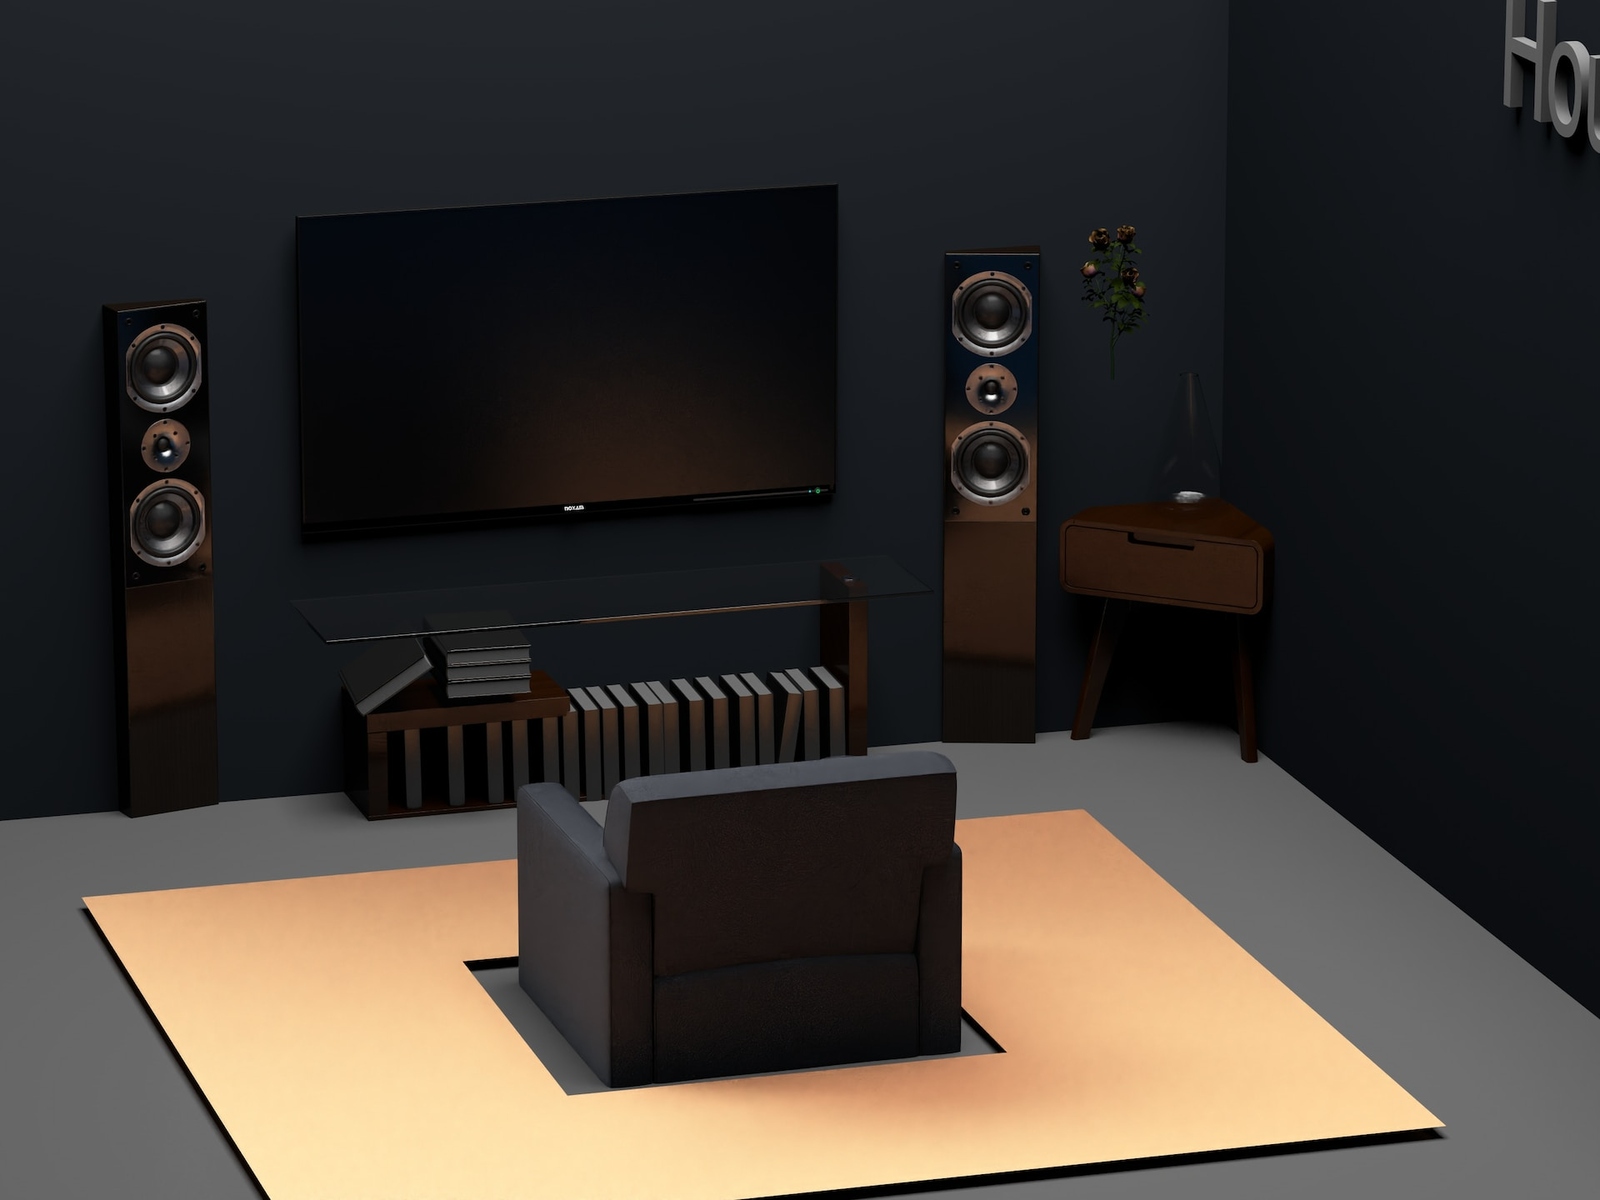
Start by identifying the different types of speakers included in your Sony surround sound system. Typical setups consist of a center speaker, front speakers, rear speakers, and a subwoofer. The center speaker should be positioned directly above or below your TV, facing the seating area. The front speakers should be placed at an angle on either side of the TV, facing inward towards the center of the room.
The rear speakers should be positioned behind the seating area, slightly above ear level, and angled towards the center of the room. This creates a surround sound effect that immerses you in the audio experience. Additionally, the subwoofer can be placed anywhere in the room, as it produces low-frequency sounds that are not directional.
When positioning the speakers, consider the size and layout of your room. Try to maintain an equal distance between the speakers and ensure that they are at ear level when seated. Avoid obstructing the speakers with furniture or other objects, as this can disrupt the audio quality.
Experiment with different speaker positions and angles to find the setup that produces the best sound for your room. Each room is unique, and the acoustics can vary, so take some time to fine-tune the positioning for optimum audio performance.
Once you have positioned the speakers, check that all the cables are securely connected to the receiver. With the speakers properly positioned and connected, you’re now ready to move on to the next step: connecting the speakers to the receiver.
Step 3: Connect the speakers to the receiver
Now that you have positioned your speakers, it’s time to connect them to the receiver. The receiver acts as the central hub that processes and amplifies the audio signals from your devices and directs them to the appropriate speakers.
Start by identifying the speaker outputs on the back of your receiver. They are usually labeled as “front,” “center,” “rear,” or “subwoofer.” Take note of these labels as they will help you connect the speakers correctly. Each speaker will have a corresponding cable with a specific connector that plugs into the receiver.
Begin by connecting the front speakers. Take one end of the speaker cable and plug it into the labeled output on the back of the receiver. Then, connect the other end of the cable to the corresponding input on the back of the front speakers. Ensure that the cables are securely plugged in, and repeat this process for the other front speaker.
Next, connect the center speaker. Repeat the same process, connecting one end of the cable to the labeled output on the receiver and the other end to the corresponding input on the back of the center speaker.
For the rear speakers, you’ll need to run the speaker cables from the receiver to the rear of the room. Try to keep the cables hidden or neatly routed along the walls to maintain a clean aesthetic. Connect one end of the cable to the labeled output on the receiver and the other end to the corresponding input on the back of the rear speakers.
Lastly, connect the subwoofer. The subwoofer usually has its own dedicated low-frequency effects (LFE) input on the back of the receiver. Plug one end of the cable into the LFE output on the receiver and the other end into the corresponding input on the subwoofer.
Once all the speakers are connected, double-check the connections to ensure they are secure. Any loose or improperly connected cables can result in poor sound quality or no audio at all. Now that the speakers are connected to the receiver, you’re ready to move on to the next step: connecting the receiver to the TV.
Step 4: Connect the receiver to the TV
After connecting the speakers to the receiver, the next step is to connect the receiver to the TV. This will allow the audio from your TV to be played through the surround sound system.
Start by identifying the audio output options on your TV. Common options include HDMI ARC (Audio Return Channel), optical audio, or RCA audio outputs. Consult your TV’s user manual or look for labeled audio outputs on the back or side of the TV.
If your TV has an HDMI ARC port, this is the preferred method for connecting to a surround sound system. Simply connect one end of an HDMI cable to the HDMI ARC output on your TV and the other end to the HDMI ARC input on your receiver. This single connection will carry both audio and video signals from the TV to the receiver, making setup easier.
If your TV doesn’t have an HDMI ARC option, you can use optical audio or RCA audio outputs. To connect using optical audio, plug one end of the optical cable into the optical audio output on your TV and the other end into the optical audio input on your receiver.
Alternatively, if your TV has RCA audio outputs, use RCA cables to connect the audio output on your TV to the corresponding inputs on the receiver. Match the colors of the cables (red to red, white to white) and insert them into the labeled audio output and input ports.
Once the cables are connected, make sure the receiver is set to the appropriate audio input. This may require selecting the input source on the receiver’s control panel or using the remote control.
With the receiver connected to the TV, you’re now ready to move on to the next step: setting up the audio output on your TV.
Step 5: Set up the audio output on the TV
In order for the audio from your TV to be played through the surround sound system, you’ll need to configure the audio output settings on your TV. The specific steps may vary depending on the make and model of your TV, but here are some general guidelines to follow:
1. Access the TV settings: Use your TV remote to navigate to the settings menu. Look for options such as “Settings,” “Menu,” or “Setup.” Consult your TV’s user manual if you’re unsure how to access the settings.
2. Audio output options: Once you’re in the settings menu, look for audio-related settings. This may be under a sub-menu labeled “Audio,” “Sound,” or “Audio Output.”
3. Select the audio output type: Choose the audio output type that corresponds to the connection you established in the previous step. If you connected using HDMI ARC, select the HDMI ARC option. For optical audio, choose the optical audio output. If you used RCA audio connections, select the appropriate option for that.
4. Set the audio format: Depending on your TV, you may have the option to select the audio format. Choose the format that best matches the capabilities of your Sony surround sound system. Options may include PCM (Pulse Code Modulation), Dolby Digital, DTS (Digital Theater Systems), or other surround sound formats.
5. Adjust audio settings: Some TVs allow you to fine-tune the audio settings to your preference. This may include adjusting the volume levels, bass, treble, or enabling any virtual surround sound features your TV may have. Experiment with these settings to find the desired audio experience.
Once you have configured the audio output settings on your TV, save the changes and exit the settings menu. The TV will now send the audio signal to your Sony surround sound system, allowing you to enjoy immersive sound while watching your favorite movies, shows, or playing games.
Now that the audio output of your TV is set up, you’re ready to move on to the next step: turning on the surround sound system and making final adjustments.
Step 6: Turn on the surround sound system
Now that you have connected and set up the audio output on your TV, it’s time to turn on your Sony surround sound system and make sure everything is functioning properly. Follow these steps to turn on your surround sound system:
1. Locate the power button: The power button is usually located on the receiver or the remote control. It may be labeled as “Power” or have a power symbol (a circle with a line).
2. Power on the receiver: Press the power button on the receiver or use the power button on the remote control to turn on the surround sound system. You may hear a startup sound or see lights indicating that the system is powering on.
3. Check the display: If your receiver has a display panel, it should show information such as the input source, volume level, and speaker configuration. Make sure the correct input source (e.g., HDMI, optical, RCA) is selected on the receiver’s display.
4. Adjust the volume: Use the volume controls on the receiver or the remote control to adjust the volume to a comfortable level. Start with a lower volume to avoid any sudden loud noises.
5. Test the audio: Play a piece of content on your TV, such as a movie or a song, and pay attention to the sound coming from the speakers. Make sure that sound is coming from all the speakers and that the audio is clear and balanced.
6. Troubleshoot if needed: If you encounter any issues, consult the user manual or troubleshoot following the specific guidelines for your surround sound system. Check the connections, adjust the audio settings, or refer to any error messages on the receiver’s display.
Once you have confirmed that the surround sound system is working correctly and producing the desired audio experience, you’re ready to enjoy your favorite content with immersive surround sound.
In the next step, we will go over testing the audio to ensure that all speakers are functioning properly and producing the desired sound quality.
Step 7: Test the audio
After setting up and turning on your Sony surround sound system, it’s crucial to test the audio to ensure that all the speakers are functioning properly and delivering the desired sound quality. Follow these steps to test the audio:
1. Select a test sound source: Choose a test sound source that is specifically designed to test the surround sound capabilities of your system. This can include test videos, movies with surround sound effects, or audio test files. Such resources are available online or may come with your surround sound system.
2. Play the test sound source: Play the selected test sound source on your TV or any other connected device. Ensure that the volume is set to a reasonable level.
3. Listen for sound from each speaker: Pay close attention to the sound coming from each speaker. Walk around the room and verify that sound is audible from all the speakers, including the front, center, and rear speakers, as well as the subwoofer. This will help you identify any issues with individual speakers.
4. Confirm spatial audio balance: The surround sound system should provide a balanced and immersive audio experience. Ensure that the sound is evenly distributed across the speakers and that there are no noticeable audio imbalances or distortion. Adjust volume levels or speaker positioning if necessary.
5. Test surround sound effects: Many test sound sources contain specific audio sequences to test the surround sound effects, such as moving sound effects or sounds that move from one speaker to another. Listen closely to these effects to ensure they are properly reproduced by your surround sound system.
6. Make adjustments if needed: If you encounter any issues with the audio, such as certain speakers not producing sound or audio imbalances, consult the user manual for troubleshooting tips. Verify the connections, check the speaker settings, or adjust the audio configuration in the receiver’s menu.
By thoroughly testing the audio, you ensure that all the speakers of your Sony surround sound system are working as intended and providing an immersive listening experience. Take the time to fine-tune the settings and make any necessary adjustments to achieve optimal sound quality.
With the audio successfully tested and confirmed, you can now sit back, relax, and enjoy your favorite movies, shows, and music with the full surround sound experience that your Sony system provides.
Conclusion
Congratulations! You have successfully hooked up your Sony surround sound system to your TV. By following the steps outlined in this guide, you have transformed your living room into a mini home theater, complete with immersive surround sound.
Setting up a surround sound system may seem daunting at first, but by gathering the necessary equipment, positioning the speakers correctly, connecting them to the receiver, and configuring the audio output on your TV, you have created an audio setup that will greatly enhance your entertainment experience.
Remember to test the audio to ensure that all the speakers are functioning properly and producing the desired sound quality. Make any necessary adjustments, such as volume levels or speaker positioning, to achieve optimal audio performance.
With your Sony surround sound system up and running, you can now enjoy your favorite movies, shows, and music with immersive audio. Experience the deep bass, rich dialogue, and surround sound effects that bring your entertainment to life.
If you encounter any issues along the way, consult the user manual for your specific surround sound system or reach out to Sony’s customer support for further assistance.
Thank you for following this guide. We hope that you enjoy the enhanced audio experience provided by your Sony surround sound system.