Introduction
Are you ready to experience a blast from the past with the iconic 1990 Sony Surround Sound System? This comprehensive guide will walk you through the setup process, from unboxing to troubleshooting, ensuring that you can enjoy a truly immersive audio experience reminiscent of the golden era of home entertainment.
The 1990 Sony Surround Sound System is a testament to the enduring quality and innovation of Sony's audio technology. With its powerful speakers and advanced receiver, this system delivers rich, multi-dimensional sound that brings movies, music, and games to life in your living room. Whether you're a nostalgic audiophile or a newcomer to the world of vintage audio equipment, setting up this classic surround sound system is a rewarding experience that will transport you back to a time when home entertainment was truly revolutionary.
In this guide, you'll find detailed instructions on unboxing and checking the contents of the system, connecting the speakers to the receiver, linking the receiver to your TV, setting up the remote control, testing the surround sound system, and troubleshooting common issues. By following these steps, you'll be able to unleash the full potential of your 1990 Sony Surround Sound System and enjoy an audio experience that's as timeless as it is impressive.
So, dust off those old VHS tapes, cue up your favorite CDs, and get ready to embark on a journey to the heyday of home audio technology. Let's dive into the process of setting up your 1990 Sony Surround Sound System and rediscover the magic of immersive, high-fidelity sound from a bygone era.
Unboxing and Checking the Contents
As you embark on the journey of setting up your 1990 Sony Surround Sound System, the first step is to unbox the components and ensure that everything is accounted for. The anticipation of unboxing a vintage audio system is a delightful experience, reminiscent of unwrapping a time capsule from the era of cutting-edge home entertainment.
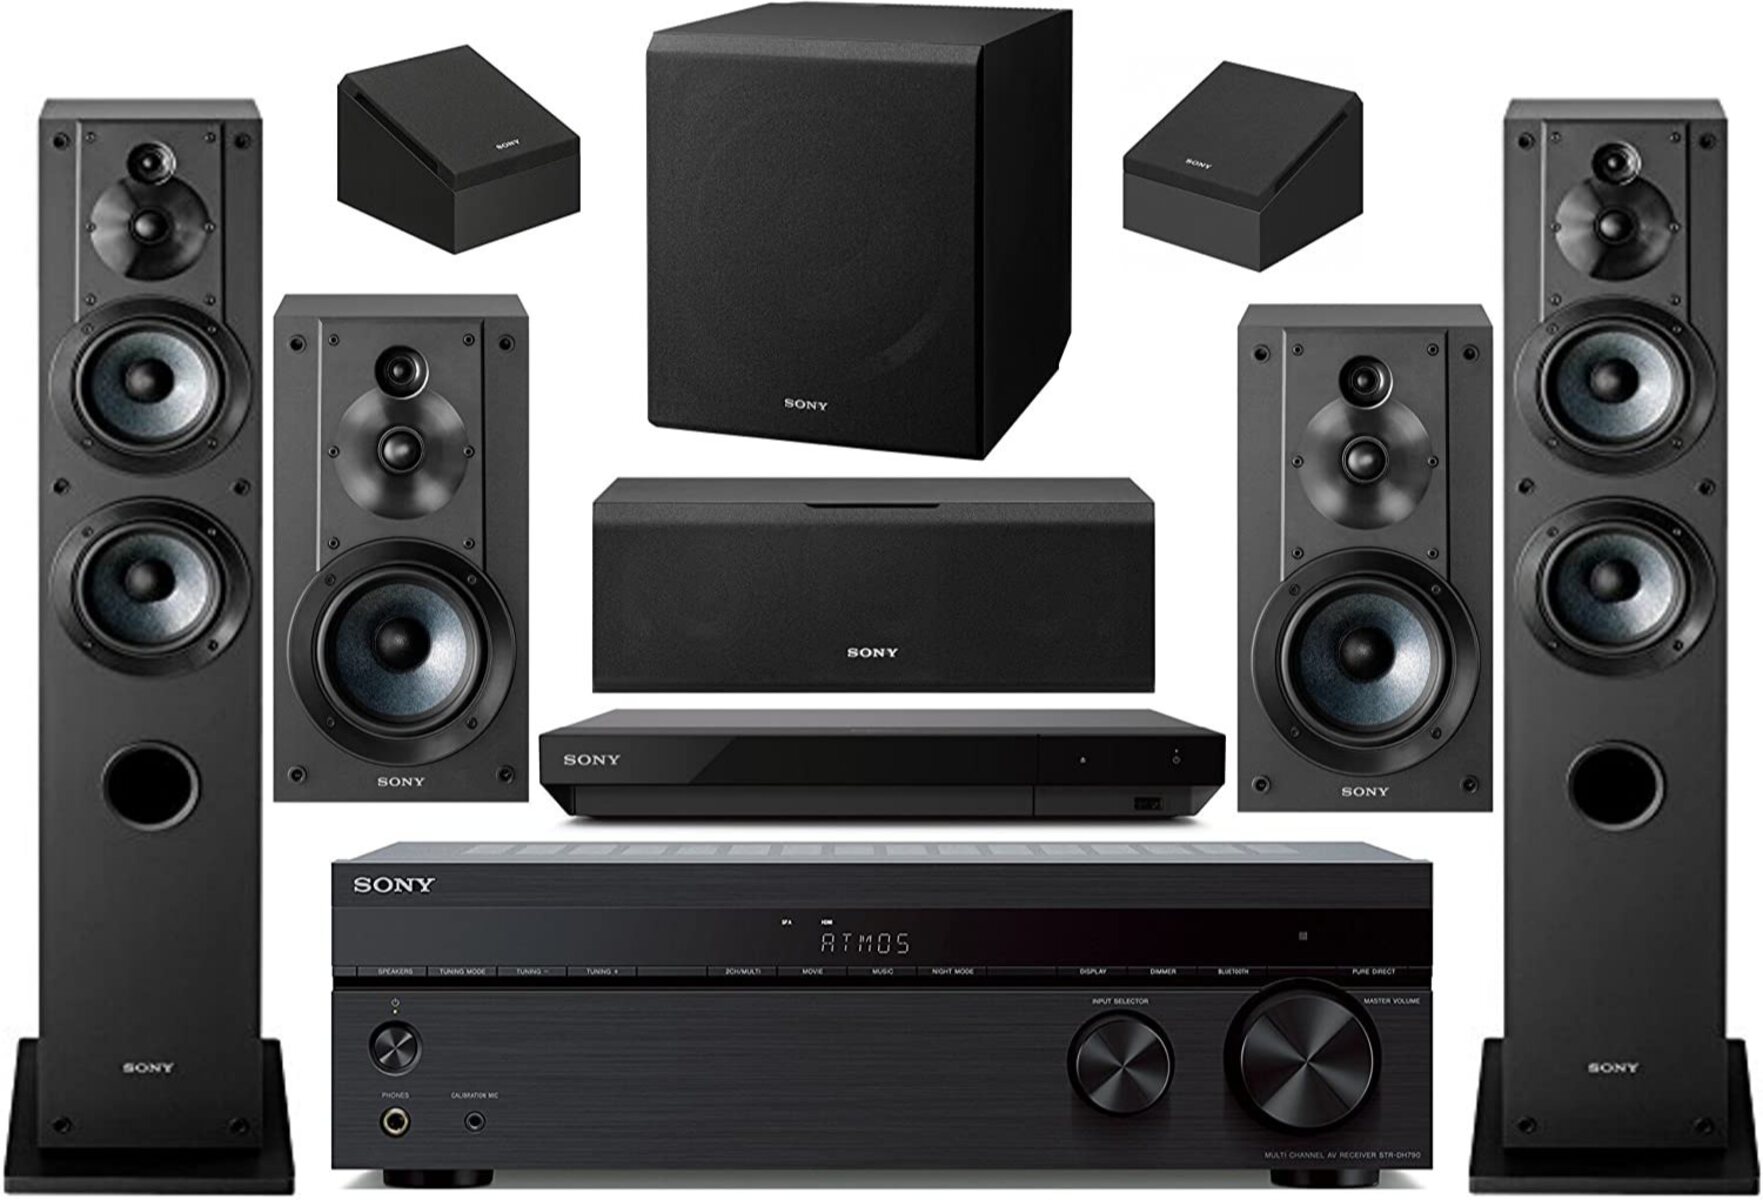
Upon opening the package, you’ll find the key components of the 1990 Sony Surround Sound System neatly nestled within. Take a moment to appreciate the design and craftsmanship of each item, from the sleek receiver to the robust speakers that exude a timeless charm.
Begin by carefully inspecting the contents to confirm that all the essential components are present. These typically include the receiver unit, speakers (front, rear, and center), subwoofer, remote control, and necessary cables. Ensure that there are no visible signs of damage or missing parts, and take note of any accessories or documentation included in the package.
Each component of the 1990 Sony Surround Sound System is a testament to Sony’s commitment to quality and innovation, reflecting the brand’s legacy of delivering exceptional audio experiences. As you unbox and inspect the contents, you’ll gain a deeper appreciation for the meticulous engineering and attention to detail that went into creating this iconic system.
By meticulously checking the contents and familiarizing yourself with each component, you’ll set the stage for a seamless setup process and ensure that you’re ready to move on to the next step: connecting the speakers to the receiver. With the components unboxed and accounted for, you’re one step closer to reliving the golden age of home audio with the 1990 Sony Surround Sound System.
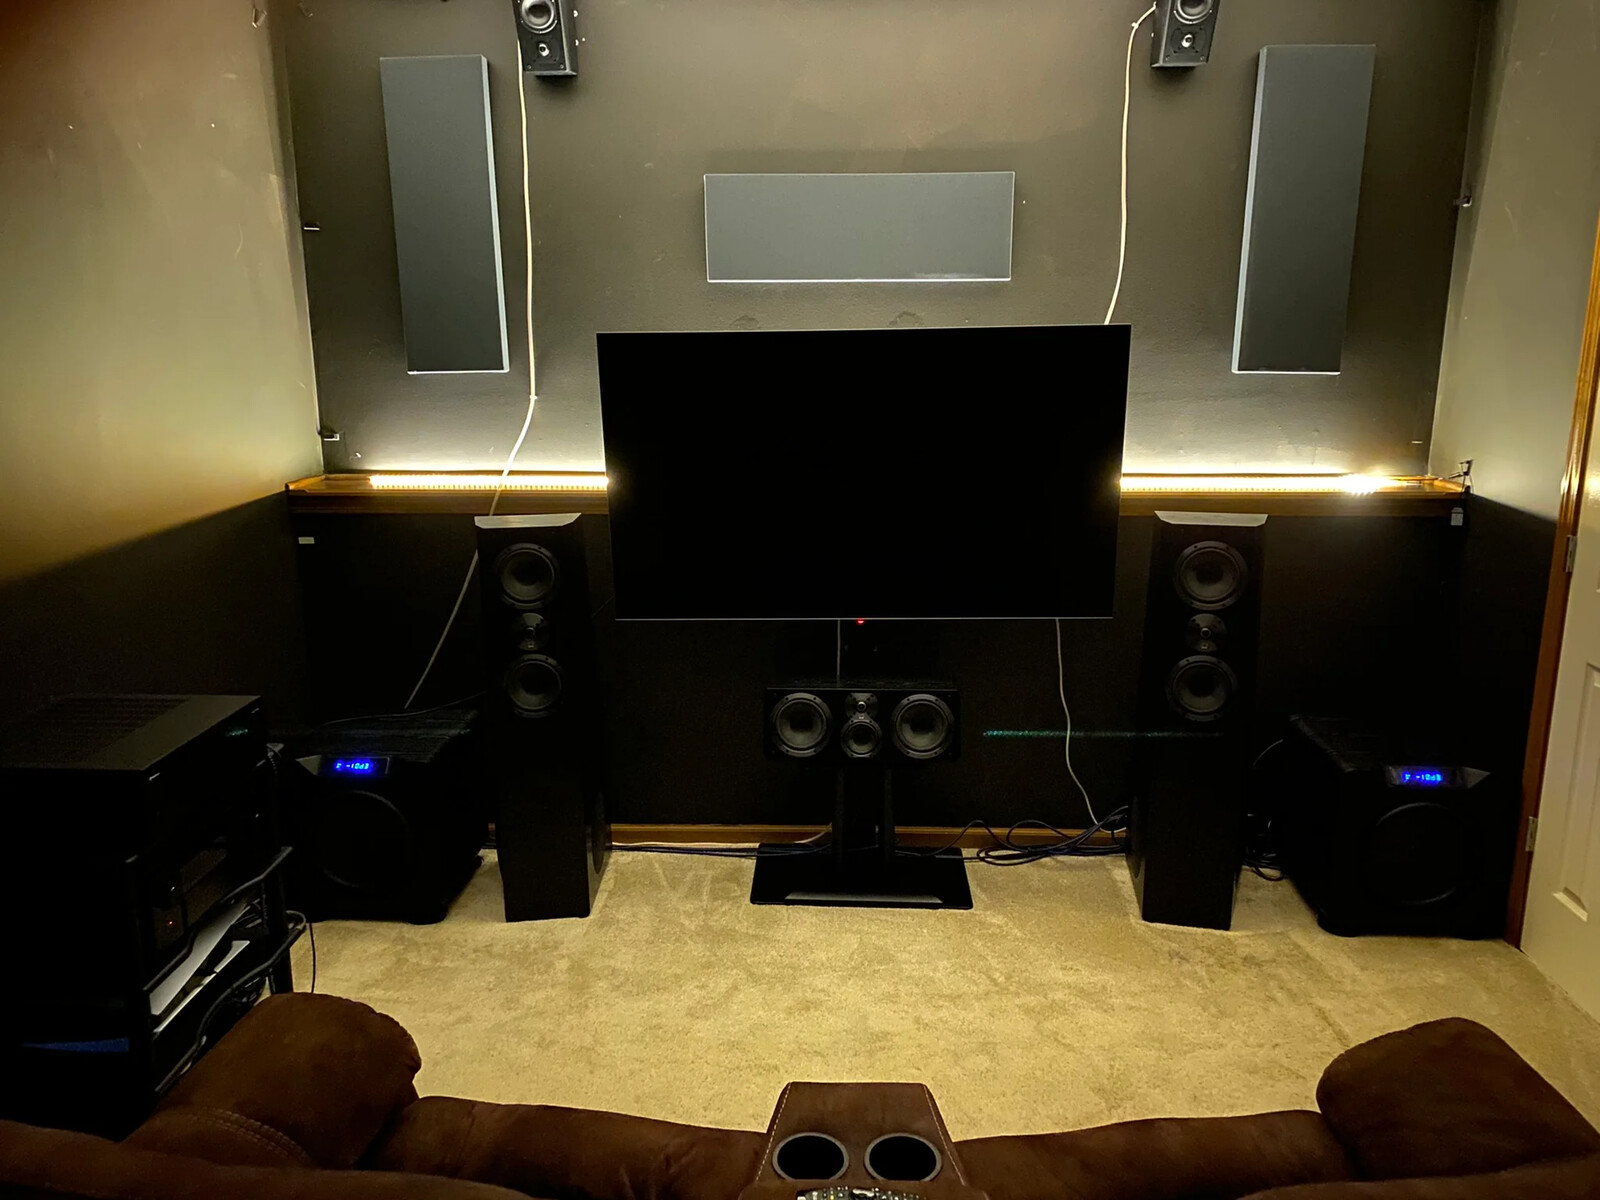
Connecting the Speakers to the Receiver
Once you’ve unboxed and inspected the contents of the 1990 Sony Surround Sound System, it’s time to proceed with connecting the speakers to the receiver. This crucial step sets the stage for the immersive audio experience that this iconic system is renowned for delivering.
Start by identifying the various speakers included in the system, including the front, rear, center, and subwoofer units. Each speaker plays a distinct role in creating a multi-dimensional audio environment, enveloping you in rich, dynamic sound.
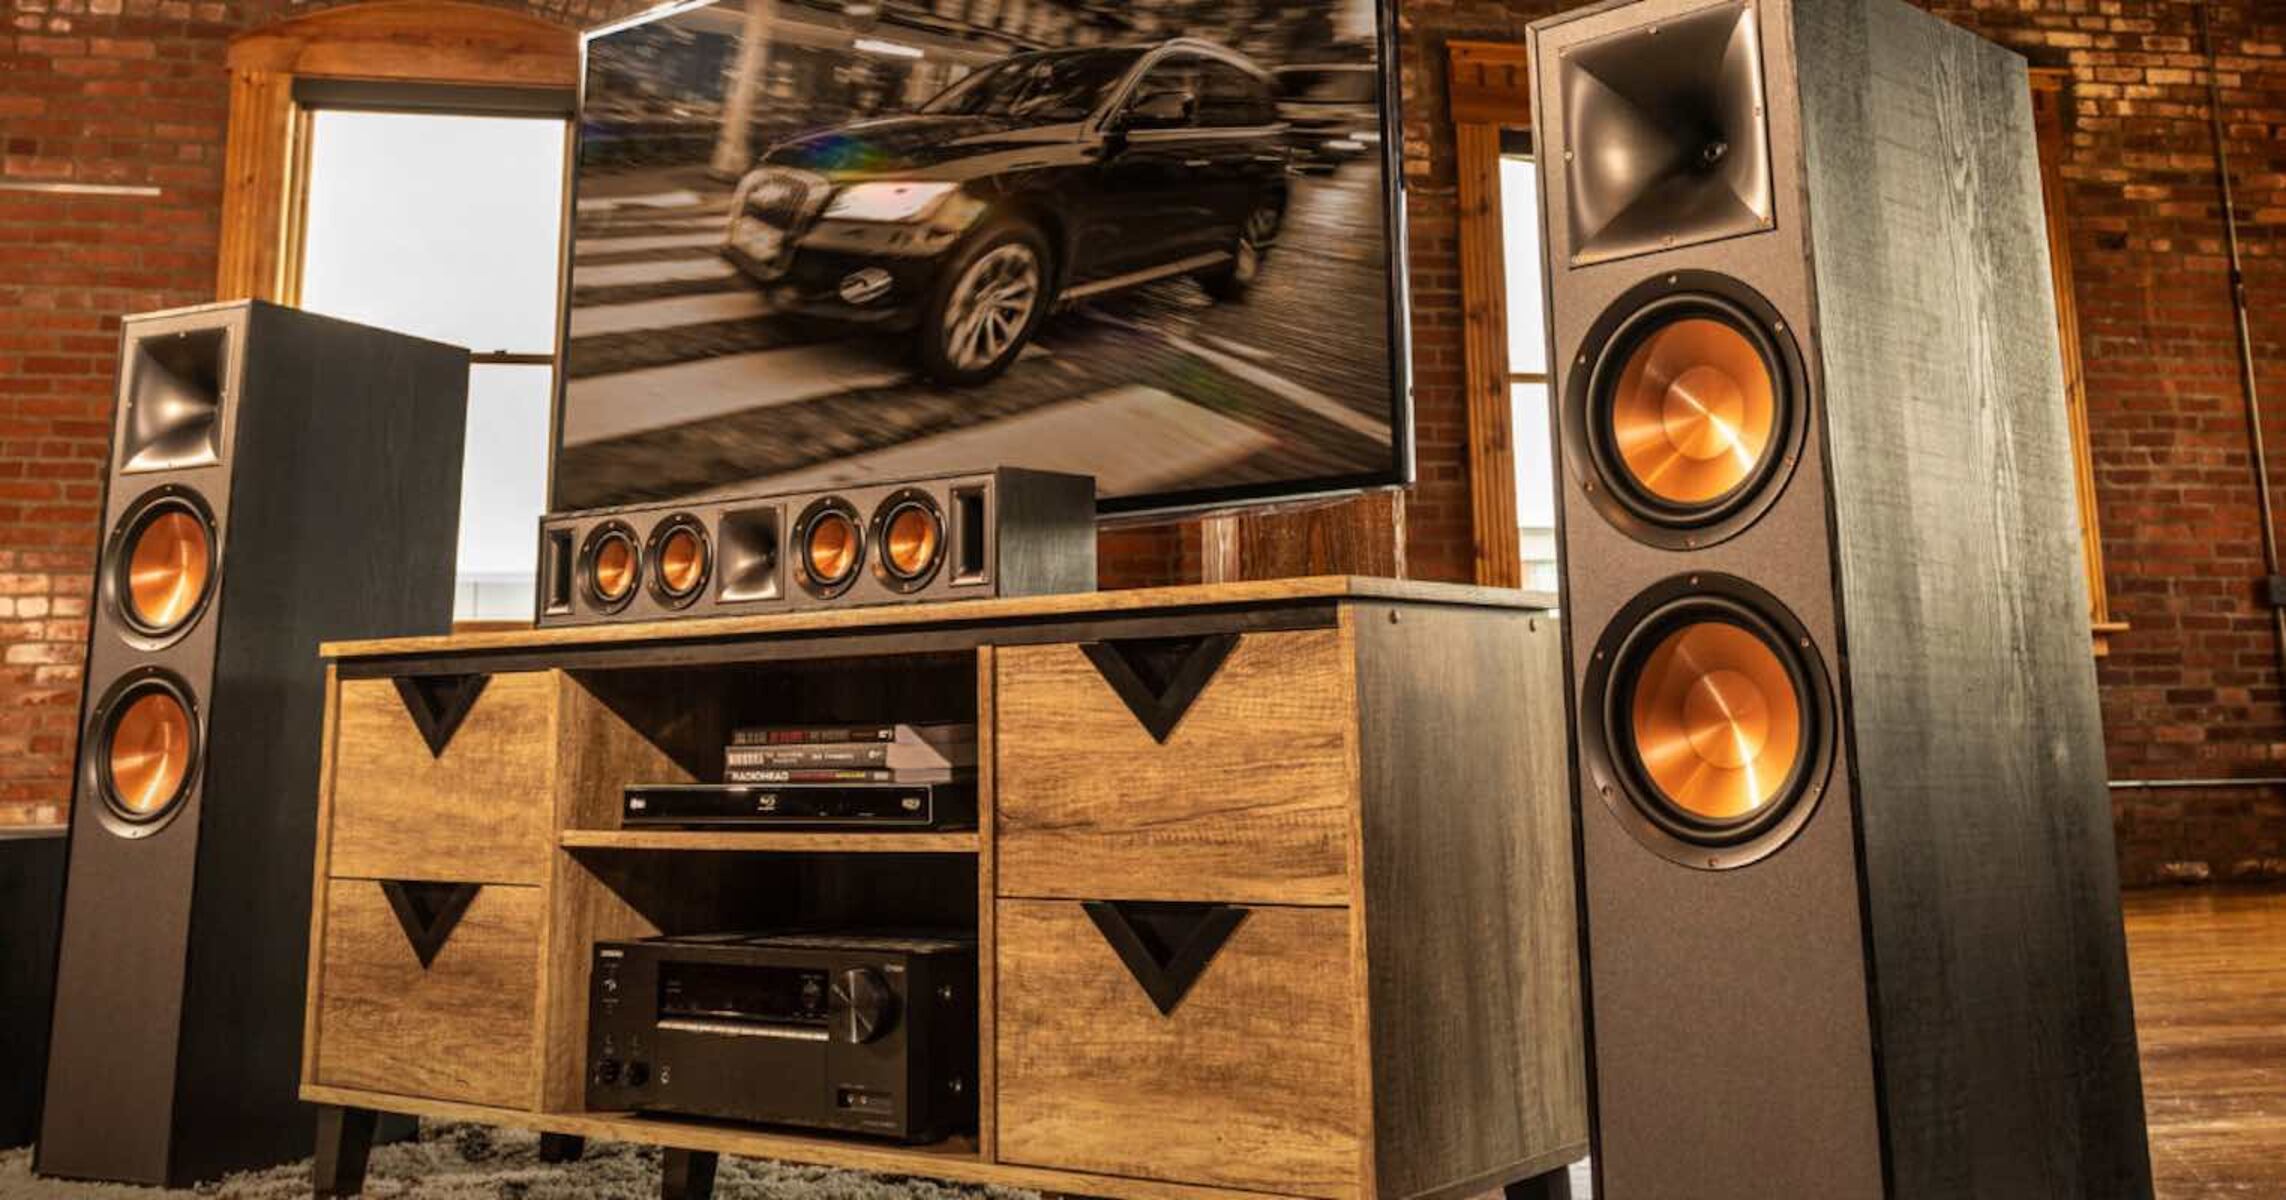
Begin by situating the front speakers on either side of your TV or entertainment center, ensuring that they are positioned at ear level for optimal audio dispersion. Next, place the rear speakers behind your seating area, ideally elevated to replicate the surround sound effect that the system is designed to produce.
Once the speakers are strategically positioned, it’s time to connect them to the receiver. Start by identifying the corresponding terminals on the back of the receiver for each speaker. The terminals are typically labeled to indicate their intended use, such as front left, front right, rear left, rear right, and center.
Using the provided speaker cables, carefully connect each speaker to its designated terminal on the receiver, ensuring a secure and proper connection. Take care to match the polarity of the speaker wires to the terminals, typically denoted by color coding or markings to maintain phase coherence and ensure accurate sound reproduction.
As you complete the speaker connections, take a moment to appreciate the craftsmanship of the components and the engineering that went into creating this timeless audio system. With the speakers successfully linked to the receiver, you’re one step closer to experiencing the full potential of the 1990 Sony Surround Sound System.
Connecting the Receiver to the TV
With the speakers successfully connected to the receiver, the next vital step in setting up your 1990 Sony Surround Sound System is linking the receiver to your TV. This crucial connection enables you to synchronize the audio and video components, ensuring a seamless and immersive entertainment experience.
Begin by identifying the audio and video input and output ports on both the receiver and your TV. The receiver will typically feature various input options, such as HDMI, optical, or RCA connections, while your TV will have corresponding output ports. It’s essential to use compatible cables to establish a reliable and high-quality connection between the two devices.
If your TV supports HDMI ARC (Audio Return Channel), utilizing this feature can simplify the setup process by allowing audio to be transmitted from the TV to the receiver through the same HDMI cable that carries video signals. Simply connect an HDMI cable from the HDMI ARC port on your TV to the HDMI ARC input on the receiver to enable this seamless audio transmission.
Alternatively, if your TV and receiver do not support HDMI ARC, you can use an optical cable to transmit the audio signal from the TV to the receiver. Optical cables provide a reliable digital audio connection, ensuring that you can enjoy pristine sound quality from your TV’s audio sources through the surround sound system.
Once the physical connections are established, navigate to the audio settings on your TV to ensure that the audio output is configured to transmit through the connected receiver. Depending on your TV’s model, you may need to select the appropriate audio output format, such as Dolby Digital or DTS, to optimize the audio playback through the surround sound system.
By linking the receiver to your TV and configuring the audio settings, you’re poised to experience the seamless integration of audio and video that the 1990 Sony Surround Sound System is renowned for delivering. This pivotal connection paves the way for a captivating audiovisual experience that will transport you to the heart of your favorite movies, TV shows, and games.
Setting Up the Remote Control
As you continue the setup process for your 1990 Sony Surround Sound System, configuring the remote control is essential to seamlessly navigate through audio settings, adjust volume levels, and access various audio sources. The remote control serves as a gateway to harnessing the full potential of the surround sound system, offering convenience and control at your fingertips.
Begin by inserting the batteries into the remote control, ensuring that they are securely in place. The remote control is a tactile link to the capabilities of your surround sound system, providing access to an array of functions that enhance your audio experience.
Once the batteries are installed, familiarize yourself with the layout and functionality of the remote control. Take note of the dedicated buttons for adjusting volume, selecting audio modes, and accessing specific audio sources. The intuitive design of the remote control reflects Sony’s commitment to user-friendly interfaces, making it easy to navigate and customize your audio preferences.
Next, synchronize the remote control with the receiver by following the pairing instructions provided in the system’s manual. This process may involve entering a specific code or initiating an automatic pairing sequence to establish a seamless connection between the remote control and the receiver.
After the remote control is successfully paired with the receiver, take a moment to explore its capabilities. Experiment with adjusting the volume, selecting different audio modes, and toggling between audio sources to familiarize yourself with the remote control’s functionality. This hands-on approach will empower you to tailor the audio settings to suit your preferences and optimize the surround sound experience.
By setting up the remote control, you’re not only gaining convenient access to the features of the 1990 Sony Surround Sound System, but you’re also immersing yourself in the tactile experience of controlling a classic audio system. The remote control becomes an extension of your desire to rediscover the timeless allure of high-fidelity audio, putting the power to shape your audio environment directly in your hands.
Testing the Surround Sound System
With the setup of your 1990 Sony Surround Sound System nearing completion, it’s time to embark on an exhilarating phase: testing the system to ensure that it delivers the immersive audio experience it’s renowned for. This pivotal step allows you to witness the fruits of your setup efforts and revel in the multi-dimensional sound that defines this classic audio system.
Start by selecting a piece of audio or video content that showcases the system’s capabilities, whether it’s a favorite movie with captivating sound effects, a music track with rich instrumentation, or a video game with dynamic audio environments. This selection should highlight the system’s ability to envelop you in a multi-channel audio experience.
As the content begins to play, pay close attention to the spatial distribution of sound from the various speakers. The front speakers should deliver crisp dialogue and prominent audio cues, while the rear speakers create an enveloping ambiance that enhances the sense of immersion. The center speaker serves as a focal point for anchoring dialogue and vocals, while the subwoofer adds depth and impact to low-frequency effects.
Take the time to explore the different audio modes and settings offered by the surround sound system. Experiment with modes such as Dolby Surround, DTS Neo:6, or Pro Logic to experience the diverse audio processing capabilities that elevate your audio content to new heights. Adjust the speaker levels to achieve a balanced soundstage that suits your listening environment and preferences.
During the testing phase, consider engaging in a variety of content genres to gauge the system’s versatility. From explosive action sequences to melodic musical performances, the surround sound system should demonstrate its ability to faithfully reproduce diverse audio sources with clarity and depth.
As you revel in the immersive audio experience delivered by the 1990 Sony Surround Sound System, take note of the system’s ability to transport you into the heart of the audio content, creating an engaging and captivating sonic environment. The testing phase not only validates the successful setup of the system but also reaffirms the enduring appeal of this iconic audio technology.
Troubleshooting and Common Issues
While setting up the 1990 Sony Surround Sound System is an exciting endeavor, encountering potential issues is not uncommon. Familiarizing yourself with common troubleshooting steps can empower you to address challenges and ensure that your audio system operates at its full potential.
If you encounter issues with audio output or speaker functionality, begin by checking the connections between the speakers and the receiver. Ensure that the speaker wires are securely connected to the designated terminals on the receiver and that the polarity of the connections is maintained. Loose or improperly connected wires can lead to audio inconsistencies.
Verify that the audio settings on your TV and receiver are configured to transmit and process audio signals correctly. Select the appropriate audio output format on your TV, such as Dolby Digital or DTS, to ensure compatibility with the surround sound system. Additionally, confirm that the receiver’s audio settings are optimized for the connected speakers and the audio content being played.
If you encounter issues with the remote control, such as unresponsive buttons or erratic behavior, replace the batteries with fresh ones and ensure that they are inserted correctly. If the issue persists, refer to the system’s manual for troubleshooting tips specific to the remote control, such as re-pairing the remote with the receiver.
In the event of distorted or imbalanced sound, recalibrate the speaker levels using the system’s built-in audio calibration feature, if available. This process ensures that the audio output from each speaker is balanced and aligned with your listening environment, mitigating issues related to uneven sound distribution.
If you experience persistent technical issues that cannot be resolved through basic troubleshooting, refer to the system’s manual for detailed troubleshooting guidance. Additionally, consider reaching out to Sony’s customer support for expert assistance and guidance in resolving more complex issues.
By familiarizing yourself with common troubleshooting steps and potential issues, you can approach the setup and operation of the 1990 Sony Surround Sound System with confidence, knowing that you are equipped to address challenges effectively and maintain the optimal performance of this classic audio system.
Conclusion
Congratulations on successfully setting up your 1990 Sony Surround Sound System, embarking on a journey that merges nostalgia with cutting-edge audio technology. By following the comprehensive steps outlined in this guide, you’ve unlocked the full potential of this iconic audio system, immersing yourself in a sonic experience that transcends time.
As you reflect on the setup process, take a moment to appreciate the craftsmanship and innovation that define the 1990 Sony Surround Sound System. This classic audio system stands as a testament to Sony’s enduring commitment to delivering high-fidelity sound and immersive entertainment experiences.
With the speakers meticulously connected to the receiver, the receiver seamlessly linked to your TV, and the remote control configured to empower your audio preferences, you’ve laid the foundation for a captivating audio journey. The testing phase allowed you to witness the system’s ability to envelop you in multi-dimensional sound, bringing your favorite content to life with unparalleled clarity and depth.
Should you encounter any challenges along the way, the troubleshooting tips provided in this guide equip you with the knowledge to address common issues and maintain the optimal performance of your surround sound system. By leveraging these troubleshooting strategies, you can ensure that your audio experience remains seamless and enjoyable.
As you bask in the immersive audio environment created by the 1990 Sony Surround Sound System, you’re not just reliving the golden era of home entertainment – you’re redefining it. The timeless allure of this classic audio system transcends generations, captivating audiophiles and enthusiasts alike with its ability to transform any space into a sonic oasis.
With each note of music, every line of dialogue, and the thunderous impact of cinematic sound effects, the 1990 Sony Surround Sound System invites you to rediscover the magic of audio in its purest form. This timeless audio system is more than just a collection of speakers and cables – it’s a conduit to a world where sound reigns supreme, captivating and inspiring all who encounter it.
As you continue to indulge in the captivating audio experiences facilitated by the 1990 Sony Surround Sound System, remember that you are part of a legacy – a legacy that celebrates the art of sound and the enduring appeal of timeless audio innovation.