Introduction
Welcome to the world of immersive audio entertainment with Sony surround sound systems! Whether you enjoy movies, music, or games, a surround sound system can elevate your audio experience to a whole new level. With the right setup, you can feel like you’re right in the middle of the action, surrounded by rich, high-quality sound.
This guide will walk you through the process of setting up your Sony surround sound system, ensuring that you get the most out of your audio equipment. From determining the ideal location for your system to connecting the speakers and calibrating the audio settings, we’ll cover everything you need to know to achieve the best sound quality possible. So, without further ado, let’s dive in!
Before we get started, it’s important to note that this guide is specific to Sony surround sound systems. While the general principles and steps may apply to other brands as well, there might be slight variations depending on the make and model of your equipment. Therefore, it’s always recommended to refer to the instruction manual provided by Sony for your particular system.
Now, let’s explore the equipment you’ll need to set up your Sony surround sound system and get ready for a truly immersive audio experience.
Equipment Needed
Before you start setting up your Sony surround sound system, make sure you have all the necessary equipment on hand. Here’s a list of the essentials:
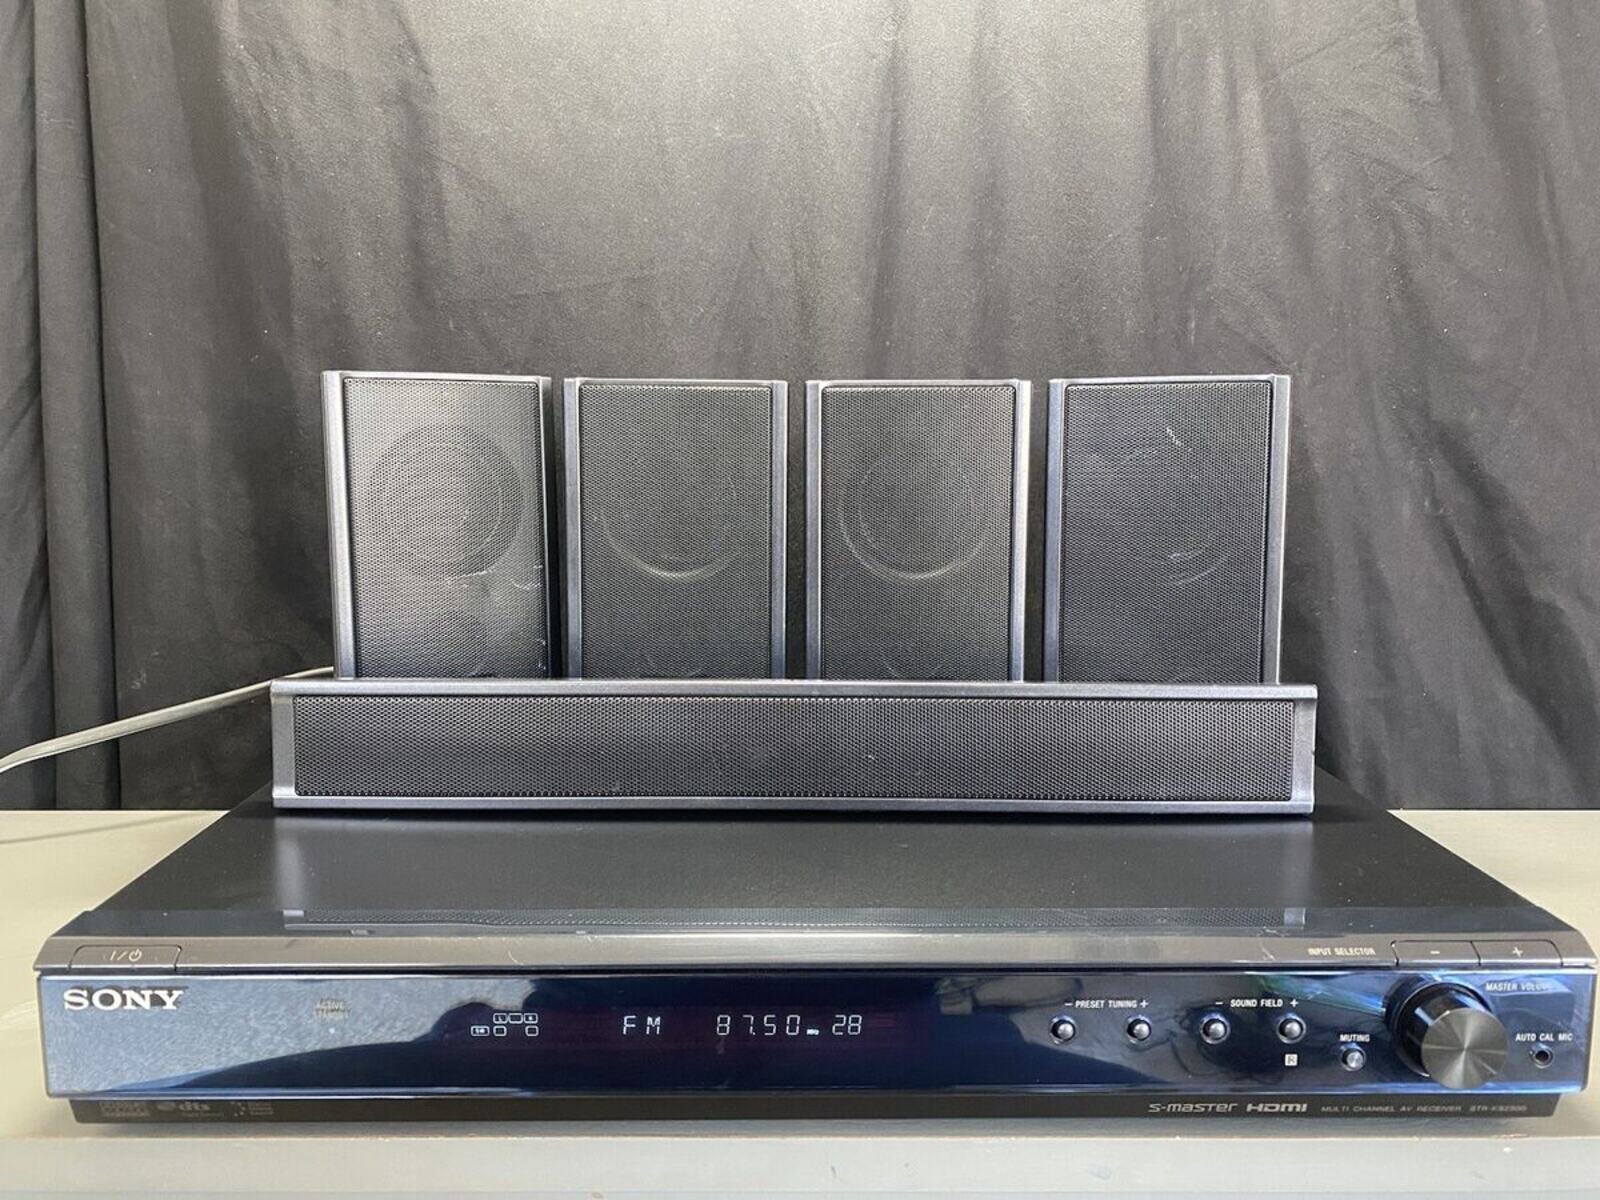
- Sony Receiver: The receiver is the central hub of your surround sound system. It processes audio signals from various sources and distributes them to the speakers.
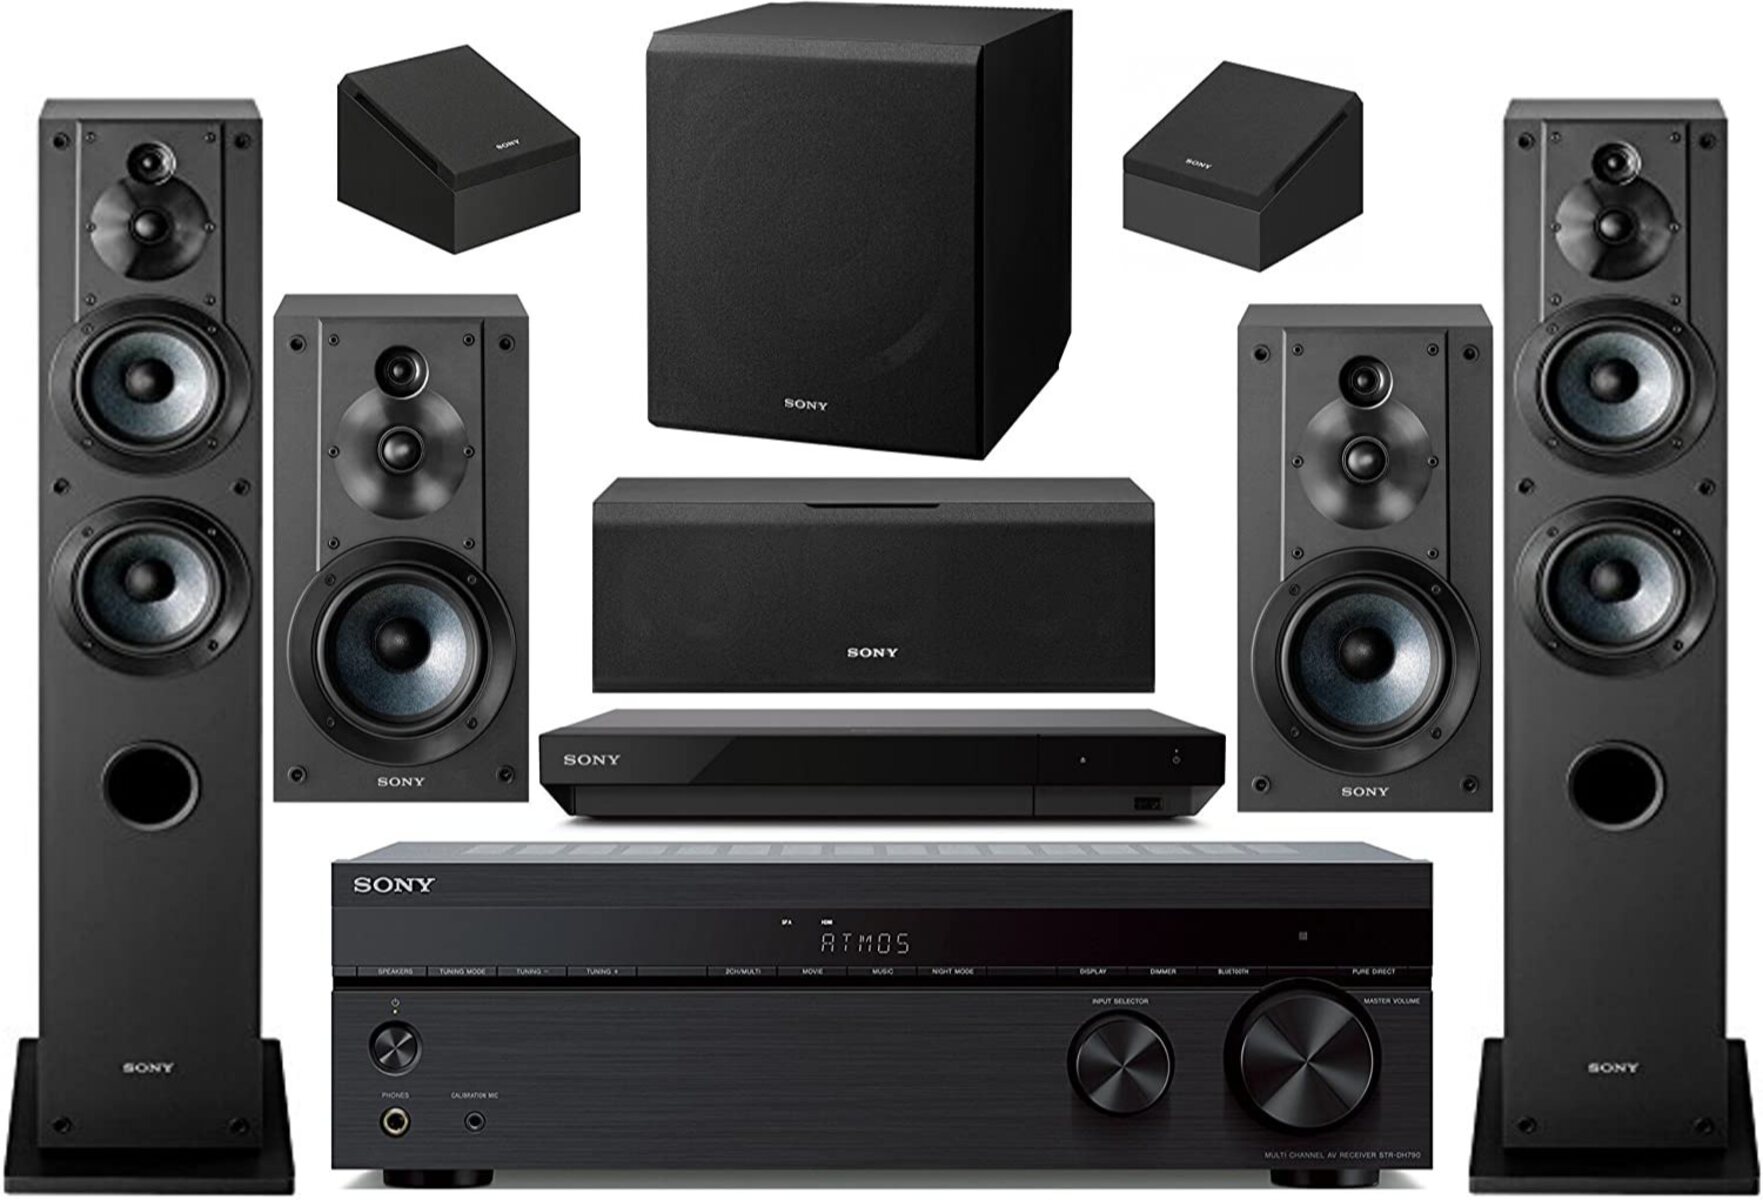
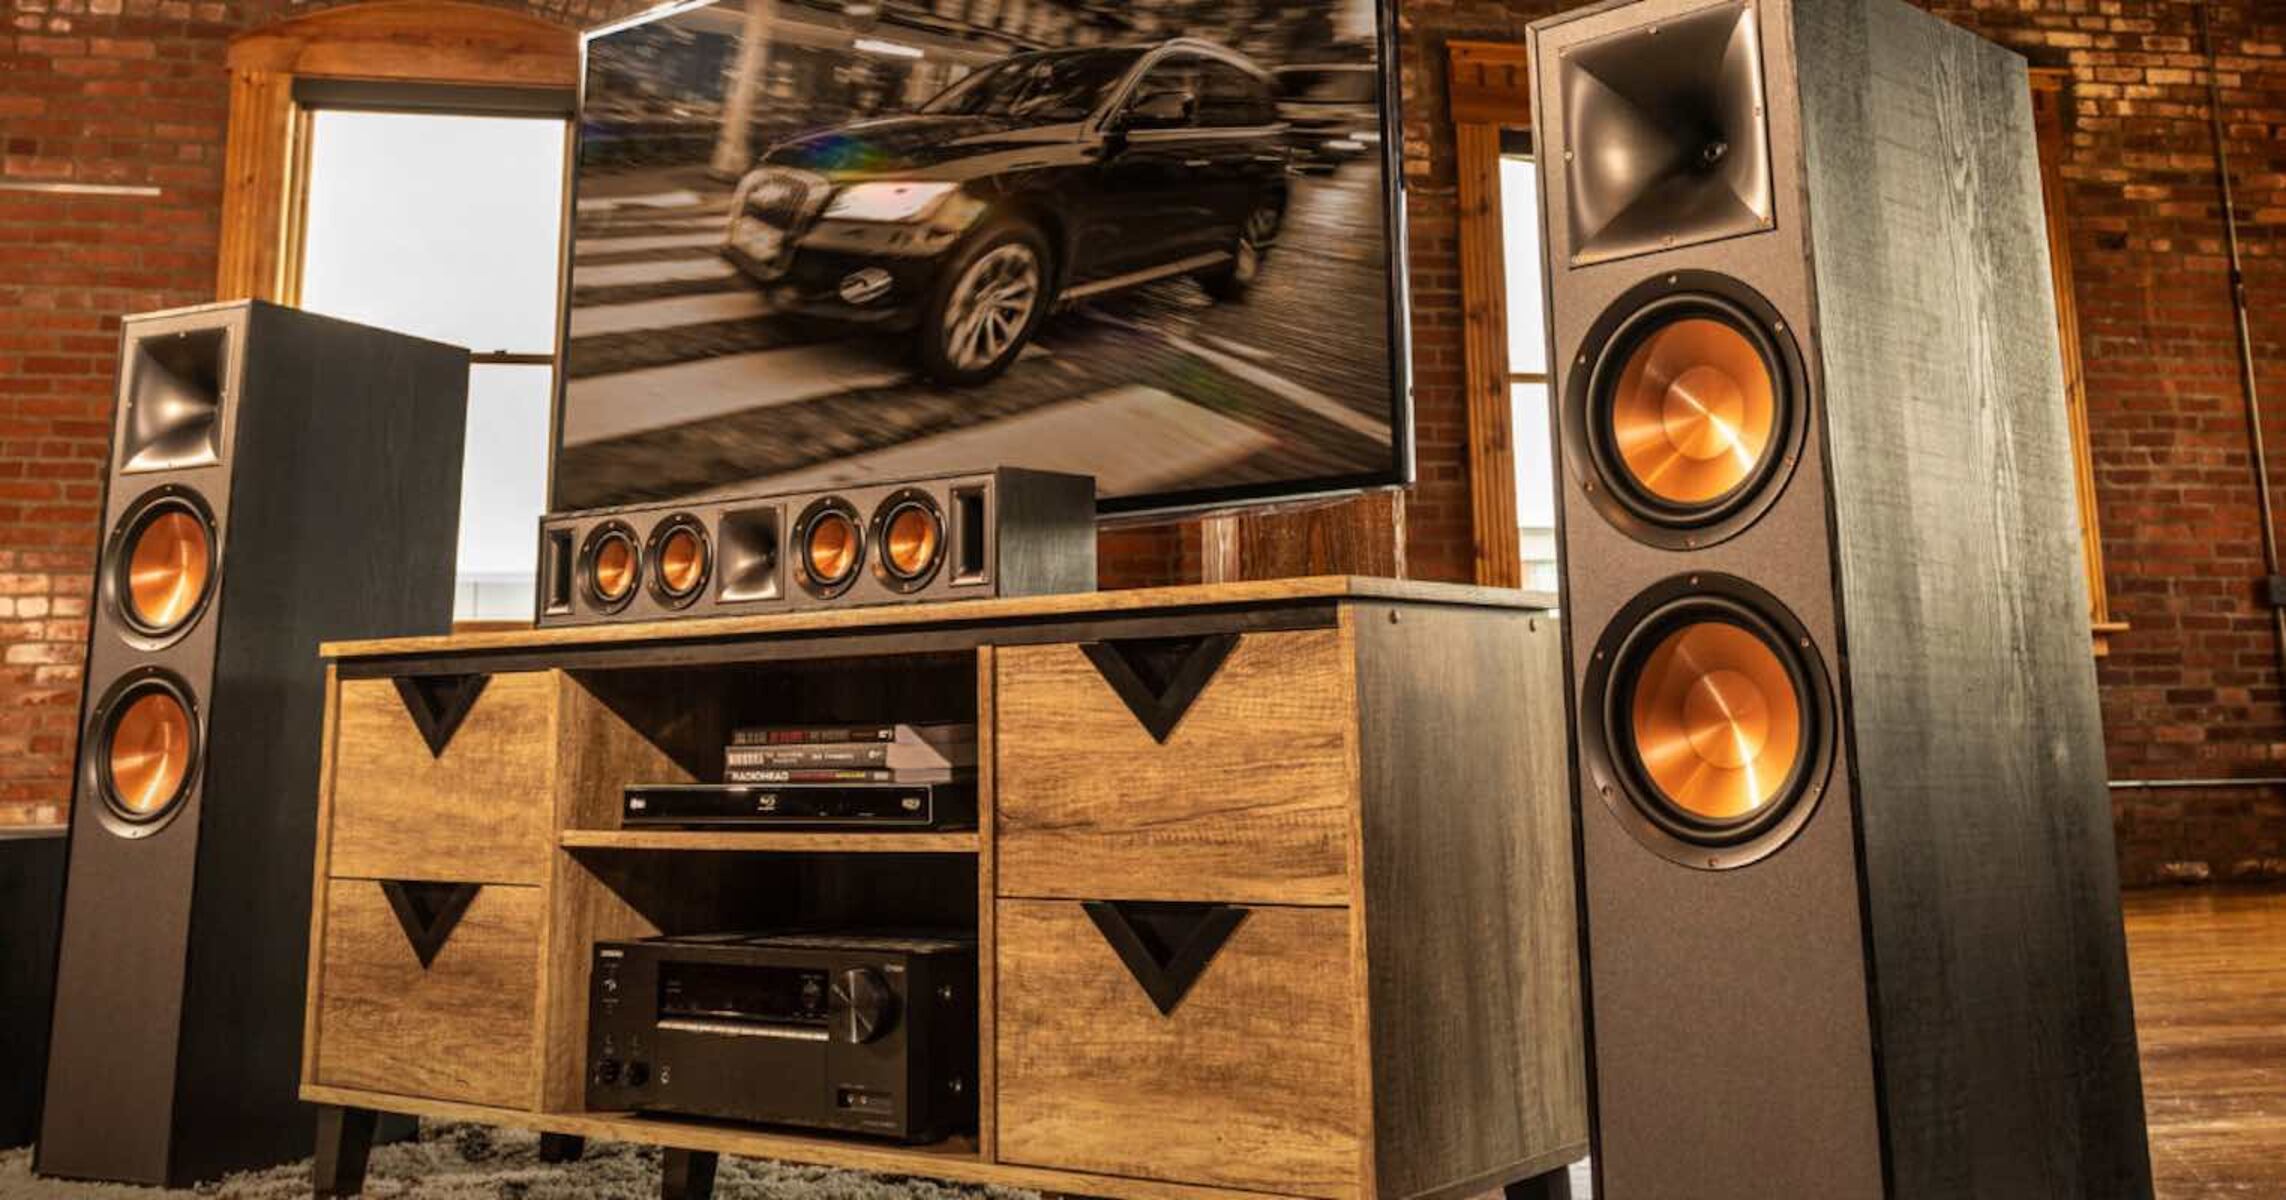
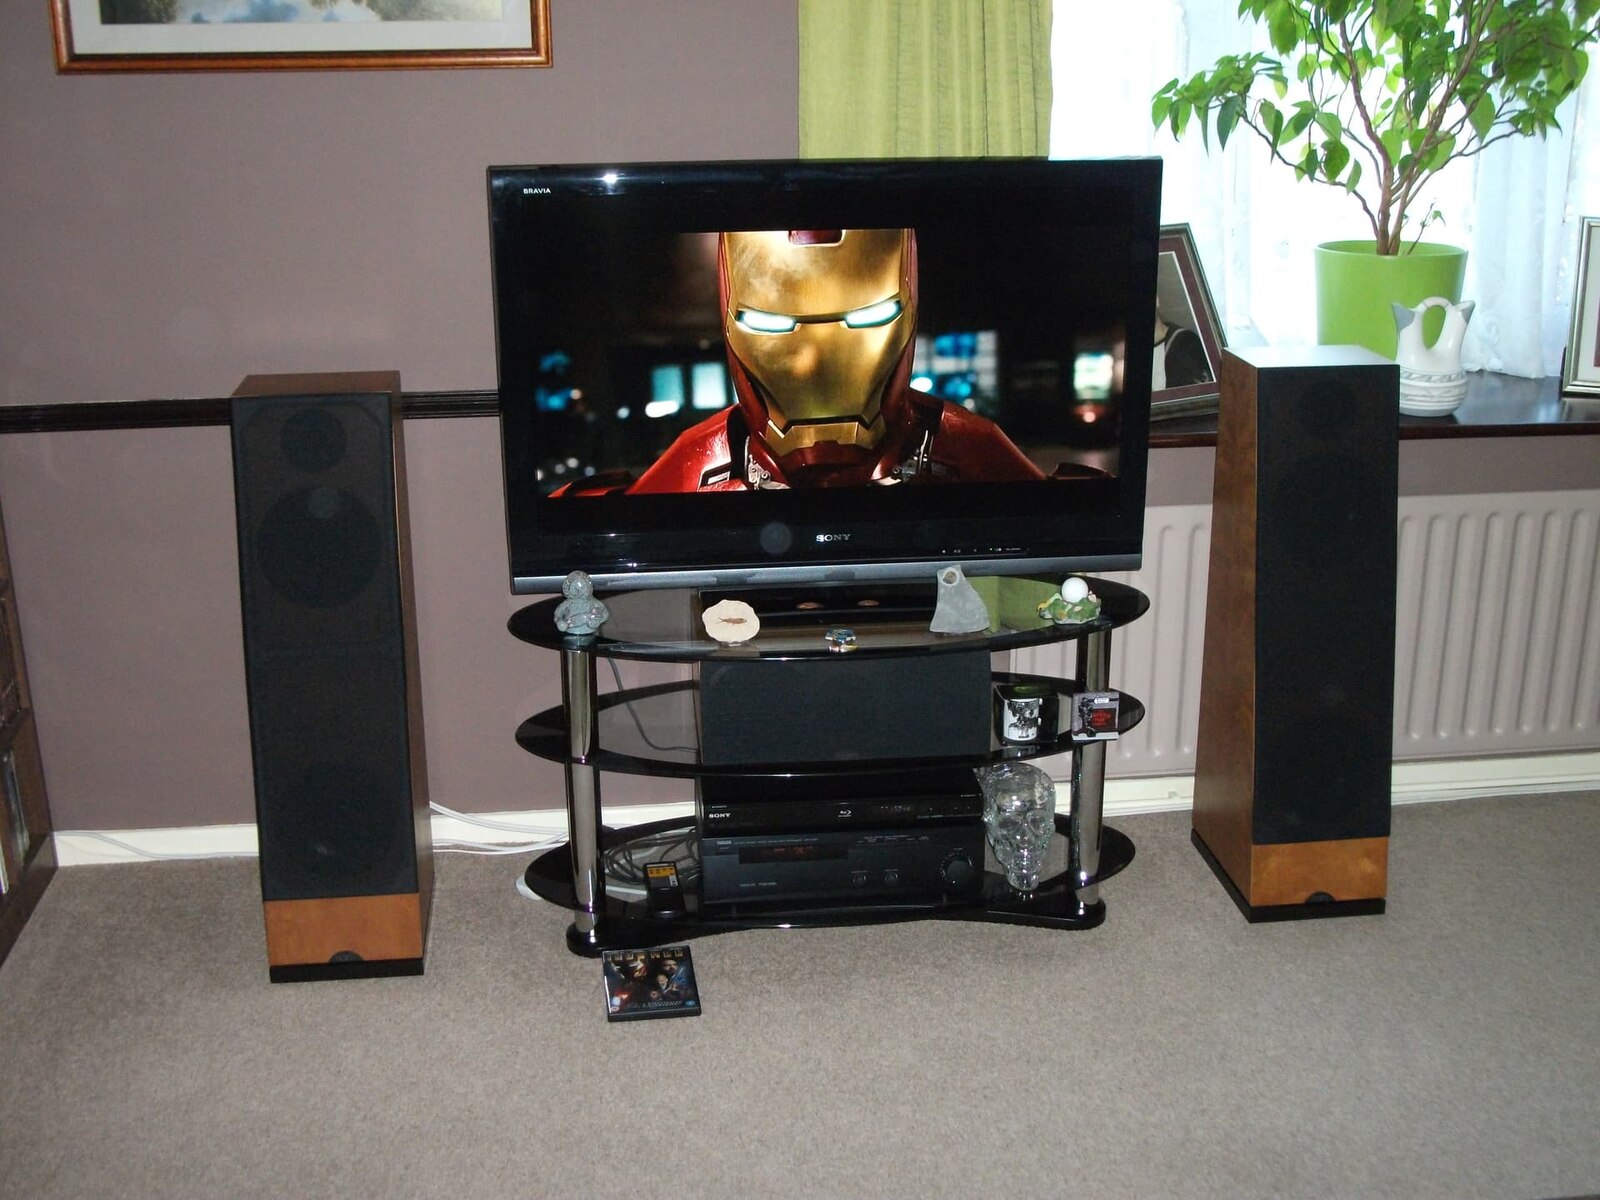
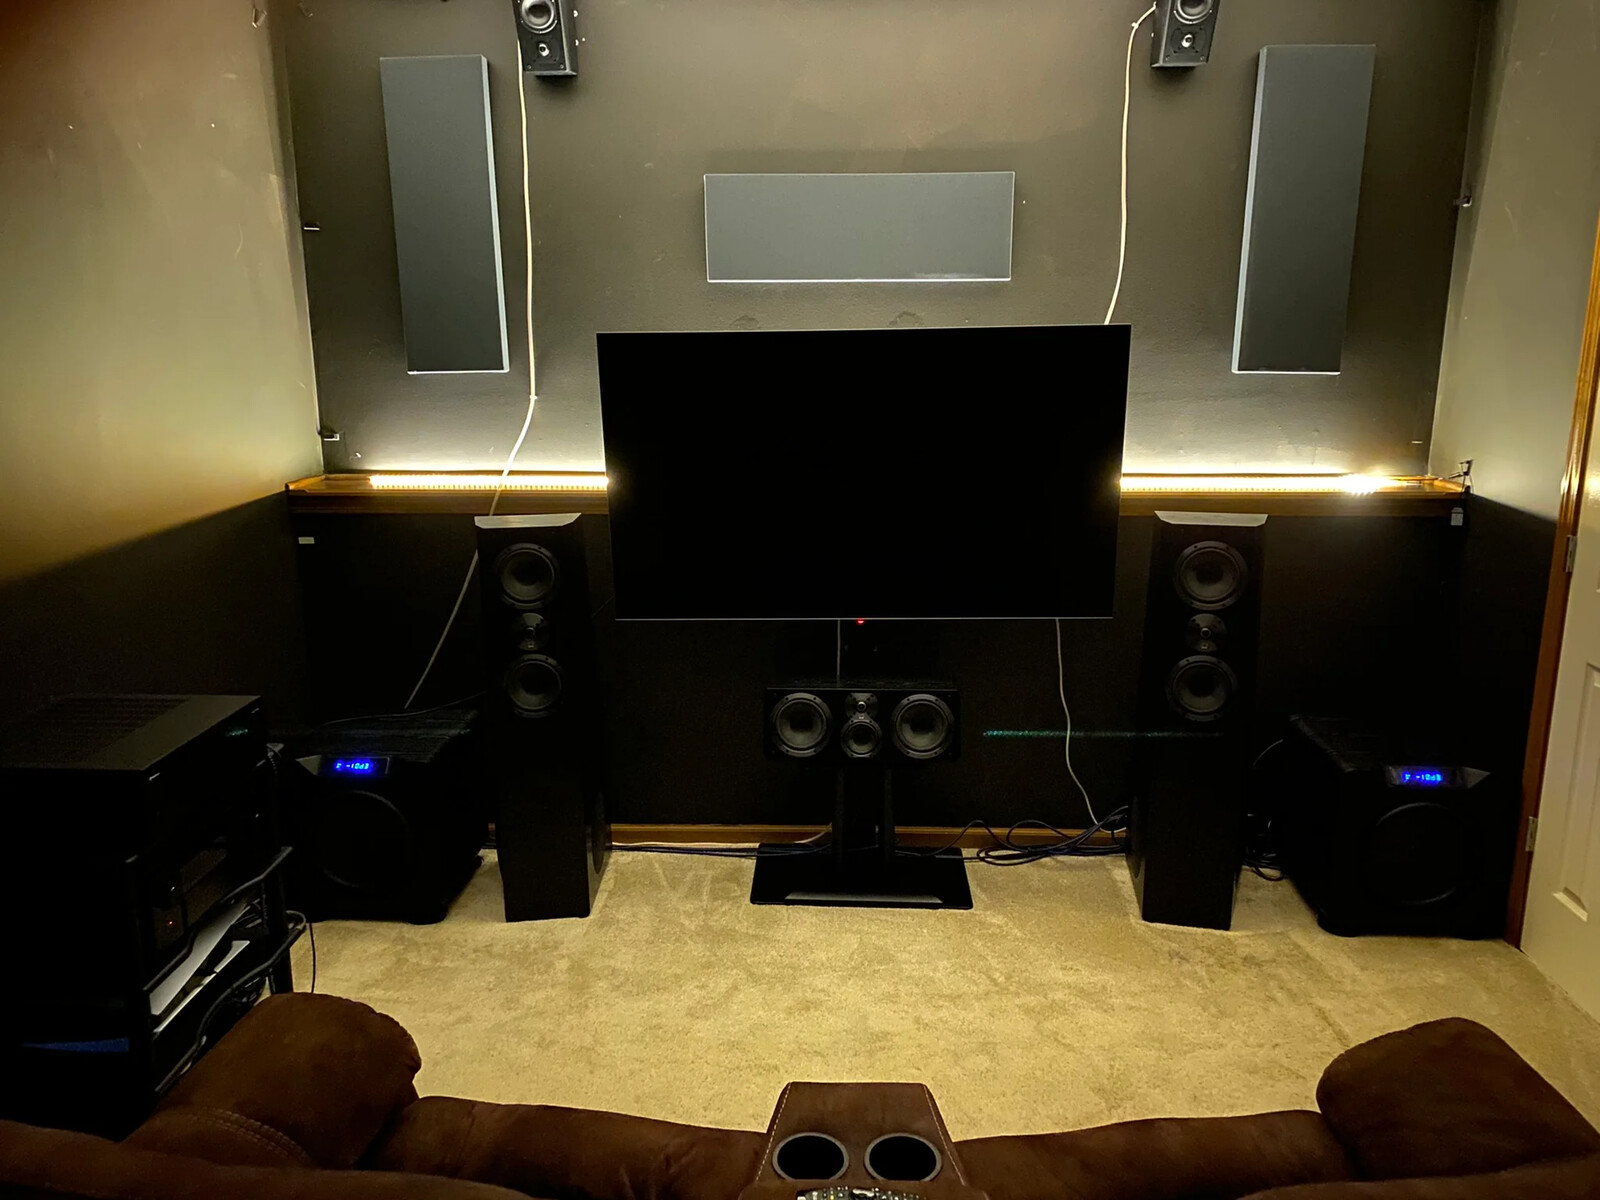
- Speakers: To achieve true surround sound, you’ll need a set of speakers, including front speakers, center speaker, rear speakers, and a subwoofer for low-frequency effects.
- Television: A high-definition television with an HDMI output is recommended for the best audio and video quality.
- Audio/Video Components: Depending on your setup, you may have additional audio or video components such as Blu-ray players, gaming consoles, or streaming devices.
- Speaker Wire: You’ll need speaker wire to connect the speakers to the receiver. Make sure the wire is long enough to reach the desired locations.
- HDMI Cables: HDMI cables are essential for connecting your Sony receiver to the television and other audio/video components.
- Power Cables: Ensure you have enough power cables to connect all your equipment to a power source.
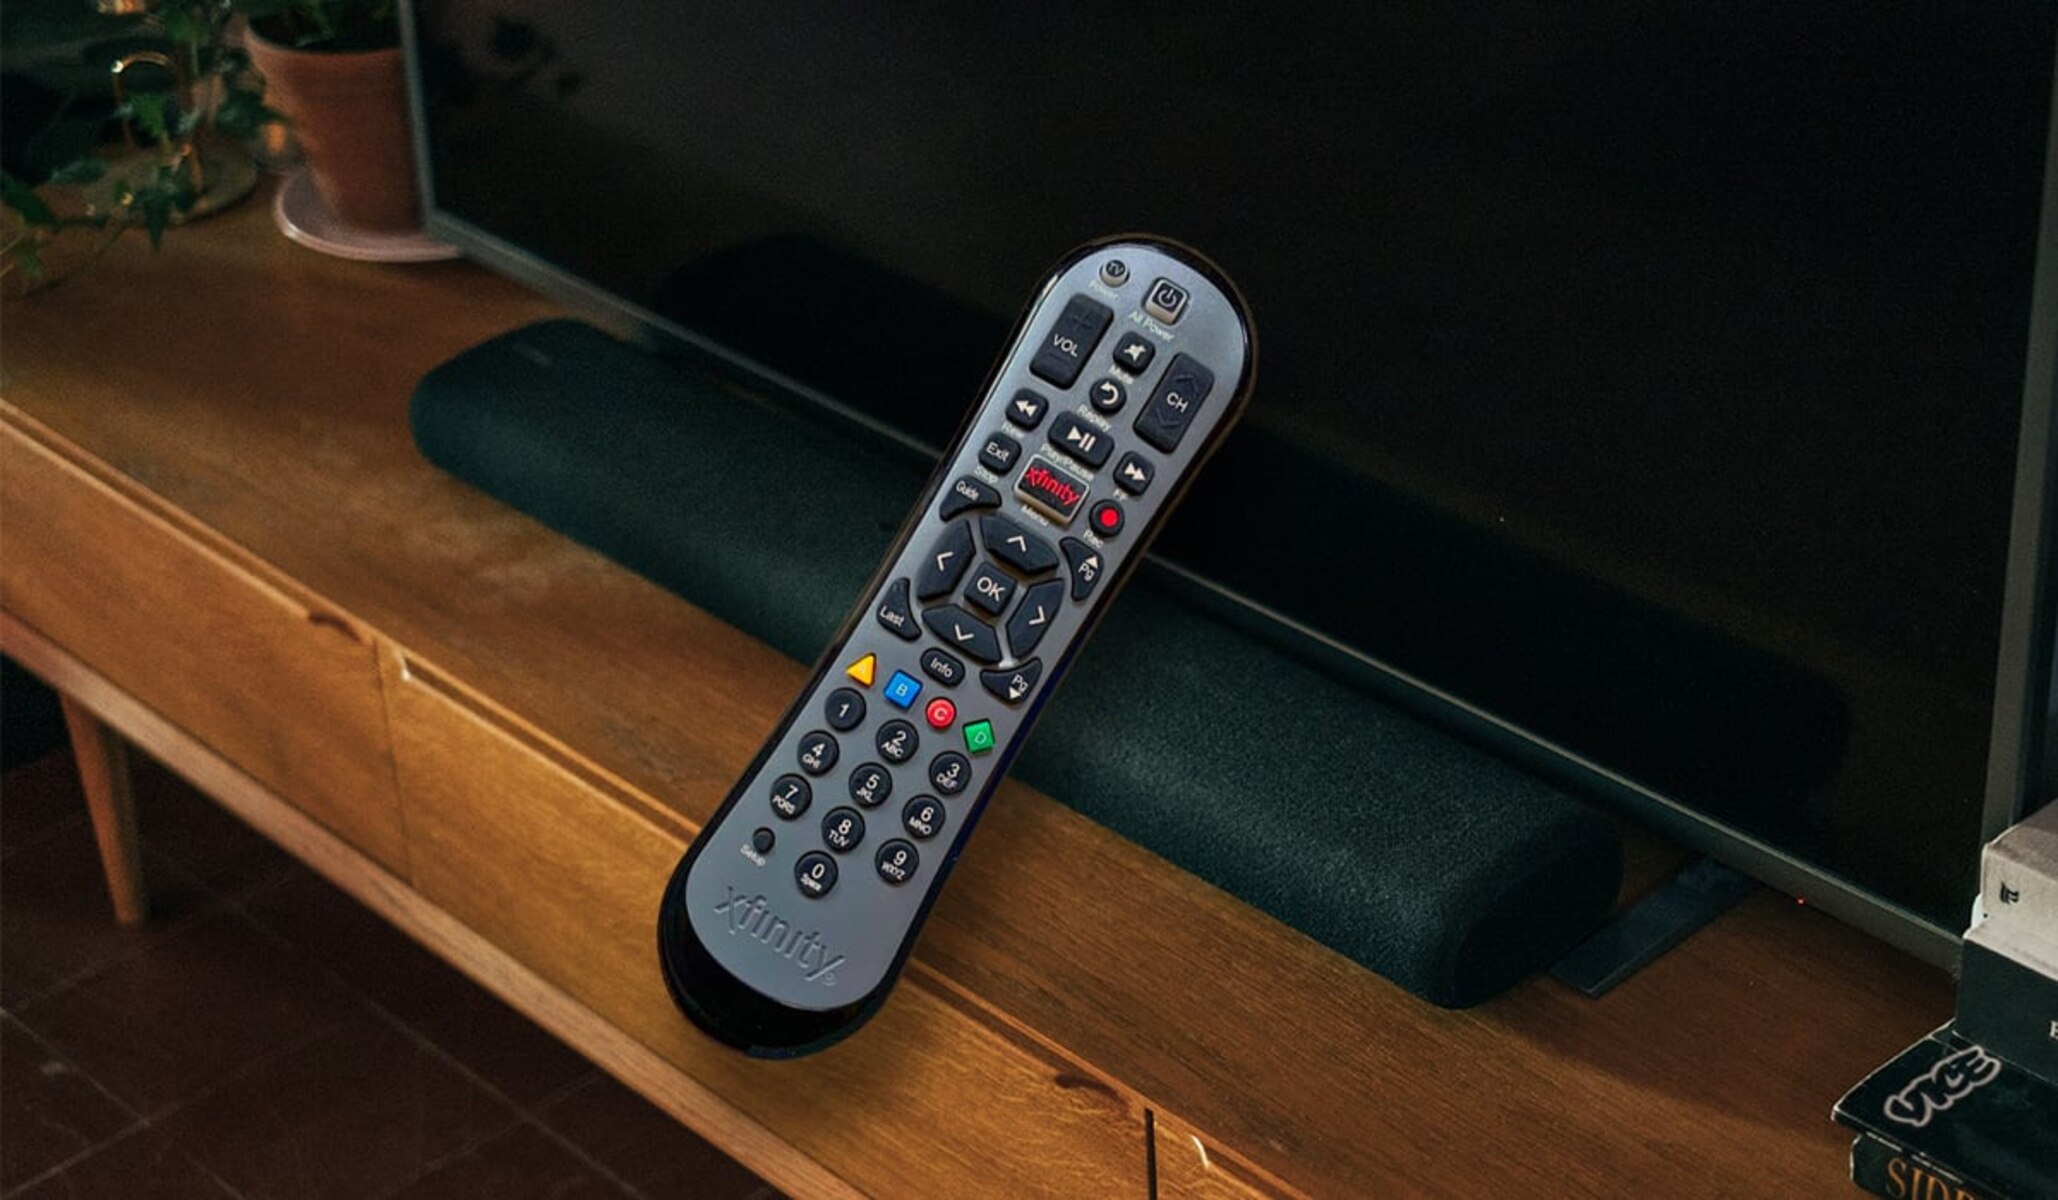
- Remote Control: Most Sony surround sound systems come with a remote control for convenient operation. Keep it handy during the setup process.
- Instruction Manual: Don’t forget to have the instruction manual for your Sony surround sound system on hand. It provides detailed guidance specific to your model.
Having all of these items ready before you start setting up will ensure a smooth and efficient installation process. Now that you have all the necessary equipment, let’s move on to the step-by-step setup instructions.
Step 1: Determine the Ideal Location for Your Surround Sound System
Before diving into the physical setup of your Sony surround sound system, it’s crucial to determine the ideal location for optimal audio performance. Here are some factors to consider:
- Room Size and Layout: Take note of the size and layout of the room where you plan to set up your surround sound system. Consider the dimensions, the position of furniture, and any potential obstacles that may affect sound propagation.
- Listening Position: Identify the primary listening position or the sweet spot where you’ll be sitting most of the time. This position should be equidistant from the front and rear speakers for a balanced surround sound experience.
- Speaker Placement: Depending on the type of surround sound system you have, there are specific recommendations for speaker placement. Front speakers should typically be positioned on either side of the television, while the center speaker should be placed above or below it.
- Rear Speaker Placement: If you have rear speakers, aim to position them slightly behind and to the sides of the listening position. This placement helps create a sense of depth and immersiveness in the audio.
- Subwoofer Placement: The subwoofer, responsible for low-frequency effects, can be placed anywhere in the room, although it’s usually best to position it near a wall or corner to enhance bass response.
- Cable Management: While not directly related to sound quality, consider cable management to ensure a clean and uncluttered setup. Plan the routing of speaker wires and HDMI cables to minimize tripping hazards and maintain a neat appearance.
Once you’ve taken these factors into account, you can mark the desired locations for your speakers and plan the cable routing accordingly. Keep in mind that adjusting speaker positioning and experimenting with placement may be necessary during the calibration process to fine-tune the surround sound experience.
By carefully considering the room size, layout, speaker placement, and cable management, you can optimize the audio performance of your Sony surround sound system. With the ideal location determined, you’re ready to move on to the next step: unpacking and organizing your equipment.
Step 2: Unpack and Organize Your Sony Surround Sound System
Now that you have determined the ideal location for your Sony surround sound system, it’s time to unpack and organize your equipment. Follow these steps to ensure a smooth setup process:
- Unboxing: Carefully remove each component from its packaging, taking care not to damage any cables or connectors. Keep the boxes and packaging materials in case you need to store or transport the system in the future.
- Organizing: Lay out all the components and accessories in a clean, spacious area. Take a moment to familiarize yourself with the different parts, including the receiver, speakers, cables, and remote control.
- Instruction Manual: Locate the instruction manual provided by Sony. Refer to it for specific instructions on how to connect and configure the components of your surround sound system.
- Cable Identification: Identify the different cables that came with your system. Sort them out according to their purpose, such as HDMI cables, speaker wires, and power cords.
- Preparation: Ensure that all necessary cables and accessories are in good condition and ready for use. If any cables are damaged or missing, contact Sony customer support for assistance in obtaining replacements.
- Receiver Placement: Find a suitable spot for the receiver in your setup area. It should be easily accessible for connection purposes, and well-ventilated to prevent overheating.
- Speaker Placement: Position the speakers based on the ideal locations determined in the previous step. Place them on stable surfaces or mount them using appropriate brackets or stands.
- Cable Management: As you position the speakers, plan the routing of the speaker wires to minimize visibility and ensure a tidy setup. Use cable clips or cable management solutions to secure the wires along baseboards or walls.
- Accessory Storage: Keep all extra cables, connectors, and accessories together in a safe place, so they are easily accessible if needed in the future.
By unpacking and organizing your Sony surround sound system with care, you can ensure that you have all the necessary components ready for connection. With everything arranged and sorted, you’re now prepared to move on to the next step: connecting your Sony receiver to your television.
Step 3: Connect Your Sony Receiver to Your Television
Connecting your Sony receiver to your television is a crucial step in setting up your surround sound system. By establishing this connection, you’ll be able to enjoy audio and video synchronization for an immersive entertainment experience. Follow these steps to successfully connect your Sony receiver to your television:
- Locate HDMI Ports: Identify the HDMI ports on both the receiver and the television. Make sure you have enough HDMI cables to establish the necessary connections.
- Outgoing HDMI Connection: Connect one end of the HDMI cable to the HDMI output port on the back of your Sony receiver.
- Incoming HDMI Connection: Connect the other end of the HDMI cable to an available HDMI input port on your television. Take note of the HDMI input number for future reference.
- Power On: Power on your Sony receiver and television, ensuring they are on the appropriate input or source settings.
- Select Correct Input: Using your television’s remote control, navigate to the input or source selection menu. Choose the HDMI input that corresponds to the connection you made in Step 3.
- Audio Output Settings: Access the audio settings menu on your television and select “Audio Out” or a similar option. Choose the HDMI output as the audio source to ensure that the sound from your television is routed through your Sony receiver.
- Test the Connection: Play a video or audio source on your television to verify that the audio is coming through your surround sound system. Adjust the volume on your Sony receiver to ensure balanced sound levels.
By establishing a secure and proper HDMI connection between your Sony receiver and your television, you can enjoy synchronized audio and video playback. This connection serves as the foundation for your surround sound system, allowing you to fully experience the immersive audio quality provided by your Sony speakers. Once you have successfully connected the receiver to your television, you’re ready to proceed to the next step: connecting your speakers to the Sony receiver.
Step 4: Connect Your Speakers to the Sony Receiver
Now that you’ve connected your Sony receiver to your television, it’s time to connect the speakers. This step ensures that the audio signals from the receiver are distributed to the appropriate speakers for a true surround sound experience. Follow these steps to connect your speakers to the Sony receiver:
- Identify Speaker Connectors: Locate the speaker connectors on the back of your Sony receiver. These connectors are typically color-coded to match the corresponding speaker wires.
- Prepare Speaker Wires: Cut the speaker wires to the desired lengths, leaving some extra slack for flexibility during the setup process. Strip off a small section of insulation from the ends of the wires to expose the bare copper strands.
- Connect Wires to Receiver: Insert the bare wire ends into the corresponding speaker connectors on the receiver. Ensure that the wires are securely inserted, with no loose strands that could cause a poor connection.
- Connect Wires to Speakers: Match the colors of the speaker wires to the corresponding terminals on the speakers. Insert the wire ends into the speaker terminals, making sure they are tightly secured.
- Speaker Placement Adjustment: As you connect the speakers, you may need to make slight adjustments to their positions. Ensure that each speaker is placed in the designated location based on the optimal speaker placement determined earlier.
- Labeling: To avoid confusion, consider labeling each speaker wire with the corresponding channel (e.g., front left, front right, center, surround left, surround right) using adhesive labels or masking tape.
- Double-Check Connections: Once all the speakers are connected, double-check that the wires are securely attached and that there are no crossed or loose connections. This ensures proper audio distribution to each speaker.
By correctly connecting your speakers to the Sony receiver, you can ensure that the audio signals are routed to the appropriate channels for an immersive surround sound experience. Take your time to make secure and proper connections, as these are crucial for achieving optimal audio performance. With the speakers successfully connected, you’re now ready to move on to the next step: connecting your audio/video components to the Sony receiver.
Step 5: Connect Your Audio/Video Components to the Sony Receiver
Now that your speakers are connected to the Sony receiver, it’s time to connect your audio/video components. Whether you have a Blu-ray player, gaming console, or streaming device, these connections will allow you to enjoy enhanced audio and video playback through your surround sound system. Follow these steps to connect your audio/video components to your Sony receiver:
- Identify Component Outputs: Locate the audio/video output ports on your audio/video components, such as HDMI, optical, or RCA outputs. Take note of the type of connections available on each component.
- Choose the Type of Connection: Depending on the available inputs on your Sony receiver, decide on the appropriate type of connection for each component. HDMI connections are recommended for the best audio and video quality.
- Connect HDMI Cables: If your audio/video component has an HDMI output, connect one end of an HDMI cable to the output port of the component, and the other end to an available HDMI input port on your Sony receiver. Repeat this process for each component.
- Connect Optical or RCA Cables: If your audio/video component doesn’t have HDMI output, or if you prefer an alternative connection, connect optical or RCA cables to the corresponding output ports of the component. Then, connect the other end of the cables to the appropriate input ports on your Sony receiver.
- Power On and Configure: Power on each audio/video component and your Sony receiver. Access the input settings on the receiver and assign the correct input source to each connected component.
- Configure Audio Settings: Access the audio settings menu on your Sony receiver to ensure that the audio output is set to the appropriate input source and configured according to your preferences.
- Test the Connections: Play audio or video content from each connected component to verify that the audio and video signals are being properly transmitted to your surround sound system.
By connecting your audio/video components to the Sony receiver, you can enjoy enhanced audio and video playback through your surround sound system. Make sure to select the appropriate type of connection for each component and check the audio settings on your receiver for optimal performance. With your components successfully connected, you’re now ready to move on to the next step: setting up your Sony receiver’s audio settings.
Step 6: Set Up Your Sony Receiver’s Audio Settings
Once your audio and video components are connected to your Sony receiver, it’s time to fine-tune the audio settings. These settings allow you to customize the audio output according to your preferences and optimize the sound quality of your surround sound system. Follow these steps to set up your Sony receiver’s audio settings:
- Access the Audio Settings: Using your Sony receiver’s remote control, navigate to the audio settings menu. The exact steps may vary depending on the model of your receiver. Refer to the instruction manual if needed.
- Speaker Configuration: Select the speaker configuration option and specify the number of speakers you have connected to your system (e.g., 5.1, 7.1). This ensures that the receiver outputs the audio correctly to each speaker.
- Channel Levels: Adjust the individual channel levels to balance the volume of each speaker. You can increase or decrease the volume of specific channels to maintain an even sound distribution as per your listening preferences.
- Bass Management: Set up the bass management option to adjust the low-frequency output from each speaker. This feature is particularly important for the subwoofer as it handles the lower frequencies and provides a deep and impactful bass response.
- Audio Formats and Codecs: Choose the audio formats and codecs that your receiver supports. Common formats include Dolby Digital, DTS, and PCM. Select the appropriate options according to your audio sources and content.
- Virtual Sound Technologies: Some Sony receivers offer virtual sound technologies, such as Dolby Atmos or DTS:X. If available, enable these features to enhance the immersive audio experience and create a three-dimensional soundstage.
- Auto Calibration: Some Sony receiver models feature auto calibration systems that analyze your room acoustics and speaker placement. Follow the instructions provided with your receiver to run the calibration process for optimal audio performance.
- Test Your Audio Settings: After adjusting the audio settings, play various audio content, such as movies, music, or games, to test the changes. Pay attention to the sound balance, clarity, and surround sound effects.
By setting up your Sony receiver’s audio settings, you can customize the sound output to your liking and optimize the performance of your surround sound system. Make sure to take advantage of any advanced features available in your particular receiver model, such as bass management or virtual sound technologies. Once you have fine-tuned the audio settings, you’re ready to move on to the next step: calibrating your surround sound system.
Step 7: Calibrate Your Surround Sound System
Calibrating your surround sound system is a crucial step in ensuring accurate audio reproduction and optimal performance. This process adjusts the speaker levels, speaker distances, and other audio settings to match the characteristics of your room and create a balanced soundstage. Follow these steps to calibrate your Sony surround sound system:
- Auto Calibration: If your Sony receiver features an auto calibration system, refer to the instruction manual for the specific steps to initiate the calibration process. Typically, this involves connecting a calibration microphone to the receiver and following the on-screen prompts.
- Manual Setup: If your receiver doesn’t have an auto calibration system, you can manually adjust the speaker levels and distances. Access the audio settings menu on your receiver and find the manual setup or speaker calibration options.
- Speaker Level Adjustment: Play a test tone or calibration signal through each speaker individually. Use a sound level meter or rely on your ears to adjust the speaker levels so that they are all at the same volume when heard from the primary listening position.
- Speaker Distance Adjustment: Measure and input the distances between each speaker and the primary listening position in your receiver’s audio settings menu. This enables the receiver to adjust the timing and delays to ensure coherent sound reproduction.
- Additional Audio Settings: Explore other audio settings available in your receiver’s menu, such as room size or equalizer settings. Adjust these settings to match your room and personal preferences, but avoid excessive or unnatural adjustments.
- Test Your Surround Sound: Play various audio content, such as movies or music, to test the calibrated surround sound system. Listen for accurate positioning of sound effects, balanced audio levels, and a cohesive audio experience.
- Fine-Tuning: If you find that certain frequencies or sound elements are still not well-balanced, you can make manual adjustments to individual speaker levels or explore advanced equalizer settings to further refine the sound output.
By calibrating your surround sound system, you ensure that the speakers are accurately reproducing the audio as intended. Whether using an automatic calibration system or manually adjusting the settings, take the time to get it right for the best audio experience. Once your surround sound system is properly calibrated, you can fully enjoy the immersive audio it provides in your movies, music, and games.
Step 8: Test Your Surround Sound System
After calibrating your Sony surround sound system, it’s important to test the setup to ensure that everything is functioning as intended. Testing allows you to verify the audio performance, speaker positioning, and overall surround sound experience. Follow these steps to test your surround sound system:
- Source Selection: Choose a variety of audio content, such as movies, TV shows, music, or games, to test different sound elements and effects.
- Playback: Play the selected audio content through your connected audio/video components, such as a Blu-ray player or gaming console.
- Listen for Surround Sound Effects: Pay attention to the positioning of sound effects. You should be able to hear audio coming from different directions, creating an immersive soundstage. For example, voices should sound like they’re coming from the center speaker, while background sounds can be heard from the appropriate rear speakers.
- Balanced Audio Levels: Ensure that the audio levels are balanced across all speakers. No speaker should overpower others, and the dialogue, music, and other sound elements should be clearly audible.
- Bass Performance: Test the bass performance by playing audio content with deep low frequencies. The subwoofer should provide a rich and impactful bass response without overpowering or distorting the audio.
- Channel Separation: Verify that each speaker is producing distinct audio channels without any crosstalk or interference. Sounds should remain localized to their intended speaker position.
- Audio Clarity and Detail: Listen for clarity and detail in the audio. The surround sound system should accurately reproduce all elements of the audio, including dialogue, music, and sound effects.
- Make Adjustments if Needed: If you notice any issues during the testing process, such as imbalanced audio levels or incorrect positioning of sound effects, make necessary adjustments to the speaker levels, distances, or other audio settings in your receiver’s menu.
By thoroughly testing your surround sound system, you ensure that it is delivering the high-quality audio experience it is designed to provide. Remember that personal preferences may vary, so feel free to make further adjustments if needed to cater to your specific tastes or room acoustics. Once you are satisfied with the test results, you can sit back, relax, and enjoy the immersive and cinematic sound from your Sony surround sound system.
Conclusion
Congratulations! You have successfully set up your Sony surround sound system and fine-tuned it to deliver an immersive and captivating audio experience. By following the steps outlined in this guide, you have learned how to determine the ideal location for your system, unpack and organize your equipment, connect your Sony receiver to your television and speakers, and calibrate the system for optimal performance. Through the process of testing, you have verified that the surround sound system is producing well-balanced audio, precise positioning of sound effects, and a rich bass response.
Remember, setting up a surround sound system can be a personalized experience, and it’s essential to adjust the audio settings and speaker placement according to your room and personal preferences. Take the time to experiment and fine-tune the system to achieve the best audio performance for your specific listening environment.
Now that your Sony surround sound system is up and running, get ready to enjoy the immersive audio experience it provides. Whether you’re watching movies, playing games, or listening to music, the surround sound system will transport you into a world of incredible soundscapes and heightened entertainment. Sit back, relax, and let the power of your Sony surround sound system elevate your audio experience to new heights.
Thank you for choosing Sony, and we hope you enjoy countless hours of immersive audio enjoyment with your newly set up surround sound system!