Introduction
Welcome to the world of immersive audio! If you already have walls installed in your home, you may be wondering how to install a surround sound system without compromising the aesthetics and functionality of your living space. Fortunately, with the right planning and tools, it is possible to achieve optimal audio performance while seamlessly integrating the speakers into your existing setup.
Whether you’re a movie enthusiast, a gaming aficionado, or a music lover, a well-installed surround sound system can elevate your entertainment experience to a whole new level. The strategic placement of speakers around the room and the careful arrangement of cables are crucial elements in creating an immersive and realistic audio environment.
In this guide, we will walk you through the steps to install a surround sound system when you already have walls installed in your home. We will cover everything from determining the optimal speaker placement to checking existing wiring and running cables behind the walls. By following these steps, you will be able to enjoy the full potential of your surround sound system while keeping your living space neat and visually appealing.
Before we begin, it’s important to note that installing a surround sound system may involve some advanced DIY skills and knowledge of electrical components. If you’re not confident in your abilities, it’s always a good idea to consult with a professional installer to ensure a safe and successful installation.
Now, grab your tool kit and let’s dive into the world of surround sound installation!
Determining the Placement of the Speakers
The first step in installing a surround sound system is determining the optimal placement for the speakers. This will largely depend on the layout of your room and the specific requirements of your surround sound system.
Start by identifying where you will be positioning the main listening area, such as your couch or seating arrangement. The ideal speaker placement will depend on whether you have a 5.1, 7.1, or even a more advanced system. Typically, a 5.1 setup consists of a center channel speaker, two front speakers, two rear speakers, and a subwoofer. In a 7.1 setup, you’ll have the addition of two side speakers.
Here are some general guidelines for speaker placement:
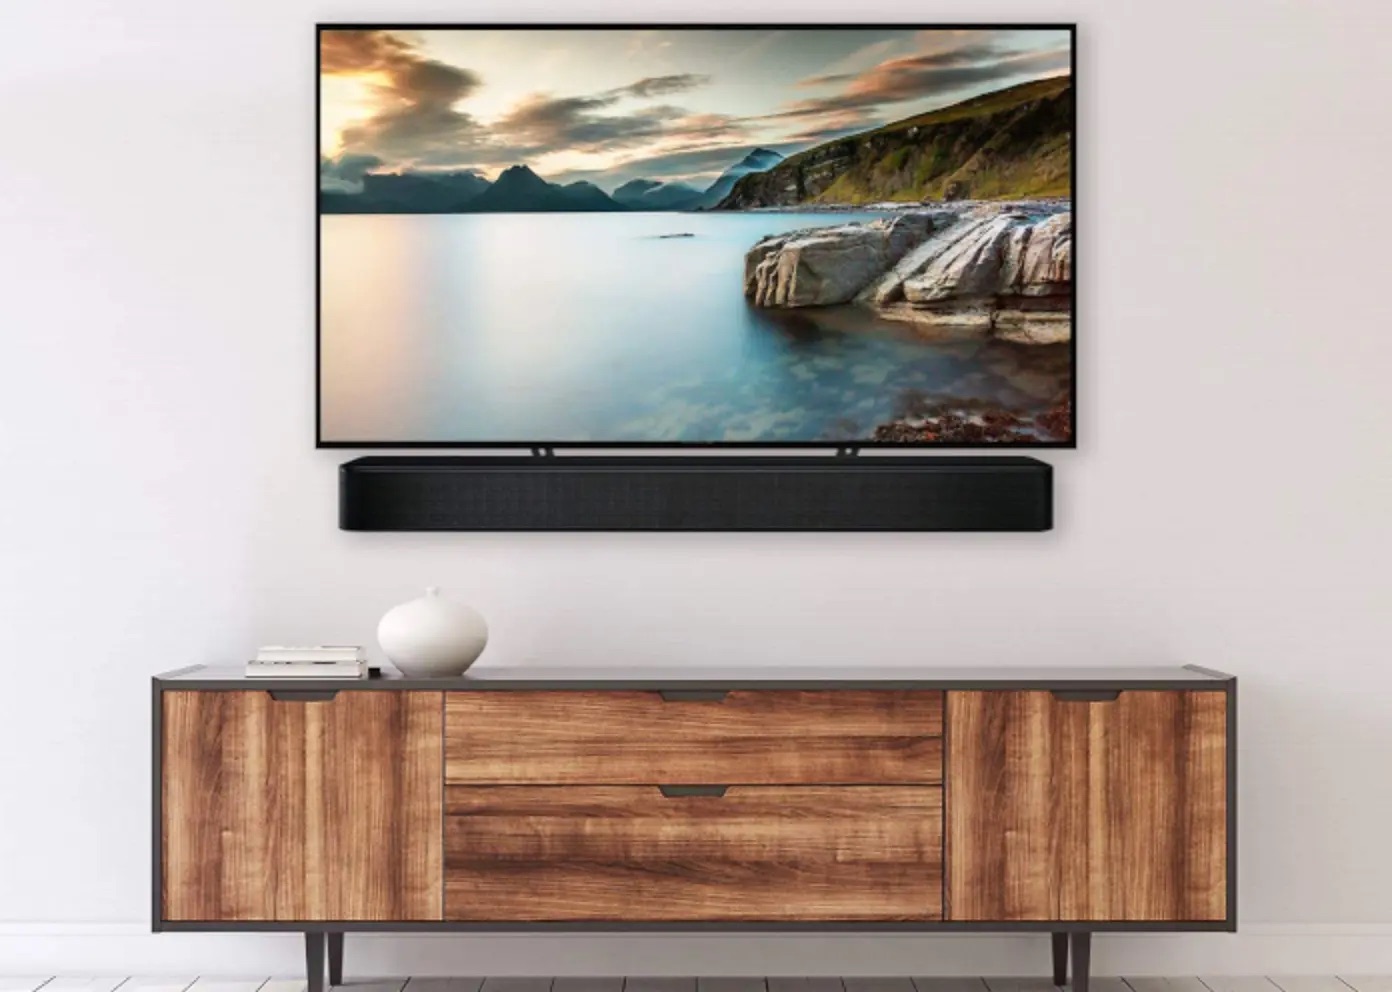
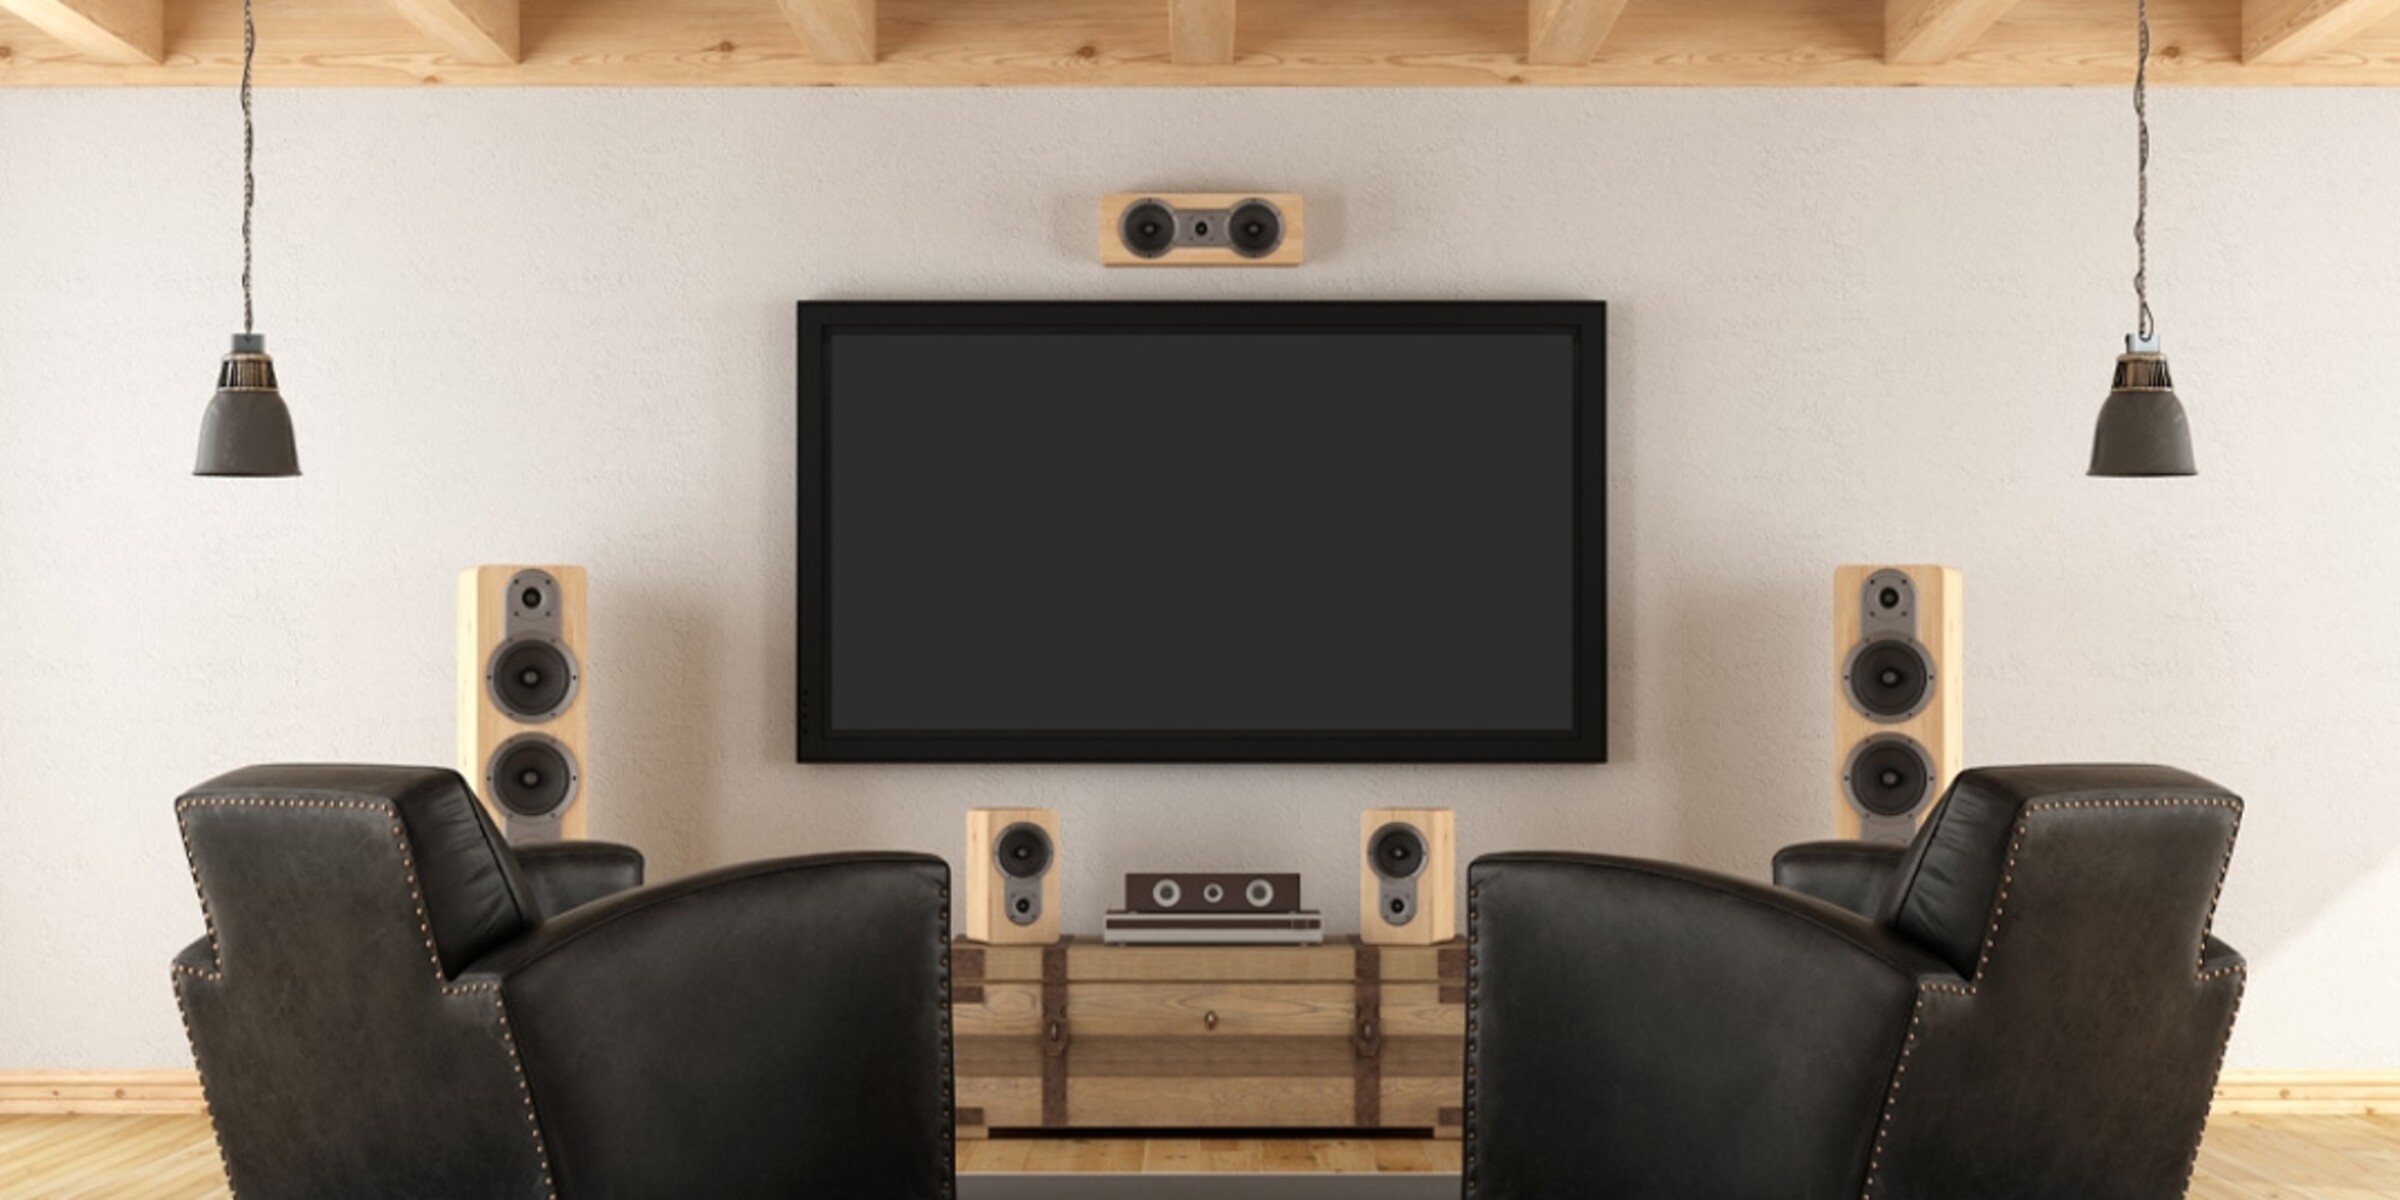
- Center Channel Speaker: This speaker should be positioned directly above or below your television, at ear level when seated. It is responsible for dialogue and enhances the clarity of on-screen sound.
- Front Speakers: These speakers should be placed on either side of the television, at an equal distance from the center channel speaker. They should be angled slightly inward to focus the sound towards the seating area.
- Rear/Surround Speakers: For a 5.1 setup, these speakers should be placed on the side walls, slightly behind the sitting area and above ear level. For a 7.1 setup, two additional surround speakers should be placed on the rear wall, positioned equidistant from the seating area.
- Subwoofer: The subwoofer, responsible for low-frequency sounds, can be placed anywhere in the room. Experiment with different locations to find the spot that provides the best bass response.
Consider the dimensions and acoustics of your room when determining speaker placement. Avoid placing the speakers too close to walls or corners, as this can cause unwanted reflections and distortions.
Once you have determined the optimal placement for each speaker, mark the positions on the walls for reference during installation. Taking the time to plan and measure beforehand will ensure balanced sound distribution throughout the room.
You are now one step closer to enjoying a true cinematic audio experience in the comfort of your own home. Let’s move on to the next section to learn how to choose the right type of surround sound system for your needs.
Choosing the Right Type of Surround Sound System
When it comes to choosing a surround sound system, there are several factors to consider, including your budget, space constraints, and desired audio quality. Different surround sound formats offer varying levels of immersion and complexity, so it’s important to select a system that best suits your needs and preferences.
The most common types of surround sound systems include:
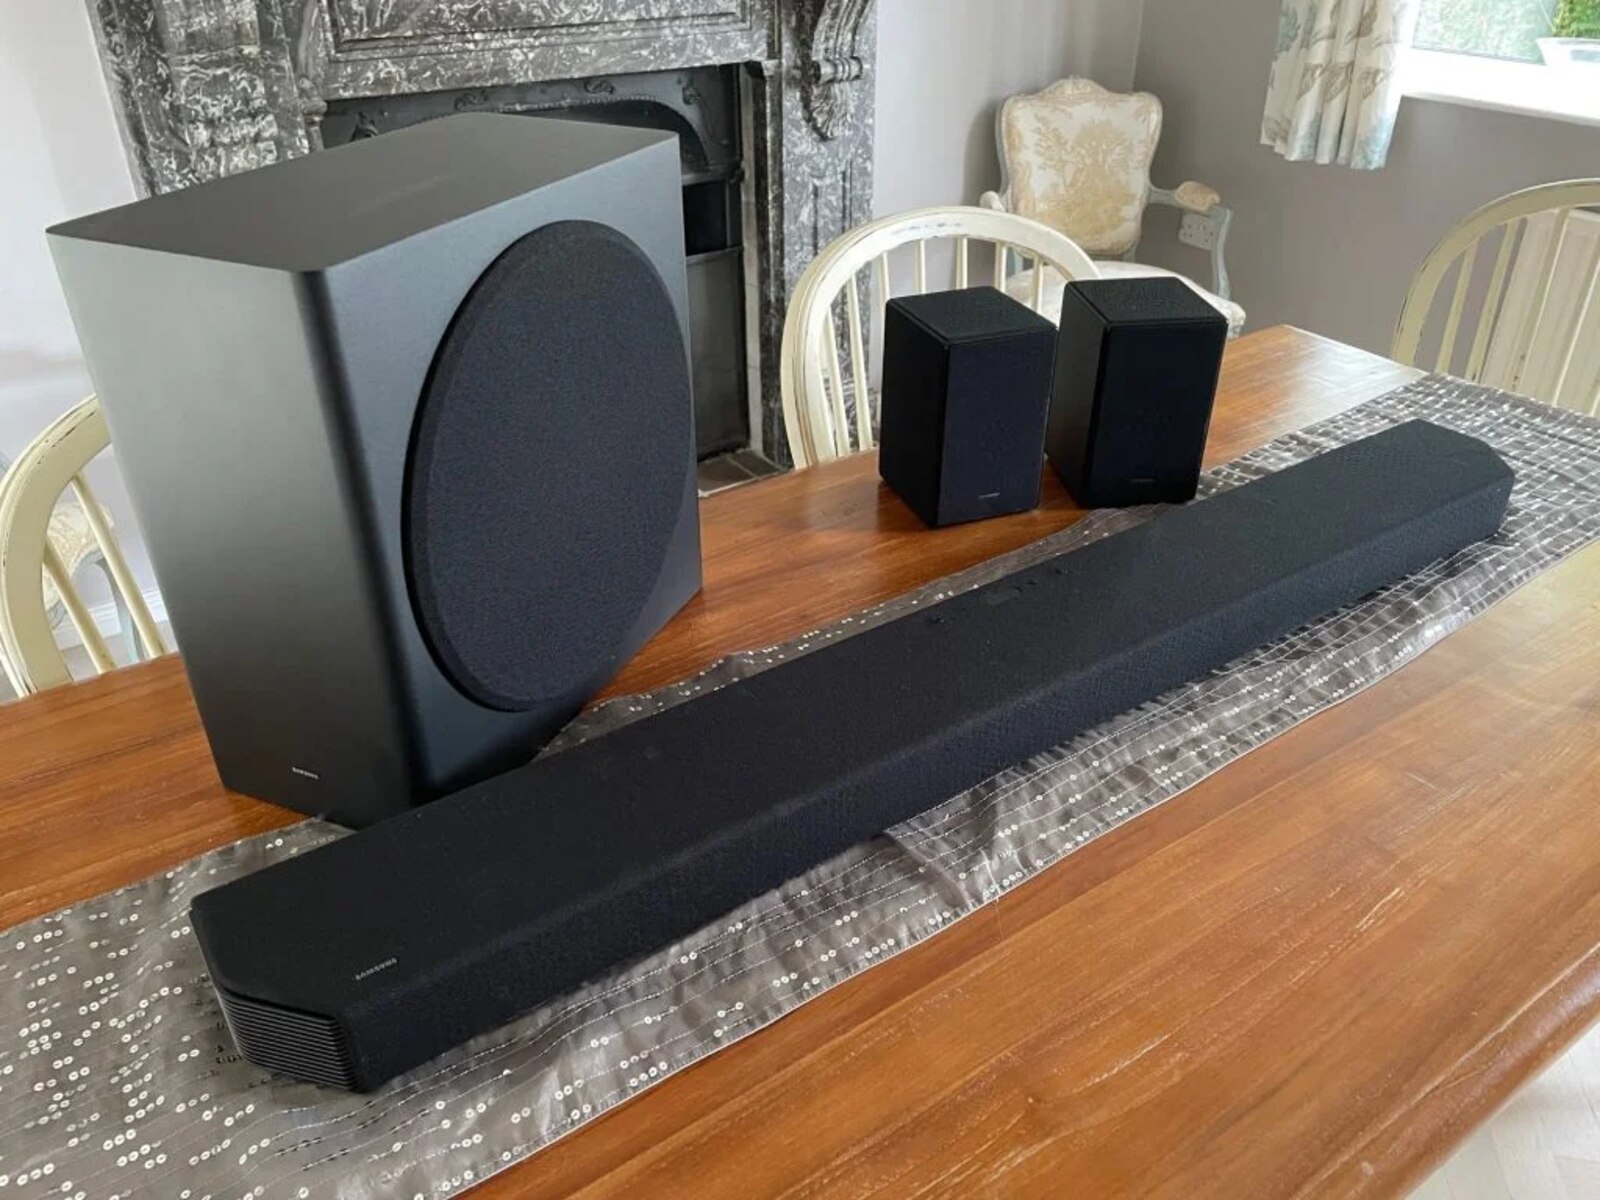
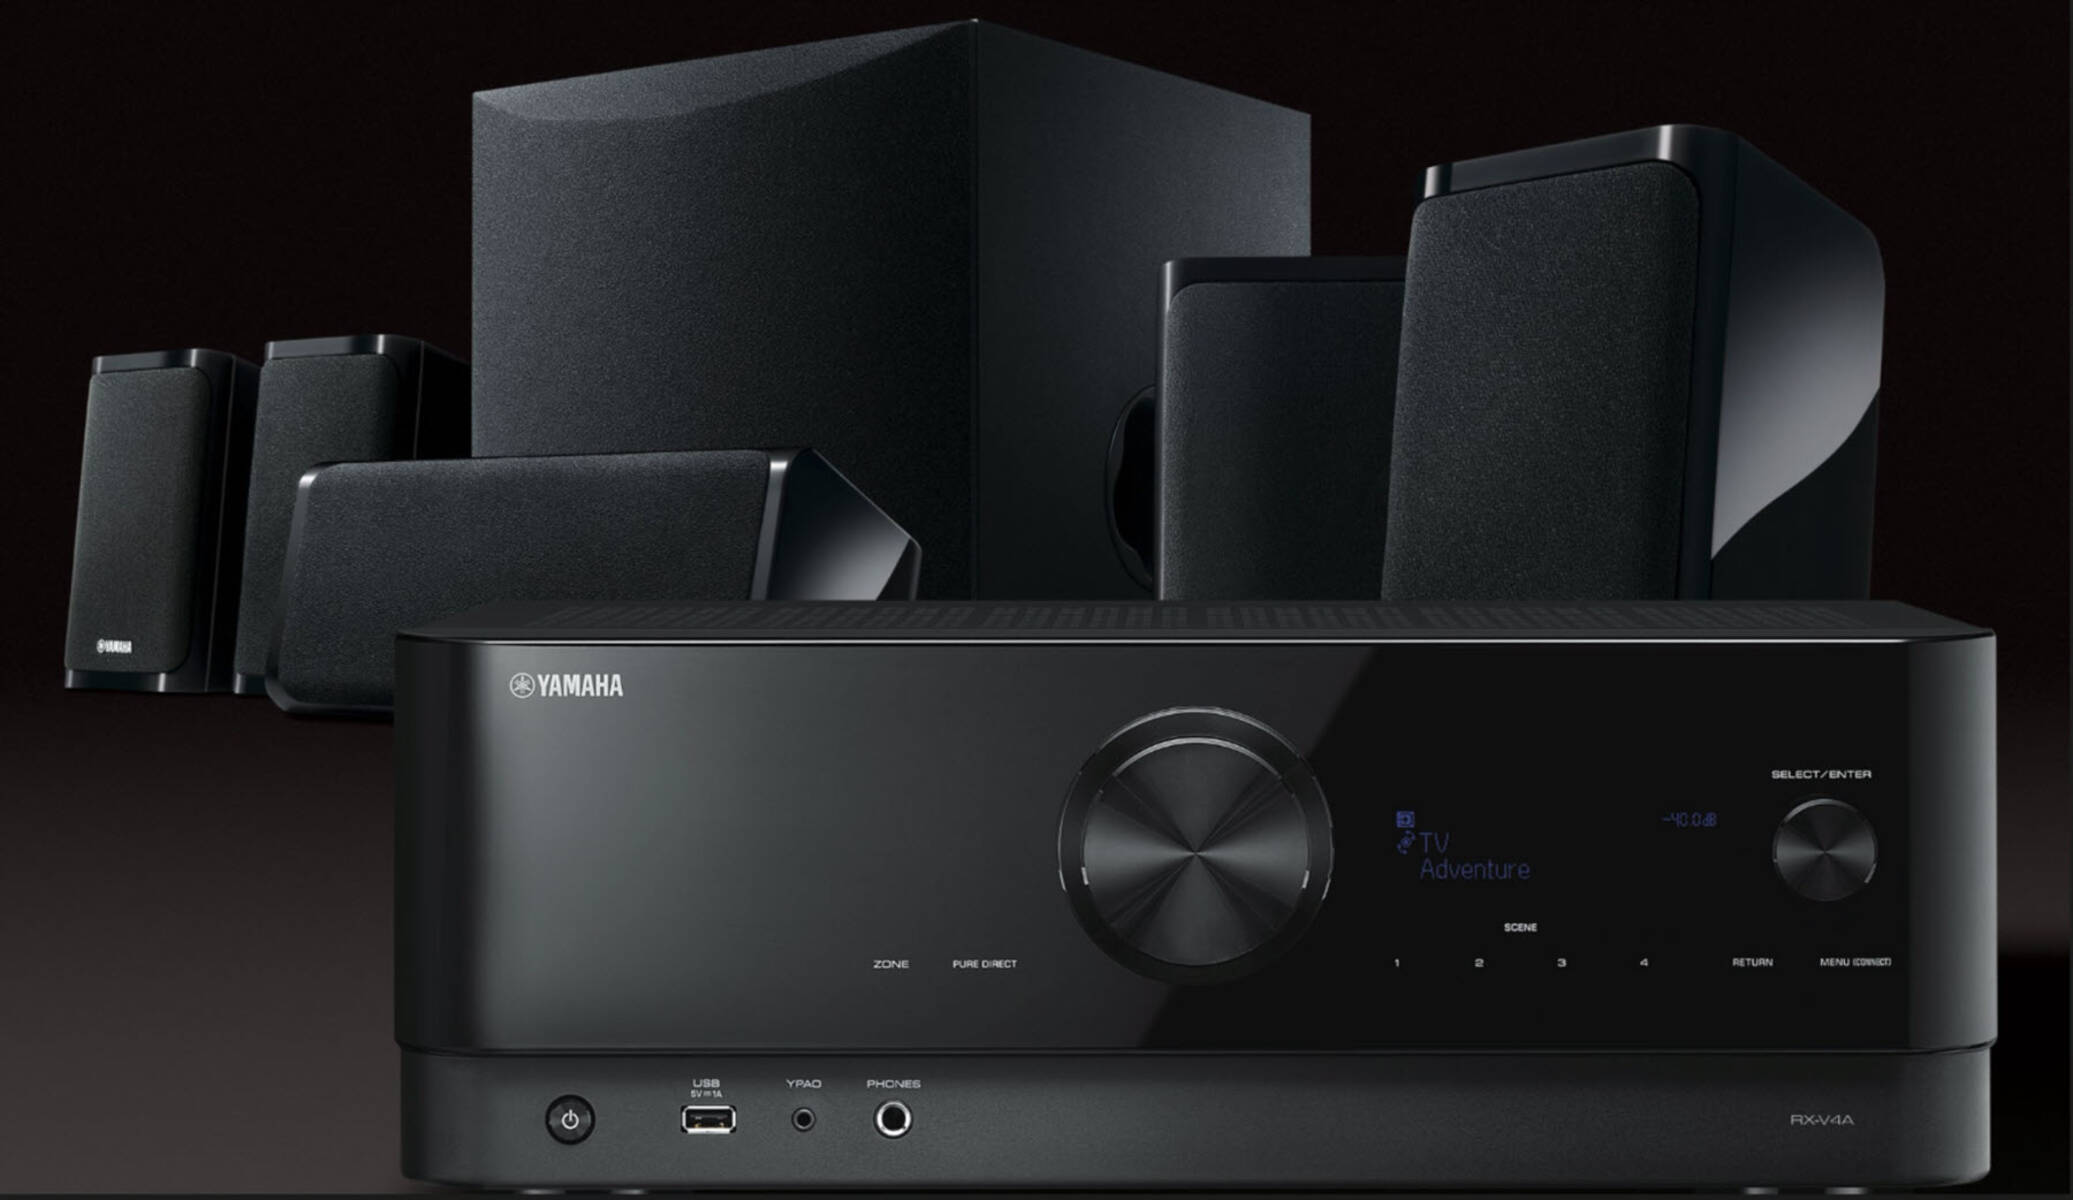
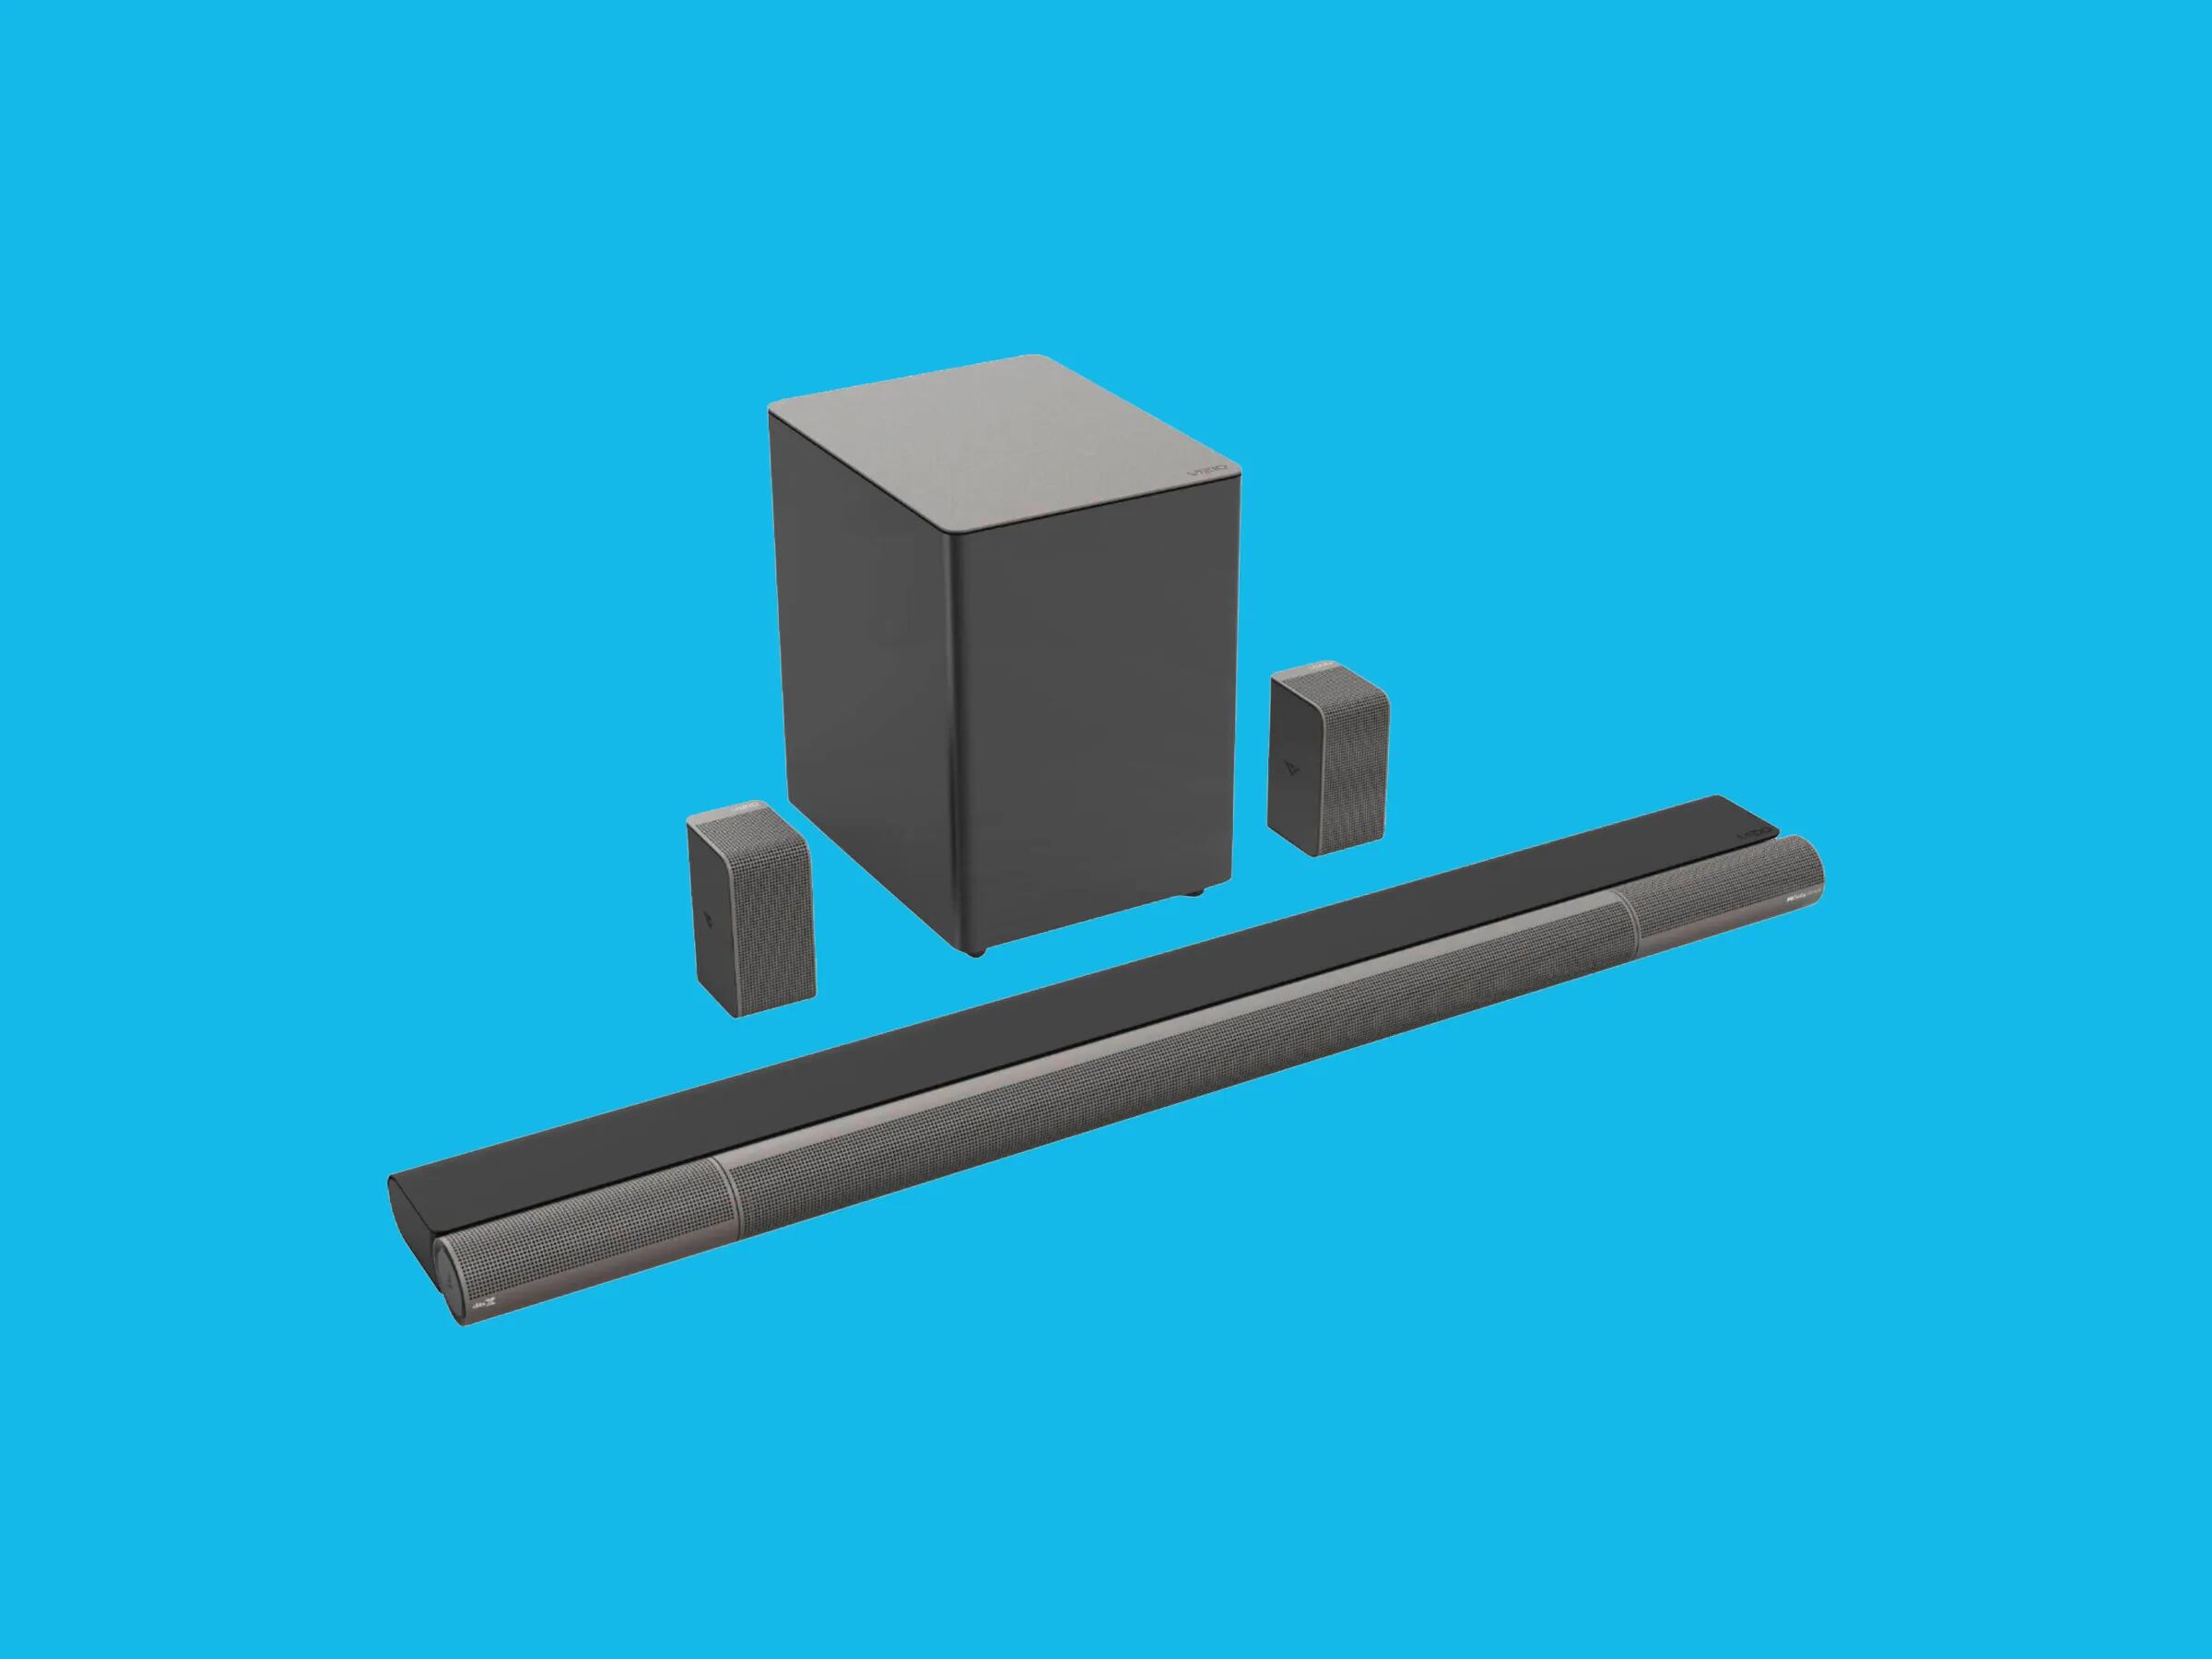
- 5.1 Surround Sound: This is the most basic setup, consisting of five speakers and one subwoofer. The five speakers include a center channel for dialogue and two front speakers for the left and right audio channels, along with two rear speakers for surround sound effects. The subwoofer handles low-frequency sounds, adding depth and impact to the audio experience.
- 7.1 Surround Sound: Building upon the 5.1 setup, the 7.1 system includes two additional side speakers for an even more immersive audio experience. These two speakers are placed at the sides of the seating area, providing additional depth and dimension to the soundstage.
- Dolby Atmos: Dolby Atmos takes surround sound to the next level by adding height channels to the audio setup. This allows for sounds to move around the listener in a three-dimensional space, creating a truly immersive and realistic audio experience. Dolby Atmos systems can range from 5.1.2 setups (with two ceiling-mounted or upward-firing speakers) to larger configurations with multiple ceiling-mounted speakers.
Consider the size of your room when selecting a surround sound system. A larger room may require a system with more speakers to ensure consistent audio coverage and a greater sense of immersion. However, even in a smaller space, a 5.1 or 7.1 system can still provide a remarkable audio experience.
Additionally, think about your budget and the audio quality you desire. Higher-end surround sound systems may offer better speaker construction, more advanced audio processing technologies, and enhanced connectivity options. However, even more affordable systems can deliver impressive performance and a significant upgrade from standard TV speakers.
Research different brands and models, read reviews, and compare specifications to find the surround sound system that best fits your budget and requirements. Take the time to listen to systems in person, if possible, to gauge the sound quality and compatibility with your listening preferences.
Once you have selected the right type of surround sound system, it’s time to move on to the next step: checking the existing wiring in your home. Let’s explore this in the next section.
Checking the Existing Wiring
Before you begin installing your surround sound system, it’s important to check the existing wiring in your home to ensure that it can support the audio setup. This step will help you determine if any additional wiring or modifications are needed.
Start by locating the area where your audiovisual equipment will be set up. Look for any existing wall plates or openings where audio cables can be connected. If your home is already pre-wired for surround sound, you may find labeled speaker wires or HDMI cables behind the walls.
Inspect the condition of the existing wiring. Make sure the wires are intact, without any visible damage or fraying. Check for any loose connections or signs of wear and tear. If you notice any issues, it’s best to replace or repair the wiring before proceeding with the installation.
If your home is not pre-wired for surround sound and you need to run new wiring, consider your options. Running the wires through the walls is the most aesthetically pleasing solution, as it hides the cables from view. However, this may require cutting into the walls and fishing the wires through, which can be a more challenging and time-consuming process.
An alternative option is to use wire molding or cable raceways to conceal the wires along the baseboards or walls. While this may be less visually appealing, it is a simpler and less invasive method that can still provide satisfactory results.
Regardless of the wiring method you choose, ensure that it adheres to electrical safety standards and local building codes. It’s also important to consider the length of the wires required to connect the speakers to the sound system. Measure the distances accurately to ensure you have enough wire length for the installation.
In some cases, wireless surround sound systems are available as an alternative. These systems transmit audio signals wirelessly from the sound system to the speakers, eliminating the need for running wires through walls. However, keep in mind that wireless systems may be more limited in terms of sound quality and range, so research and read reviews to determine if they meet your expectations.
Once you have checked the existing wiring and determined the appropriate method for your installation, it’s time to gather the necessary tools and equipment. Let’s explore this in the next section.
Selecting the Necessary Tools and Equipment
When it comes to installing a surround sound system, having the right tools and equipment at your disposal is essential. This section will guide you through the process of selecting the necessary tools to ensure a smooth and successful installation.
Here are some of the tools and equipment you may need:
- Tape Measure: A tape measure is crucial for accurately measuring the distances between speakers, determining wire lengths, and ensuring proper spacing.
- Stud Finder: A stud finder is necessary for locating the studs behind the walls where you will be mounting the speakers. This will help ensure stability and proper support.
- Level: A level will assist you in ensuring that the speakers are mounted straight and aligned properly on the walls.
- Drill: A drill is necessary for mounting the speakers and running wires through walls if needed. Ensure that you have the appropriate drill bits for your specific wall material.
- Screwdriver: A screwdriver will be needed to secure the speakers onto their mounts or brackets.
- Cable Management Tools: Depending on the complexity of your wiring setup, you may need cable management tools such as cable clips, zip ties, or wire raceways to keep the wires organized and hidden.
- Wire Strippers and Connectors: If you need to run new wiring, wire strippers will be needed to remove the insulation from the wire ends. Additionally, connectors such as banana plugs or spade connectors may be required for connecting the wires to the speakers and the audio receiver.
- Labeling Materials: Labeling the wires can make future troubleshooting or upgrades more straightforward. Consider using labels or markers to identify the different speaker wires.
It’s also important to have the necessary mounting hardware specific to your speakers, such as brackets, wall mounts, or speaker stands.
Make sure to double-check the specifications and recommendations provided by the manufacturers of your surround sound system and speakers. They may have specific requirements for tools or equipment that are best suited for their products.
Having all the essential tools and equipment prepared before starting the installation will save you time and frustration during the process. Once you have gathered everything you need, you’re ready to move on to the next step: preparing the walls for installation.
Preparing the Walls for Installation
Before you can start mounting the speakers and running cables, it’s important to properly prepare the walls to ensure a secure and clean installation. This section will guide you through the process of preparing the walls for your surround sound system.
Here are the steps to follow:
- Locate Studs: Use a stud finder to locate the studs behind the walls where you plan to mount the speakers. Mark the stud locations so you know where to anchor the mounts or brackets securely.
- Clean the Walls: Remove any dust, dirt, or debris from the walls using a clean cloth or duster. Clean walls ensure better adhesion and a neater appearance of the speaker mounts.
- Check for Obstacles: Take a close look at the wall surface for any obstacles that may hinder the installation. Ensure there are no electrical wires, plumbing lines, or other hidden structures in the area where you intend to mount the speakers.
- Consider Wall Type: Different wall materials require different installation methods. For drywall, it’s recommended to use wall anchors or toggle bolts to provide secure mounting points. If you have concrete or masonry walls, you may need specialized anchors and tools to drill into the wall surface.
- Measure and Align: Use a tape measure and level to calculate and mark the proper distances for speaker placement on the walls. Ensure that the marks are aligned and straight for a visually pleasing installation.
- Plan Cable Routes: Determine the best route for running the cables behind the walls. Analyze the room layout and consider the locations of power outlets and audio equipment to minimize cable visibility. Avoid routing cables near power lines to prevent interference.
- Make Wall Cutouts (if necessary): If you choose to run the cables through the walls, you may need to make small cutouts to access the wall cavities. Use a utility knife or a drywall saw to create neat and precise openings for the cables.
It is important to note that wall modifications should be done carefully and in accordance with local building codes. If you’re unsure or uncomfortable with making cutouts or drilling into the walls, consult a professional installer to ensure a safe and proper installation.
By taking the time to prepare the walls properly, you’ll create a solid foundation for mounting your speakers and running the cables. With this important step completed, you’re now ready for the next phase: mounting the speakers on the walls.
Mounting the Speakers on the Walls
With the walls prepared, it’s time to start mounting the speakers for your surround sound system. Properly mounting the speakers will ensure optimal sound projection and aesthetics. Follow these steps to mount your speakers securely:
- Align the Mounts: Begin by aligning the speaker mounts or brackets with the marked positions on the walls. Use a level to ensure the mounts are straight and parallel to the floor.
- Drill Pilot Holes: Once the mounts are aligned, use a drill with an appropriate drill bit to create pilot holes at the marked locations. Pilot holes will prevent the wall from splitting or cracking when inserting screws or anchors.
- Attach the Mounts: Place the speaker mounts over the pilot holes and secure them to the wall using screws or anchors. Make sure the mounts are tight and secure, providing a sturdy base for the speakers.
- Speaker Placement: Carefully position the speakers onto the mounts or brackets, ensuring they are properly aligned and seated securely. Refer to the manufacturer’s instructions for specific mounting instructions for your speakers.
- Adjust Speaker Angles: Depending on your preferences and room layout, you may need to adjust the speaker angles. Aim the speakers towards the main listening area for the best sound experience.
- Double-Check Stability: Give each speaker a gentle tug to ensure it is firmly mounted and doesn’t wobble or move. Make any necessary adjustments or tightening to ensure stability.
It’s important to follow the manufacturer’s guidelines and weight limitations when mounting the speakers. If you have large or heavy speakers, consider using additional support such as speaker stands or wall anchors to ensure stability and prevent accidents.
Take your time during this step to ensure that all speakers are mounted securely and positioned correctly. Properly mounted speakers not only improve audio performance but also enhance the visual appeal of your entertainment area.
Once the speakers are securely mounted, the next step is to run the cables and connect the speakers. Let’s continue to the next section for guidance on this process.
Running the Cables and Connecting the Speakers
With the speakers mounted, it’s time to run the cables behind the walls and connect them to your surround sound system. Properly routing and connecting the cables will ensure optimal audio performance and a clean, clutter-free look in your entertainment area.
Follow these steps to run the cables and connect the speakers:
- Plan Cable Routes: Refer to the earlier section where you planned the cable routes. Take into consideration the shortest and most efficient paths to connect the speakers to the audio receiver while minimizing cable visibility.
- Mark Entry and Exit Points: Once you have determined the cable routes, mark the entry and exit points on the walls. These points denote where the cables will enter the wall cavities and re-emerge near the audio equipment.
- Make Cable Cutouts: Use a utility knife or drywall saw to carefully make cutouts at the marked entry and exit points. Take caution to avoid damaging any existing wiring or structures in the walls.
- Run the Cables: Starting from the speaker location, use cable fishing rods, a coat hanger, or a long, flexible wire to guide the speaker cables through the wall cavities towards the exit point.
- Connect the Cables: Once the cables have emerged at the exit point, strip the ends of the cables to expose the copper wires. Connect each wire to its respective terminal on the speakers and audio receiver. Use connectors such as banana plugs or spade connectors for a secure and reliable connection.
- Secure the Cables: Use cable clips, zip ties, or wire raceways to secure and organize the cables along the walls and baseboards. This will help reduce cable visibility and prevent them from getting tangled or damaged.
- Test the Connections: After connecting all the cables, perform a thorough check to ensure that each speaker is properly connected to the correct channel on the audio receiver. Test the sound output from each speaker to verify that they are functioning correctly.
Take your time when running the cables and connecting the speakers. Ensure that the cables are not stretched or twisted excessively, as this can negatively impact audio quality. Keep the cables as hidden as possible for a clean and organized appearance.
Once the cables are securely connected and organized, you’re almost there! The final step is to test and calibrate your surround sound system to ensure optimal audio performance. Let’s dive into the next section to learn how.
Testing and Calibrating the Surround Sound System
Now that your surround sound system is fully installed and the speakers are connected, it’s time to test and calibrate the system to ensure optimal audio performance. Proper testing and calibration will help you fine-tune the sound levels, speaker distances, and other settings for an immersive audio experience.
Follow these steps to test and calibrate your surround sound system:
- Speaker Configuration: Check the settings on your audio receiver or sound system control panel to ensure that it is configured correctly for your specific surround sound setup (e.g., 5.1, 7.1, Dolby Atmos).
- Volume Balance: Set the volume to a comfortable listening level. Test each speaker individually to verify that the audio is balanced. Adjust the speaker levels as needed to achieve a uniform sound across all channels.
- Channel Identification: Play audio content that incorporates channel identification, such as a test tone or sound effects that move from speaker to speaker. This will help you verify that each speaker is assigned to the correct audio channel.
- Bass Management: Adjust the bass settings on your audio receiver or sound system to optimize the performance of the subwoofer. Fine-tune the crossover frequency and volume to achieve a balanced and cohesive low-frequency response.
- Room Correction: If your audio receiver or sound system includes room correction features, follow the manufacturer’s instructions to measure and automatically adjust the system’s equalization settings. This can help compensate for room acoustics and improve the overall sound quality.
- Audio Source Testing: Play audio content that showcases the capabilities of your surround sound system, such as movies or music with rich sound effects or a wide soundstage. Listen carefully to ensure that the sound is immersive and accurately localized to the correct speakers.
- Revisit Speaker Placement: If certain audio cues or effects are not aligning properly with the speakers, adjust the speaker angles or positions slightly to achieve a more accurate audio localization.
Remember to refer to the user manual or documentation provided by the manufacturer for specific instructions on testing and calibrating your particular surround sound system. You may also find online guides or tutorials specifically tailored to your audio equipment.
By thoroughly testing and calibrating your surround sound system, you can ensure that it delivers optimal audio performance and an immersive entertainment experience. Take the time to fine-tune the settings and make any necessary adjustments to achieve the best possible sound quality.
With the system now tested and calibrated, it’s time to sit back, relax, and enjoy an elevated audio experience in the comfort of your own home!
Conclusion
Congratulations! You have successfully learned how to install a surround sound system even if you already have walls installed in your home. By following the steps outlined in this guide, you have taken the necessary steps to achieve optimal audio performance while seamlessly integrating the speakers into your existing setup.
Starting with determining the placement of the speakers, you carefully considered the layout of your room and the specific requirements of your surround sound system. Then, you moved on to choosing the right type of surround sound system that best suited your budget, space constraints, and desired audio quality.
After checking the existing wiring and selecting the necessary tools and equipment, you prepared the walls for installation and mounted the speakers securely. Running the cables behind the walls and connecting them to the speakers completed the physical setup of your surround sound system.
Finally, you meticulously tested and calibrated the system to ensure optimal audio performance, fine-tuning the settings and making necessary adjustments to achieve an immersive audio experience.
Remember, if at any point you felt unsure or uncomfortable with any aspect of the installation process, it is always recommended to consult with a professional installer to ensure a safe and successful installation.
Now, sit back, relax, and enjoy the incredible audio experience that your newly installed surround sound system provides. Whether you’re watching movies, playing games, or listening to music, the immersive sound will transport you to a new level of entertainment in the comfort of your own home.