Introduction
So, you've decided to take your home entertainment to the next level by installing a surround sound system. Congratulations! A surround sound system can transform your living room into a cinematic experience, immersing you in the audio of your favorite movies, music, and games. Whether you're a movie buff, a music enthusiast, or a casual TV viewer, a well-installed surround sound system can elevate your audio experience to new heights.
But before you start unpacking boxes and running cables, it's essential to understand the process of installing a surround sound system. From choosing the right equipment to optimizing speaker placement and connecting all the components, each step plays a crucial role in achieving optimal audio performance.
In this guide, we'll walk you through the essential steps of installing a surround sound system, providing you with the knowledge and confidence to create a captivating audio environment in your home. So, grab your tool kit, put on your favorite tunes, and let's embark on this exciting journey to bring the magic of surround sound into your living space.
Step 1: Choose the Right Surround Sound System
Before diving into the installation process, it’s crucial to select a surround sound system that aligns with your audio preferences, room size, and budget. With a myriad of options available in the market, making an informed choice will significantly impact the overall audio quality and your satisfaction with the system.
When choosing a surround sound system, consider the following factors:
- Speaker Configuration: Determine whether you prefer a 5.1, 7.1, or immersive Dolby Atmos setup. The configuration will dictate the number of speakers and the spatial audio experience you can achieve.
- Room Size and Layout: Assess the dimensions and layout of the room where the system will be installed. Larger rooms may benefit from more powerful speakers, while smaller spaces require careful consideration of speaker placement and size.
- Audio Quality: Research the sound quality and performance of different speaker systems. Look for systems with clear dialogue reproduction, balanced bass, and immersive surround effects to enhance your audio experience.
- Compatibility: Ensure that the chosen system is compatible with your TV, media player, and other audio-visual equipment. Compatibility issues can hinder the seamless integration of the surround sound system with your existing setup.
- Budget: Set a realistic budget for the surround sound system. While high-end systems offer premium audio quality, there are also excellent mid-range options that deliver impressive performance without breaking the bank.
Once you’ve considered these factors, explore different brands and models, read reviews, and if possible, audition the systems in a showroom to gauge their performance firsthand. Ultimately, choosing the right surround sound system sets the foundation for an immersive and satisfying audio experience in your home.
Step 2: Plan the Layout and Placement
After selecting the ideal surround sound system, the next crucial step is to plan the layout and placement of the speakers within your room. Proper speaker placement is essential for creating an immersive audio environment and maximizing the system’s performance. Here’s how to approach this vital phase of the installation process:
1. Assess the Room: Take note of the room’s dimensions, furniture arrangement, and potential obstacles that may affect sound propagation. Understanding the layout will help you determine the optimal placement for each speaker.
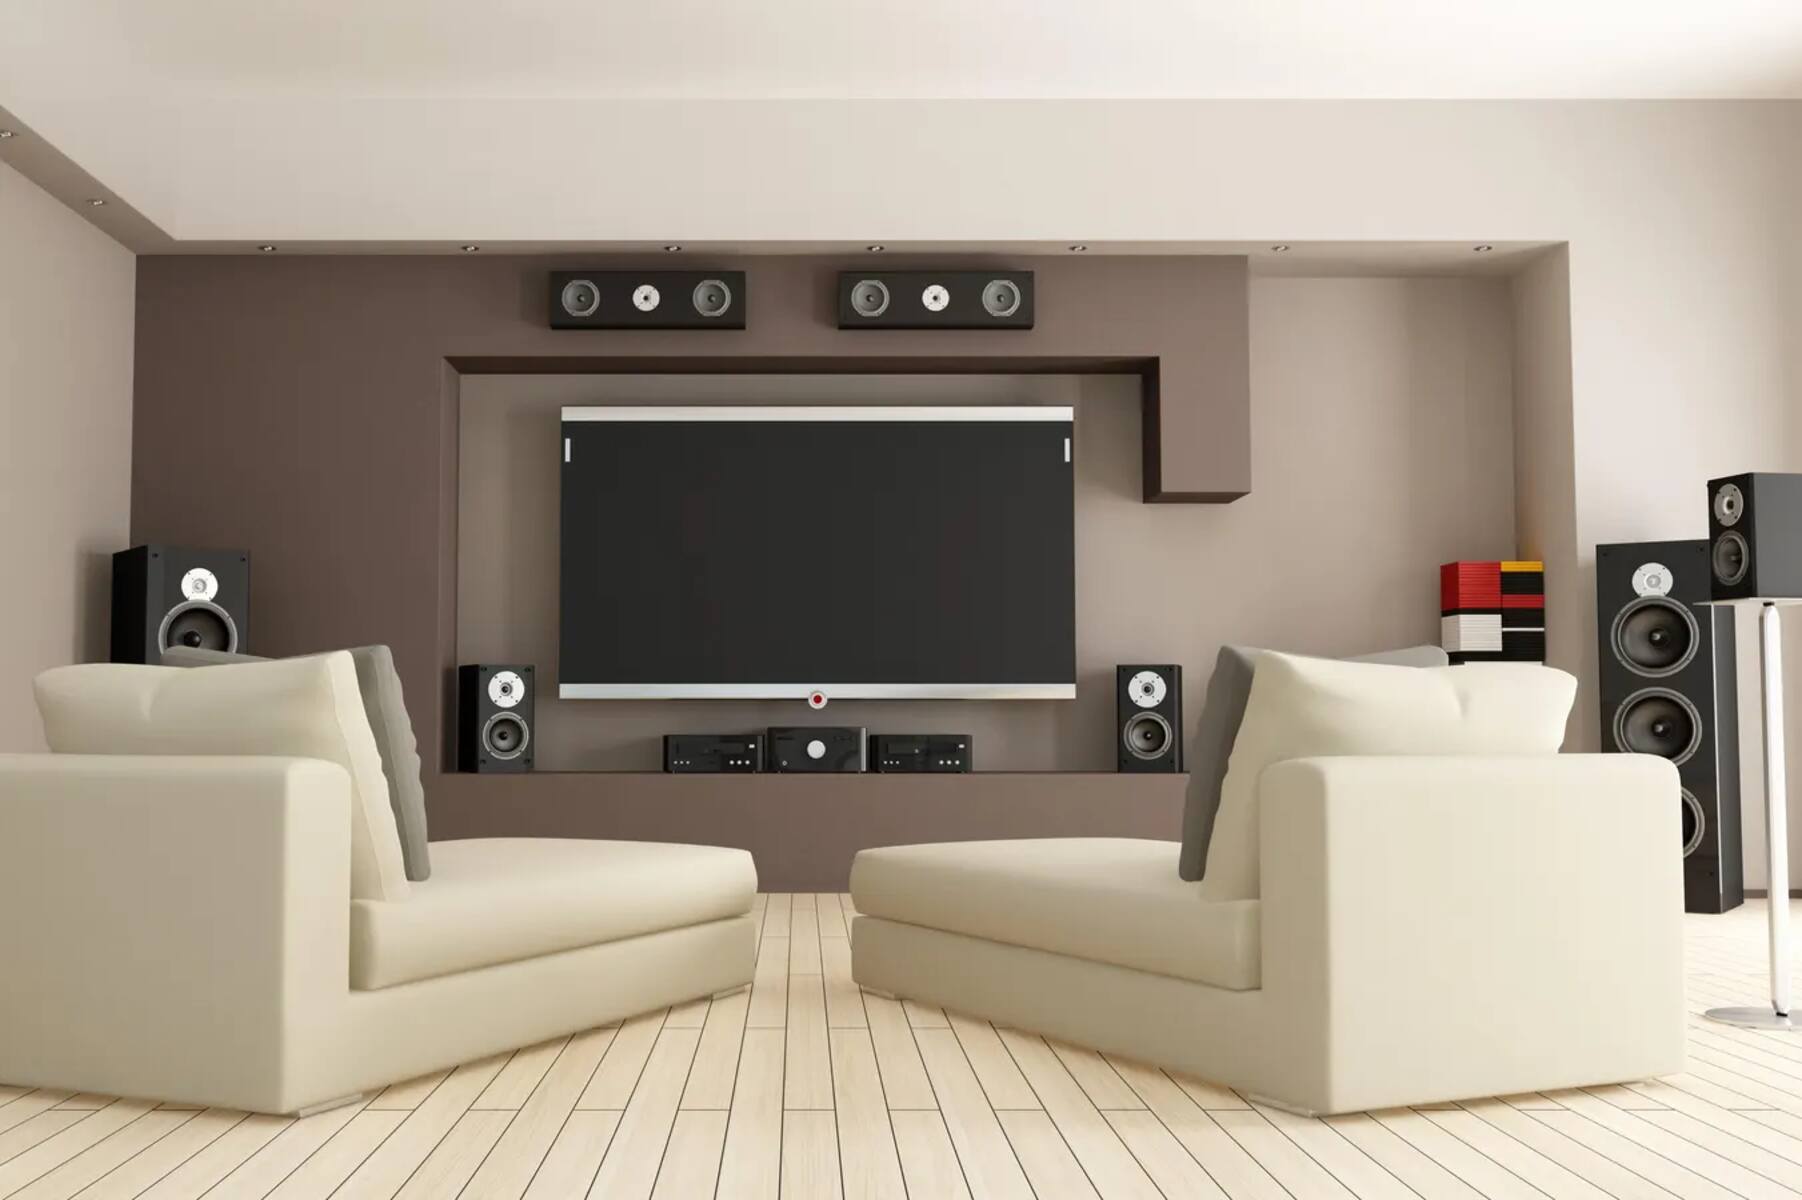
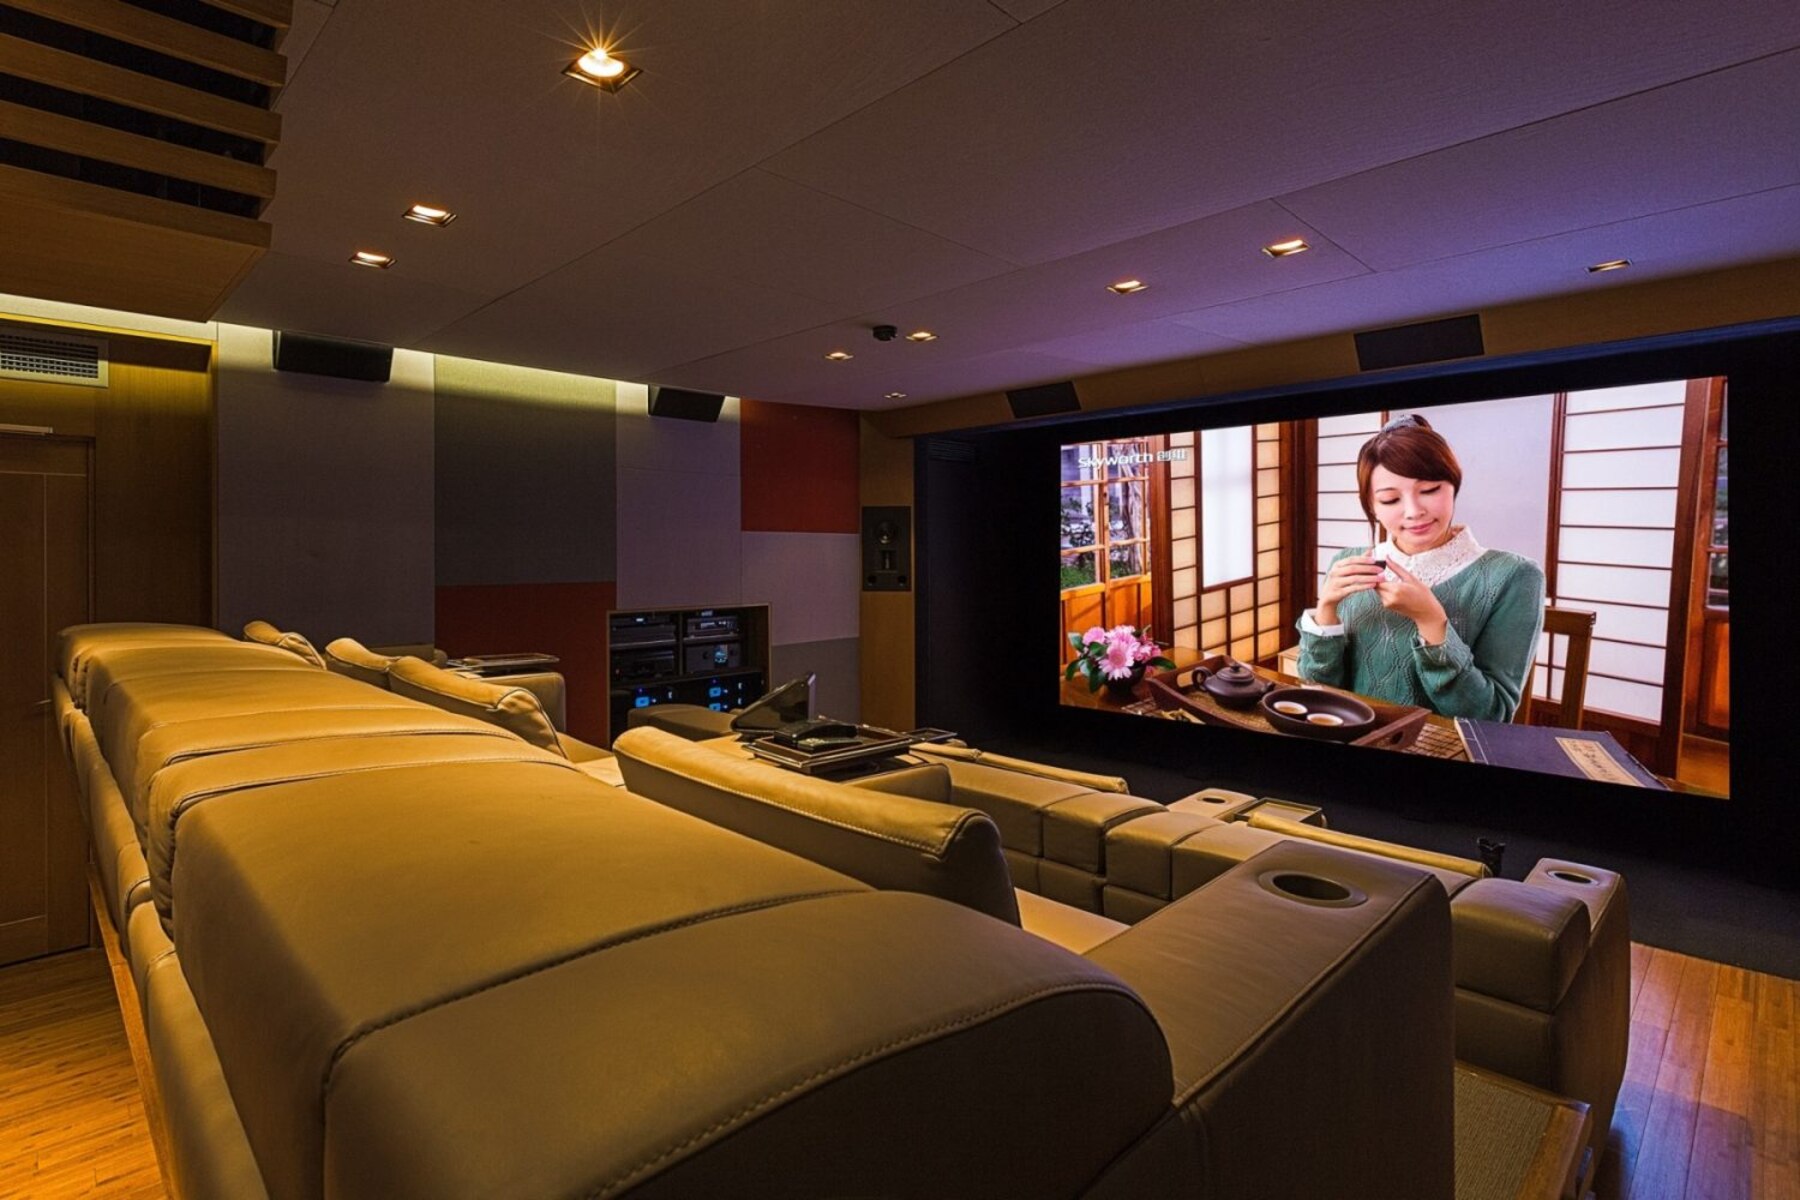
2. Speaker Positioning: For a standard 5.1 surround sound system, position the front left, front right, and center speakers towards the TV or screen, creating an arc for the best stereo imaging. The surround speakers should be placed to the sides or slightly behind the primary seating area, while the subwoofer can be positioned anywhere in the room to distribute low-frequency effects.
3. Consider Acoustics: Take into account the room’s acoustics and make adjustments as necessary. Soft furnishings, curtains, and strategically placed acoustic panels can help minimize sound reflections and improve the overall listening experience.
4. Speaker Height: If you’re installing Dolby Atmos or DTS:X speakers, carefully position them at the recommended height for optimal overhead sound effects. Ceiling-mounted speakers or specialized upward-firing speakers can be used to achieve this effect.
5. Concealing Cables: Plan how you will conceal the speaker cables to maintain a tidy and uncluttered look. This could involve running cables under carpets, through wall conduits, or using cable management solutions to ensure a clean and professional installation.
By meticulously planning the layout and placement of your surround sound speakers, you can ensure that each component contributes to a cohesive and enveloping audio experience, elevating your home entertainment to new heights.
Step 3: Prepare the Room for Installation
Before diving into the physical installation of the surround sound system, it’s essential to prepare the room to optimize the audio performance and ensure a seamless setup process. Here are the key steps to prepare your room for the installation:
1. Clear the Space: Start by clearing the room of any unnecessary clutter, furniture, and obstacles that may impede the installation process. Creating an open and unobstructed space will facilitate the positioning and placement of the speakers and allow for easy access to walls and power outlets.
2. Inspect Wall Surfaces: Inspect the walls where the speakers and AV components will be installed. Ensure that the walls are structurally sound and capable of supporting the weight of the speakers and mounting hardware. Additionally, check for any existing wiring or conduits that may aid in routing cables for a clean and organized installation.
3. Electrical Considerations: Assess the availability of power outlets near the speaker locations and the equipment rack or entertainment center. If additional outlets are needed, consider consulting an electrician to install them professionally and in compliance with local building codes.
4. Room Acoustics: Evaluate the room’s acoustics and consider implementing acoustic treatments to minimize sound reflections and improve the overall audio experience. This may involve adding rugs, curtains, or acoustic panels to dampen excessive reverberations and enhance the clarity of the sound.
5. Furniture Arrangement: Reconfigure the furniture layout to optimize the viewing and listening experience. Position seating arrangements in the sweet spot for optimal audio immersion and ensure that the primary viewing area aligns with the placement of the front and center speakers.
By preparing the room for the surround sound installation, you can streamline the setup process and lay the foundation for an exceptional audio environment. Taking the time to address these preparatory steps will contribute to a successful and enjoyable installation experience.
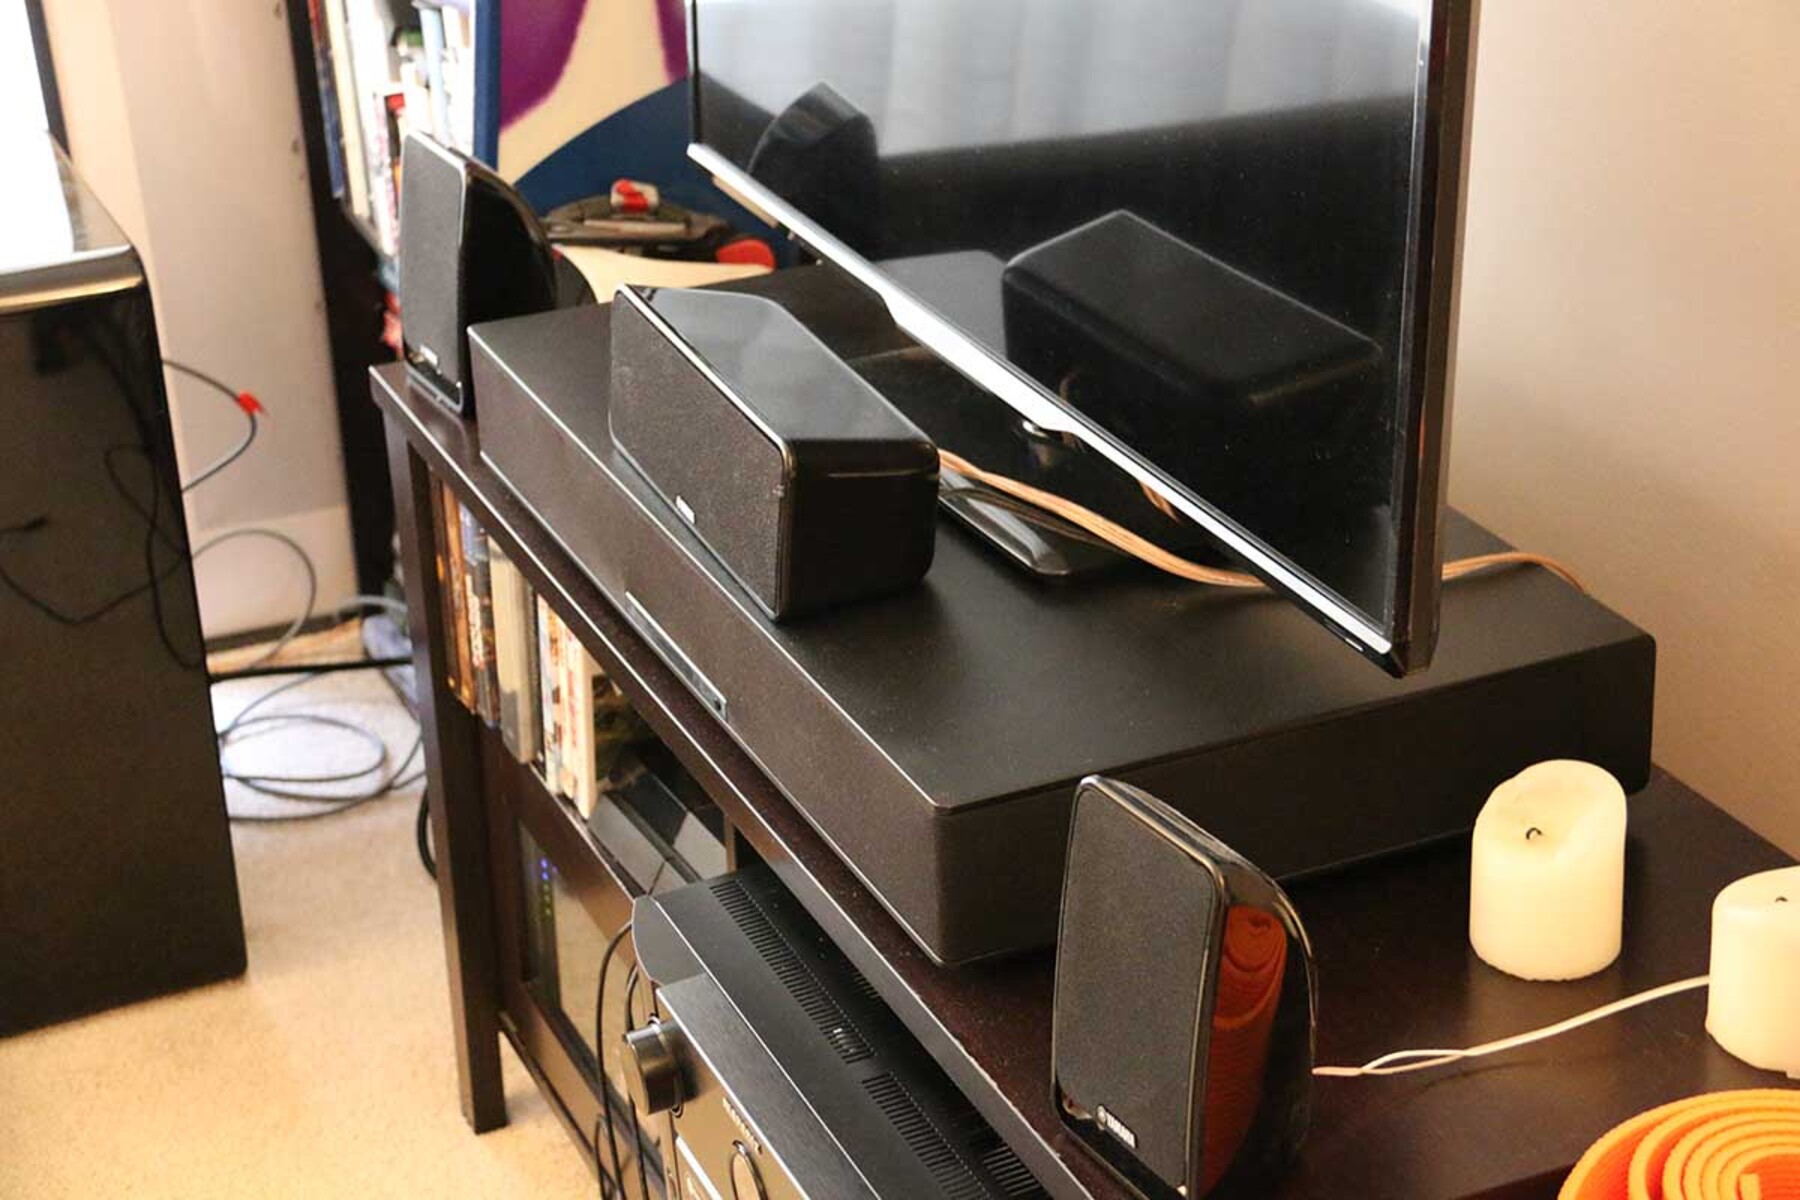
Step 4: Install the Speakers
With the room prepared and the layout planned, it’s time to embark on the physical installation of the surround sound speakers. Proper installation is crucial for achieving optimal audio performance and creating an immersive listening environment. Follow these steps to install the speakers effectively:
1. Front and Center Speakers: Mount or position the front left, front right, and center speakers according to the planned layout. Ensure that the front speakers are at ear level when seated, and the center speaker is aligned with the TV or screen to anchor the dialogue and sound effects.
2. Surround Speakers: Install the surround speakers at the appropriate locations, typically to the sides or slightly behind the primary seating area. Aim to position them at ear level or slightly above to achieve balanced surround sound distribution.
3. Subwoofer Placement: Place the subwoofer in a suitable location within the room to distribute low-frequency effects evenly. Experiment with different placements to find the optimal position that delivers impactful bass without overpowering the room.
4. Dolby Atmos or Height Speakers: If you’re incorporating Dolby Atmos or height speakers, carefully mount or position them at the recommended height to create an immersive three-dimensional soundstage. Follow the manufacturer’s guidelines for precise placement and angle adjustments.
5. Cable Management: Route the speaker cables neatly and discreetly to each speaker location, ensuring a tidy and professional installation. Use cable management solutions, wall conduits, or cable clips to secure the cables along walls and baseboards, minimizing visual clutter.
6. Secure Mounting: If you’re mounting speakers on walls or ceilings, ensure that the mounting hardware is securely fastened and capable of supporting the weight of the speakers. Follow the manufacturer’s instructions for proper installation and use appropriate anchors or brackets.
By carefully installing each speaker in its designated location, you can create a cohesive and harmonious audio environment that enhances your home entertainment experience. Paying attention to the details of speaker placement and installation will contribute to the overall success of your surround sound system.
Step 5: Connect the Components
Once the speakers are installed, the next crucial step in setting up your surround sound system is to connect all the components, ensuring that each device is integrated seamlessly to deliver a unified audio experience. Follow these steps to connect the components effectively:
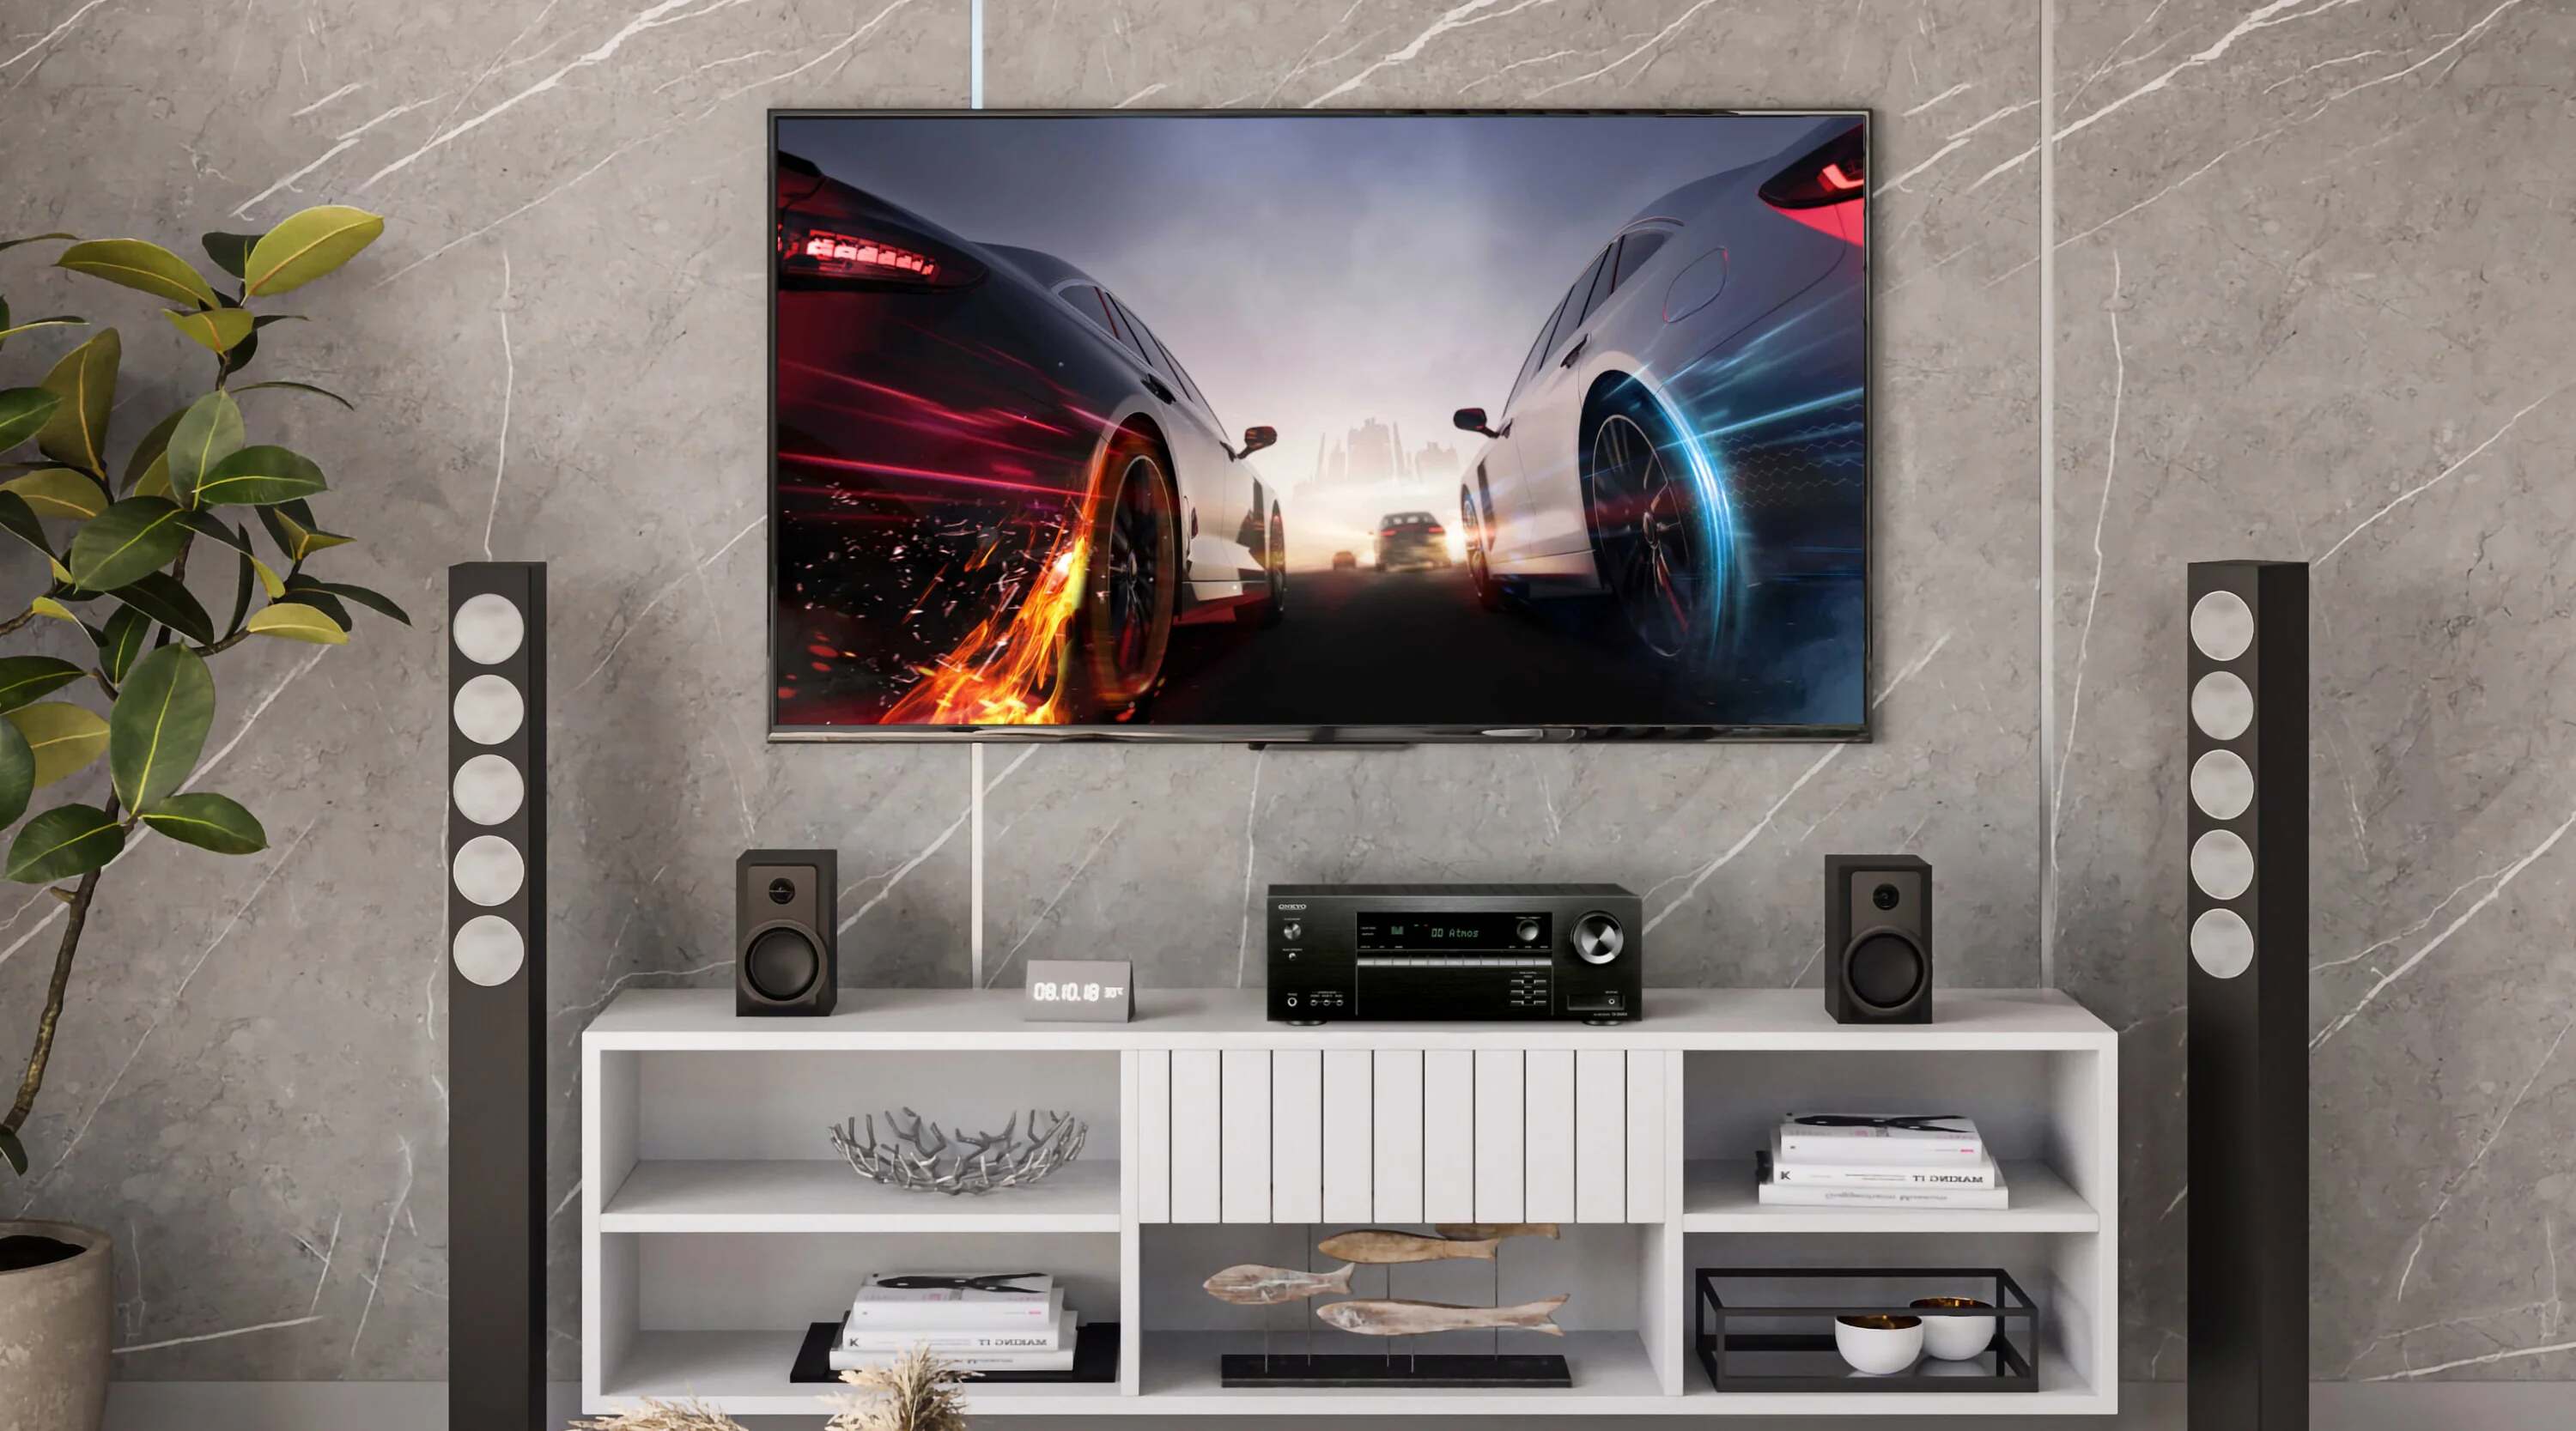
1. AV Receiver Setup: Position the AV receiver in a well-ventilated area and connect it to a power source. Ensure that the receiver is compatible with the surround sound system and capable of processing the audio formats supported by your speakers.
2. Speaker Wiring: Connect the speaker wires from each speaker to the corresponding terminals on the AV receiver. Ensure that the polarity is correct, with positive and negative terminals aligned to prevent phase cancellation and ensure accurate sound reproduction.
3. Source Devices: Connect your source devices, such as a Blu-ray player, gaming console, or media streaming device, to the appropriate input ports on the AV receiver. Use high-quality HDMI or optical cables to transmit audio signals from the source devices to the receiver.
4. Subwoofer Connection: If your subwoofer is powered, connect it to the designated subwoofer output on the AV receiver using a shielded subwoofer cable. Adjust the subwoofer settings on the receiver to optimize bass levels and integrate the subwoofer seamlessly into the audio system.
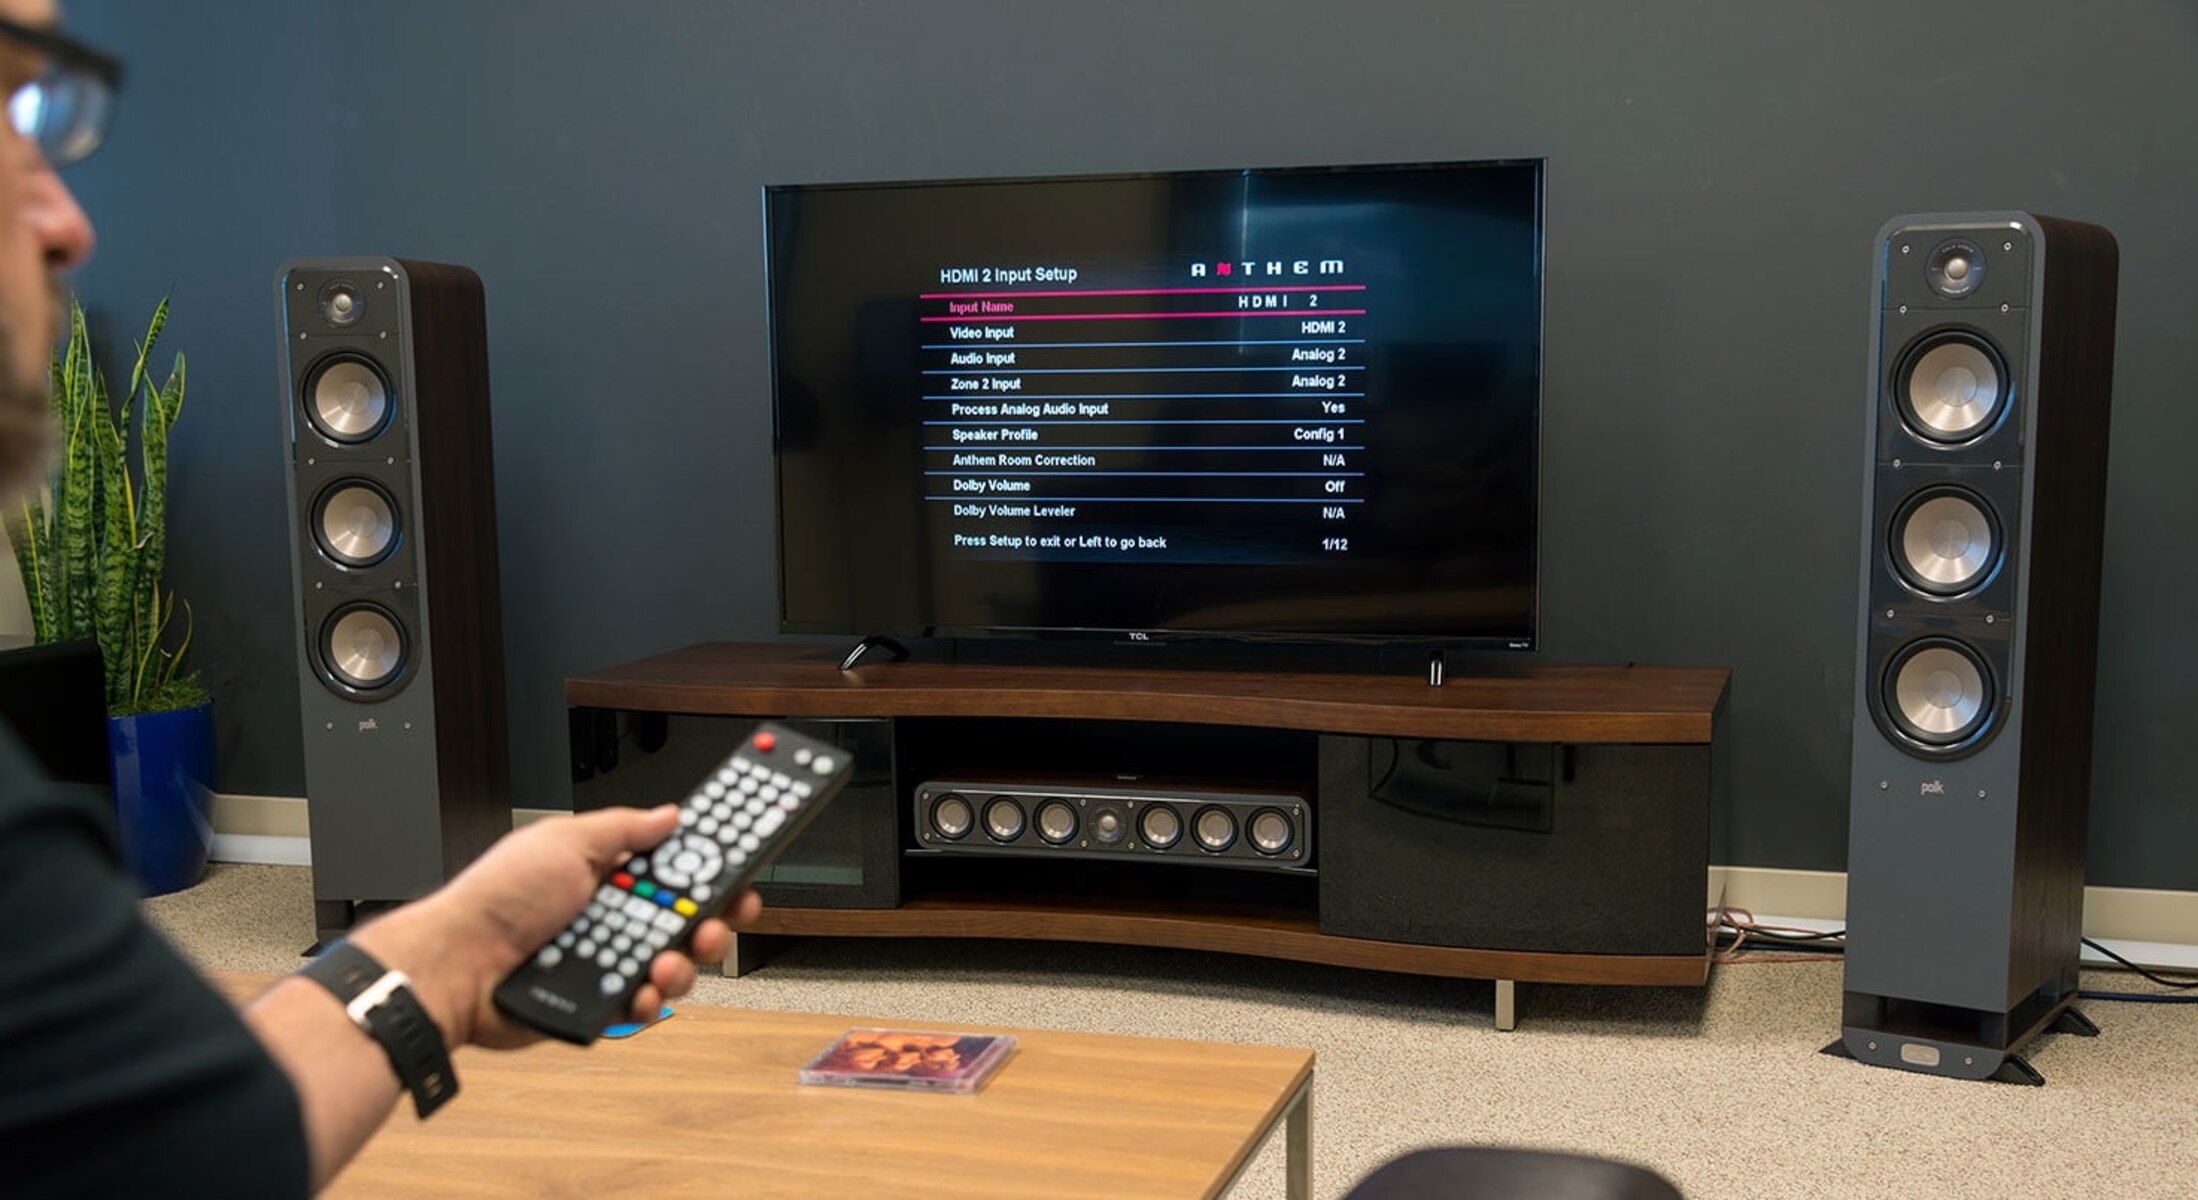
5. Calibration and Setup: Utilize the built-in calibration tools on the AV receiver, such as automatic speaker setup systems or room correction software, to optimize the audio performance based on the room’s acoustics and speaker configuration. Follow the on-screen prompts to fine-tune speaker levels, distances, and crossover settings.
6. Network and Streaming: If your AV receiver supports network connectivity or streaming services, configure the network settings and connect the receiver to your home network. This allows access to online music services, firmware updates, and multi-room audio capabilities.
By meticulously connecting and configuring the components of your surround sound system, you can ensure that each device operates harmoniously, delivering a cohesive and immersive audio experience. Paying attention to the details of component integration and setup will contribute to the overall success of your surround sound system.
Step 6: Test and Calibrate the System
After completing the physical installation and component connections, the final step in setting up your surround sound system is to thoroughly test and calibrate the system to ensure optimal audio performance. This critical phase allows you to fine-tune the system and address any potential issues that may affect the overall audio experience. Follow these steps to test and calibrate the system effectively:
1. Audio and Video Calibration Disc: Utilize an audio and video calibration disc, often included with the surround sound system or available for purchase, to assess the system’s performance. These discs provide test tones, visual calibration patterns, and setup instructions for optimizing audio and video settings.
2. Speaker Verification: Verify that each speaker is functioning correctly by playing test tones individually through each channel. This ensures that all speakers are connected properly and are capable of reproducing the full range of frequencies without distortion or imbalance.
3. Channel Balancing: Use the AV receiver’s built-in test tone generator or calibration software to balance the volume levels of each speaker relative to the listening position. Adjust the speaker levels to achieve a cohesive and balanced soundstage, ensuring that no single speaker overpowers the others.
4. Room Acoustic Correction: If your AV receiver features room correction technology, such as Audyssey or room EQ, engage the calibration process to analyze the room’s acoustics and apply digital signal processing to compensate for any audio anomalies caused by room reflections or resonances.
5. Listening Tests: Conduct listening tests with various types of audio content, including movies, music, and games, to evaluate the system’s performance. Pay attention to dialogue clarity, surround sound effects, and overall tonal balance to ensure that the system delivers an immersive and accurate audio experience.
6. Video Calibration: If applicable, use the calibration disc to adjust the video settings of your display, including brightness, contrast, color saturation, and sharpness, to complement the enhanced audio experience with optimal visual quality.
By meticulously testing and calibrating your surround sound system, you can fine-tune its performance to achieve exceptional audio fidelity and immersive surround sound effects. Taking the time to address these calibration steps will contribute to the overall success of your surround sound installation.
Conclusion
Congratulations! You’ve successfully navigated the intricate process of installing a surround sound system, transforming your home entertainment setup into a captivating audio haven. By following the essential steps outlined in this guide, you’ve laid the groundwork for an immersive and exhilarating audio experience that will elevate your enjoyment of movies, music, and games.
From choosing the right surround sound system that aligns with your preferences and room layout to meticulously planning the speaker placement and conducting thorough testing and calibration, each step plays a vital role in achieving optimal audio performance. Your dedication to this process reflects your commitment to creating a truly captivating home theater environment.
As you immerse yourself in the rich, enveloping soundscapes delivered by your newly installed surround sound system, take the time to appreciate the meticulous planning and effort that went into the setup. Whether you’re transported to the heart of a cinematic masterpiece, surrounded by the ethereal notes of your favorite music, or immersed in the dynamic world of gaming, your surround sound system will serve as the conduit for unforgettable audio experiences.
Remember, the journey doesn’t end here. As you enjoy your surround sound system, continue to explore its capabilities, experiment with different audio content, and fine-tune the settings to suit your preferences. Embrace the immersive power of surround sound and relish the transformative impact it brings to your home entertainment.
With your newly installed surround sound system, every viewing and listening session becomes an opportunity to be captivated by the magic of multidimensional audio. So, sit back, press play, and let the symphony of sound transport you to new realms of audio bliss.