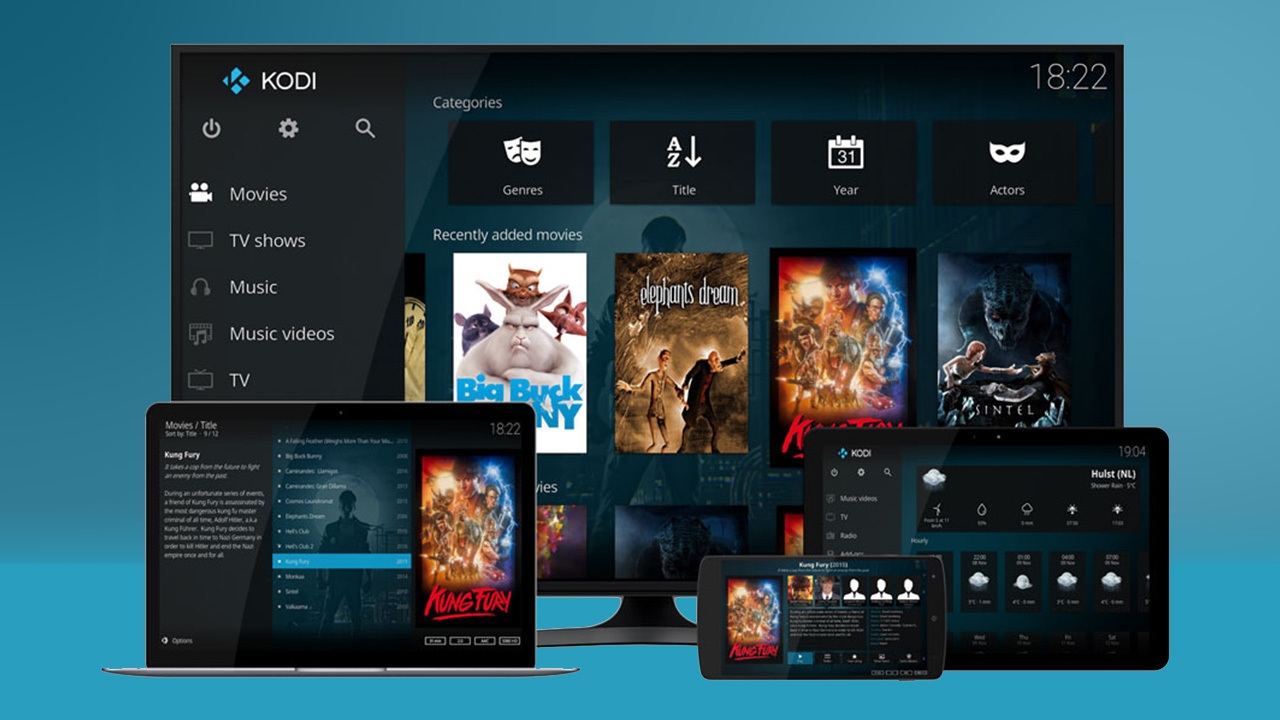
To install Kodi on Hisense Smart TV, you first need to know which operating system your TV runs, because the method is completely different depending on whether you have an Android TV/Google TV model or a VIDAA OS model. The direct path is simple for Android-based Hisense TVs, but if your TV runs VIDAA, Kodi cannot be installed directly and you will need an external streaming device, or you can stream Kodi from PC to smart TV as a workaround without buying extra hardware. If you already have a Fire tablet, you can download Kodi to Amazon Fire tablet and use it as a portable media center that pairs easily with your TV.
The Truth About Installing Kodi on a Hisense Smart TV
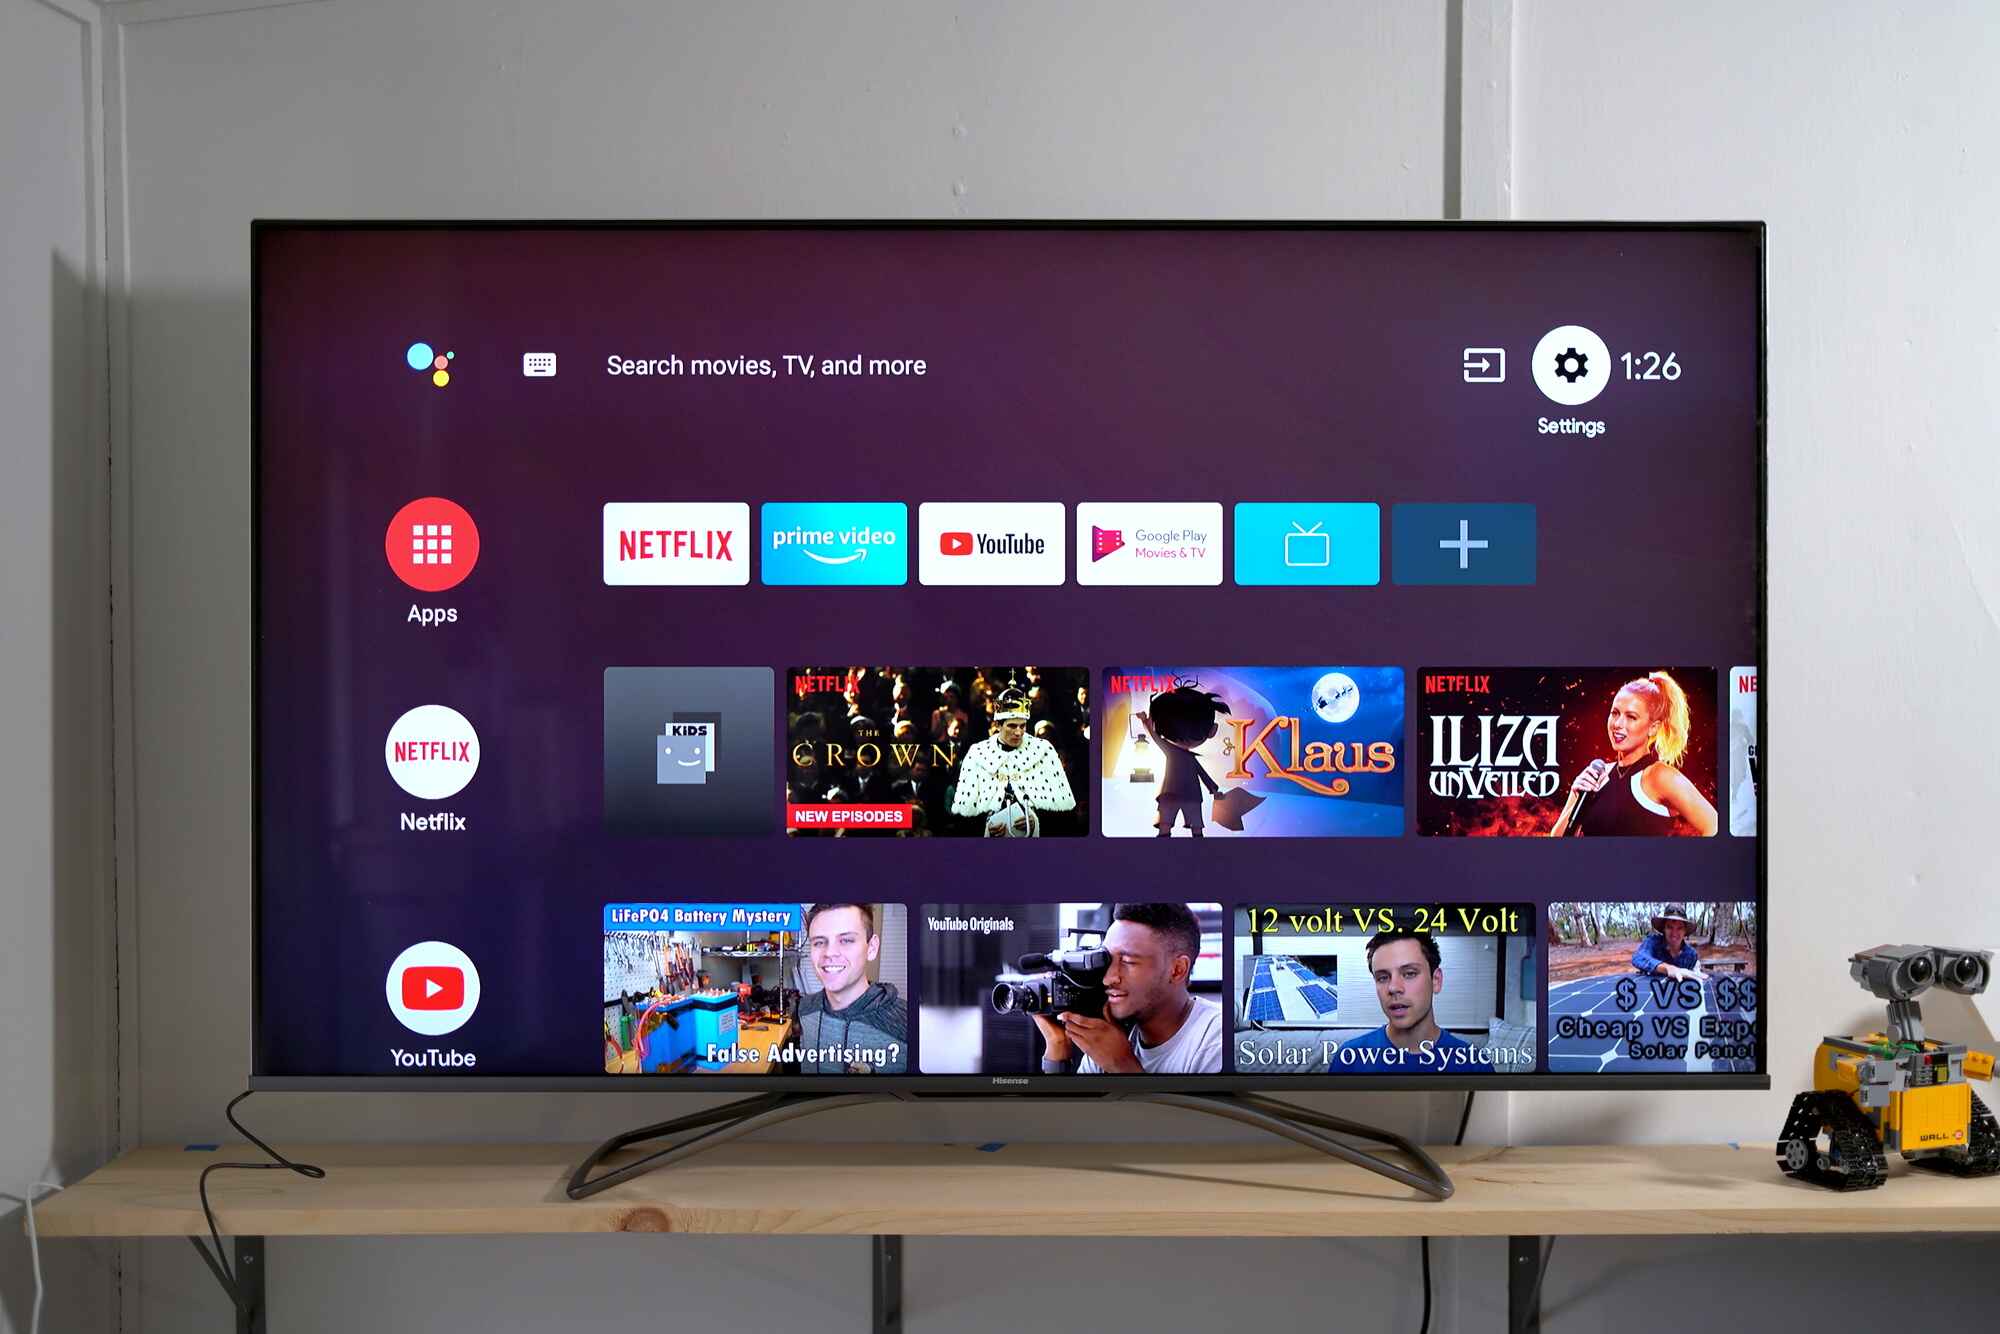
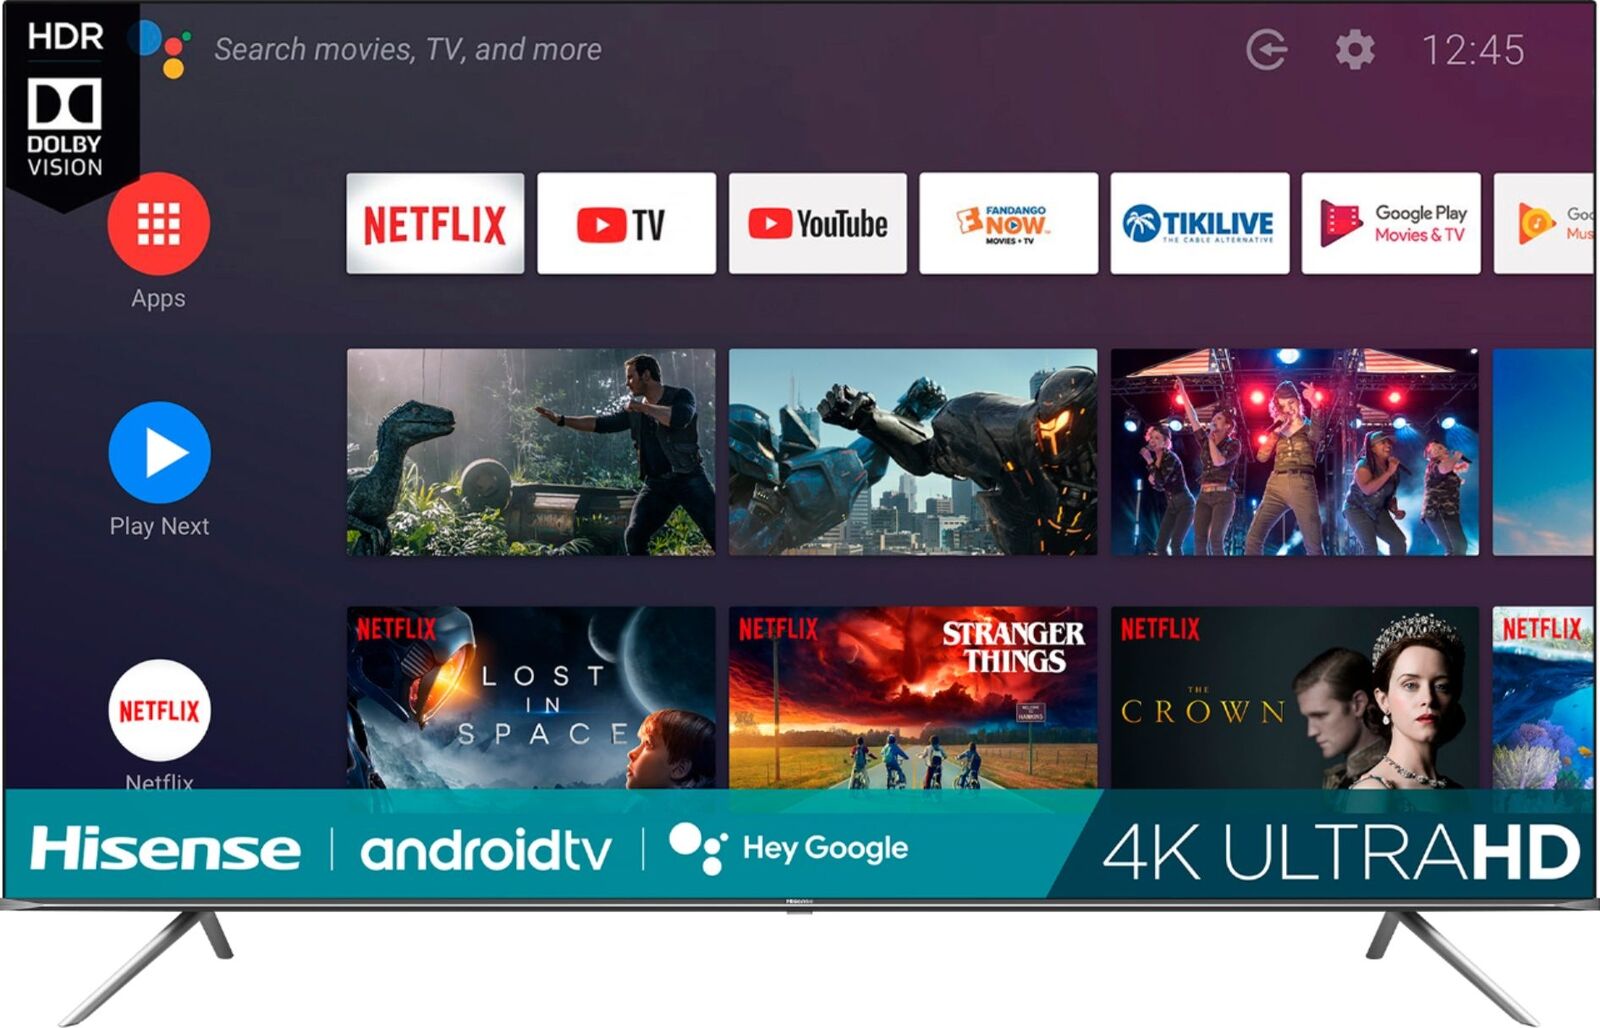
Hisense Smart TVs are split into two distinct categories, and this determines everything about how you can install Kodi. Many Hisense models sold outside North America run VIDAA OS, a proprietary, Linux-based operating system developed by Hisense that does not support APK installation, sideloading, or third-party app stores. On those TVs, only preloaded apps or those available in the curated VIDAA App Store can be installed, which means Kodi is not an option directly. However, Hisense also produces models that run Android TV or Google TV, and these have full access to the Google Play Store, making a direct Kodi installation straightforward. If you own a VIDAA TV, your only real path forward is to connect an external Android TV box or streaming stick to the HDMI port.
Method 1: Install Kodi on Hisense Android TV or Google TV
If your Hisense TV runs Android TV or Google TV, you can install Kodi directly from the Google Play Store in just a few minutes. This is the easiest and safest method because you are getting the app from an official source, and it will receive automatic updates through the Play Store.
- Turn on your Hisense Smart TV and ensure it is connected to the internet.
- From the Home screen, navigate to and open the Google Play Store.
- Use the search function within the Google Play Store to find "Kodi".
- Select the official Kodi app (from Kodi Foundation) from the search results.
- Choose "Install" to download and install the app.
Once the installation completes, you will find the Kodi icon in your app list or on the home screen. Open it and proceed to the setup steps below to get everything configured.
Method 2: Sideload Kodi on Hisense Android TV
Hisense Smart TVs running Android OS also support sideloading third-party apps (APK files). This method allows installation of apps not available in the Google Play Store, and it is useful if you need a specific version of Kodi or if the Play Store is not working on your device. Sideloading requires a few extra steps, but it is a well-established process on Android-based Hisense TVs.
- Open the Settings menu on your Hisense TV.
- Navigate to the security or restrictions section, typically found under Settings > Apps > Security & restrictions.
- Enable "Unknown sources" to allow the installation of apps from outside the Play Store.
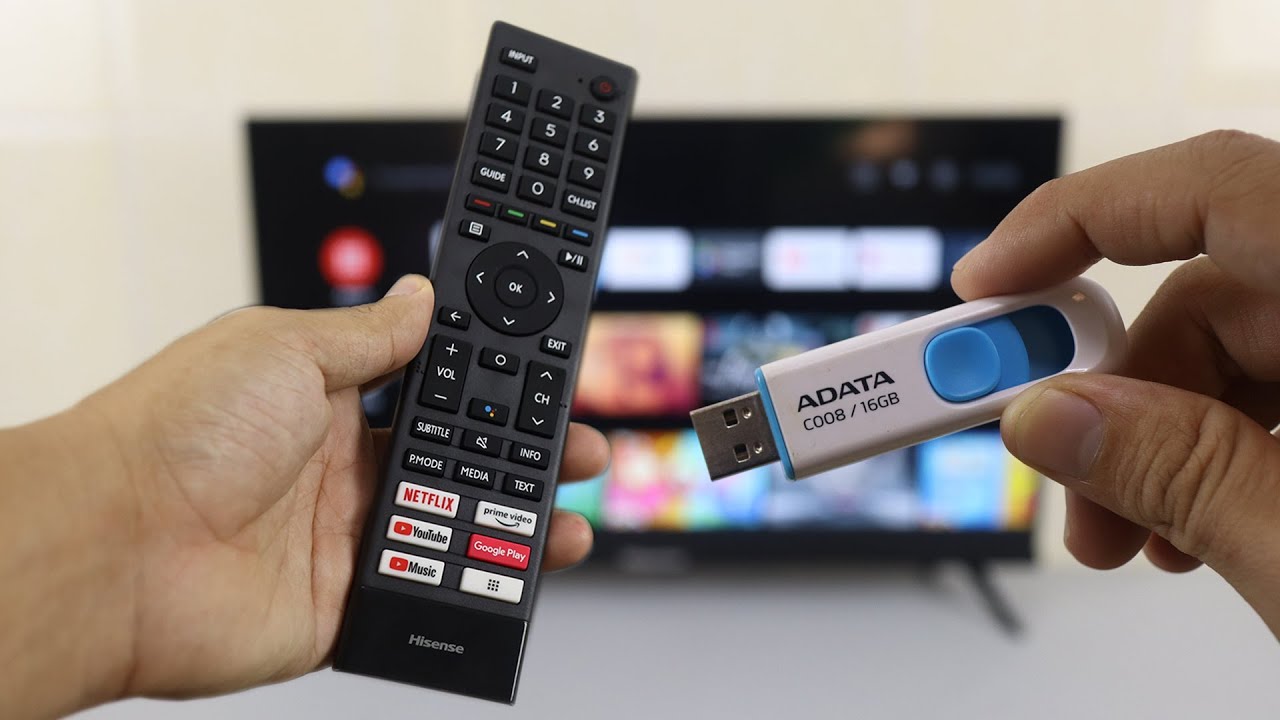
- Download the Kodi APK file from a trusted source, using either a USB drive or a Downloader app installed on the TV.
- Use a file manager or the Downloader app to locate the APK file on your TV.
- Select the APK file and confirm the installation when prompted.
It is crucial to only sideload APKs from trusted sources, as installing from unofficial websites can expose your TV to malware or unstable builds. After the installation finishes, you can open Kodi from your app drawer and begin the setup process.
How to Use Kodi with a Hisense VIDAA TV
If your Hisense TV runs VIDAA OS, there is no way to install Kodi directly on the television itself. The operating system simply does not allow it, and no workaround exists to sideload apps onto VIDAA. The verified recommendation is to use an external Android TV box or streaming stick, which can be plugged into the TV's HDMI port. These devices run full Android TV or Google TV, giving you access to the Google Play Store and the ability to install Kodi exactly as described in Method 1. You will then use the TV's HDMI input to switch to the streaming device whenever you want to use Kodi. This is the only practical solution for VIDAA users, and it also has the benefit of giving you a faster, more capable media player than most built-in smart TV hardware.
Setting Up Kodi After Installation
Once Kodi is running on your Hisense TV or external device, you will need to complete a few initial configuration steps before you can start enjoying your media. After that, take a moment to explore the main sections, including Videos, Music, and Add-ons. You will want to configure your media sources by adding folders from your network or USB storage, and you can also browse the official Kodi add-on repository to install additional functionality. Check the settings menu for playback options, audio and video output, and network configuration to match your setup. It is also wise to check for Kodi updates periodically, as the settings menu will notify you when a new version is available, and staying current ensures you have the latest features and security fixes. With these basics configured, you can begin adding your own content and customizing Kodi to suit your viewing habits.