Introduction
Welcome to the world of surround sound! If you’re a Windows 7 user looking to enhance your audio experience, this guide is for you. In this article, we will walk you through the process of changing jack information in Windows 7 for your surround sound system’s 3.5mm jacks. By updating the jack information, you can ensure that your system recognizes and utilizes the correct audio channels, delivering immersive and high-quality sound.
Surround sound systems are designed to provide a more immersive audio experience by distributing sound across multiple speakers. They typically include front, rear, and center speakers, along with a subwoofer, which work in tandem to create a three-dimensional soundstage. To ensure optimal performance, it is crucial that your computer correctly recognizes and handles the various audio channels.
In Windows 7, the operating system provides default jack information for common audio setups. However, if you have a specialized or custom surround sound system with 3.5mm jacks, you may need to manually update the jack information to match your setup. This will enable your computer to correctly route audio signals to the appropriate speakers, such as the center channel or the rear surround speakers.
Don’t worry if this sounds a bit technical. We will guide you through each step, making the process as straightforward as possible. By the end of this guide, you’ll have a better understanding of how to change the jack information in Windows 7 and optimize your surround sound system for a superior audio experience.
Step 1: Accessing Sound settings in Windows 7
To begin the process of changing the jack information in Windows 7, you’ll first need to access the Sound settings. These settings allow you to configure various audio options and properties on your computer. Here’s how you can do it:
- Click on the Start button located in the bottom-left corner of your screen.
- In the Start menu, select Control Panel. This will open the Control Panel window.
- Once inside the Control Panel, look for the Hardware and Sound option and click on it.
- In the Hardware and Sound section, locate the Sound option and click on it. This will open the Sound settings window.
The Sound settings window provides you with various tabs, where you can configure different aspects of your computer’s audio. You’ll need to navigate to the appropriate tab to change the jack information for your surround sound system.
Note: The exact layout and options in the Sound settings window may vary depending on your computer’s manufacturer and sound card. However, the general process remains the same.
With the Sound settings window open, you’re now ready to move on to the next step: finding the current jack information for your surround sound system.
Step 2: Finding the current jack information
Before we can change the jack information for your surround sound system in Windows 7, it’s important to identify the current jack information. This will help you ensure that you can update the correct jacks and avoid any potential issues. Here’s how you can find the current jack information:
- In the Sound settings window, click on the Playback tab. This tab displays a list of all the playback devices available on your computer.
- Look for the device that represents your surround sound system. It may be listed as the brand or model name of your sound card. Select it by clicking on it once.
- Once you’ve selected the correct playback device, click on the Properties button located below the list of devices.
- In the Properties window, go to the Advanced tab. This tab contains advanced options for your selected playback device.
On the Advanced tab, you should see a list of jacks that are associated with your surround sound system. Each jack represents a specific audio channel, such as the front left, front right, rear left, and rear right speakers.
Take note of the currently assigned jack information for your surround sound system. This might include labels such as “Front Speaker,” “Rear Speaker,” or “Center Speaker.” Understanding the current assignment will help you make the necessary changes in the next steps.
With the current jack information identified, you’re now ready to proceed to the next step: changing the jack information for your surround sound system in Windows 7.
Step 3: Changing jack information for surround sound system
Now that you have identified the current jack information for your surround sound system, it’s time to make the necessary changes in Windows 7. This will ensure that your computer recognizes and utilizes the correct audio channels for optimal surround sound performance. Here’s a step-by-step guide on how to change the jack information:
- Identifying the correct 3.5mm jacks: Before proceeding, make sure you can identify the 3.5mm jacks on your sound card or audio interface. These jacks are typically color-coded to indicate their corresponding audio channels.
- Uninstalling the existing jack information: In the Properties window of your selected playback device, click on the Jack Information button. This will open the Jack Information window, displaying the current jack assignments.
- Installing the new jack information: To change the jack assignments, simply click on a jack and select the desired audio channel from the dropdown menu. Repeat this step for each jack until you have configured the desired setup for your surround sound system.
By changing the jack information, you are essentially telling your computer which audio channel is associated with each jack on your sound card or audio interface.
Once you have updated the jack information to match your surround sound system, click the OK button to save the changes. You will be redirected back to the Properties window.
With the new jack information set, you’re almost done! It’s time to move on to the final step: testing the new jack information to ensure everything is working correctly.
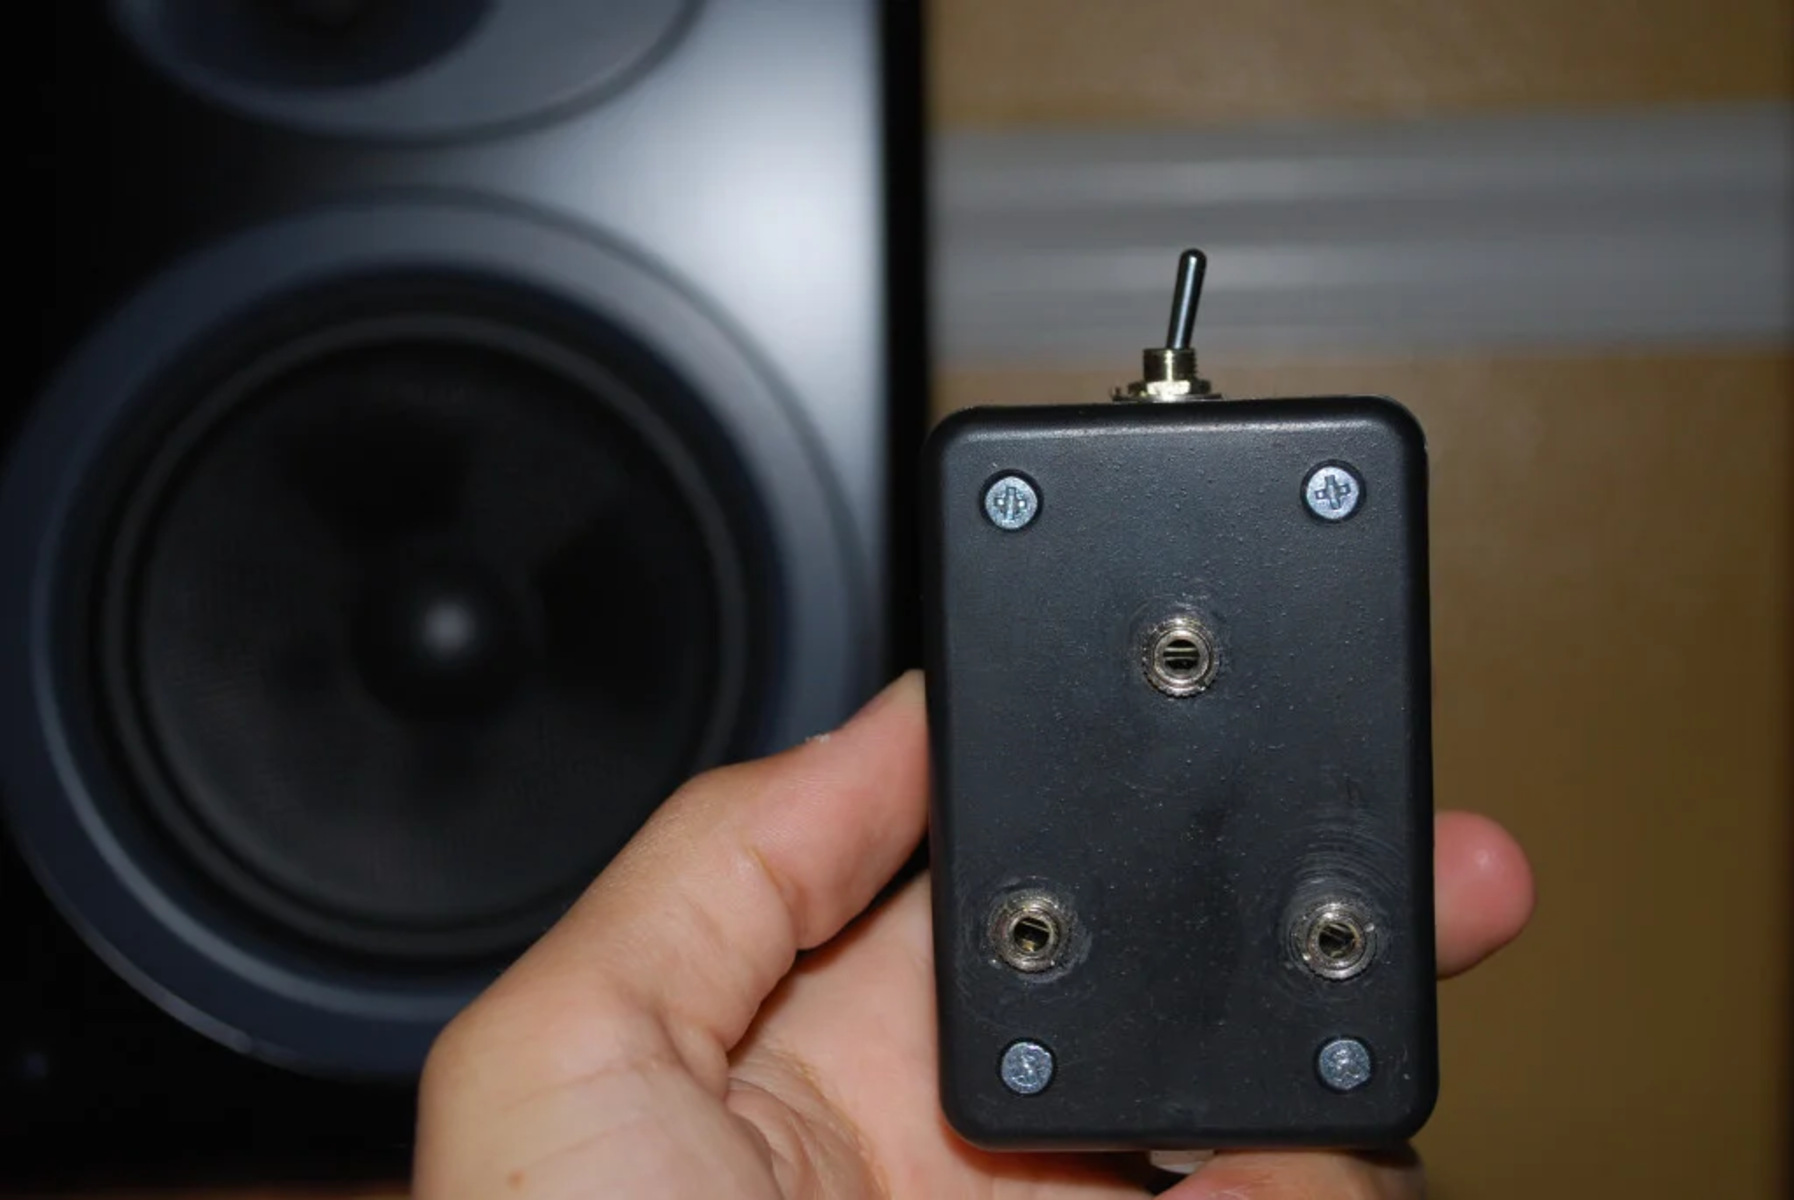
1 Identifying the correct 3.5mm jacks on your sound card
Before you can change the jack information for your surround sound system in Windows 7, it’s important to correctly identify the 3.5mm jacks on your sound card or audio interface. These jacks serve as the physical connections for your audio channels. Here are the steps to identify the correct jacks:
- Inspect your sound card or audio interface:
- Refer to the manufacturer’s documentation:
- Use a flashlight or magnifying glass:
Open your computer’s case and locate the sound card or audio interface. It is usually a separate hardware component that provides audio outputs and inputs. Look for the jacks on the sound card that are labeled with different audio channel icons or colors. This might include icons for front, rear, center, subwoofer, and side speakers. Take note of the labeling or colors for each jack.
If you’re having trouble identifying the correct jacks, consult the documentation that came with your sound card or audio interface. The documentation should provide a visual diagram or detailed explanations of the jacks and their corresponding audio channels. Use this information to determine which jacks you need to update in the next steps.
In some cases, the labeling or color coding on the sound card’s jacks might be small and difficult to read. If this is the case, you can use a flashlight or magnifying glass to get a closer look. This will help you accurately identify the jacks and ensure that you make the correct changes in the following steps.
Identifying the correct 3.5mm jacks on your sound card is crucial for updating the jack information in Windows 7. It ensures that the operating system recognizes the correct audio channels and enables you to enjoy the full potential of your surround sound system. Once you have successfully identified the jacks, you are ready to proceed with changing the jack information in the next steps.
2 Uninstalling the existing jack information
Before you can install the new jack information for your surround sound system in Windows 7, it is important to uninstall the existing jack information. This step ensures that you start with a clean slate and avoid any conflicts or incorrect assignments. Follow the steps below to uninstall the existing jack information:
- In the Properties window of your selected playback device, click on the Jack Information button. This will open the Jack Information window.
- In the Jack Information window, you will see a list of the current jack assignments for your surround sound system.
- Select each jack one by one and click on the Uninstall button. Repeat this step for all the jacks listed.
- Confirm the action when prompted to uninstall the selected jack information.
By uninstalling the existing jack information, you remove any previous configurations and ensure a clean slate for the new jack assignments.
It is important to note that uninstalling the existing jack information does not delete any drivers or audio settings. It only removes the specific jack assignments for your surround sound system. You won’t lose any other audio functionality or settings on your computer.
Once you have successfully uninstalled the existing jack information, you are ready to proceed to the next step: installing the new jack information for your surround sound system.
3 Installing the new jack information
With the existing jack information uninstalled, you are now ready to install the new jack information for your surround sound system in Windows 7. This step involves assigning the correct audio channels to the corresponding 3.5mm jacks on your sound card or audio interface. Follow the steps below to install the new jack information:
- In the Properties window of your selected playback device, click on the Jack Information button. This will open the Jack Information window.
- In the Jack Information window, you will see a list of the available jacks for your sound card.
- For each jack, select the desired audio channel from the corresponding dropdown menu. This should match the physical audio channel connected to the jack.
- Repeat this step for all the jacks listed, making sure to assign the correct audio channels to each jack based on your surround sound system’s configuration.
It’s important to choose the correct audio channels for each jack to ensure the proper distribution of sound through your surround sound system. For example, if you have a center speaker connected to a specific jack, make sure to assign the center audio channel to that jack.
Once you have assigned the desired audio channels to the jacks, click the OK button to save the changes. The new jack information will be installed, and your Windows 7 system will now recognize the correct audio channels for your surround sound system.
It’s important to note that the available options in the dropdown menu may vary depending on your sound card or audio interface. Make sure to select the most suitable option that matches your surround sound setup.
Congratulations! You have successfully installed the new jack information for your surround sound system in Windows 7. The next step involves testing the new jack information to ensure that everything is working correctly.
Step 4: Testing the new jack information
With the new jack information installed for your surround sound system in Windows 7, it’s essential to test the setup to ensure that everything is functioning correctly. Testing allows you to verify that the correct audio channels are being utilized and that you are experiencing optimal surround sound performance. Follow the steps below to test the new jack information:
- Play a piece of audio or video content that features surround sound. This could be a movie, a music video, or any other multimedia file that is known to have surround sound audio.
- Listen carefully to the audio playback and ensure that it matches your surround sound system’s configuration. Pay attention to the placement and direction of sound coming from each speaker, such as front left, front right, rear left, and rear right.
- If the audio appears to be properly distributed across the speakers and the soundstage feels immersive, then the new jack information is functioning correctly.
- If you notice any issues, such as sound coming from the wrong speakers or missing audio channels, you may need to revisit the jack information settings and ensure that the correct audio channels are assigned to the corresponding jacks.
- If necessary, return to the Sound settings, follow the steps mentioned earlier, and make any adjustments as needed. Repeat the testing process until you achieve the desired surround sound experience.
Through thorough testing, you can ensure that your surround sound system is properly configured, allowing you to fully immerse yourself in audio-rich content. Enjoy the enhanced audio quality and the immersive experience your new jack information provides.
Congratulations! You have successfully changed the jack information for your surround sound system in Windows 7. With the correct jack assignments, you can now enjoy a more immersive and high-quality audio experience on your computer.
Conclusion
Congratulations on successfully changing the jack information for your surround sound system in Windows 7! By updating the jack assignments, you have optimized your computer’s recognition and utilization of audio channels, resulting in a more immersive and high-quality audio experience.
In this guide, we walked you through the step-by-step process of accessing the Sound settings in Windows 7, finding the current jack information, and changing it to match your surround sound system. We also highlighted the importance of correctly identifying the 3.5mm jacks on your sound card or audio interface.
Remember, each step plays a crucial role in ensuring that your computer accurately routes audio signals to the appropriate speakers, such as the center channel or the rear surround speakers. By following the instructions and thoroughly testing the new jack information, you can achieve a well-balanced and immersive surround sound experience.
Keep in mind that the process may vary depending on your sound card or audio interface, but the general principles should still apply. It’s important to consult the manufacturer’s documentation or seek support if you encounter any specific issues or have questions related to your particular setup.
Now that you have successfully changed the jack information, go ahead and enjoy your enhanced audio experience. Whether you’re watching movies, playing games, or listening to music, you can now immerse yourself in rich and detailed surround sound.
We hope this guide has been helpful in assisting you with changing the jack information for your surround sound system. If you have any further questions or need clarification on any aspect, don’t hesitate to seek additional resources or support. Happy listening!