Introduction
Welcome to the exciting world of gaming headsets! If you're a gaming enthusiast, you know the importance of crystal-clear sound and seamless communication with your teammates. A gaming headset not only enhances your gaming experience but also provides an immersive environment where every sound and movement matters. In this guide, we will walk you through the process of setting up a gaming headset on a Windows 7 computer. Whether you're a novice or a seasoned gamer, this step-by-step tutorial will ensure that you make the most of your gaming headset.
A gaming headset is not just another accessory; it's your gateway to a whole new dimension of gaming. With its built-in microphone and high-fidelity audio output, you can communicate with other players, strategize effectively, and immerse yourself in the game's audio landscape. Whether you're exploring vast virtual worlds, engaging in intense firefights, or coordinating with your team, a gaming headset is an indispensable tool for every gamer.
In this guide, we will cover everything from unboxing the headset to adjusting sound settings, ensuring that you have a seamless and hassle-free setup process. By the end of this tutorial, you will be ready to dive into your favorite games with a newfound audio experience. So, without further ado, let's embark on this journey and unleash the full potential of your gaming headset on your Windows 7 system.
Step 1: Unboxing and Familiarizing with the Gaming Headset
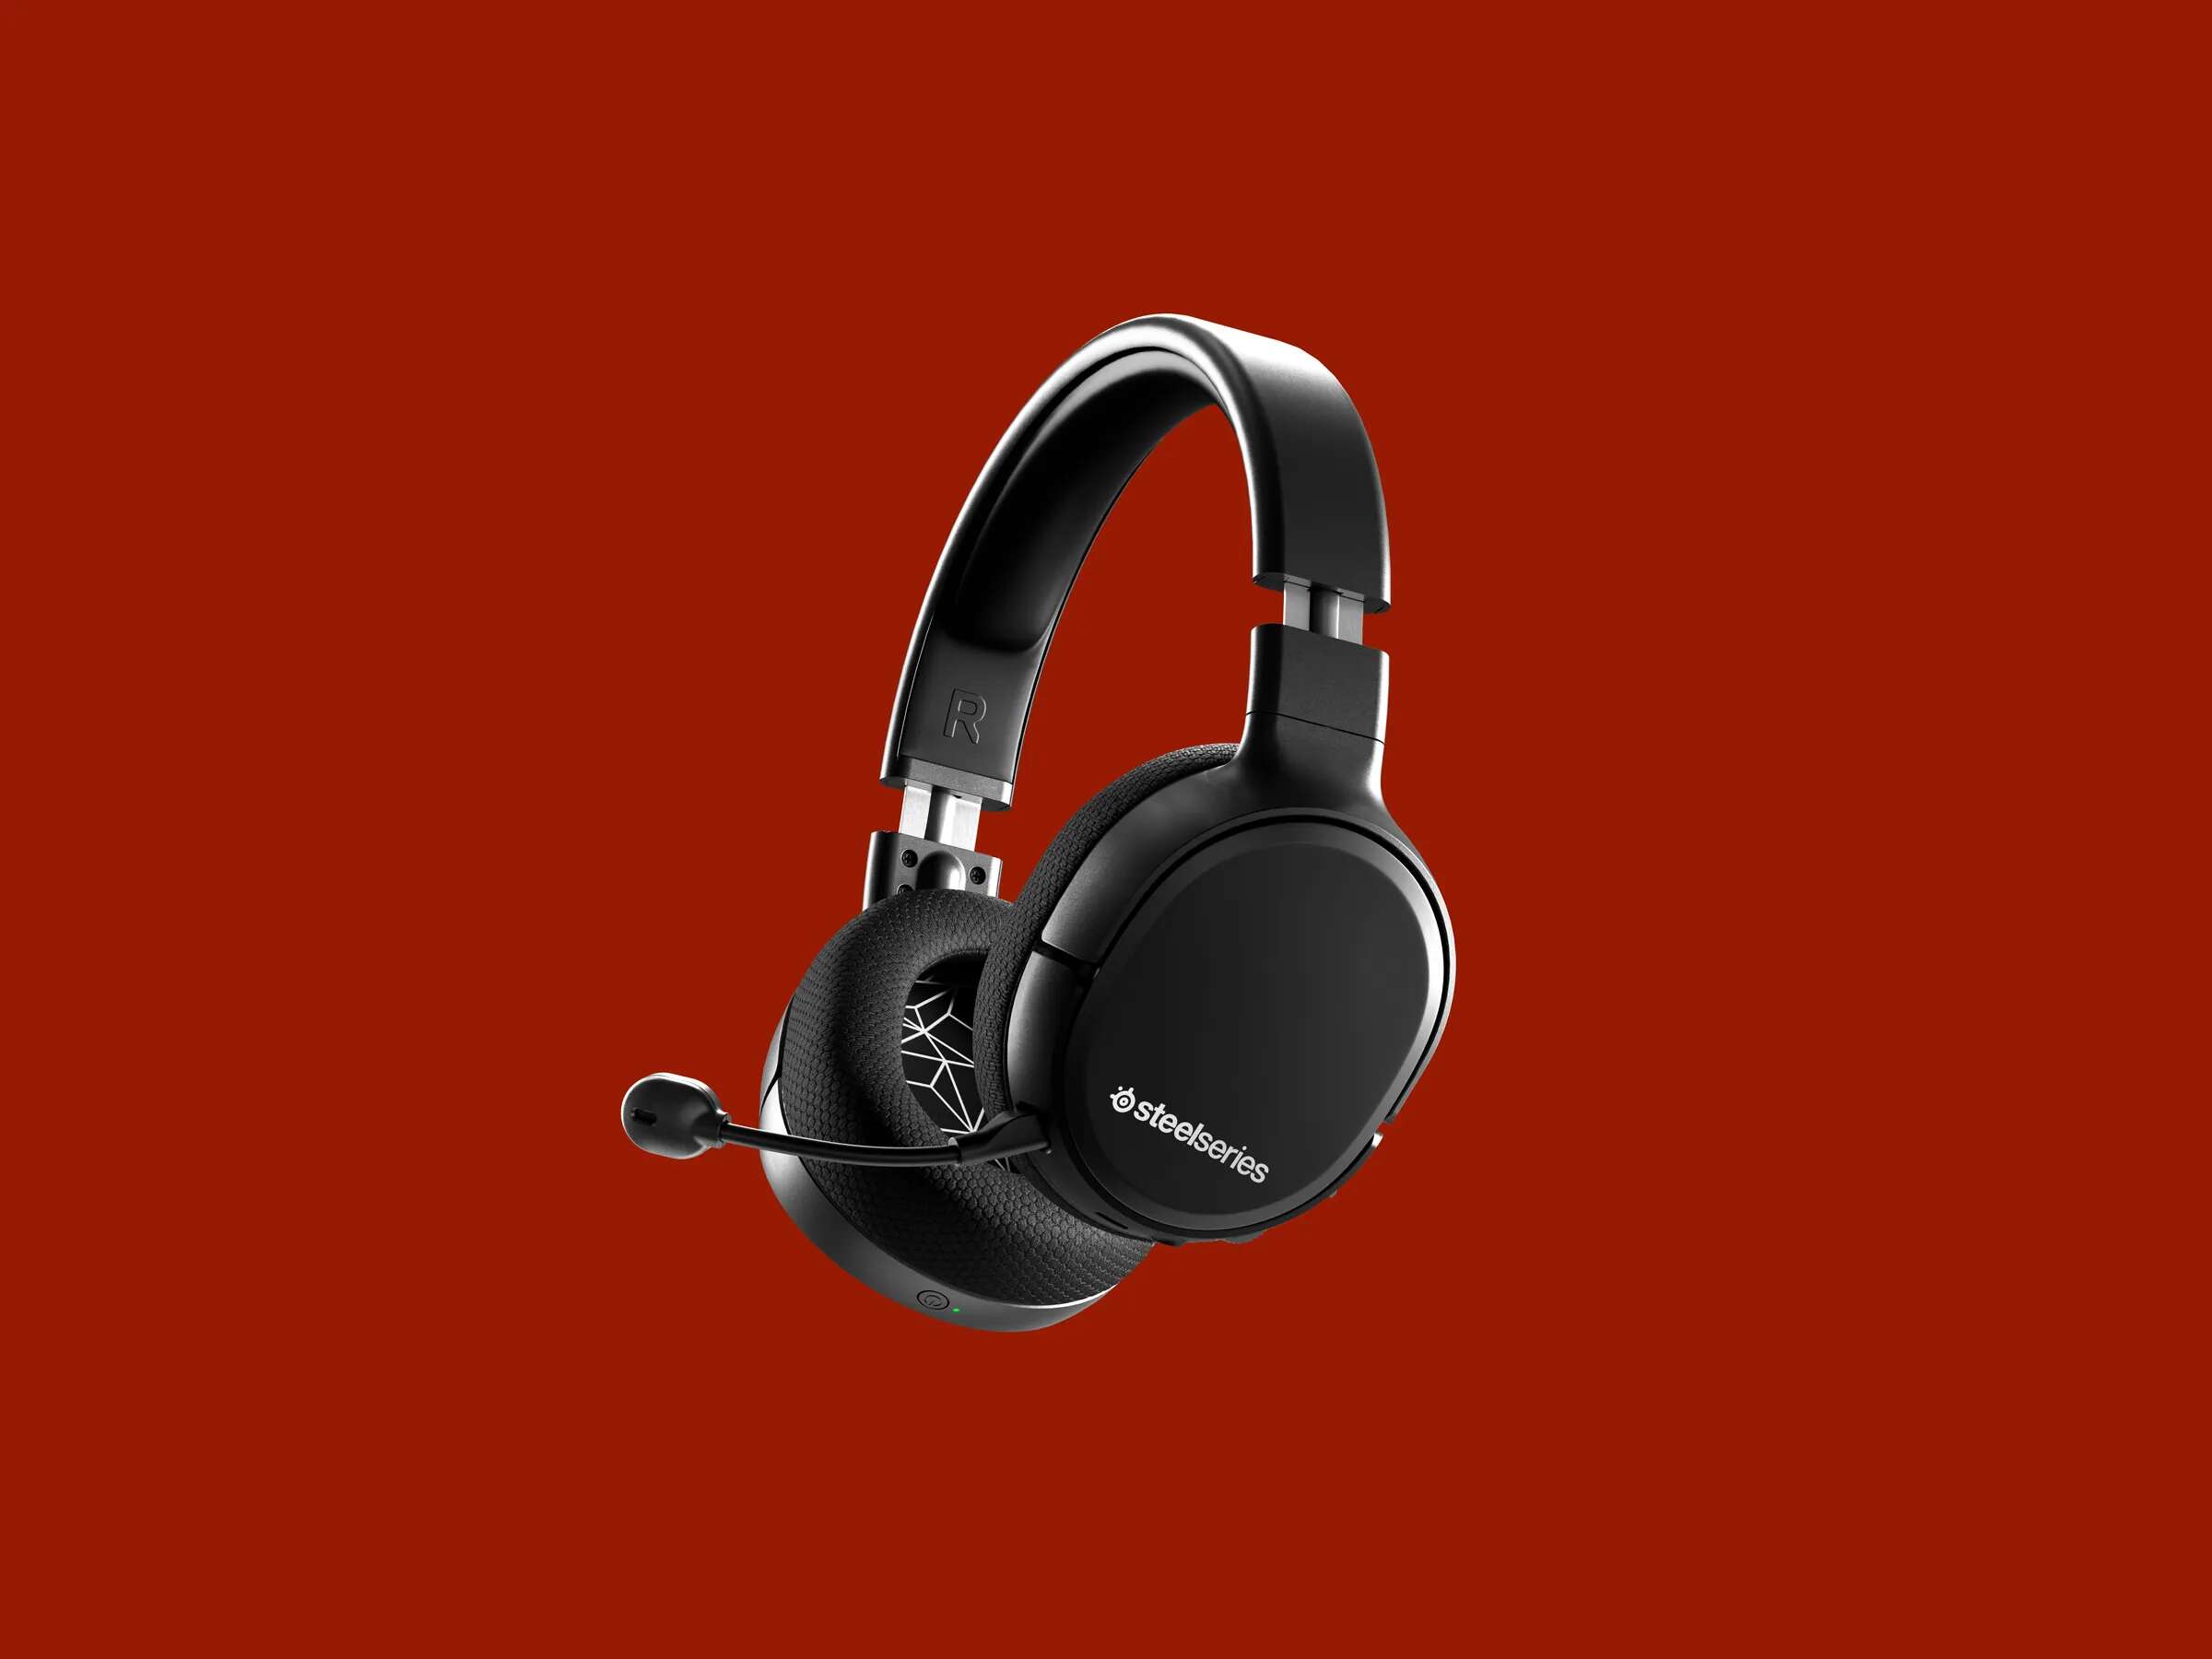
Before delving into the technical setup, it’s essential to start with the basics – unboxing your gaming headset. Carefully unpackage your new gaming headset, taking note of any included accessories such as detachable microphones, audio adapters, or additional cables. Familiarize yourself with the various components, ensuring that you have a clear understanding of how they fit together.
Once unboxed, take a moment to examine the headset itself. Note the position of the ear cups, the adjustable headband, and any in-line controls or volume knobs. Familiarizing yourself with the physical attributes of the headset will make the setup process smoother and more intuitive.
Many gaming headsets come with adjustable features, such as swiveling ear cups, extendable microphones, and customizable headband settings. Take this opportunity to adjust the headset to fit comfortably and securely. Proper fitting not only enhances comfort during extended gaming sessions but also ensures optimal audio delivery and microphone performance.
Additionally, if your gaming headset includes any software or drivers, now is the time to install them. These supplementary tools often provide advanced audio customization options, virtual surround sound settings, and microphone enhancements. Refer to the manufacturer’s instructions for guidance on installing and configuring any accompanying software.
By unboxing and familiarizing yourself with the gaming headset, you establish a solid foundation for the setup process. Understanding the components and making necessary adjustments sets the stage for a seamless transition to the subsequent steps, ultimately leading to an enhanced gaming experience on your Windows 7 system.
Step 2: Connecting the Gaming Headset to Your Computer
With your gaming headset unboxed and ready, it’s time to connect it to your Windows 7 computer. Depending on the type of gaming headset you have, the connection method may vary. Most gaming headsets utilize a 3.5mm audio jack, USB, or a combination of both for connectivity. Follow these steps to ensure a successful connection:
- 3.5mm Audio Jack: If your gaming headset uses a 3.5mm audio jack, locate the corresponding audio ports on your computer. Typically, these ports are color-coded – green for audio output and pink for microphone input. Insert the headset’s audio jack into the appropriate ports, ensuring a secure connection.
- USB Connection: For headsets that utilize a USB connection, simply plug the USB connector into an available USB port on your computer. Windows 7 will automatically detect and install the necessary drivers for the headset.
- Wireless Headsets: If you have a wireless gaming headset, refer to the manufacturer’s instructions for the specific pairing process. This typically involves connecting a wireless transmitter to your computer and syncing it with the headset.
Once connected, ensure that the headset is recognized by your computer. Navigate to the “Sound” settings in the Control Panel to verify that the headset is listed as an audio output and input device. If the headset is not immediately detected, check the manufacturer’s website for any required drivers or troubleshooting steps.
After establishing the physical connection, take a moment to test the audio output and microphone input. Play a piece of audio to confirm that the sound is being delivered through the headset, and speak into the microphone to ensure that your voice is being captured accurately. Adjust the volume and microphone levels as needed to achieve the desired settings.
By successfully connecting your gaming headset to your Windows 7 computer, you’ve taken a crucial step toward immersing yourself in the gaming environment. The next step involves adjusting the sound settings to optimize the audio experience for gaming.
Step 3: Adjusting Sound Settings on Windows 7
Configuring the sound settings on your Windows 7 computer is essential to ensure that your gaming headset delivers an optimal audio experience. By customizing the audio output and microphone input settings, you can fine-tune the sound to suit your preferences and gaming requirements. Follow these steps to adjust the sound settings:
- Selecting the Default Playback and Recording Devices: Right-click on the volume icon in the taskbar and select “Playback devices.” Here, you can set your gaming headset as the default playback device. Similarly, navigate to the “Recording devices” option and set the headset as the default recording device. This ensures that all audio output and input is channeled through your gaming headset.
- Configuring Audio Enhancements: Access the sound settings by right-clicking on the volume icon and selecting “Playback devices.” Choose your gaming headset from the list, then click “Properties” and navigate to the “Enhancements” tab. Here, you can enable audio enhancements such as bass boost, virtual surround sound, and room correction to enhance your gaming audio experience.
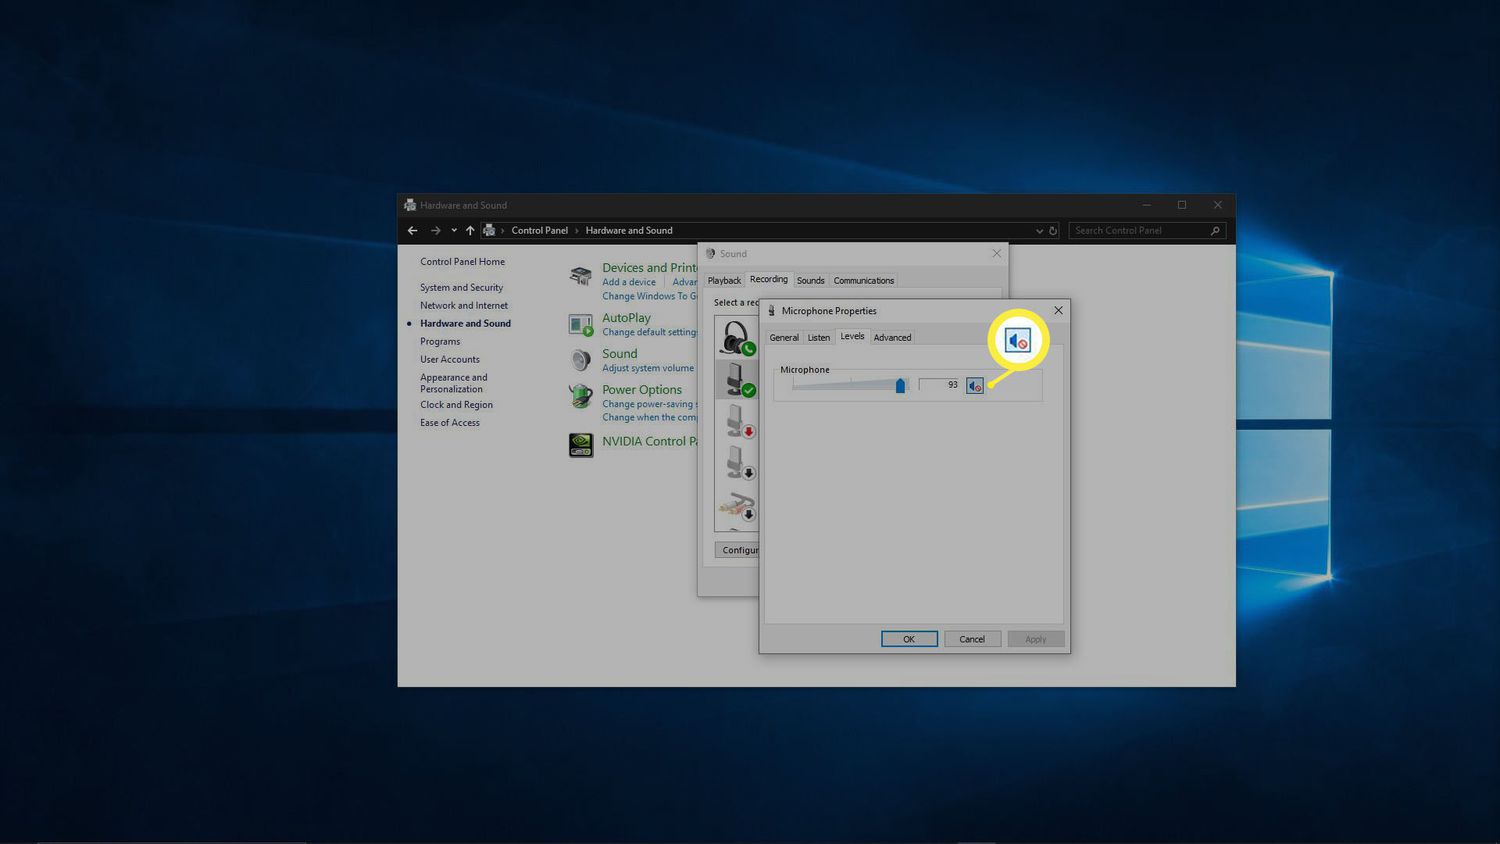
- Adjusting Volume Levels: Use the volume control on your headset or the Windows 7 volume mixer to adjust the sound levels. It’s important to find a balance that allows you to hear game audio clearly while also being aware of external sounds. Additionally, ensure that the microphone input level is set to capture your voice effectively without picking up excessive background noise.
- Testing the Microphone: Open the “Sound Recorder” application or use a communication software (e.g., Skype, Discord) to test the microphone. Speak into the microphone and verify that your voice is being captured clearly. If necessary, adjust the microphone sensitivity and boost settings to optimize voice capture.
Once you’ve adjusted the sound settings, launch your favorite game or multimedia application to test the audio output. Listen for spatial cues, directional sound effects, and overall audio clarity to ensure that the headset is delivering an immersive gaming experience.
By fine-tuning the sound settings on your Windows 7 system, you’ve optimized the audio output and microphone input for your gaming headset. The next step involves testing the headset to confirm that it’s performing as expected.
Step 4: Testing the Gaming Headset
Now that you’ve completed the setup and configured the sound settings, it’s time to put your gaming headset to the test. Testing the headset allows you to ensure that both the audio output and microphone input are functioning as intended. Follow these steps to thoroughly test your gaming headset:
- Audio Output Test: Launch a game or multimedia application that features a range of audio elements, such as music, dialogue, and sound effects. Pay attention to the clarity of the audio, the spatial positioning of sound effects, and the overall immersive experience. Verify that the headset accurately reproduces the full spectrum of sound, from subtle ambient noises to powerful explosions.
- Microphone Input Test: Engage in a voice call or use a communication software that allows voice chat. Speak into the microphone and ask the recipient to provide feedback on the clarity and volume of your voice. Additionally, record a short voice clip and play it back to ensure that the microphone is capturing your voice accurately without distortion or background noise.
- Environmental Sound Test: Pay attention to how well the headset isolates external sounds. Listen for any noticeable background noise and assess the headset’s ability to provide an immersive gaming environment by minimizing external distractions.
- Comfort and Fit Test: Wear the headset for an extended period to evaluate its comfort and fit. Ensure that the headband and ear cups remain comfortable over time, and that the headset provides a secure fit without causing discomfort or fatigue.
During the testing phase, take note of any adjustments or fine-tuning that may be necessary. For example, if the microphone sensitivity requires tweaking or if the audio output levels need further adjustment, make the necessary changes to optimize the headset’s performance.
By thoroughly testing your gaming headset, you can confidently assess its performance and address any potential issues before diving into extended gaming sessions. Once you’re satisfied with the headset’s performance, you’re ready to embark on immersive gaming experiences with enhanced audio and seamless communication.
Conclusion
Congratulations! You’ve successfully set up and optimized your gaming headset for use with your Windows 7 computer. By following the step-by-step process outlined in this guide, you’ve unlocked the full potential of your gaming headset, ensuring an immersive audio experience and seamless communication during gaming sessions.
Unboxing and familiarizing yourself with the gaming headset provided a solid foundation for the setup process. Understanding the components and making necessary adjustments set the stage for a seamless transition to the subsequent steps, ultimately leading to an enhanced gaming experience on your Windows 7 system.
Connecting the gaming headset to your computer was a pivotal step in establishing the audio input and output channels. Whether your headset utilized a 3.5mm audio jack, USB connection, or wireless pairing, ensuring a secure and recognized connection lays the groundwork for immersive gaming audio.
Adjusting the sound settings on Windows 7 allowed you to fine-tune the audio output and microphone input, providing a customized audio experience tailored to your preferences and gaming requirements. Configuring default playback and recording devices, enabling audio enhancements, and testing the microphone ensured that your gaming headset was optimized for peak performance.
Thoroughly testing the gaming headset validated its performance across various criteria, including audio output, microphone input, environmental sound isolation, and comfort. By meticulously assessing these aspects, you gained confidence in the headset’s capabilities and addressed any potential adjustments to optimize its performance.
With your gaming headset fully set up and tested, you’re now prepared to delve into captivating gaming experiences, where every sound and communication channel contributes to an immersive and exhilarating environment. Whether you’re engaging in intense battles, exploring vast virtual worlds, or collaborating with teammates, your gaming headset stands ready to elevate your gaming adventures.
Embrace the enhanced audio landscape, crystal-clear communication, and the seamless integration of your gaming headset with your Windows 7 system. Get ready to immerse yourself in the captivating world of gaming, where every sound comes to life and every communication is crystal clear.