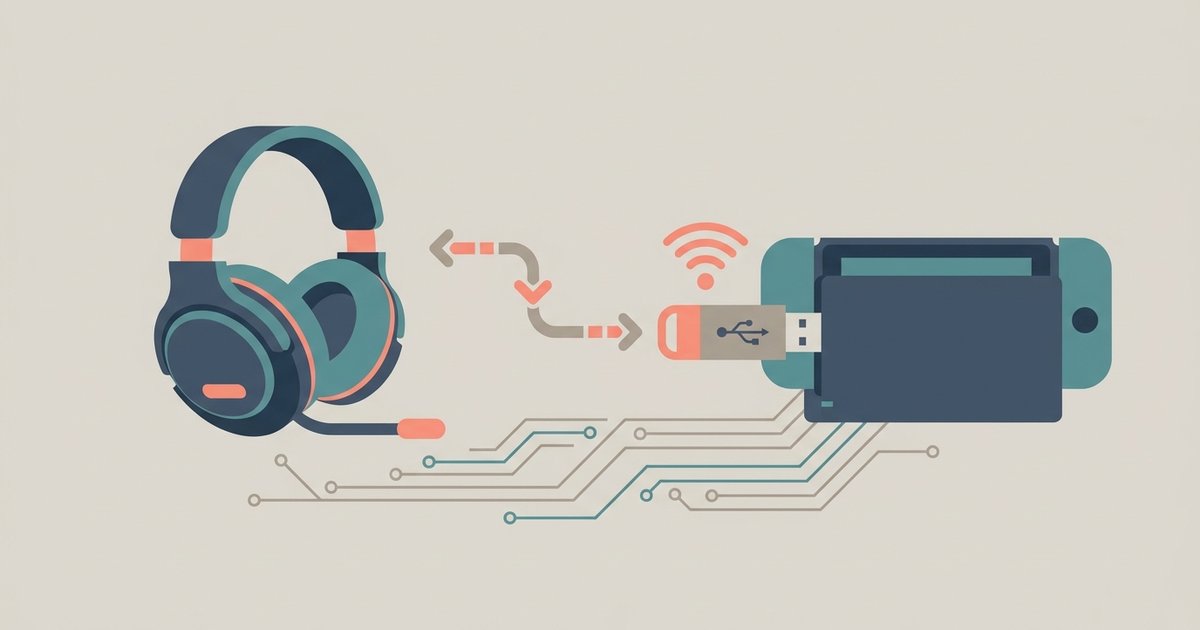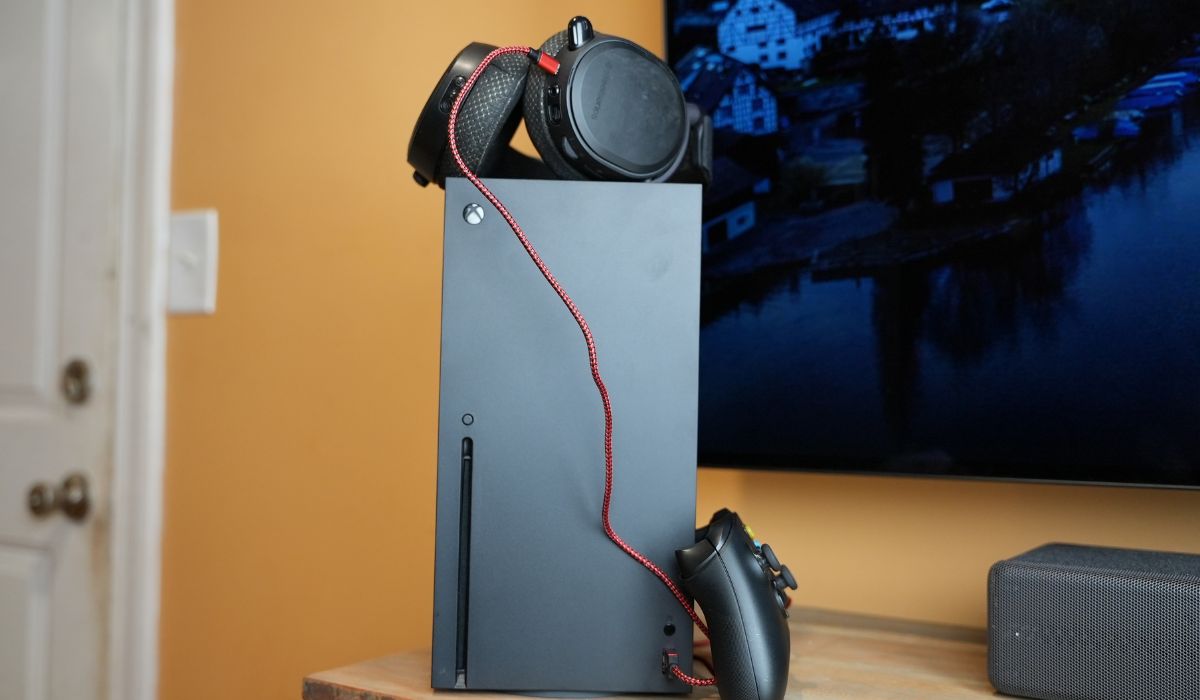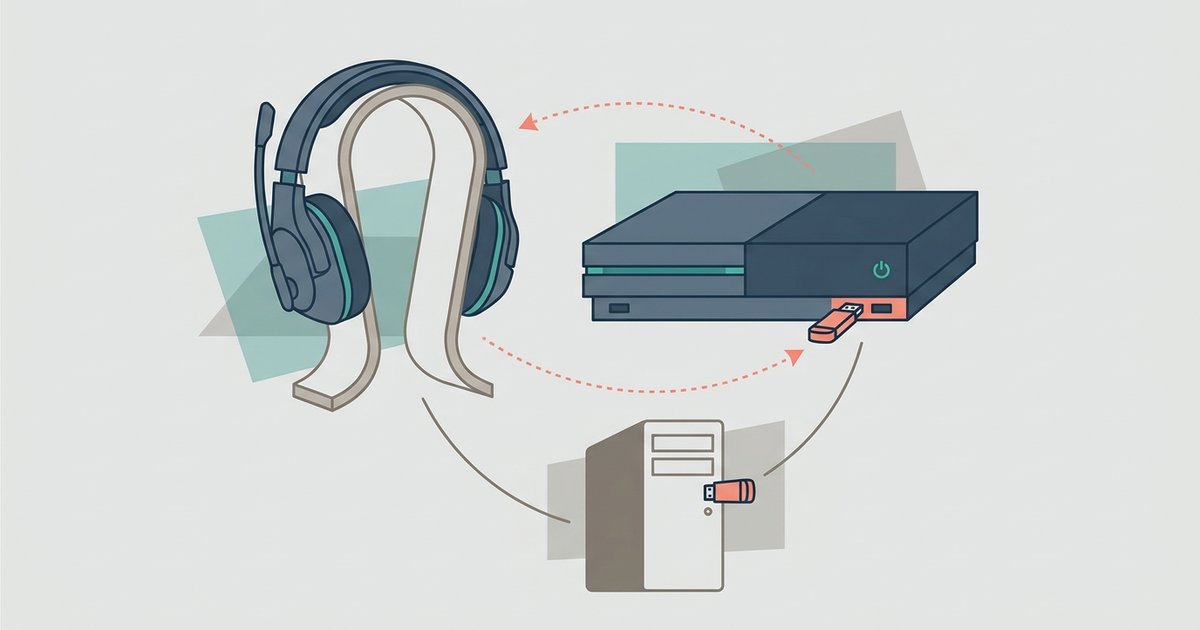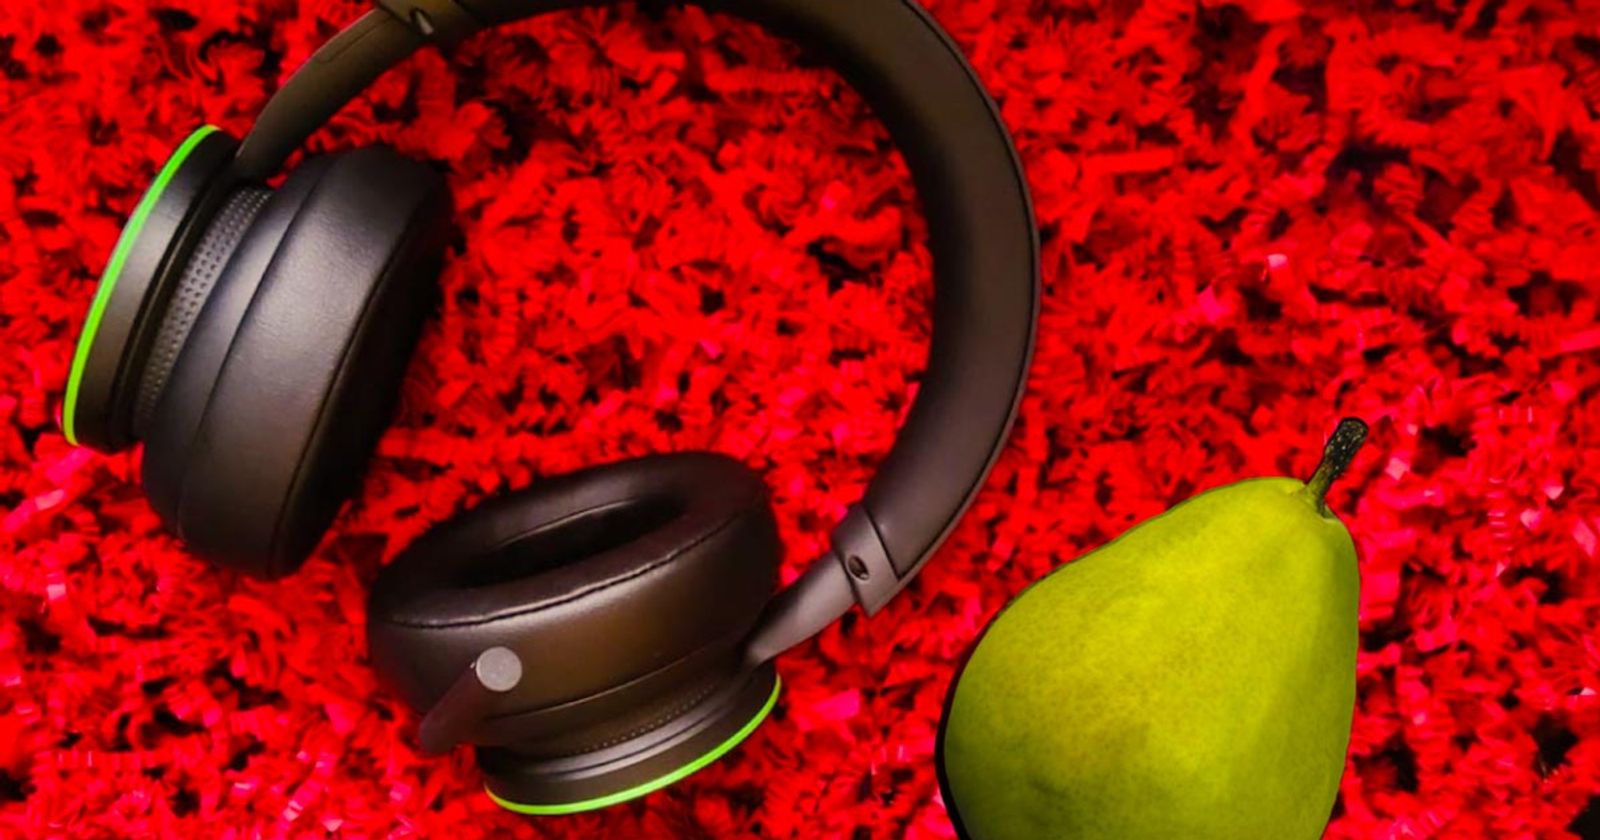
To use your Xbox Wireless Headset on PC, you have two connection options: an Xbox Wireless Adapter for full features and spatial audio support, or standard Bluetooth for a quick audio connection. This guide walks you through both methods, setting up the Xbox Accessories app, and configuring your sound for the best gaming experience.
Before you start: Xbox Wireless Headset on PC compatibility
Your Xbox Wireless Headset connects to a Windows PC in one of two ways. The Xbox Wireless Adapter for Windows provides the best experience, including full support for spatial audio technologies like Windows Sonic, Dolby Atmos, and DTS Headphone:X. Bluetooth offers a simpler, cable-free connection but lacks the low-latency and full feature set of the adapter. Your PC needs to be running Windows 10 or later, and for Bluetooth, it must support Bluetooth 4.2 or newer. If your PC lacks built-in Xbox Wireless or Bluetooth, you will need the appropriate adapter, though a USB dongle like the one detailed in our plantronics headset setup can also get you connected quickly. If you're pairing a different brand, our Turtle Beach headset setup tips can help you optimize its EQ and mic monitoring on PC.
How to connect using an Xbox Wireless Adapter
Using the Xbox Wireless Adapter gives you the most reliable connection for gaming, with full spatial sound support and no audio lag.
- Plug the Xbox Wireless Adapter into a USB port on your PC. Windows should automatically install the necessary drivers.
- On your Xbox Wireless Headset, press and hold the pairing button (located on the left earcup) until the power light starts flashing rapidly.
- Press the pairing button on the Xbox Wireless Adapter. The headset and adapter will pair automatically within a few seconds. The light on the headset will become solid once connected.
How to connect using Bluetooth
Bluetooth is the fastest way to get audio from your PC to the headset, ideal for casual listening or when you do not have an adapter.
- On your PC, open Bluetooth settings and ensure Bluetooth is turned on.
- On your Xbox Wireless Headset, press and hold the pairing button until the power light flashes rapidly.
- In your PC's Bluetooth settings, select "Add Bluetooth or other device" and choose "Bluetooth."
- Select "Xbox Wireless Headset" from the list of available devices. The headset will connect and appear as both an audio output and input device.
Installing the Xbox Accessories app
The Xbox Accessories app is essential for customizing your headset's audio and keeping its firmware updated. Download it from the Microsoft Store on your PC. Once installed, open the app and your headset should appear as a connected device. If it does not, ensure the headset is paired and powered on. The app lets you adjust the equalizer, enable spatial sound, and configure mic monitoring.
Configuring sound and microphone in Windows
After pairing, set the headset as your default audio device to ensure all game and chat sounds play through it.
- Adjust the master volume slider to your preferred level. You can also test your microphone here to ensure it is picking up your voice.
Customizing audio with the Xbox Accessories app
Open the Xbox Accessories app to fine-tune your headset for different games or media. You can adjust the equalizer to boost bass or treble, enable spatial sound (such as Windows Sonic for Headphones), and configure mic monitoring to hear your own voice in the headset. The app also lets you update the headset's firmware, which can fix bugs and improve performance. The headset supports spatial audio technologies including Windows Sonic, Dolby Atmos, and DTS Headphone:X, which you can enable through the app or Windows sound settings.
Using the headset's physical controls
The Xbox Wireless Headset features intuitive controls on the earcups. The left earcup dial controls overall volume, while the right earcup dial adjusts the game/chat audio balance, letting you prioritize in-game sounds or voice chat. A dedicated mute button on the microphone lets you quickly silence yourself. The internal, rechargeable battery provides up to 20 hours of battery life, so you can game for long sessions without recharging.
Troubleshooting common connection and audio problems
If you experience issues, start with these checks. For no connection, ensure the headset is charged and within range of your PC. Re-pair the headset by putting it into pairing mode again. For audio dropouts, move other wireless devices away from the headset and adapter, and check that your PC's Bluetooth drivers are up to date. If your microphone is not working, ensure it is not muted (the mute button glows orange when active) and that the headset is set as the default input device in Windows. Enhanced auto-mute and voice isolation features in the headset help reduce background noise for clear chat. If problems persist, update the headset's firmware through the Xbox Accessories app. For more complex issues, such as connecting a headset to a console or PC, refer to your device's official support documentation.
For the wider topic, see connecting a headset to a console.