Introduction
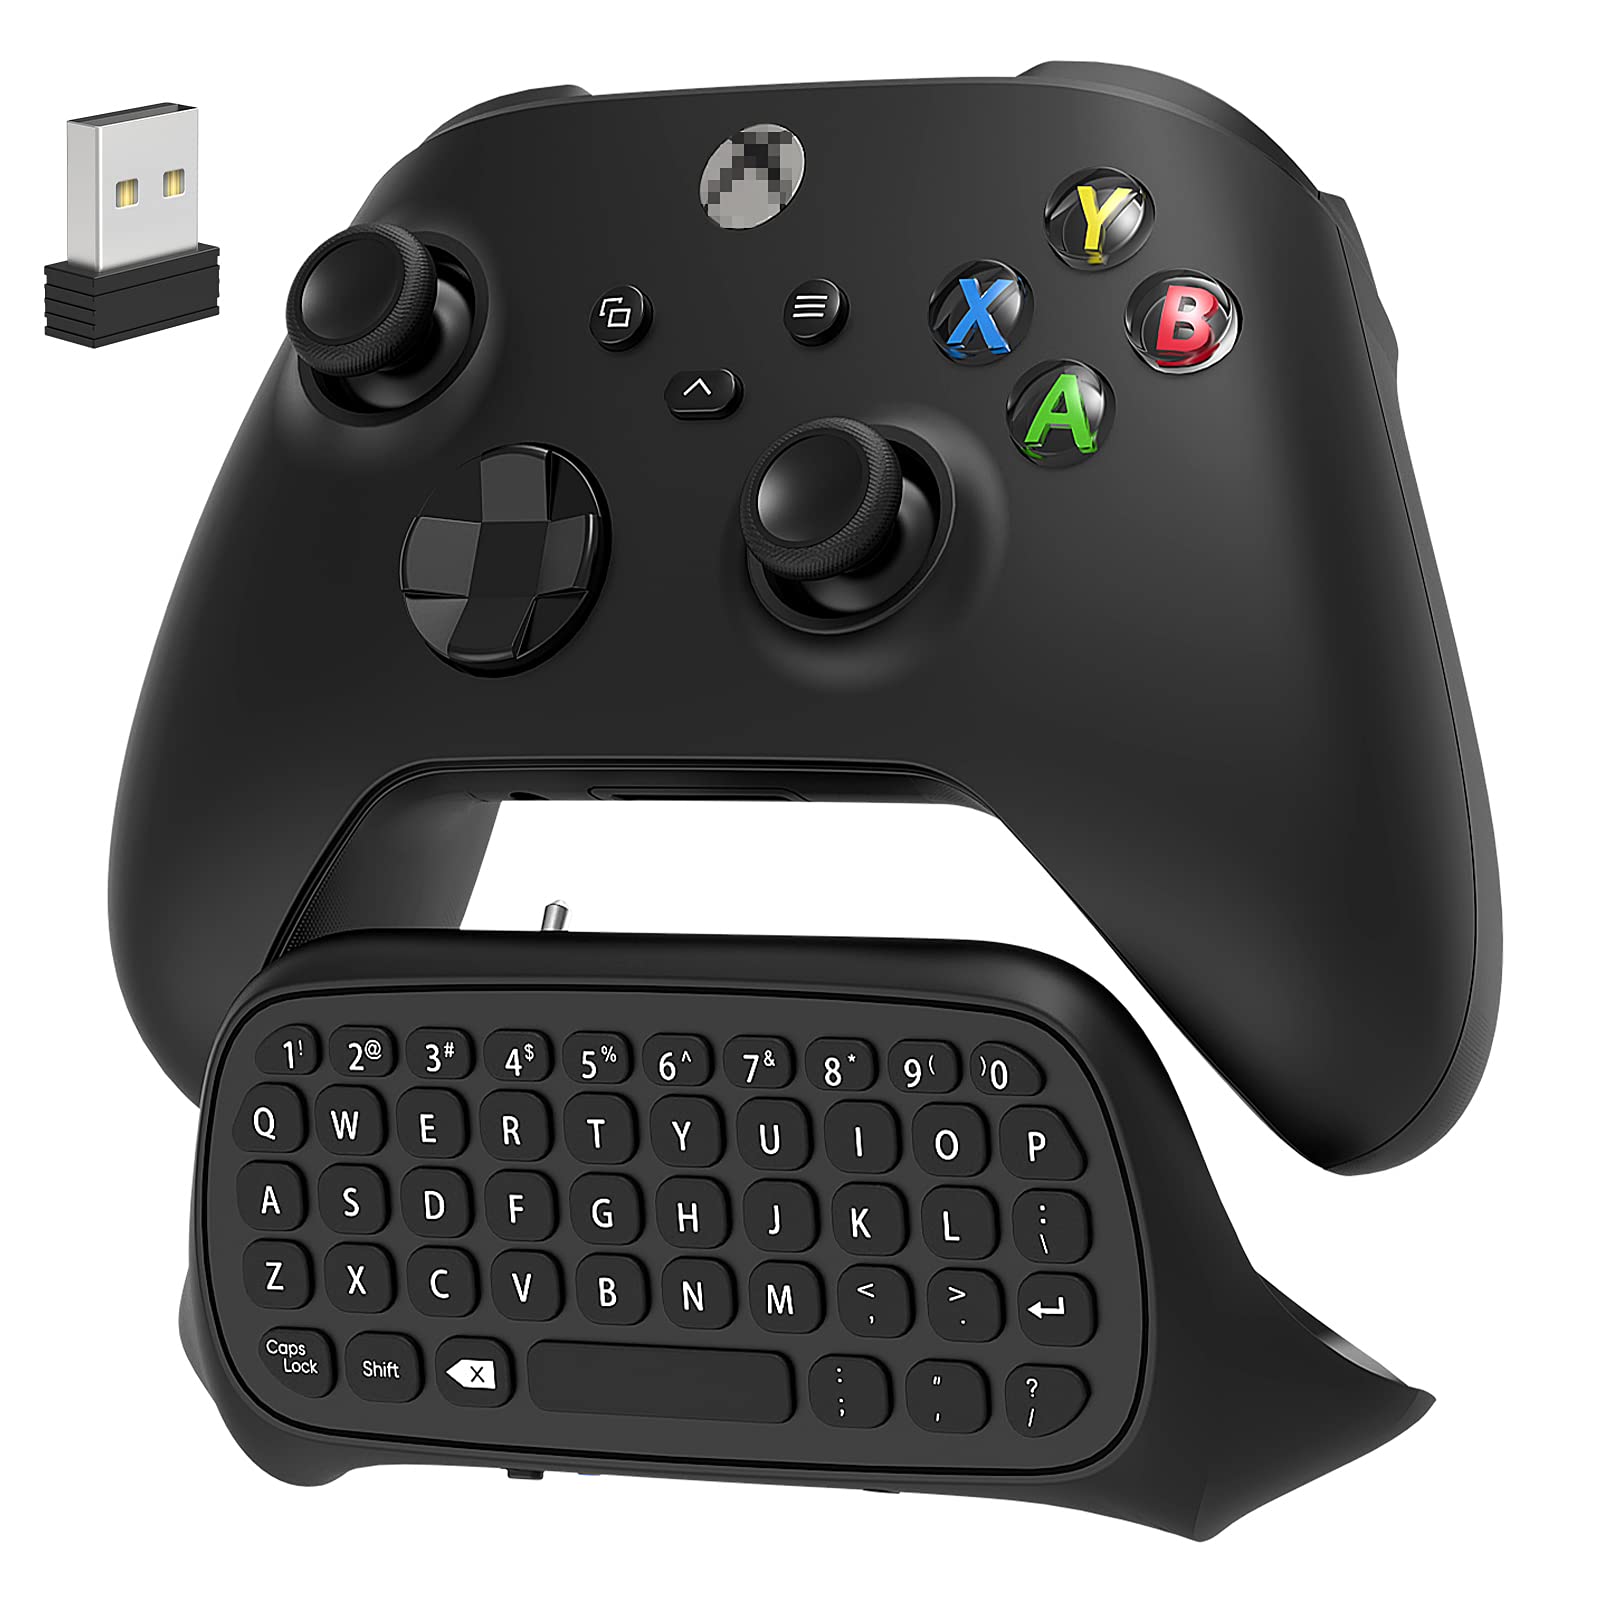
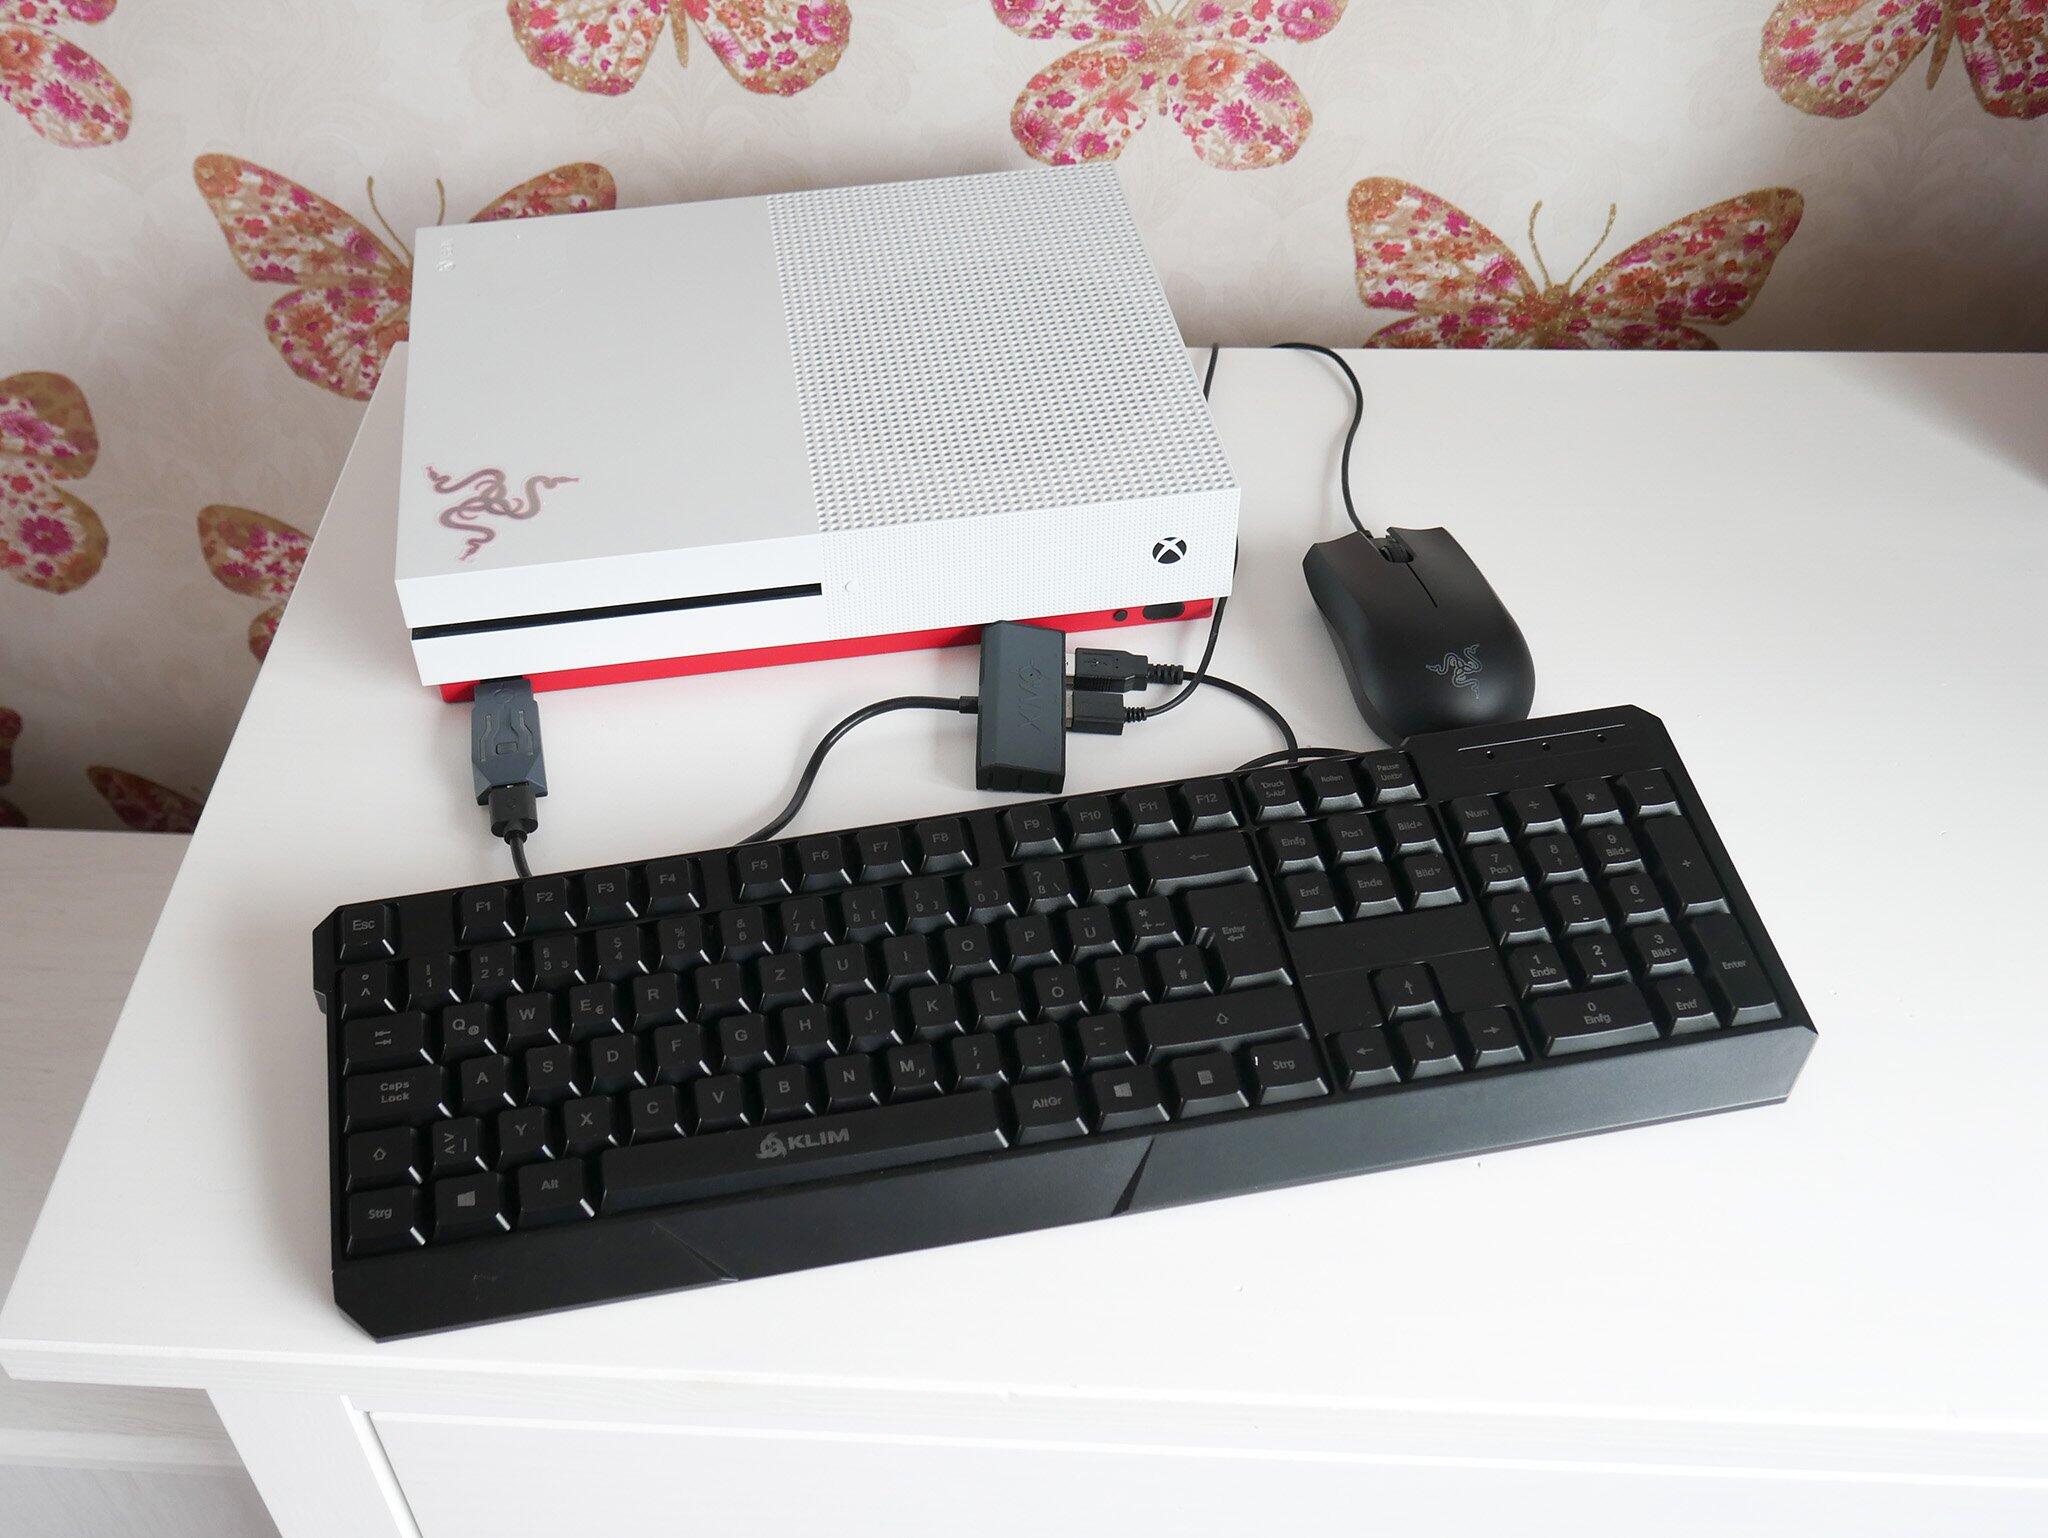
Connecting a wireless keyboard to your Xbox can enhance your gaming experience, making it easier to navigate menus, chat with friends, or even play certain games that support keyboard controls. By linking a compatible wireless keyboard to your Xbox, you can enjoy the convenience and versatility it offers.
With the increasing popularity of online multiplayer games and the need for quick communication, connecting a wireless keyboard is becoming a common choice for Xbox gamers. Whether you prefer a full-sized keyboard or a compact one, the process of connecting it to your Xbox is relatively straightforward.
In this guide, we will walk you through the step-by-step process of connecting a wireless keyboard to your Xbox. But before we get started, it’s important to note that not all wireless keyboards are compatible with the Xbox. You’ll need to check the compatibility of your keyboard with Xbox consoles to ensure smooth and seamless integration.
Once you’ve confirmed compatibility, we’ll guide you through the process of turning on Bluetooth on your Xbox, putting your keyboard in pairing mode, and establishing a successful connection. We’ll also provide troubleshooting tips in case you encounter any issues along the way.
So, whether you’re a casual gamer looking for a more convenient way to control your Xbox or a competitive player aiming to gain a competitive edge, read on to learn how to connect your wireless keyboard to your Xbox and elevate your gaming experience.
Step 1: Check Compatibility
Before attempting to connect a wireless keyboard to your Xbox, it’s essential to ensure that your keyboard is compatible with Xbox consoles. Xbox consoles typically support keyboards that use the USB or Bluetooth connectivity options.
To check if your keyboard is compatible, refer to the manufacturer’s specifications or documentation. Look for any mentions of Xbox compatibility or support for gaming consoles. If you’re unable to find this information, you can also try searching online forums or contacting the manufacturer directly for clarification.
If your keyboard has a USB connection, it should work with Xbox consoles that have USB ports. Simply connect the keyboard to an available USB port on your Xbox, and it should be recognized automatically. Keep in mind that some keyboards may require additional software or drivers to be installed for full functionality.
If your keyboard has Bluetooth connectivity, you’ll need to ensure that your Xbox console supports Bluetooth and has it enabled. Newer Xbox models, such as the Xbox One, Xbox One S, and Xbox One X, typically have built-in Bluetooth capabilities. Older models may require a separate Bluetooth adapter.
To check if your Xbox has Bluetooth, navigate to the settings menu and look for Bluetooth or Devices. If you see an option to enable Bluetooth or pair devices, then your Xbox has Bluetooth functionality. If not, you may need to purchase a separate Bluetooth adapter that is compatible with your specific Xbox model.
Once you have confirmed the compatibility of your wireless keyboard with the Xbox console, you can proceed to the next step of turning on Bluetooth on your Xbox.
Step 2: Turn on Bluetooth
Before you can connect your wireless keyboard to your Xbox, you need to ensure that Bluetooth is enabled on your Xbox console. Enabling Bluetooth will allow your Xbox to search for and connect to Bluetooth devices, including your wireless keyboard.
To turn on Bluetooth on your Xbox console, follow these steps:
- Turn on your Xbox console and navigate to the settings menu.
- Select “Devices” or “Controller & Devices” to access the device settings.
- Look for the option that says “Bluetooth” or “Wireless Devices” and select it.
- Toggle the Bluetooth switch to the “On” position.
Once Bluetooth is enabled on your Xbox, it will start scanning for nearby Bluetooth devices. Now you’re ready to put your wireless keyboard in pairing mode.
Note that the process of turning on Bluetooth may vary slightly depending on your Xbox model. If you encounter any difficulties or cannot find the Bluetooth option in the settings menu, refer to the Xbox user manual or consult the Xbox support website for further guidance.
With Bluetooth enabled on your Xbox, you’re one step closer to connecting your wireless keyboard and enjoying a seamless gaming experience. In the next step, we’ll guide you through putting your keyboard in pairing mode.
Step 3: Put the Keyboard in Pairing Mode
To connect your wireless keyboard to your Xbox, you need to put the keyboard in pairing mode. This allows the Xbox console to discover and establish a connection with your keyboard.
The exact process of putting the keyboard in pairing mode can vary depending on the make and model of your keyboard. However, most wireless keyboards typically have a dedicated button or combination of buttons that initiate the pairing process.
Here’s a general step-by-step guide to put your wireless keyboard in pairing mode:
- Locate the power button or the switch on your wireless keyboard.
- Turn on your keyboard by pressing and holding the power button or switching it to the “On” position.
- Check for any dedicated pairing buttons or switches on your keyboard. These buttons are usually labeled with a Bluetooth symbol or “Pair.”
- If your keyboard has a pairing button, press and hold it for a few seconds until the Bluetooth LED indicator starts flashing or remains lit, indicating that the keyboard is in pairing mode.
- If your keyboard does not have a dedicated pairing button, consult the manufacturer’s instructions to find the specific button combination to put your keyboard in pairing mode.
Once your keyboard is in pairing mode, it is ready to be detected and connected by your Xbox console. Keep your keyboard within a reasonable range of the Xbox console to ensure a stable connection.
It’s important to note that the pairing mode on the keyboard is usually active for a limited time, typically around 30 seconds to 1 minute. If the keyboard doesn’t connect within that time frame, you may need to put it back into pairing mode.
With your keyboard in pairing mode, it’s time to move on to the next step and establish the connection between your keyboard and your Xbox console.
Step 4: Connect the Keyboard to Xbox
Now that your wireless keyboard is in pairing mode, it’s time to connect it to your Xbox console. Follow these steps to establish the connection:
- On your Xbox console, navigate to the settings menu and select “Devices” or “Controller & Devices.”
- Choose the “Bluetooth/Wireless Devices” option.
- Your Xbox will start scanning for nearby Bluetooth devices.
- Locate your wireless keyboard in the list of available devices and select it.
- If prompted, enter any required passcode or PIN provided by the keyboard manufacturer.
- Your Xbox will now attempt to connect to the wireless keyboard.
- Wait for a moment while the connection is established.
- Once the connection is successful, you will see a confirmation message on your Xbox console.
Keep in mind that the specific steps to connect the keyboard may vary slightly depending on your Xbox model and software version. If you encounter any difficulties or cannot find the keyboard in the available devices list, refer to the keyboard’s manual or the Xbox support website for further assistance.
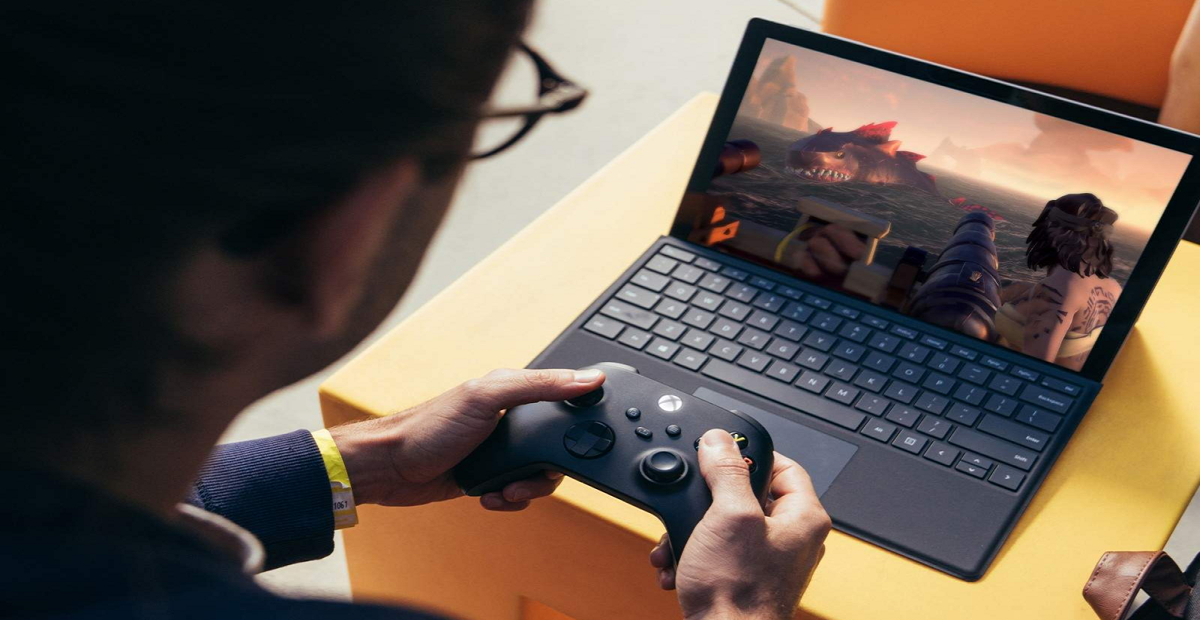
After successfully connecting your wireless keyboard to your Xbox, you can start using it to navigate through menus, chat with friends, or even control games that support keyboard input.
If your keyboard has additional customization options or software, you may need to install them to take full advantage of its features. Check the manufacturer’s instructions or download the necessary software from their website.
Congratulations! You have now connected your wireless keyboard to your Xbox console. Feel free to customize your keyboard settings and explore the expanded control options it provides.
In case you encounter any issues or your keyboard isn’t functioning as expected, proceed to the next step for troubleshooting tips.
Step 5: Test and Troubleshoot
After connecting your wireless keyboard to your Xbox console, it’s important to test its functionality and address any potential issues that may arise. Here are some steps you can take to test and troubleshoot your setup:
- Ensure that the keyboard is within the range of the Xbox console. If you experience connection drops or lag, try moving closer to the console to see if the issue improves.
- Test various keys on the keyboard to ensure they are functioning correctly. You can do this by typing in the search bar or navigating through menus using arrow keys.
- If certain keys are not registering or are behaving inconsistently, check the keyboard’s batteries or replace them if necessary. Weak batteries can sometimes cause connectivity issues.
- Verify that the keyboard is correctly paired with your Xbox console. If you’re experiencing issues, go through the pairing process again to establish a fresh connection.
- If your wireless keyboard has multimedia keys or special functions, test them to ensure they are working as intended.
- Double-check the keyboard settings on your Xbox console. Make sure the keyboard is selected as the input device and adjust any relevant settings, such as key repeat delay or keystroke sounds.
- If you’re using a third-party wireless keyboard, check for any available firmware updates. Manufacturers often release updates to improve compatibility and address known issues.
- If you have followed all the steps and your wireless keyboard is still not functioning correctly, consult the keyboard’s manual or contact the manufacturer’s support for further assistance.
Remember that some games may not fully support keyboard input or may require specific settings configurations. Consult the game’s manual or online resources to ensure compatibility and optimal keyboard usage.
By thoroughly testing and troubleshooting your wireless keyboard, you can address any issues early on and ensure a smooth gaming experience with enhanced control and convenience.
Now that you’ve successfully connected and tested your wireless keyboard with your Xbox console, you’re ready to enjoy gaming sessions with improved input capabilities. Game on!
Conclusion
Connecting a wireless keyboard to your Xbox console can greatly enhance your gaming experience by providing a convenient and versatile input method. By following the step-by-step guide outlined in this article, you can successfully connect your wireless keyboard to your Xbox and enjoy the benefits it offers.
First, ensure that your wireless keyboard is compatible with Xbox consoles by checking the manufacturer’s specifications. Verify whether your keyboard uses USB or Bluetooth connectivity, as this will determine the compatibility with your Xbox console.
Next, turn on Bluetooth on your Xbox console. Enable Bluetooth in the settings menu and make sure your Xbox is scanning for nearby devices.
Put your wireless keyboard in pairing mode by activating the designated button or button combination specified by the manufacturer. Keep in mind that the pairing mode is typically active for a limited time.
Then, connect your wireless keyboard to your Xbox console by navigating to the device settings and selecting the keyboard from the list of available devices. Follow any prompts to enter passcodes or PINs, if required.
After successfully connecting your wireless keyboard, test its functionality by checking the key response, range, and additional features. Troubleshoot any issues that may arise, such as connectivity drops or inconsistent key behavior.
Remember to keep your wireless keyboard within range of your Xbox console and to ensure your batteries are properly charged or replaced if necessary. Update the keyboard’s firmware if possible to improve compatibility and performance.
By following these steps and thoroughly testing your wireless keyboard, you can enjoy a seamless and enhanced gaming experience on your Xbox console. Have fun exploring the expanded control options and convenience that a wireless keyboard brings to your gaming sessions!