Introduction
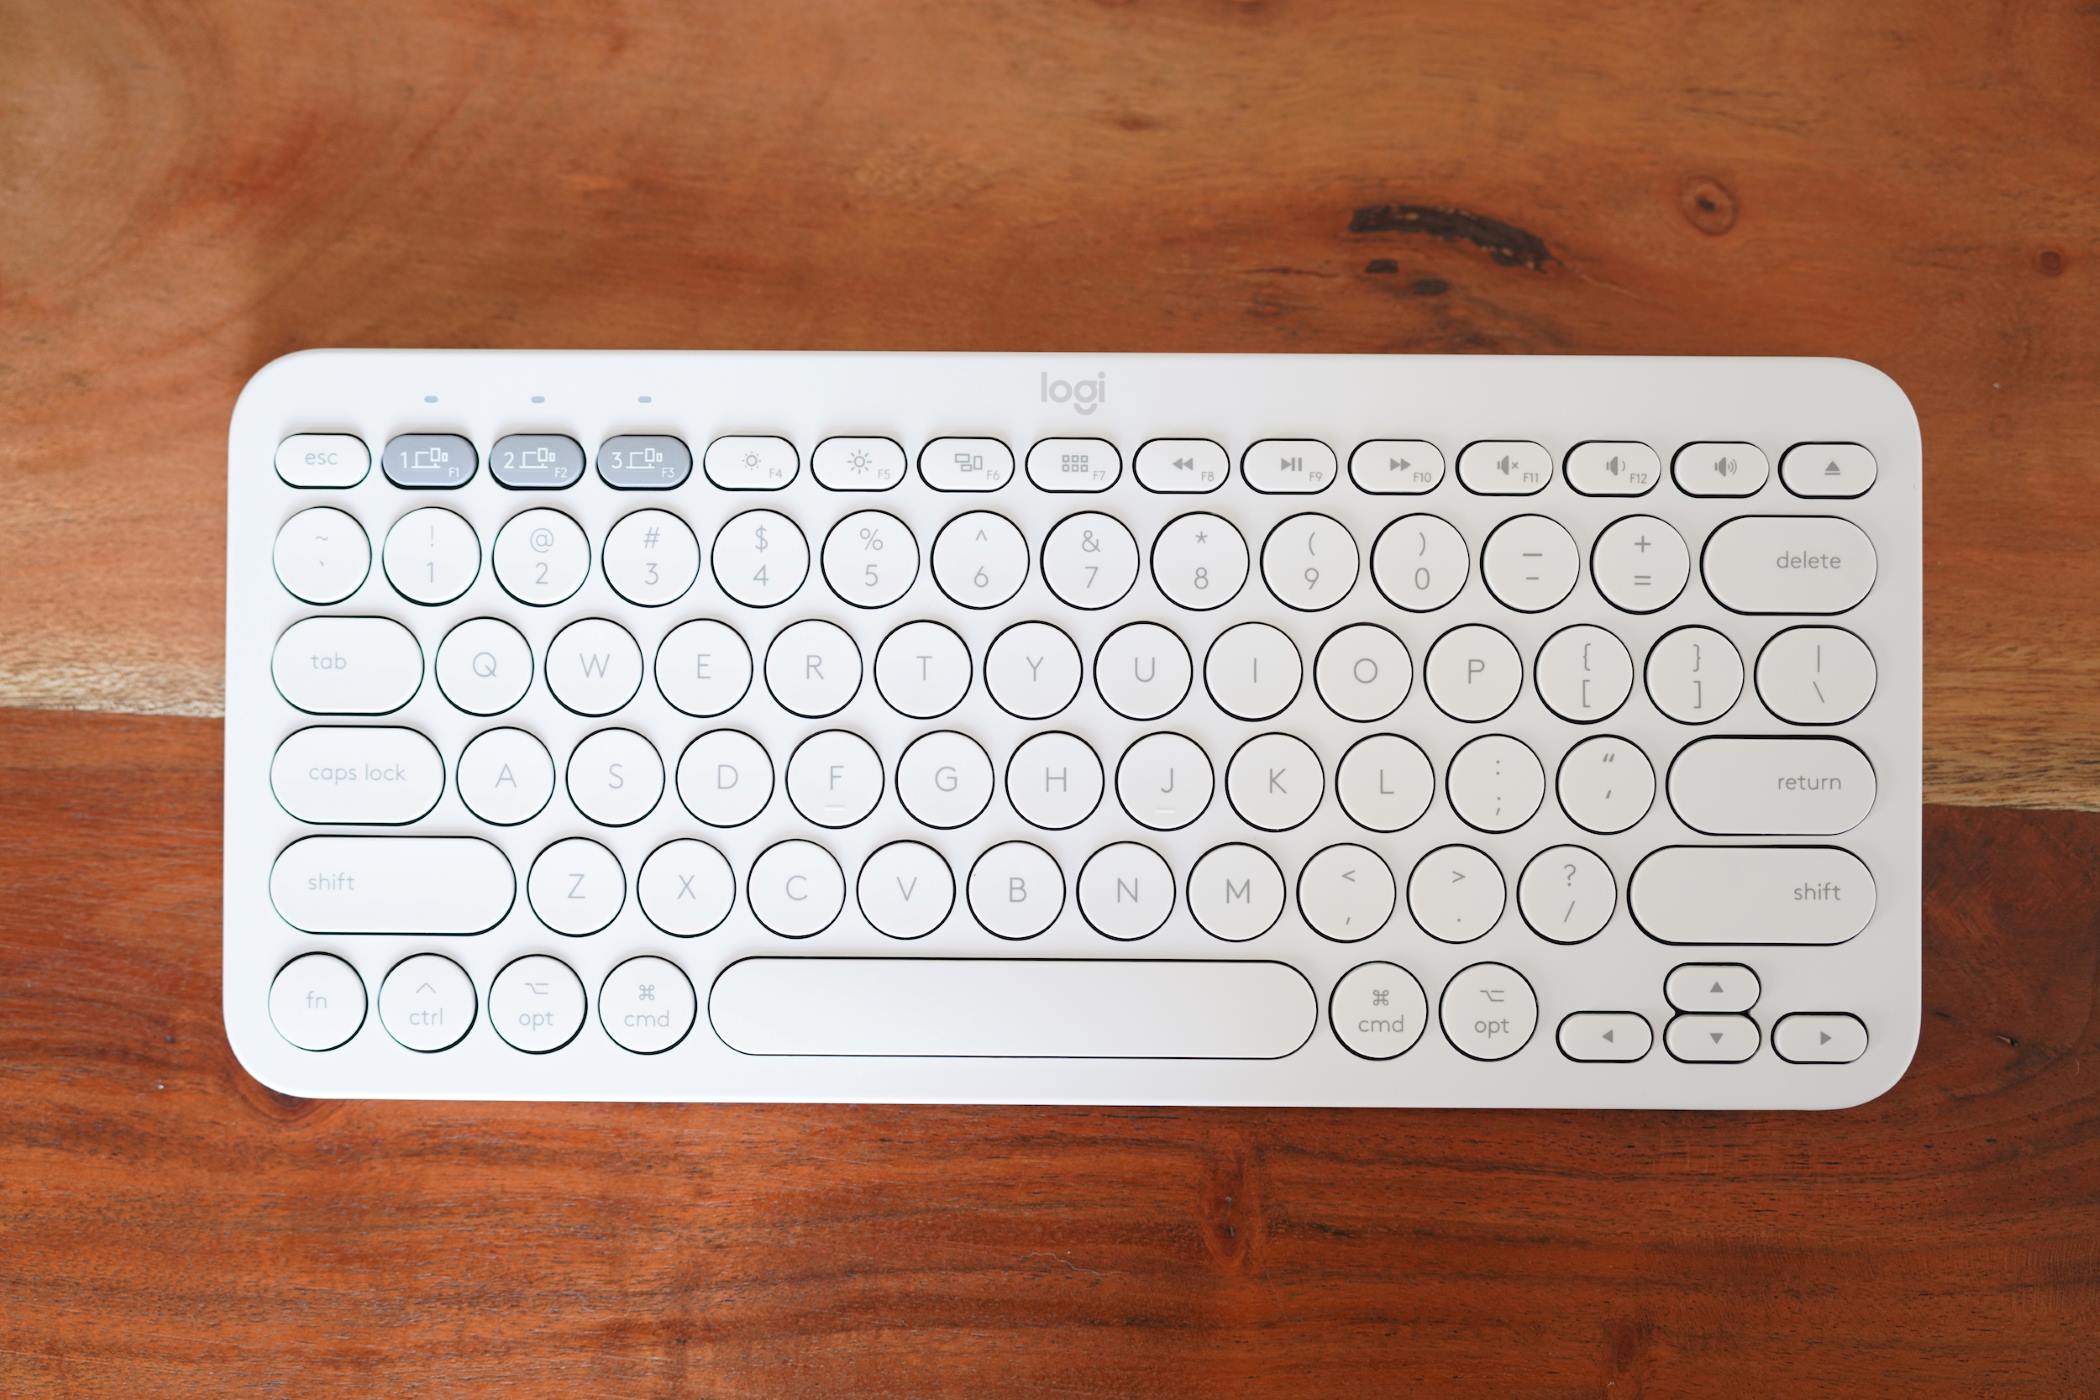
Welcome to this comprehensive guide on connecting the Omoton Wireless Keyboard to various devices. The Omoton Wireless Keyboard offers convenience and flexibility for users who prefer typing on a physical keyboard rather than touchscreen devices. Whether you’re using a Windows PC, a Mac computer, or an Android device, this guide will walk you through the step-by-step process of connecting the Omoton Wireless Keyboard, ensuring a seamless and effortless experience.
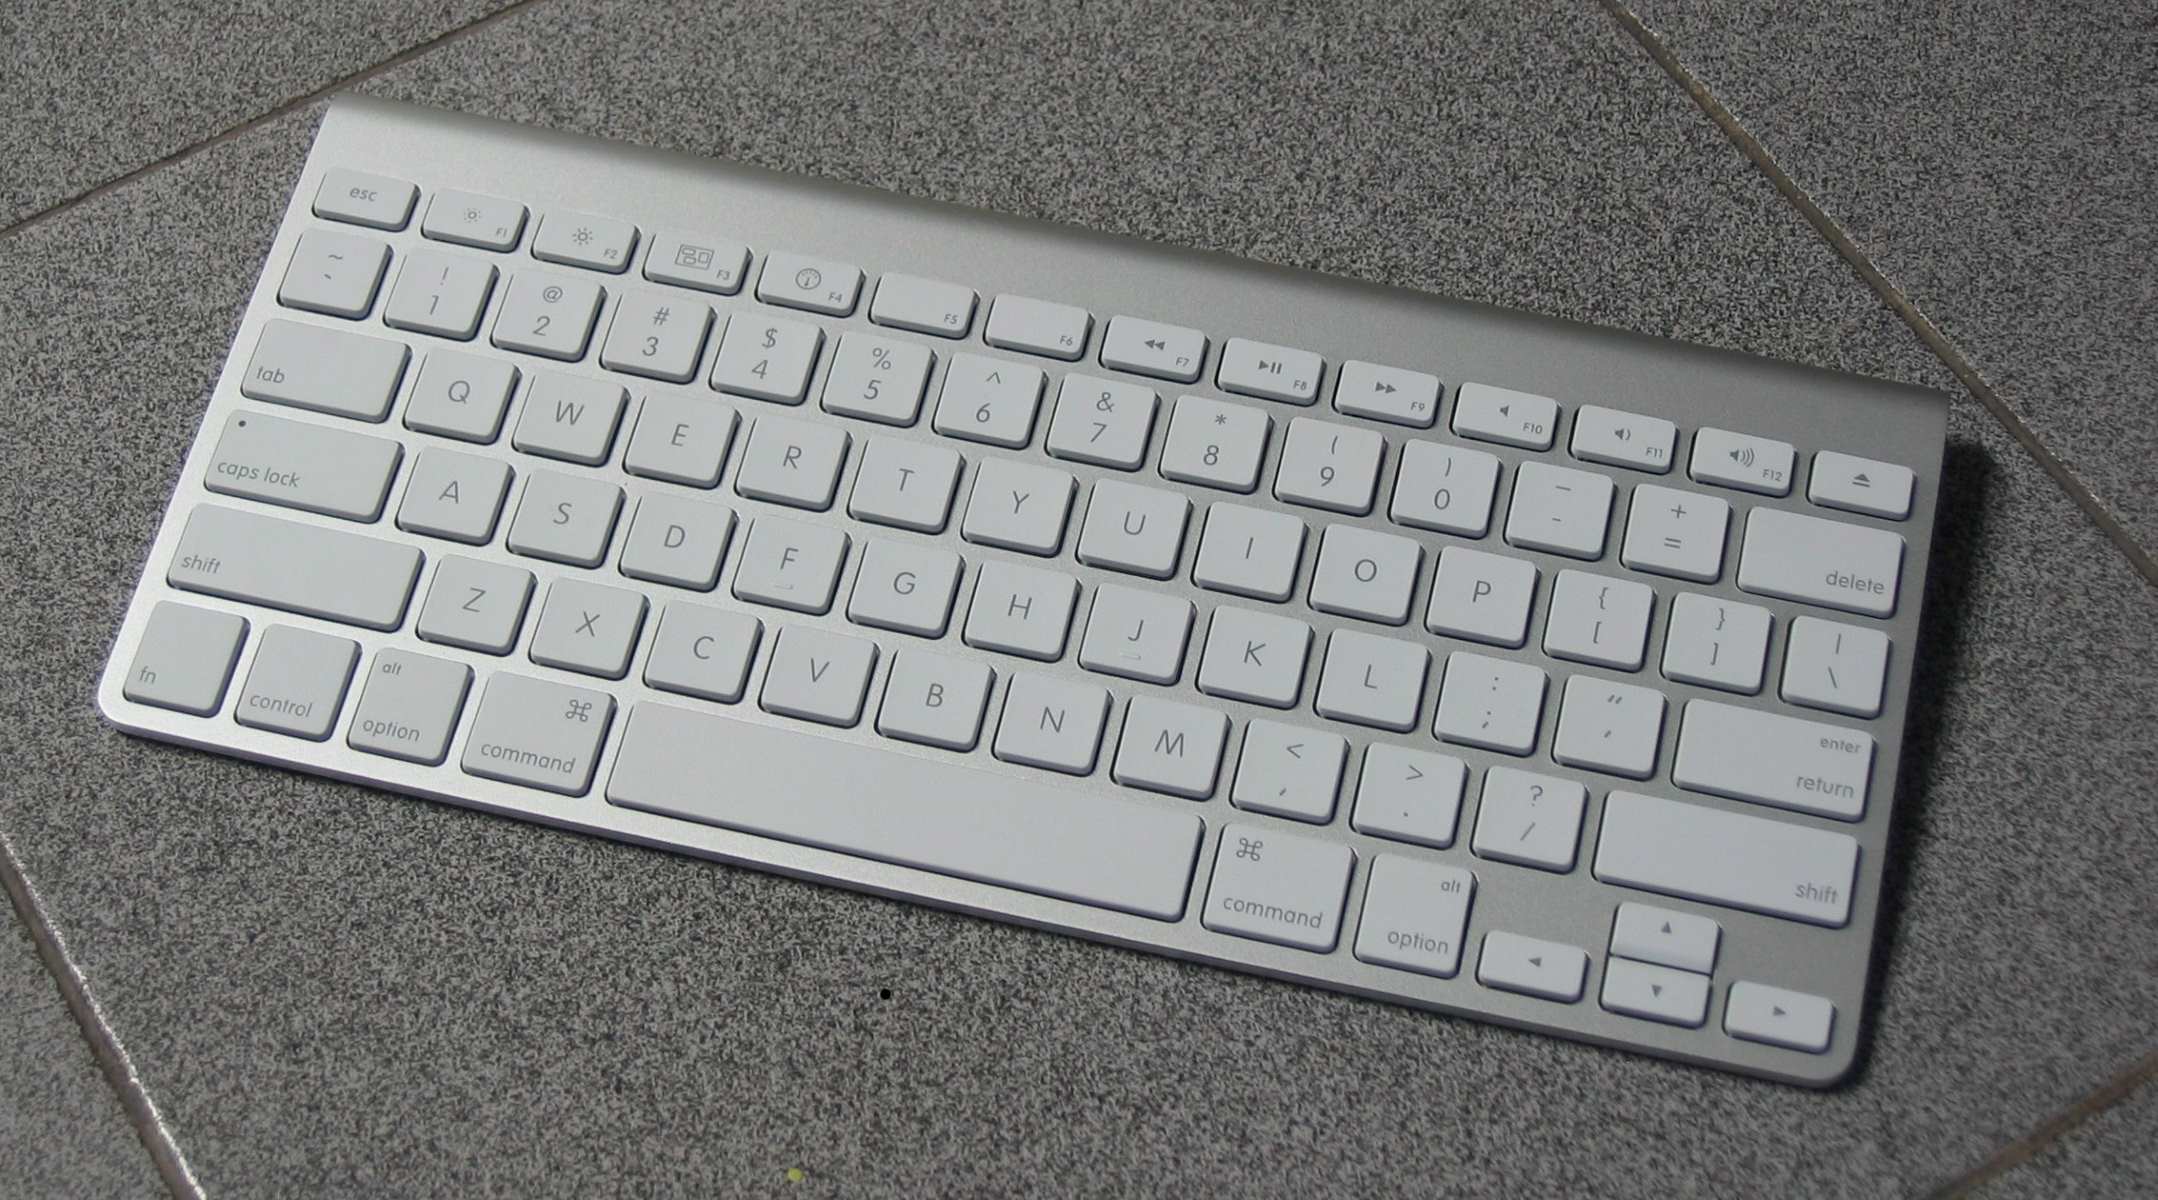
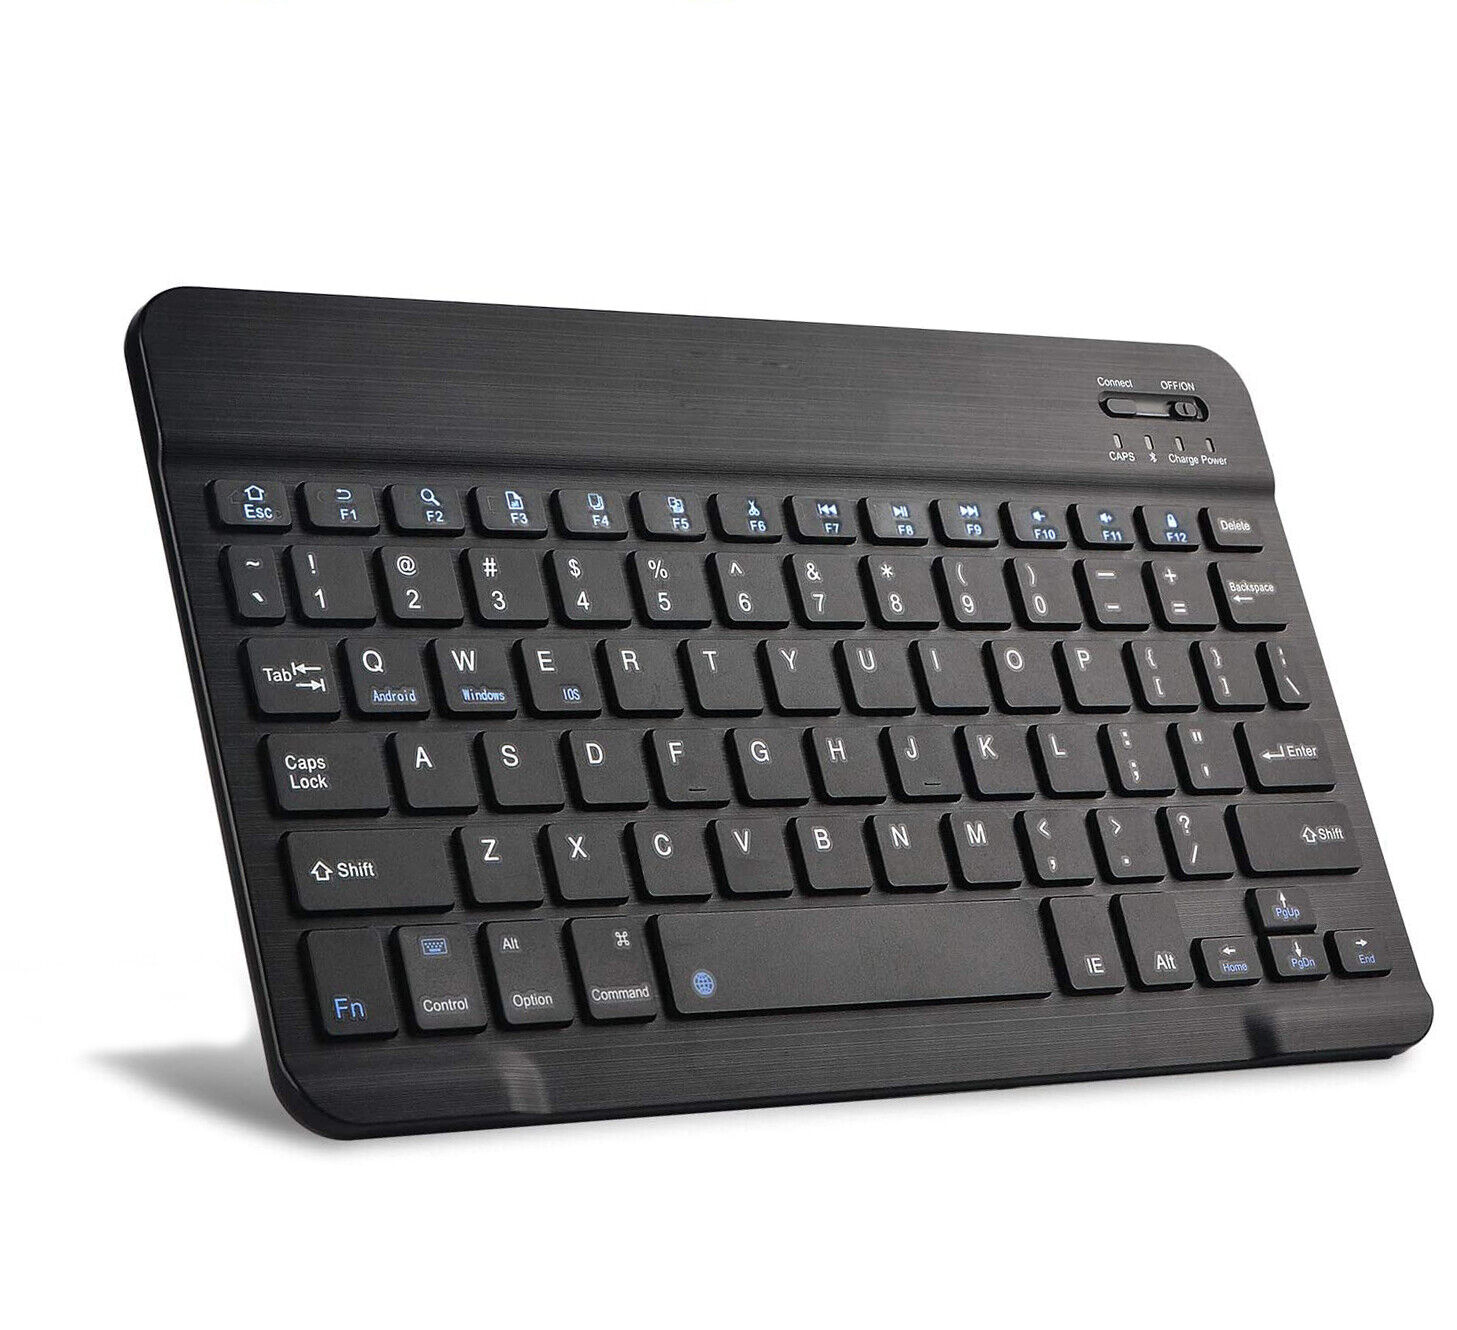
With its sleek design and compact size, the Omoton Wireless Keyboard is a versatile accessory that enhances your productivity and allows you to type with ease. It offers a reliable and stable connection, making it an ideal choice for a wide range of devices. Whether you’re using it for work, education, or leisure activities, this keyboard provides a comfortable typing experience and ensures efficient communication.
In this guide, we will cover the unboxing process, how to insert batteries, and turn on the keyboard. We will also provide detailed instructions on connecting the Omoton Wireless Keyboard to a Windows PC, a Mac computer, and an Android device. Additionally, we will address common connection issues and provide troubleshooting tips to help you resolve any potential problems.
Connecting the Omoton Wireless Keyboard to your preferred device is quick and straightforward, allowing you to start typing in no time. By following the steps outlined in this guide, you can enjoy the convenience and efficiency of a physical keyboard, whether you’re writing documents, chatting with friends, or simply browsing the internet.
So, let’s get started with the unboxing process and learn how to connect the Omoton Wireless Keyboard to your device of choice. Get ready to elevate your typing experience with this versatile and user-friendly keyboard!
Step 1: Unboxing the Omoton Wireless Keyboard
Before you can start using the Omoton Wireless Keyboard, you’ll need to unbox it and familiarize yourself with its components. Follow these steps to unbox the keyboard:
- Locate the package: The Omoton Wireless Keyboard typically comes in a compact box. Find the box, and carefully open it.
- Remove the keyboard: Once the box is open, you’ll find the Omoton Wireless Keyboard snugly fitted inside. Gently remove the keyboard from the packaging, taking care not to damage it.
- Inspect the contents: Along with the keyboard, you may find additional items such as user manuals, warranty information, and sometimes a USB receiver dongle (if applicable). Take a moment to review the contents and ensure that everything is included.
- Remove any protective coverings: While unpacking, you may notice protective coverings on the keyboard, such as a plastic film or foam inserts. Remove these coverings to reveal the sleek and elegant design of the keyboard.
Once you have completed these steps, you will have successfully unboxed the Omoton Wireless Keyboard. Take a moment to appreciate its compact and stylish design, which is perfect for both professional and casual use.
Now that you have unboxed the keyboard, it’s time to prepare it for use by inserting the batteries. Proceed to the next step to continue setting up your Omoton Wireless Keyboard.
Step 2: Inserting the Batteries
After unboxing the Omoton Wireless Keyboard, the next step is to insert the batteries. The keyboard is powered by AAA batteries, and inserting them is a simple process:
- Locate the battery compartment: Turn the keyboard over and look for the battery compartment. It is usually located on the underside of the keyboard.
- Open the battery compartment: Most Omoton Wireless Keyboards have a latch or a sliding panel that secures the battery compartment. Slide or open the latch to access the compartment.
- Insert the batteries: Take two AAA batteries and insert them into the battery compartment, following the correct polarity. The positive (+) and negative (-) indicators on the keyboard should align with the corresponding markings on the batteries.
- Close the battery compartment: Ensure that the batteries are firmly in place, and then close the battery compartment securely. The latch or sliding panel should lock into place.
Once you have completed these steps, the batteries are now inserted and powering your Omoton Wireless Keyboard. The keyboard is now ready to be turned on and connected to your device.
Note: It is recommended to use new or fully charged batteries to ensure optimal performance. Regularly check the battery level and replace the batteries when needed to maintain uninterrupted usage.
In the next step, you will learn how to turn on the keyboard and prepare it for connection to your Windows PC, Mac computer, or Android device.
Step 3: Turning on the Keyboard
Now that you have inserted the batteries into your Omoton Wireless Keyboard, it’s time to turn it on. Follow these steps to power on the keyboard:
- Locate the power switch: Check the top or side edge of the keyboard for a power switch. It is generally labeled with the power symbol (⏻) or the word “ON/OFF”.
- Flip the power switch: Push or slide the power switch to the “ON” position. You may hear a soft click or see a LED indicator light up, indicating that the keyboard is now powered on.
- Wait for the keyboard to initialize: After turning on the keyboard, give it a few seconds to initialize. During this time, the keyboard establishes its connection with nearby devices.
Once the keyboard has been turned on and initialized, it is ready to be connected to your Windows PC, Mac computer, or Android device. The specific steps for connecting to different devices will be covered in the subsequent sections of this guide.
It is worth noting that the Omoton Wireless Keyboard is designed to conserve power. If the keyboard is not used for a certain period of time, it may automatically enter a sleep mode to save energy. Simply press any key to wake it up, and it will quickly re-establish its connection.
In the following steps, we will guide you through the process of connecting the Omoton Wireless Keyboard to your specific device. Whether you’re using a Windows PC, a Mac computer, or an Android device, we’ve got you covered.
Step 4: Connecting the Keyboard to a Windows PC
If you’re using a Windows PC, follow these steps to connect your Omoton Wireless Keyboard:
- Make sure your PC is on: Ensure that your Windows PC is turned on and ready for use.
- Put the keyboard in pairing mode: On the Omoton Wireless Keyboard, locate the pairing button or switch. Press and hold this button for a few seconds until the keyboard enters pairing mode. The pairing indicator light might flash to indicate that the keyboard is ready to connect.
- Enable Bluetooth on your PC: Open the Start menu on your Windows PC and go to Settings. From the Settings menu, select “Devices” and then click on “Bluetooth & other devices”. Toggle the Bluetooth option to turn it on.
- Add a new device: Once Bluetooth is enabled on your PC, click on the “Add Bluetooth or other device” button under the “Bluetooth & other devices” settings. Select the “Bluetooth” option.
- Pair the keyboard: Your PC will scan for available devices. When you see the name of your Omoton Wireless Keyboard appear in the list of available devices, click on it to start the pairing process. Follow the on-screen prompts to complete the pairing. Once successfully paired, the keyboard will be connected to your PC.
Congratulations! You have successfully connected the Omoton Wireless Keyboard to your Windows PC. Now you can start typing and enjoying the convenience of a physical keyboard. If for any reason the keyboard doesn’t connect, refer to the troubleshooting section for help in resolving common connection issues.
In the next step, we will guide you through the process of connecting the keyboard to a Mac computer.
Step 5: Connecting the Keyboard to a Mac
If you’re using a Mac computer, follow these steps to connect your Omoton Wireless Keyboard:
- Ensure your Mac is turned on: Make sure your Mac computer is powered on and ready to be used.
- Put the keyboard in pairing mode: Look for the pairing button or switch on your Omoton Wireless Keyboard. Press and hold this button for a few seconds until the keyboard enters pairing mode. The pairing indicator light might start flashing, indicating that the keyboard is ready to connect.
- Open Bluetooth preferences: On your Mac, click on the Apple menu in the top-left corner and select “System Preferences”. In the System Preferences window, click on “Bluetooth”.
- Turn on Bluetooth: If Bluetooth is not already enabled on your Mac, click on the “Turn Bluetooth On” button in the Bluetooth preferences window.
- Pair the keyboard: Once Bluetooth is turned on, your Mac will start searching for available devices. When you see the name of your Omoton Wireless Keyboard in the list of available devices, click on it to start the pairing process. Follow the on-screen instructions to complete the pairing. Once successfully paired, the keyboard will be connected to your Mac.
Great job! You have successfully connected the Omoton Wireless Keyboard to your Mac computer. Now you can enjoy the convenience and comfort of typing on a physical keyboard.
If you encounter any difficulties during the pairing process, refer to the troubleshooting section for assistance with common connection issues.
In the next step, we will guide you through the process of connecting the keyboard to an Android device.
Step 6: Connecting the Keyboard to an Android Device
If you’re using an Android device, follow these steps to connect your Omoton Wireless Keyboard:
- Ensure your Android device is turned on: Make sure your Android smartphone or tablet is powered on and ready for use.
- Put the keyboard in pairing mode: Locate the pairing button or switch on your Omoton Wireless Keyboard. Press and hold this button for a few seconds until the keyboard enters pairing mode. The pairing indicator light may begin to flash, signaling that the keyboard is ready to connect.
- Open Bluetooth settings: On your Android device, go to the Settings app by swiping down from the top of the screen and tapping on the gear icon. From the Settings menu, find and tap on “Connected devices” or “Bluetooth & device connection”.
- Enable Bluetooth: If Bluetooth is not already enabled on your Android device, toggle the Bluetooth switch to turn it on.
- Pair the keyboard: Your Android device will start searching for available devices. When you see the name of your Omoton Wireless Keyboard in the list of devices, tap on it to start the pairing process. Follow any on-screen prompts or enter a pairing code if requested. Once successfully paired, the keyboard will be connected to your Android device.
Well done! You have successfully connected the Omoton Wireless Keyboard to your Android device, opening up a world of easy typing and convenience. You can now enjoy enhanced productivity and comfort when typing on your Android smartphone or tablet.
If you encounter any difficulties during the pairing process, refer to the troubleshooting section for assistance with common connection issues.
In the next section, we will address some common connection issues and provide troubleshooting tips to help you resolve them.
Step 7: Troubleshooting Common Connection Issues
While connecting your Omoton Wireless Keyboard to your device is usually a smooth process, you may encounter some common connection issues. Here are a few troubleshooting tips to help you resolve them:
- Ensure Bluetooth is enabled: Make sure that Bluetooth is turned on and enabled on your device. Check the settings menu and toggle the Bluetooth switch if necessary.
- Check battery levels: Low battery power may impact the keyboard’s connection and performance. Replace the batteries with fresh ones if needed.
- Reboot your device: Sometimes, a simple device restart can solve connection problems. Turn off your device, wait a few seconds, and then turn it back on.
- Clear paired devices: If you are having trouble connecting, try clearing the list of paired devices on your keyboard and device. Then, go through the pairing process again.
- Move closer to the device: Ensure that your Omoton Wireless Keyboard is within adequate range of your device, as a weak connection may cause connectivity issues. Move closer to the device and try again.
- Update device firmware: Check for firmware updates for your device and install them if available. Sometimes, updating the device’s firmware can resolve compatibility issues.
- Disconnect other Bluetooth devices: If you have multiple Bluetooth devices connected to your device, it may cause interference. Disconnect any unused Bluetooth devices and try reconnecting the keyboard.
- Reset the keyboard: As a last resort, you can perform a factory reset on the keyboard. Consult the user manual for instructions on how to reset your specific model.
By following these troubleshooting tips, you should be able to overcome common connection issues and establish a stable and reliable connection between your Omoton Wireless Keyboard and your device.
If you continue to experience difficulties with your keyboard’s connection, refer to the user manual or contact Omoton customer support for further assistance.
Congratulations on successfully connecting your Omoton Wireless Keyboard to your chosen device! You can now enjoy the convenience and comfort of typing on a physical keyboard for improved productivity and ease of use.
Happy typing!
Conclusion
Congratulations! You have successfully learned how to connect your Omoton Wireless Keyboard to various devices, including Windows PCs, Mac computers, and Android devices. By following the step-by-step instructions provided in this guide, you can now enjoy the convenience and comfort of typing on a physical keyboard, enhancing your productivity and improving your overall typing experience.
The Omoton Wireless Keyboard offers a sleek and compact design, making it a versatile accessory for work, education, or leisure activities. Its reliable and stable connection ensures seamless typing, allowing you to communicate effortlessly and efficiently.
We covered important steps, including unboxing the keyboard, inserting batteries, turning on the keyboard, and connecting it to different devices. In addition, we provided troubleshooting tips to help you resolve any common connection issues you may encounter.
Now that your Omoton Wireless Keyboard is connected to your device, take advantage of its features and enjoy the convenience of typing on a physical keyboard. Whether you’re typing important documents, chatting with friends, or browsing the internet, the keyboard will enhance your efficiency and make the typing experience enjoyable.
If you have any further questions or encounter any difficulties during the connection process, refer to the user manual or reach out to Omoton customer support for assistance.
Thank you for choosing the Omoton Wireless Keyboard. We hope this guide has been helpful in connecting and setting up your keyboard. Happy typing!