Introduction
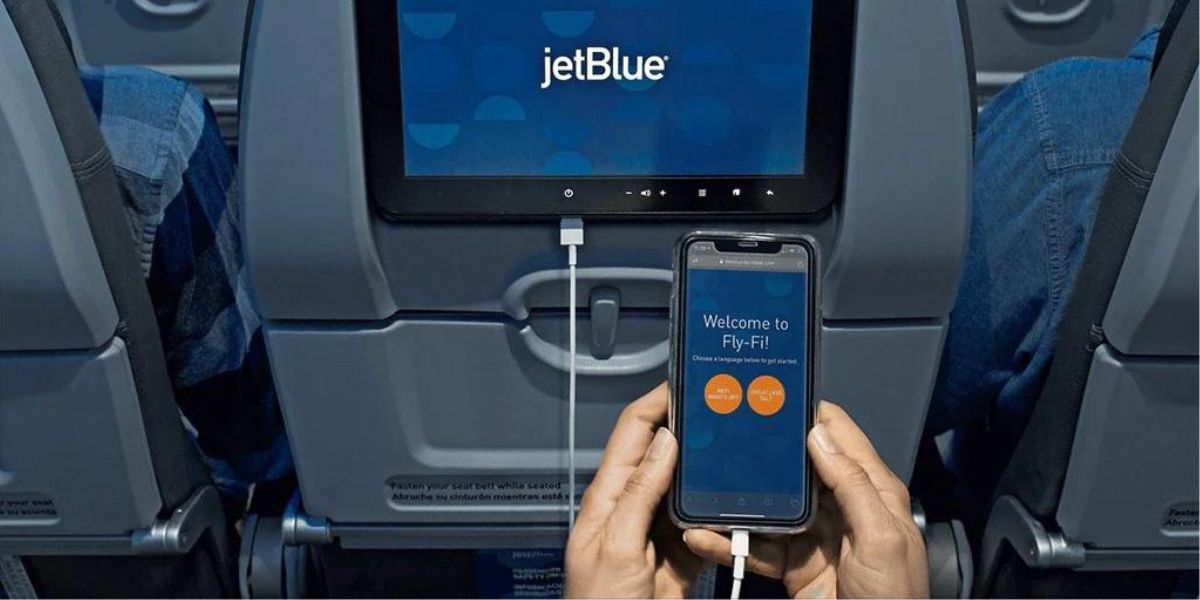
Welcome to the world of online gaming with Xbox One! Connecting your Xbox One to your Wi-Fi network is essential to access the many features and online multiplayer options available. However, sometimes, connecting to a Wi-Fi network may require you to navigate through a login page. Whether you’re using a public Wi-Fi hotspot or a home network with login credentials, this guide will walk you through the steps to connect your Xbox One to Wi-Fi with a login page.
With a login page, you’ll need to authenticate your connection by entering your login details or accepting the terms and conditions. This additional step ensures a secure and authorized connection to the network.
In this article, we will guide you through the step-by-step process of connecting your Xbox One to Wi-Fi with a login page. By following these instructions, you’ll be able to enjoy uninterrupted gaming sessions and take advantage of the numerous online features that Xbox One offers.
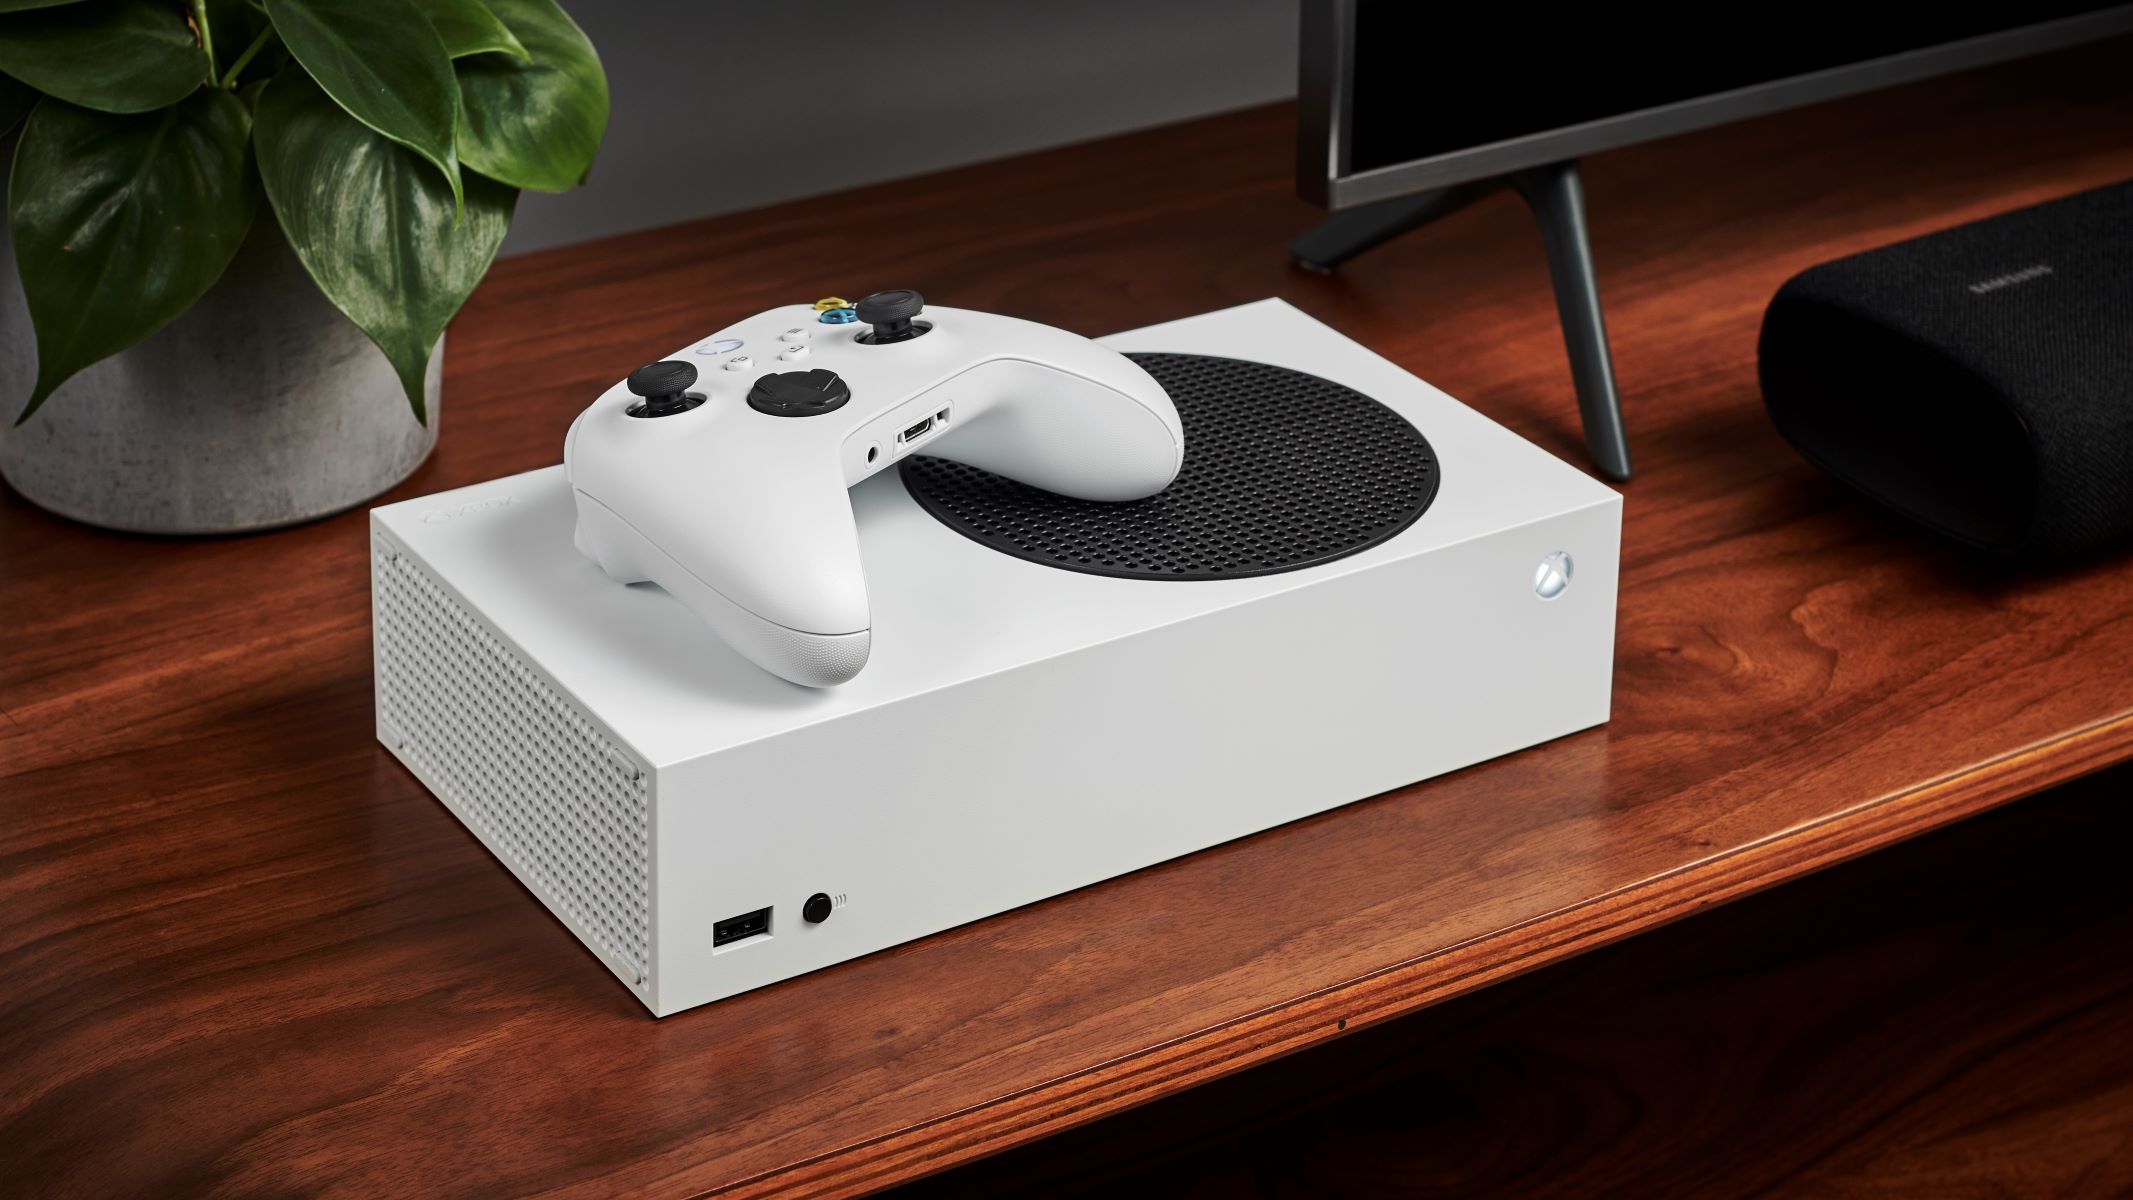
Step 1: Power on your Xbox One
The first step in connecting your Xbox One to Wi-Fi with a login page is to power on your gaming console. Locate the power button on the front of the Xbox One and press it to turn the console on. The power button can be identified by the Xbox logo or a light indicator.
Once the Xbox One is powered on, wait for the console to boot up and reach the home screen. This may take a few seconds or minutes, depending on the system’s configuration and any updates that may need to be installed.
Make sure your Xbox One is connected to a power source and that all necessary cables are securely plugged in. This ensures a stable power supply and prevents any interruptions during the setup process.
Now that your Xbox One is up and running, you’re ready to proceed to the next step in connecting it to Wi-Fi with a login page.
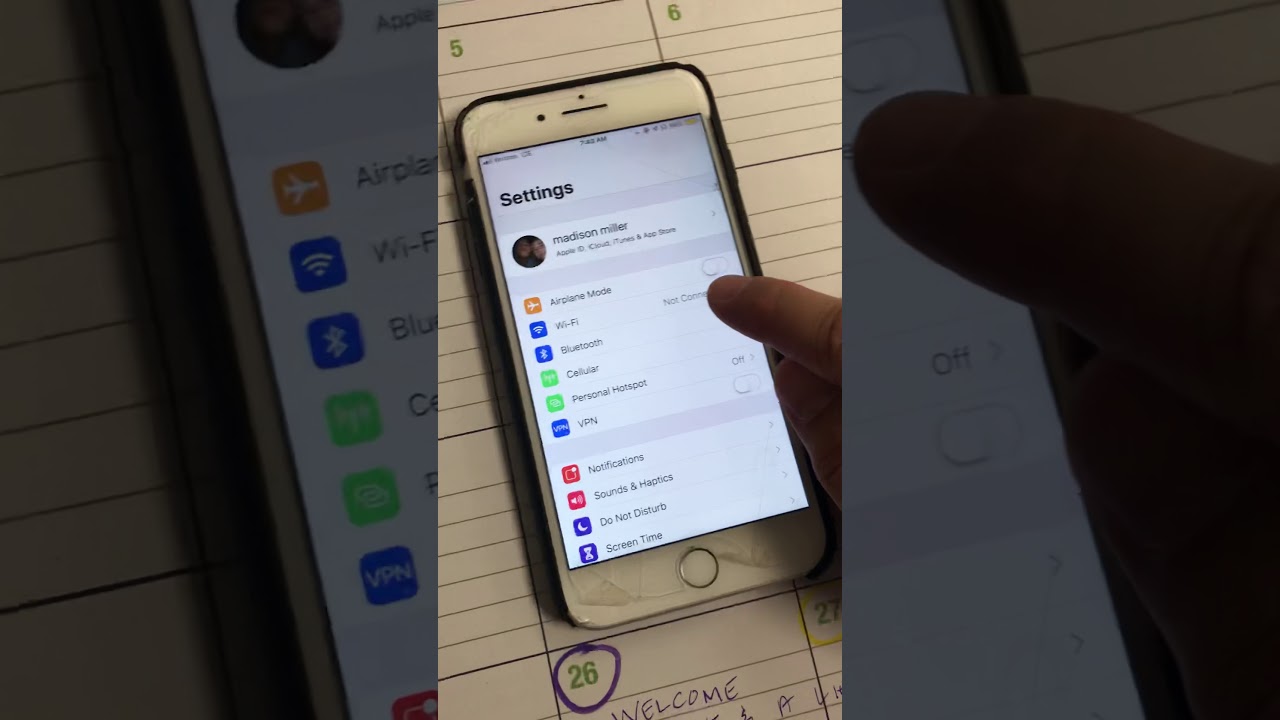
Step 2: Open the Settings menu
Once your Xbox One is powered on and at the home screen, the next step is to navigate to the Settings menu. You can access the Settings menu to make various adjustments and configurations for your console, including network settings.
To open the Settings menu, you have two options:
- Using your Xbox controller: Press the Xbox button in the center of your controller to bring up the Xbox dashboard. Then, use the left joystick to navigate to the gear icon, which represents the Settings menu. Press the A button to select it and open the Settings menu.
- Via voice command: If you have enabled voice commands on your Xbox One, you can simply say “Hey Cortana, open Settings.” The console will then take you directly to the Settings menu.
Once you have successfully opened the Settings menu, you will see a list of various options and configurations that you can customize. This is where you’ll be able to access the necessary network settings to connect to Wi-Fi with a login page.
Proceed to the next step to locate the Network option within the Settings menu.
Step 3: Select Network
Now that you have accessed the Settings menu on your Xbox One, it’s time to select the Network option. The Network settings allow you to manage your console’s network connections, including Wi-Fi.
To choose the Network option, you can follow these steps:
- Using your Xbox controller: Within the Settings menu, use the left joystick to navigate to the Network tab. It is usually located towards the top or in a prominent position within the menu. Once you’ve selected the Network tab, press the A button to open it.
- Via voice command: If you have enabled voice commands, you can say “Hey Cortana, open Network settings” to access the Network options directly.
Once you have selected the Network option, you will be presented with a range of network settings and configurations that you can modify. These settings include options for wired connections, wireless networks, and network tests to ensure a stable and reliable connection.
By selecting the Network option, you are one step closer to connecting your Xbox One to Wi-Fi with a login page. Proceed to the next step to choose the wireless network option.
Step 4: Choose the Wireless network option
After accessing the Network settings on your Xbox One, the next step is to select the Wireless network option. This option allows you to connect your console to a Wi-Fi network, including networks that require a login page.
To choose the Wireless network option, follow the steps below:
- Using your Xbox controller: Within the Network settings, navigate to the Wireless network tab. This tab is typically located alongside other network connection options. Use the left joystick to highlight the Wireless network option and press the A button to select it.
- Via voice command: If you prefer using voice commands, you can say “Hey Cortana, select Wireless network” to directly access the Wireless network option.
Once you have selected the Wireless network option, you will see a list of available Wi-Fi networks in your vicinity. These networks may include both public and private Wi-Fi connections.
Now you’re ready to proceed to the next step, where you’ll choose the specific Wi-Fi network you want to connect to, including those with a login page.
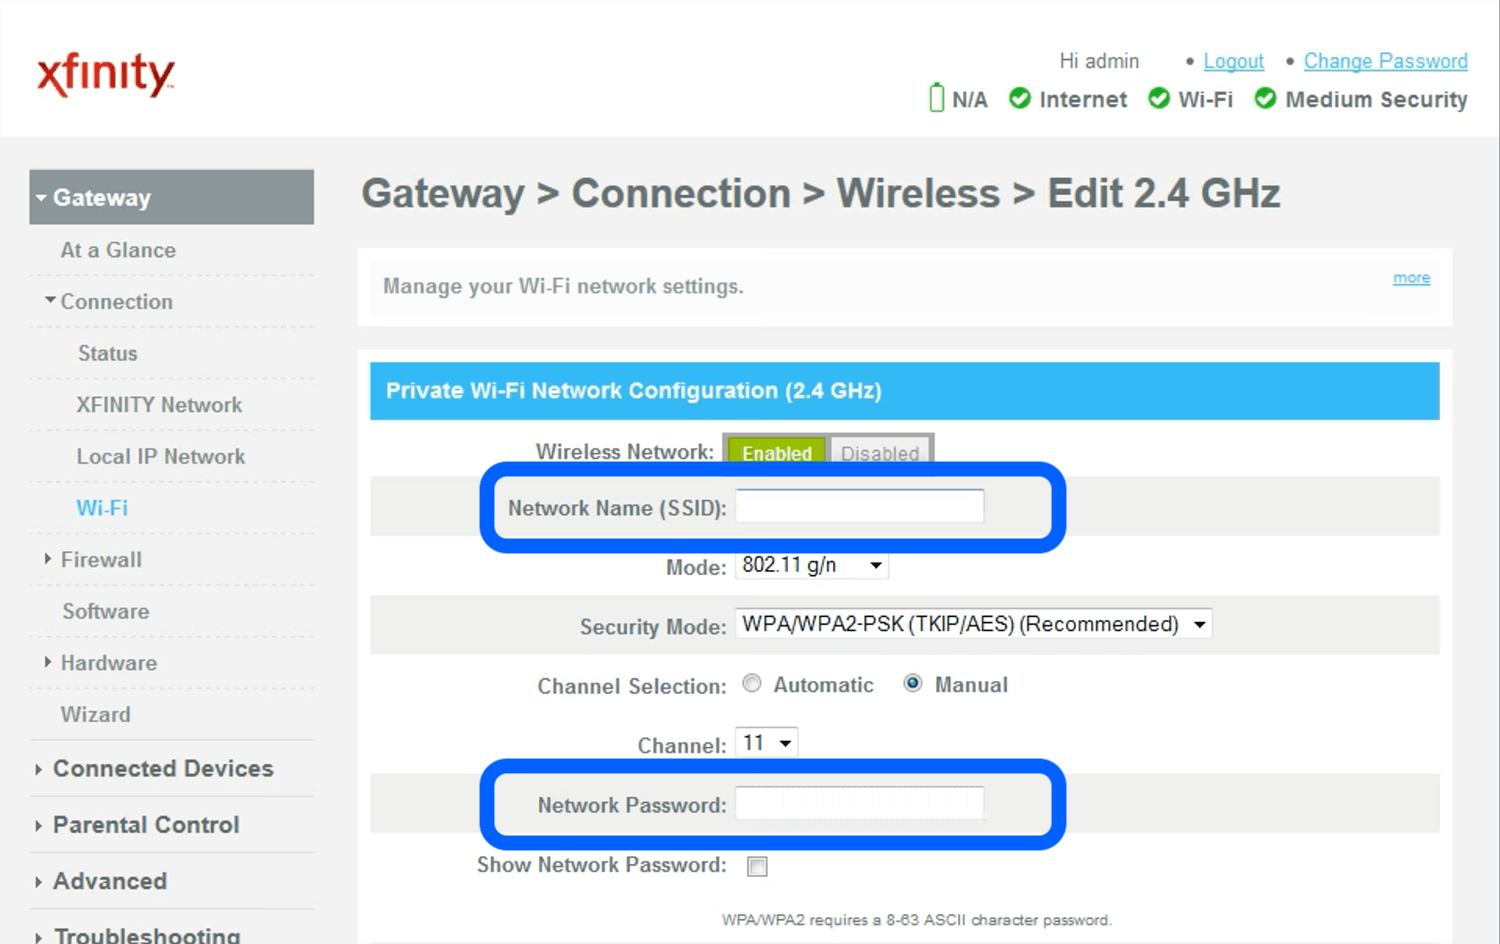
Step 5: Select your Wi-Fi network from the list
After choosing the Wireless network option on your Xbox One, it’s time to select your specific Wi-Fi network from the list of available connections. This step allows you to identify and connect to the Wi-Fi network that requires a login page.
Follow the steps below to select your Wi-Fi network:
- Using your Xbox controller: Within the list of available networks, use the left joystick to navigate and highlight the desired Wi-Fi network. The network names are usually displayed with their respective signal strengths. Once you’ve selected the desired network, press the A button to connect to it.
- Via voice command: If you prefer using voice commands, you can say “Hey Cortana, select [Wi-Fi network name]” to connect to a specific network verbally. Make sure to mention the exact network name to avoid any confusion.
As you select your Wi-Fi network, keep in mind that public networks may have generic names such as “Guest” or “Public Wi-Fi”. For private networks, the name set by the network owner or administrator will be displayed.
Now that you have selected your Wi-Fi network, it’s time to proceed to the next step and enter the login page URL on your Xbox One.
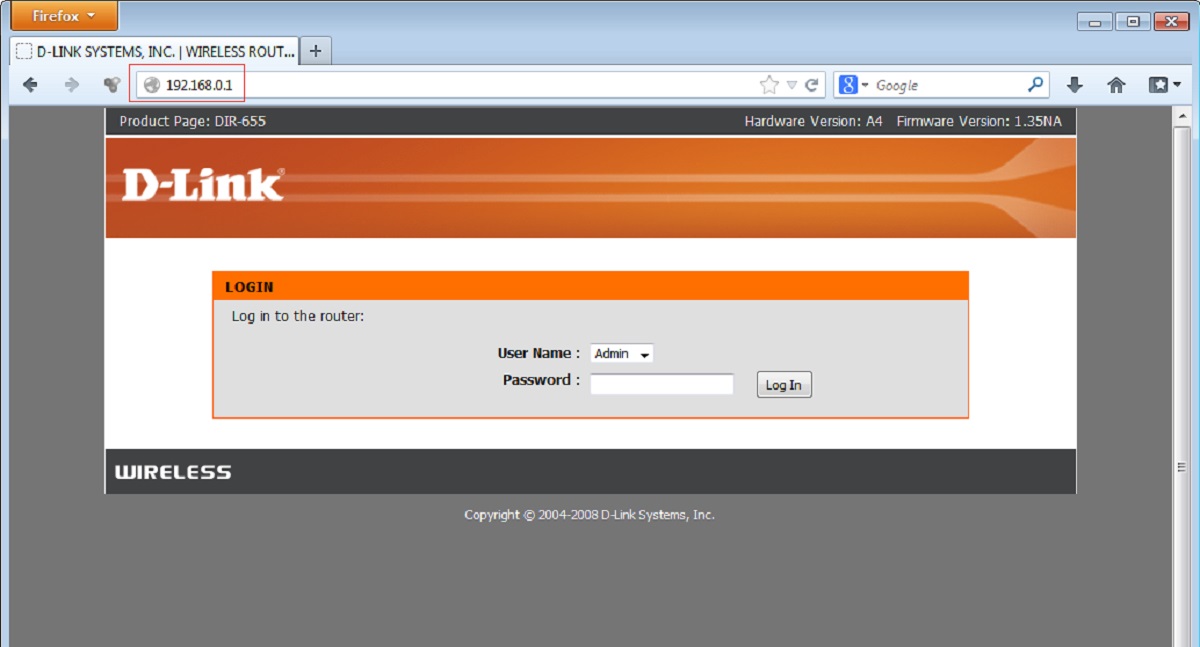
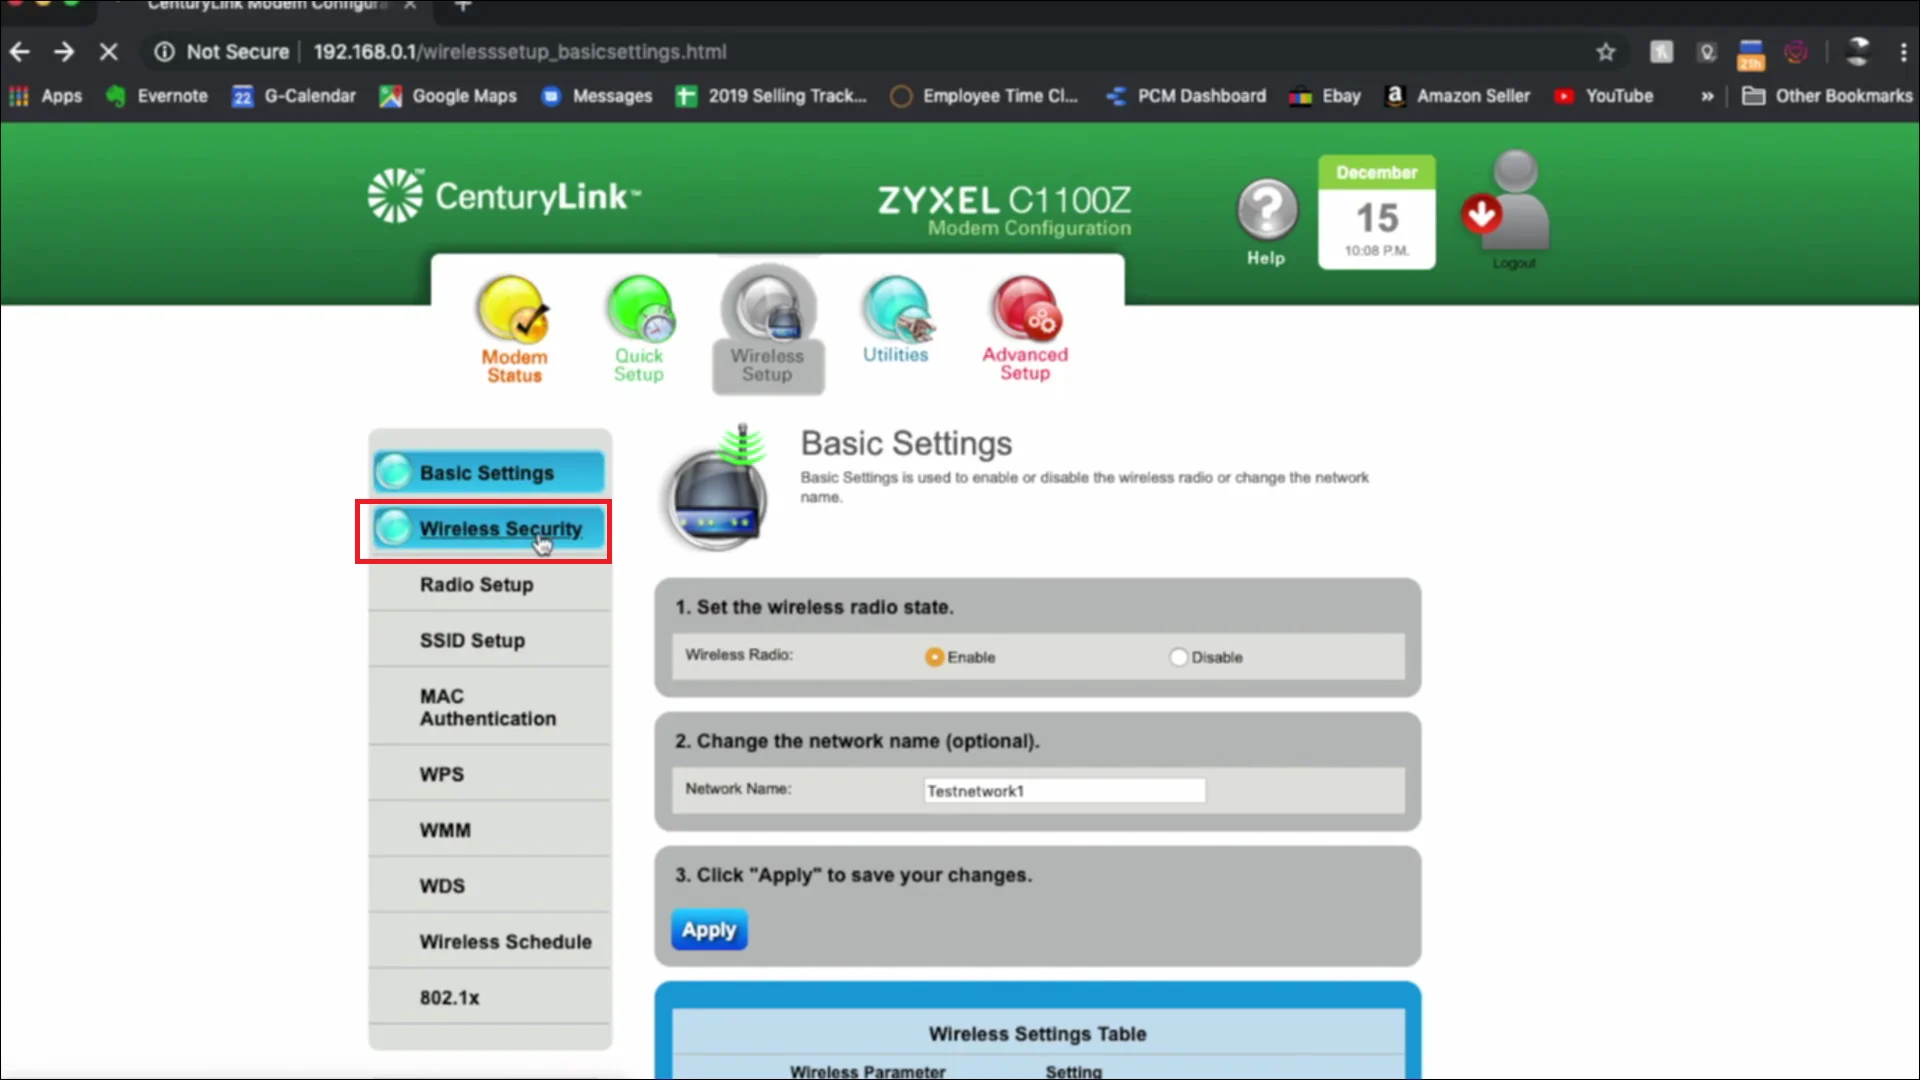
Step 6: Enter the login page URL
After selecting your desired Wi-Fi network on your Xbox One, the next step is to enter the login page URL. This URL is necessary to access the login page where you can provide the required credentials or accept the terms and conditions.
Follow the steps below to enter the login page URL on your Xbox One:
- Using your Xbox controller: Once you have selected your Wi-Fi network, a prompt will appear asking for additional information. Look for an option to enter the login page URL. Navigate to the URL field using the left joystick and press the A button to select it. Then, using the on-screen keyboard, enter the URL provided by the network owner or administrator.
- Via voice command: If you enabled voice commands, you can say “Hey Cortana, enter the login page URL” to access the URL input field. Once the input field is activated, simply provide the URL verbally.
Make sure to enter the correct login page URL to ensure a successful connection to the Wi-Fi network. Refer to any documentation or instructions provided by the network owner or administrator for the accurate URL.
Once you have entered the login page URL, you’re ready to move on to the next step, which involves opening a web browser on a separate device.
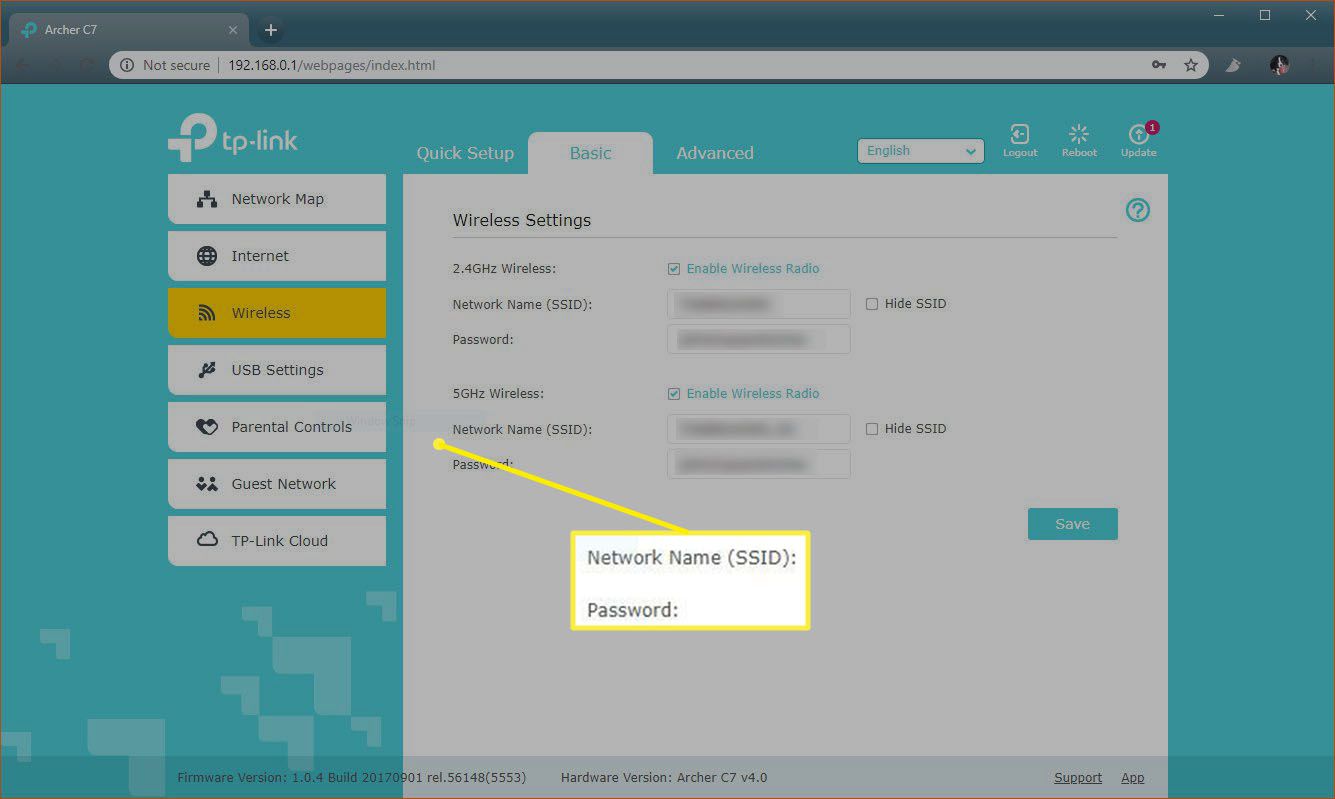
Step 7: Open a web browser on a separate device
After entering the login page URL on your Xbox One, the next step is to open a web browser on a separate device. This device could be a smartphone, tablet, or laptop/desktop computer – essentially any device that can access the internet.
Follow the steps below to open a web browser on a separate device:
- Locate the web browser icon on your device. This icon is typically represented by a globe or a stylized letter “W”.
- Click or tap on the browser icon to launch the web browser application.
- Once the web browser is open, click or tap on the address bar at the top of the browser window. This is where you enter website URLs.
- Type in the same login page URL that you entered on your Xbox One. Ensure that you enter the URL accurately to access the correct login page.
- Press the Enter key on your keyboard or tap the Go button within the browser to navigate to the login page.
By opening a web browser on a separate device, you’ll be able to access the login page associated with the Wi-Fi network you’re connecting to. Now, let’s move on to the next step and enter the login credentials on the login page.
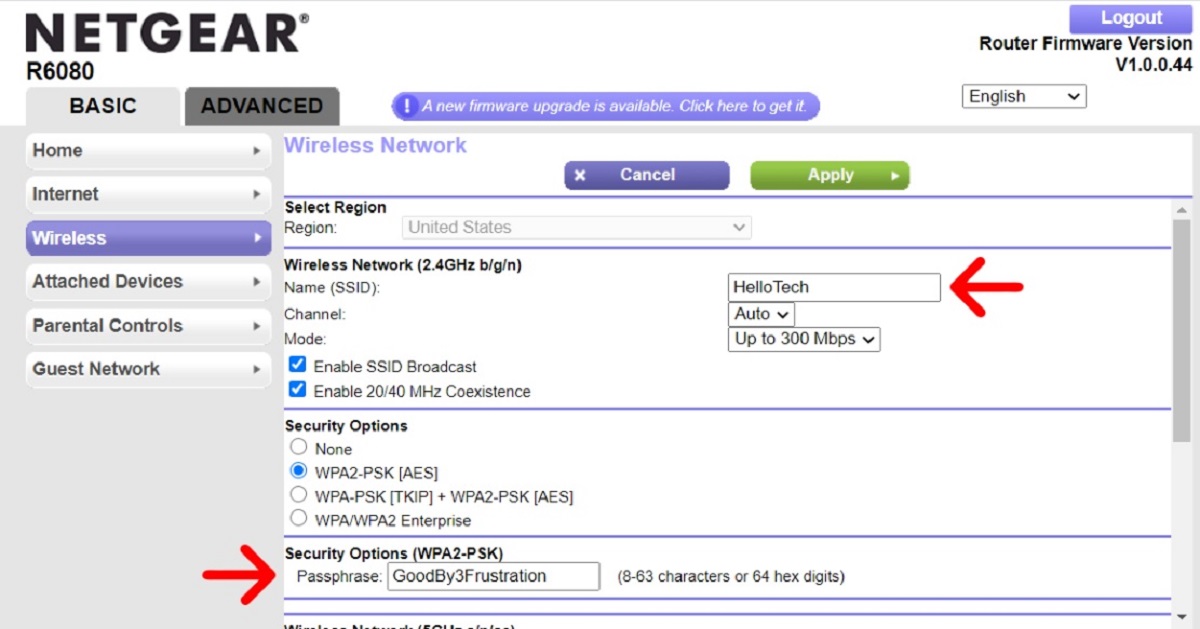
Step 8: Enter the login credentials
Now that you have opened a web browser on a separate device and accessed the login page for the Wi-Fi network, it’s time to enter the login credentials. The login credentials may include a username, password, or other required information to authenticate your connection.
Follow the steps below to enter the login credentials on the login page:
- On the login page displayed in your web browser, locate the fields provided for the login credentials. These fields are typically labeled as “Username” and “Password”.
- Using your keyboard or the on-screen keyboard on your device, enter the required login credentials. Type in your username, password, or any other information as specified by the network owner or administrator.
- Double-check the accuracy of your credentials to ensure they are entered correctly, as mistakes could prevent successful login.
- Once you have entered the login credentials, click the “Login” or “Submit” button on the login page. This button may be labeled differently depending on the particular login page design.
By entering the correct login credentials, you are authenticating your connection to the Wi-Fi network with a login page. This is an important step to ensure a secure and authorized access to the network.
After entering the login credentials, proceed to the next step, which involves completing the login process.
Step 9: Complete the login process
After entering the login credentials on the login page for the Wi-Fi network, the next step is to complete the login process. This step finalizes the authentication and grants you access to the Wi-Fi network on your Xbox One.
Follow the steps below to complete the login process:
- After clicking the “Login” or “Submit” button on the login page, wait for a few moments as the page processes your information.
- If your login credentials are correct and accepted, the login page will verify your credentials and grant you access to the network.
- You may see a confirmation message or be redirected to a different page indicating successful login. Take note of any additional instructions or information provided.
- Once you have completed the login process, you can close the web browser on your separate device.
By completing the login process, you have successfully authenticated your connection to the Wi-Fi network that requires a login page. This means your Xbox One is now connected to the internet and ready to be used for online gaming, streaming, and other network-related activities.
Proceed to the final step to return to the Xbox One settings and confirm the internet connection.
Step 10: Return to the Xbox One settings
After completing the login process on the separate device, the next step is to return to the Xbox One settings on your gaming console. This step allows you to confirm the successful connection to the Wi-Fi network and ensure that the proper settings are in place.
Follow the steps below to return to the Xbox One settings:
- On your separate device, close the web browser that was used to access the login page.
- Using your Xbox controller, press the Xbox button in the center to return to the home screen.
- Navigate back to the Settings menu by using the left joystick to highlight the gear icon, representing the Settings menu, and press the A button to select it.
Once you have returned to the Xbox One settings, you can further customize your network settings or check the connection status to ensure that everything is properly configured.
Now that you have returned to the Xbox One settings, proceed to the next step to test your internet connection and confirm that your Xbox One is successfully connected to the Wi-Fi network with the login page.
Step 11: Test your internet connection
After returning to the Xbox One settings and confirming the connection to the Wi-Fi network with the login page, it’s important to test your internet connection on the console. This final step ensures that you have a stable and functional connection, allowing you to enjoy online gaming, streaming, and other network-related activities on your Xbox One.
Follow the steps below to test your internet connection on the Xbox One:
- Using your Xbox controller, navigate to the Network settings within the Xbox One Settings menu.
- Within the Network settings, look for an option to test your network connection or to check the network status.
- Select this option to initiate the internet connection test.
- The Xbox One will now run a series of tests to assess the quality and speed of your internet connection.
- Wait for the test to complete. This may take a few moments.
- Once the test is complete, the Xbox One will display the results, showing information such as download and upload speeds.
- If the test indicates a successful connection with satisfactory speeds, your Xbox One is successfully connected to the Wi-Fi network with the login page.
With a successful internet connection test, you can now enjoy online gaming, stream your favorite content, and make the most of the various online features and services available on your Xbox One.
Congratulations! You have successfully connected your Xbox One to Wi-Fi with a login page and completed the necessary steps to ensure a reliable and secure connection.
Conclusion
Connecting your Xbox One to Wi-Fi with a login page may seem like a daunting task, but by following the step-by-step instructions outlined in this guide, you can easily navigate through the process.
Starting from powering on your Xbox One to testing your internet connection, each step has been carefully outlined to ensure a seamless and successful connection. By entering the login page URL, opening a web browser on a separate device, entering the login credentials, and completing the login process, you can establish a secure connection to the Wi-Fi network.
Remember to double-check the accuracy of the login credentials and ensure you have the correct login page URL to avoid any connection issues. Following these steps will enable you to access online gaming, enjoy streaming services, and make the most of the various features offered by your Xbox One.
Now that you have connected your Xbox One to Wi-Fi with a login page, you can immerse yourself in the thrilling world of online gaming and connect with friends from around the globe. Whether you’re playing multiplayer games, joining online communities, or streaming your favorite movies and TV shows, a stable and secure Wi-Fi connection is essential for an enjoyable experience on your Xbox One.
So, grab your Xbox controller, power on your console, and follow the steps outlined in this guide to effortlessly connect your Xbox One to Wi-Fi with a login page. Get ready to embark on countless gaming adventures and discover the endless possibilities that await you with a reliable and secure internet connection on your Xbox One.