Introduction
Connecting to the school wifi network is essential for students and faculty to access online resources, communicate with peers, and stay updated with digital learning platforms. Having a reliable internet connection can greatly enhance the learning experience, allowing for seamless research, collaboration, and communication.
However, connecting to the school wifi network may seem daunting for some users, especially if they are not familiar with the process. In this guide, we will walk you through the steps to connect to the school wifi network effortlessly.
Whether you are a student trying to connect your laptop or a teacher setting up your tablet, this guide will provide you with the necessary information to get connected in no time. We will cover everything from checking device compatibility to troubleshooting common connection issues, ensuring you have a smooth and uninterrupted wifi experience.
It is important to note that each school may have its own unique set of instructions and procedures for connecting to the wifi network. However, the general steps outlined in this guide will provide a solid foundation regardless of the specific setup at your school.
So, let’s dive into the process of connecting to the school wifi network and get you connected quickly and easily!
Step 1: Check if your device is compatible with the school wifi network
Before attempting to connect to the school wifi network, it is important to ensure that your device is compatible. Most modern devices such as smartphones, laptops, and tablets are compatible with wifi networks. However, it is still a good idea to double-check to avoid any connectivity issues.
Start by checking if your device has built-in wifi capabilities. Look for the wifi symbol or antenna icon either on the front or back of your device. If you are unsure, refer to the user manual or do a quick online search to determine if your device supports wifi connectivity.
Next, check if your device is running the latest operating system or firmware updates. These updates often include bug fixes and improvements for wifi connectivity. To check for updates, go to your device’s settings menu and look for the “Software Update” or “System Update” option. If there are any pending updates, download and install them before attempting to connect to the school wifi network.
Additionally, make sure that your device is not in airplane mode or has the wifi function turned off. Airplane mode disables all wireless connections, including wifi. To turn off airplane mode or enable wifi, swipe down from the top of your device’s screen (on mobile devices) or access the settings menu (on computers) and locate the network or connectivity options.
In some cases, certain devices may require additional hardware or software to connect to the wifi network. For example, if you are using a printer or other peripheral device that needs to connect to the network, ensure that it is equipped with built-in wifi capabilities or can be connected via a wireless adapter.
By taking these steps and ensuring that your device is compatible, you will set a solid foundation for connecting to the school wifi network. With compatibility out of the way, let’s move on to the next step of obtaining the necessary login information from your school.
Step 2: Obtain the necessary login information from your school
Once you have confirmed that your device is compatible with the school wifi network, the next step is to obtain the necessary login information from your school. This information is usually provided by the school’s IT department or can be obtained from the school’s administration office.
Start by reaching out to the school administration office and inquire about the wifi login credentials. They will be able to provide you with a username and password that you will use to authenticate and connect to the school’s wifi network.
It is important to note that some schools may use a different authentication method known as a network key or passphrase. This is a unique combination of characters that you need to enter to access the wifi network. If this is the case, ask the school administration for the network key and keep it handy for the next steps.
While obtaining the login information, it is also a good idea to ask about any specific instructions or policies related to connecting to the school wifi network. For example, some schools may have restrictions on certain websites or require additional steps for device registration or security authentication.
Make sure to jot down the login credentials or network key in a secure place so that you can easily refer to them when connecting to the wifi network. Many devices also provide the option to save the login information, so you don’t have to enter it every time you connect to the network.
If you are a student, your school may have a student portal or online platform where you can access the wifi login information. Check your school’s website or student resources to see if the login credentials are available online.
By obtaining the necessary login information from your school, you will be well-prepared to proceed to the next step of connecting to the school wifi network on your device.
Step 3: Connect to the school wifi network on your device
Now that you have the necessary login information from your school, it’s time to connect to the school wifi network on your device. The process may vary slightly depending on your device’s operating system, but the general steps are as follows:
For Android devices:
- Open the “Settings” app on your Android device.
- Select “Wi-Fi” or “Connections” to access the wifi settings.
- Toggle the wifi switch to turn it on if it’s not already enabled.
- A list of available wifi networks will appear. Look for the name of your school’s wifi network.
- Tap on the network name to connect to it.
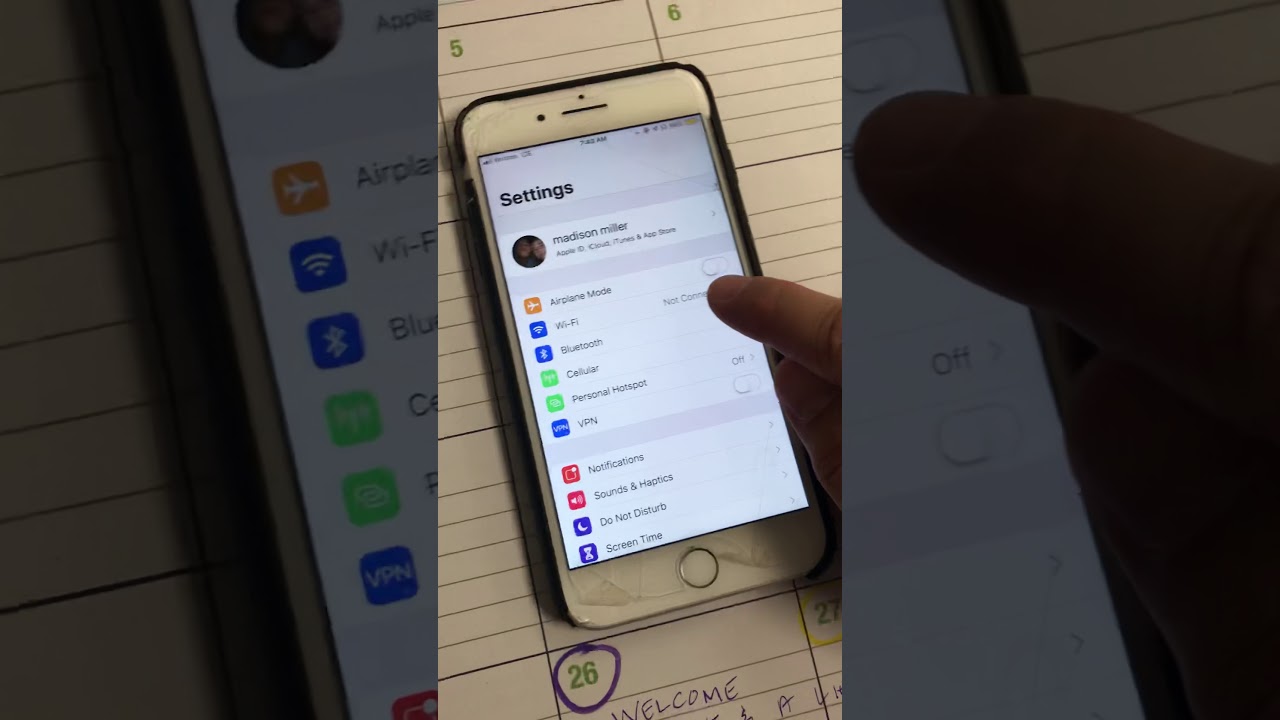
For iOS (iPhone, iPad) devices:
- Go to the “Settings” app on your iOS device.
- Select “Wi-Fi” from the menu.
- Ensure that the wifi switch is turned on.
- A list of available wifi networks will be displayed. Find your school’s wifi network.
- Tap on the network name to connect.
For Windows devices:
- Click on the wireless icon in the taskbar or select the network icon in the system tray.
- A list of available networks will appear. Choose your school’s wifi network from the list.
- Click on “Connect” or enter the network key or passphrase if prompted.
For Mac devices:
- Click on the wifi icon in the menu bar at the top of the screen.
- A list of available networks will be shown. Select your school’s wifi network.
- If prompted, enter the network key or passphrase and click “Join” or “Connect”.
After following these steps, your device should establish a connection to the school wifi network. You may see a loading icon or a notification indicating that your device is connected to the network. Congratulations! You are now ready to proceed to the next step and enter the login credentials provided by your school.
Step 4: Enter the login credentials provided by your school
With your device connected to the school wifi network, it’s time to enter the login credentials provided by your school. These credentials typically consist of a username and password or a network key, depending on the authentication method used by your school.
Follow these steps to enter the login credentials on your device:
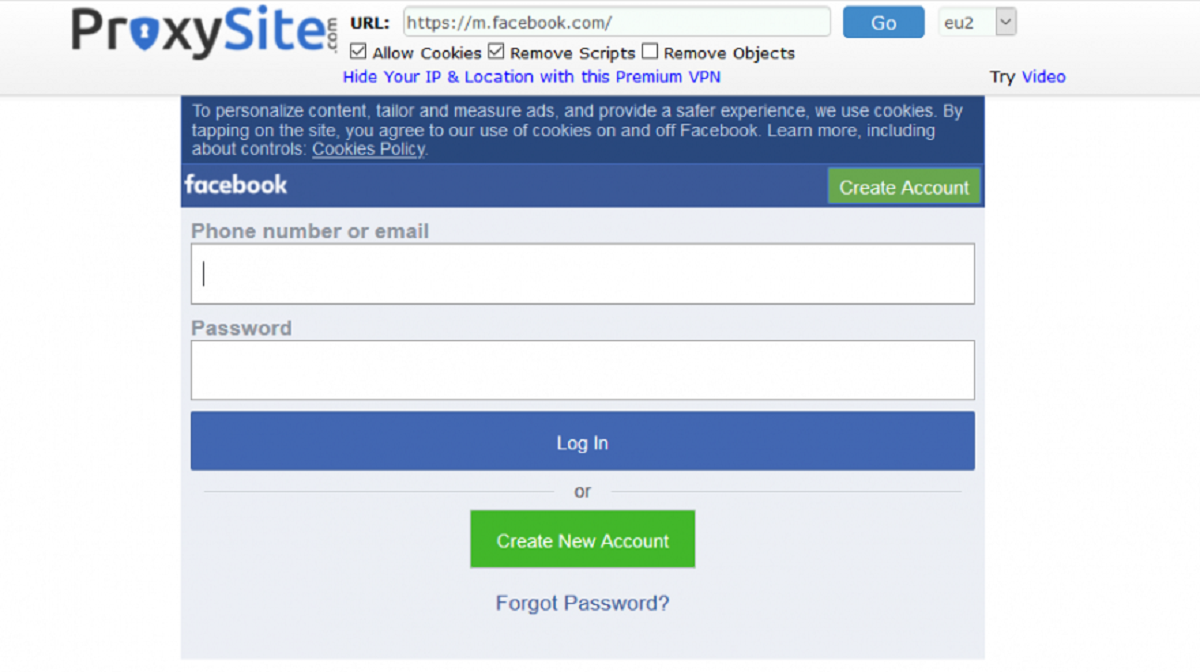
- Open a web browser on your device.
- In the address bar, enter any URL or website address (e.g., www.google.com).
- You will be redirected to a login page or a captive portal page.
- On the login page, enter your username and password provided by your school, or enter the network key if prompted.
- Click on the “Submit” or “Login” button to proceed.
Once you have successfully entered the login credentials, your device will authenticate with the school wifi network. You may notice that the captive portal page redirects to a welcome page or a designated homepage specific to your school.
It’s important to remember that the login credentials are case-sensitive, so ensure that you enter them correctly. If you are unsure about the login credentials or encounter any issues during this step, reach out to the school administration or IT department for assistance.
Some devices offer the option to save the login credentials, which allows you to automatically connect to the network without entering the credentials every time. This can be convenient, especially if you regularly connect to the school wifi network.
Now that you have successfully entered the login credentials, you are one step closer to enjoying a seamless and uninterrupted wifi experience. Next, we will discuss how to handle any security certificates or prompts that may appear during the connection process.
Step 5: Accept any security certificates or prompts that may appear
When connecting to the school wifi network, you may encounter security certificates or prompts that require your attention. These security measures are in place to ensure the safety and privacy of the network and its users. It’s important to know how to handle these prompts to complete the connection process successfully.
Here are some common security certificates or prompts you may come across:
- Security Certificate Warning: In some cases, when connecting to a wifi network, you may receive a security certificate warning. This warning indicates that the network you are connecting to may not be secure. While it’s important to be cautious, it’s worth noting that schools usually have secure wifi networks. To proceed, click on the “Accept” or “Continue” button to connect to the network.
- Proxy Settings: Depending on the network configuration, you may be prompted to enter proxy settings. Proxy servers act as intermediaries between your device and the internet and can be used to monitor or filter network traffic. If your school requires proxy settings, make sure to enter the correct server address and port number provided by your school.
- Terms and Conditions: Some networks may require you to agree to the terms and conditions before accessing the internet. Read through the terms and conditions carefully and click on the “Agree” or “Accept” button to proceed.
- Additional Authentication: In some cases, you may be prompted to provide additional authentication, such as a secondary password or a verification code sent to your email or phone. Follow the instructions provided and enter the required information to complete the authentication process.
It’s crucial to exercise caution and verify the legitimacy of any prompts or certificates before proceeding. If you receive any suspicious or unexpected prompts, do not proceed and reach out to the school administration or IT department for guidance.
By accepting the necessary security certificates and prompts, you are ensuring a secure and reliable connection to the school wifi network. With the connection established, it’s time to move on to the next step: troubleshooting common connection issues.
Step 6: Troubleshooting common connection issues
While connecting to the school wifi network is usually a straightforward process, you may encounter some common connection issues along the way. These issues can range from weak signal strength to authentication errors. Understanding and troubleshooting these problems can help ensure a seamless and uninterrupted wifi experience.
Here are some common connection issues and their troubleshooting steps:
- Weak Signal: If you are experiencing a weak wifi signal or unable to connect, try moving closer to the wifi router or access point. Physical obstructions such as walls and distance can interfere with signal strength. If possible, position yourself in an area where the signal is strongest.
- Authentication Error: If you are unable to authenticate or encounter authentication errors, double-check the login credentials or network key you entered. Ensure that you have entered them correctly, including checking for any capitalization or spelling mistakes. If the problem persists, reach out to the school administration or IT department for assistance.
- Device Limit Reached: Some wifi networks have a limit on the number of devices that can connect simultaneously. If you are unable to connect, it’s possible that the device limit has been reached. In such cases, disconnect unused devices or reach out to the school administration or IT department to inquire about the device limit and discuss potential solutions.
- Network Reset: If you are experiencing persistent connectivity issues, try resetting the network settings on your device. This can help resolve any temporary glitches or conflicts. Refer to your device’s settings menu or user manual for instructions on how to reset network settings.
- Restart Router: If multiple devices are experiencing connectivity issues, it may be helpful to restart the wifi router or access point. Simply unplug the power cable, wait for a few seconds, and then plug it back in. This can help resolve any temporary network issues.
If none of the troubleshooting steps mentioned above help resolve the connection issues, it’s advised to seek technical support from the school administration or IT department. They will have the knowledge and resources to further investigate and address any underlying network or device-related problems.
By effectively troubleshooting common connection issues, you can overcome any obstacles that arise and enjoy a stable and reliable wifi connection while at school.
Conclusion
Connecting to the school wifi network is a crucial step in accessing online resources, collaborating with peers, and maximizing the benefits of digital learning. By following the steps outlined in this guide, you can easily connect your device to the school wifi network and enjoy a seamless and uninterrupted internet experience.
We began by checking if your device is compatible with the school wifi network, ensuring that you meet the necessary requirements. Next, we emphasized the importance of obtaining the login information from your school, as it is essential for the authentication process.
Then, we guided you through the process of connecting to the school wifi network on your device. We provided instructions for various operating systems, including Android, iOS, Windows, and Mac devices, ensuring that regardless of the device you use, you can connect effortlessly.
Once connected, we discussed the significance of entering the login credentials or network key provided by your school. This step is crucial for authenticating with the network and gaining access to the internet.
In addition, we highlighted the importance of accepting any security certificates or prompts that may appear during the connection process. These measures are in place to ensure the safety and privacy of the network.
Lastly, we addressed common connection issues that you may encounter while connecting to the school wifi network. By troubleshooting these issues, you can overcome any obstacles and establish a stable and reliable connection.
It is important to remember that each school may have its own unique procedures and guidelines for connecting to the wifi network. Therefore, always consult your school administration or IT department for specific instructions.
With the information provided in this guide, you are now equipped with the knowledge and steps necessary to confidently connect to the school wifi network. Enjoy seamless internet access, enhance your learning experience, and make the most of the digital resources available to you!