Introduction
Welcome to this guide on how to change your WiFi password for Xfinity. In today’s digital age, having a secure and reliable internet connection is essential for both work and leisure. Xfinity, a leading provider of internet services, offers a wide range of plans and options to meet your connectivity needs.
Changing your WiFi password regularly is one of the best practices for maintaining the security of your network. By doing so, you can prevent unauthorized access and ensure that only trusted devices can connect to your network. In this comprehensive guide, we will walk you through the step-by-step process of changing your Xfinity WiFi password.
Before we dive into the details, let’s briefly discuss what Xfinity is. Xfinity is a brand of Comcast, a multinational telecommunications conglomerate. Xfinity offers internet, TV, and phone services to millions of customers across the United States. Their wide coverage and reliable network infrastructure make them a popular choice for home and business internet connectivity.
Now, you might be wondering why you should bother changing your Xfinity WiFi password in the first place. Well, there are a few compelling reasons to do so. Firstly, as mentioned earlier, changing your WiFi password regularly is crucial to protect your network from unauthorized access. This is especially important if you live in a densely populated area where there could be many neighboring WiFi networks.
Another reason to change your Xfinity WiFi password is to revoke access for any devices or individuals that you no longer want to have access to your network. Perhaps you’ve recently had a roommate move out, or you’ve had to let go of an employee who had access to the network. In these situations, changing the WiFi password is a necessary step to ensure that only trusted devices are connected.
Lastly, changing your WiFi password can help improve the overall performance and speed of your network by preventing bandwidth hogging and ensuring that only authorized devices are connected. So, with these reasons in mind, let’s jump into the step-by-step process of changing your Xfinity WiFi password.
What is Xfinity?
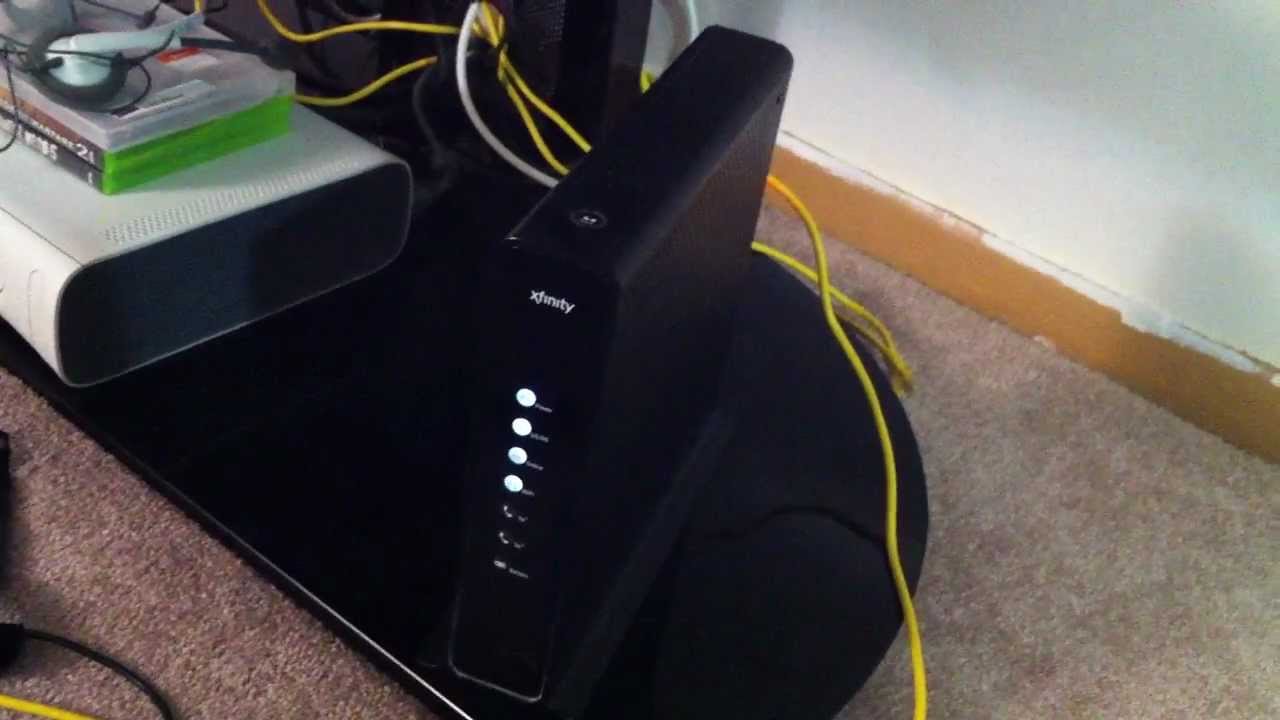
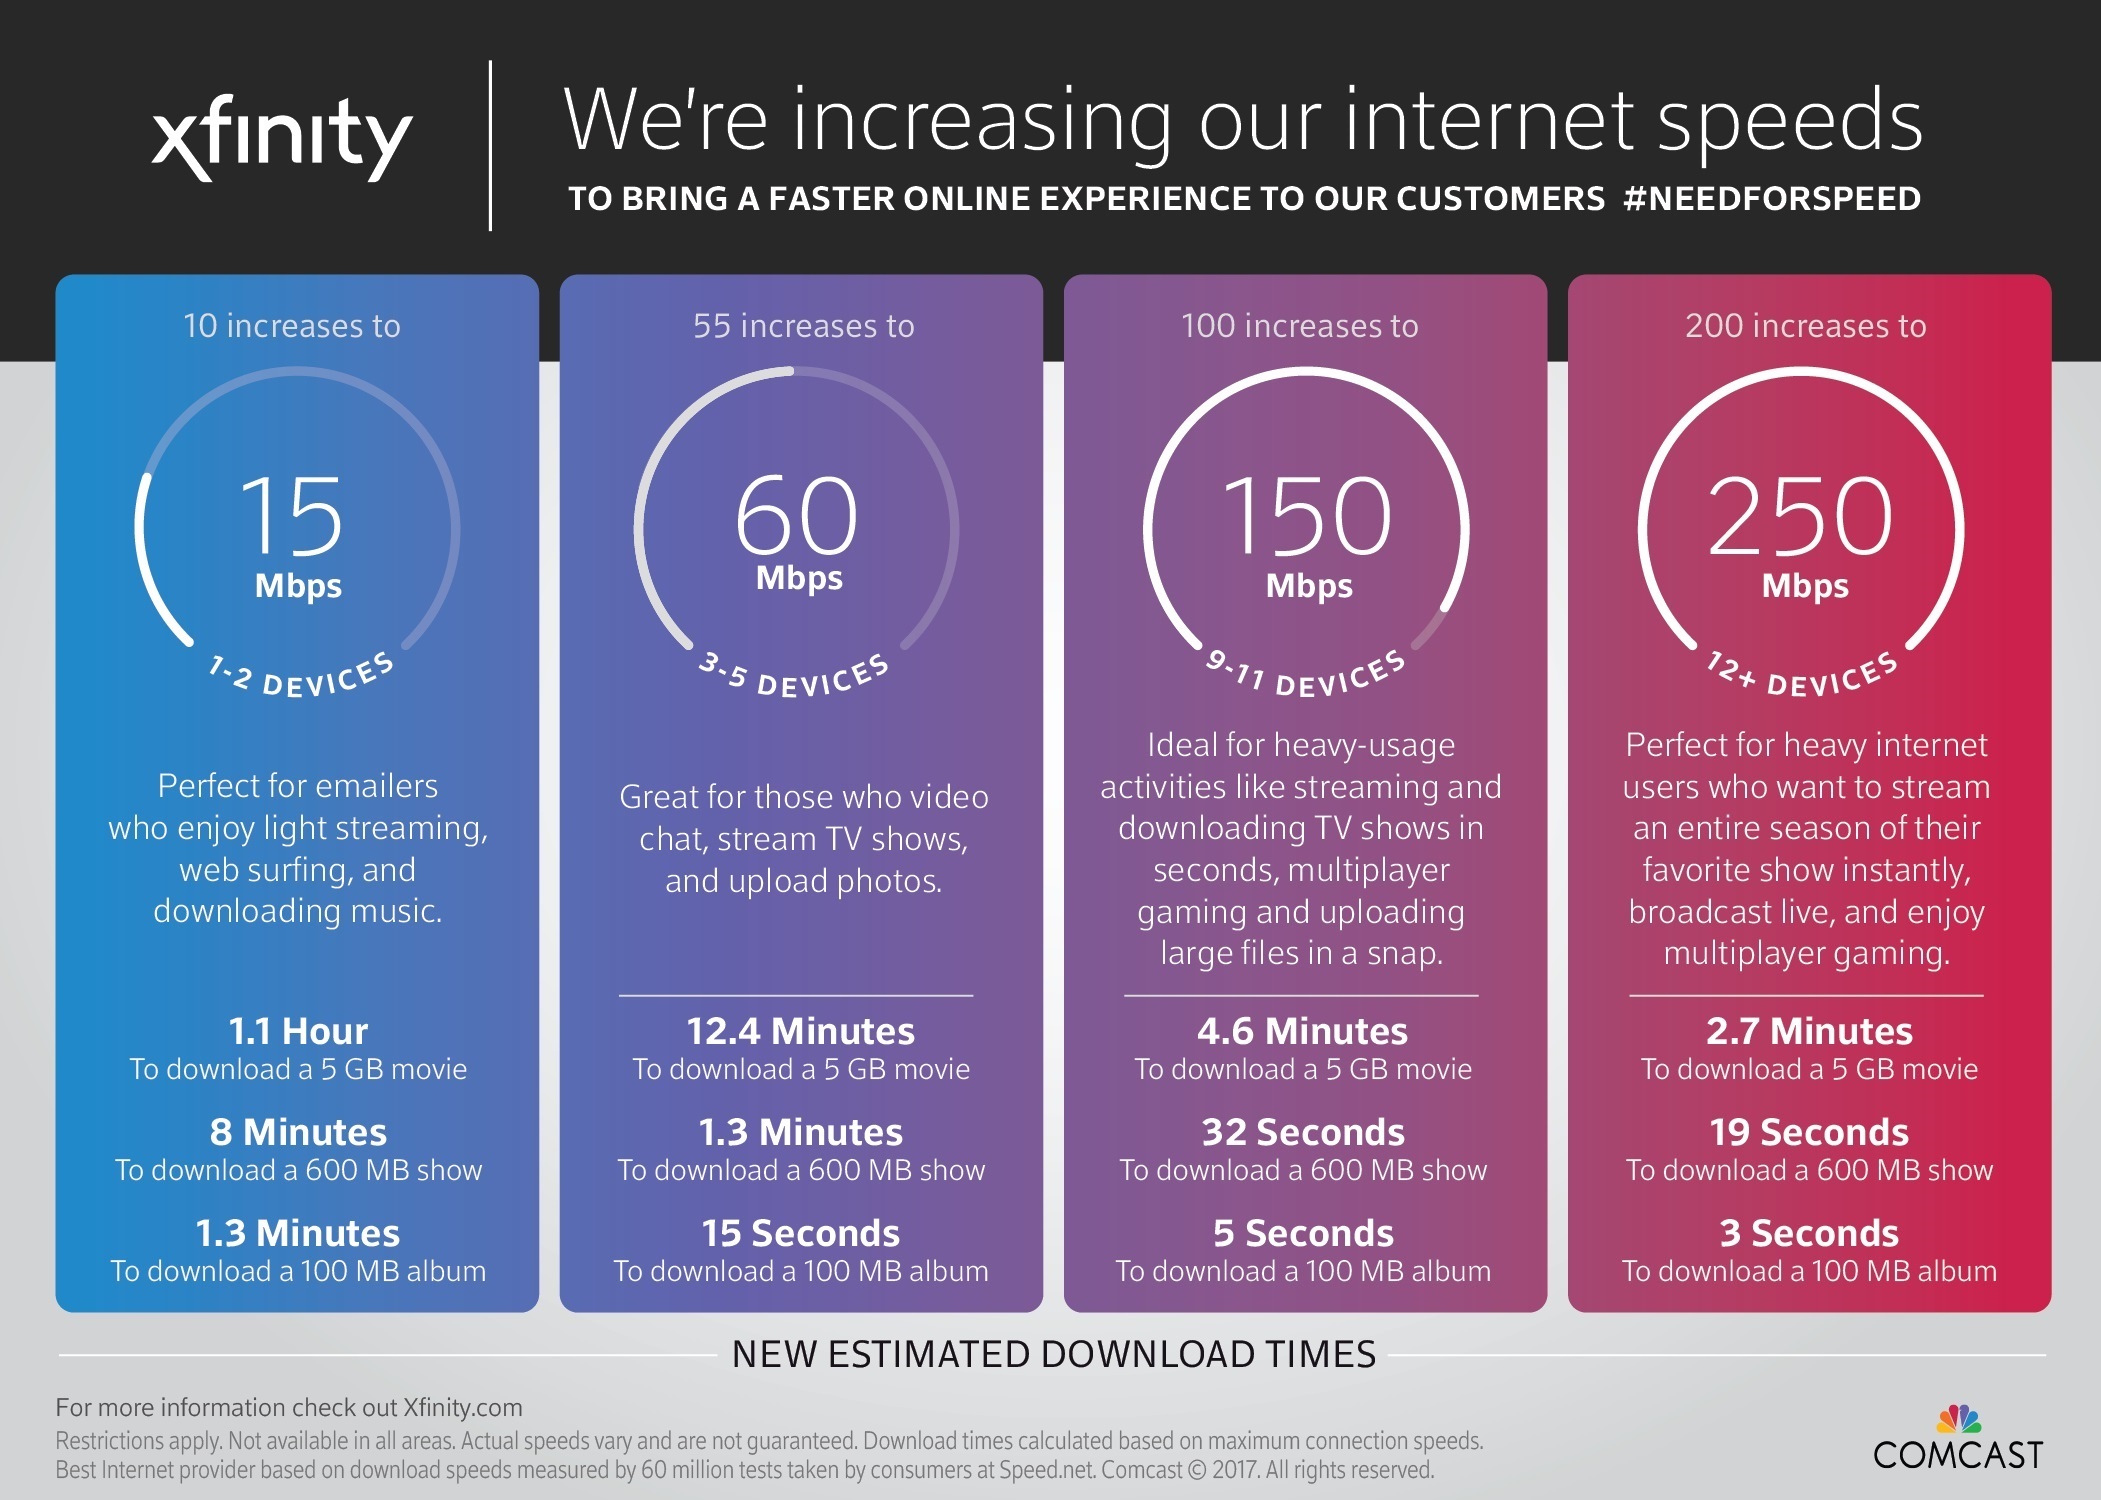
Xfinity is a brand of Comcast Corporation, a leading telecommunications and media company. It offers a wide range of services, including internet, TV, phone, and home security. With millions of customers across the United States, Xfinity has established itself as a trusted provider of high-speed internet and reliable connectivity.
One of Xfinity’s main offerings is its internet service, which provides fast and stable internet access for residential and business users. Xfinity utilizes a hybrid-fiber coaxial network (HFC) that combines fiber optic cables and coaxial cables to deliver high-speed internet to its customers. This technology allows for fast and efficient data transmission, making it suitable for bandwidth-intensive activities like streaming, gaming, and downloading large files.
In addition to internet services, Xfinity offers a range of entertainment options through its X1 platform. X1 is an advanced entertainment system that combines live TV, on-demand content, streaming apps, and DVR capabilities into a seamless viewing experience. Customers can access a wide selection of channels, movies, shows, and sports events, making it a comprehensive entertainment solution for the whole family.
Furthermore, Xfinity provides phone services that offer unlimited nationwide calling, voicemail, caller ID, and other features. Customers can choose from various plans that best suit their needs, whether it’s a basic phone plan or one with advanced features like call forwarding and simultaneous ringing. Xfinity’s phone services are reliable and deliver clear and consistent voice quality.
Xfinity also offers home security solutions through its Xfinity Home service. This service allows customers to monitor and control their home security systems remotely through a mobile app or web portal. With features like live video monitoring, smart home integration, and 24/7 professional monitoring, Xfinity Home provides peace of mind and enhances the safety of your home.
Overall, Xfinity is a comprehensive telecommunications provider that offers a range of services to meet the diverse needs of its customers. Whether you require high-speed internet, entertainment options, reliable phone services, or home security solutions, Xfinity has you covered. With its advanced technology, excellent customer service, and extensive coverage, Xfinity has become a trusted name in the telecommunications industry.
Reasons to Change Your Xfinity WiFi Password
Changing your Xfinity WiFi password on a regular basis is important for several reasons. Let’s explore some of the key motivations behind this best practice:
1. Enhanced Security: Changing your WiFi password regularly helps protect your network from unauthorized access. By utilizing a strong and unique password, you can prevent hackers or neighbors from accessing your internet connection without your permission. This safeguards your personal information, reduces the risk of identity theft, and ensures that only trusted devices can connect to your network.
2. Revoking Access: Life circumstances may require you to revoke access to specific devices or individuals who were previously granted permission to connect to your network. Perhaps a roommate has moved out, an employee has left your organization, or a friend who frequently visited no longer needs access. Changing your WiFi password allows you to effectively cut off their connection, ensuring that only authorized users can access your network.
3. Preventing Bandwidth Hogging: In some cases, unauthorized users can exploit your WiFi network and unnecessarily consume your bandwidth. This can have a negative impact on your internet speeds, causing delays and buffering while using your connection. By regularly changing your WiFi password, you can effectively block any devices that may be hogging your bandwidth and improve the overall performance of your network.
4. Protecting IoT Devices: With the increasing popularity of Internet of Things (IoT) devices, it’s important to take additional measures to secure your network. By changing your WiFi password regularly, you mitigate the risk of unauthorized users gaining access to your smart devices, such as thermostats, security cameras, and voice assistants. This ensures that your IoT devices continue to operate securely and as intended.
5. Compliance with Best Practices: Changing your WiFi password is considered a best practice for network security, and it is strongly recommended by experts in the field. By implementing this practice, you demonstrate a proactive approach to protecting your network and adhering to industry standards.
By considering the importance of enhanced security, revoking access, preventing bandwidth hogging, protecting IoT devices, and complying with best practices, you can clearly see why it’s crucial to change your Xfinity WiFi password regularly. In the following sections, we will provide a step-by-step guide on how to accomplish this task.
How to Change Your Xfinity WiFi Password
Changing your Xfinity WiFi password is a straightforward process that can be done through the Xfinity Router Admin Panel. Follow these step-by-step instructions to change your WiFi password:
Step 1: Accessing the Xfinity Router Admin Panel
The first step is to access the Xfinity Router Admin Panel. You can do this by opening a web browser on a device that is connected to your Xfinity network. In the address bar, type in “10.0.0.1” or “http://xfinity.com/myxfi” and press Enter. This will take you to the Xfinity Router Admin Panel login page.
Step 2: Logging into the Admin Panel
On the login page, enter your Xfinity username and password. If you haven’t changed the default login credentials, you can use the default username “admin” and the default password “password”. Once you have entered your login information, click on the “Sign In” or “Login” button to access the admin panel.
Step 3: Navigating to the WiFi Settings
Once you are logged into the admin panel, navigate to the “Gateway” or “Router Settings” section. Look for the “WiFi” or “Wireless” option, which will lead you to the WiFi settings page.
Step 4: Changing Your WiFi Password
On the WiFi settings page, you will see various options related to your Xfinity WiFi. Look for the option to change the network password or passphrase. Click on it, and you will be prompted to enter a new password for your WiFi network.
Step 5: Applying the Changes
After entering your new WiFi password, click on the “Apply” or “Save” button to save the changes. The admin panel may take a moment to apply the new settings. Once the changes are successfully applied, your Xfinity WiFi network will be secured with the new password.
Step 6: Reconnecting Your Devices
With the new WiFi password in place, you will need to reconnect your devices to the network. Access the WiFi settings on each device, select your Xfinity network, and enter the new password when prompted. Make sure to update the password on all your devices to ensure uninterrupted internet connectivity.
It is recommended to restart your devices after changing the WiFi password to ensure a smooth transition to the new network settings. Additionally, remember to update any devices or applications that require your WiFi password for automatic connection.
By following these simple steps, you can easily change your Xfinity WiFi password and ensure the security of your network.
Step 1: Accessing the Xfinity Router Admin Panel
The first step in changing your Xfinity WiFi password is to access the Xfinity Router Admin Panel. This panel allows you to make various changes to your network settings. Follow these instructions to access the admin panel:
1. Ensure that you are connected to your Xfinity network. You can use a computer, laptop, or any other device with a web browser for this step.
2. Open a web browser on your chosen device. It can be Google Chrome, Mozilla Firefox, Safari, or any other browser of your preference.
3. In the address bar of your browser, type in “10.0.0.1” or “http://xfinity.com/myxfi” (without the quotation marks) and press Enter. These addresses will take you to the login page of the Xfinity Router Admin Panel.
4. Wait for a moment while the page loads. You might see a security warning or certificate error message, but you can safely proceed by clicking on the option to continue to the site.
5. On the login page, you will be prompted to enter your Xfinity username and password. If you have not customized these credentials, you can use the default username “admin” and the default password “password”. However, it is highly recommended to change these default login credentials for security reasons.
6. Enter your username and password in the respective fields, then click on the “Sign In” or “Login” button to proceed. If the login credentials provided are correct, you will be granted access to the Xfinity Router Admin Panel.
7. Congratulations! You have successfully accessed the Xfinity Router Admin Panel, which will allow you to make changes to your network settings and ultimately change your WiFi password.
It’s important to note that the specific steps to access the Xfinity Router Admin Panel may vary slightly depending on the model of your Xfinity router. However, the general process remains consistent across most Xfinity routers.
By following the instructions in this step, you have successfully accessed the Xfinity Router Admin Panel. You are now ready to proceed to the next step, which is logging into the admin panel and navigating to the WiFi settings to change your Xfinity WiFi password.
Step 2: Logging into the Admin Panel
Once you have accessed the Xfinity Router Admin Panel, the next step is to log in using your Xfinity username and password. This will grant you access to the various settings and configurations available in the admin panel. Follow these instructions to log into the admin panel:
1. On the Xfinity Router Admin Panel login page, you will see fields prompting you to enter your Xfinity username and password.
2. Enter your Xfinity username in the designated field. If you are unsure of your username, you can usually find it on your Xfinity bill or any official communication from Xfinity. If you have customized your username, enter the one you created.
3. After entering your username, move on to the password field. If you haven’t changed the default password, you can use “password” as the default password. However, for security reasons, it is highly recommended to change the default password to a unique and strong one. If you have customized your password, enter the password you set.
4. Double-check the entered username and password for accuracy. Pay attention to capitalization, as usernames and passwords are case-sensitive.
5. Once you have entered your Xfinity username and password, click on the “Sign In” or “Login” button. This will initiate the login process and verify your credentials.
6. The Xfinity Router Admin Panel will authenticate your login information. If the provided username and password are correct, you will be granted access to the admin panel. If not, you may receive an error message indicating that the login information is incorrect. In this case, double-check your username and password and reattempt the login.
7. Upon successful login, you will be redirected to the main page of the Xfinity Router Admin Panel. Here, you will have access to various settings and configurations related to your Xfinity router and network.
Remember, if you have forgotten your Xfinity username or password, you can use the password recovery option provided on the login page. Click on the “Forgot username/password” link, and follow the instructions to restore or reset your login credentials.
By following these instructions, you will be able to successfully log into the Xfinity Router Admin Panel. In the next step, we will guide you on how to navigate to the WiFi settings page within the admin panel.
Step 3: Navigating to the WiFi Settings
After logging into the Xfinity Router Admin Panel, the next step is to navigate to the WiFi settings page. This is where you will find the option to change your Xfinity WiFi password. Follow these instructions to successfully navigate to the WiFi settings:
1. Once you have logged into the Xfinity Router Admin Panel, you will be on the main page or dashboard of the admin panel. This page typically displays an overview of your network status, connected devices, and other relevant information.
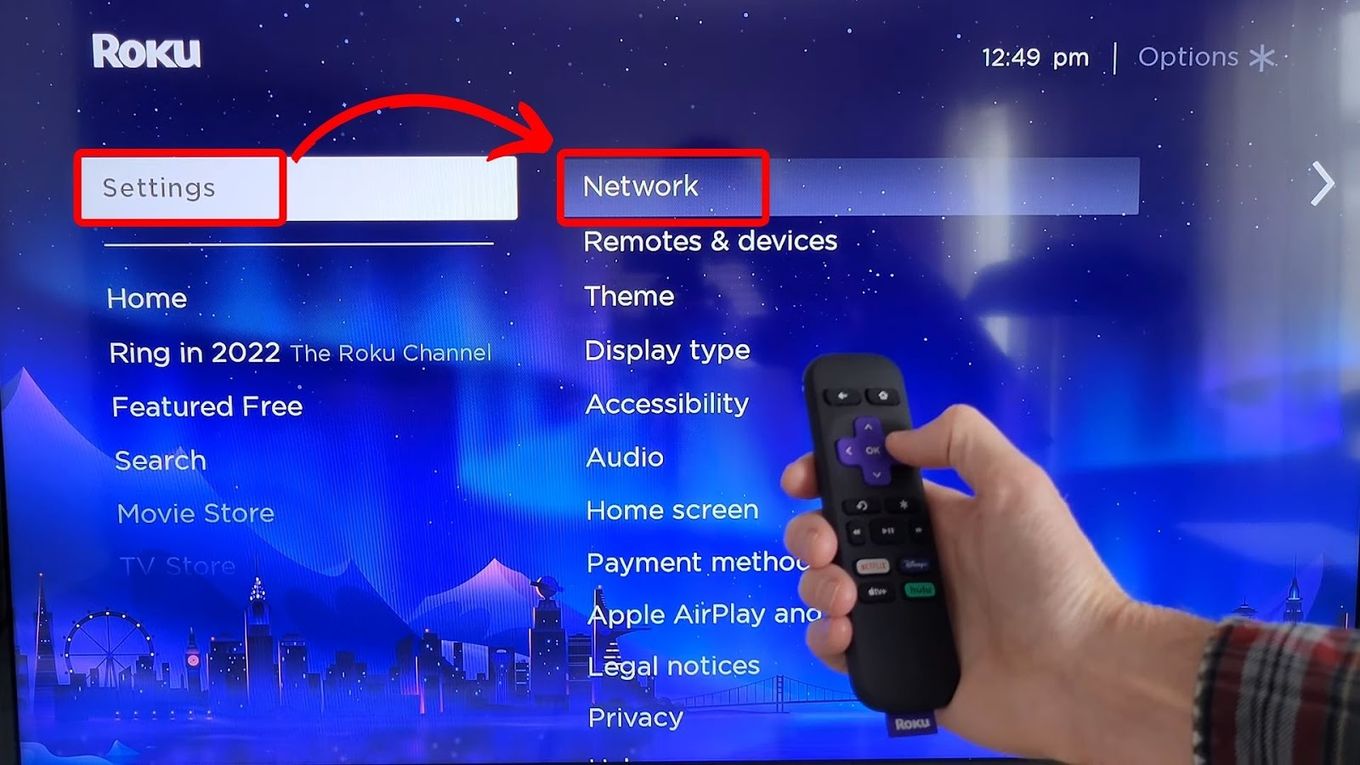
2. Look for the navigation menu on the admin panel. The menu is usually located on the left or top side of the page, and it contains various options and settings related to your Xfinity router.
3. Navigate through the menu options to find the one related to WiFi or wireless settings. The wording may vary depending on the specific Xfinity router model or firmware version. Look for options like “WiFi Settings,” “Wireless,” or “WiFi Configuration.”
4. Click on the WiFi or wireless settings option. This will take you to the dedicated page where you can manage your Xfinity WiFi settings.
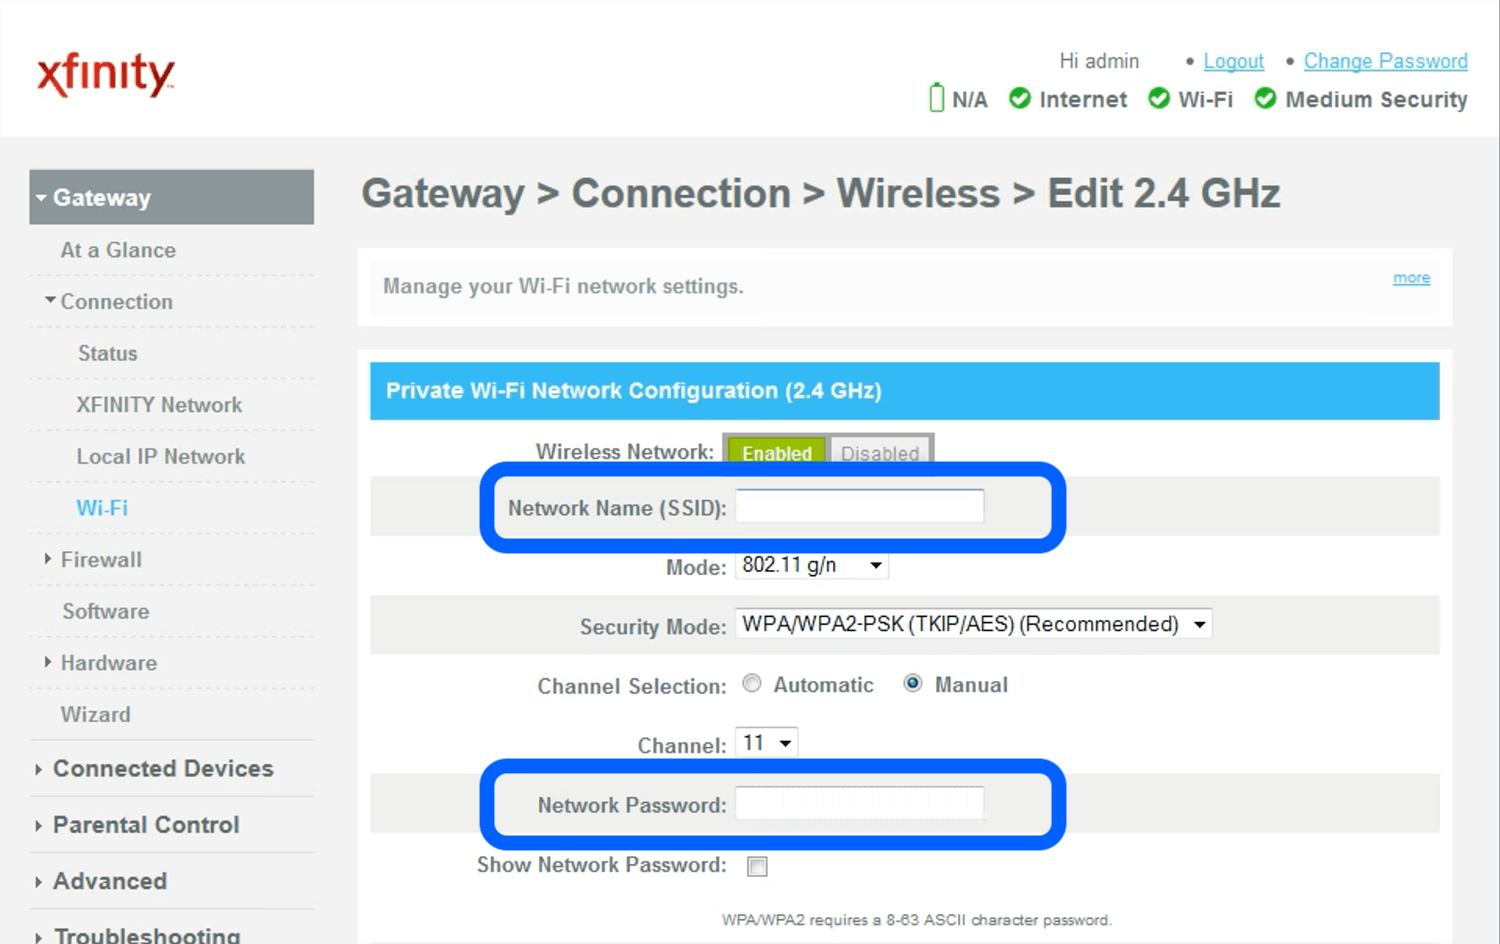
5. On the WiFi settings page, you will see various options and configurations related to your Xfinity WiFi network. This is where you can make changes to your WiFi network name (SSID), security settings, and, most importantly, your WiFi password.
6. Take a moment to familiarize yourself with the available options on the WiFi settings page. Note that some routers may require you to access an “Advanced” or “Additional Settings” section to find the option to change the WiFi password.
7. Once you have located the WiFi password option, you are ready to proceed to the next step, which is changing your Xfinity WiFi password. The specific steps for changing the WiFi password will be outlined in the following section.
By following these instructions, you will be able to successfully navigate to the WiFi settings page within the Xfinity Router Admin Panel. It’s important to note that the exact placement and wording of the WiFi settings may vary slightly depending on your Xfinity router model or firmware version. However, the general process remains consistent across most Xfinity routers.
Step 4: Changing your WiFi Password
Now that you have reached the WiFi settings page within the Xfinity Router Admin Panel, you are ready to change your Xfinity WiFi password. Follow these instructions to successfully change your WiFi password:
1. On the WiFi settings page, locate the option to change the WiFi password. This option is usually labeled as “WiFi Password,” “Network Key,” or something similar. It may be found under the security settings or advanced settings section, depending on your Xfinity router model.
2. Click on the option to change the WiFi password. A dialog box or form will appear, prompting you to enter a new password for your Xfinity WiFi network. Some routers may ask you to enter the current password before proceeding to change it.
3. Enter a strong and secure password for your WiFi network. Make sure to follow best practices for creating a strong password. Consider using a combination of uppercase and lowercase letters, numbers, and special characters. Avoid using easily guessable information like your name, birthdate, or address. Aim for a password that is at least 8 characters long, but longer is generally better for added security.
4. As you enter your new WiFi password, keep an eye on the strength meter or indicator provided on the form. This can help you gauge the strength and security of your chosen password. Aim for a password that is rated as “strong” or “very strong” for optimal security.
5. Once you have entered your new WiFi password, double-check for any typos or errors. It’s essential to ensure the accuracy of the password to prevent connectivity issues later on.
6. After verifying the password, click on the “Save,” “Apply,” or “Change” button to save the new WiFi password. The router will process the changes and update the password for your Xfinity WiFi network.
7. The admin panel may take a moment to apply the new settings. Once the changes are successfully applied, you will receive a confirmation message or be redirected to the WiFi settings page again.
By following these instructions, you will be able to successfully change your Xfinity WiFi password. In the next steps, we will guide you on how to apply the changes and reconnect your devices to the network with the new password.
Step 5: Applying the Changes
After changing your Xfinity WiFi password, it is important to apply the changes to make them effective and ensure that your network is secured with the new password. Follow these instructions to successfully apply the changes:
1. Once you have changed your WiFi password in the Xfinity Router Admin Panel, look for an option that allows you to apply or save the changes. This option is typically labeled as “Apply,” “Save,” or “Submit.” It may be located at the bottom or top of the WiFi settings page, depending on your Xfinity router model.
2. Click on the “Apply,” “Save,” or “Submit” button to initiate the process of applying the changes. The admin panel will process the new settings and update your Xfinity WiFi network with the new password.
3. The router may take a moment to apply the changes and update the network settings. During this time, it is important to refrain from making any further changes or navigating away from the WiFi settings page.
4. While the changes are being applied, you may see a progress bar or loading indicator indicating that the new settings are being implemented. Be patient and allow the router to complete the process.
5. Once the changes have been successfully applied, you will receive a confirmation message or be redirected to a new page indicating that the changes have been saved. This confirms that your Xfinity WiFi network is now secured with the new password.
6. Make sure to take note of the new WiFi password or write it down in a safe and secure location. You will need this password to connect your devices to the newly secured network.
By following these instructions, you will be able to successfully apply the changes and update your Xfinity WiFi network with the new password. In the next step, we will guide you on how to reconnect your devices to the network using the new password.
Step 6: Reconnecting your Devices
After changing your Xfinity WiFi password and applying the changes, the final step is to reconnect your devices to the network using the new password. Follow these instructions to successfully reconnect your devices:
1. On each device that was previously connected to your Xfinity WiFi network, locate the WiFi settings or network settings. This can usually be found in the device’s settings menu, often under a section labeled “Network,” “WiFi,” or “Connections.”
2. Access the WiFi settings on the device and search for available WiFi networks. Look for your Xfinity network name (also known as the SSID) in the list of available networks.
3. Select your Xfinity network from the list. You may be prompted to enter the new WiFi password. This is the password you changed in the previous steps. Make sure to enter the password accurately to avoid any connection issues.
4. After entering the new WiFi password, double-check for any typos or errors before proceeding. Ensure that the password is entered exactly as it was set in the Xfinity Router Admin Panel.
5. Once you have verified the password, click on the “Connect” or “Join” button to attempt the connection to your Xfinity WiFi network.
6. The device will attempt to connect to the network using the new password. Give the device a moment to establish the connection with the network.
7. If the connection is successful, you will see a confirmation or notification indicating that the device is connected to your Xfinity WiFi network. This confirms that you have successfully reconnected the device with the new password.
8. Repeat these steps for each device that was previously connected to your Xfinity WiFi network. Make sure to update the WiFi password on all devices to ensure uninterrupted internet connectivity.
Keep in mind that some devices may automatically prompt you to enter the new WiFi password when they detect a change in the network configuration. In such cases, simply follow the on-screen instructions to enter the new password and establish the connection.
By following these instructions, you will be able to successfully reconnect your devices to your Xfinity WiFi network using the new password. Congratulations, your network is now securely connected with the updated password!
Tips for Creating a Strong WiFi Password
When changing your Xfinity WiFi password, it is crucial to create a strong and secure password. A strong password helps protect your network from unauthorized access and ensures the confidentiality of your personal and sensitive information. Here are some tips to consider when creating a strong WiFi password:
1. Length: Aim for a password that is at least 12 characters long. The longer the password, the more secure it is. Consider using a passphrase or a combination of random words, numbers, and symbols to increase the overall length and complexity.
2. Complexity: Include a combination of uppercase and lowercase letters, numbers, and special characters in your password. This mix of characters adds another layer of complexity, making it more difficult for attackers to guess or crack the password.
3. Avoid Common Patterns: Avoid using common patterns like sequential or repeated characters (e.g., “12345678” or “aaaaaaa”). These patterns are easily guessable and should be avoided.
4. Avoid Personal Information: Don’t use personal information such as your name, birthdate, address, or phone number in your password. Hackers can easily guess or find such information to attempt unauthorized access.
5. Unique Passwords: Avoid using the same password for multiple accounts or devices. Each WiFi network you have should have a unique and strong password to prevent a single breach from affecting all your accounts.
6. Regular Updates: Consider changing your WiFi password periodically to maintain the security of your network. Changing your password every few months or so reduces the risk of unauthorized access.
7. Password Managers: Consider using a reputable password manager to securely store and generate complex passwords. Password managers can help you manage and retrieve your passwords while maintaining their security.
8. Memorize or Safely Store: It’s important to either memorize your WiFi password or store it in a secure location. Be cautious of writing it down in an easily accessible place, as this compromises the security of your network.
By following these tips and creating a strong WiFi password, you can significantly enhance the security of your Xfinity WiFi network. Remember, a strong password is a crucial step in protecting your personal information and maintaining the integrity of your network.
Conclusion
Changing your Xfinity WiFi password is a simple yet important step in ensuring the security and privacy of your network. By following the step-by-step guide provided in this article, you can easily change your password and implement stronger security measures for your Xfinity WiFi network.
We started by introducing Xfinity as a leading provider of internet services, discussing its widespread coverage and reliable network infrastructure. We then explored the reasons why changing your Xfinity WiFi password is essential, including enhanced security, revoking access, preventing bandwidth hogging, protecting IoT devices, and adhering to best practices.
The step-by-step guide took you through the process of accessing the Xfinity Router Admin Panel, logging into the admin panel, navigating to the WiFi settings, changing the WiFi password, applying the changes, and reconnecting your devices. Each step was explained in detail to ensure a smooth and successful password change process.
Additionally, we provided tips for creating a strong WiFi password, emphasizing the importance of length, complexity, avoiding common patterns and personal information, using unique passwords, regular updates, and the use of password managers.
By implementing these guidelines, you can significantly enhance the security of your Xfinity WiFi network, safeguard sensitive information, prevent unauthorized access, and enjoy a more reliable and protected internet experience.
Remember, changing your WiFi password regularly is an ongoing practice that helps maintain the security of your network. It is important to stay updated with the latest security practices, keep your devices protected with strong passwords, and remain vigilant against potential threats.
Now that you have the knowledge and tools to change your Xfinity WiFi password, take action to secure your network and enjoy peace of mind while browsing, streaming, and connecting to the internet. Stay safe, stay secure, and enjoy a seamless online experience with your newly password-protected Xfinity WiFi network.