Introduction
Are you a Roku user who wants to connect to Xfinity WiFi? Look no further! In this guide, we will show you how to easily connect your Roku device to Xfinity WiFi and enjoy seamless streaming of your favorite shows and movies.
Roku is a popular streaming device that allows you to access a wide range of entertainment options, including streaming services like Netflix, Hulu, and Amazon Prime Video. By connecting your Roku to Xfinity WiFi, you can eliminate the need for a separate internet connection and enjoy the benefits of streaming content directly to your TV.
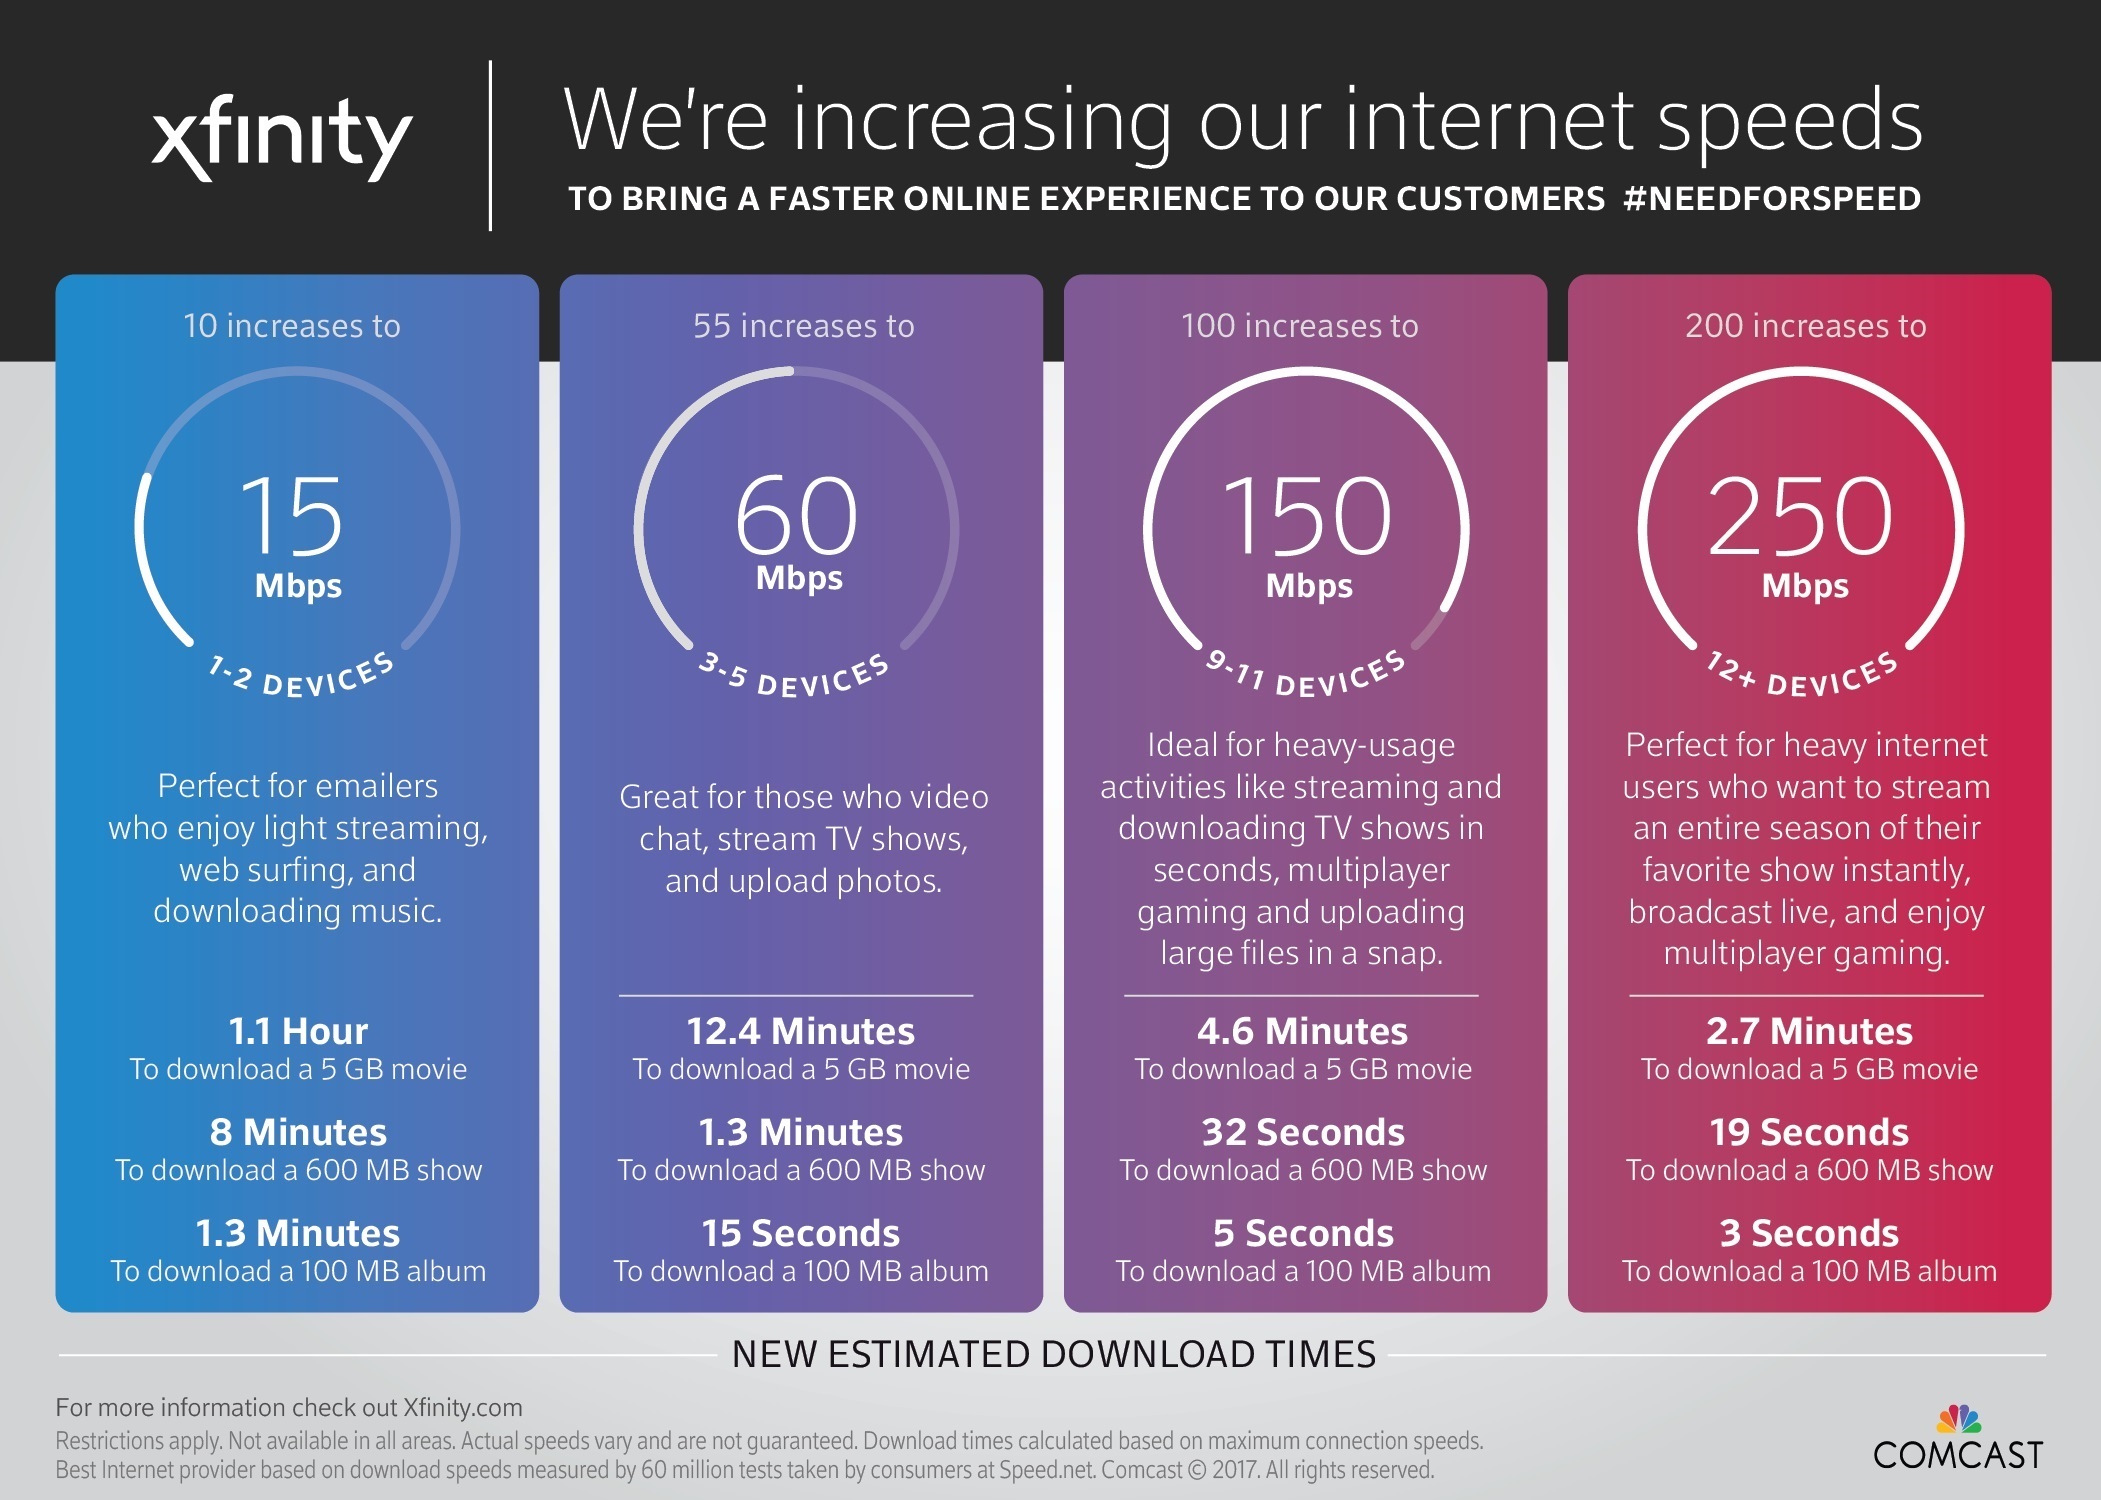
Xfinity WiFi is a wireless internet service provided by Comcast. It offers fast and reliable internet access to millions of customers across the country. By connecting your Roku device to Xfinity WiFi, you can take advantage of this service and stream your favorite content without any interruptions.
In this guide, we will walk you through the step-by-step process of connecting your Roku device to Xfinity WiFi. We will also provide troubleshooting tips to help you overcome any potential challenges along the way.
So, if you’re ready to enhance your streaming experience and enjoy the convenience of Xfinity WiFi, let’s get started with connecting your Roku device!
Step 1: Prepare Your Roku Device
Before you can connect your Roku device to Xfinity WiFi, you need to ensure that your device is set up and ready to go. Follow these steps to prepare your Roku device:
- Connect your Roku device to your TV: Start by connecting your Roku device to your TV using the HDMI cable provided. Plug one end of the HDMI cable into the HDMI port on your TV and the other into the HDMI port on your Roku device.
- Power up your Roku device: Next, connect the power adapter to your Roku device and plug it into a power outlet. Turn on your TV and select the appropriate HDMI input to view the Roku home screen.
- Set up your Roku device: Use your Roku remote to navigate through the on-screen instructions and complete the initial setup process. This may include connecting to your home Wi-Fi network and creating a Roku account if you haven’t already done so.
- Ensure your Roku device is updated: Once the initial setup is complete, check for any available software updates for your Roku device. Go to “Settings” on the Roku home screen, select “System,” and then choose “System Update.” Follow the on-screen instructions to download and install any updates.
By following these steps, you will ensure that your Roku device is properly set up and ready for the next step of connecting to Xfinity WiFi. When your device is up to date and functioning correctly, you can proceed with the connection process.
Step 2: Connect to Xfinity WiFi
Now that your Roku device is prepared, it’s time to connect it to Xfinity WiFi. Follow these simple steps to establish a connection:
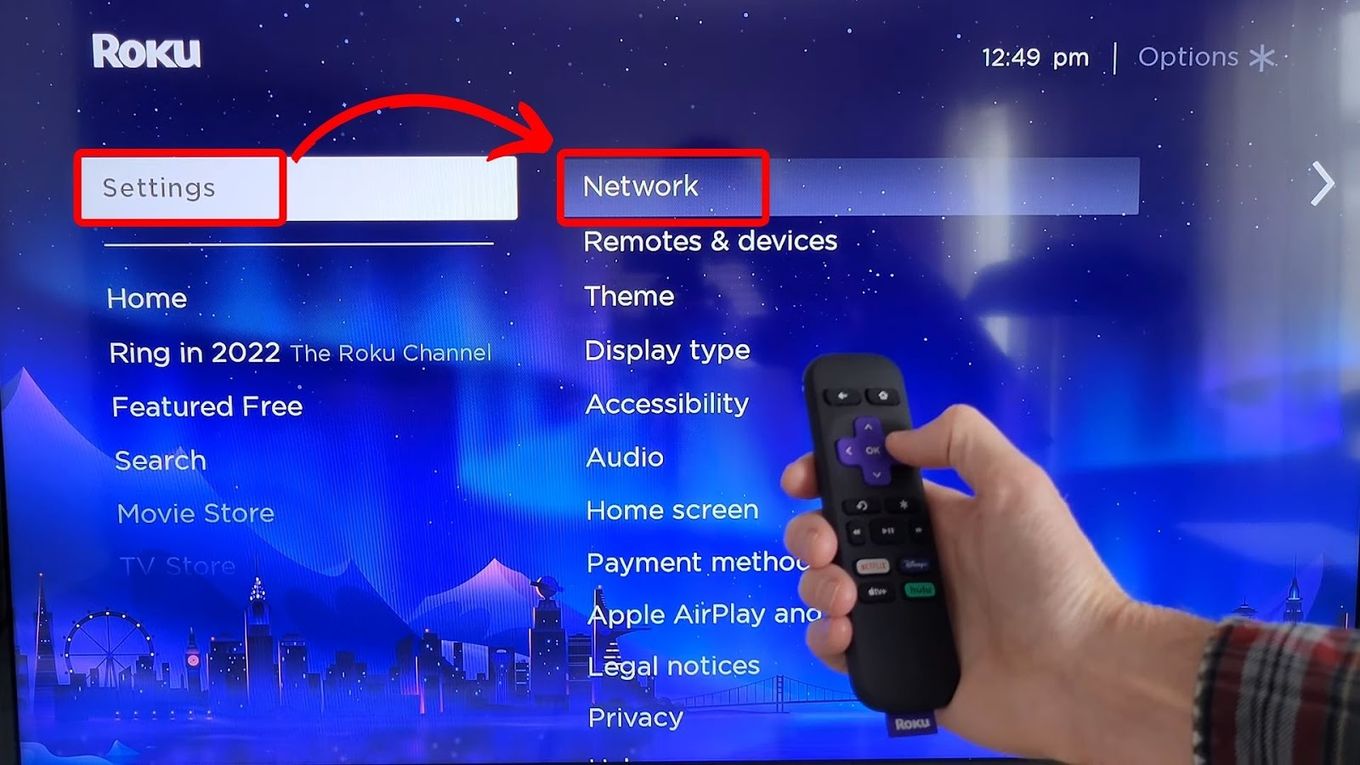
- On your Roku home screen, navigate to the “Settings” option using your Roku remote. Press the right arrow button on your remote to highlight the option, and then press the OK button to select it.
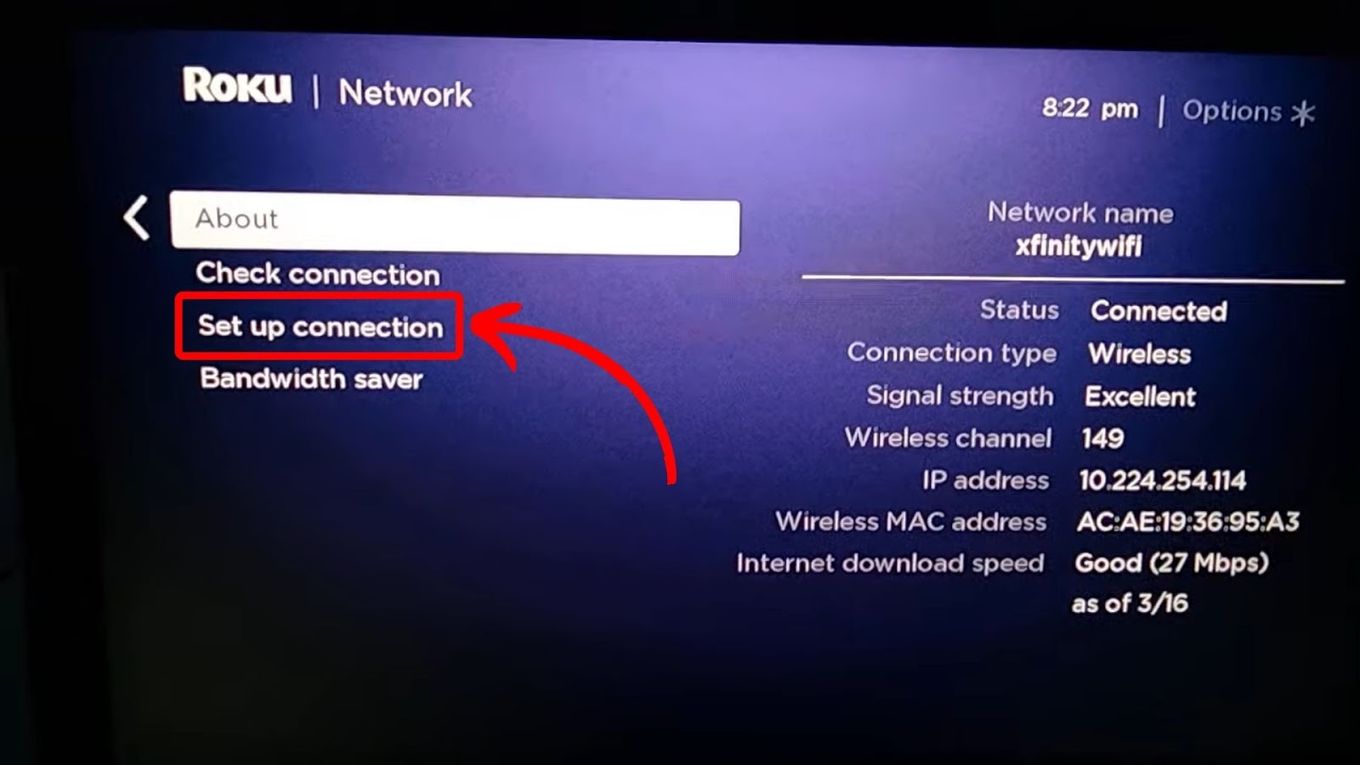
- In the Settings menu, select “Network” to access the network settings for your Roku device.
- Choose the “Wireless” option to connect to a wireless network.
- A list of available networks will appear on the screen. Look for your Xfinity WiFi network in the list and select it.
- If prompted, enter the network password for your Xfinity WiFi. Use the Roku remote to enter the password using the on-screen keyboard. Double-check your entry to ensure accuracy.
- Once you have entered the password, select the “Connect” button to establish the connection between your Roku device and Xfinity WiFi.
After following these steps, your Roku device should be successfully connected to Xfinity WiFi. You will know that the connection is established when you see a checkmark or a “Connected” status next to your Xfinity WiFi network in the list of available networks.
It’s important to note that the steps may vary slightly depending on your specific Roku model and the version of the Roku software you’re using. However, the general process should remain the same.
Now that you have connected your Roku device to Xfinity WiFi, it’s time to proceed to the next step: entering your Xfinity login credentials.
Step 3: Enter Xfinity Login Credentials
In order to fully access Xfinity WiFi on your Roku device, you need to enter your Xfinity login credentials. Follow these steps to enter your credentials:
- Using your Roku remote, navigate back to the Roku home screen.
- Scroll to find the Xfinity Stream app on your Roku device and select it.
- If you haven’t already installed the Xfinity Stream app on your Roku device, you can search for it in the Roku Channel Store and install it.
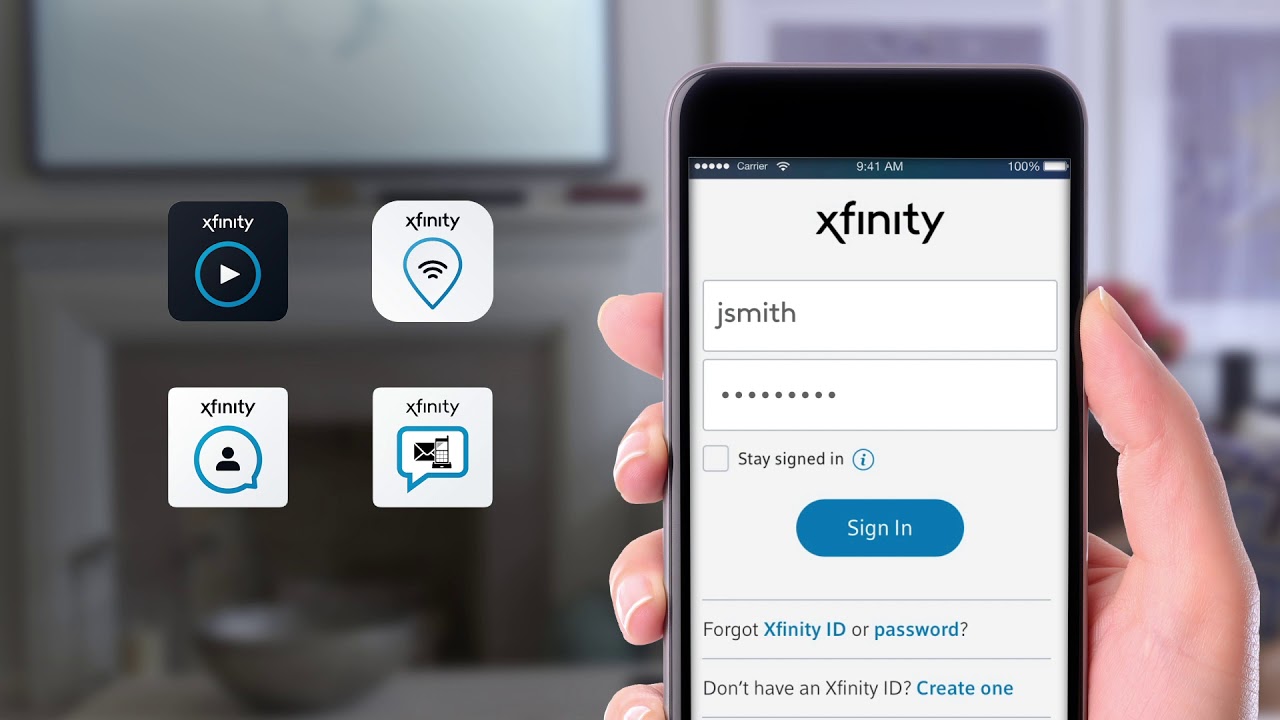
- Once you have selected the Xfinity Stream app, it will prompt you to log in with your Xfinity username and password.
- Use the Roku remote to enter your Xfinity login credentials. Take your time to ensure accuracy and double-check for any typos.
- After entering your login credentials, select the “Sign In” or “Log In” button.
If the login information you provided is correct, your Roku device should successfully log in to your Xfinity account. This will unlock access to Xfinity services and content on your Roku device. You will be able to enjoy live TV, On Demand content, and more through the Xfinity Stream app.
In case you encounter any issues during the login process, make sure you have a valid Xfinity subscription and that your Xfinity account is active. If the problem persists, you may need to contact Xfinity customer support for further assistance.
Once you have successfully entered your Xfinity login credentials, you can move on to the next step: activating your Roku device.
Step 4: Activate Roku Device
Now that your Roku device is connected to Xfinity WiFi and you have entered your Xfinity login credentials, the next step is to activate your Roku device. This process ensures that your Roku device is linked to your Roku account and ready to stream your favorite content. Follow these steps to activate your Roku device:
- Using a computer or mobile device, open a web browser and visit the Roku activation page at https://my.roku.com/link.
- On the website, you will be prompted to enter a code that appears on your TV screen. This code is unique to your Roku device.
- Using your Roku remote, navigate to the TV screen where the activation code is displayed.
- Enter the code shown on the TV screen into the appropriate field on the Roku activation page.
- Select the “Submit” or “Activate” button to complete the activation process.
Once you have successfully entered the activation code and clicked the submit button, your Roku device will be activated and linked to your Roku account. This will enable you to access all the channels and features associated with your Roku device.
If the activation process is successful, you will see a confirmation message on the TV screen, indicating that your Roku device has been activated. You can now start enjoying a wide range of streaming content on your Roku device using Xfinity WiFi.
It’s important to note that activation codes are session-specific and have an expiration time. If you encounter any issues with the activation process, make sure to restart your Roku device and visit the activation page again to generate a new activation code.
With your Roku device successfully activated, you’re ready to move on to the final step: enjoying your Xfinity WiFi on Roku.
Step 5: Enjoy Your Xfinity WiFi on Roku
Congratulations! You have successfully connected your Roku device to Xfinity WiFi and completed the activation process. Now it’s time to sit back, relax, and start enjoying a world of streaming content. Here’s how you can make the most of your Xfinity WiFi on Roku:
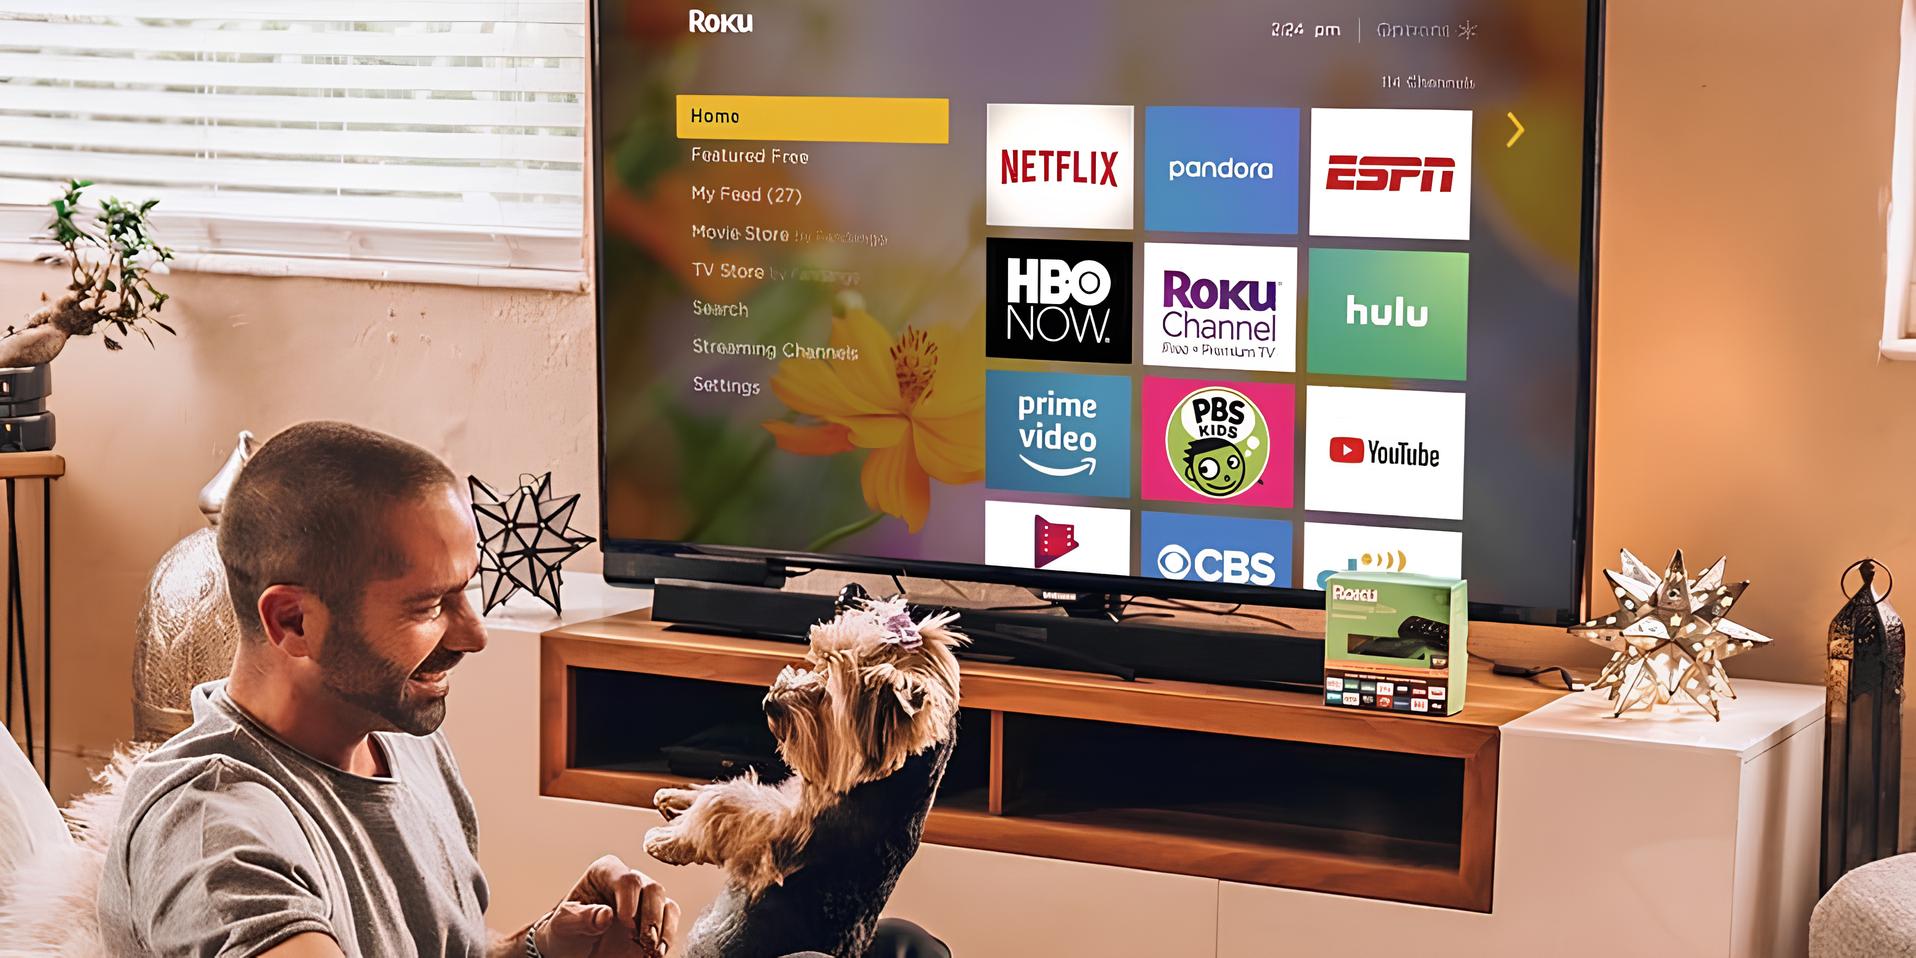
- Navigate to the Roku home screen using your Roku remote.
- Explore the Roku Channel Store: The Roku Channel Store offers a vast selection of streaming channels and apps. Discover new content by browsing popular channels, categories, or using the search feature to find specific shows, movies, or genres.
- Install and launch streaming apps: Once you find a channel or app that interests you, select it, and follow the on-screen instructions to install it on your Roku device. You can launch the app by selecting it from the Roku home screen.
- Sign in to streaming apps: Many streaming apps require you to sign in with your subscription details. If you have a subscription to services like Netflix, Hulu, or Amazon Prime, sign in using your account information to access your favorite content.
- Browse and stream content: Once you are signed in to your preferred streaming apps, you can browse through the available content and start streaming your favorite shows, movies, and more. Use the Roku remote to navigate through menus, select titles, and control playback.
- Enjoy Xfinity Stream app: If you have installed and logged in to the Xfinity Stream app, you can access Xfinity services directly on your Roku device. Watch live TV, explore On Demand content, and take advantage of various features offered by Xfinity.
With your Roku device connected to Xfinity WiFi, you now have access to a wide array of streaming options right from your TV. Watch your favorite shows, movies, sports events, and more at your convenience.
Remember to keep your Roku device and Xfinity WiFi network up to date for the best streaming experience. Check for software updates on your Roku device regularly, and ensure that you have a stable and secure internet connection provided by Xfinity.
Now that you know how to connect your Roku device to Xfinity WiFi and enjoy seamless streaming, it’s time to grab the remote and start exploring the entertainment possibilities. Sit back, relax, and indulge in the world of streaming content on your Roku device.
Troubleshooting Tips
While connecting your Roku device to Xfinity WiFi is usually a straightforward process, you may encounter some challenges along the way. Here are some troubleshooting tips to help you overcome potential issues:
- Double-check your Xfinity WiFi network: Make sure you are selecting the correct Xfinity WiFi network from the list of available networks on your Roku device. Check that the network name (SSID) matches the one provided by Xfinity.
- Enter the correct network password: If you are prompted for a password, ensure that you are entering the correct password for your Xfinity WiFi network. Verify the spelling, capitalization, and any special characters.
- Restart your Roku device: Sometimes, simply restarting your Roku device can resolve temporary connectivity issues. Unplug the power cord from your Roku device, wait for a few seconds, then plug it back in and power it on.
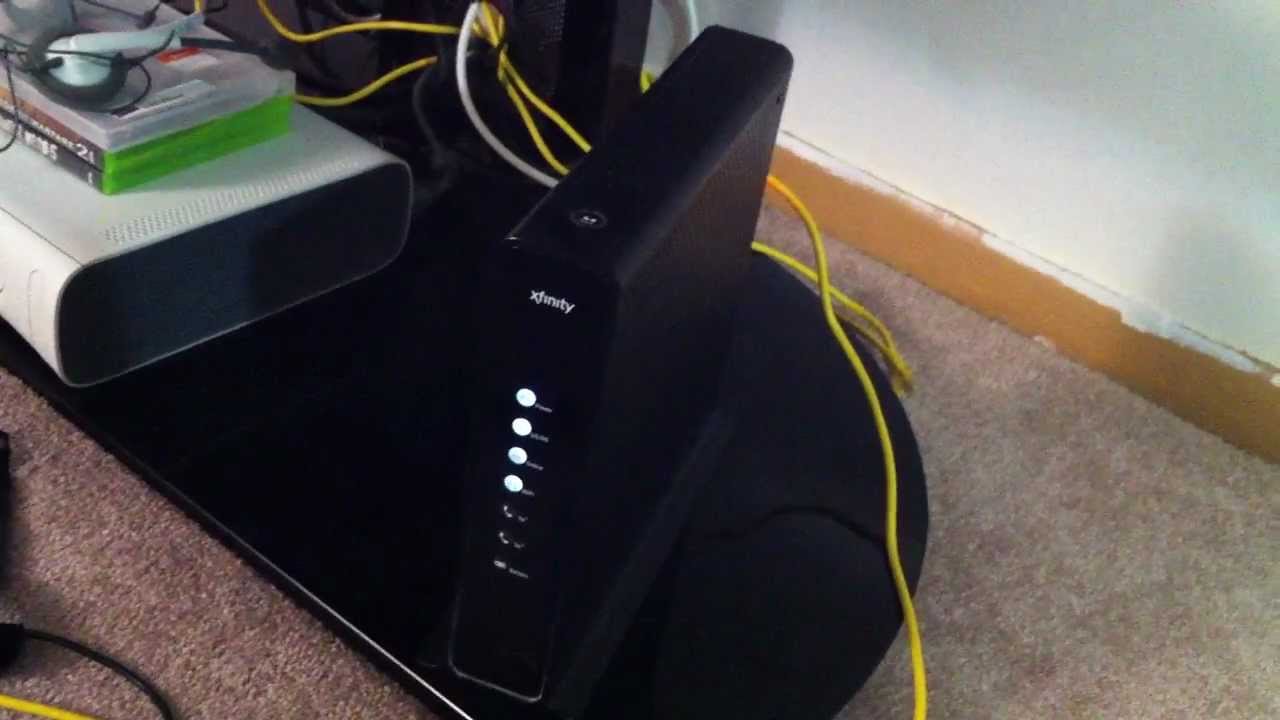
- Restart your Xfinity modem and router: If restarting your Roku device doesn’t solve the problem, try restarting your Xfinity modem and router. Unplug them from the power source, wait for a minute, and then plug them back in.
- Move closer to the router: If your Roku device’s signal strength is weak, try moving it closer to your Xfinity WiFi router. This can help improve the connection stability and speed.
- Check for Roku software updates: Ensure that your Roku device is running the latest software version. Go to “Settings” > “System” > “System Update” on your Roku device to check for updates. Install any available updates to enhance performance and resolve potential issues.
- Reset your Roku device’s network settings: If all else fails, you can try resetting your Roku device’s network settings. Go to “Settings” > “Network” > “Reset Connection” on your Roku device. After resetting, go through the network setup process again to reconnect to Xfinity WiFi.
- Contact Xfinity customer support: If you have exhausted all troubleshooting options and are still unable to connect your Roku device to Xfinity WiFi, it’s recommended to reach out to Xfinity customer support for further assistance. They can provide specific troubleshooting steps or guide you through the process on their end.
By following these troubleshooting tips, you can overcome most common issues and ensure a smooth and uninterrupted streaming experience with your Roku device connected to Xfinity WiFi.
Remember to be patient and persistent while troubleshooting. Sometimes, it may take a few attempts or adjustments to establish a stable connection. With a little bit of troubleshooting, you’ll soon be able to enjoy seamless streaming on your Roku device.
Conclusion
Connecting your Roku device to Xfinity WiFi opens up a world of streaming possibilities right on your TV. By following the step-by-step instructions outlined in this guide, you can easily connect your Roku device to Xfinity WiFi and enjoy a seamless streaming experience.
We began by preparing your Roku device, ensuring it was properly connected to your TV and up to date. Then, we guided you through the process of connecting your Roku device to Xfinity WiFi. We also provided instructions on entering your Xfinity login credentials and activating your Roku device.
Once your Roku device was connected, activated, and logged in to your Xfinity account, we showed you how to enjoy a wide range of streaming content using the Xfinity Stream app and other streaming apps available on your Roku device.
In the troubleshooting section, we provided valuable tips to help you overcome any connectivity or setup issues you may encounter along the way. These tips can assist you in resolving common problems and ensuring a smooth streaming experience.
Remember to keep your Roku device and Xfinity WiFi network updated, restart devices when necessary, and double-check network settings and passwords. If you encounter any persistent issues, don’t hesitate to reach out to Xfinity customer support for further assistance.
Now that you have successfully connected your Roku device to Xfinity WiFi, it’s time to sit back, relax, and enjoy the convenience of streaming your favorite shows, movies, and more. Get ready to embark on a fantastic entertainment journey right from the comfort of your own home!