Introduction
Welcome to the world of Xfinity WiFi! In this guide, we will walk you through the step-by-step process of setting up your Xfinity WiFi and getting connected to the internet. Whether you’re a new customer or have upgraded your Xfinity Internet plan, this guide will help you get started.
Xfinity WiFi offers fast, reliable, and secure internet access, allowing you to connect multiple devices simultaneously. With Xfinity, you can enjoy seamless streaming, online gaming, and browsing from the comfort of your home or office.
Before we dive into the setup process, it’s essential to check your Xfinity Internet plan. Depending on your subscription, you may have different options and features available. Make sure you have an active Xfinity Internet subscription to proceed with the setup.
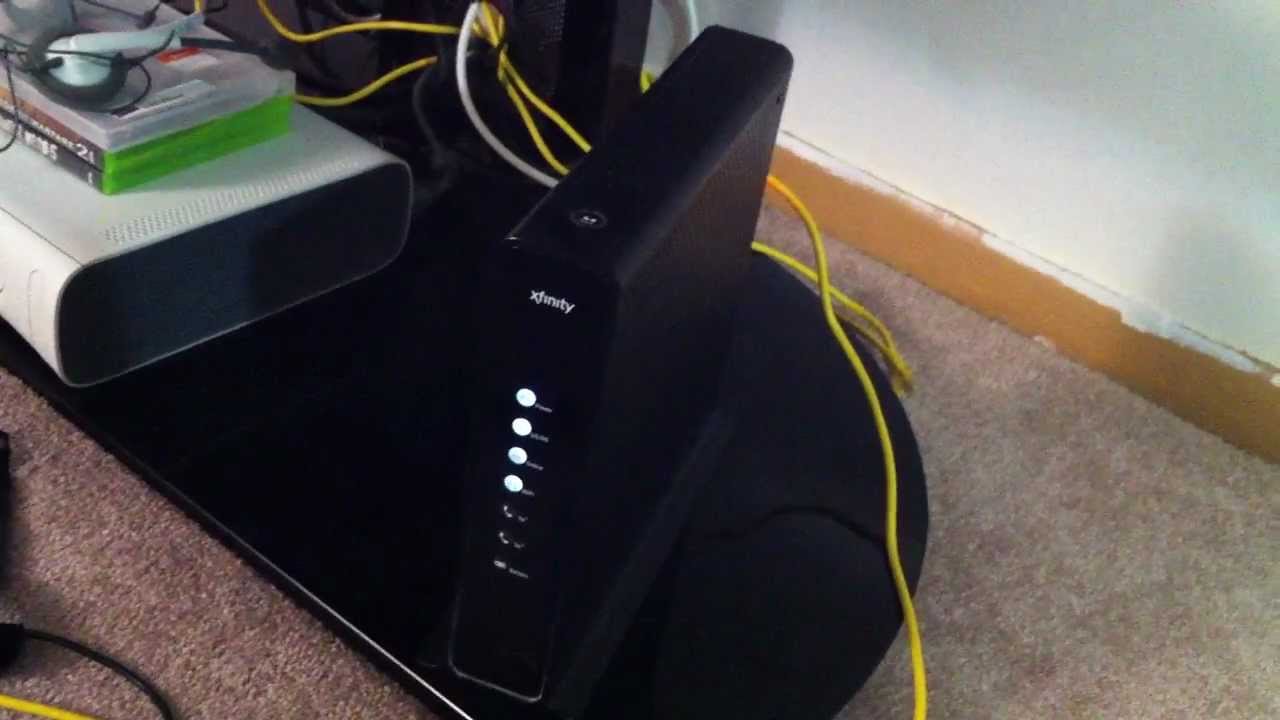
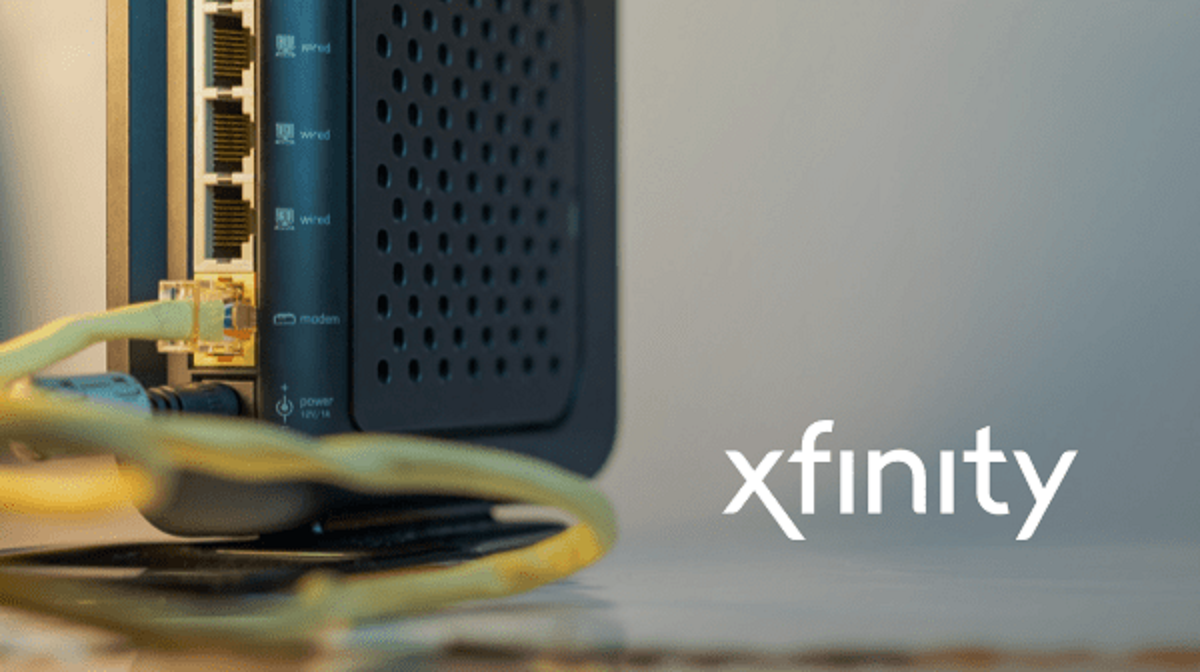
In addition to your subscription, you will need the necessary equipment to set up your Xfinity WiFi. This typically includes an Xfinity Gateway, which acts as a modem and router, providing both wired and wireless connectivity. We will guide you through acquiring and connecting the Xfinity Gateway to ensure a smooth installation process.
Once you have all the prerequisites in place, you’ll be ready to dive into the setup process. We will cover everything from activating your Xfinity Internet to configuring your WiFi network and connecting your devices. By the end of this guide, you’ll be enjoying fast and reliable internet access with Xfinity WiFi.
If you encounter any issues or need assistance during the setup process, don’t worry! We’ve got you covered. In the troubleshooting section, we will provide some handy tips to help you resolve any common problems that may arise.
So, without further ado, let’s jump into the setup process and get your Xfinity WiFi up and running!
Step 1: Check your Xfinity Internet Plan
Before you begin setting up your Xfinity WiFi, it’s essential to verify your Xfinity Internet plan. Different plans offer varying speeds, features, and benefits. By understanding your plan, you can ensure that you have the appropriate services and features available to you.
To check your Xfinity Internet plan, follow these simple steps:
- Login to your Xfinity account on the Xfinity website or using the Xfinity My Account app.
- Navigate to the “My Services” section, where you will find details about your current plan.
- Review the plan details, including the internet speed, data limits (if applicable), and any additional features or services included.
If you’re unsure about the specifics of your plan or would like to make changes or upgrades, you can easily do so through your Xfinity account. Simply explore the available options and select the plan that best suits your needs.
It’s worth noting that some Xfinity Internet plans come bundled with additional services, such as Xfinity TV or Xfinity Voice. If you have any of these services, they may impact your setup process slightly. However, this guide primarily focuses on setting up Xfinity WiFi, and the steps provided will remain the same for all internet-only plans.
By checking your Xfinity Internet plan, you can ensure that you’re maximizing the benefits of your subscription and have access to the features and speeds you desire. Understanding your plan will also help you troubleshoot any issues you may encounter during the setup process.
Now that you’ve confirmed your Xfinity Internet plan, it’s time to gather the necessary equipment for setting up your Xfinity WiFi.
Step 2: Getting the Required Equipment
Before you can set up your Xfinity WiFi, it’s important to ensure that you have all the necessary equipment. Here’s what you’ll need:
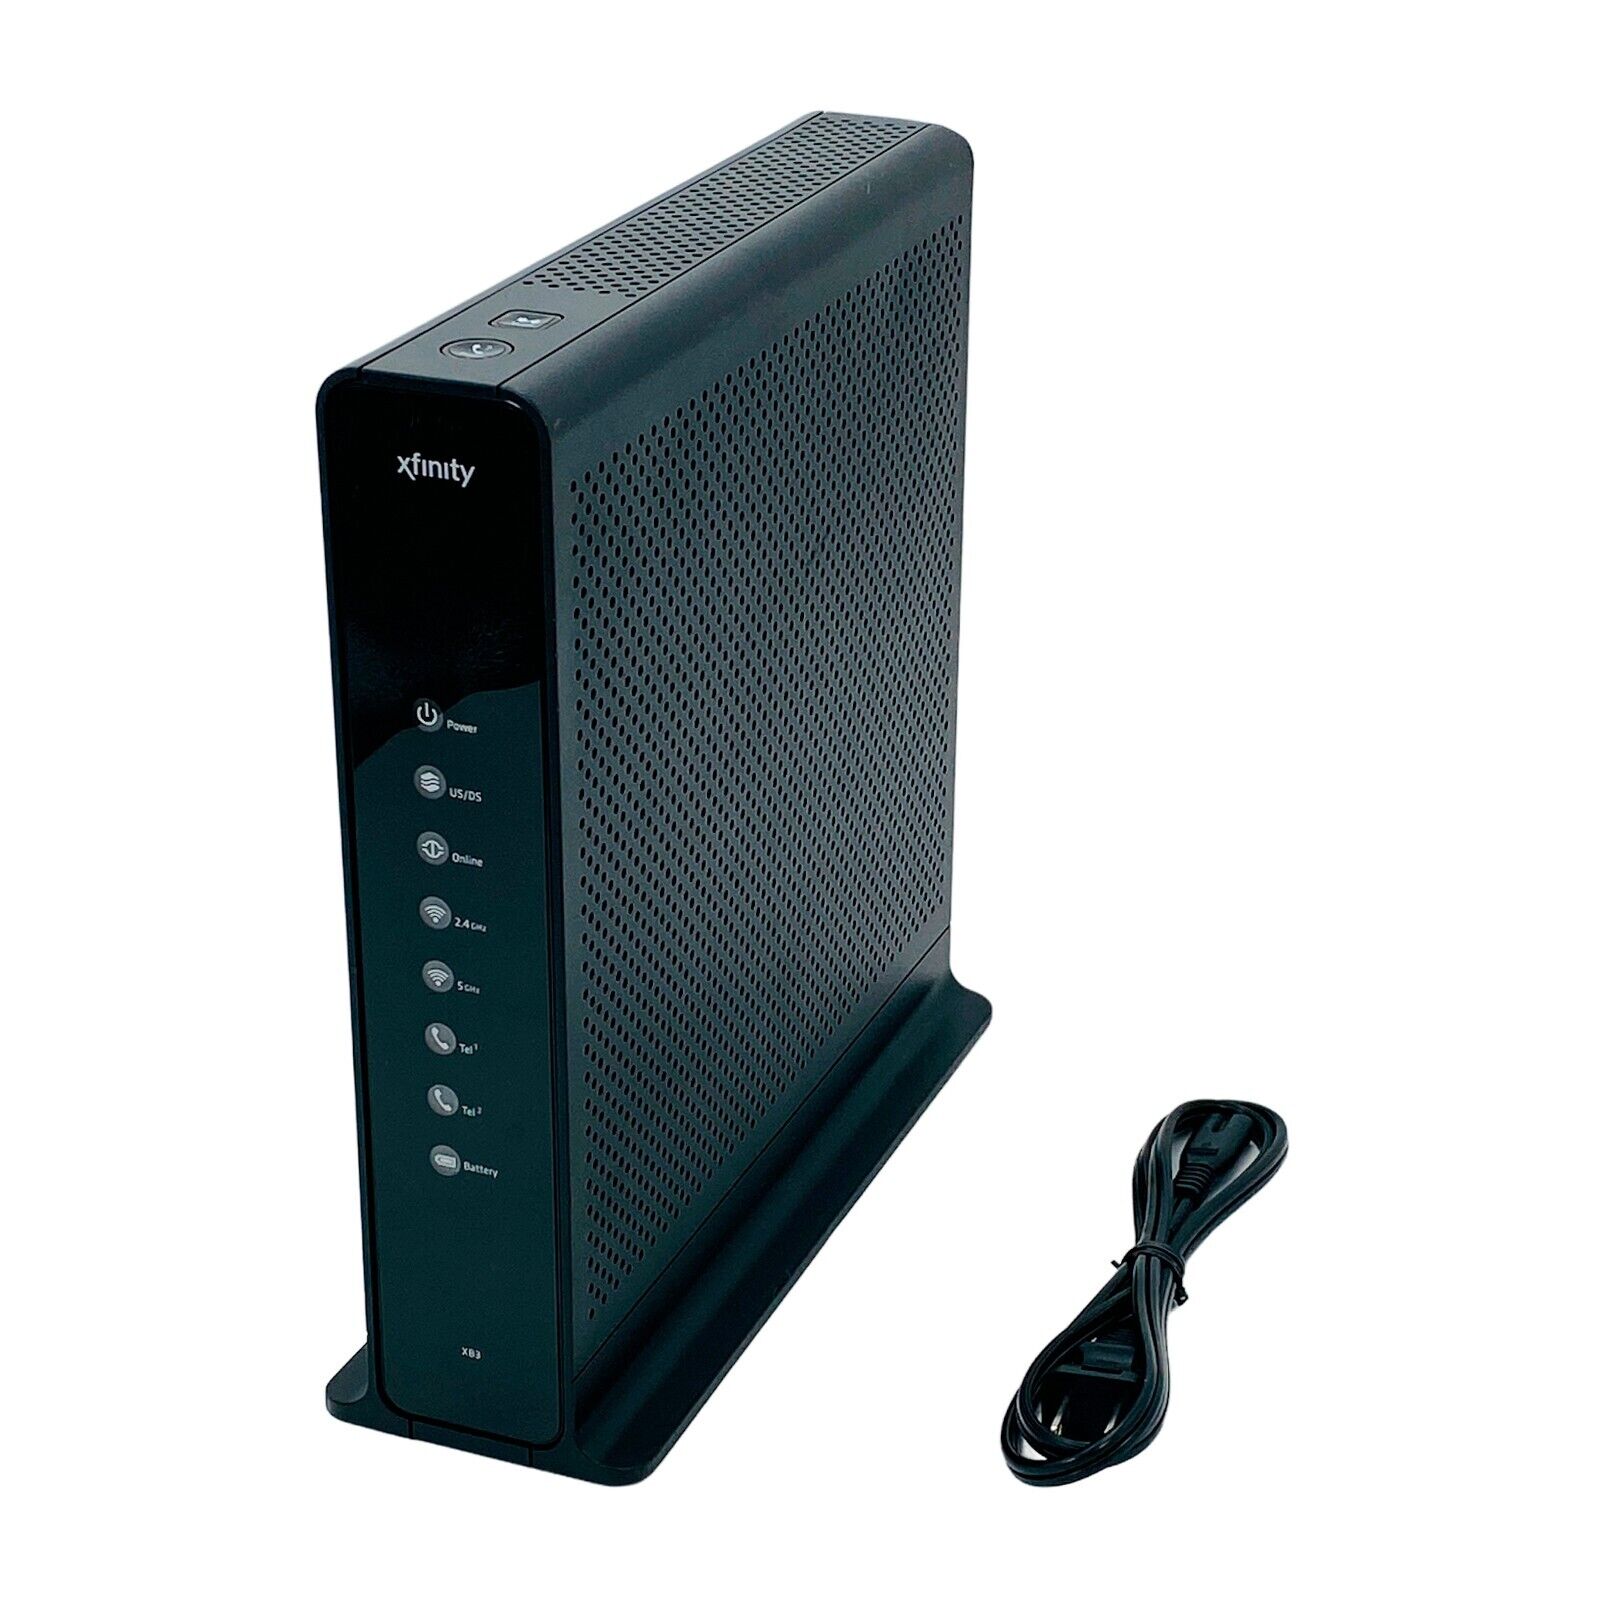
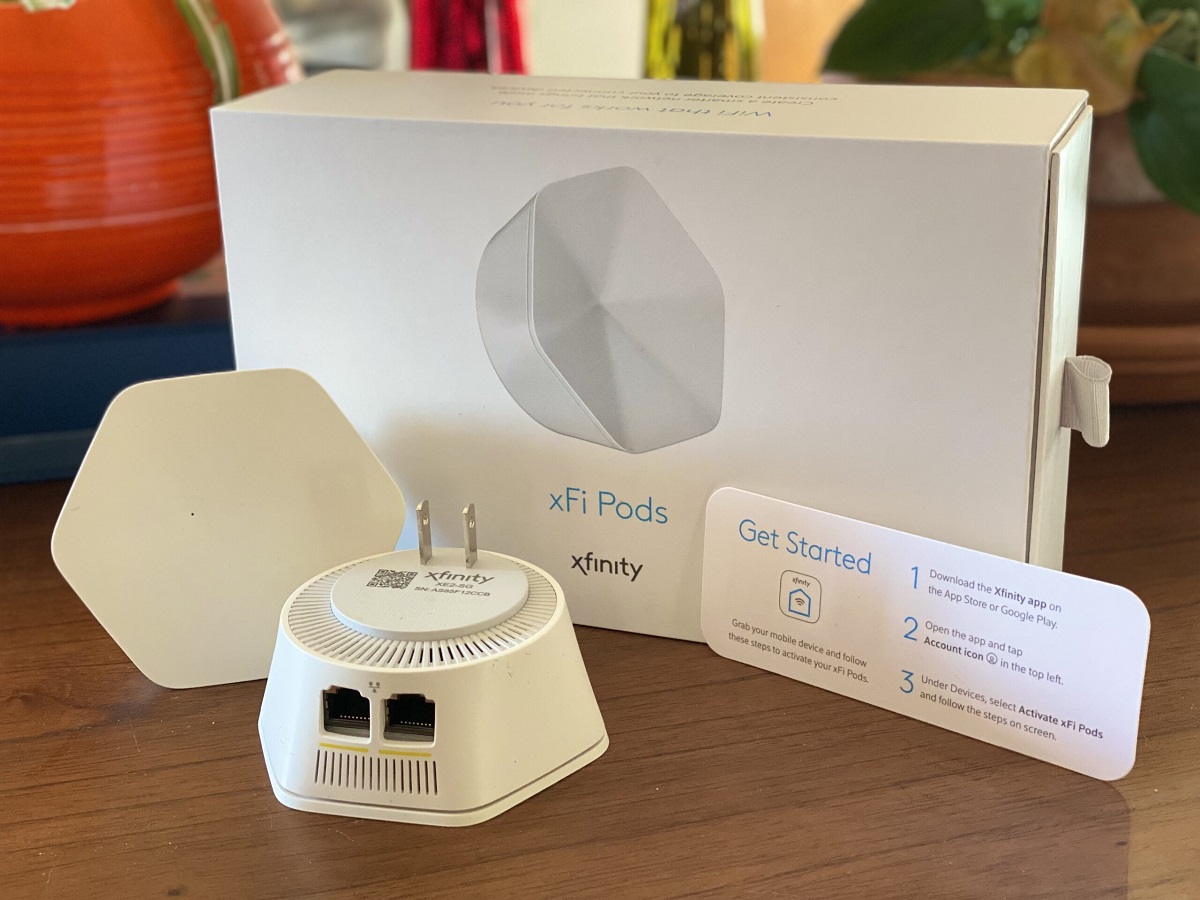
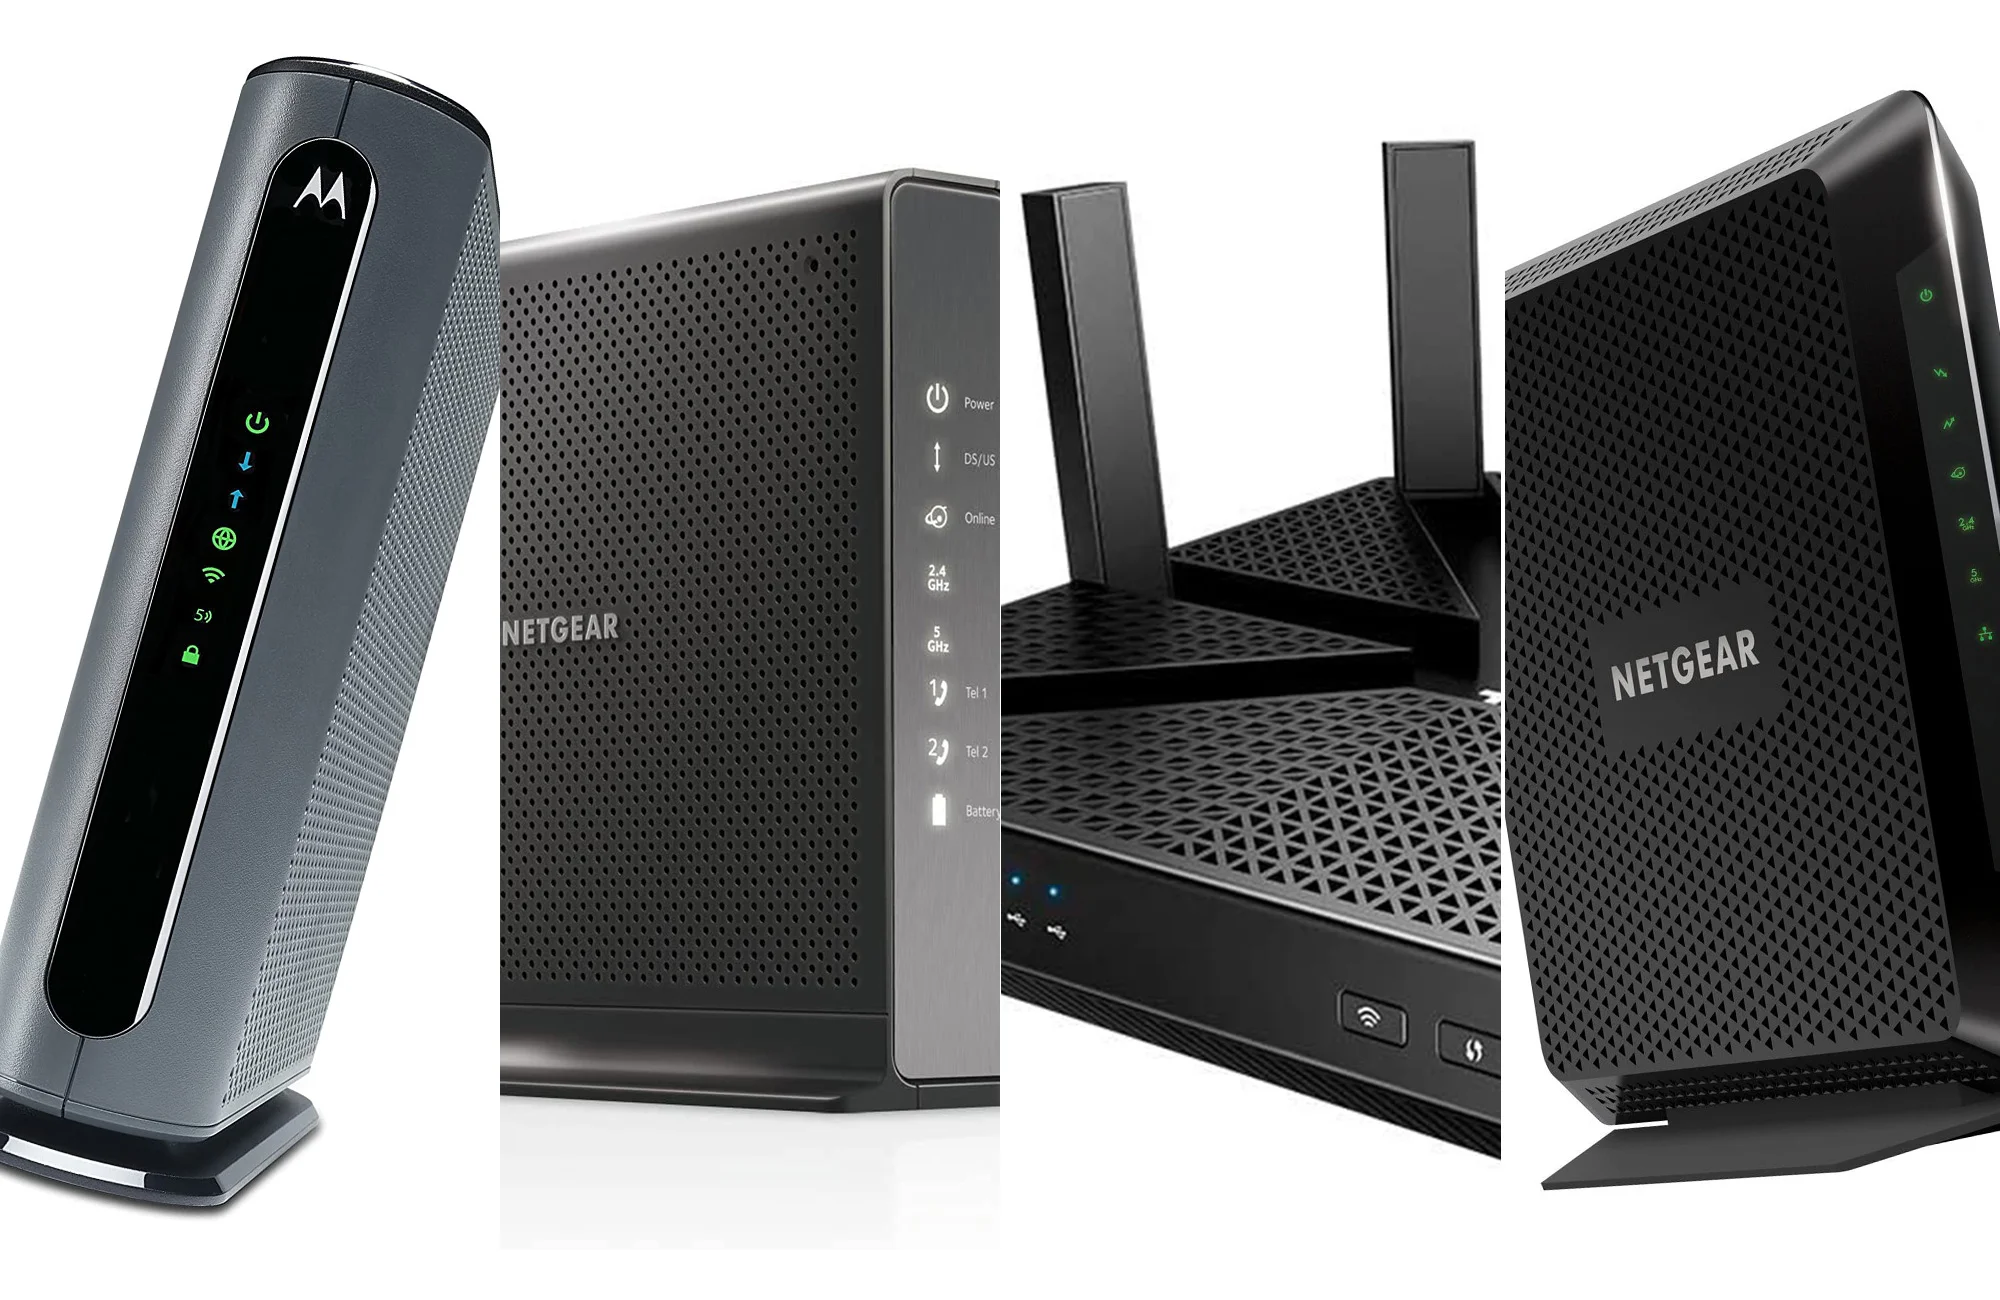
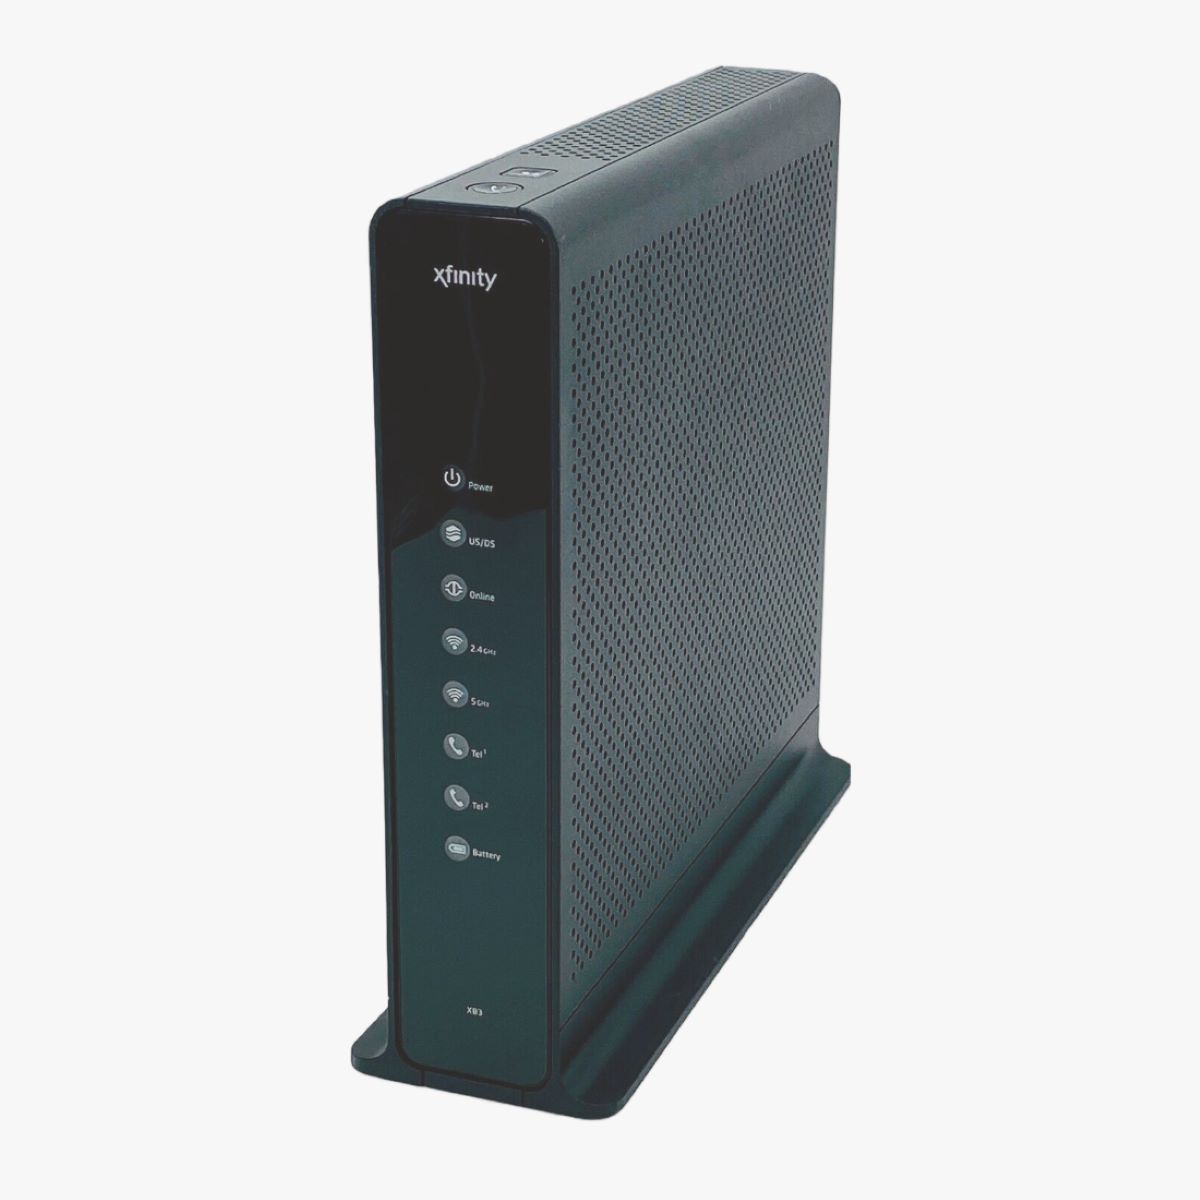
- Xfinity Gateway: This is the main device that will provide both your modem and router functions. The Xfinity Gateway is essential for connecting your devices to the internet. If you don’t already have an Xfinity Gateway, you can either purchase one from an authorized retailer or lease it from Xfinity.
- Power Adapter: The Xfinity Gateway will come with its power adapter. Make sure you have it ready to connect the Gateway to a power source.
- Ethernet Cable: An Ethernet cable will be needed to connect your Gateway to your computer or any other device directly. This will ensure a stable and reliable wired connection.
- Coaxial Cable: The coaxial cable is used to connect your Gateway to the cable outlet in your house or apartment. Make sure you have this cable available as it is necessary for the internet connection.
- Wi-Fi Enabled Devices: Finally, you will need Wi-Fi enabled devices such as smartphones, tablets, laptops, or smart TVs to connect to your Xfinity WiFi network.
Once you have gathered all the necessary equipment, you’re ready to move on to the next step of the setup process. Having the right equipment on hand will ensure a smooth and hassle-free installation of your Xfinity WiFi network.
In the next step, we will guide you on how to prepare for the installation process and ensure everything is set up correctly.
Step 3: Prepare for Installation
Before you begin setting up your Xfinity WiFi, it’s important to properly prepare for the installation process. This will ensure a smooth and efficient setup. Follow these steps to get ready:
- Choose an Installation Location: Select a suitable location in your house or apartment where you want to install the Xfinity Gateway. It should be a central location that allows for optimal coverage throughout your home.
- Ensure Proper Ventilation: Make sure the installation location has good ventilation to prevent overheating of the Gateway. Avoid placing it in enclosed spaces or near heat-emitting appliances.
- Clear the Area: Remove any obstructions or clutter around the installation location to provide easy access and prevent potential damage to the Gateway and cables.
- Check Cable Outlets: Inspect the cable outlets in your home to ensure they are in proper working condition. If you encounter any issues, contact Xfinity customer support for assistance.
- Power Supply: Make sure there is a nearby power source available for connecting the Xfinity Gateway. Avoid using power strips or extension cords, and plug the Gateway directly into a wall outlet.
Preparing for the installation process will help streamline the setup and reduce any potential complications. By choosing the right location, ensuring proper ventilation, clearing the area, and checking the cable outlets, you’ll be well-prepared for the next step of connecting the Xfinity Gateway.
In the next step, we will guide you through the process of connecting and activating your Xfinity Internet.
Step 4: Connect the Xfinity Gateway
Now that you’ve prepared for the installation process, it’s time to connect and set up your Xfinity Gateway. Follow these steps:
- Locate the cable outlet in your home where you will connect the Xfinity Gateway. Ensure that it is functional and accessible.
- Connect one end of the coaxial cable to the cable outlet and the other end to the “Cable In” port on the back of the Xfinity Gateway.
- Plug the power adapter into a nearby power outlet and connect the other end to the power port on the Gateway. The Gateway will power on and initiate the setup process. Wait for the lights to stabilize.
- To establish a wired connection, connect one end of the Ethernet cable to the Ethernet port on your computer or device, and the other end to any of the Ethernet ports on the back of the Gateway.
- Once the connections are made, the Gateway will automatically detect and configure the internet connection. This process may take a few minutes, so be patient.
- Once the setup is complete, the lights on the Gateway should indicate a successful connection. Green lights usually indicate a stable connection, while flashing lights may indicate a potential issue.
By following these steps, you should now have your Xfinity Gateway connected and ready to activate your Xfinity Internet. The Gateway acts as both a modem and a router, providing a reliable internet connection and the ability to establish a local network.
In the next step, we will guide you through the process of activating your Xfinity Internet to fully utilize the services and features included in your plan.
Step 5: Activate Your Xfinity Internet
After connecting your Xfinity Gateway, it’s time to activate your Xfinity Internet and establish a connection to the online world. Follow these steps to activate your service:
- Open a web browser on your connected device (wired or wireless).
- You will be automatically redirected to the Xfinity activation page. If you are not redirected, enter “xfinity.com/activate” in the browser’s address bar.
- Sign in to your Xfinity account using your credentials. If you don’t have an account, you will need to create one by following the on-screen prompts.
- Follow the instructions on the activation page to complete the activation process. This usually involves verifying your account details and selecting any additional services or features you may want to add.
- Once you’ve completed the activation process, you will receive a confirmation message indicating that your Xfinity Internet service is now active.
Activating your Xfinity Internet is a crucial step to gain full access to the services and features included in your plan. It ensures that you are properly set up to browse the web, stream content, and connect your devices to the internet.
If you encounter any issues during the activation process or need assistance, Xfinity customer support is readily available to help troubleshoot and guide you through the process.
With your Xfinity Internet now activated, it’s time to move on to the next step of setting up your Xfinity WiFi network.
Step 6: Set up Xfinity WiFi
Now that your Xfinity Internet is activated, it’s time to set up your Xfinity WiFi network. With Xfinity WiFi, you can enjoy seamless wireless connectivity throughout your home or office. Follow these steps to get your WiFi network up and running:
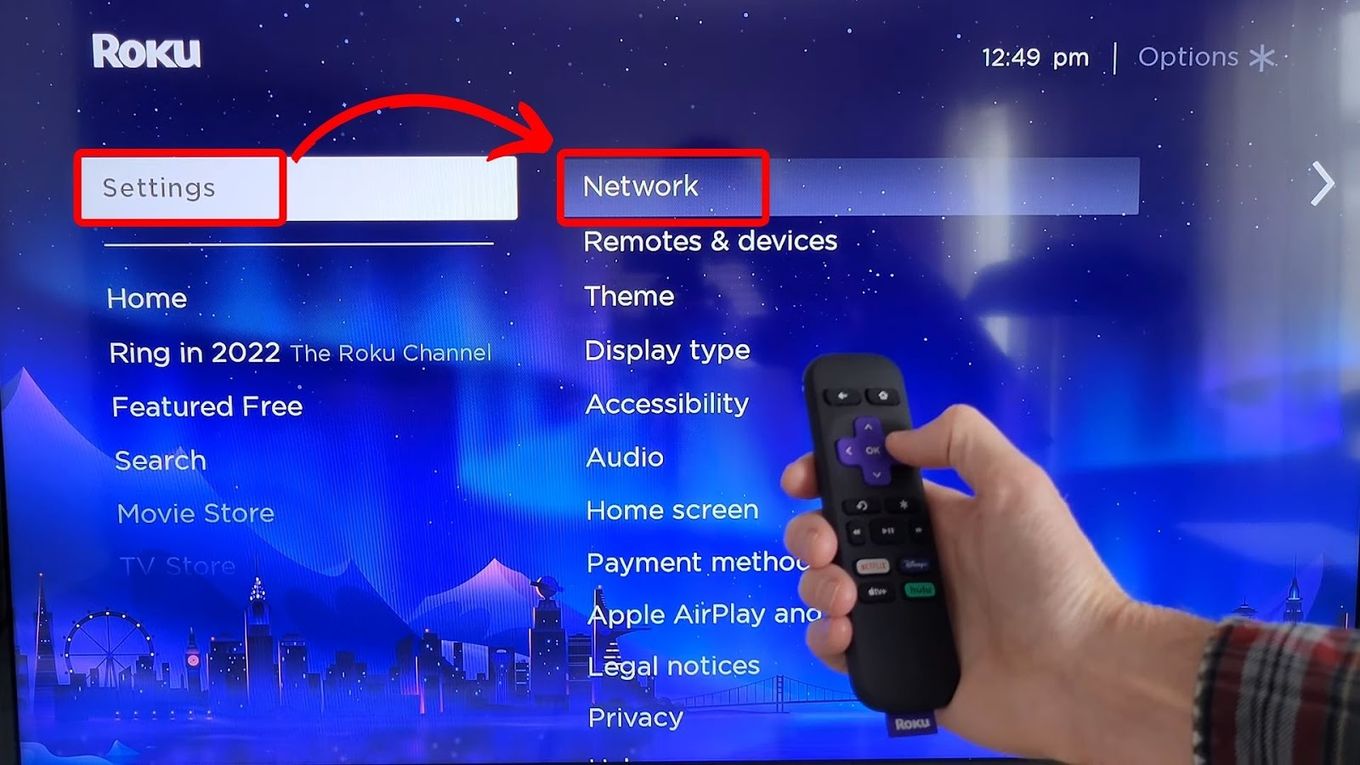
- On your connected device, open a web browser and enter “xfinity.com/mywifi” in the address bar. Alternatively, you can access the Xfinity My Account app on your mobile device.
- Sign in to your Xfinity account using your credentials. If you’re using the My Account app, follow the on-screen prompts to log in.
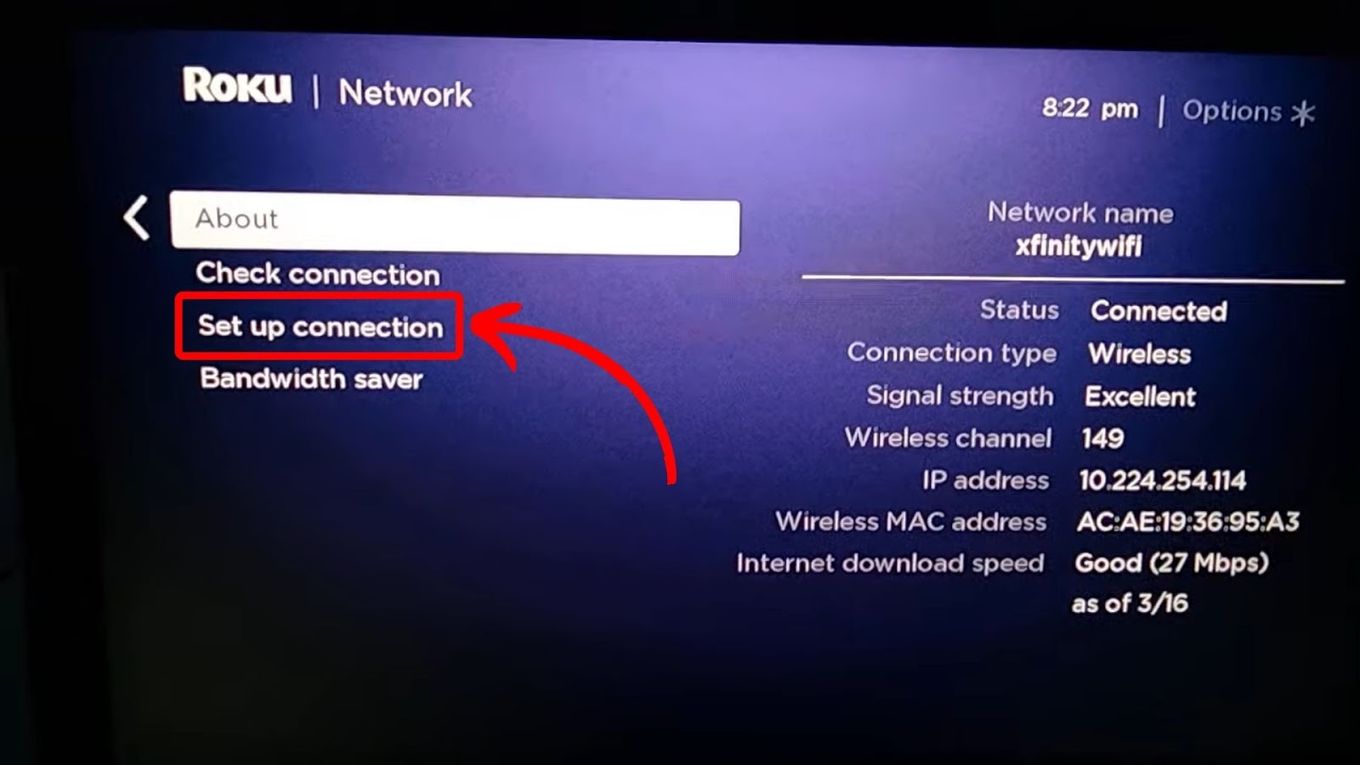
- On the My WiFi page, you will see a list of available WiFi networks. Select your Xfinity WiFi network from the list.
- You will be prompted to customize your WiFi network name and password. Choose a unique, easily identifiable name for your network and create a strong password to secure your connection.
- Once you’ve entered your desired network name and password, save the settings. The changes may take a few moments to be applied.
- After saving the settings, your Xfinity WiFi network will be active. You can now connect your devices wirelessly to enjoy fast and reliable internet access.
Setting up your Xfinity WiFi network allows you to connect multiple devices throughout your home without the need for wired connections. It provides the convenience of wireless connectivity, enabling you to move freely and access the internet from various devices.
Remember to keep your network name and password in a secure place. You may also consider enabling additional security features, such as guest networks or parental controls, to enhance the safety and control of your WiFi network.
In the next step, we will guide you on how to connect your devices to your Xfinity WiFi network.
Step 7: Connect Your Devices to Xfinity WiFi
Now that your Xfinity WiFi network is set up, it’s time to connect your devices and start enjoying the benefits of wireless internet access. Follow these steps to connect your devices to your Xfinity WiFi network:
- On your device, navigate to the Wi-Fi settings. This can usually be found in the system settings menu.
- You will see a list of available Wi-Fi networks. Look for your Xfinity Wi-Fi network name (SSID) that you customized during the setup process.
- Select your Xfinity Wi-Fi network from the list of available networks.
- Enter the password you set during the setup process when prompted. Make sure to enter the password correctly to establish a successful connection.
- Once the correct password is entered, your device will authenticate and connect to the Xfinity Wi-Fi network.
Congratulations! Your device is now connected to your Xfinity WiFi network. You can repeat these steps on all of your Wi-Fi-enabled devices, including smartphones, tablets, laptops, and smart TVs, to connect them to your network.
It’s normal for some devices to prompt you to remember the Wi-Fi network and automatically connect in the future. This can save you time and effort in the long run, as your devices will automatically connect to your Xfinity WiFi network whenever it’s in range.
Enjoy the freedom and convenience of wireless internet access throughout your home or office with your Xfinity WiFi network. Stream movies, browse the web, and connect multiple devices simultaneously without the limitations of wired connections.
If you encounter any issues during the connection process or face difficulties connecting a specific device, Xfinity customer support is available to assist you and provide troubleshooting guidance.
In the next step, we will provide some useful troubleshooting tips to help you resolve common issues that may arise with your Xfinity WiFi network.
Step 8: Troubleshooting Tips
While setting up and using your Xfinity WiFi network, you may encounter some common issues or unexpected challenges. Here are some troubleshooting tips to help you resolve them:
- If you’re experiencing slow internet speeds, try restarting your Xfinity Gateway. Unplug it from the power source, wait for 10 seconds, and then plug it back in. This can often resolve connectivity issues and improve speed.
- If your WiFi signal is weak in certain areas of your home, consider repositioning your Xfinity Gateway to a more central location. Sometimes, physical obstructions or interference can weaken the signal. Avoid placing the Gateway in enclosed spaces or near other devices that emit wireless signals.
- If you’re unable to connect to your Xfinity WiFi network, double-check that you’re entering the correct password. Passwords are case-sensitive, so ensure that you’re using the correct capitalization and any special characters.
- If you’re experiencing intermittent connectivity or frequent disconnects, try updating the firmware on your Xfinity Gateway. Visit the Xfinity website or contact customer support for instructions on how to update the firmware.
- If you’re having trouble connecting a specific device to your Xfinity WiFi network, check that the device’s Wi-Fi functionality is enabled. Sometimes, devices may have a physical Wi-Fi switch or a software setting that needs to be toggled on.
- Consider optimizing your Wi-Fi network by changing the channel on your Xfinity Gateway. If you’re in an area with many neighboring Wi-Fi networks, interference may affect your network performance. Access your Gateway’s settings to change the Wi-Fi channel and experiment with different options.
- Ensure that all cables connecting your Xfinity Gateway are securely plugged in. Loose or damaged cables can result in unstable connections or no internet access.
If you’ve tried these troubleshooting tips and are still experiencing issues with your Xfinity WiFi network, don’t hesitate to contact Xfinity customer support. They have dedicated technical support teams that can provide further assistance and help resolve any persistent problems you may encounter.
Remember, setting up and maintaining a reliable Wi-Fi network can sometimes involve troubleshooting and fine-tuning. With a bit of patience and the right troubleshooting techniques, you can overcome any challenges and enjoy seamless internet connectivity with your Xfinity WiFi network.
Conclusion
Congratulations on successfully setting up your Xfinity WiFi network! By following the step-by-step guide, you have activated your Xfinity Internet, connected your devices, and resolved any common issues that may arise along the way. You are now ready to enjoy fast and reliable wireless internet access throughout your home or office.
Xfinity WiFi offers the convenience and flexibility of wireless connectivity, allowing you to connect multiple devices simultaneously without the need for wired connections. Whether you’re streaming movies, browsing the web, or working remotely, Xfinity WiFi provides you with the speed and reliability you need.
Remember to take advantage of the various features and settings available to you. You can customize your network name and password, enable additional security features, and optimize your Wi-Fi network for the best performance. If you need assistance or have any questions, Xfinity customer support is always ready to help and provide further guidance.
Enjoy the benefits of your Xfinity Internet subscription and make the most out of your Xfinity WiFi network. Stay connected, stay entertained, and stay productive with the seamless internet access Xfinity offers.
Thank you for choosing Xfinity, and happy browsing!