Introduction
Welcome to this guide on how to connect a WiFi repeater. In this digital age, having a reliable and stable internet connection is essential for both work and leisure activities. However, there may be areas in your home or office where the WiFi signal is weak or doesn’t reach at all. This is where a WiFi repeater comes in handy.
A WiFi repeater, also known as a range extender, is a device that amplifies and extends the range of your existing WiFi network. It acts as a middleman between your router and devices, capturing the existing signal and rebroadcasting it to extend the coverage area. This means that you can enjoy a strong and consistent WiFi signal even in areas that were previously unreachable.
So why would you need a WiFi repeater? There are several potential reasons. Perhaps you have a large home or office with multiple floors or rooms, and the WiFi signal weakens as you move further away from the router. Maybe you have noticed dead spots or areas where the signal drops significantly, making it difficult to browse the internet or stream videos smoothly. Or perhaps you have an outdoor area where you would like to have WiFi access.
Whatever the reason may be, a WiFi repeater can help you overcome these issues and ensure that you have a strong WiFi signal throughout your space.
In the following sections, we will guide you through the process of choosing the right WiFi repeater for your needs and provide a step-by-step tutorial on how to connect it to your existing WiFi network. By the end of this guide, you will have the knowledge and confidence to set up your WiFi repeater and enjoy a reliable internet connection in every corner of your home or office. Let’s get started!
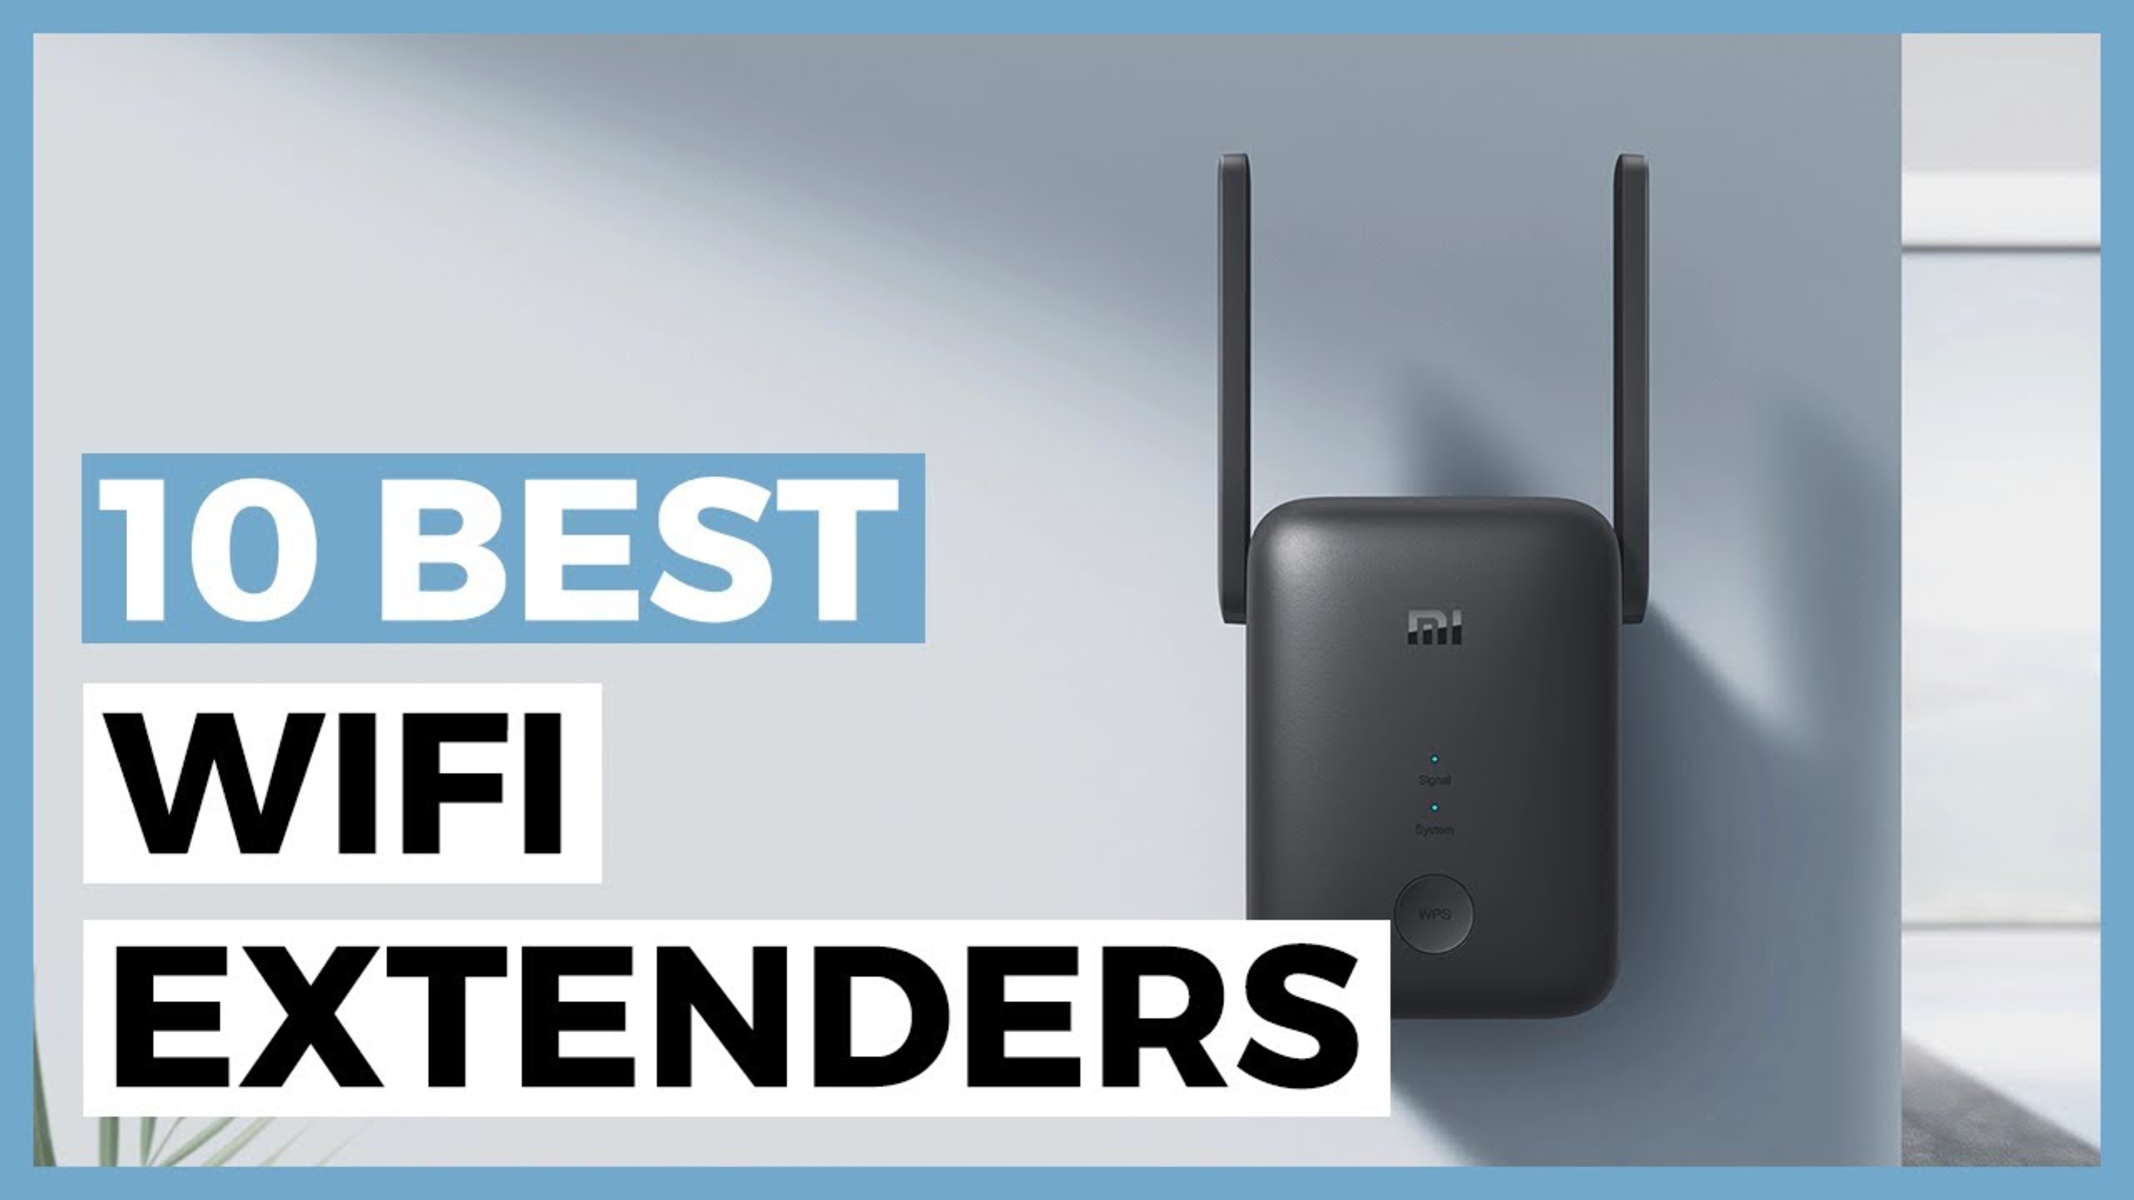
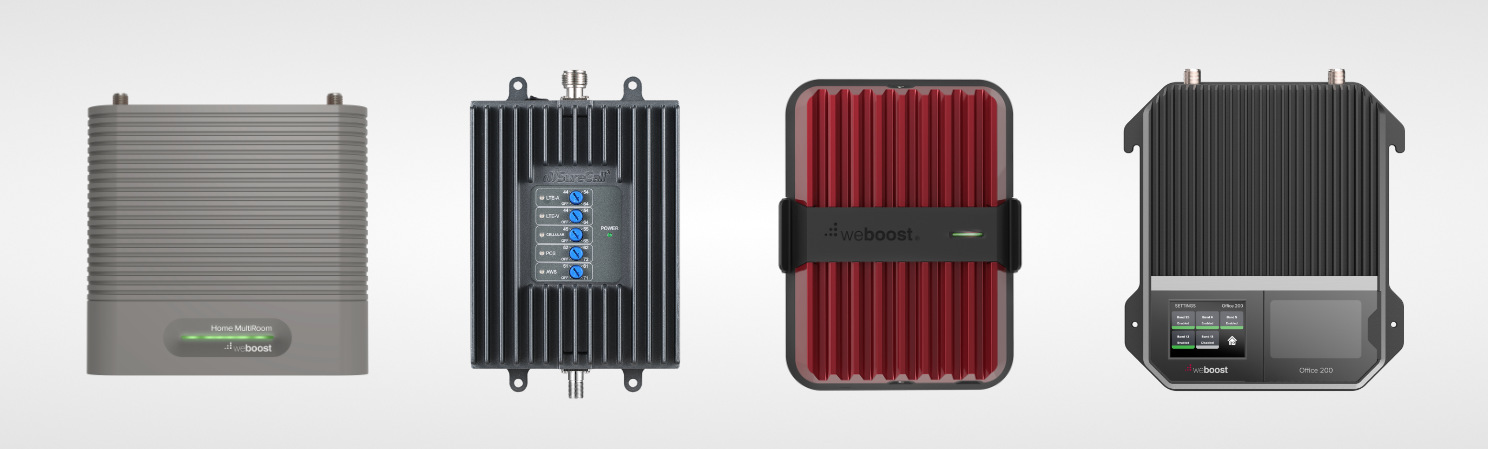
What is a WiFi Repeater?
A WiFi repeater, also known as a WiFi range extender, is a device that helps amplify and extend the range of your existing WiFi network. It works by receiving the wireless signal from your router and rebroadcasting it to areas that are further away or experiencing a weak signal.
Think of a WiFi repeater as a bridge between your router and devices that are located in areas with poor WiFi coverage. It captures the existing signal from your router and amplifies it, effectively extending the reach of your network. This allows you to have a strong and stable connection even in rooms or corners of your home where the WiFi signal was previously weak.
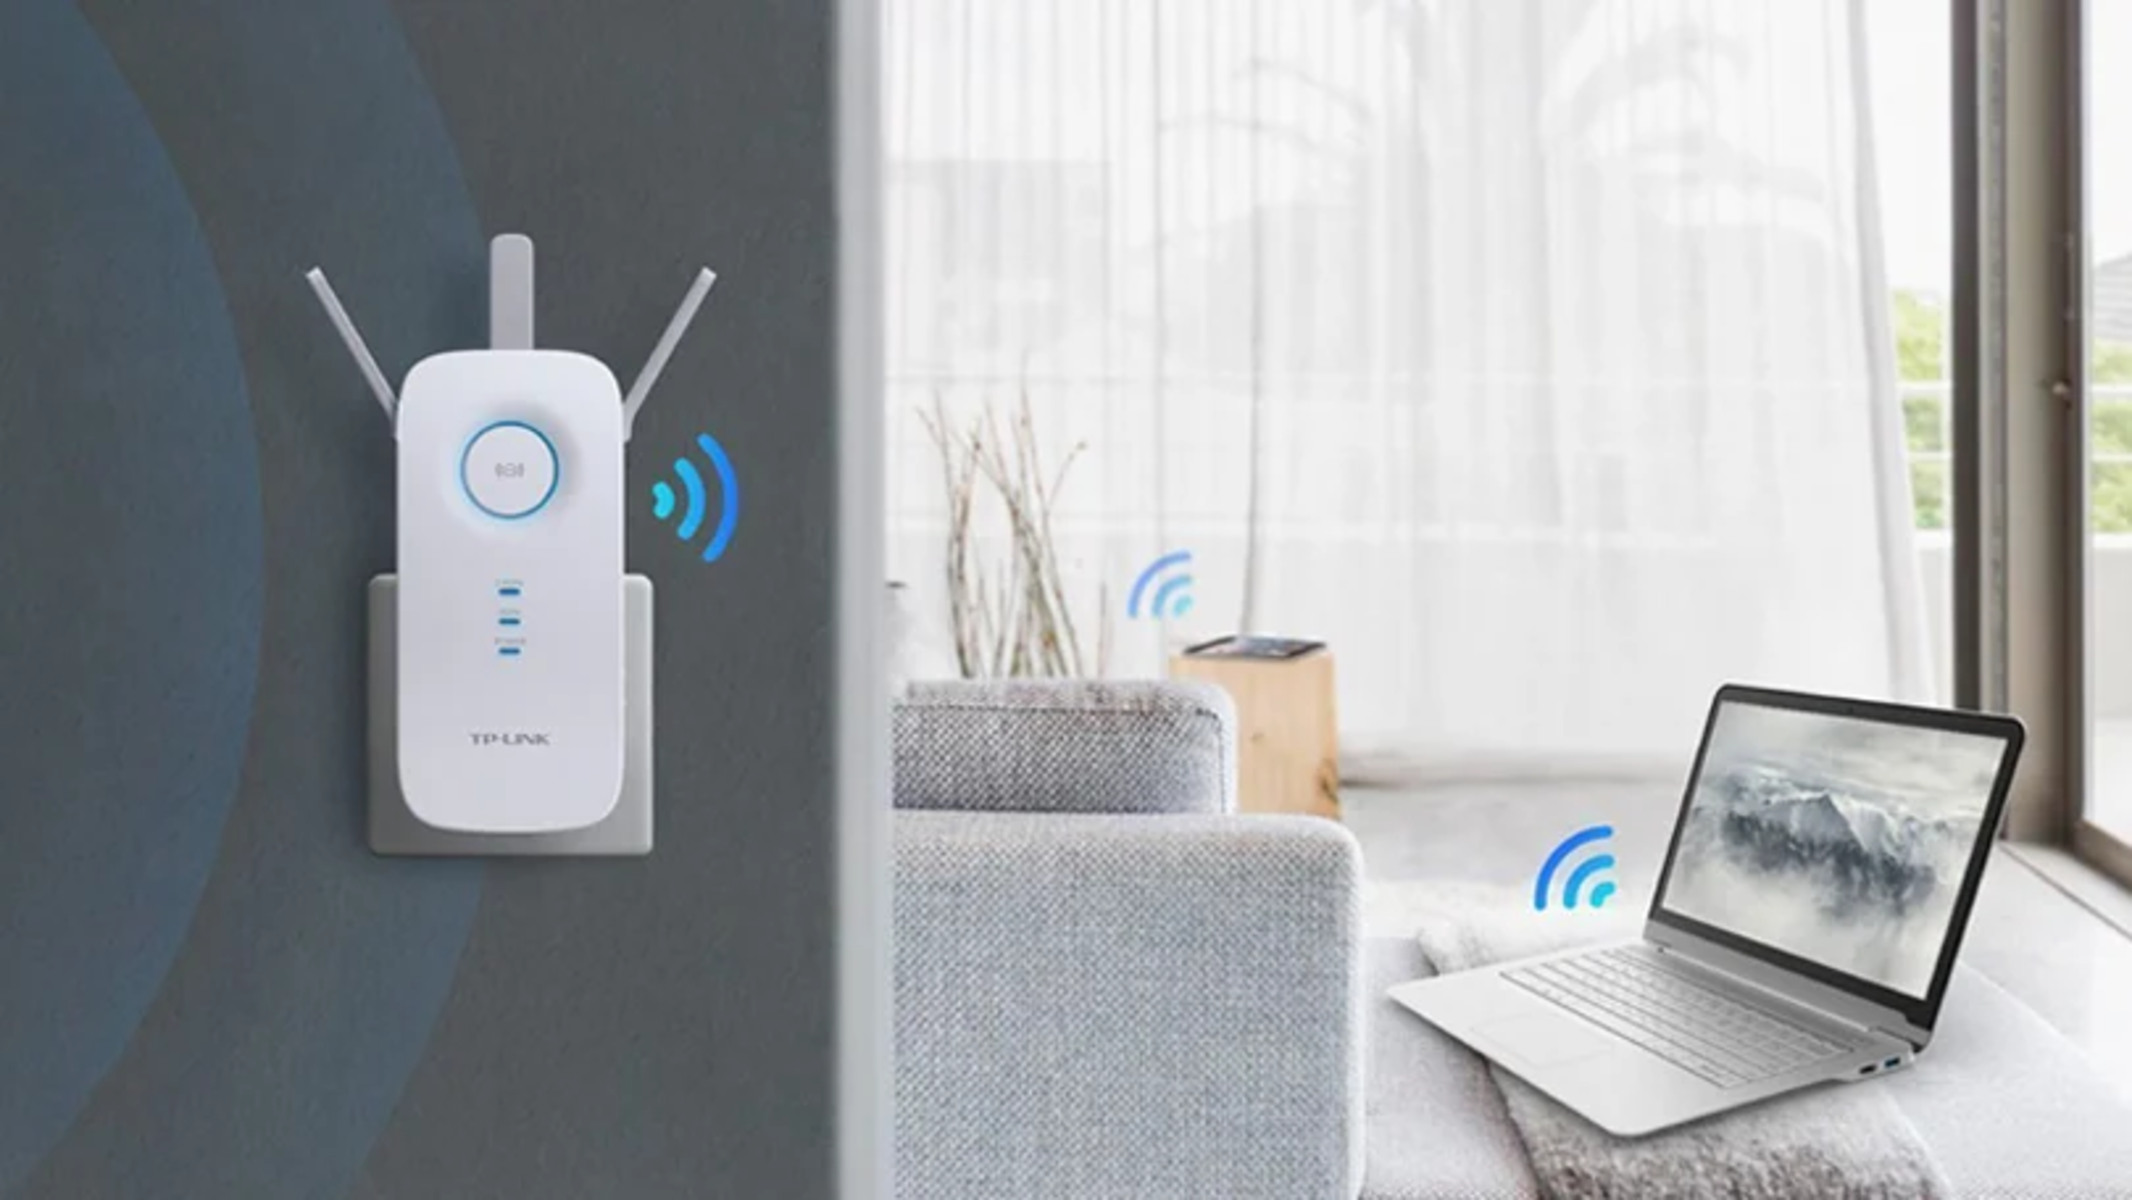
The setup of a WiFi repeater is relatively simple. Once connected to your existing WiFi network, the repeater receives the signal and rebroadcasts it under a new wireless network name (SSID), often with the same password as your main network. This creates a seamless transition between your router and the repeater, ensuring that your devices can stay connected without any interruption as you move around your space.
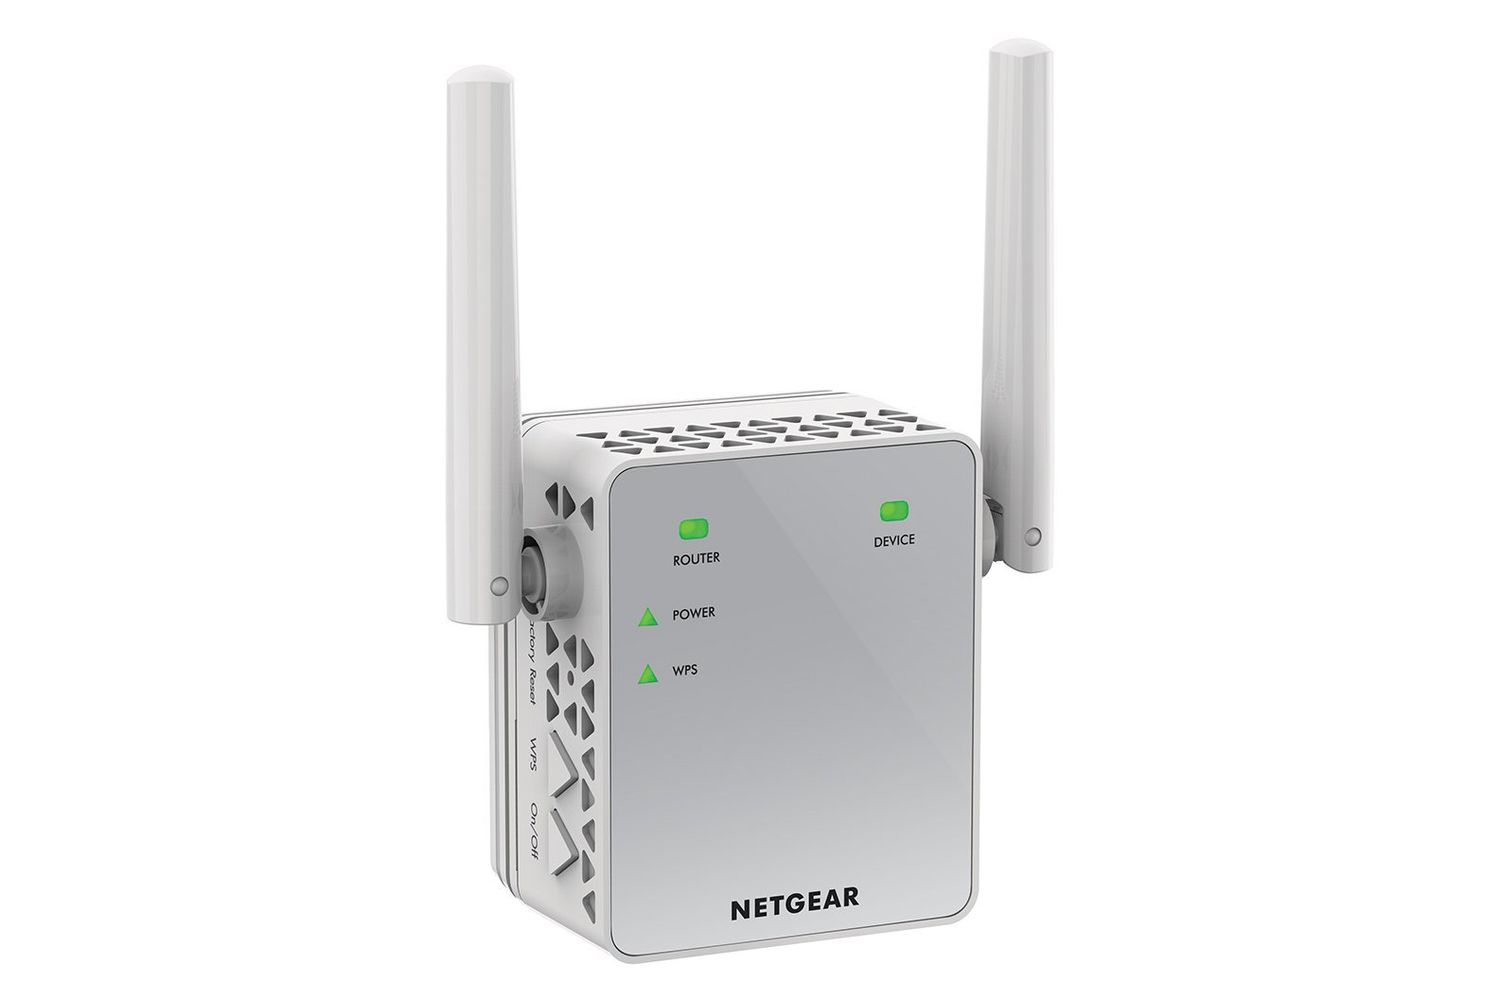
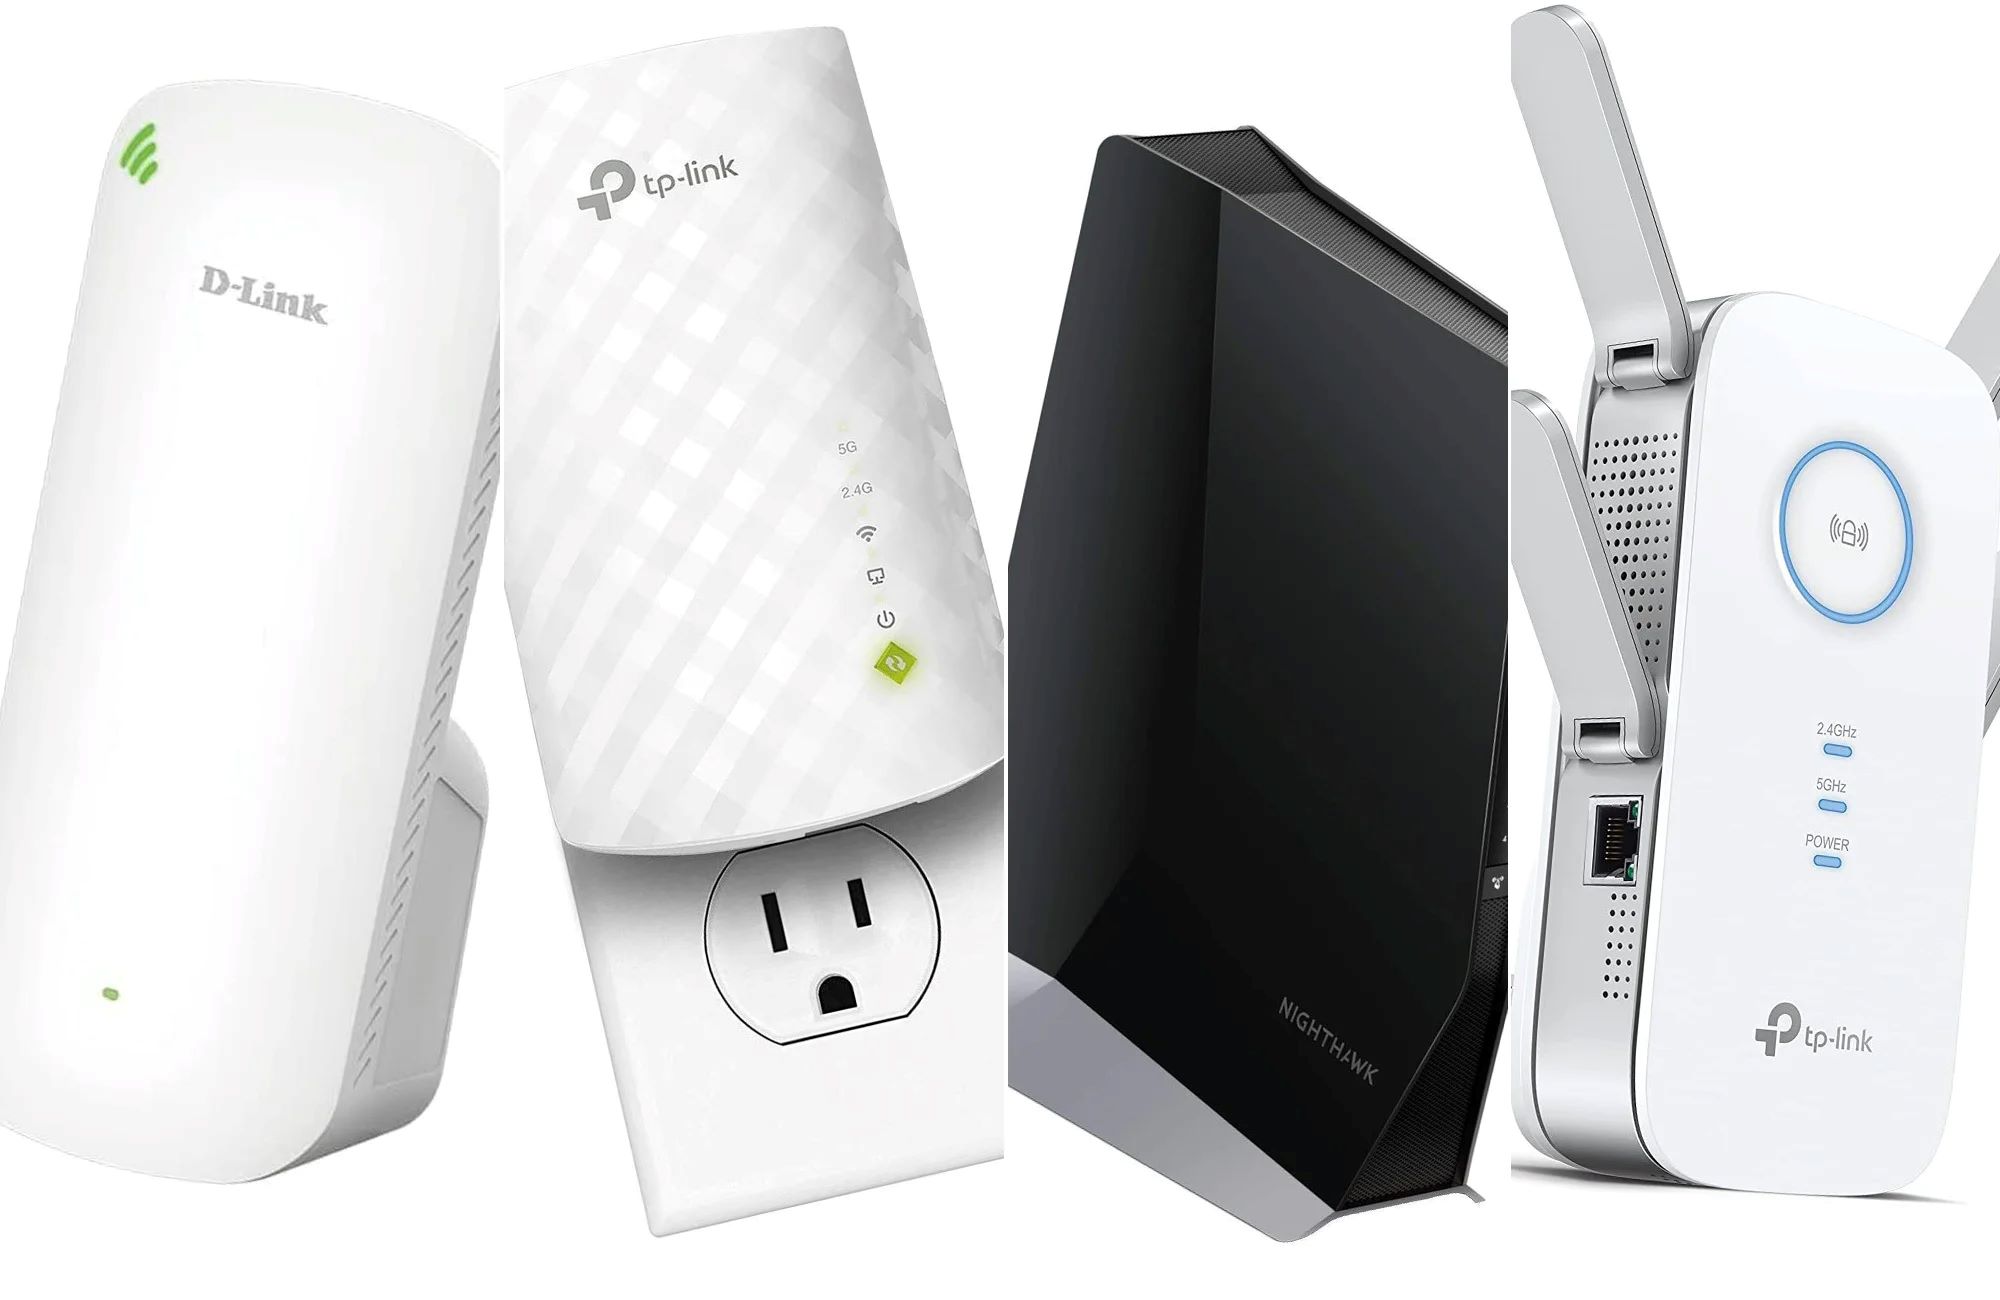
WiFi repeaters come in various shapes and sizes, ranging from compact plug-in models to larger, standalone units. Some repeaters also offer additional features, such as Ethernet ports for wired connections or the ability to create a new access point to connect devices directly.
It’s important to note that a WiFi repeater does not create a new WiFi network. Instead, it enhances the existing network by extending its coverage. This means that all devices connected to the repeater will be using the same network and have access to the same resources, such as shared files, printers, and the internet.
Overall, a WiFi repeater is a valuable tool for improving WiFi coverage in your home or office. It helps eliminate dead spots and ensures that you can enjoy a strong and reliable internet connection throughout your space.
Why would you need a WiFi Repeater?
There are several reasons why you might need a WiFi repeater in your home or office. Here are some common scenarios where a WiFi repeater can be beneficial:
- Large or multi-story homes: If you live in a large home or have multiple floors, you may experience areas where the WiFi signal weakens or doesn’t reach at all. These dead spots can be frustrating, especially if you rely heavily on WiFi for work, streaming, or online gaming. A WiFi repeater can extend the range of your network, ensuring that you have a strong and stable connection in every room.
- Office or commercial spaces: WiFi repeaters are not only useful in residential settings but also in offices or commercial spaces. In large office buildings or retail establishments, the WiFi signal can be diminished by walls, distance, or interference from electronic devices. By strategically placing WiFi repeaters throughout the space, you can improve coverage and provide employees, customers, or guests with a reliable WiFi connection.
- Outdoor areas: Do you have a deck, patio, or outdoor entertainment area where you would like to have WiFi access? A WiFi repeater with weatherproof capabilities can extend your network to outdoor spaces, allowing you to browse the internet, stream music, or work from your laptop while enjoying the fresh air.
- Remote locations: If you have a cabin, vacation home, or any remote location where the WiFi signal is weak or nonexistent, a WiFi repeater can come to your rescue. By installing a repeater in a location with a reliable internet connection, you can extend the network presence to your remote location and stay connected even when you’re away from home.
- Streaming and gaming: If you love streaming movies, TV shows, or playing online games, a strong and stable WiFi connection is essential. A WiFi repeater can help eliminate buffering or lagging issues by boosting the WiFi signal in the areas where you typically stream or game.
By using a WiFi repeater, you can overcome these challenges and ensure that you have a strong and reliable WiFi connection throughout your home, office, or any other space where you need it the most.
Choosing the right WiFi Repeater
When it comes to choosing the right WiFi repeater for your needs, there are a few key factors to consider. By taking these factors into account, you can ensure that you select a repeater that will effectively extend your WiFi coverage. Here are some things to keep in mind:
- Compatibility: Before purchasing a WiFi repeater, make sure that it is compatible with your existing WiFi network. Check the specifications to ensure that it supports the same WiFi standards (such as 802.11n, 802.11ac, etc.) as your router.
- Speed: Consider the speed capabilities of the repeater. Look for a repeater that can handle the maximum speed of your internet connection to ensure that you get the most out of your network speed.
- Range: Determine the range you need to cover in order to eliminate dead spots in your home or office. Consider factors like the size of your space and the thickness of walls. Look for a repeater with a range that matches your requirements.
- Frequency band: WiFi repeaters come in different frequency bands, such as 2.4GHz and 5GHz. Dual-band repeaters offer the advantage of operating on both frequency bands, providing flexibility and reducing interference. Consider the devices you have and the frequency bands they support when choosing a repeater.
- Installation: Look for a repeater that offers easy installation and setup. Some repeaters have user-friendly interfaces and provide step-by-step instructions to simplify the process.
- Additional features: Consider if there are any additional features that you require, such as Ethernet ports for wired connections or the ability to create a new access point. These features can enhance the functionality of the repeater and cater to specific needs.
- Brand and reviews: Research different brands and read reviews from other users to get an idea of the reliability and performance of the repeater. Look for reputable brands that have positive feedback to ensure a quality product.
By considering these factors, you can make an informed decision and choose a WiFi repeater that suits your specific needs. Remember that finding the right repeater can greatly enhance your WiFi coverage and provide you with a stronger and more reliable connection throughout your space.
Step-by-step guide to connect a WiFi Repeater
Connecting a WiFi repeater to your existing WiFi network is a straightforward process. Follow these step-by-step instructions to set up and configure your repeater:
- Step 1: Read the user manual: Start by reading the user manual that comes with your WiFi repeater. This will provide specific instructions and guidelines for your particular model.
- Step 2: Find an optimal location: Identify a location for your repeater that is within the range of your existing WiFi network and strategically placed to eliminate dead spots. Ideally, it should be located between your existing WiFi router and the area where you need enhanced coverage.
- Step 3: Power on the repeater and connect to it: Plug in the repeater and power it on. Use your device (such as a laptop, smartphone, or tablet) to connect to the repeater’s WiFi network, which is usually labeled on the device or mentioned in the user manual.
- Step 4: Access the repeater’s settings: Once connected to the repeater, open a web browser and enter the repeater’s default IP address, which is typically mentioned in the user manual. This will take you to the repeater’s settings page.
- Step 5: Connect the repeater to your WiFi network: On the settings page, look for an option to connect the repeater to your existing WiFi network. This may be referred to as “Wireless Setup” or “WiFi Configuration.” Enter the SSID (network name) and password of your existing network to establish the connection.
- Step 6: Test the connection: Once the repeater is successfully connected to your WiFi network, unplug the repeater and move it to the optimal location you identified in step 2. Plug it back in and ensure that it is within range of your existing network. Test the connection by connecting your devices to the repeater’s WiFi network and confirming that you have a strong and stable signal.
Following these step-by-step instructions, you can easily set up and connect a WiFi repeater to your existing WiFi network. Remember to consult the user manual for your specific model, as the process may vary slightly depending on the brand and model of your repeater.
Step 1: Read the user manual
Before setting up your WiFi repeater, it is essential to read the user manual that comes with the device. Every WiFi repeater may have unique features or specific installation instructions, so familiarizing yourself with the manual will ensure a smoother setup process. Here’s why reading the user manual is crucial:
Understanding the device: The user manual provides detailed information about the WiFi repeater, including its specifications, capabilities, and functionality. By reading the manual, you can gain a better understanding of what the device is capable of and how it should be used.
Specific instructions: The user manual will outline step-by-step instructions tailored to your specific WiFi repeater model. It will guide you through the installation process, configuration settings, and troubleshooting procedures. Following these instructions will help you connect the WiFi repeater correctly and make the most of its features.
Troubleshooting advice: The user manual often includes troubleshooting tips and solutions for common issues. If you encounter any difficulties during setup or usage, the manual will provide guidance on how to resolve them efficiently. This can save you time and frustration.
Safety precautions: The user manual will also include important safety information and precautions that you should be aware of when installing or using the WiFi repeater. Paying attention to these guidelines will ensure a safe and secure setup process.
Additional features and settings: WiFi repeaters may offer additional features or customizable settings. The user manual will explain how to access and utilize these features effectively. By reading the manual, you may discover features that can further enhance your WiFi experience.
Manufacturer support: In case you have any technical questions or need assistance, the user manual will typically provide contact information for manufacturer support. Whether it’s a phone number or an email address, this information will come in handy if you encounter any challenges that the manual itself cannot address.
Remember, each WiFi repeater may have its own unique features and setup process. By reading the user manual, you ensure that you have the necessary information and instructions to connect your specific WiFi repeater correctly. Take the time to familiarize yourself with the manual before proceeding to the next steps, as it will set you up for success and help you get the most out of your WiFi repeater.
Step 2: Find an optimal location
Once you have familiarized yourself with the user manual, the next step in setting up your WiFi repeater is to find an optimal location for it. The placement of your repeater plays a crucial role in maximizing its effectiveness and extending your WiFi coverage. Follow these guidelines to find the best location:
Consider signal strength: Start by identifying areas in your home or office where the WiFi signal is weak or non-existent. These dead spots are the areas that you want to target with the WiFi repeater. Walk around your space with a device, such as a smartphone or laptop, and check the signal strength in different areas.
Distance from the router: The WiFi repeater should be placed within range of your existing WiFi network. Ideally, it should be located in an area that is between the dead spots and the router itself. This ensures that the repeater can receive a strong signal from the router and effectively rebroadcast it to extend the coverage.
Obstacles and interference: Take note of any physical obstacles, such as walls or large furniture, that may interfere with the WiFi signal. Keep in mind that WiFi signals can be weakened when passing through walls, especially if they are made of thick materials like concrete or brick. Try to place the repeater in a location where it can minimize the impact of these obstacles.
Avoid interference: Avoid placing the repeater near other devices that could cause interference, such as cordless phones, microwaves, or Bluetooth devices. These devices operate on similar frequencies and can disrupt the WiFi signal.
Elevated position: Whenever possible, position the WiFi repeater at an elevated location. This helps improve the coverage by allowing the signal to propagate downwards and reach a wider area. Placing it on a higher shelf or mounting it on a wall can often yield better results.
Test the signal: After choosing a potential location, conduct a signal test to ensure that the repeater will effectively cover the desired area. Connect your device to the repeater’s WiFi network and verify that you have a strong and stable signal in the targeted dead spots. If necessary, try different locations to find the optimal one.
By following these guidelines, you can identify the optimal location for your WiFi repeater, ensuring that it can receive a strong signal from your router and extend the coverage to the areas where it is needed the most. Once you have determined the ideal spot, you can proceed with the next steps of the setup process.
Step 3: Power on the repeater and connect to it
After finding the optimal location for your WiFi repeater, you can proceed to the next step: powering on the repeater and connecting your device to it. Follow these instructions:
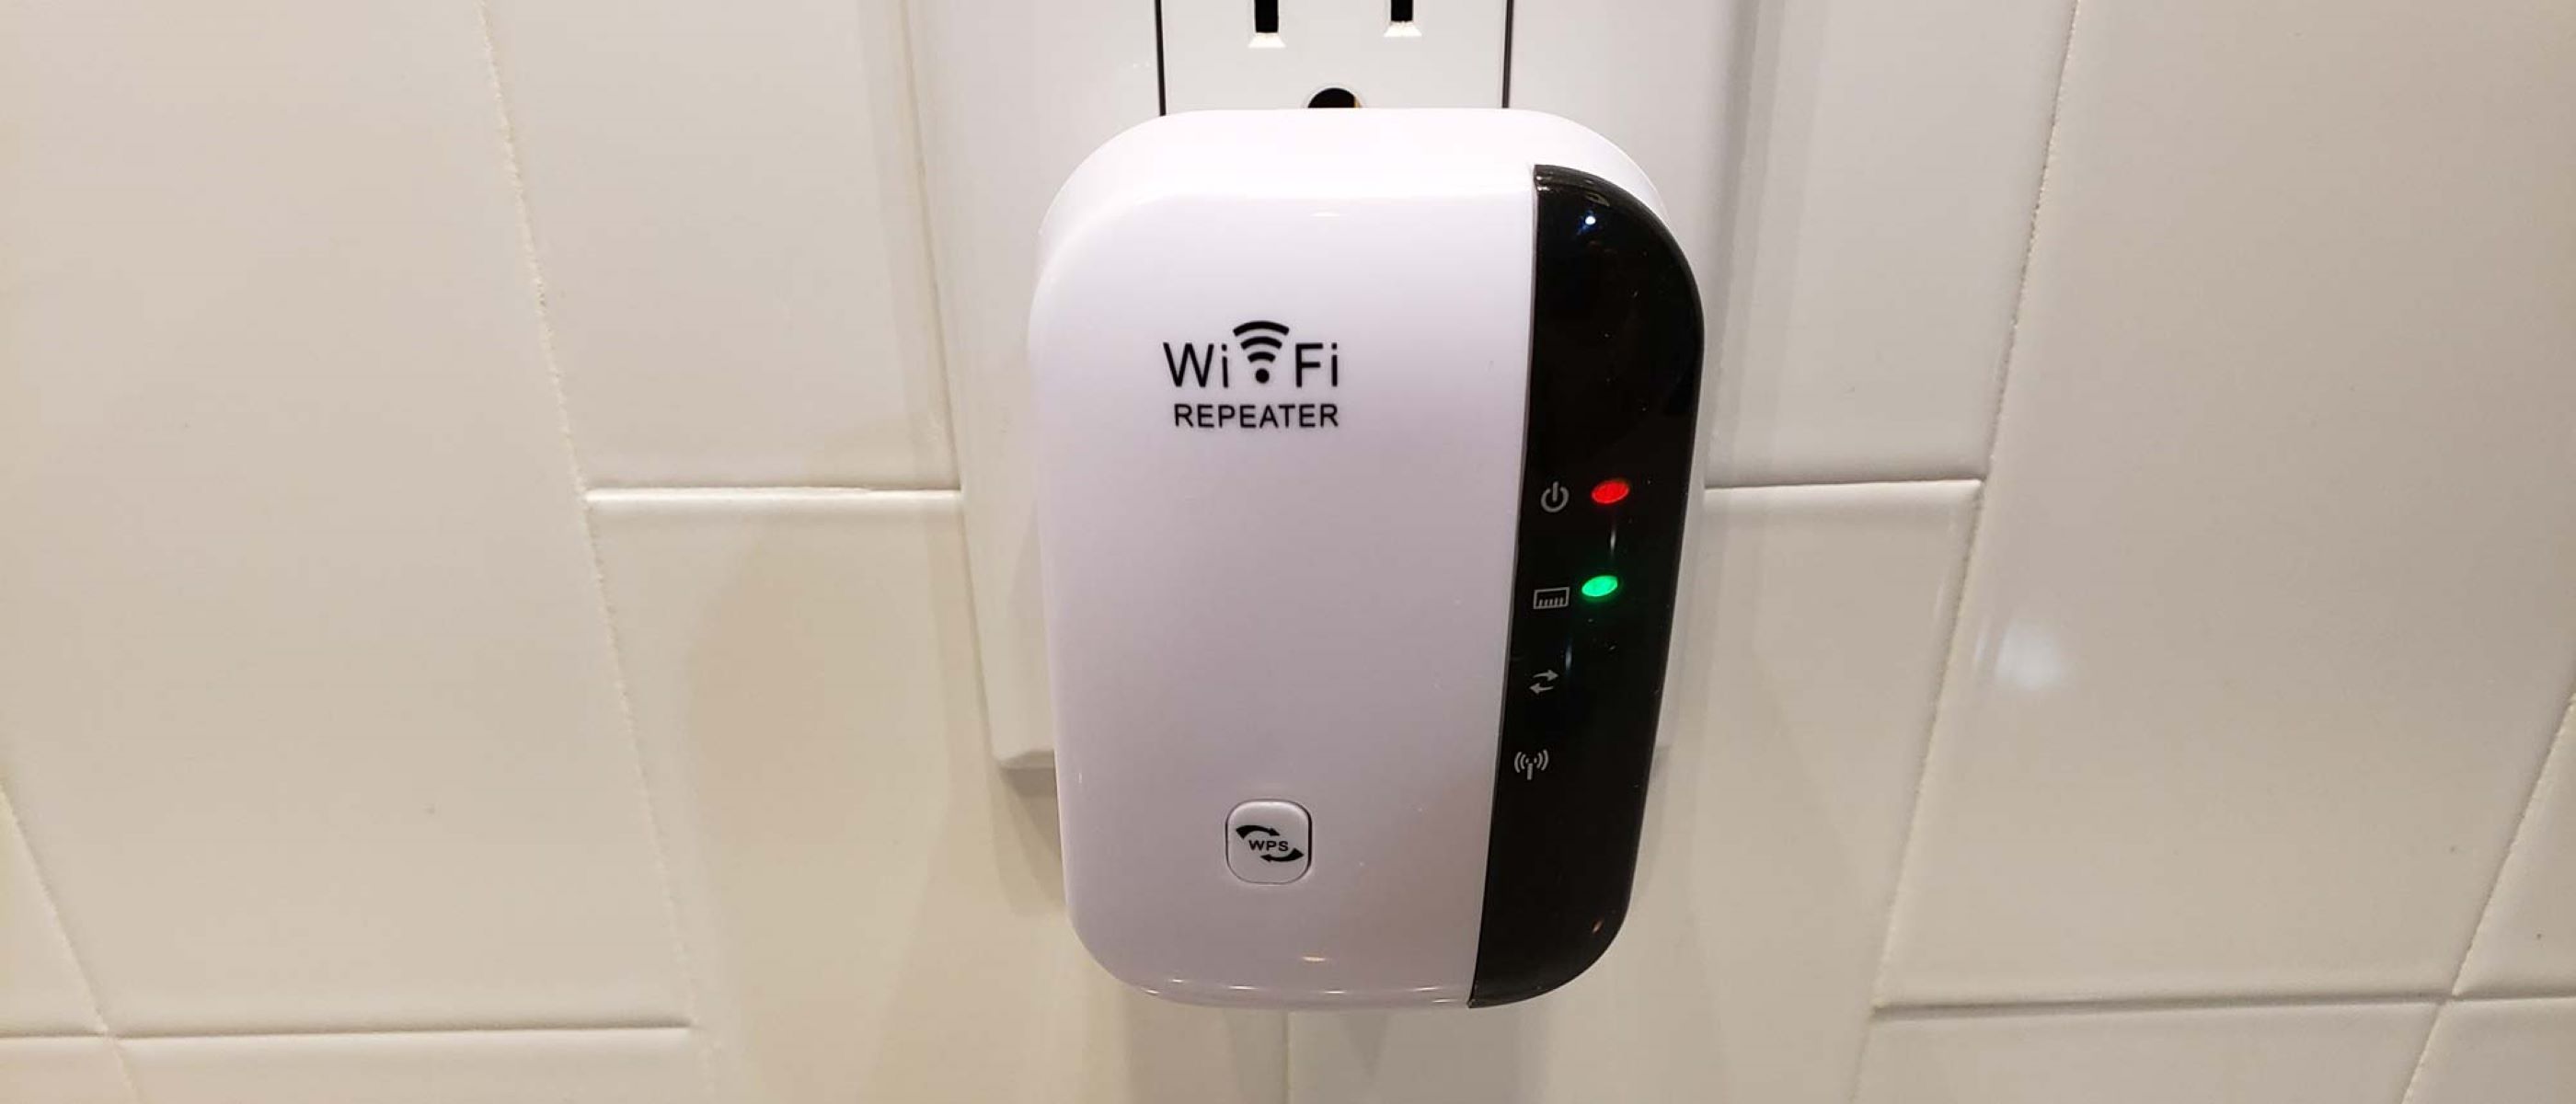
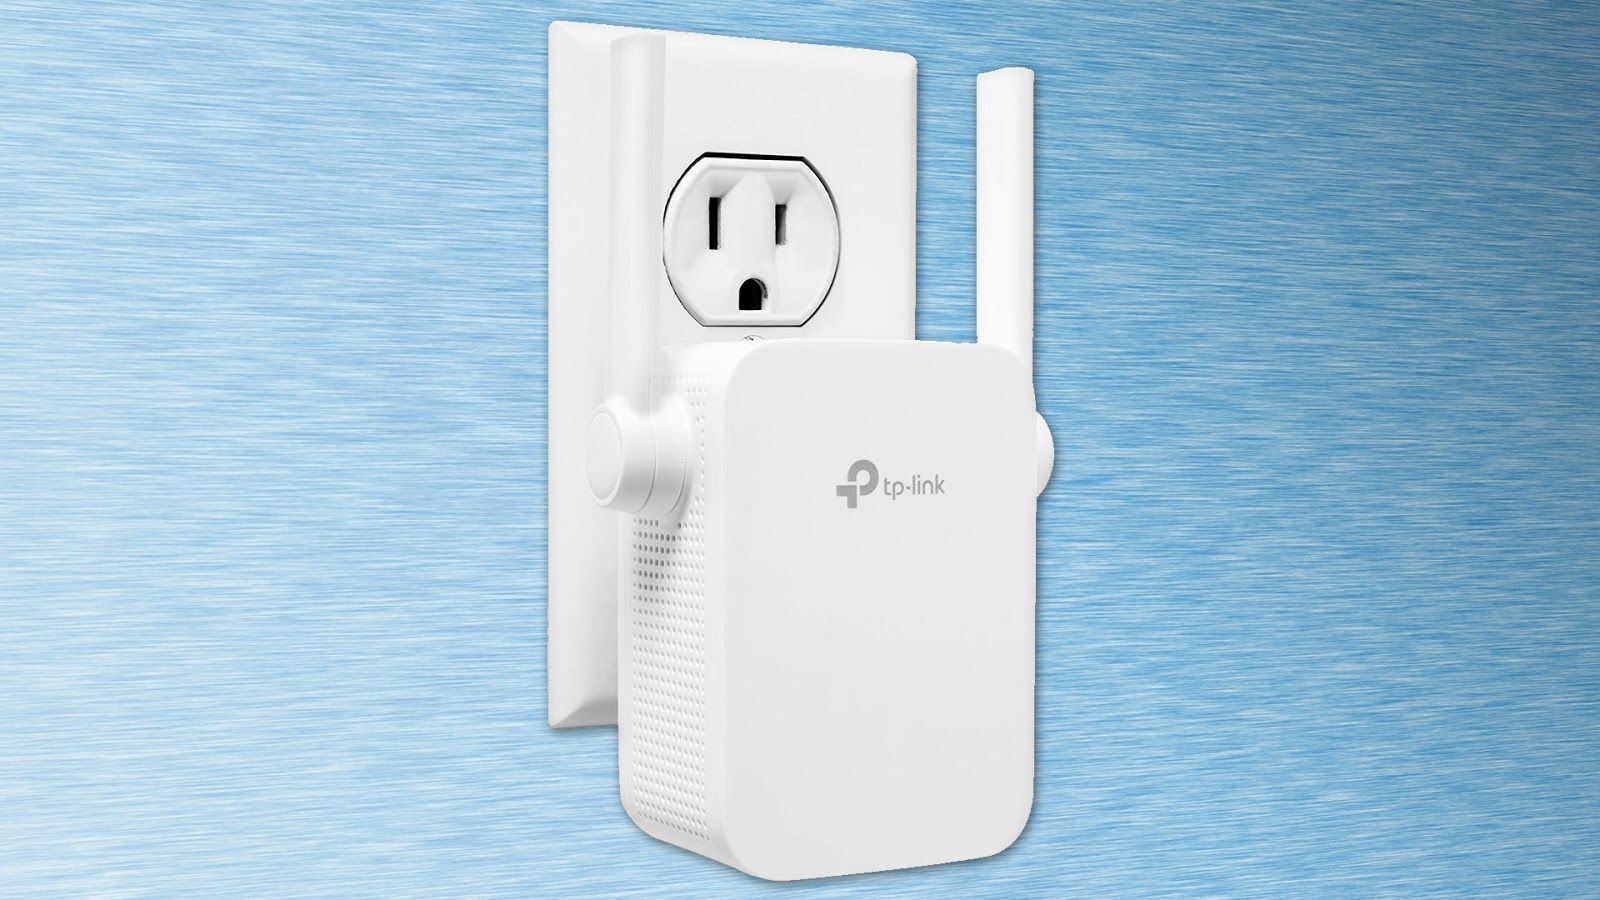
- Plug in the repeater: Locate an electrical outlet near the chosen location for your WiFi repeater. Plug in the repeater’s power adapter into the outlet and ensure that it is securely connected.
- Turn on the repeater: Flip the power switch on the repeater, if it has one. Otherwise, the repeater should power on automatically once it’s connected to a power source.
- Connect to the repeater’s WiFi network: On your device (such as a smartphone, laptop, or tablet), open the list of available WiFi networks. Look for the WiFi network name (SSID) designated for your repeater. This network name is usually labeled on the repeater’s casing or mentioned in the user manual. Select the repeater’s network and click “Connect”.
- Enter the password (if required): If prompted, enter the password for the repeater’s network. This password may also be provided on the repeater’s casing or in the user manual. Make sure to enter it correctly to establish a successful connection.
- Wait for the connection: Once you have entered the password (if required), your device will attempt to connect to the repeater’s WiFi network. Allow a few moments for the connection to be established.
- Confirm the connection: Once your device is successfully connected to the repeater’s WiFi network, check the WiFi icon on your device to ensure that it is now connected to the repeater rather than your main router.
By following these instructions, you can power on the WiFi repeater and connect your device to it. This initial connection allows you to access the repeater’s settings and configure it to extend your existing WiFi network.
Note that during this stage, you are not yet connecting the repeater to your main WiFi network. In the subsequent steps, you will configure the repeater to create a bridge between your router and devices, effectively extending the coverage of your WiFi network. Stay tuned for the next steps of the setup process.
Step 4: Access the repeater’s settings
After successfully connecting your device to the WiFi repeater, the next step is to access the repeater’s settings. This will allow you to configure and customize the repeater to extend your existing WiFi network. Follow these instructions to access the repeater’s settings:
- Open a web browser: On your connected device, open a web browser such as Google Chrome, Mozilla Firefox, or Safari.
- Enter the default IP address: In the address bar of your web browser, enter the default IP address of the repeater. This IP address is typically mentioned in the user manual that came with the repeater. Common default IP addresses include 192.168.0.1 or 192.168.1.1.
- Press Enter: Press the Enter key on your keyboard or click the Go button to navigate to the default IP address. This will take you to the repeater’s login page.
- Enter the login credentials: On the login page, you may be required to enter the default username and password for the repeater. These credentials are usually mentioned in the user manual or can be found on the device itself. Enter the credentials correctly and click Login or press Enter.
- Access the settings page: Upon successful login, you will be redirected to the repeater’s settings page. This page allows you to customize various aspects of the repeater, such as network settings, security options, and WiFi signal parameters.
- Explore the settings: Take some time to navigate through the settings page and familiarize yourself with the available options. Look for sections that pertain to connecting the repeater to your existing WiFi network or extending the coverage. Pay attention to any specific instructions or recommendations provided in the user manual.
By following these instructions, you can access the settings page of your repeater and begin customizing it according to your needs. The settings page will vary depending on the specific brand and model of your repeater, so make sure to refer to the user manual for detailed instructions regarding configuration and customization options.
In the next steps, you will configure the repeater to connect it to your existing WiFi network and extend its coverage. Stay tuned for the upcoming section on connecting the repeater to your WiFi network.
Step 5: Connect the repeater to your WiFi network
Now that you have accessed the settings page of your WiFi repeater, you can proceed to connect it to your existing WiFi network. Follow these instructions to establish the connection:
- Locate the Wireless Setup or WiFi Configuration: In the repeater’s settings page, look for an option related to wireless setup or WiFi configuration. This section may be labeled differently depending on the brand and model of your repeater.
- Scan for available networks: Within the wireless setup or WiFi configuration section, you will typically find a button or option to scan for available networks. Click on this option to search for nearby WiFi networks.
- Select your network: From the list of available networks, select your existing WiFi network. This will be the network name (SSID) of your main router that you want to extend using the repeater.
- Enter security information: If your existing WiFi network is secured with a password, you will be prompted to enter it in the designated field. Make sure to enter the password correctly to establish a secure connection.
- Save the settings: After entering the necessary information, save the settings or apply the changes. The repeater will now attempt to establish a connection with your WiFi network.
- Wait for the connection: The repeater will go through a connection process with your WiFi network. This may take a few moments to complete as the repeater syncs with your existing network.
- Confirm the connection: Once the repeater has successfully connected to your WiFi network, it will display a confirmation message or indicator. At this point, the repeater is now integrated into your network, extending its coverage and providing a stronger signal in previously weak areas.
By following these instructions, you can connect your WiFi repeater to your existing WiFi network, effectively extending its coverage to areas that previously had a weak signal. It’s important to note that the specific steps and options may vary depending on the brand and model of your repeater. Refer to the user manual or manufacturer’s instructions for any specific details or requirements.
In the next step, you will test the connection to ensure that the repeater is working efficiently. Stay tuned for the upcoming section on testing the connection and troubleshooting common issues.
Step 6: Test the connection
After connecting your WiFi repeater to your existing network, it’s essential to test the connection to ensure that it’s working correctly and providing the extended coverage you desire. Follow these instructions to test the connection:
- Move to a previously weak area: In areas where you previously experienced a weak WiFi signal or dead spots, bring your connected device (such as a smartphone, laptop, or tablet) to test the connection. This could be a room far away from the main router or an area that previously had poor WiFi coverage.
- Check the WiFi signal: On your device, check the WiFi indicator to see if it shows a strong signal. Look for an increased number of bars or a higher signal percentage compared to what you previously experienced in that area.
- Test internet connectivity: Open a web browser or any online application on your device and verify if you have a stable internet connection. Browse websites, stream videos, or perform any online activities to ensure that the connection is reliable and consistent.
- Monitor signal strength: Move around the previously weak area while monitoring the WiFi signal strength on your device. Confirm that the signal remains strong and stable as you navigate through different parts of the area.
- Repeat the process: If you have multiple areas with poor WiFi coverage, repeat the same process in each area to ensure that the WiFi repeater is effectively extending the coverage to all desired locations.
By following these instructions and testing the connection in different areas, you can ensure that your WiFi repeater is working as intended. If you encounter any issues or still experience weak signals in certain areas, refer to the troubleshooting section in your user manual or seek assistance from the repeater’s manufacturer support.
Remember to keep your repeater powered on at all times to continue benefiting from the extended coverage. Additionally, periodically check for firmware updates for your repeater to ensure it has the latest features and optimizations.
Congratulations on setting up and testing your WiFi repeater! Enjoy the expanded WiFi coverage and a stronger signal throughout your home or office.
Troubleshooting common issues
While setting up and using a WiFi repeater, you may encounter some common issues. Here are a few troubleshooting tips to help you resolve them:
- Weak signal or limited coverage: If you’re still experiencing a weak signal or limited coverage after setting up the repeater, try repositioning it closer to the dead spot or the area with poor WiFi coverage. Adjust the placement until you find the optimal position that provides the best signal strength.
- Interference from other devices: If you notice a sudden drop in the WiFi signal or intermittent connection, it may be due to interference from other devices operating on the same frequency range. Move your repeater away from devices like cordless phones, Bluetooth devices, and microwaves, which can disrupt the WiFi signal.
- Incorrect configuration: Double-check the configuration settings on your repeater. Ensure that you have correctly entered the SSID (network name) and password of your existing WiFi network. Also, verify that you haven’t accidentally enabled any settings, such as MAC filtering or firewall rules, which may restrict the connection.
- Outdated firmware: Check the manufacturer’s website for any available firmware updates for your repeater. Outdated firmware can cause performance issues or compatibility problems. If an update is available, follow the manufacturer’s instructions to download and install the latest firmware to ensure optimal performance.
- Weakened WiFi signal from the main router: If the WiFi signal from your main router is weak, it can also affect the repeater’s performance. Ensure that your main router is positioned in an optimal location and that its antennas are properly oriented for maximum signal strength.
- Reset the repeater: If you’re still experiencing issues, consider resetting the repeater to its factory default settings. Refer to the user manual for instructions on how to perform a reset. Keep in mind that resetting the repeater will erase any customized settings, so you will need to reconfigure it from scratch.
If you have exhausted these troubleshooting steps and are still experiencing difficulties with your WiFi repeater, it may be helpful to contact the manufacturer’s support for further assistance. They can provide specialized guidance based on your specific device model and help troubleshoot any complex issues you may encounter.
By following these troubleshooting tips, you can overcome common issues and ensure that your WiFi repeater operates efficiently, providing enhanced coverage and a stronger signal throughout your space.
Conclusion
Setting up a WiFi repeater can greatly improve your WiFi coverage and ensure a stronger and more reliable internet connection throughout your home, office, or any other space. By following the step-by-step guide provided in this article, you can easily connect your WiFi repeater to your existing network and eliminate those frustrating dead spots.
Remember to choose a repeater that is compatible with your existing WiFi network and meets your specific requirements in terms of speed, range, and additional features. Take the time to find an optimal location for the repeater, considering factors such as signal strength, distance from the router, and potential obstacles or interference.
Once connected to your WiFi network, you can access the settings of the repeater and customize it according to your needs. Ensure that you test the connection in different areas to confirm that the repeater is extending the coverage effectively and providing a reliable WiFi signal.
If you encounter any issues during the setup process or experience performance problems with your WiFi repeater, refer to the troubleshooting section and contact the manufacturer’s support for assistance. Sometimes, simple adjustments or firmware updates can resolve common issues and optimize your repeater’s performance.
By following these guidelines, you can enjoy a strong and consistent WiFi signal in every corner of your space, allowing you to freely surf the internet, stream media, and work without interruptions. Stay connected and maximize your WiFi experience with a reliable and efficient WiFi repeater.