Introduction
Using a USB headset on your Xbox can significantly enhance your gaming experience by providing clear communication and immersive sound. Whether you're engaging in intense multiplayer battles or immersing yourself in a captivating single-player adventure, having a reliable headset can make all the difference. With the right USB headset, you can communicate with your teammates, enjoy crisp audio, and even delve into the world of virtual reality.
In this comprehensive guide, we will walk you through the process of setting up and using a USB headset on your Xbox. From checking compatibility to adjusting settings, we'll cover everything you need to know to seamlessly integrate your USB headset with your gaming console.
By following the steps outlined in this guide, you can harness the full potential of your USB headset, immersing yourself in the rich audio landscapes of your favorite games while effectively communicating with fellow players. So, if you're ready to elevate your gaming experience to new heights, let's dive into the simple yet crucial steps that will enable you to make the most of your USB headset on your Xbox.
Step 1: Check Compatibility
Before diving into the setup process, it's essential to ensure that your USB headset is compatible with your Xbox console. While many USB headsets are designed to work seamlessly with Xbox devices, it's crucial to verify compatibility to avoid any potential issues during setup.
-
Xbox Compatibility List: Start by consulting the official Xbox compatibility list, which outlines the devices that are verified to work with Xbox consoles. This list is regularly updated by Microsoft to include a wide range of accessories, including USB headsets. By checking this list, you can quickly determine if your specific USB headset model is officially supported.
-
Manufacturer's Compatibility Information: If your USB headset isn't listed on the official Xbox compatibility list, it's worth exploring the manufacturer's website or product documentation. Manufacturers often provide detailed information regarding the compatibility of their headsets with various gaming consoles, including Xbox. Look for specific mentions of Xbox compatibility or any related FAQs that address this topic.
-
Community Forums and Reviews: Sometimes, firsthand experiences from other gamers can provide valuable insights into the compatibility of specific USB headsets with Xbox consoles. Visit gaming forums, community boards, and product review platforms to see if other users have successfully used your headset model with their Xbox devices. Pay attention to any potential challenges or workarounds mentioned by the community.
-
Firmware Updates: In some cases, ensuring compatibility may involve updating the firmware of your USB headset. Check the manufacturer's website or contact their support team to inquire about firmware updates that specifically enhance compatibility with Xbox consoles. Keeping your headset's firmware up to date can often resolve compatibility issues and ensure a smooth setup process.
By thoroughly checking the compatibility of your USB headset with your Xbox console, you can proceed with confidence, knowing that your headset is designed to work seamlessly with your gaming setup. This proactive approach can help you avoid potential frustrations and streamline the process of integrating your USB headset into your gaming experience. Once you've confirmed compatibility, you're ready to move on to the next steps of setting up your USB headset on your Xbox.
Step 2: Update Xbox Software
Ensuring that your Xbox software is up to date is crucial for a seamless integration of your USB headset. Software updates often include enhancements and optimizations that improve the compatibility and functionality of accessories, such as USB headsets. By following these steps, you can easily update your Xbox software to the latest version:
-
Connect to the Internet: To initiate the update process, ensure that your Xbox console is connected to the internet. This can be done via a wired Ethernet connection or through a wireless network. A stable internet connection is essential for downloading and installing the latest software updates.
-
Access System Settings: From the Xbox dashboard, navigate to the "Settings" menu. This can typically be found by scrolling left from the home screen and selecting the gear icon. Within the Settings menu, locate and select the "System" option to access system-related configurations.
-
Check for Updates: Within the System settings, look for the "Updates" or "System Updates" option. Select this option to initiate a manual check for available updates. The console will then connect to the Xbox Live service to search for the latest software updates.
-
Download and Install Updates: If a new software update is available, the console will prompt you to download and install it. Follow the on-screen prompts to initiate the update process. Depending on the size of the update and your internet connection speed, the download and installation may take some time. It's important to ensure that the update process is not interrupted to prevent potential issues.
-
Restart Your Console: Once the update is successfully installed, the console may prompt you to restart. It's essential to restart your Xbox to apply the updates and ensure that the changes take effect.
By keeping your Xbox software up to date, you can take advantage of the latest features and improvements that contribute to a more stable and compatible gaming environment. Additionally, updated software often includes optimizations that enhance the functionality of USB accessories, such as headsets, ensuring a smoother experience when integrating them with your console.
After updating your Xbox software, you're now ready to proceed with connecting and configuring your USB headset, bringing you one step closer to enjoying immersive audio and seamless communication during your gaming sessions.
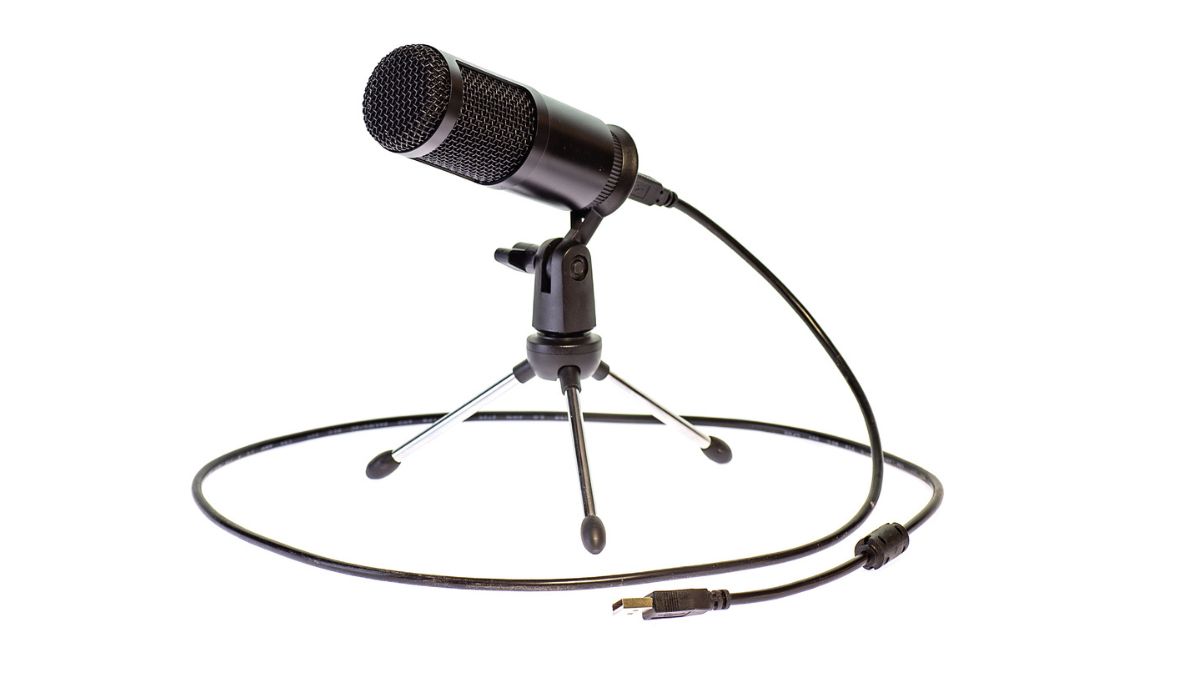
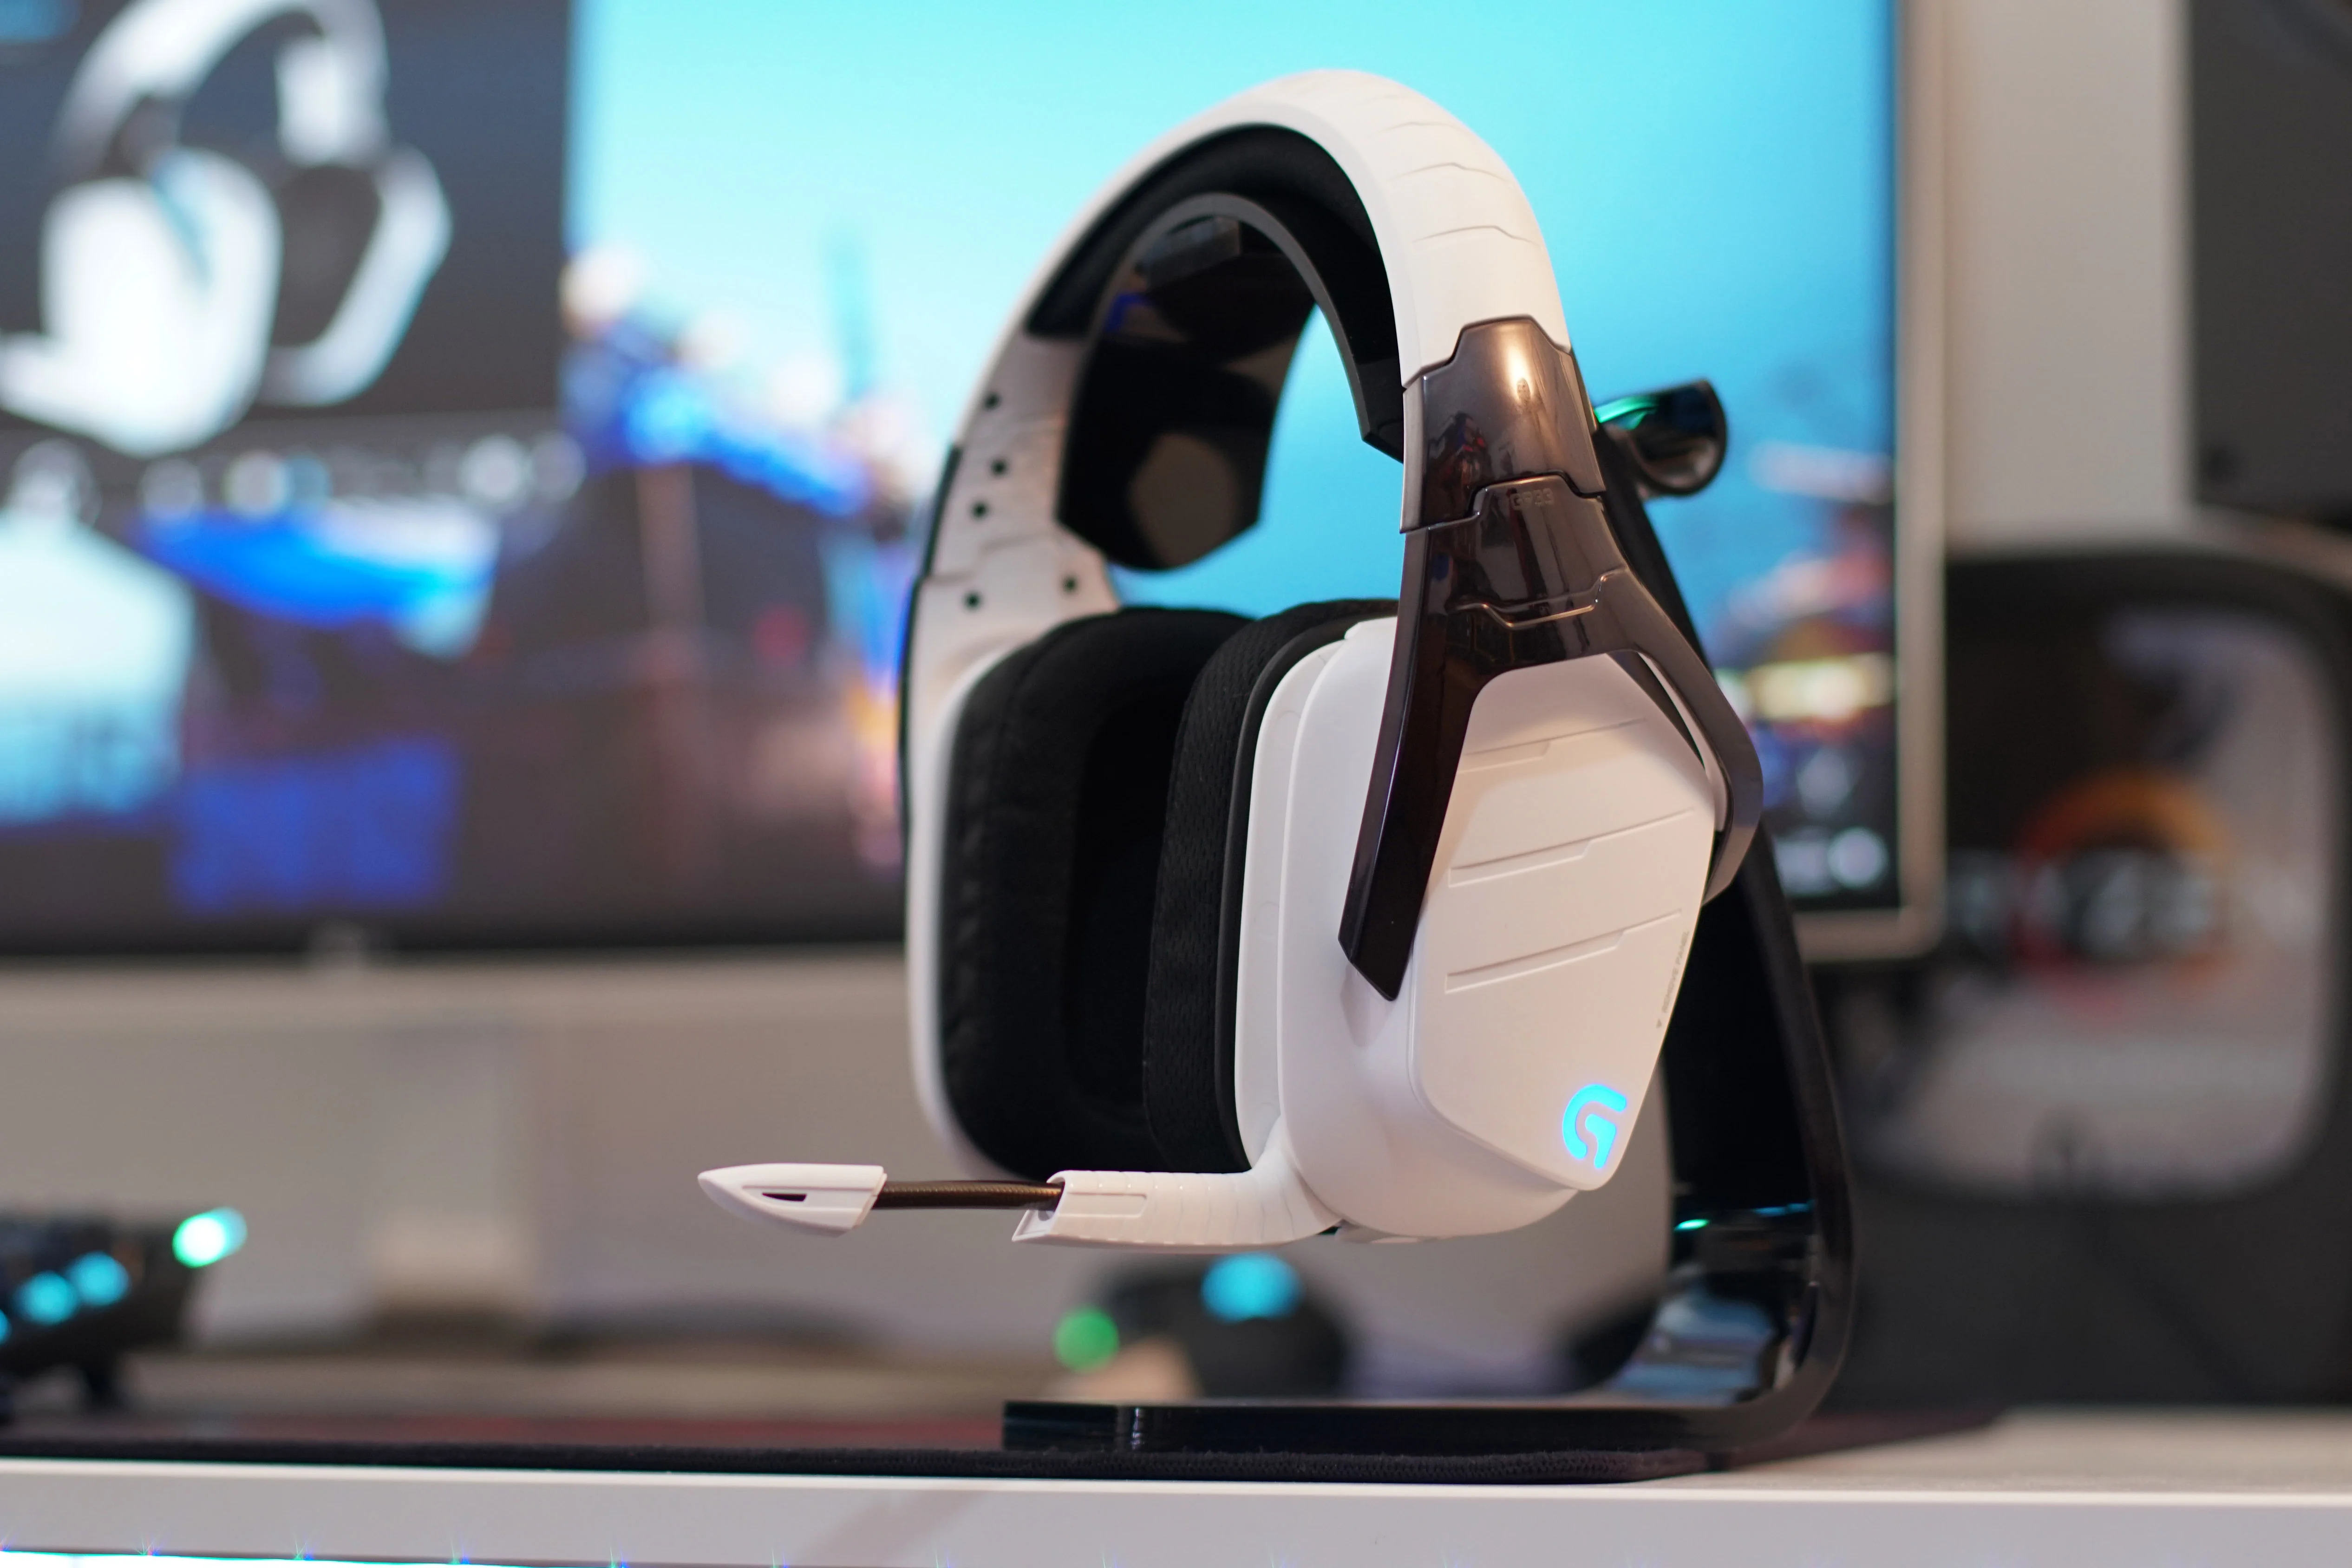
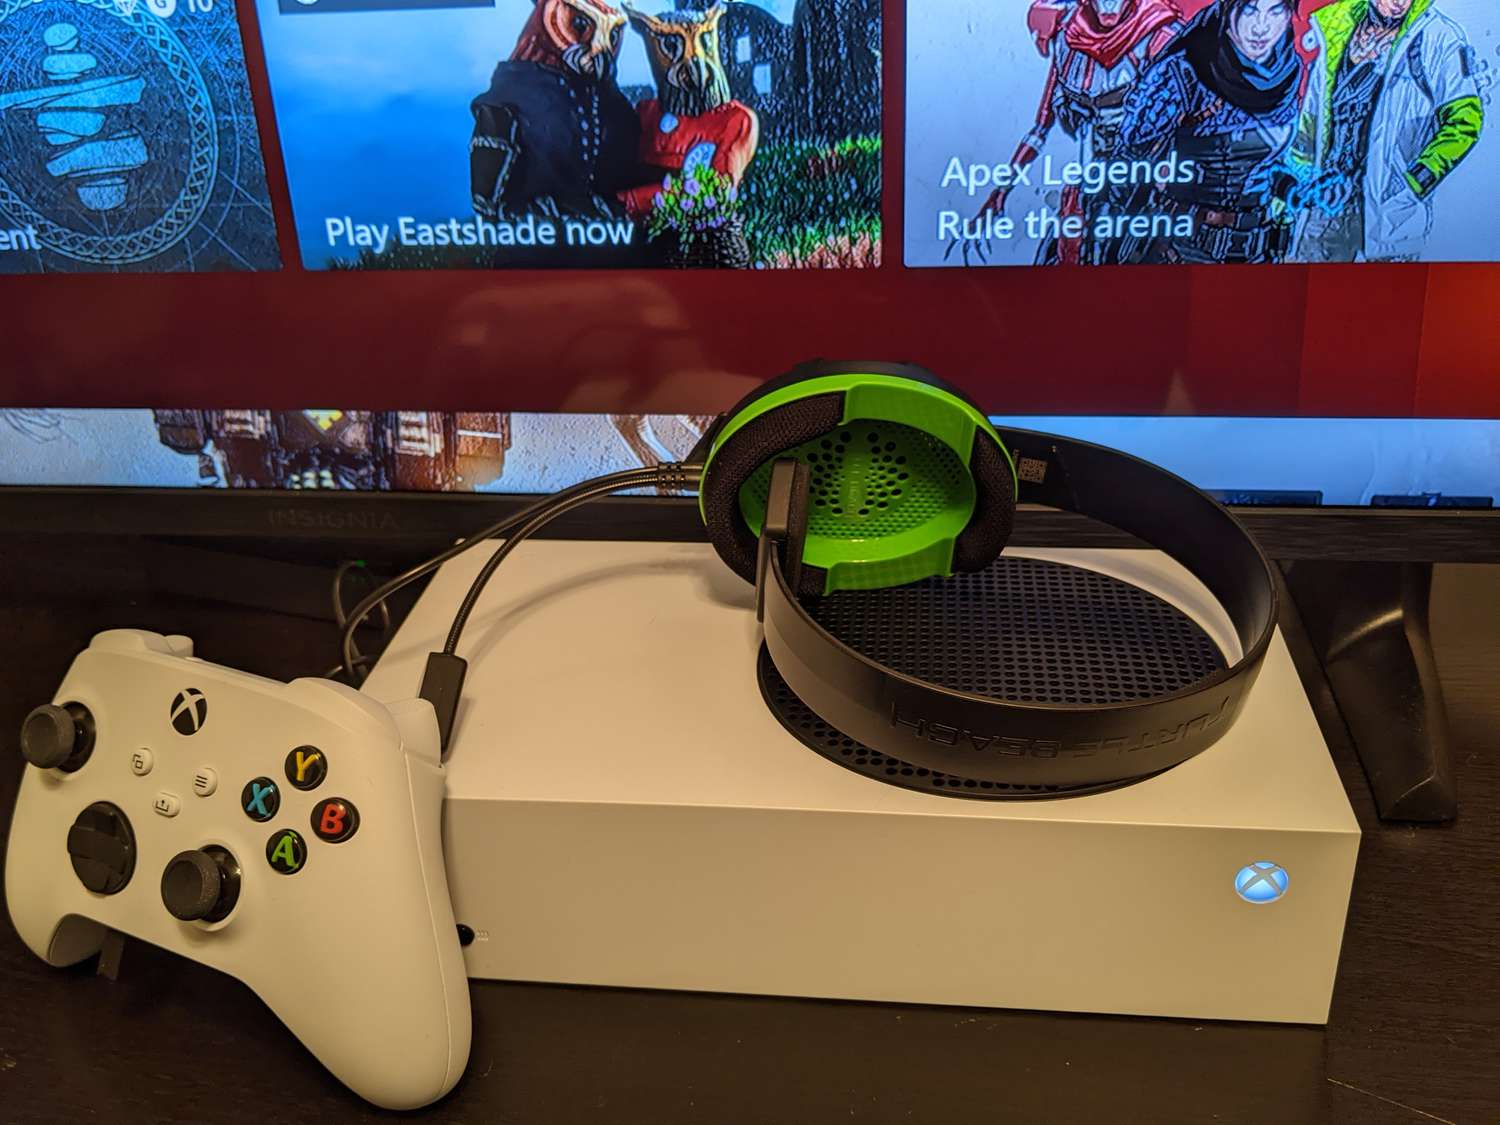
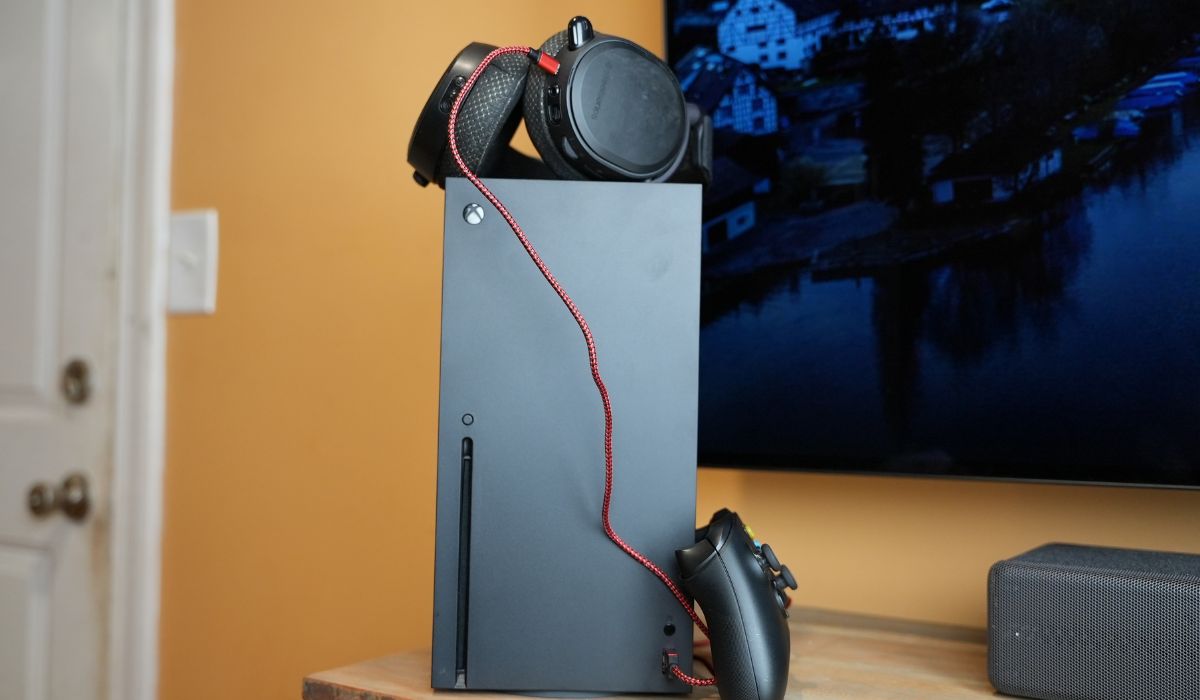
Step 3: Connect the USB Headset
Connecting your USB headset to your Xbox is a straightforward process that involves a few simple steps. By following these instructions, you can establish a reliable connection and prepare your headset for seamless integration with your gaming console.
-
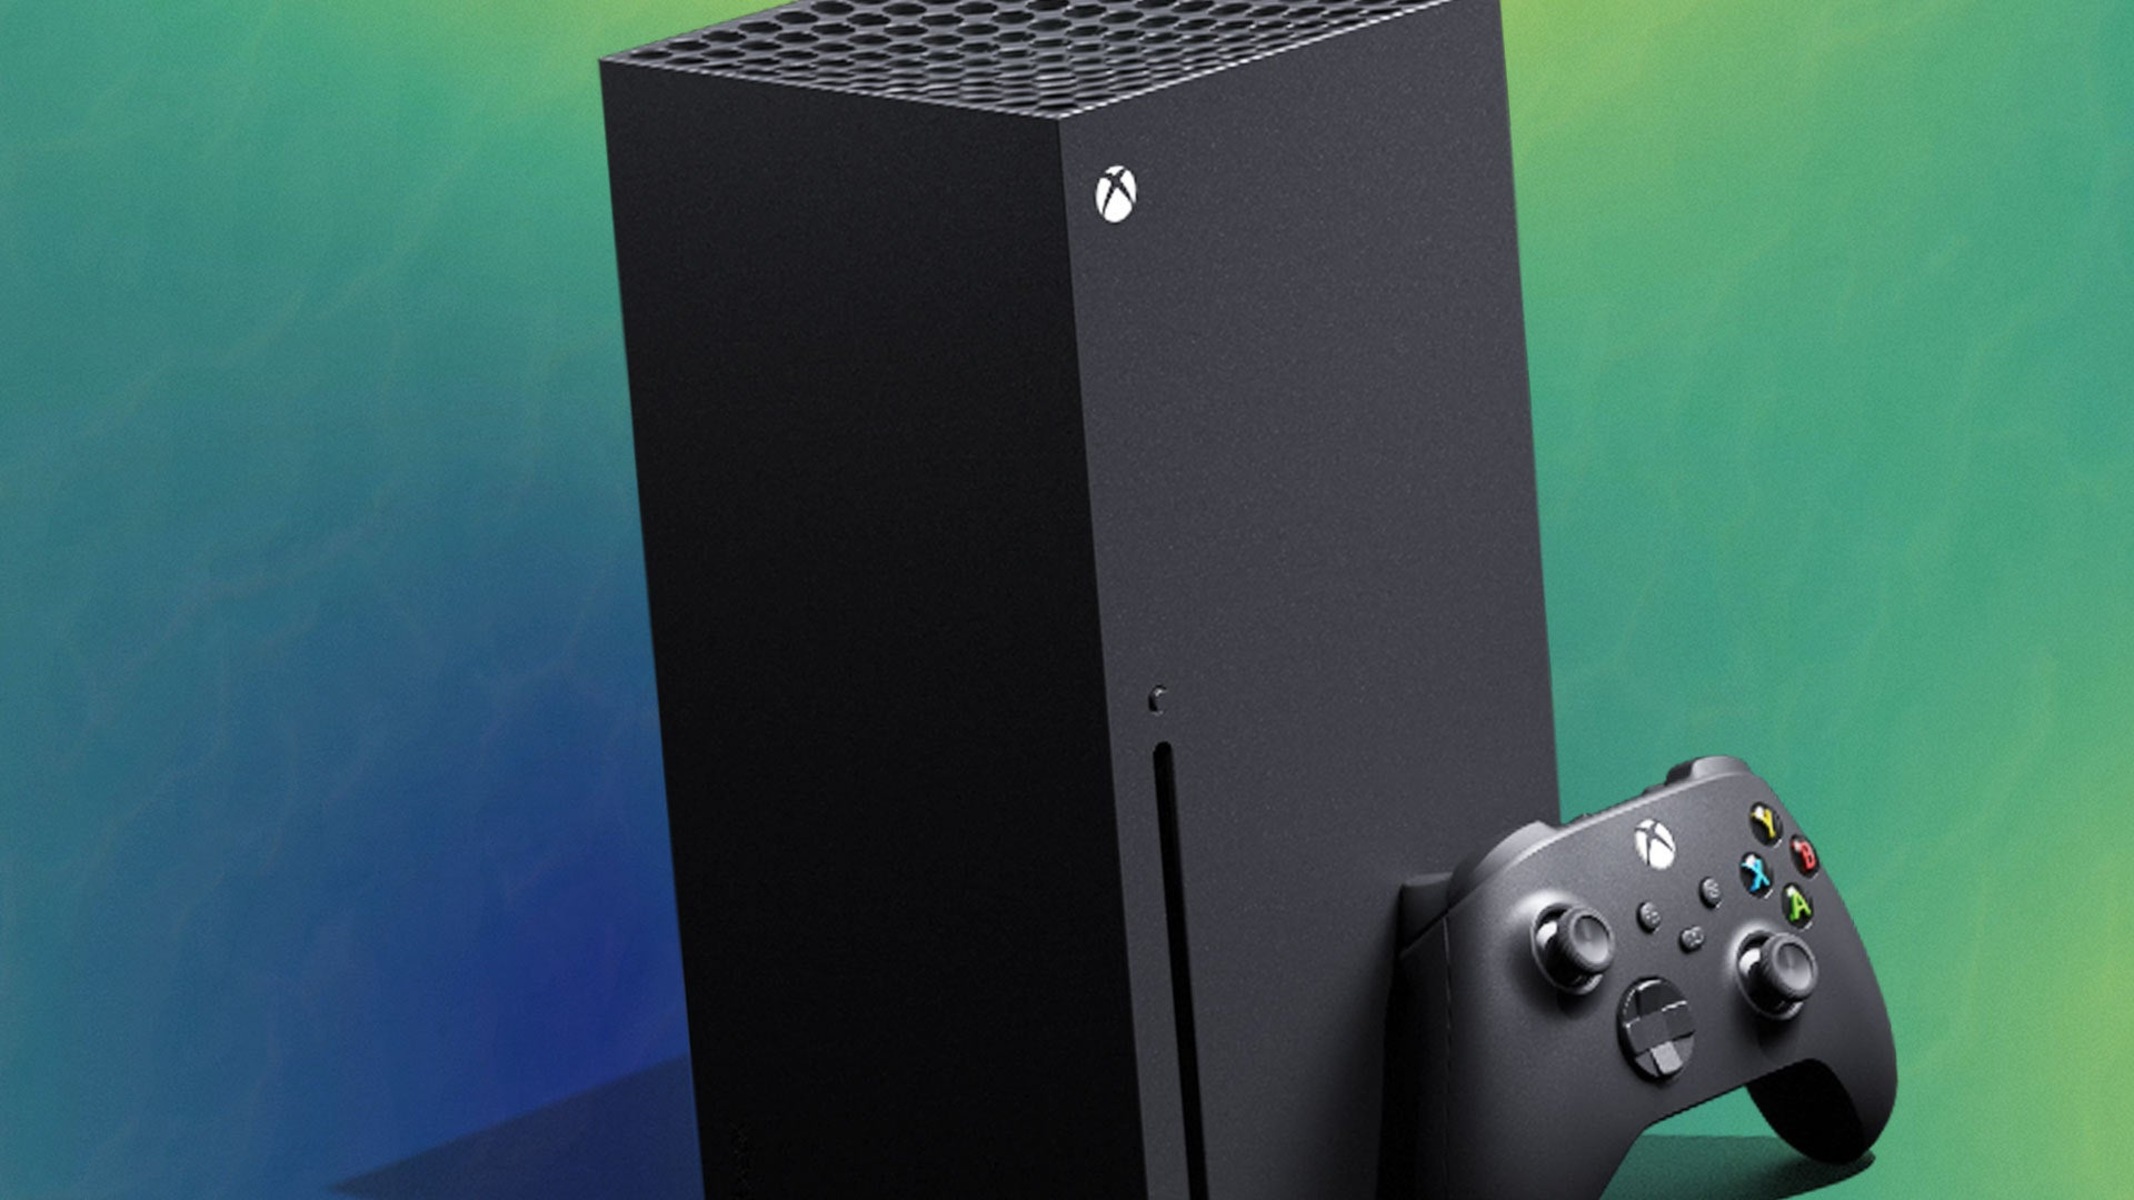
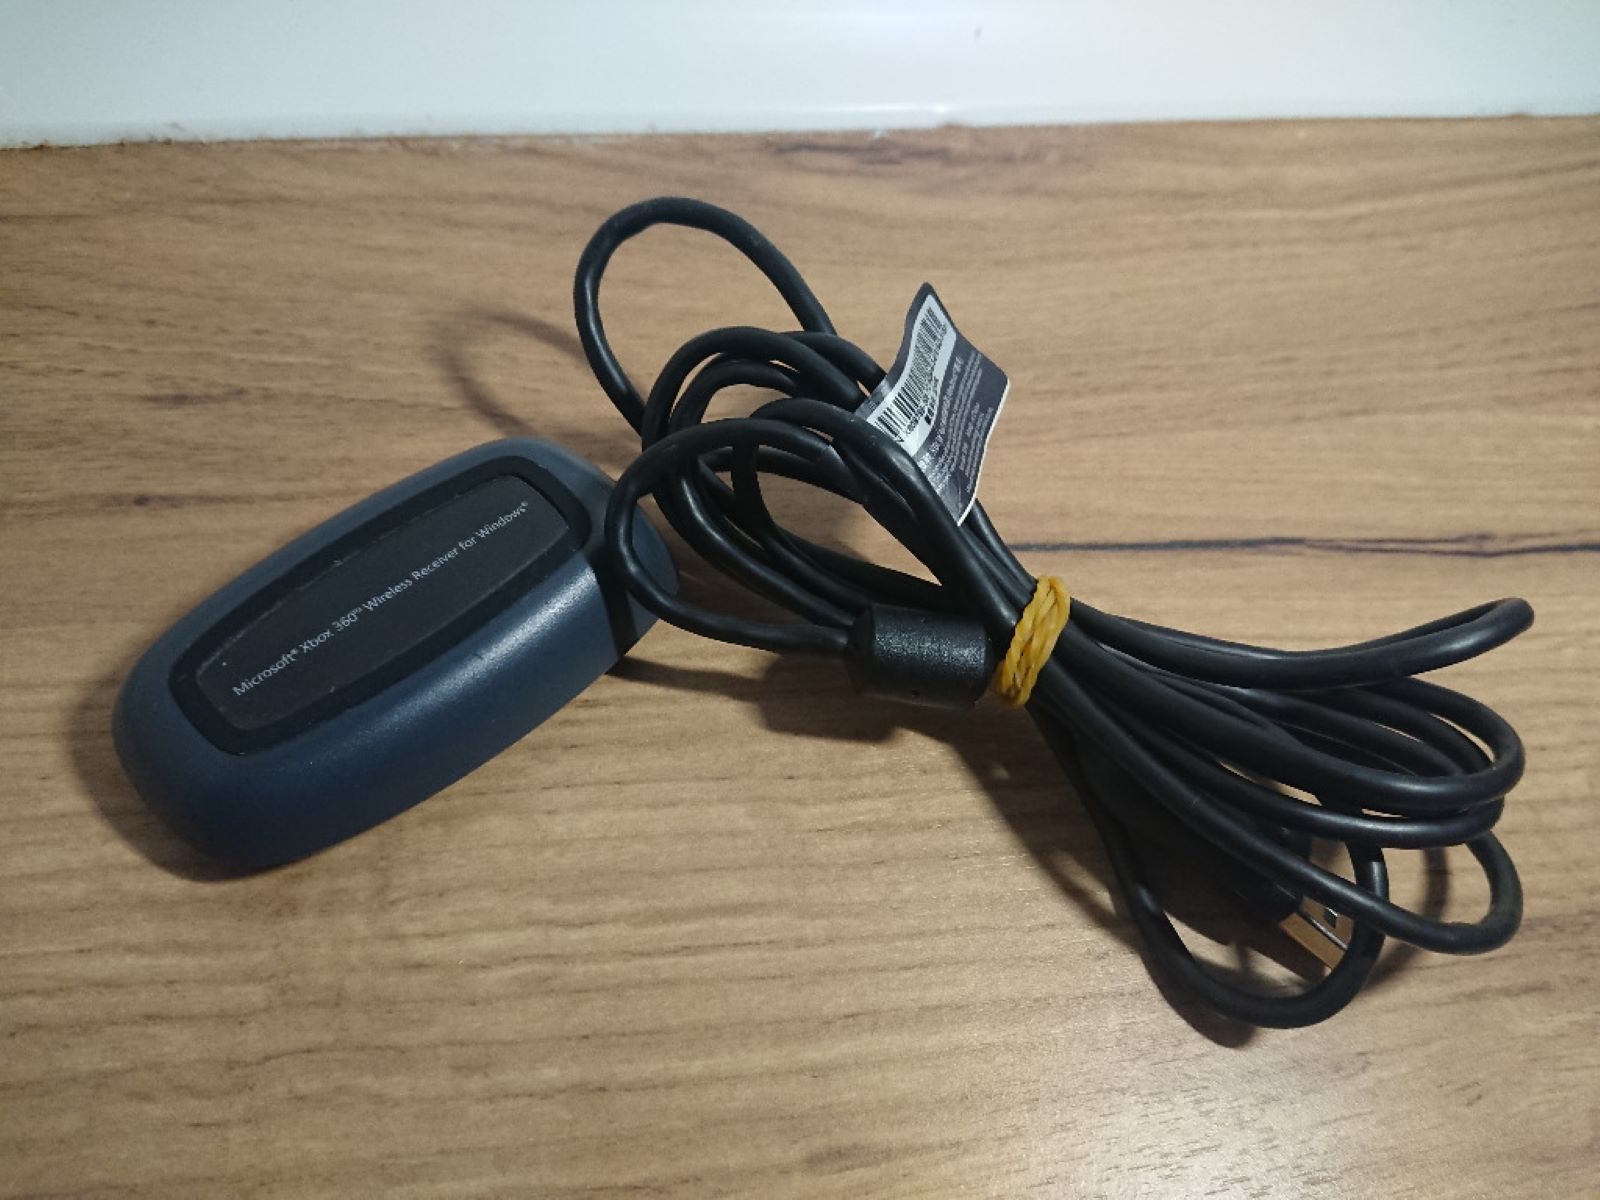
Locate USB Port: Begin by identifying the USB port on your Xbox console. Depending on the model of your Xbox, the USB port may be located on the front, back, or side of the console. It is typically rectangular in shape and used for connecting various accessories, including headsets and external storage devices.
-
Insert USB Connector: With the USB port identified, take the USB connector of your headset and carefully insert it into the USB port on your Xbox. Apply gentle and even pressure to ensure a secure connection. Once inserted, the console should detect the presence of the headset and prepare it for use.
-
Headset Recognition: Upon connecting the USB headset, your Xbox console will automatically recognize the device and initiate the necessary setup procedures. This may involve installing any required drivers or firmware updates to ensure optimal functionality. Allow the console a few moments to complete this recognition process.
-
Check Headset Settings: After the headset is recognized, navigate to the Xbox settings menu to verify that the headset is properly detected. You can typically access headset settings by selecting the "Devices" or "Accessories" option within the console settings. Ensure that the headset is listed among the connected devices and that its settings can be accessed for further customization.
-
Adjust Audio and Mic Settings: Once the USB headset is connected and recognized, you can fine-tune its audio and microphone settings to suit your preferences. Within the Xbox settings, navigate to the audio and microphone configurations to adjust volume levels, mic sensitivity, and any other relevant parameters. This step allows you to optimize the headset for clear communication and immersive audio output.
By following these steps, you can seamlessly connect your USB headset to your Xbox, setting the stage for an enhanced gaming experience characterized by immersive audio and effective communication with fellow players. With the headset successfully connected, you can now proceed to the next step of adjusting settings to further optimize your gaming setup.
Step 4: Adjust Settings
Fine-tuning the settings of your USB headset on your Xbox is essential to optimize the audio output and microphone performance, ensuring a personalized and immersive gaming experience. By customizing these settings, you can tailor the audio and communication aspects of your headset to align with your preferences and gaming requirements.
Audio Settings
-
Audio Output: Navigate to the audio settings on your Xbox and configure the audio output to suit your preferences. Adjust the balance between game audio and chat audio to ensure that communication remains clear without compromising the immersive sound effects of your games.
-
Equalizer Settings: Some USB headsets offer built-in equalizer presets or customizable equalizer settings. Explore these options to enhance specific audio frequencies, such as bass or treble, based on your gaming preferences. Fine-tuning the equalizer can significantly enrich the audio experience, especially in games with dynamic soundscapes.
-
Spatial Sound: If your USB headset supports spatial sound technologies, such as Windows Sonic or Dolby Atmos for Headphones, enable these features to unlock a more spatially accurate and immersive audio experience. These technologies simulate three-dimensional audio environments, elevating the overall gaming atmosphere.
Microphone Settings
-
Mic Monitoring: Adjust the mic monitoring level to control the amount of your own voice that is fed back into the headset. This feature allows you to hear yourself while speaking, preventing unintentional shouting and ensuring that you maintain a comfortable speaking volume during gameplay.
-
Mic Sensitivity: Fine-tune the microphone sensitivity to optimize voice capture without picking up excessive background noise. Finding the right balance ensures that your communication remains clear and focused, enhancing the overall multiplayer gaming experience.
-
Mic Monitoring: Enable or adjust mic monitoring to hear your own voice in the headset. This feature can help maintain a consistent speaking volume during intense gameplay, preventing inadvertent shouting and ensuring clear communication with your teammates.
Headset Customization
-
Button Mapping: If your USB headset features programmable buttons or controls, explore the option to map these controls to specific functions, such as muting the microphone, adjusting audio settings, or activating specific features. Customizing the button mapping can streamline your interaction with the headset during gameplay.
-
LED and Visual Feedback: Some USB headsets offer visual indicators or LED lights to convey specific information, such as mic mute status, battery level (if applicable), or audio presets. Familiarize yourself with these indicators and customize any available visual feedback options to align with your preferences.
By adjusting these settings, you can maximize the potential of your USB headset, creating a personalized audio and communication environment that complements your gaming style and preferences. These fine-tuned settings can significantly enhance your overall gaming experience, allowing you to immerse yourself in captivating audio landscapes while maintaining clear and effective communication with your fellow players.
Step 5: Test the Headset
After connecting and adjusting the settings of your USB headset on your Xbox, it's essential to conduct a thorough testing phase to ensure that the audio output and microphone functionality meet your expectations. By testing the headset in various scenarios, you can fine-tune its performance and address any potential issues before diving into your gaming sessions.
Audio Testing
Begin by immersing yourself in different gaming environments to evaluate the audio output of your USB headset. Engage in gameplay segments that feature diverse soundscapes, such as atmospheric exploration, intense combat sequences, and dialogue-heavy interactions. Pay attention to the following aspects during your audio testing:
-
Sound Clarity: Assess the clarity and precision of in-game audio cues, including environmental sounds, character dialogue, and ambient effects. Ensure that the headset accurately reproduces these elements without distortion or muddiness, allowing you to fully appreciate the audio details within the game.
-
Spatial Awareness: Evaluate the headset's ability to convey spatial audio cues, such as directional sound effects and positional awareness. Engage in games that emphasize spatial audio, such as first-person shooters or open-world adventures, to gauge the headset's ability to create an immersive and spatially accurate audio environment.
-
Bass Response: Test the headset's bass response by experiencing moments of impactful audio, such as explosions, heavy footsteps, or deep environmental rumbles. Assess whether the headset delivers satisfying low-frequency reproduction without overpowering other audio elements, contributing to a balanced and immersive audio experience.
Communication Testing
In addition to audio testing, it's crucial to evaluate the microphone performance of your USB headset to ensure clear and effective communication with other players during multiplayer sessions. Engage in the following communication testing scenarios:
-
Voice Clarity: Initiate voice communication with friends or fellow gamers to assess the clarity and intelligibility of your voice through the headset's microphone. Confirm that your voice comes through clearly without distortion or excessive background noise, fostering smooth and effective communication during gameplay.
-
Background Noise Rejection: Test the microphone's ability to minimize background noise and focus on capturing your voice accurately. Create various background noise scenarios, such as simulated game sounds or external distractions, to evaluate how well the microphone isolates your voice from surrounding audio interference.
-
Mic Monitoring: Utilize the mic monitoring feature, if available, to assess the level of feedback that allows you to hear your own voice while speaking. Confirm that the mic monitoring level is comfortable and conducive to maintaining a consistent speaking volume without unintended shouting or vocal strain.
By conducting comprehensive audio and communication testing, you can ensure that your USB headset delivers the desired performance across various gaming scenarios. Any adjustments or fine-tuning identified during the testing phase can be addressed to optimize the headset's functionality, setting the stage for a seamless and immersive gaming experience.
With the headset successfully tested and optimized, you are now ready to embark on your gaming adventures, equipped with a USB headset that enhances both audio immersion and communication clarity during your Xbox gaming sessions.
Conclusion
In conclusion, integrating a USB headset with your Xbox console opens up a world of immersive audio experiences and seamless communication during gaming sessions. By following the simple yet crucial steps outlined in this guide, you can successfully harness the full potential of your USB headset, elevating your gaming experience to new heights.
First and foremost, ensuring compatibility between your USB headset and Xbox console sets the foundation for a smooth setup process. By consulting the official Xbox compatibility list, exploring manufacturer-provided information, and seeking insights from the gaming community, you can verify that your headset is designed to work seamlessly with your Xbox device. This proactive approach minimizes potential compatibility issues and streamlines the integration process.
Updating your Xbox software to the latest version is equally essential, as it ensures that your console is equipped with the latest optimizations and enhancements that contribute to the functionality of USB accessories. By following the straightforward steps to check for and install software updates, you can create a more stable and compatible gaming environment, setting the stage for seamless integration of your USB headset.
The process of connecting the USB headset to your Xbox is straightforward, requiring simple steps such as inserting the USB connector and allowing the console to recognize the device. Fine-tuning the audio and microphone settings further optimizes the headset's performance, allowing you to tailor the audio output and communication aspects to align with your preferences and gaming requirements.
Finally, conducting thorough testing of the USB headset across various gaming scenarios ensures that both the audio output and microphone functionality meet your expectations. By evaluating sound clarity, spatial awareness, voice communication clarity, and background noise rejection, you can fine-tune the headset's performance and address any potential issues before immersing yourself in gaming sessions.
In essence, the successful integration and optimization of a USB headset on your Xbox console enhance your gaming experience by delivering immersive audio landscapes and facilitating clear and effective communication with fellow players. By following the steps outlined in this guide, you can embark on your gaming adventures equipped with a USB headset that complements your gaming style, preferences, and communication needs, ultimately enhancing your overall enjoyment and engagement with your favorite games.