Introduction
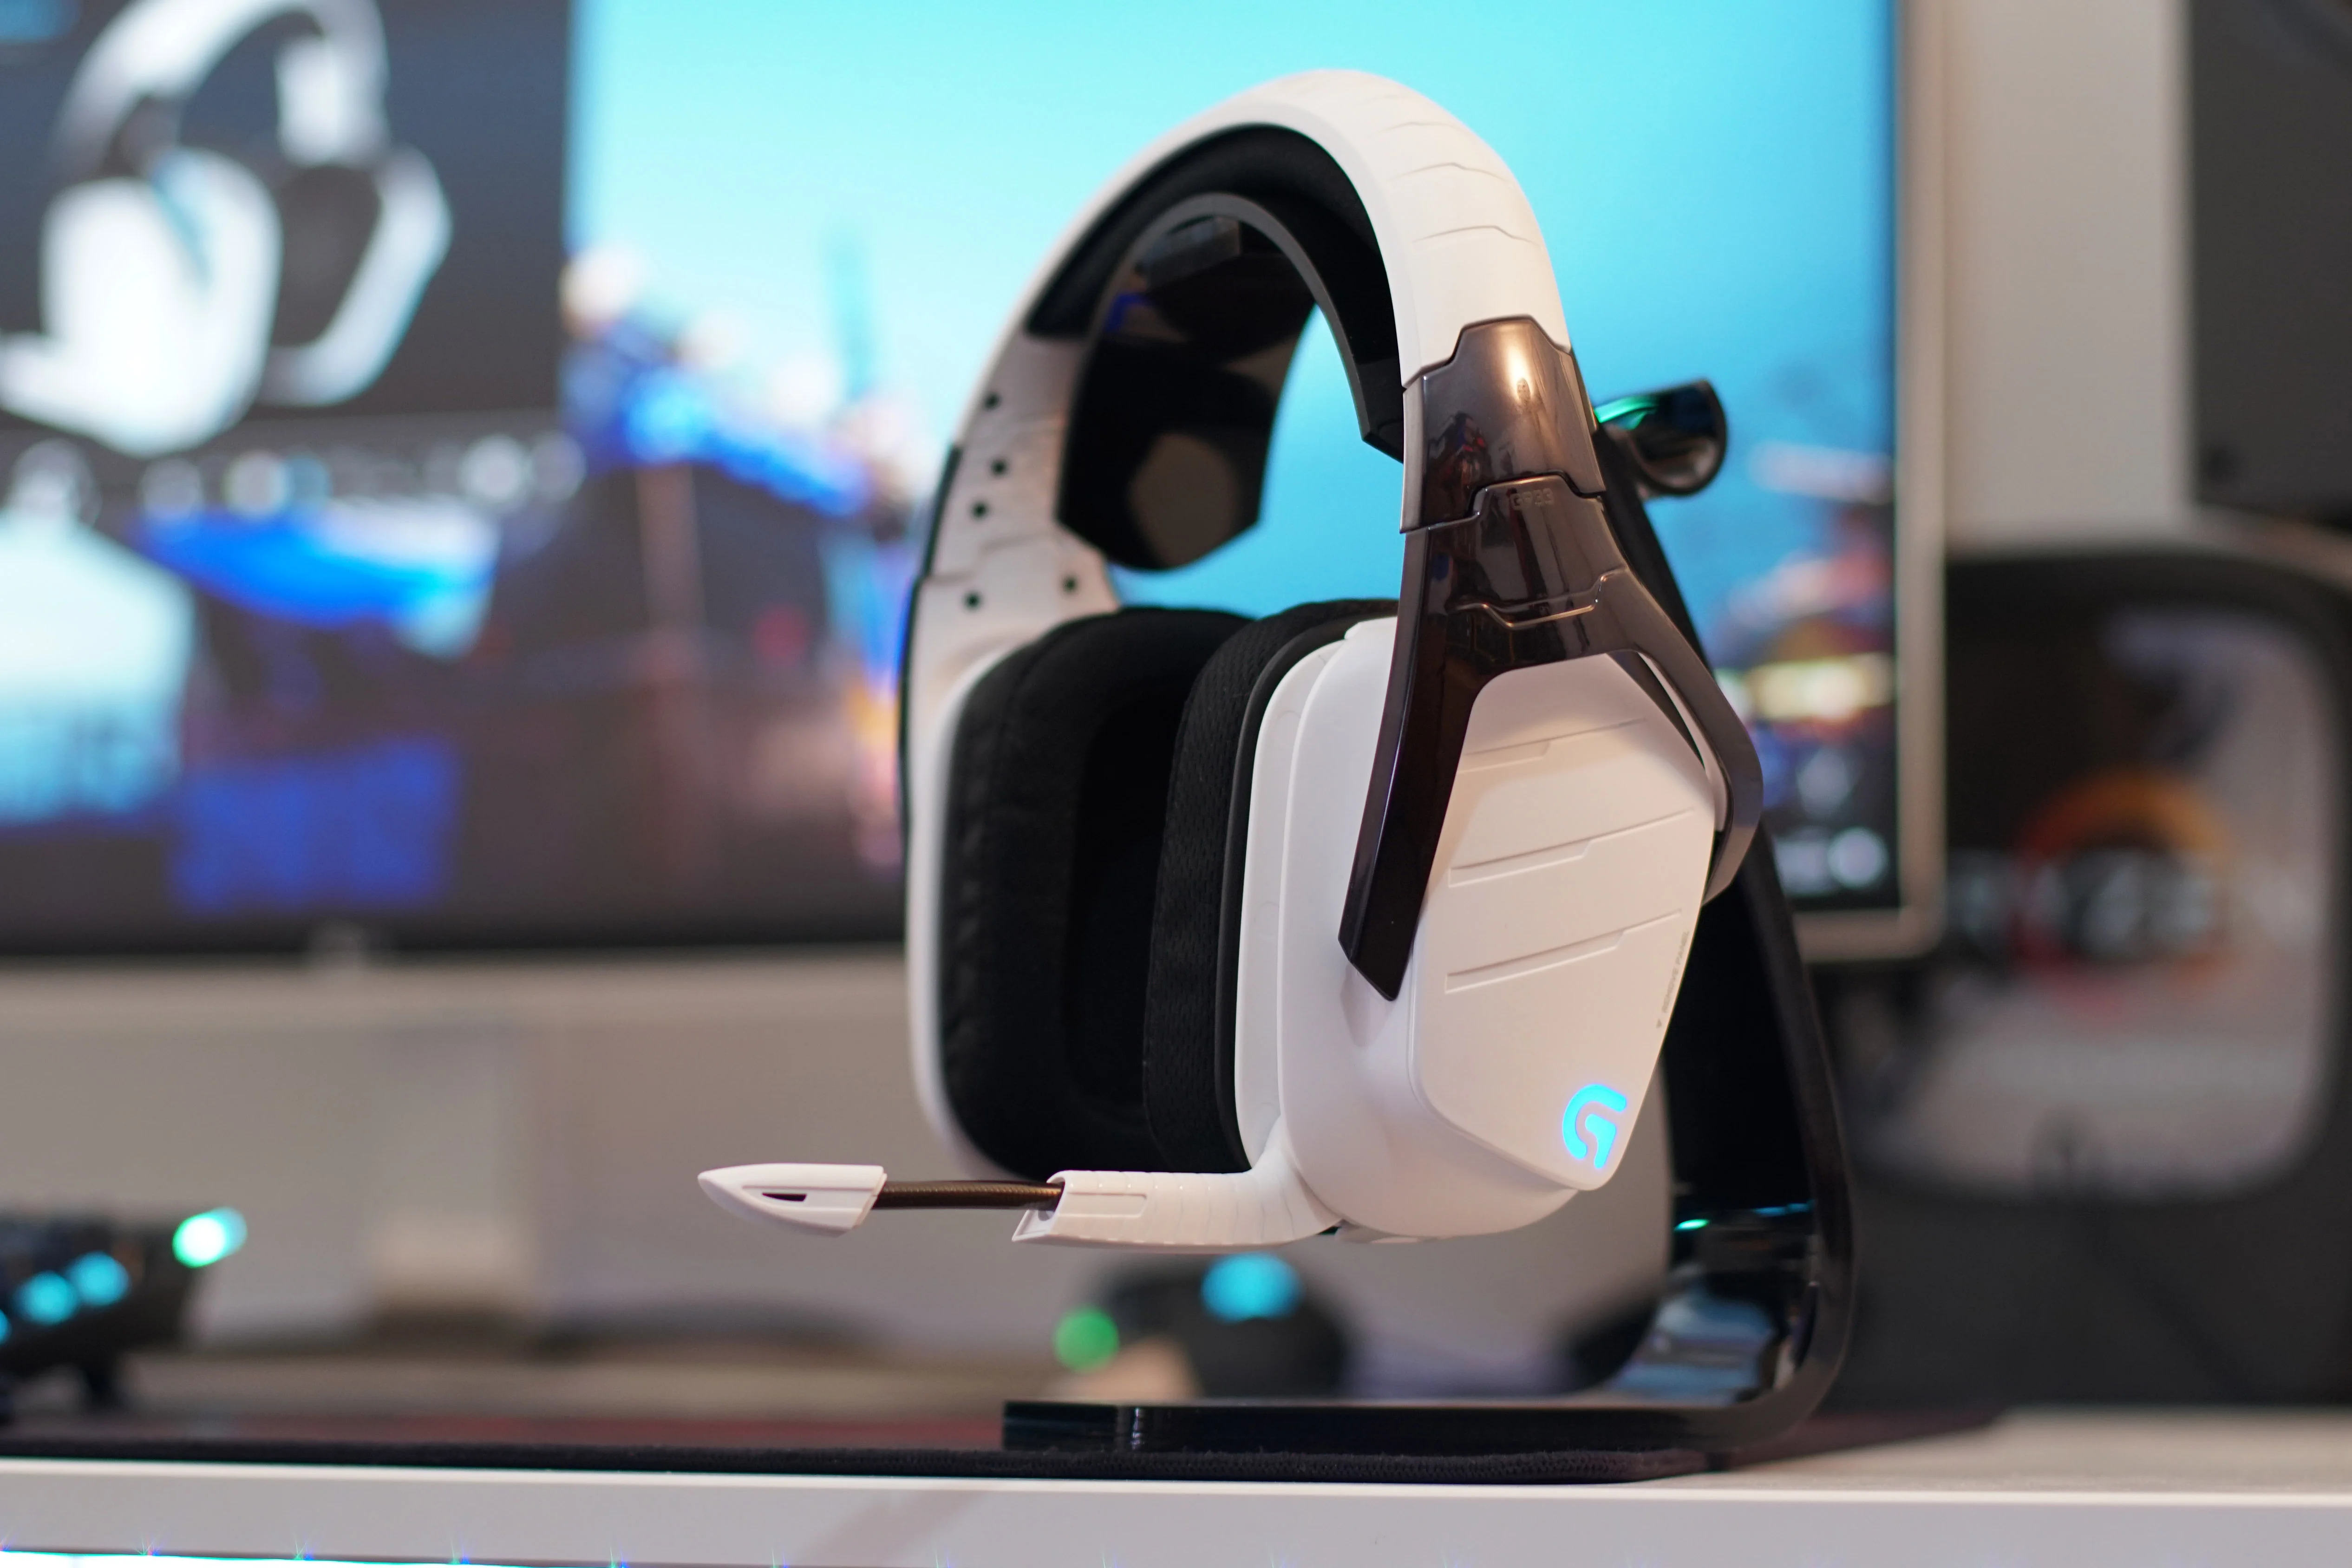
Are you an avid gamer looking to enhance your Xbox gaming experience with better audio quality? Setting up a USB microphone on your Xbox can allow you to communicate with other players more clearly and improve the overall audio performance of your gaming setup.
Whether you’re a streamer, a competitive gamer, or simply enjoy playing online with friends, a USB microphone can make a significant difference in how you communicate with others during gameplay. Not only will it provide crystal clear voice chat, but it can also enhance your streaming or recording sessions if you’re creating content for your audience.
Setting up a USB microphone on your Xbox is a straightforward process that can be accomplished with just a few simple steps. This guide will take you through the necessary steps to get your USB microphone up and running on your Xbox console.
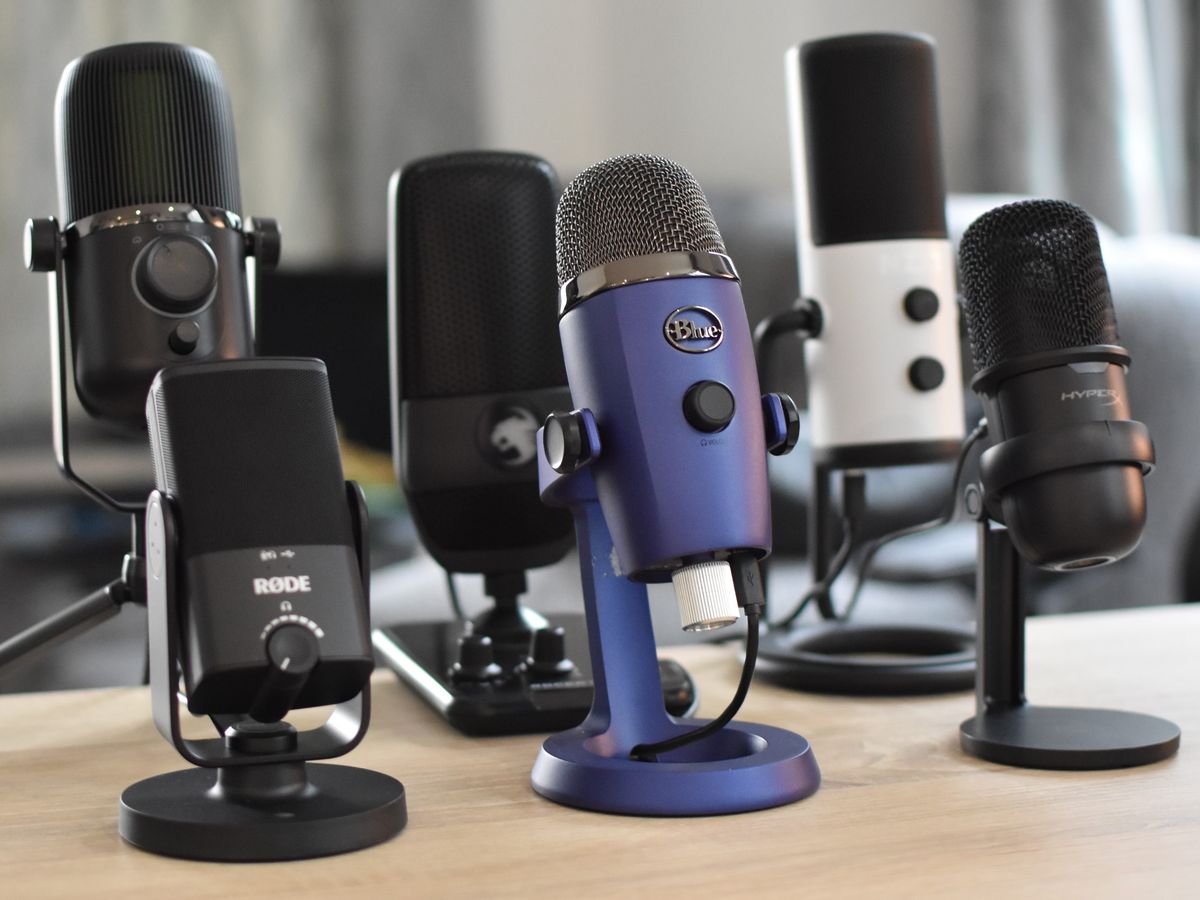
Before we dive into the step-by-step instructions, it’s important to note that not all USB microphones are compatible with Xbox consoles. To ensure a successful setup, make sure to check the compatibility of your USB microphone with Xbox devices before proceeding to the next steps.
Now that we have covered the importance of using a USB microphone for Xbox gaming and the need to check compatibility, let’s move on to the next step: plugging in the USB microphone.
Step 1: Check compatibility
Before you begin setting up your USB microphone on Xbox, it’s essential to ensure that your microphone is compatible with Xbox consoles. Not all USB microphones are supported, so taking this initial step will save you time and frustration down the line.
To check compatibility, you can refer to the manufacturer’s documentation or visit their official website. Look for any specific mention of compatibility with Xbox consoles, such as Xbox One, Xbox Series X, or Xbox Series S.
If you’re unable to find direct information about Xbox compatibility, you can also look for general compatibility with consoles or USB audio devices. This information will give you a good indication of whether the USB microphone is suitable for use with your Xbox.
Additionally, you can search online forums or communities where gamers discuss their experiences with USB microphones on Xbox. This can provide valuable insights from real users who have tested different microphone models on their Xbox consoles.
Checking compatibility is crucial because using an incompatible USB microphone may result in various issues, such as the microphone not being recognized by the console, poor audio quality, or no sound output at all. It’s worth taking the time to confirm compatibility to ensure a smooth and successful setup process.
If your USB microphone is confirmed to be compatible with Xbox, you can proceed to the next step: plugging in the USB microphone.
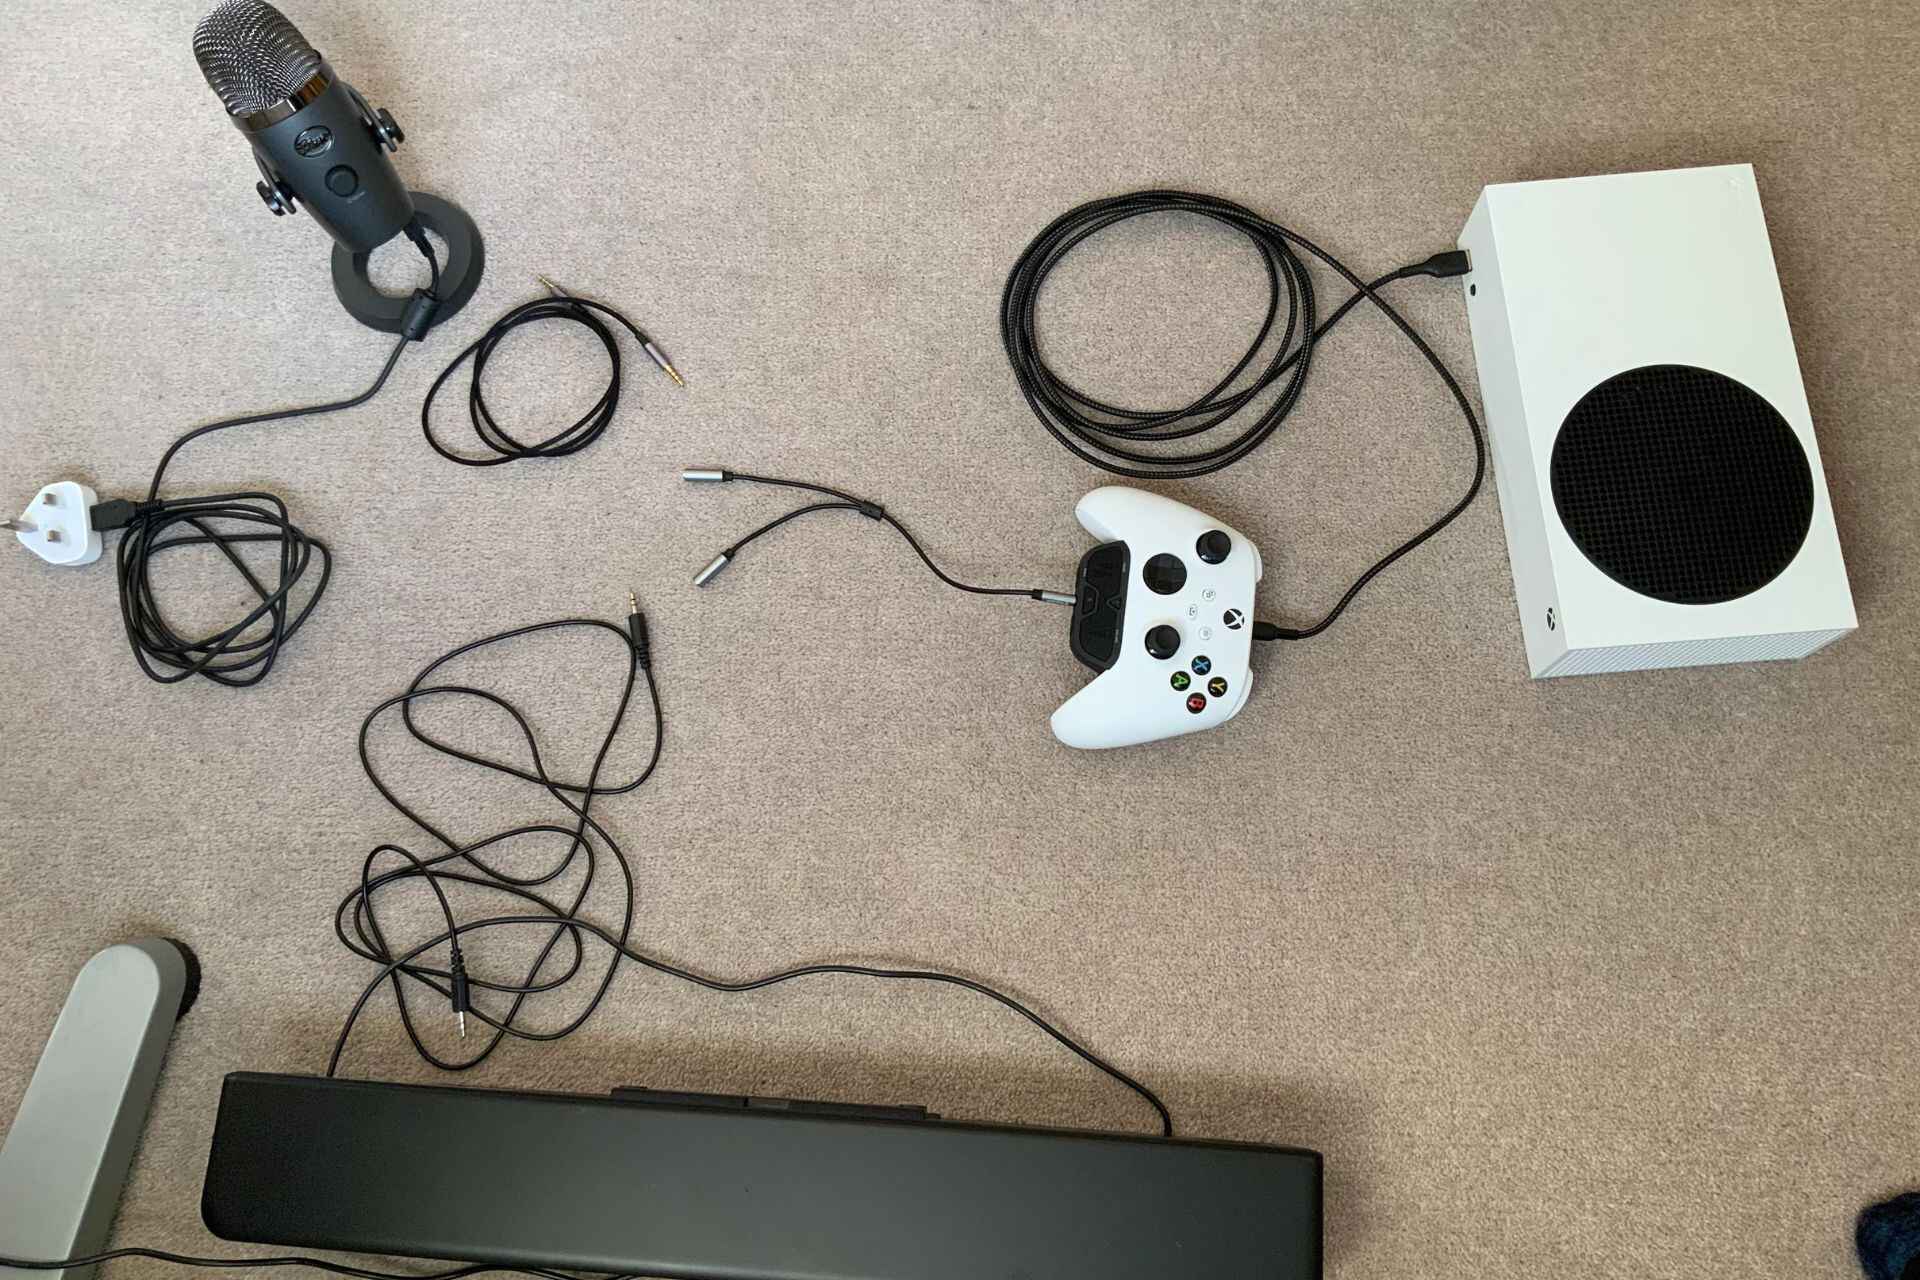
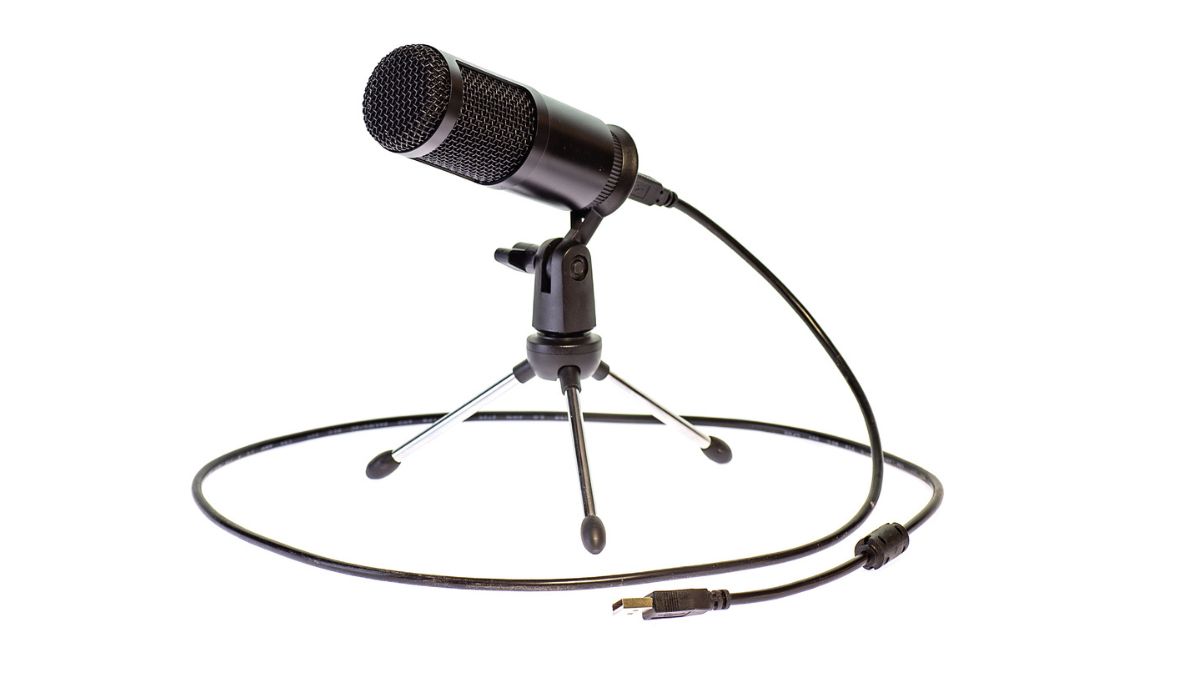
Step 2: Plug in the USB microphone
Now that you have confirmed the compatibility of your USB microphone with Xbox, it’s time to plug it in and get it ready for use. Follow these simple steps to connect your USB microphone to your Xbox console:
- Locate the USB port on your Xbox console. It is usually located on the front or back of the console.
- Take the USB cable that came with your microphone and insert it into the USB port.
- Make sure the connection is secure and snug.
- Once the USB microphone is connected, your Xbox console will detect the device and initiate the necessary setup process.
It’s important to note that some USB microphones may require additional software installations or updates to function correctly. In such cases, follow the manufacturer’s instructions and download any necessary drivers or software before plugging in the microphone.
If you encounter any issues during the setup process, such as the USB microphone not being recognized or the console not detecting any audio input, try the following troubleshooting steps:
- Disconnect the USB microphone and plug it into a different USB port on your Xbox console.
- Restart your Xbox console and try connecting the USB microphone again.
- Ensure that the USB cable is not damaged or faulty. Try using a different USB cable if available.
- If possible, test the USB microphone on another device to check if it’s functioning correctly.
Once you have successfully connected your USB microphone to your Xbox console, you can now move on to the next step: configuring the audio settings on Xbox.
Step 3: Configure audio settings on Xbox
After successfully plugging in your USB microphone to your Xbox console, you need to configure the audio settings to ensure that the microphone is set up properly and ready for use. Follow these steps to configure the audio settings on your Xbox:
- On your Xbox controller, press the Xbox button to open the guide.
- Navigate to the Settings tab and select the gear-shaped icon to access the Xbox settings.
- Scroll down and select the “Audio” option.
- Under the “Headset & Speakers” section, you should see an option for “Microphone.” Select it.
- From the available options, select the USB microphone that you have connected to your Xbox console.
- Adjust the microphone volume to your preferred level by using the on-screen slider.
- Additionally, you may want to explore other audio settings, such as microphone monitoring or adjusting game/chat audio balance, to customize your audio experience further.
By configuring these audio settings, you are ensuring that the Xbox console recognizes your USB microphone as the audio input device. This step is vital to ensure that your voice is captured accurately and for seamless communication during gaming sessions.
If you encounter any issues during the configuration process, such as the USB microphone not being displayed as an option, try the following troubleshooting steps:
- Double-check that your USB microphone is properly connected to the Xbox console.
- Restart your Xbox console and try configuring the audio settings again.
- Make sure that your USB microphone is selected as the default audio input device in the Xbox settings.
- Ensure that the microphone volume is not set to zero or muted.
Once you have configured the audio settings on your Xbox console, you can proceed to the next step: adjusting the microphone settings.
Step 4: Adjust microphone settings
Now that you have configured the audio settings on your Xbox console, it’s time to fine-tune the microphone settings to ensure optimal performance. Follow these steps to adjust the microphone settings:
- On your Xbox controller, press the Xbox button to open the guide.
- Navigate to the “Audio” tab and select the “Microphone Settings” option.
- Here, you will find several options to customize your microphone settings, such as mic monitoring, noise suppression, and mic boost.
- Adjust the mic monitoring settings to your preference. Mic monitoring allows you to hear your own voice through the headset, helping you gauge the volume and quality of your voice during gameplay.
- Consider enabling noise suppression to reduce background noise and ensure that your voice comes through clearly to other players.
- If needed, you can adjust the mic boost to amplify the microphone volume if your voice is not being transmitted loud enough.
It’s essential to spend some time tweaking these microphone settings to achieve the best audio quality and ensure that your voice is clear and easily heard by other players. Experiment with different configurations until you find the settings that work best for you.
If you encounter any issues during the adjustment process, such as experiencing excessive background noise or audio distortion, try the following troubleshooting steps:
- Ensure that your microphone is securely connected to the Xbox console.
- Check for any physical damage or obstructions on the microphone that could affect its performance.
- Experiment with different microphone positioning to find the sweet spot that captures your voice accurately while minimizing background noise.
- Consider using a pop filter or windscreen to further reduce any unwanted noise or plosives.
Once you have adjusted the microphone settings to your preference, it’s time for the final step: testing the microphone to ensure everything is working correctly.
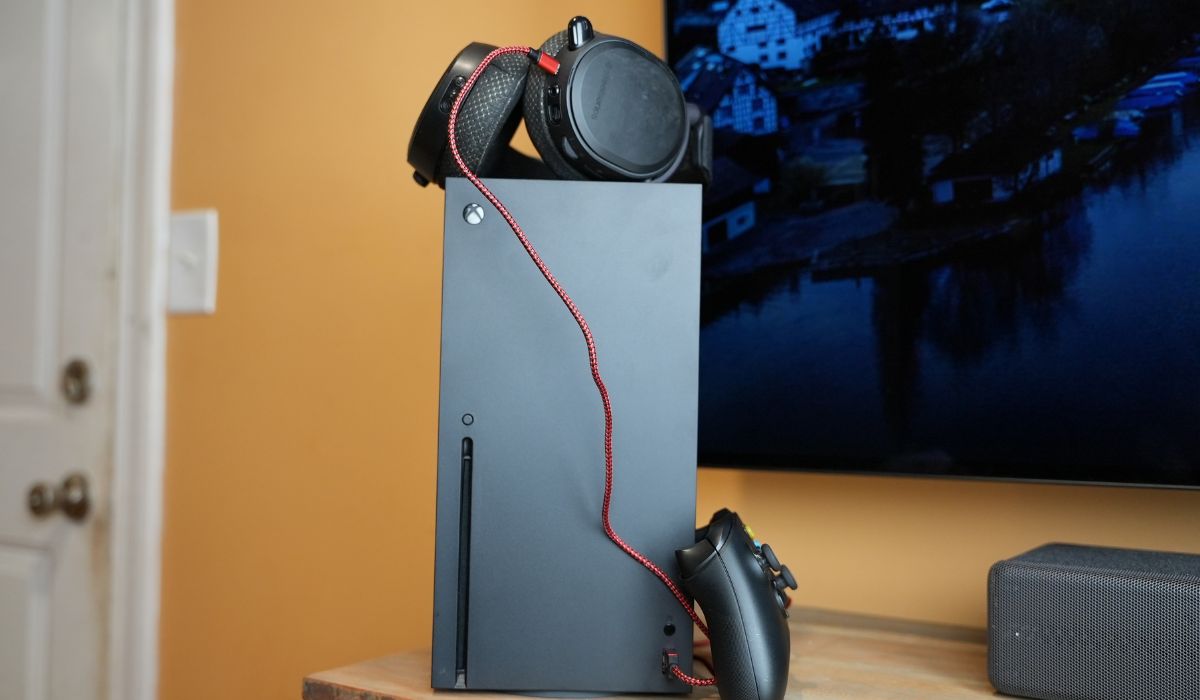
Step 5: Test the microphone
After setting up and adjusting your USB microphone on your Xbox console, it’s crucial to test it to ensure that it’s working correctly. Follow these steps to test your microphone:
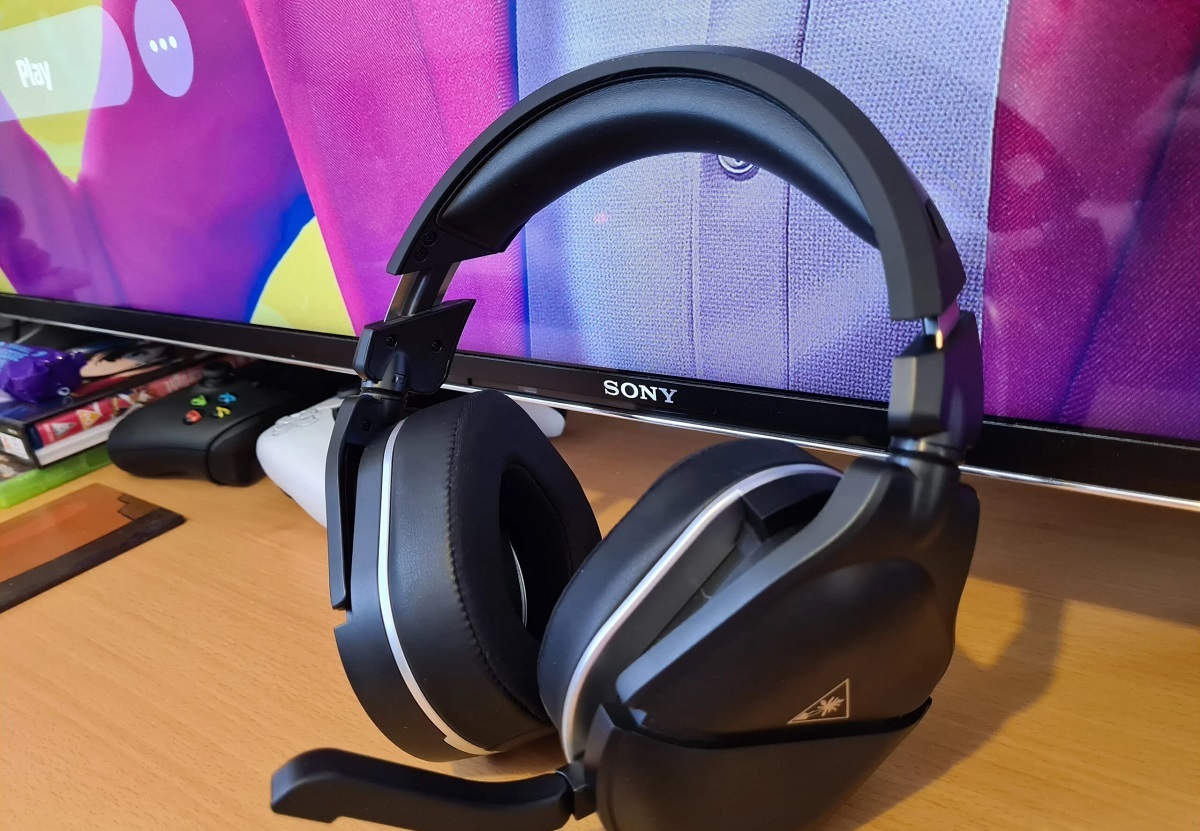
- Connect your headset or headphones to the Xbox controller.
- On your Xbox controller, press the Xbox button to open the guide.
- Navigate to the “Audio” tab and select “Headset Mic” or “Headset & Speakers.”
- Speak into the USB microphone and listen for your voice through the connected headset or headphones.
If you can hear your voice clearly and without any distortion, congratulations! Your USB microphone is working correctly, and you’re ready to use it for gaming, streaming, or any other purposes on your Xbox console.
However, if you encounter any issues during the testing phase, consider the following troubleshooting steps:
- Ensure that the USB microphone is securely connected to the Xbox console.
- Check if the microphone volume is too low or muted.
- Verify that the headset or headphones are properly connected to the Xbox controller.
- Try disconnecting and reconnecting the USB microphone or restarting your Xbox console.
If the issue persists, consult the manufacturer’s support documentation or contact their customer support for further assistance.
Testing your USB microphone gives you the peace of mind to know that it’s functioning correctly and ready to be used for online gaming, streaming, or any other audio-related activities on your Xbox console.
With the microphone successfully tested, you can now enjoy better communication and audio quality in your gaming sessions. Happy gaming!
Conclusion
Setting up a USB microphone on your Xbox console can greatly enhance your gaming experience by improving voice chat quality and audio performance. By following the step-by-step process outlined in this guide, you can seamlessly connect and configure your USB microphone for optimal functionality.
Begin by checking the compatibility of your USB microphone with Xbox consoles. This ensures that the microphone is supported and prevents potential issues during the setup process. Once confirmed, plug in the USB microphone securely into the USB port on your Xbox console.
Next, configure the audio settings on your Xbox to recognize the USB microphone as the default audio input device. Adjusting microphone settings such as mic monitoring, noise suppression, and mic boost helps to fine-tune the audio performance based on your preferences.
To ensure everything is working correctly, take the time to test your USB microphone. Speak into the microphone and listen for your voice through the connected headset or headphones. If you can hear yourself clearly and without distortion, your USB microphone is ready to be used for gaming, streaming, or any other audio-related activities.
If you encounter any issues during the setup or testing process, refer to the troubleshooting steps provided in each section or reach out to the manufacturer’s support for further assistance.
Now, armed with the knowledge and steps outlined in this guide, you can enjoy improved voice communication and audio quality on your Xbox console with a USB microphone. Embrace the immersive and engaging gaming experience that clear and crisp audio brings, whether you’re engaging in team-based multiplayer games, streaming your gameplay to an audience, or simply connecting with friends during online gaming sessions.
So, set up your USB microphone, fine-tune the settings, and embark on an audio-enhanced gaming journey like never before. Happy gaming!