Introduction
Welcome to our guide on how to use a USB microphone with an RDP (Remote Desktop Protocol) connection. In this digital age, remote working and collaboration have become the norm, and having the ability to connect and communicate with colleagues or clients across different locations is essential. One crucial element of effective communication is audio, and using a USB microphone with an RDP connection can greatly enhance the quality of your voice recordings or online meetings.
Before we delve into the steps for using a USB microphone with an RDP connection, let’s first understand what a USB microphone is and what an RDP connection entails.
What is a USB Microphone?
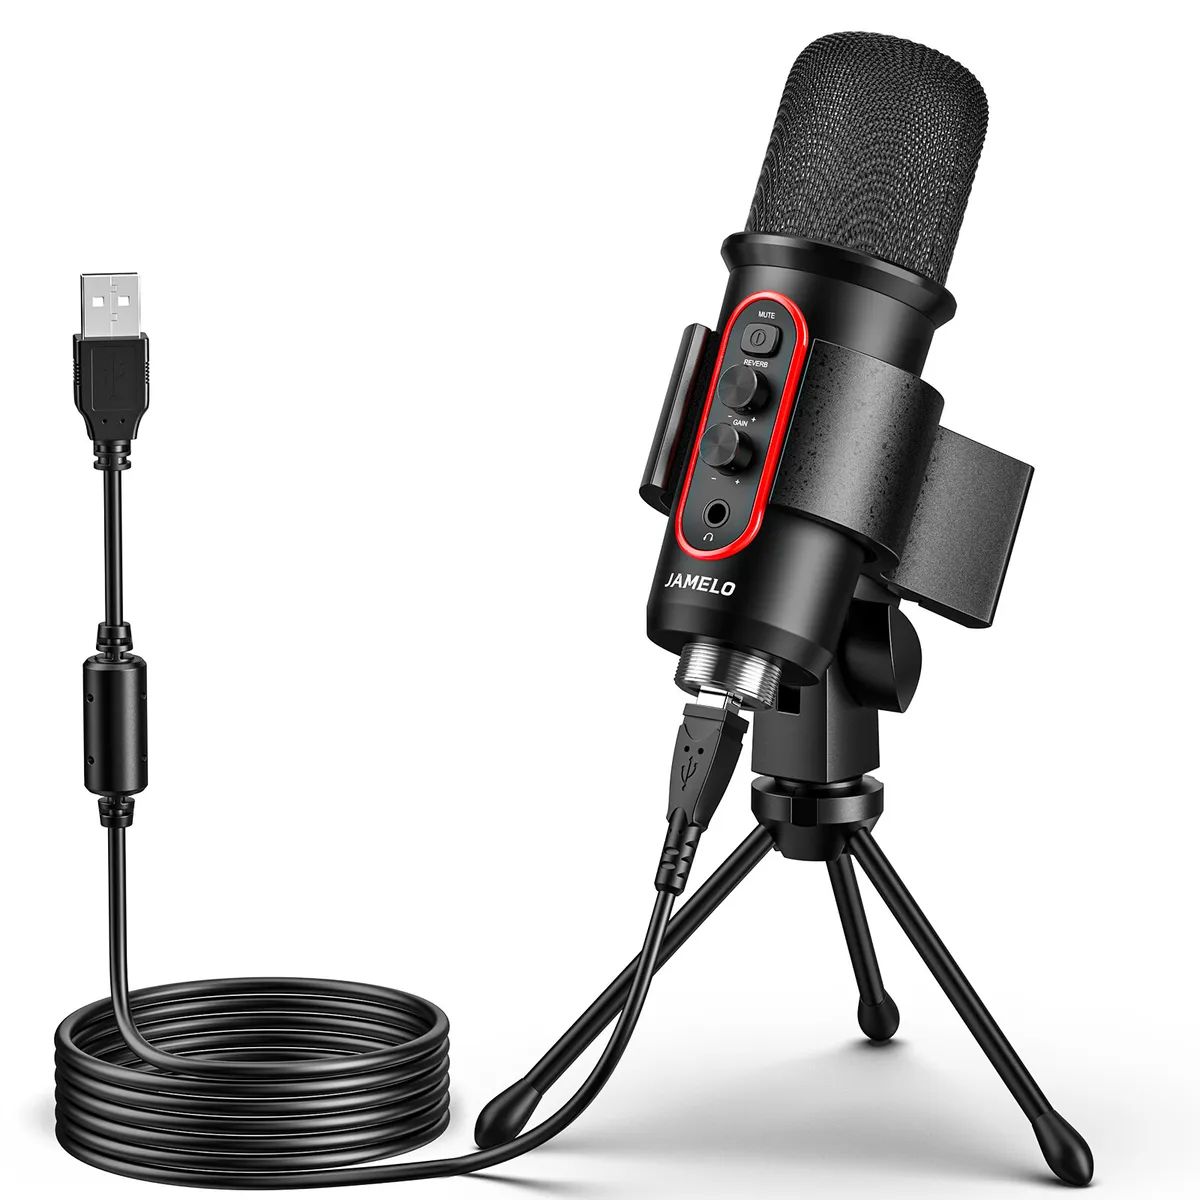
A USB microphone is a type of digital microphone that connects directly to a computer or other compatible devices via a USB port. Unlike traditional analog microphones, USB microphones eliminate the need for additional audio interfaces or soundcards. They are easy to set up and offer excellent sound quality, making them a popular choice for podcasters, streamers, voice actors, and anyone looking for professional-level audio recording capabilities.
What is RDP Connection?
RDP, or Remote Desktop Protocol, is a proprietary protocol developed by Microsoft that allows users to remotely access and control a computer or virtual machine over a network connection. It enables you to connect to a remote computer or server from your local machine and use it as if you were sitting in front of it.
RDP is commonly used for tasks such as remote administration, technical support, or accessing files and applications on a remote computer. It provides a secure and efficient way to work remotely, collaborate with colleagues, or access resources on a remote server.
Why Use a USB Microphone with RDP Connection?
When using an RDP connection, the audio devices on your local machine are typically not available on the remote machine by default. This can pose a problem if you want to use a USB microphone for voice recording, online meetings, or voice chat while connected to a remote machine. However, by following the steps we will outline in this guide, you can effectively use your USB microphone with an RDP connection, allowing you to retain the superior audio quality and functionality of your USB microphone even when working remotely. So, without further ado, let’s dive into the step-by-step guide on how to use a USB microphone with an RDP connection.
What is a USB Microphone?
A USB microphone is a type of digital microphone that connects directly to a computer or other compatible devices via a USB port. It has gained popularity in recent years due to its convenience and simplicity, making it an excellent choice for various audio recording applications.
Unlike traditional analog microphones that require additional equipment such as audio interfaces or sound cards to connect to a computer, USB microphones have a built-in analog-to-digital converter and preamp. This means that they can convert the audio signals into a digital format and amplify them without the need for additional hardware. All you need to do is plug the USB microphone into a USB port on your computer, and you’re ready to go.
USB microphones come in various shapes and sizes, ranging from small handheld models to larger studio-grade condenser microphones. They are well-suited for a wide range of applications, including podcasting, voice-over work, gaming, streaming, video conferences, and much more. Depending on the model, USB microphones can offer different features such as multiple polar patterns, built-in headphone jacks, gain control knobs, and mute buttons, allowing for flexibility and convenience during recording or communication.
One of the main advantages of USB microphones is their ease of use and plug-and-play functionality. You don’t need to install any special drivers or additional software to use them. Once connected, your computer will recognize the USB microphone as an audio input device, and you can start using it with your preferred recording software or communication platforms.
Additionally, USB microphones often provide excellent sound quality. With advancements in technology, many USB microphones now offer studio-quality audio recording capabilities that can rival or even surpass some analog microphones. This makes USB microphones a popular choice for content creators, musicians, and professionals who require high-fidelity audio recordings.
In summary, a USB microphone is a versatile and user-friendly device that simplifies the process of recording audio on a computer. It eliminates the need for complex setup and additional equipment while delivering excellent sound quality. Whether you are a beginner podcaster or a seasoned musician, a USB microphone can be a valuable tool in your arsenal for capturing professional-grade audio with ease.
What is RDP Connection?
RDP, or Remote Desktop Protocol, is a proprietary protocol developed by Microsoft that enables users to remotely access and control a computer or a virtual machine over a network connection. It provides a seamless way to connect to and interact with a remote system as if you were physically present in front of it.
RDP allows you to access a remote computer’s desktop, files, and applications from your local machine, making it incredibly useful for various scenarios. Whether you need to troubleshoot a technical issue, collaborate with colleagues on a remote server, or work from a different location while maintaining access to your workstation, RDP simplifies remote connections.
To establish an RDP connection, you need two key elements: a client and a server. The client, also known as the Remote Desktop client or Remote Desktop Connection client, is the application installed on your local machine that allows you to connect to a remote system. The server, on the other hand, hosts the desktop or virtual machine that you want to access remotely.
RDP makes use of various encryption methods and security measures to ensure a secure and private connection between the client and the server. This means that your data and interactions are protected from unauthorized access during the remote session.
There are several reasons why RDP connection is widely used and preferred for remote access:
- Convenience: With RDP, you can access your remote desktop or virtual machine from anywhere with an internet connection. This flexibility allows you to work remotely, attend virtual meetings, or use resources on a server without being physically present in the office or data center.
- Centralized Control: RDP provides centralized control and management of remote systems. Administrators can access and perform maintenance or troubleshooting tasks on servers or workstations without having to physically visit each machine.
- Collaboration: RDP enables real-time collaboration by allowing multiple users to connect to the same remote system simultaneously. This feature is beneficial for remote teams, as it fosters collaboration and teamwork regardless of physical distance.
- Resource Optimization: By using RDP, you can leverage the processing power and resources of a remote machine while working on a less powerful or limited device. This is especially useful when accessing resource-intensive applications or utilizing specialized software.
In summary, RDP connection is a reliable and secure method of accessing and controlling remote computers or virtual machines. It provides convenience, centralized control, collaboration, and resource optimization, making it an indispensable tool for remote work, technical support, and efficient utilization of resources.
Why Use a USB Microphone with RDP Connection?
When using an RDP connection, the audio devices on your local machine are typically not available on the remote machine by default. This can pose a problem if you want to use a USB microphone for voice recording, online meetings, or voice chat while connected to a remote machine. However, by following the steps we will outline in this guide, you can effectively use your USB microphone with an RDP connection, allowing you to retain the superior audio quality and functionality of your USB microphone even when working remotely.
There are several reasons why using a USB microphone with RDP connection can be advantageous:
- Improved Audio Quality: USB microphones generally provide higher audio quality compared to the built-in microphones on most laptops or headsets. By using a USB microphone with RDP connection, you can ensure crystal-clear audio recordings, VoIP calls, or online meetings, enhancing the overall communication experience.
- No Compromises on Features: USB microphones often offer additional features like adjustable gain control, mute buttons, headphone jacks for real-time monitoring, and multiple polar patterns for different recording scenarios. By using your USB microphone with RDP connection, you can enjoy these features seamlessly on the remote machine, allowing for more versatility and control during your audio-related tasks.
- Ease of Use: USB microphones are known for their plug-and-play functionality. They require no complicated setup or additional drivers, allowing you to quickly connect your USB microphone to the local machine and have it recognized on the remote machine via RDP. This ease of use ensures a hassle-free experience when using your preferred USB microphone during remote work or collaboration sessions.
- Consistent Workflows: If you are used to working with a specific USB microphone and have already optimized your recording or communication workflow around it, being able to use the same USB microphone with RDP connection ensures continuity. This means that you can maintain your familiar setup and achieve consistent results, regardless of whether you are working locally or remotely.
- Flexibility: By using a USB microphone with RDP connection, you are not limited to the functionality or audio quality provided by the remote machine’s built-in microphone. You have the freedom to choose and utilize your preferred USB microphone, which opens up possibilities for more professional-grade audio recordings, podcasts, live streaming, or any other audio-related tasks.
In summary, using a USB microphone with RDP connection offers improved audio quality, access to additional features, ease of use, consistent workflows, and enhanced flexibility in your remote work or collaboration sessions. By following the steps outlined in this guide, you can seamlessly integrate your USB microphone into your RDP connection setup and enjoy all the benefits it has to offer while working remotely.
Step-by-Step Guide: Using a USB Microphone with RDP Connection
Using a USB microphone with an RDP connection requires a few steps to ensure that your microphone is recognized and available on the remote machine. Follow this step-by-step guide to successfully use your USB microphone while connected through RDP:
-
Step 1: Setting up the USB Microphone on the Local Machine
Begin by connecting your USB microphone to an available USB port on your local machine. Make sure the microphone is properly plugged in and detected by your operating system. Most USB microphones are plug-and-play, meaning they should be recognized automatically. If not, you might need to install any necessary drivers or software provided by the microphone manufacturer.
-
Step 2: Establishing RDP Connection to the Remote Machine
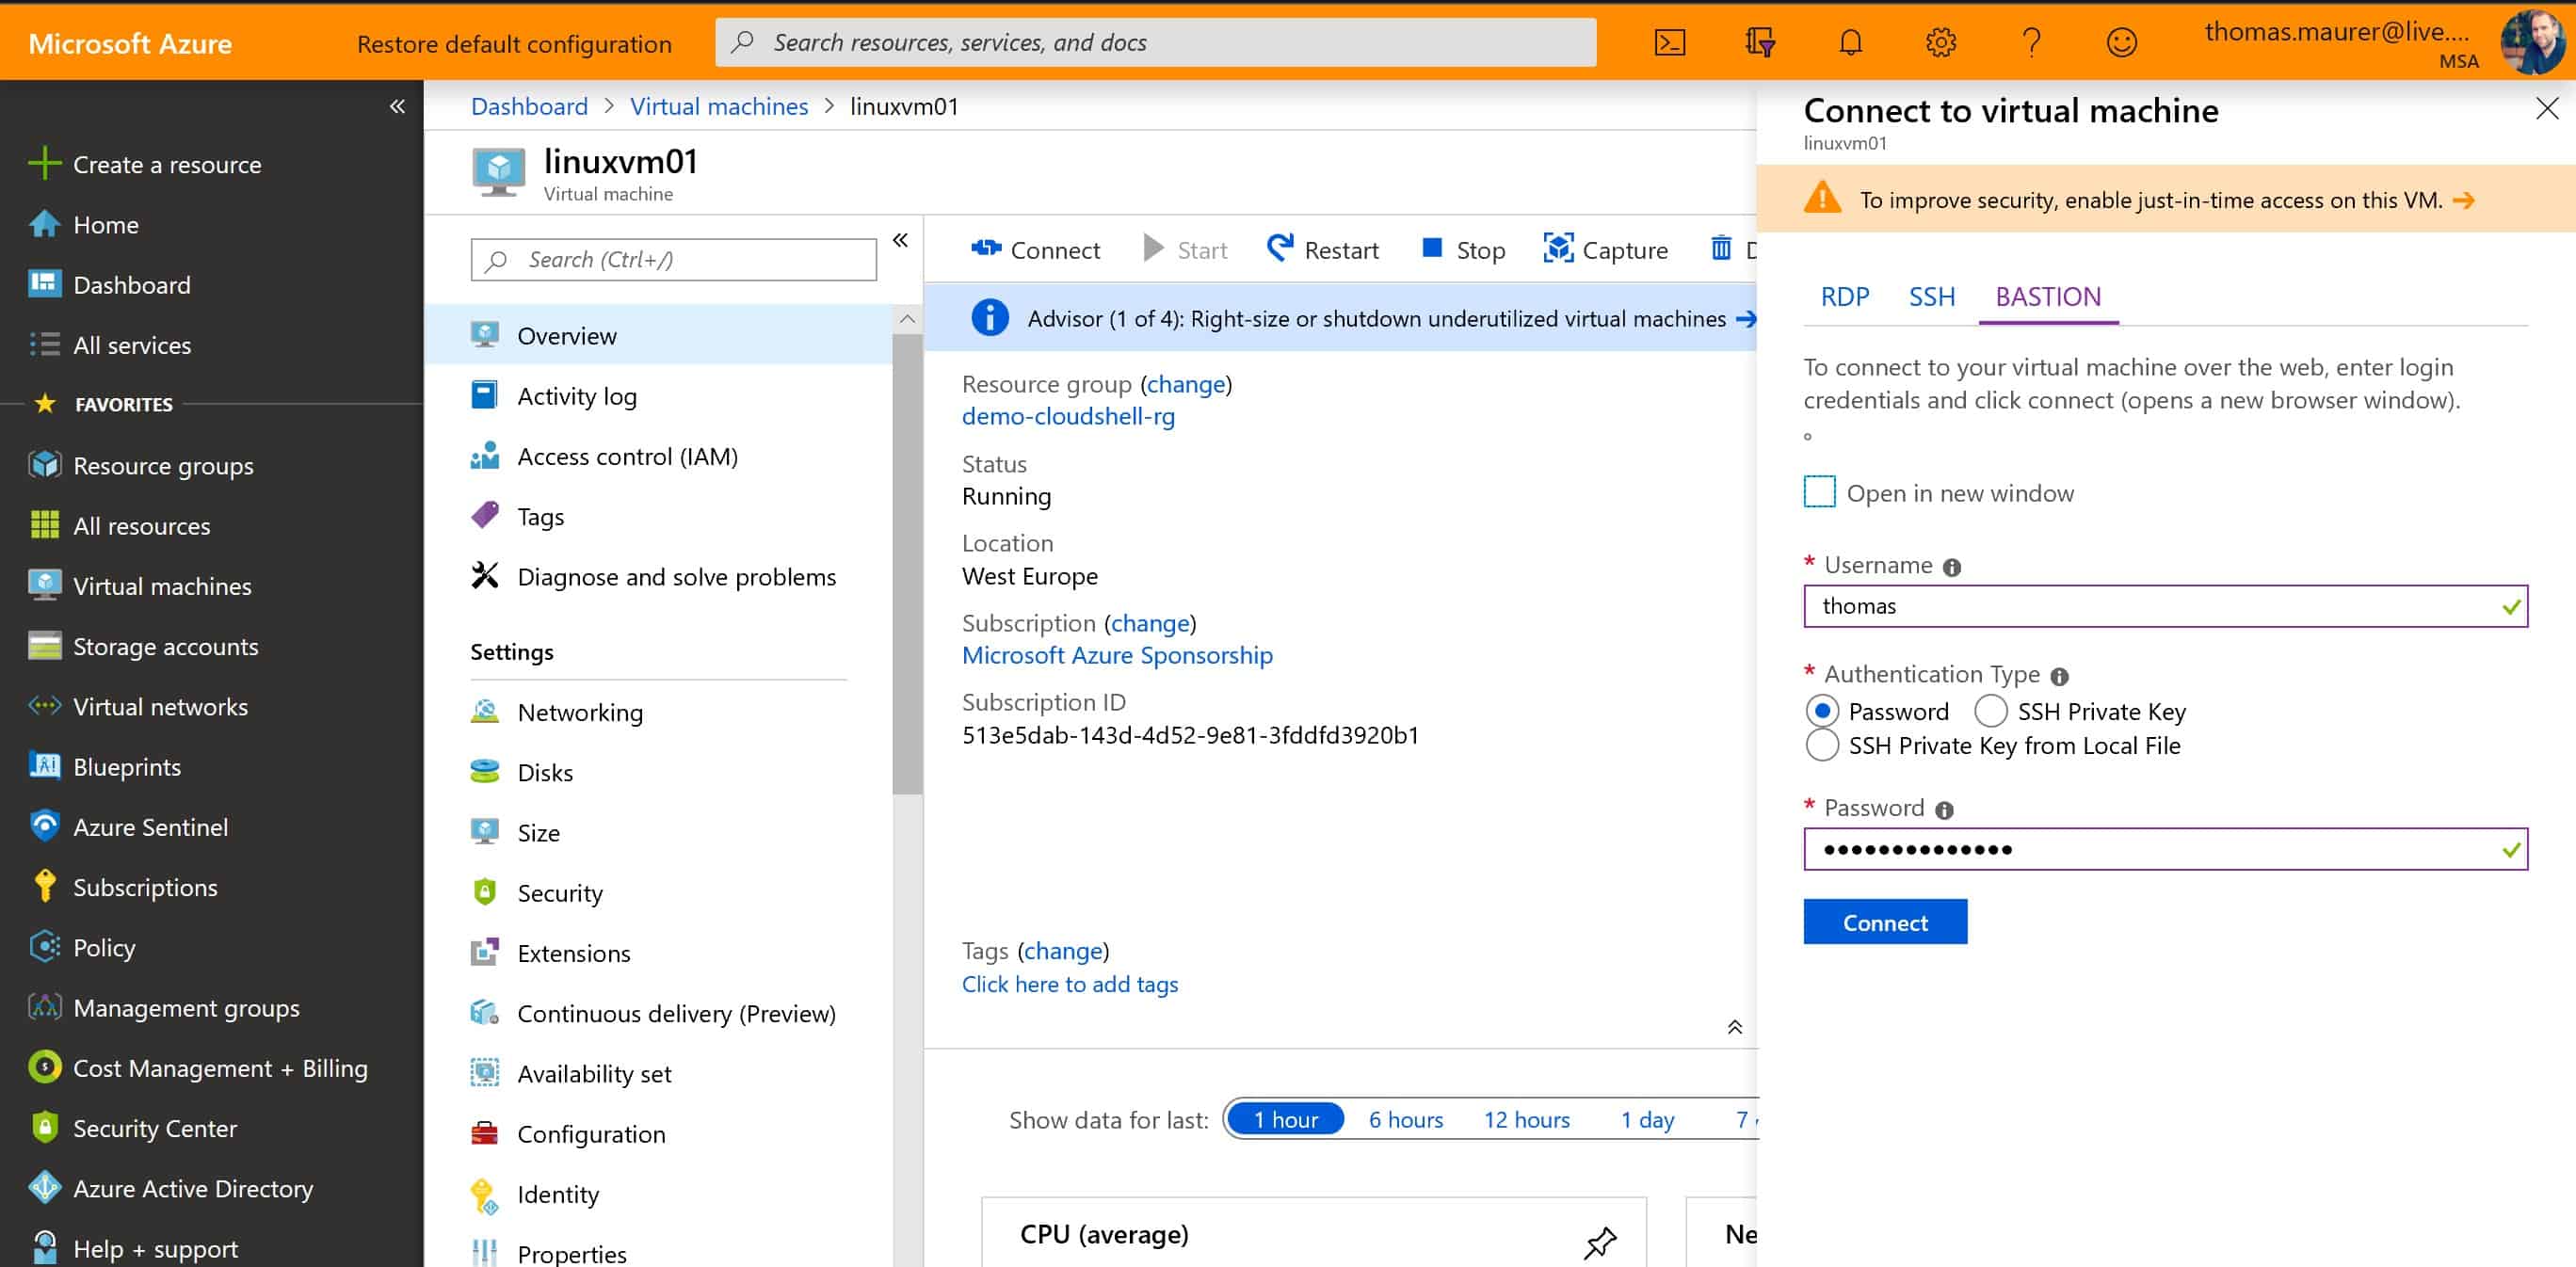
Launch your preferred Remote Desktop client or Remote Desktop Connection application on your local machine. Enter the necessary information, including the remote computer’s IP address or hostname, username, and password. Click on the “Connect” or similar button to initiate the RDP connection. Ensure that you have the necessary permissions to establish an RDP connection to the remote machine.
-
Step 3: Configuring Audio Settings on the Remote Machine
Once the RDP connection is established and you are logged in to the remote machine, navigate to the remote machine’s sound settings. This can typically be found in the Control Panel or Settings menu of the remote machine’s operating system. Look for the audio or sound settings and ensure that the USB microphone is selected as the default recording device and default communication device.
-
Step 4: Testing the USB Microphone on the Remote Machine
To verify that the USB microphone is working correctly on the remote machine, open any application or software that utilizes audio input, such as a voice recording app or video conferencing platform. Start a test recording or join a test call to check if the USB microphone is capturing audio and functioning properly. Make sure to configure the microphone settings within the application, if necessary, to select the USB microphone as the input device.
By following these steps, you can successfully use your USB microphone with an RDP connection. Remember to properly set up the microphone on the local machine, establish the RDP connection to the remote machine, configure the audio settings on the remote machine to recognize the USB microphone, and perform a test recording or call to ensure everything is working as expected. Enjoy the enhanced audio quality and functionality of your USB microphone even when working remotely via RDP.
Step 1: Setting up the USB Microphone on the Local Machine
Before you can use your USB microphone with an RDP connection, you need to make sure it is properly set up and recognized on your local machine. Follow these steps to set up your USB microphone:
- Connect the USB Microphone: Start by locating an available USB port on your local machine. Insert the USB connector of the microphone into the USB port. Ensure that the connection is secure.
- Wait for Detection: Most USB microphones are plug-and-play devices, meaning they are automatically detected by your operating system. Wait for a few seconds to allow your computer to recognize the USB microphone.
- Check Audio Settings: Once your USB microphone is connected, it’s crucial to check your audio settings on the local machine. Right-click on the speaker icon in the system tray (Windows) or access the sound settings through System Preferences (Mac). Ensure that the USB microphone is selected as the default recording device.
- Install Drivers (if required): In some cases, your USB microphone may require specific drivers to function properly. Visit the manufacturer’s website and download any necessary drivers or software. Follow the installation instructions provided by the manufacturer.
- Test the USB Microphone: Once the USB microphone is set up and recognized on your local machine, it’s a good practice to test it. Open an audio recording or conferencing application, such as Audacity, Skype, or Zoom, and select the USB microphone as the input device. Speak into the microphone and check if the audio levels are registering and if the sound quality is satisfactory.
By following these steps, you will have successfully set up your USB microphone on the local machine. It should now be ready to be used with an RDP connection. Remember to ensure proper detection, check audio settings, install any required drivers, and conduct a test recording or call to verify that the USB microphone is functioning correctly on your local machine. Once the setup is complete, you can proceed to establish an RDP connection and configure the audio settings on the remote machine to start using your USB microphone remotely.
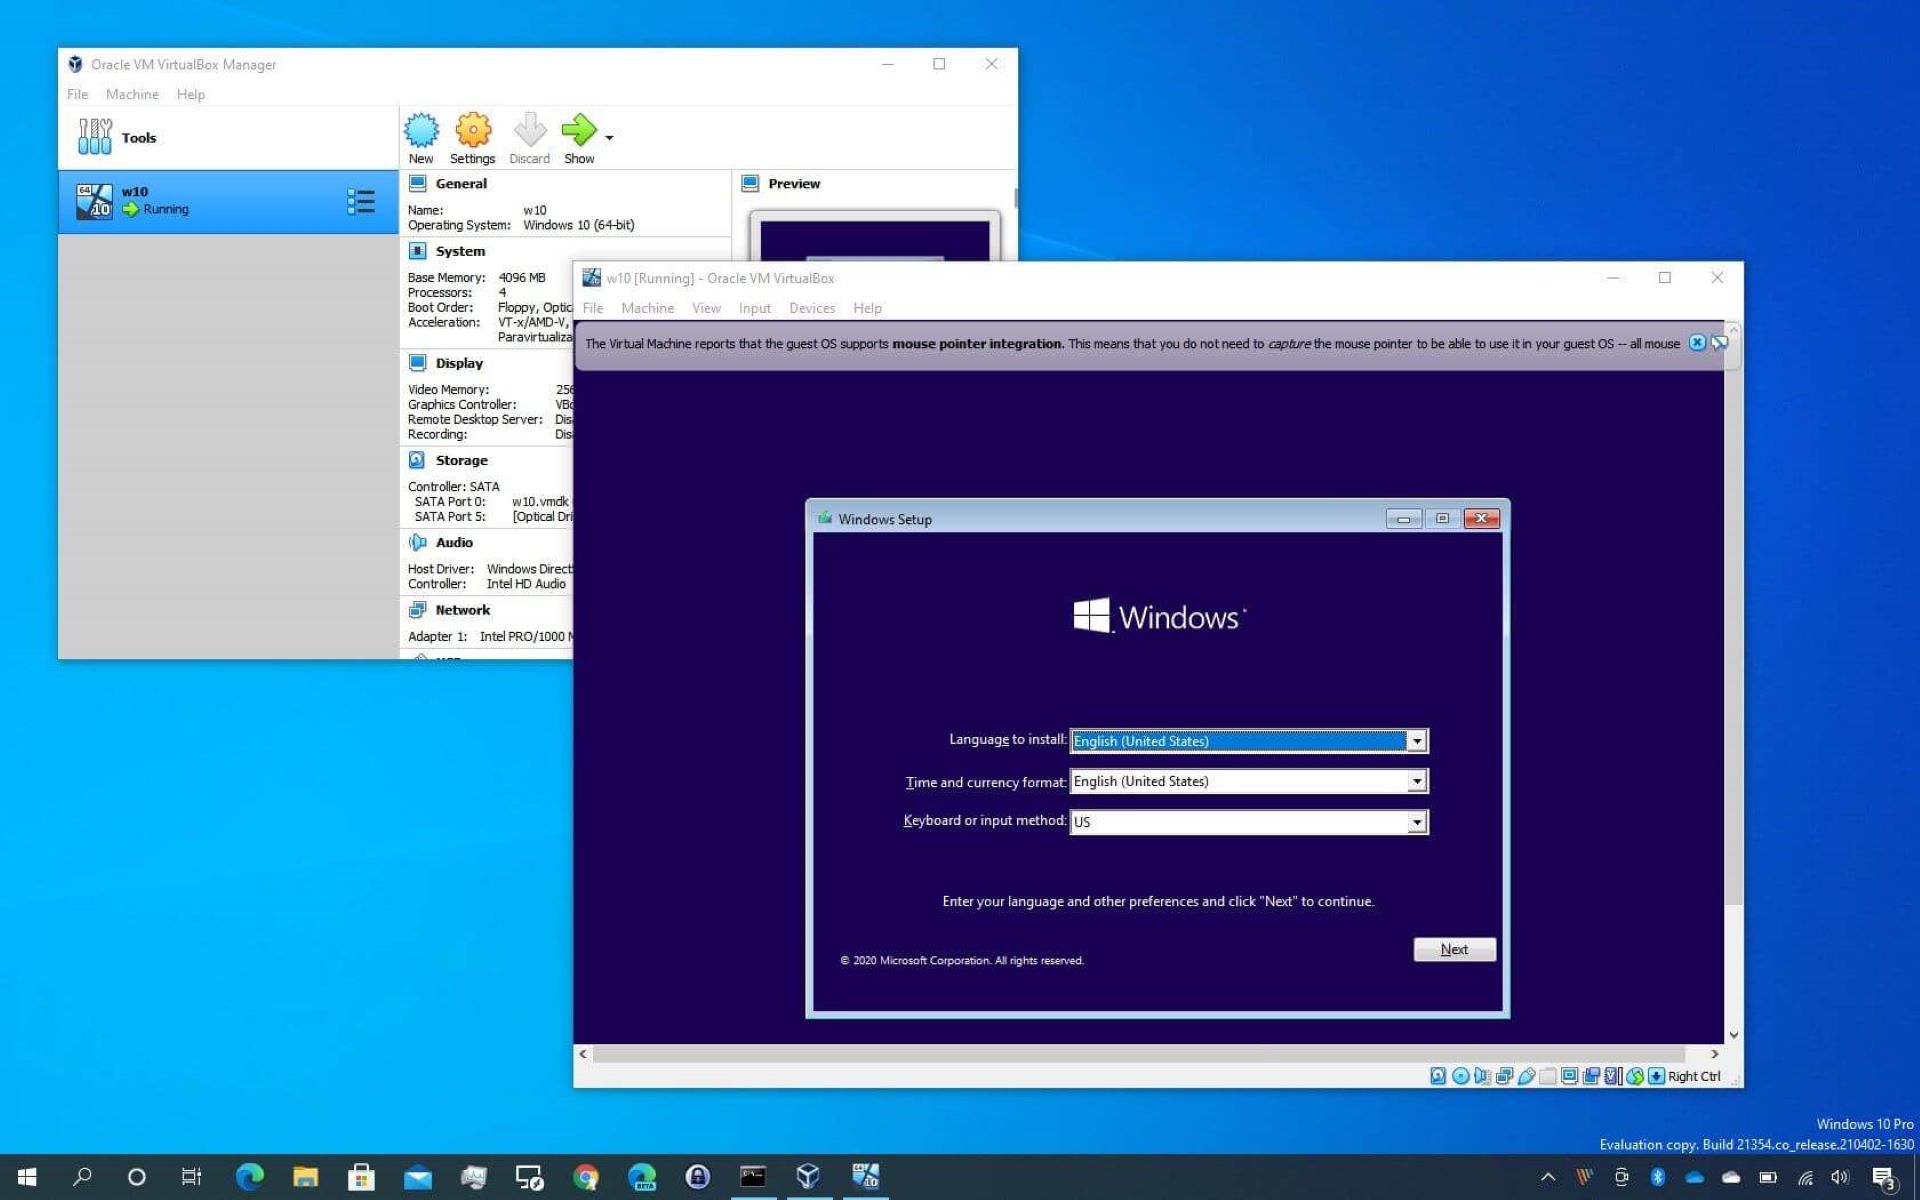
Step 2: Establishing RDP Connection to the Remote Machine
Once you have set up your USB microphone on the local machine, the next step is to establish an RDP (Remote Desktop Protocol) connection to the remote machine. Follow these steps to establish a successful RDP connection:
- Launch the Remote Desktop Client: On your local machine, open the Remote Desktop client or Remote Desktop Connection application. This application may vary slightly depending on your operating system or version of Windows, but it is typically included by default.
- Provide Remote Machine Information: In the Remote Desktop client, enter the necessary information to connect to the remote machine. This includes the IP address or hostname of the remote machine, as well as the username and password associated with your remote account. Make sure you have the correct credentials and that you are authorized to establish an RDP connection to the remote machine.
- Configure Advanced Options (if necessary): Depending on your specific requirements and the configuration of the remote machine, you may need to configure additional advanced options. These can include resolution settings, sound redirection, and other specific connection settings. Consult with your IT department or system administrator for any specific instructions or requirements for the RDP connection.
- Initiate the RDP Connection: Once you have entered all the necessary information and configured any optional settings, click on the “Connect” or similar button to initiate the RDP connection. The Remote Desktop client will attempt to establish a connection to the remote machine using the provided credentials.
- Authenticate and Verify Connection: During the connection process, you may be prompted to enter your credentials again to authenticate with the remote machine. Enter the username and password associated with your remote account. If everything is set up correctly and the credentials are valid, the Remote Desktop client will establish a connection to the remote machine.
Once the RDP connection is successfully established, you will have remote access to the desktop of the remote machine. You can now proceed to configure the audio settings on the remote machine to ensure that your USB microphone is recognized and available for use. Following these steps will allow you to effectively use your USB microphone with the remote machine via the established RDP connection, enabling you to enjoy enhanced audio capabilities during your remote work or collaboration sessions.
Step 3: Configuring Audio Settings on the Remote Machine
After establishing an RDP (Remote Desktop Protocol) connection to the remote machine, the next step is to configure the audio settings on the remote machine to ensure that your USB microphone is recognized and set as the default recording device. Follow these steps to configure the audio settings on the remote machine:
- Access Sound Settings: On the remote machine, navigate to the audio settings. The location of this setting may vary depending on the operating system, but it is usually found in the Control Panel or the Settings app.
- Select Sound or Audio: In the sound settings, look for the option labeled “Sound” or “Audio” and click on it to access the audio settings for the remote machine.
- Choose Input Device: Within the audio settings, locate the section that allows you to select the default recording device or input device. This setting may be labeled “Recording Devices,” “Input Devices,” or something similar. Click on this option to view the available audio input devices.
- Select USB Microphone: From the list of available input devices, locate your USB microphone and select it as the default recording device. If your USB microphone is not listed, double-check the connection and ensure that it is properly connected to the remote machine. If necessary, disconnect and reconnect the USB microphone and check the audio settings again.
- Adjust Microphone Settings (Optional): Depending on the specific audio settings of the remote machine, you may have additional options to adjust the volume, sensitivity, or other settings of the USB microphone. Make any necessary adjustments to suit your preferences or requirements.
- Save and Apply Changes: Once you have selected the USB microphone as the default recording device and made any desired adjustments, save the changes and apply the new audio settings on the remote machine.
By configuring the audio settings on the remote machine and selecting your USB microphone as the default recording device, you ensure that the remote machine recognizes and utilizes your USB microphone for audio input. After completing this step, you can proceed to test the functionality of the USB microphone on the remote machine to ensure that it is working correctly. This configuration will allow you to take full advantage of the enhanced audio quality and features provided by your USB microphone during your remote work or collaboration sessions via the RDP connection.
Step 4: Testing the USB Microphone on the Remote Machine
After configuring the audio settings on the remote machine, it is important to test the USB microphone to ensure that it is functioning correctly and capturing audio as expected. Follow these steps to test your USB microphone on the remote machine:
- Open an Application: Launch an audio recording or conferencing application on the remote machine that allows you to use the microphone for recording or communication purposes. Examples of such applications include Audacity, Skype, Zoom, or any other application that supports audio input.
- Select USB Microphone: Within the application’s settings or preferences, locate the audio or microphone settings. Ensure that the USB microphone is selected as the input device for recording or communication. This setting may be labeled “Microphone,” “Input Device,” or similar.
- Perform a Test Recording or Call: Start a test recording or join a test call within the application. Speak into the USB microphone to generate audio input. Monitor the audio levels or listen for playback to ensure that the USB microphone is correctly capturing your voice and that the audio quality is satisfactory.
- Adjust Microphone Levels (if necessary): If the audio levels are too low or too high, adjust the microphone levels within the application’s settings. This will allow you to optimize the audio input and achieve the desired recording or communication levels.
- Verify Sound Quality: During the test recording or call, pay attention to the sound quality and clarity of the captured audio. Ensure that there are no distortions, background noise, or other issues affecting the audio quality. If necessary, make further adjustments to the microphone settings or troubleshoot any potential issues.
Performing a thorough test of the USB microphone on the remote machine ensures that it is working correctly and producing the desired audio quality. By following these steps, you can verify that the USB microphone is capturing audio as expected and that it is compatible with the applications you intend to use during remote work or collaboration sessions. Once the test is successful, you can confidently utilize your USB microphone to achieve professional-grade audio recordings, online meetings, or voice chat while connected to the remote machine via the RDP connection.
Troubleshooting Tips
While using a USB microphone with an RDP (Remote Desktop Protocol) connection can greatly enhance your audio experience during remote work or collaboration, it’s possible to encounter some issues along the way. Here are some troubleshooting tips to help you overcome common challenges when using a USB microphone with RDP connection:
- Check USB Connection: Ensure that the USB connection of your microphone is secure. If the USB microphone is not recognized on the local machine, try connecting it to a different USB port or using a different USB cable.
- Restart RDP Connection: If you are experiencing issues with the USB microphone after establishing an RDP connection, try disconnecting and reconnecting to the remote machine. Sometimes, a simple restart can resolve connection-related problems.
- Verify USB Microphone Drivers: Confirm that you have installed the correct drivers for your USB microphone, especially if it requires specific software or drivers to function properly. Check the manufacturer’s website for the latest drivers, and update or reinstall them if necessary.
- Adjust Audio Settings: Double-check the audio settings both on the local machine and the remote machine. Ensure that the USB microphone is selected as the default recording device on the remote machine and that the volume levels and sensitivity are appropriately adjusted.
- Reset Remote Machine Audio Settings: If the USB microphone is not working as expected on the remote machine, consider resetting the audio settings to their default values. This can help resolve any conflicting configurations that might be causing issues.
- Test with Different Applications: If the USB microphone is not functioning properly in one application, try using it with a different application. This will help determine whether the problem is application-specific or related to the microphone itself.
- Update Remote Desktop Client: Ensure that you are using the latest version of the Remote Desktop client or Remote Desktop Connection application on your local machine. Outdated software can sometimes cause compatibility issues or prevent proper communication between the local and remote machines.
- Restart Remote Machine: If all else fails, consider restarting the remote machine. Sometimes, a simple reboot can resolve various software-related issues and restore proper functionality.
By applying these troubleshooting tips, you can overcome potential challenges and ensure the smooth operation of your USB microphone with an RDP connection. Remember to check the USB connection, verify drivers, adjust audio settings, and test with different applications to isolate and resolve any issues that may arise. With a little troubleshooting, you can enjoy the enhanced audio quality and functionality of your USB microphone during remote work or collaboration sessions.
Conclusion
Using a USB microphone with an RDP (Remote Desktop Protocol) connection can greatly enhance your audio experience when working remotely or collaborating with others. By following the step-by-step guide outlined in this article, you can successfully set up and use your USB microphone with RDP, ensuring superior audio quality and functionality on the remote machine.
We started by understanding what a USB microphone is and how it differs from traditional analog microphones. Then, we delved into RDP connection and its significance in remote access and control of computers or virtual machines. We explored the reasons why using a USB microphone with RDP connection is beneficial, including improved audio quality, accessibility to additional features, and ease of use.
The step-by-step guide provided detailed instructions on setting up the USB microphone on the local machine, establishing an RDP connection to the remote machine, configuring audio settings, and testing the USB microphone on the remote machine. These steps ensure that your USB microphone is recognized, functioning correctly, and delivering the desired audio quality during your remote work, online meetings, or other audio-related tasks.
Additionally, we provided troubleshooting tips to help you address common issues that may arise when using a USB microphone with RDP connection. Whether it’s checking the USB connection, adjusting audio settings, or updating drivers, these troubleshooting tips can assist in resolving any potential challenges you may face.
By incorporating a USB microphone into your RDP setup, you can enjoy the convenience, improved audio quality, and flexibility it offers. Whether you are engaged in professional audio recordings, online meetings, voice chats, or any other audio-related activities, using a USB microphone with an RDP connection ensures that you can achieve excellent sound output and maintain a seamless communication experience, even when working remotely.
So, take advantage of the step-by-step guide and troubleshooting tips provided in this article to enhance your remote work environment with the power of a USB microphone and RDP connection. Stay connected, collaborate effectively, and enjoy superior audio quality regardless of your physical location.