Introduction
Welcome to the world of Azure Virtual Machines! Azure Virtual Machines allow you to create and run virtual machines in the cloud, providing you with scalable and flexible computing resources. Whether you’re a developer, IT professional, or someone looking to migrate their existing infrastructure to the cloud, accessing and managing your Azure virtual machines is essential.
In this guide, we will take you through the step-by-step process of accessing your Azure Virtual Machine. We will walk you through the necessary prerequisites, how to navigate the Azure portal, and finally, how to connect to your virtual machine.
With Azure Virtual Machines, you can have full control over your computing environment. Accessing your virtual machine enables you to deploy applications, manage resources, and troubleshoot any issues that may arise. By the end of this guide, you’ll be equipped with the knowledge and skills to access your Azure Virtual Machine effortlessly.
So, let’s get started and learn how to access your Azure Virtual Machine!
Prerequisites
Before you can access your Azure Virtual Machine, there are a few prerequisites that you need to have in place. These requirements ensure a smooth and successful connection to your virtual machine:
- An active Azure subscription: To use Azure Virtual Machines, you must have an active subscription to Microsoft Azure. If you don’t have a subscription, you can sign up for one on the Azure website.
- Azure Virtual Machine created: You need to have already created a virtual machine in Azure. If you haven’t done so yet, you can follow the step-by-step instructions provided by Microsoft to create your virtual machine.
- Username and password: When creating your virtual machine, you would have specified a username and password. Make sure you have this information on hand, as you will need it to authenticate and access your virtual machine.
- Remote Desktop Protocol (RDP) client: To connect to your Azure Virtual Machine, you will need an RDP client. This client is usually pre-installed on Windows machines, but if you’re using a different operating system, you may need to download and install one. Popular RDP clients include Microsoft Remote Desktop for Windows and Microsoft Remote Desktop for Mac.
- Internet connectivity: Ensure that you have a stable internet connection to access your Azure Virtual Machine. A high-speed internet connection is recommended for optimal performance.
By meeting these prerequisites, you’ll have everything you need to access your Azure Virtual Machine seamlessly and efficiently.
Step 1: Accessing Azure Portal
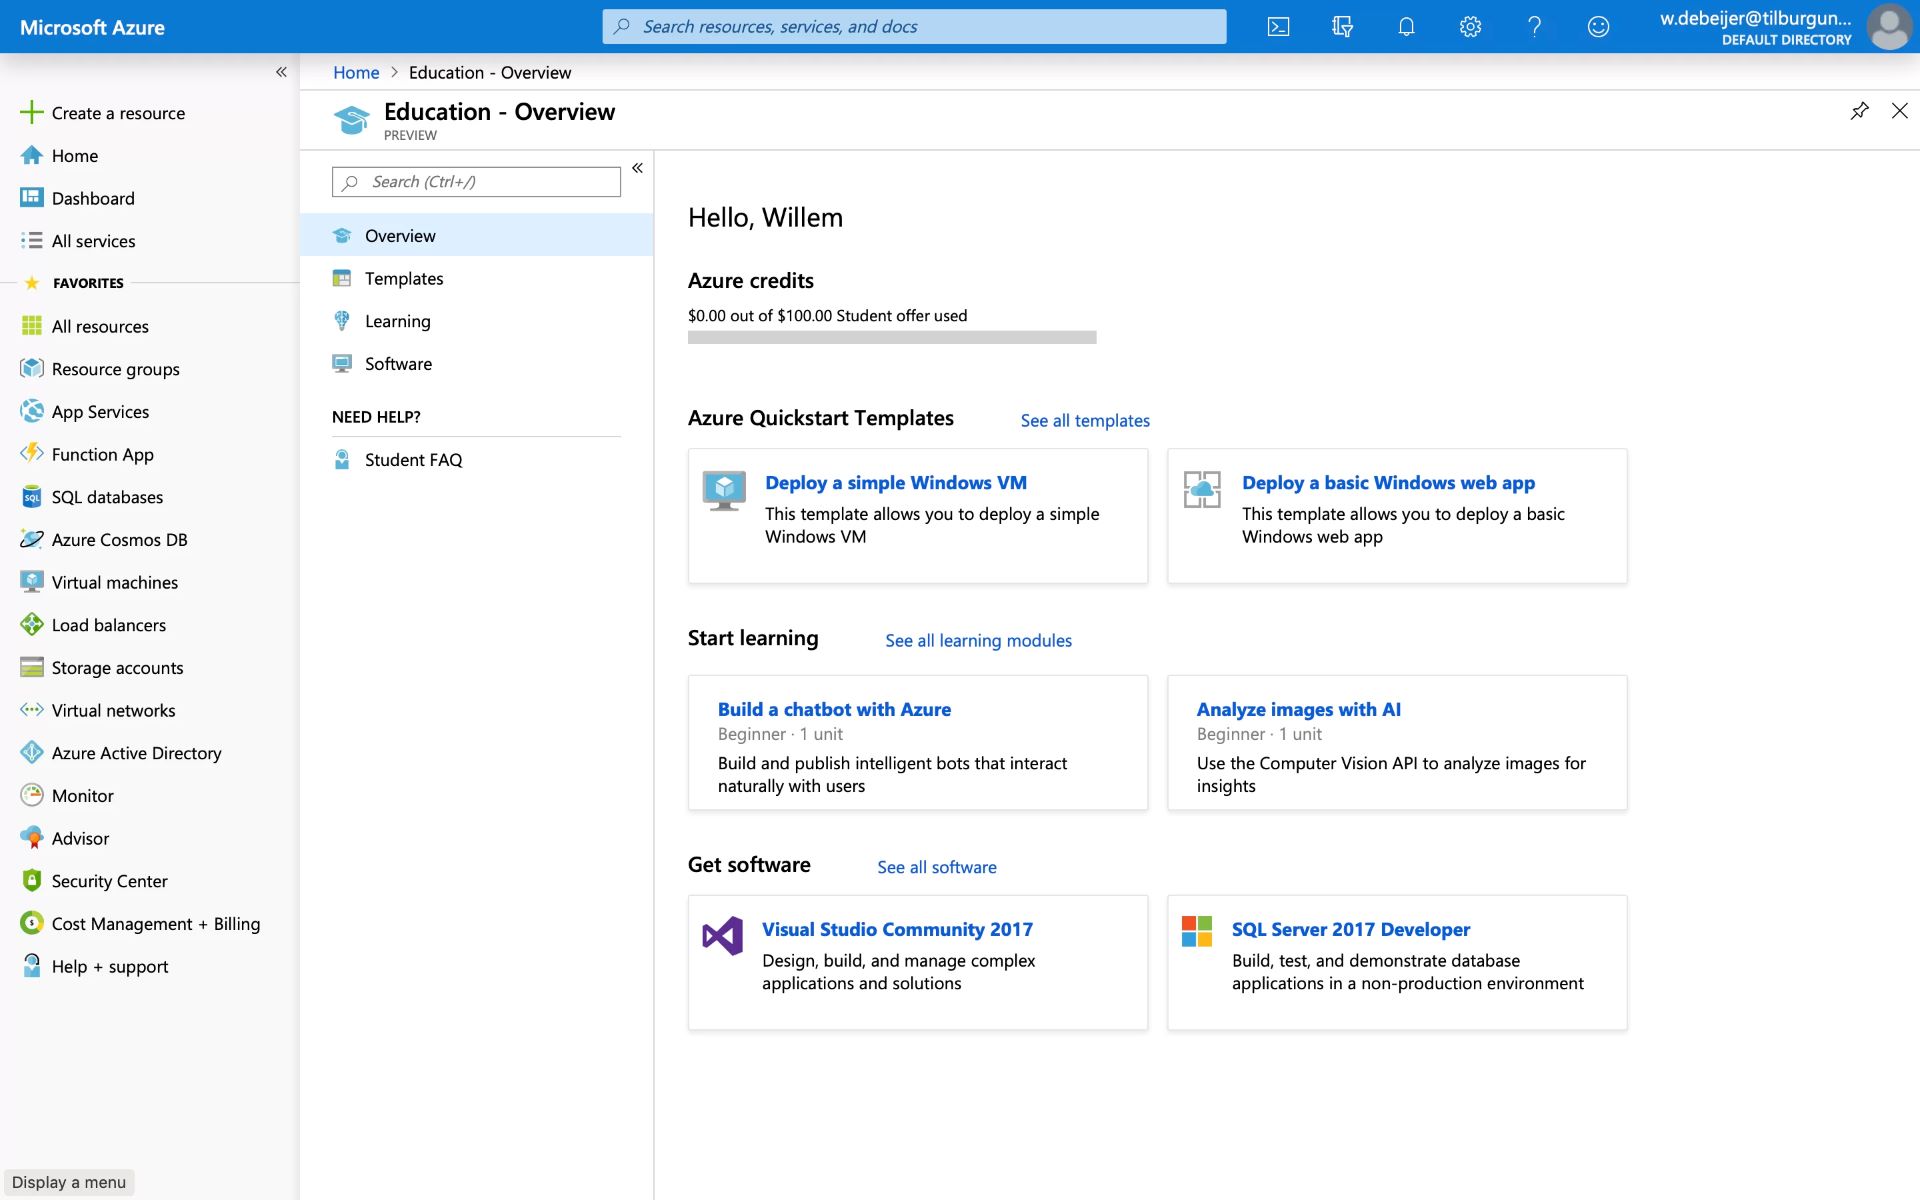
The first step in accessing your Azure Virtual Machine is to open the Azure portal, which is the web-based interface for managing your Azure resources. Follow these simple steps to access the Azure portal:
- Open a web browser of your choice on your computer.
- Go to the Azure portal website (portal.azure.com).
- Sign in to your Azure account using the username and password associated with your Azure subscription.
Once you have successfully signed in, you will be taken to the Azure portal dashboard, where you can manage all your Azure resources.
Ensure that you have the necessary permissions and access rights to view and manage virtual machines within your Azure subscription. If you encounter any issues, it’s recommended to check with your Azure subscription administrator for the appropriate permissions.
Accessing the Azure portal is the first step towards connecting to your Azure Virtual Machine and unleashing its powerful capabilities.
Step 2: Navigating to Virtual Machines
Once you have accessed the Azure portal, the next step is to navigate to the Virtual Machines page, where you can manage and access your virtual machines. Follow these steps to find your virtual machines:
- In the left-hand menu of the Azure portal, click on “Virtual machines”.
- You will be presented with a list of virtual machines that are associated with your Azure subscription.
- Scroll or search for the specific virtual machine that you want to access.
Alternatively, you can use filters and sorting options to narrow down the list and locate your desired virtual machine more quickly.
When you find the virtual machine you want to access, click on its name to open the details page. This page provides information about the virtual machine, such as the status, operating system, and resource utilization.
By navigating to the Virtual Machines page, you are one step closer to connecting to your Azure Virtual Machine and utilizing its computing power.
Step 3: Selecting the Virtual Machine
Now that you have accessed the Virtual Machines page, the next step is to select the specific virtual machine that you want to access. Follow these steps to choose the virtual machine:
- Review the list of virtual machines displayed on the Virtual Machines page.
- Identify the virtual machine you want to access based on its name and other identifying information.
- Click on the name of the virtual machine to select it.
Once you have selected the virtual machine, you will be taken to its overview page, which provides detailed information about the virtual machine, including its configuration, status, and resource utilization.
Make sure to verify that you have selected the correct virtual machine before proceeding. If you have multiple virtual machines, it’s important to choose the right one to avoid any accidental changes or disruptions to your infrastructure.
By selecting the virtual machine, you are ready to move on to the next step, which is connecting to the Azure Virtual Machine and accessing its resources.
Step 4: Connecting to the Virtual Machine
After selecting the virtual machine you want to access, the next step is to establish a connection to the Azure Virtual Machine. Follow these steps to connect to your virtual machine:
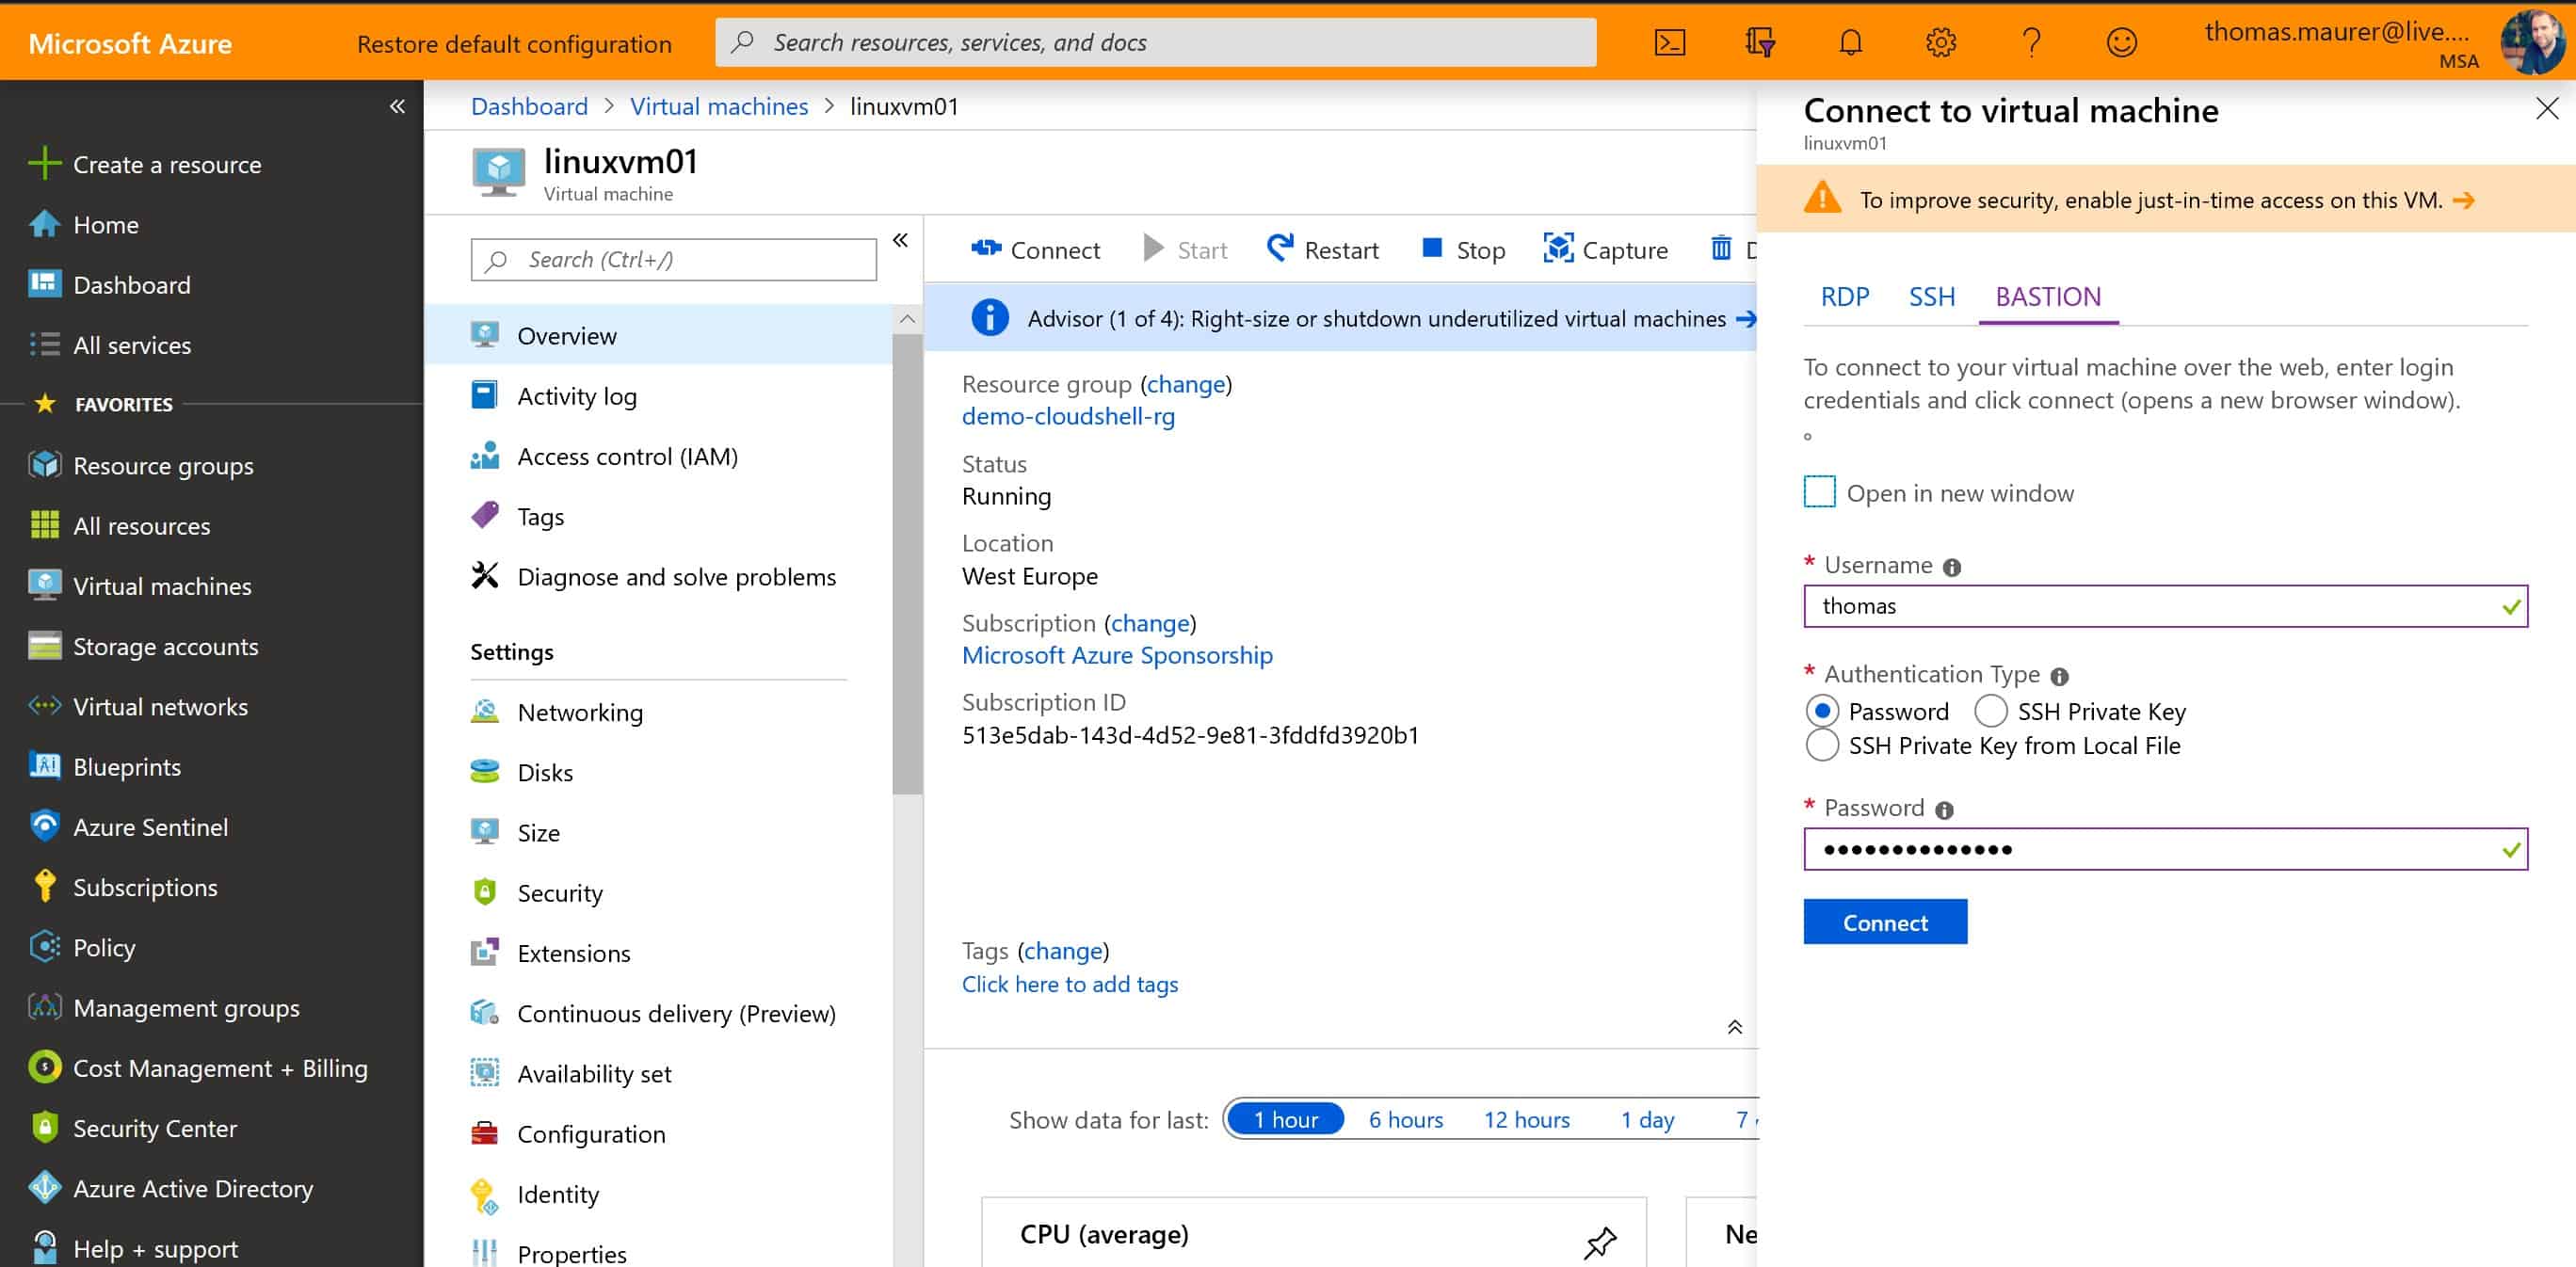
- On the overview page of the selected virtual machine, locate the “Connect” button and click on it. This will open the connection options.
- Review the available remote desktop connection methods provided by Azure.
- Choose the remote desktop connection method that is most suitable for your needs and preferences.
Azure provides different remote desktop connection methods like Azure Bastion, Remote Desktop Protocol (RDP) over the internet, and Azure Virtual Network (VNet) peering. Select the method that best suits your connectivity requirements and infrastructure setup.
Follow the instructions provided by Azure for the specific connection method you have chosen. These instructions will guide you on how to establish a secure connection to your Azure Virtual Machine.
Remember to have your username and password ready, as you will be prompted to enter them during the connection process. This is the same username and password that you specified when creating the virtual machine.
By connecting to the virtual machine, you are now ready to remotely access and manage your Azure Virtual Machine as if you were working on a physical computer.
Step 5: Selecting the Remote Desktop Connection Method
Once you have chosen to connect to your Azure Virtual Machine, the next step is to select the appropriate remote desktop connection method. Azure offers different options for connecting to your virtual machine based on your requirements and network setup. Follow these steps to select the remote desktop connection method:
- Review the available remote desktop connection methods provided by Azure on the connection options page.
- Consider factors such as security, network configuration, and accessibility when choosing the remote desktop connection method.
- Choose the method that best suits your needs by selecting the corresponding option.
Azure provides various remote desktop connection methods, including Azure Bastion, Remote Desktop Protocol (RDP) over the internet, and Azure Virtual Network (VNet) peering. Let’s take a closer look at these options:
- Azure Bastion: This is a secure, browser-based remote desktop gateway that allows you to connect to your virtual machine directly from the Azure portal without the need for a public IP address on the virtual machine. Azure Bastion provides an additional layer of security and simplifies the connection process.
- Remote Desktop Protocol (RDP) over the internet: This method allows you to connect to your virtual machine using the Remote Desktop Protocol (RDP) client over the internet. You will need to have a public IP address associated with your virtual machine and configure your network settings accordingly.
- Azure Virtual Network (VNet) peering: With VNet peering, you can connect to your virtual machine securely using a private IP address within the same virtual network or across peered virtual networks. This method ensures a highly secure and private connection between your local network and the virtual machine.
Understanding the different remote desktop connection methods offered by Azure will help you choose the most suitable option for your specific requirements and network environment.
With the remote desktop connection method selected, you are ready to proceed to the next step and download the Remote Desktop Protocol (RDP) file necessary for the connection.
Step 6: Downloading RDP File
After selecting the remote desktop connection method, the next step is to download the Remote Desktop Protocol (RDP) file. This file contains the necessary information to establish a secure connection to your Azure Virtual Machine. Follow these steps to download the RDP file:
- On the connection options page, click on the “Download RDP file” button or link.
- A file download prompt will appear, asking you to save the RDP file to your computer.
- Choose a location on your computer where you want to save the RDP file, and click “Save”.
Once the file is downloaded, you will have a local copy of the RDP file, which you can use to initiate the remote desktop connection to your Azure Virtual Machine.
It’s important to keep the RDP file in a secure location and not share it with unauthorized individuals. The RDP file contains the necessary credentials and connection details to access your virtual machine.
By downloading the RDP file, you are now ready to proceed to the next step and connect to your Azure Virtual Machine through the Remote Desktop Protocol (RDP) client.
Step 7: Opening the RDP File
After downloading the Remote Desktop Protocol (RDP) file in the previous step, the next step is to open the file using an RDP client. The RDP file contains the necessary configuration to establish a connection to your Azure Virtual Machine. Follow these steps to open the RDP file:
- Locate the RDP file that you downloaded in the previous step.
- Double-click or right-click on the RDP file.
- Choose the appropriate option based on your operating system and installed RDP client.
By default, most operating systems have a built-in RDP client. On Windows, you can use the “Remote Desktop Connection” application, while on macOS, you can use the “Microsoft Remote Desktop” application.
When you open the RDP file, the RDP client will launch and load the connection settings stored in the file. These settings include the IP address or hostname of the virtual machine, along with other connection parameters specified during the creation of the virtual machine.
Ensure that you have a stable internet connection and that you have entered the correct username and password as specified during the virtual machine creation process. Incorrect credentials may prevent the connection from being established.
With the RDP file open, you are now ready to proceed to the next step and authenticate yourself to access your Azure Virtual Machine.
Step 8: Authenticating and Accessing the Azure Virtual Machine
After opening the RDP file and launching the Remote Desktop Protocol (RDP) client, the next step is to authenticate yourself and access your Azure Virtual Machine. Follow these steps to authenticate and connect to your virtual machine:
- Enter the username and password associated with your Azure Virtual Machine. These are the credentials you specified when creating the virtual machine.
- Click on the “Connect” or “Connect/OK” button to initiate the connection.
The RDP client will establish a secure connection to your Azure Virtual Machine using the provided credentials. Depending on the remote desktop connection method you chose earlier, you may be prompted to provide additional authentication details or security measures.
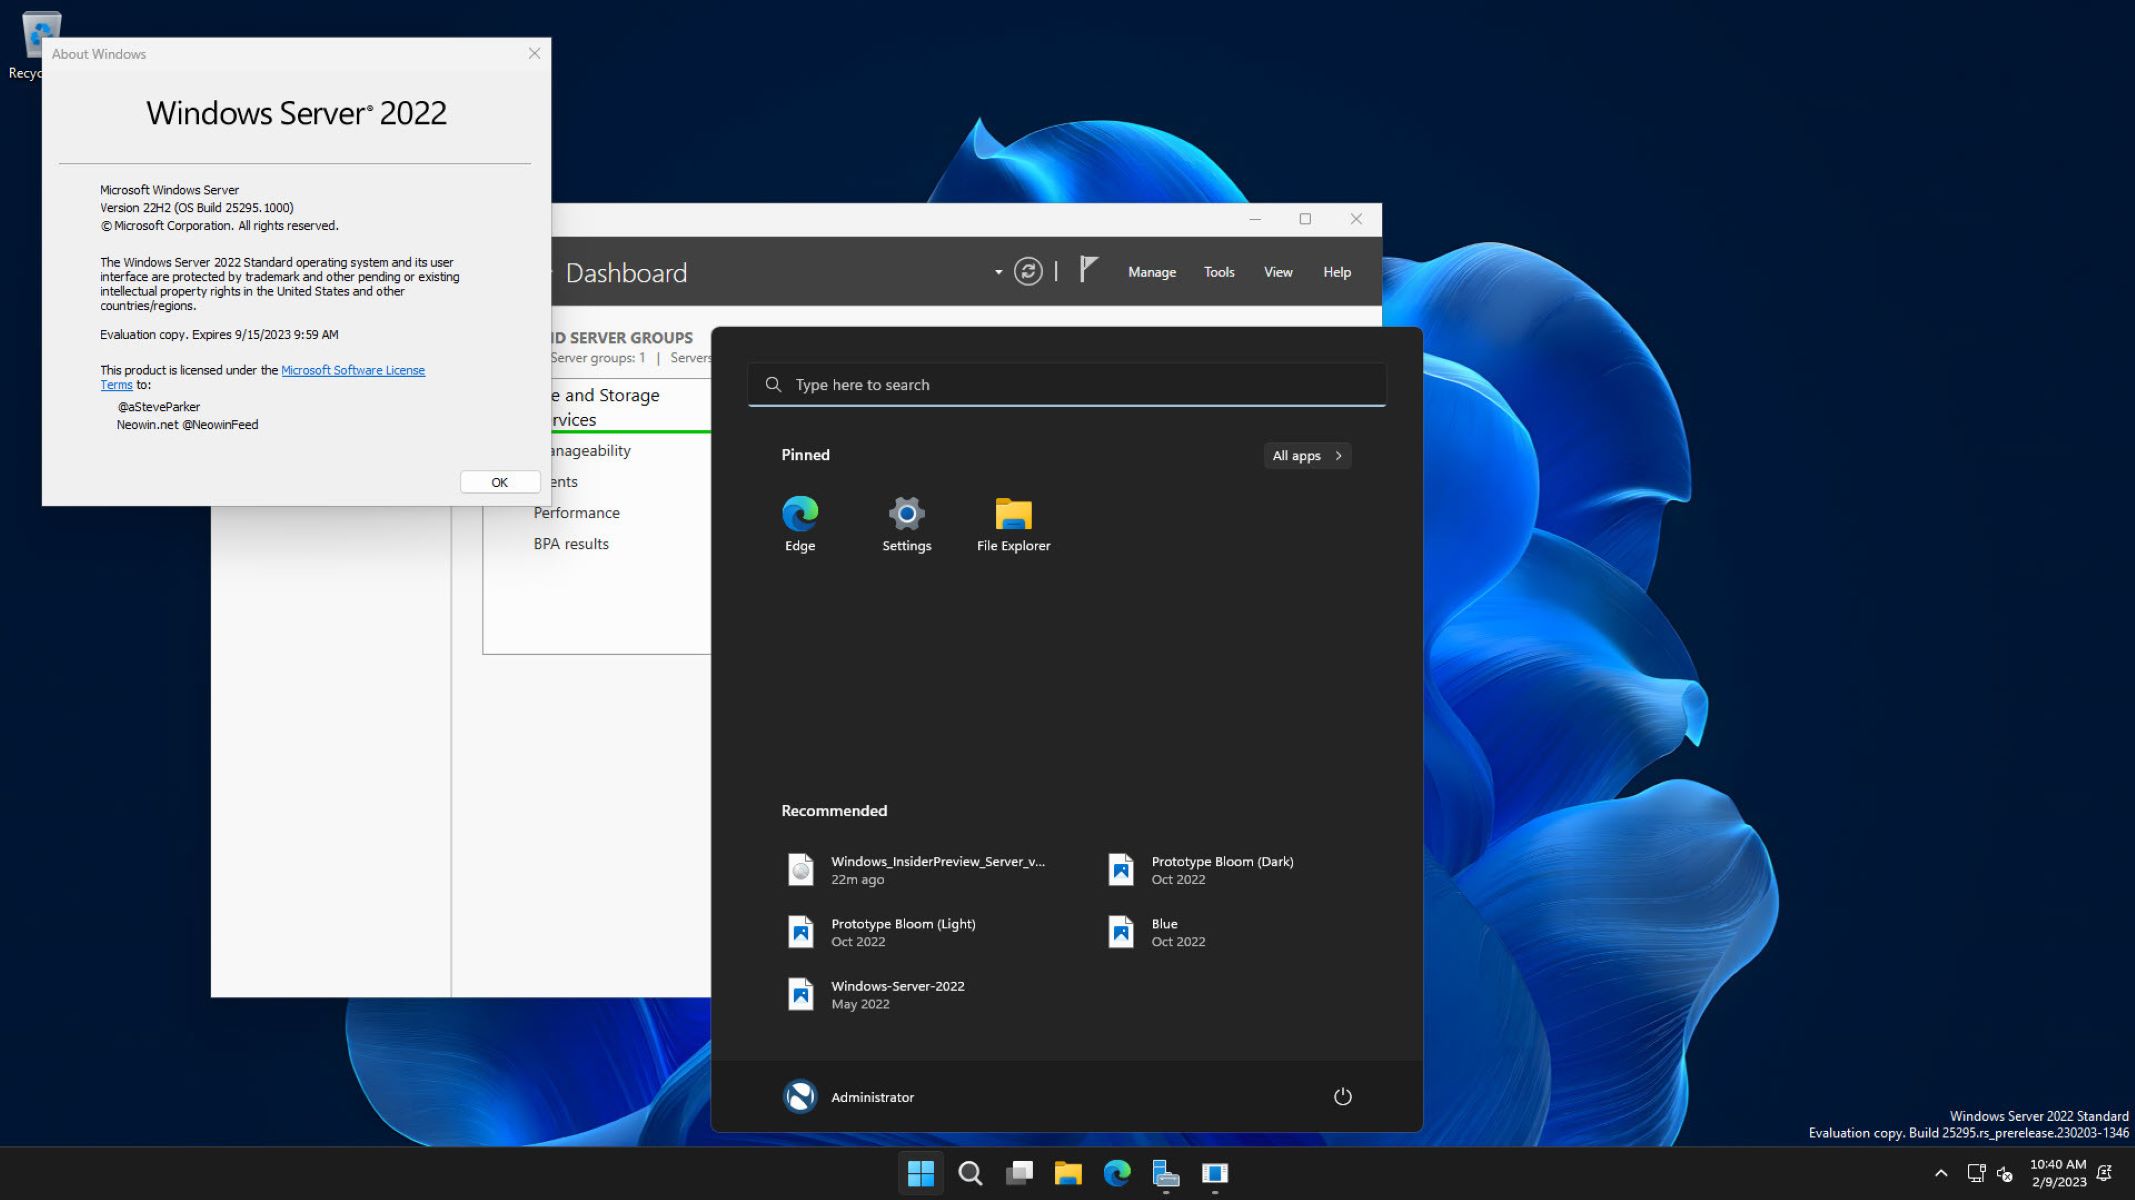
Once authenticated, the RDP client will establish the connection, and you will be presented with the desktop of your Azure Virtual Machine. You can now interact with the virtual machine remotely, just as you would with a physical computer.
Within the remote desktop environment, you can access files, install software, configure settings, and perform any other tasks you would typically do on a local machine. The Azure Virtual Machine provides you with a fully functional computing environment in the cloud.
Remember to properly log out or disconnect from the Azure Virtual Machine when you have finished your tasks to ensure security and prevent unauthorized access.
By successfully authenticating and accessing your Azure Virtual Machine, you have completed the final step, and you can now fully utilize the power and capabilities of your virtual machine.
Conclusion
Congratulations! You have successfully learned how to access your Azure Virtual Machine. Throughout this guide, we’ve covered the essential steps, starting from accessing the Azure portal, navigating to the Virtual Machines page, selecting a virtual machine, connecting to the virtual machine, choosing the remote desktop connection method, downloading the RDP file, opening the RDP file, and finally, authenticating and accessing your Azure Virtual Machine.
By following these steps, you can now remotely connect to your Azure Virtual Machine and harness its computing power. Whether you’re a developer testing applications, an IT professional managing resources, or someone migrating their infrastructure to the cloud, accessing and managing Azure Virtual Machines is crucial.
Remember, before accessing your Azure Virtual Machine, ensure you have the necessary prerequisites in place, such as an active Azure subscription, a created virtual machine, valid credentials, and a stable internet connection. These prerequisites are essential for a seamless connection.
With Azure Virtual Machines, you can experience the scalability, flexibility, and convenience of cloud computing. It empowers you to deploy and manage applications, provision resources, and adapt to changing business needs.
So, take advantage of the Azure Virtual Machines features, explore its capabilities, and make the most out of your virtual machine in the cloud. Access your Azure Virtual Machine effortlessly and enjoy the benefits it brings to your workflow, productivity, and business success.