Introduction
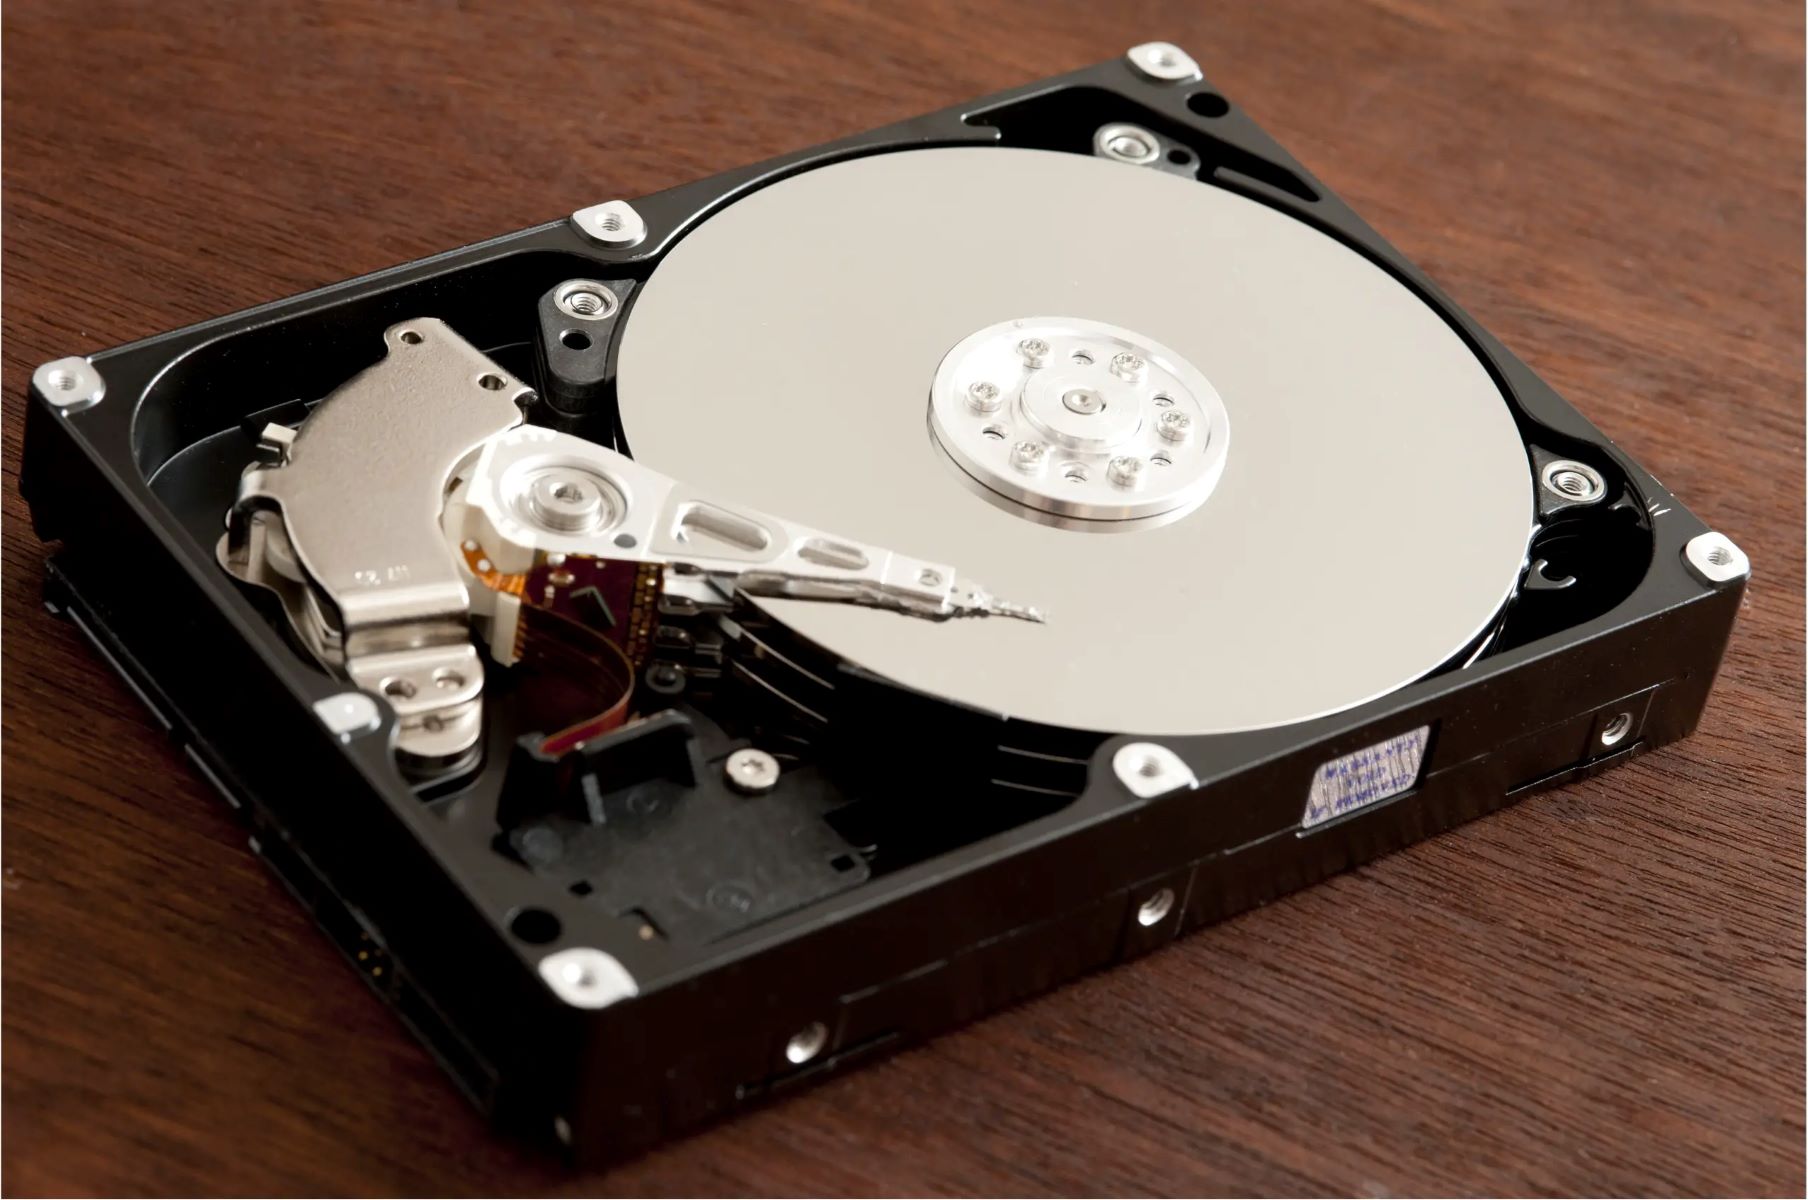
In the world of cloud computing, Azure Virtual Machines (VMs) provide the flexibility and scalability that businesses need to run their workloads efficiently. One of the key benefits of Azure VMs is the ability to add additional storage by attaching data disks to the virtual machines. These data disks allow users to store and manage large amounts of data, ensuring that their applications and services have enough storage capacity to operate smoothly.
When adding a data disk to an Azure VM, it’s crucial to understand the drive type that will be created. Different drive types have different performance characteristics and are suitable for specific use cases. By knowing the drive type created, users can make informed decisions regarding disk performance optimization and data storage capabilities.
This article will explore the process of adding a data disk to an Azure VM and delve into the different drive types that are created. Understanding the drive types will enable users to choose the most suitable option based on their application requirements. Whether it’s for high-performance databases, file servers, or archival storage, knowing the drive type will ensure efficient utilization of resources and optimal performance.
Adding a Data Disk to an Azure Virtual Machine
Adding a data disk to an Azure Virtual Machine is a straightforward process that can be done through the Azure portal or using Azure PowerShell or CLI commands. Here’s a step-by-step guide on how to add a data disk to an Azure VM:
- Login to the Azure portal and navigate to the Virtual Machine you want to add the data disk to.
- Select the “Disks” option under the “Settings” section of the VM.
- Click on the “Add data disk” button to start the process.
- In the “Add data disk” window, select the desired configuration for the data disk, including the disk size, caching options, and the storage account to use.
- Click the “OK” button to add the data disk to the VM.
- Save the changes to the VM configuration.
- Wait for the disk to be provisioned and attached to the VM. This process may take a few minutes.
Once the data disk is successfully added and attached to the VM, it will be ready for use. It will appear as an additional drive in the VM’s operating system, which can be managed and accessed like any other disk drive.
It’s worth noting that Azure supports adding multiple data disks to a single VM, providing even greater storage capacity and performance. Users can repeat the above steps to add additional data disks as needed.
Additionally, Azure VMs also support the option of configuring the data disk as a read-only disk or as a temporary disk. Read-only disks can be beneficial for scenarios where data integrity needs to be maintained, while temporary disks provide high-speed, non-persistent storage for temporary files or swap space.
By adding data disks to Azure VMs, users can expand their storage capabilities, improve data performance, and ensure sufficient space for their applications and services.
What Drive Type is Created?
When a data disk is added to an Azure Virtual Machine, the specific drive type created depends on the storage account type associated with the VM. Azure offers different storage account types, each with its own characteristics and performance capabilities. Let’s explore the drive types that are created when adding a data disk to an Azure VM:
- Standard HDD: If the VM is associated with a standard storage account, a standard HDD (Hard Disk Drive) data disk will be created. Standard HDDs offer lower overall performance compared to other drive types but provide cost-effective storage with reliable availability and durability. They are suitable for applications that require large storage capacity at a lower cost, such as file servers, backup storage, or archival data.
- Standard SSD: If the VM is associated with a standard storage account, but with the option of using Premium performance, a standard SSD (Solid State Drive) data disk will be created. Standard SSDs offer better performance than standard HDDs but at a lower cost compared to Premium SSDs. They are ideal for workloads that require better IOPS (Input/Output Operations Per Second) performance, such as web servers, small databases, and development/test environments.
- Premium SSD: If the VM is associated with a premium storage account, a premium SSD data disk will be created. Premium SSDs deliver the highest performance and lowest latency among the drive types. They are designed for mission-critical workloads that require high performance, such as large databases, online transaction processing (OLTP), and analytics. Premium SSDs offer ultra-fast IOPS and throughput, making them ideal for applications that demand high-speed and real-time data access.
It’s important to note that the drive type of the data disk can have a significant impact on the performance and cost of the Azure VM. Choosing the appropriate drive type ensures that the VM’s storage meets the specific needs of the workload while optimizing costs.
Users should consider factors such as workload requirements, performance expectations, and budget when selecting the drive type for their data disk. Azure provides a range of options to cater to different use cases, allowing users to configure the VM’s storage for optimal performance and cost-efficiency.
Conclusion
In conclusion, adding a data disk to an Azure Virtual Machine provides businesses with the flexibility to expand their storage capacity and meet the demands of their applications and services. Whether it’s for storing large amounts of data, improving performance, or creating backups, data disks are a crucial component of Azure VMs.
When adding a data disk to an Azure VM, understanding the drive type that will be created is essential. The drive type, which depends on the associated storage account type, determines the performance characteristics and suitability for specific workloads.
Standard HDD data disks offer cost-effective storage with reliable availability and durability, making them suitable for applications that require large storage capacity. Standard SSD data disks provide improved performance at a lower cost compared to Premium SSDs, making them ideal for workloads that require better IOPS performance. Premium SSD data disks deliver the highest performance and lowest latency, making them a perfect choice for mission-critical workloads.
By selecting the appropriate drive type, users can optimize the performance of their Azure VMs while managing costs effectively. They can tailor the storage configuration to meet the specific needs of their applications and ensure optimal performance and data availability.
In summary, adding a data disk to an Azure VM is a simple and effective way to enhance storage capabilities. By understanding the drive type created, users can make informed decisions that align with their workload requirements, ensuring optimal performance and utilization of resources in the Azure cloud environment.