Introduction
Welcome to the world of virtualization, where you can create and manage virtual machines with ease. If you’re new to VirtualBox, you might be wondering how to create a new hard disk drive in this virtualization software. Well, look no further! In this guide, we’ll walk you through the step-by-step process of creating a new hard disk drive in VirtualBox.
VirtualBox is a powerful and popular virtualization tool that allows you to run multiple operating systems on a single machine. It provides a platform for testing software, building virtual environments, and much more. By creating a new hard disk drive in VirtualBox, you can allocate storage space for your virtual machine and store data just like you would on a physical hard disk drive.
Whether you’re a seasoned developer, a curious tech enthusiast, or a student learning about virtualization, this guide will equip you with the knowledge and skills to create a new hard disk drive in VirtualBox. So, let’s dive in!
Prerequisites
Before you begin creating a new hard disk drive in VirtualBox, there are a few things you’ll need:
- VirtualBox installed on your computer: Make sure you have VirtualBox installed and up-to-date. You can download the latest version of VirtualBox from the official website.
- An existing virtual machine: You’ll need to have an existing virtual machine set up in VirtualBox. If you haven’t created a virtual machine yet, you can refer to the VirtualBox documentation or our other guides to help you get started.
- Admin privileges: Ensure that you have administrative privileges on your computer, as creating and modifying virtual machines requires elevated permissions.
- Hardware requirements: Ensure that your computer meets the hardware requirements to run VirtualBox and the virtual machine. This includes having sufficient RAM, CPU power, and disk space.
Once you have these prerequisites in place, you’re ready to start creating a new hard disk drive in VirtualBox. Make sure you have a good understanding of the VirtualBox interface and basic virtual machine management concepts to make the process smoother.
It’s always a good practice to back up any important data before making any changes to your virtual machines. This will help prevent any data loss or accidental modifications.
Step 1: Open VirtualBox
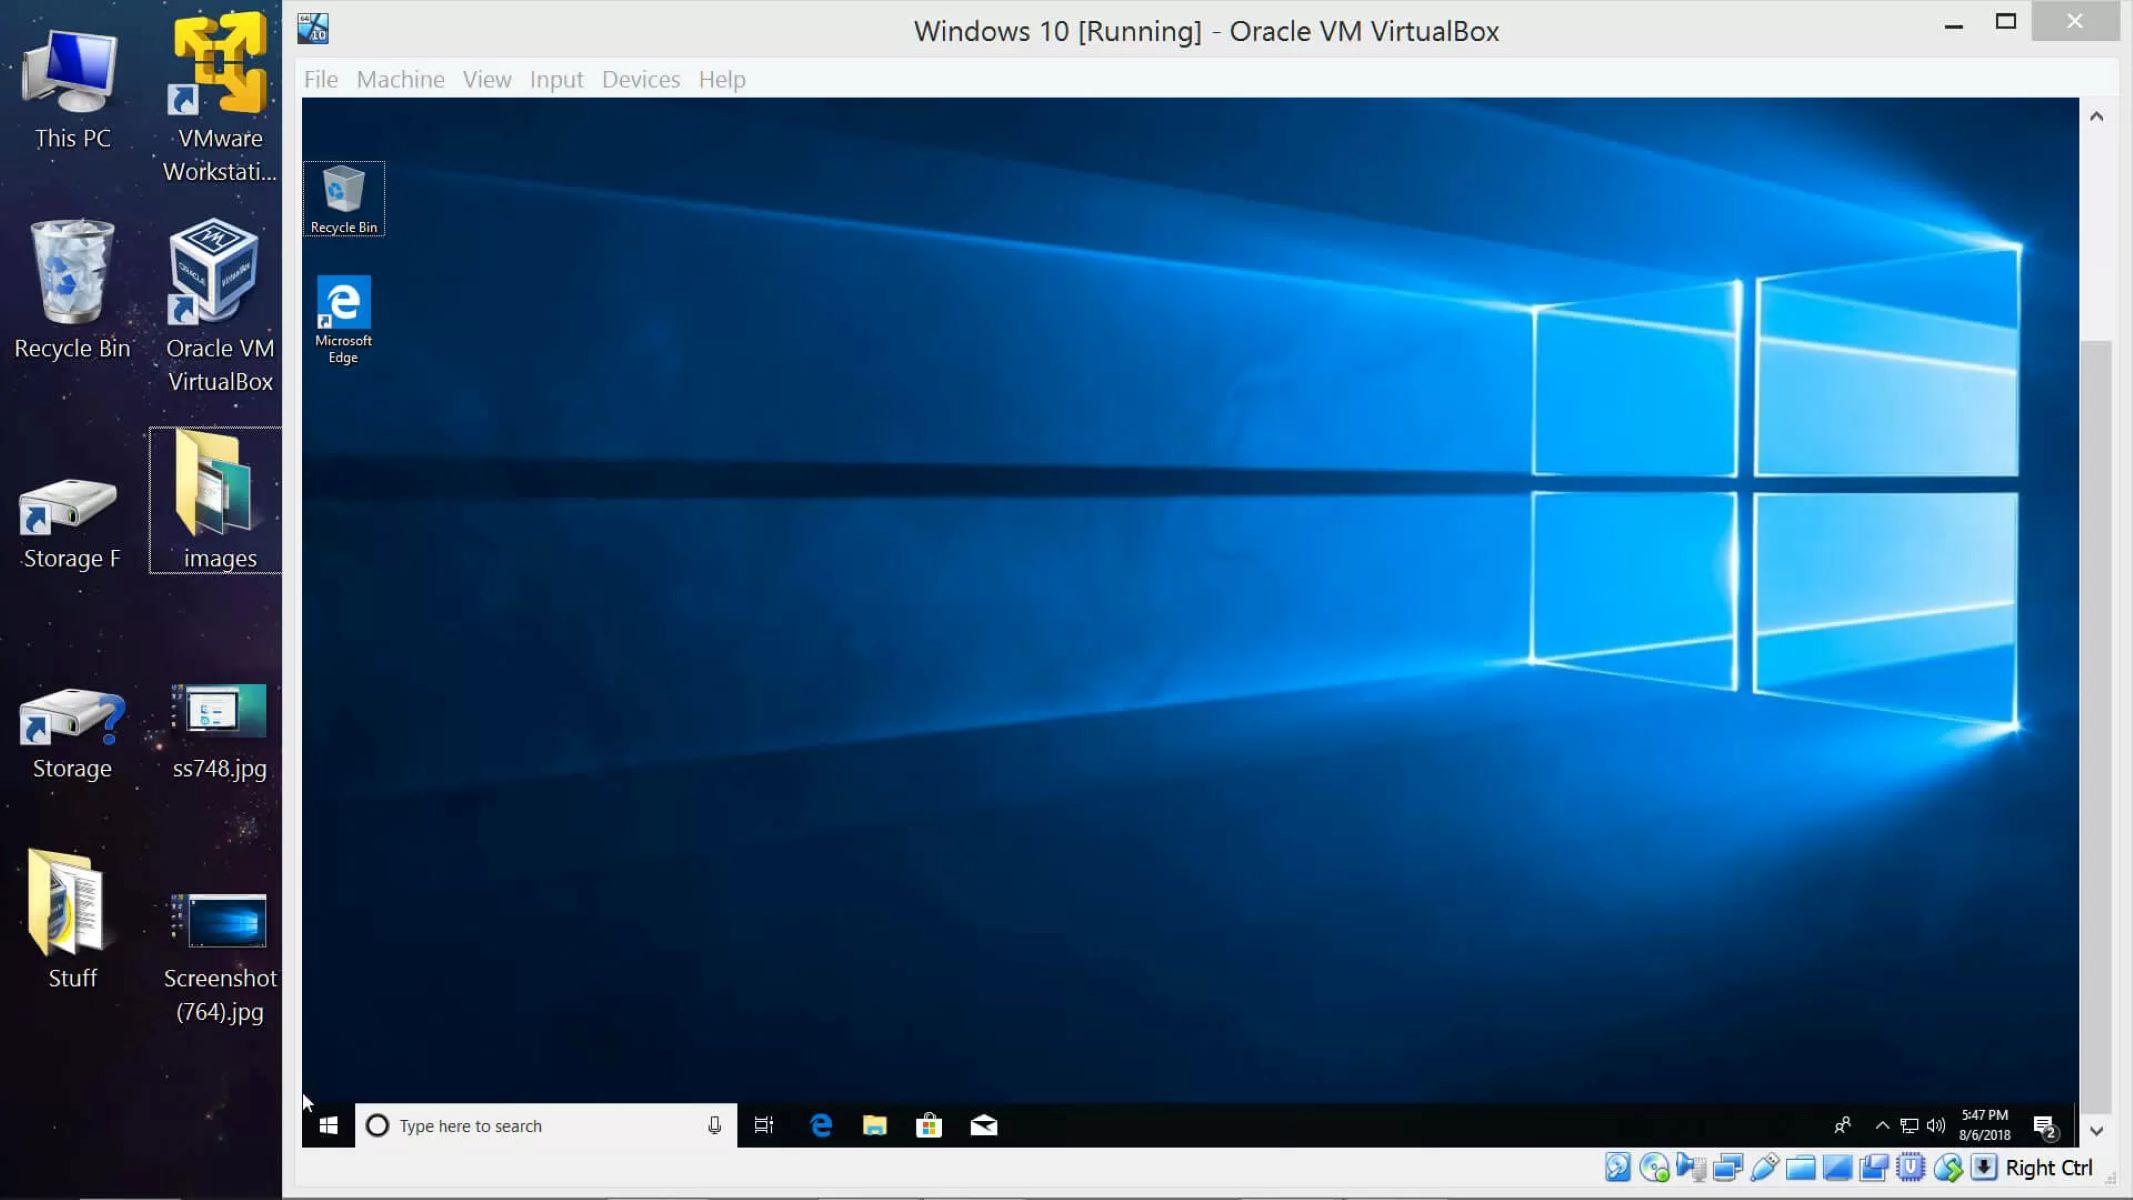
The first step in creating a new hard disk drive in VirtualBox is to open the VirtualBox application. Locate the VirtualBox icon on your desktop or in your applications folder and double click to launch it.
Upon opening VirtualBox, you’ll be greeted with the main interface that displays your existing virtual machines. Take a moment to familiarize yourself with the layout and options available in the VirtualBox window.
If you don’t have any virtual machines set up yet, this interface will be empty. In that case, you can follow our guide on creating a new virtual machine in VirtualBox.
By default, VirtualBox will display a list of your virtual machines in the center pane of the window. On the left-hand side, you’ll find a navigation pane with various options, including the ability to create new virtual machines, manage disk storage, and configure network settings.
Now that you have VirtualBox open and ready, let’s move on to the next step to create your new hard disk drive.
Step 2: Select Virtual Machine
Once you have VirtualBox open, the next step in creating a new hard disk drive is to select the virtual machine for which you want to add the new storage. In the main interface of VirtualBox, you will see a list of your existing virtual machines.
To select the virtual machine, simply click on its name in the list. The virtual machine should be highlighted or selected, indicating that it is the active virtual machine. If you don’t have any virtual machines listed, you will need to create a new one before proceeding.
It’s important to choose the correct virtual machine to add the new hard disk drive. Each virtual machine operates independently, and adding storage to one virtual machine will not affect the others.
Take a moment to ensure that you have selected the correct virtual machine before moving on to the next step. Make sure you are selecting the appropriate virtual machine based on its name, operating system, or any other identifying factors.
Once you have selected the virtual machine, you’re ready to proceed to the next step of adding the new hard disk drive in VirtualBox.
Step 3: Go to Settings
After selecting the virtual machine for which you want to add the new hard disk drive, the next step is to access the settings of that virtual machine. The settings menu allows you to configure various aspects of the virtual machine, including storage, network, and hardware settings.
To access the settings of the selected virtual machine, click on the “Settings” button in the VirtualBox toolbar. This will open a new window that displays the settings for the chosen virtual machine.
In the settings window, you will see a list of categories on the left-hand side, such as “System,” “Display,” “Storage,” and more. These categories represent different aspects of the virtual machine configuration.
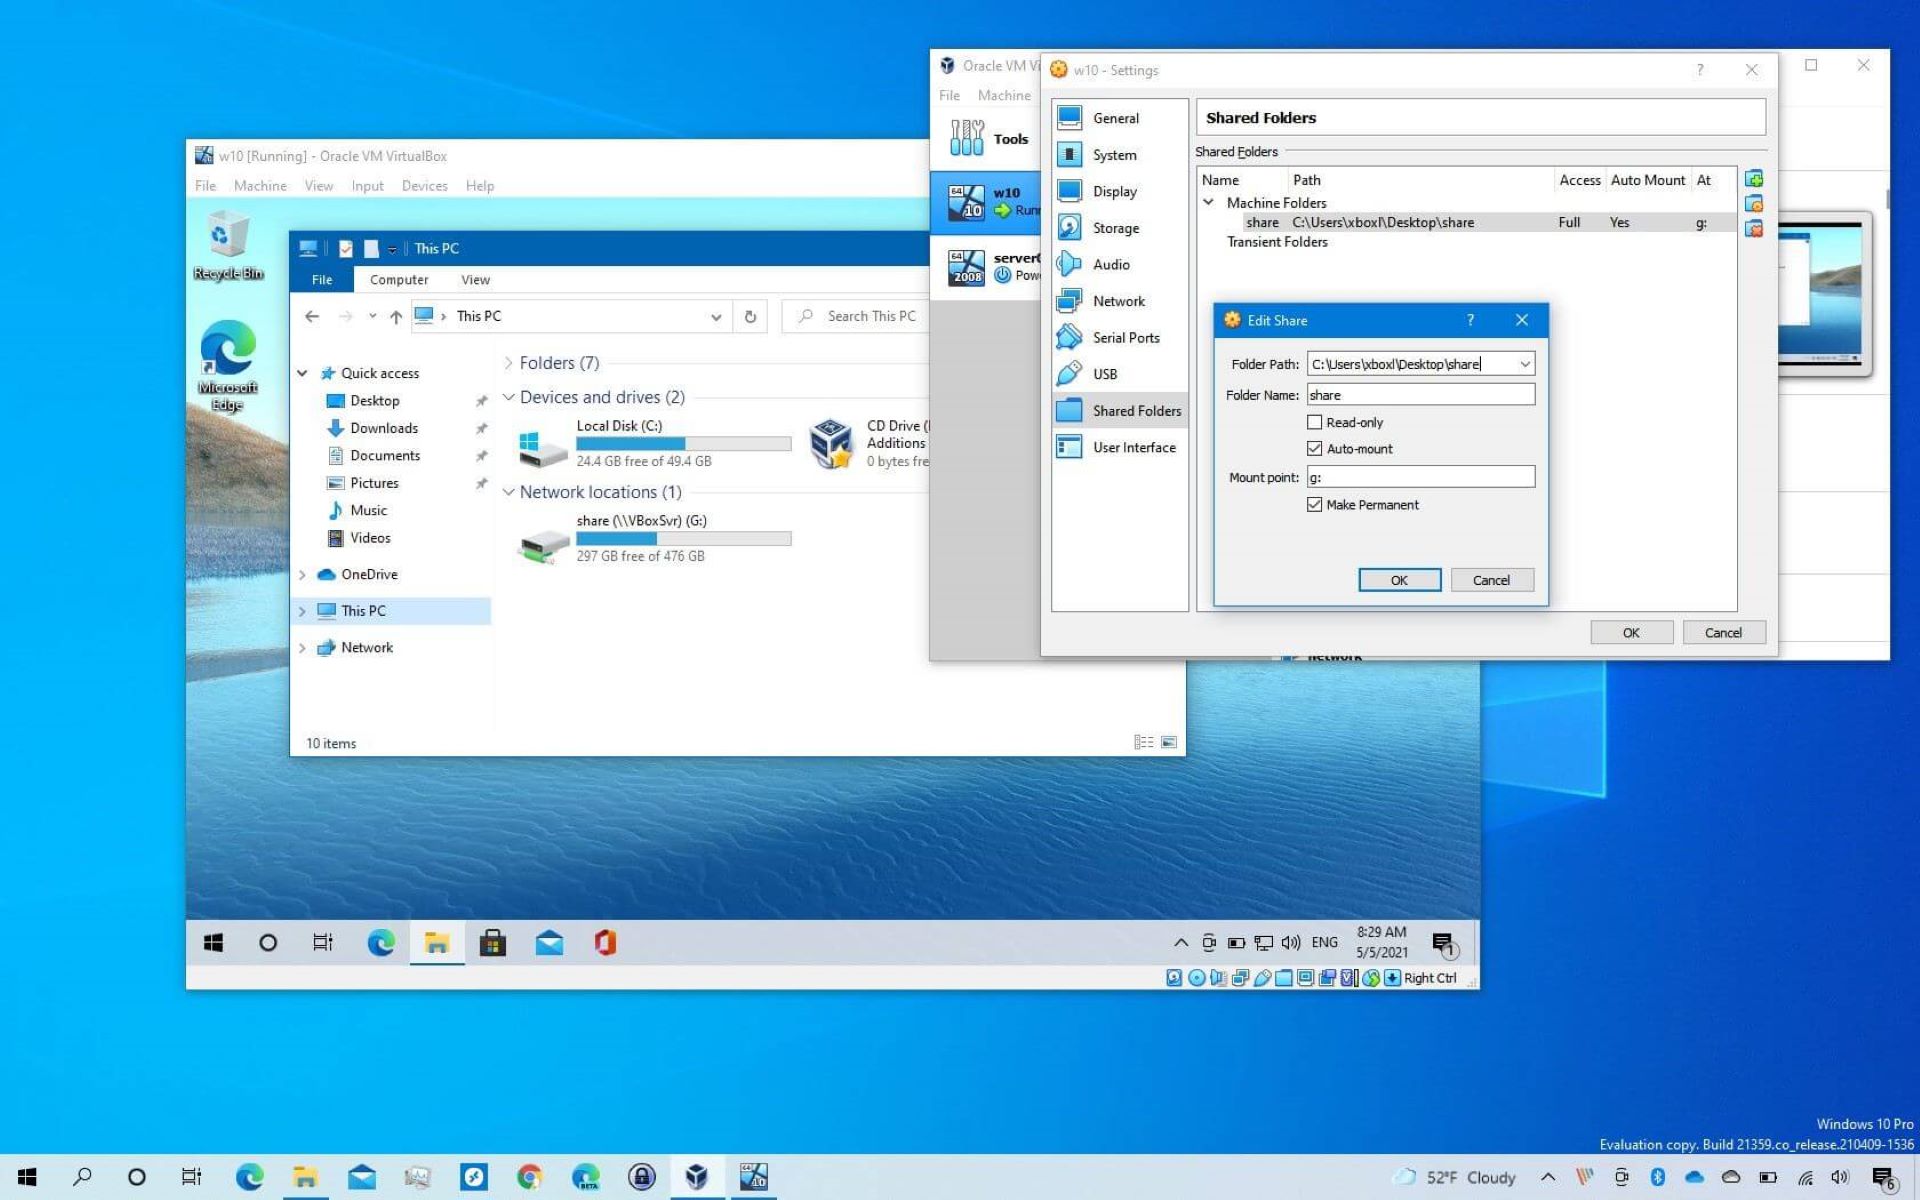
For adding a new hard disk drive, you will need to navigate to the “Storage” category. Click on “Storage” in the left-hand side menu to display the storage settings for the virtual machine.
Here, you will see a list of storage devices that are currently attached to the virtual machine, including the virtual hard disk drives. You can also see the configuration details of each storage device, such as the type, size, and controller.
Now that you have accessed the settings of the virtual machine and located the storage category, you’re ready to proceed to the next step of adding a new hard disk drive.
Step 4: Add Storage
Once you have accessed the storage settings of the selected virtual machine, the next step is to add new storage for the virtual machine. This is where you will add the new hard disk drive.
In the storage settings window, you will see the existing storage devices listed, such as the virtual hard disk drives and optical drives. To add a new storage device, click on the “Add Hard Disk” button (or the “+” button) located on the right side of the storage devices list.
A dialog box will appear, giving you the option to create a new virtual disk or use an existing one. In this case, since we want to create a new hard disk drive, select the “Create New Disk” option and click the “Next” button.
Next, you will be prompted to choose the type of virtual disk to create. VirtualBox supports various types, including VDI (VirtualBox Disk Image), VHD (Virtual Hard Disk), and VMDK (Virtual Machine Disk). Choose the desired type and click “Next”.
Now, you will be asked to choose the storage location and size for the new hard disk. Specify the location where you want to save the virtual hard disk file and set the desired size for the disk. You can either choose a fixed size, which allocates the entire disk space at once, or a dynamically allocated size, where the disk space grows as the data is added. Once you have made your selections, click “Create”.
VirtualBox will now create the new hard disk drive based on the specified settings. The process might take a few moments depending on the size of the disk and the performance of your computer.
Once the creation process is completed, you will be returned to the storage settings window, where you can now see the newly added hard disk drive in the list of storage devices.
Congratulations! You have successfully added a new hard disk drive to the virtual machine in VirtualBox. Next, we’ll move on to customizing the settings for the newly added hard disk drive.
Step 5: Select Type and Size
After adding the new storage device in VirtualBox, the next step is to select the type and size for the newly added hard disk drive. This will determine the format and capacity of the virtual disk.
In the storage settings window, locate the newly added hard disk drive in the list of storage devices. Select the hard disk drive by clicking on it once to highlight it.
Once the hard disk drive is selected, you will see the details and configuration options for the selected drive in the right pane of the window.
To change the type of the hard disk drive, click on the drop-down menu next to the “Type” field. Here, you will find options such as VDI, VHD, and VMDK. Choose the desired type based on your preferences or requirements.
Next, you can specify the size of the hard disk drive. Ideally, this should be based on the space requirements of the operating system and applications that will be installed on the virtual machine.
If you have chosen a fixed-size disk during the creation process, you will see the allocated size in the “Size” field. It is not recommended to change the size of a fixed-size disk once it is created, as it can lead to data corruption or loss. However, if you have chosen a dynamically allocated disk, you can modify the size as needed.
Make sure to allocate sufficient space based on your requirements. Keep in mind that the virtual hard disk file will occupy the allocated space on your physical hard disk.
After selecting the type and size for the hard disk drive, you can proceed to customize additional settings if needed, such as the location of the virtual hard disk file or the storage controller type.
Once you have made the necessary changes, you can move on to the next step of customizing the settings for the newly added hard disk drive in VirtualBox.
Step 6: Customize Settings
After selecting the type and size for the newly added hard disk drive in VirtualBox, the next step is to customize the settings for the disk. This includes configuring options such as the storage controller, SATA or IDE interface, and advanced features.
In the storage settings window, locate the newly added hard disk drive in the list of storage devices. Select the hard disk drive by clicking on it once to highlight it, if it’s not already selected.
Now, in the right pane of the window, you will see various options and settings related to the selected hard disk drive.
The first setting you might want to customize is the storage controller. By default, VirtualBox assigns a storage controller to each hard disk drive. To change the controller type, click on the drop-down menu next to the “Controller” field. You can choose between IDE, SATA, SCSI, or other available options based on your requirements.
Next, you can modify advanced features for the hard disk drive, such as the cache mode, I/O cache, or encryption. These settings provide more control and flexibility over the performance and security aspects of the virtual disk.
It’s important to note that advanced settings might vary depending on the type of storage controller you have selected. Some options might only be available for certain controller types.
Take your time to review and customize these settings according to your specific needs. If you’re unsure about any particular setting, you can refer to the VirtualBox documentation or seek assistance from the VirtualBox community.
Once you have customized the settings for the newly added hard disk drive, you’re almost ready to finalize the changes and proceed to the next step. However, before confirming the changes, it’s a good practice to double-check everything to ensure the settings are correctly configured.
Now that you have customized the settings, let’s move on to the next step of confirming the changes and adding the new hard disk drive to the virtual machine in VirtualBox.
Step 7: Confirm Changes
After customizing the settings for the newly added hard disk drive in VirtualBox, the next step is to confirm the changes and apply them to the virtual machine.
In the storage settings window, review the settings you have configured for the hard disk drive. Double-check that the type, size, storage controller, and any advanced features are set according to your requirements.
If you need to make any last-minute adjustments or modifications, you can do so before proceeding.
Once you are satisfied with the settings, click on the “OK” button to confirm the changes.
VirtualBox will now apply the changes and add the new hard disk drive to the selected virtual machine. The process might take a few moments, depending on the size of the disk and the performance of your computer.
During this process, VirtualBox will create the necessary files and allocate the specified storage space for the new hard disk drive. You can monitor the progress in the information panel or progress bar, if available.
Once the changes are applied successfully, you will be returned to the main VirtualBox interface. Here, you can verify that the new hard disk drive is listed as part of the selected virtual machine in the storage devices section.
Congratulations! You have successfully confirmed the changes and added a new hard disk drive to the virtual machine in VirtualBox. The new storage space is now ready to be utilized by the virtual machine.
Now that the changes are finalized, you’re ready to move on to the final step of starting the virtual machine and utilizing the newly added hard disk drive.
Step 8: Start Virtual Machine
After successfully adding the new hard disk drive to the virtual machine in VirtualBox, the final step is to start the virtual machine and utilize the newly added storage.
In the VirtualBox main interface, select the virtual machine that you have made the changes to. Ensure that the virtual machine is highlighted or selected.
With the virtual machine selected, click on the “Start” button in the toolbar at the top of the VirtualBox window. Alternatively, you can right-click on the virtual machine and choose the “Start” option from the context menu.
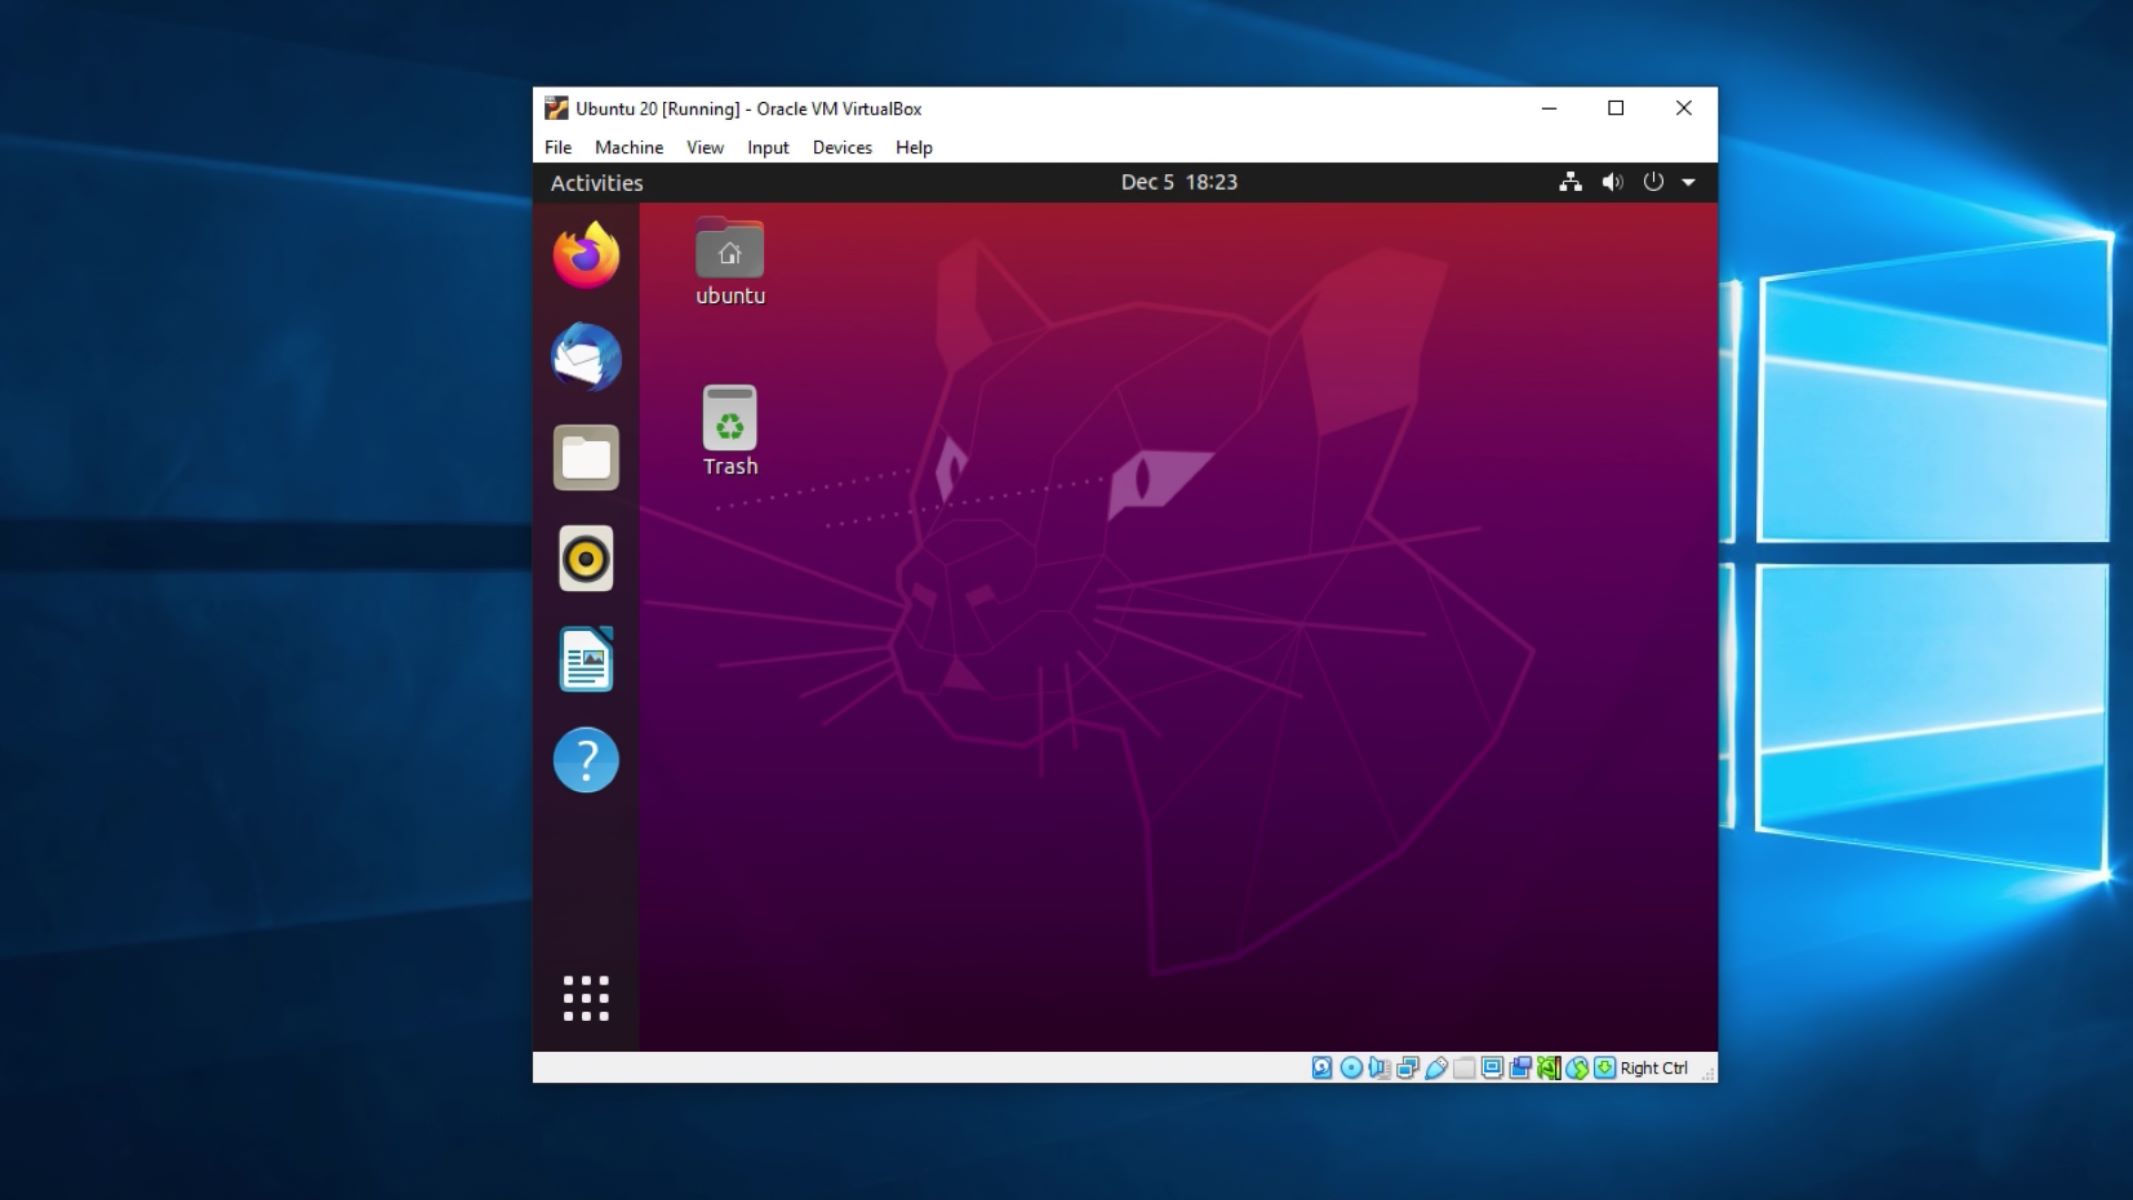
VirtualBox will now start the virtual machine, and you will see the virtual machine window open. The operating system installed on the virtual machine will begin to boot up, just like it would on a physical computer.
Once the virtual machine has started, you can access and utilize the newly added hard disk drive within the operating system. The new storage space will be visible as a separate disk in the file explorer or disk management tools of the virtual machine’s operating system.
You can use the new hard disk drive to store files, install applications, or perform any tasks just like you would on a physical hard disk drive.
Remember to properly manage and organize the data stored on the new hard disk drive to maintain performance and avoid data loss. Regular backup practices and proper file management will help ensure the safety and accessibility of your data.
Congratulations! You have successfully started the virtual machine and can now utilize the newly added hard disk drive within the virtual environment.
Feel free to explore the capabilities of the virtual machine and take full advantage of the added storage space to fulfill your computing needs.
Conclusion
Congratulations on successfully creating a new hard disk drive in VirtualBox! By following the step-by-step process outlined in this guide, you have learned how to add storage to your virtual machines and increase their capacity.
VirtualBox provides a convenient and powerful platform for virtualization, allowing you to create and manage virtual machines easily. By adding a new hard disk drive, you can allocate storage space for your virtual machines and store data just like you would on a physical hard disk drive.
Throughout this guide, we covered the prerequisites for creating a new hard disk drive, including having VirtualBox installed, an existing virtual machine, and administrative privileges. We then walked through each step, from opening VirtualBox to starting the virtual machine.
Remember to consider the type and size of the hard disk drive when adding storage in VirtualBox. Choose the appropriate type based on your needs, whether it’s VDI, VHD, or VMDK. Allocate sufficient space to accommodate the operating system and applications installed on the virtual machine.
Lastly, take advantage of the customizable settings in VirtualBox to configure additional options for the hard disk drive, such as the storage controller and advanced features. This allows you to optimize performance and tailor the virtual machine to your specific requirements.
With the newly added hard disk drive, you can now start the virtual machine and begin utilizing the expanded storage space within the virtual environment. Remember to manage your data effectively and regularly back up important files to ensure their safety.
We hope that this guide has provided you with the knowledge and skills to create a new hard disk drive in VirtualBox. Virtualization opens up a world of possibilities for testing software, creating virtual environments, and exploring different operating systems, all within the convenience of your computer.
Now, go ahead and leverage the power of VirtualBox to create and manage virtual machines with ease and efficiency. Enjoy exploring new operating systems, testing software, and expanding your virtual environment.
Happy virtualization!