Introduction
Welcome to the comprehensive guide on how to add more disk space to a virtual machine. As businesses continue to rely on virtualization technology for efficient resource allocation and scalability, the need for expanding disk space in virtual machines arises. Whether you are using VMware, Hyper-V, VirtualBox, AWS EC2, Azure VM, or Google Cloud VM, this guide will walk you through the process of increasing disk space in your virtual environments.
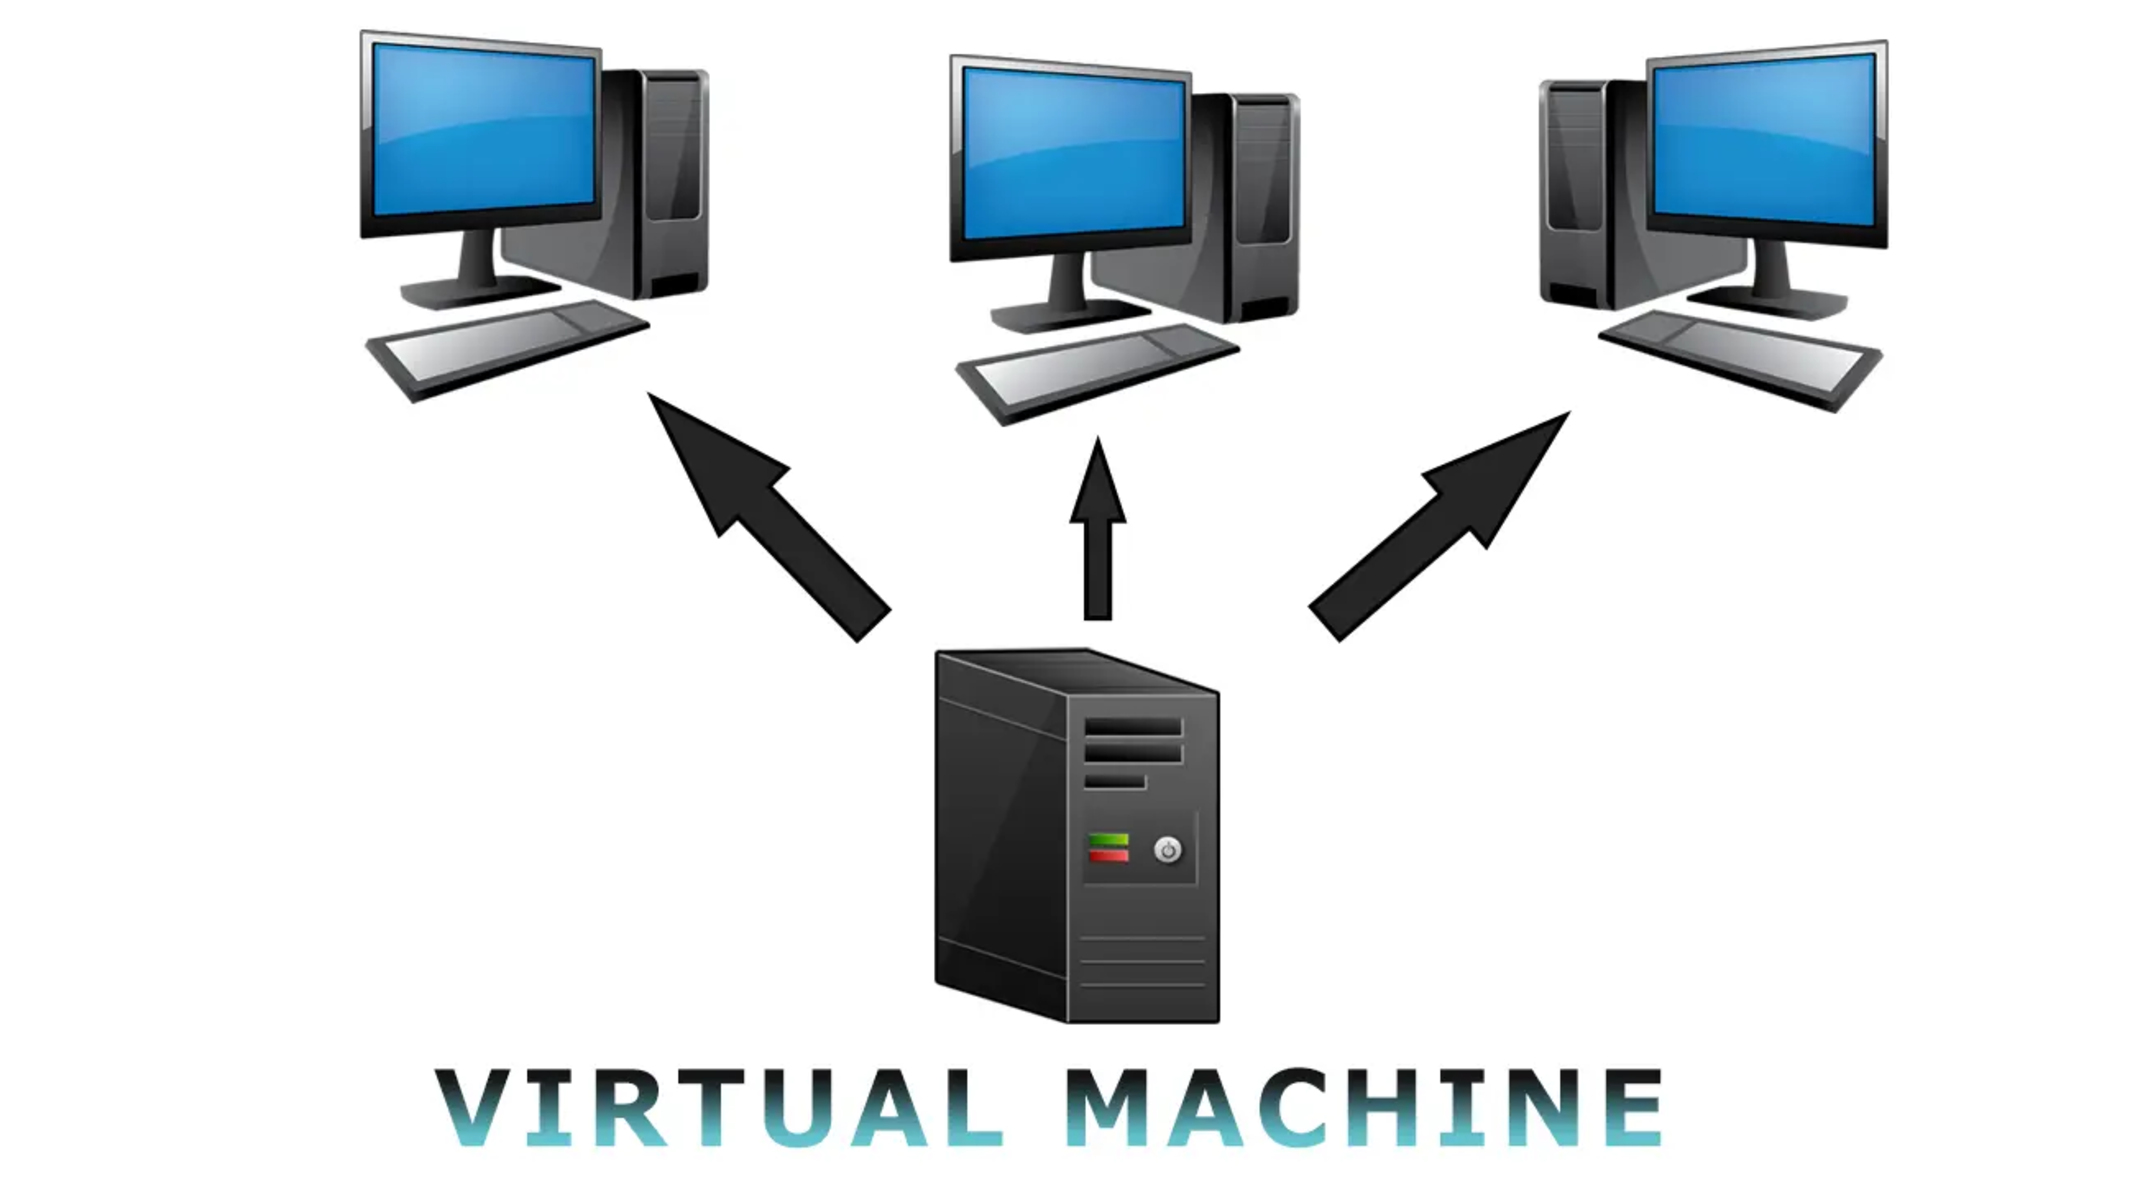
Virtual machines simulate the functions of a physical computer, allowing multiple operating systems to run simultaneously on a single physical server. Each virtual machine has its own allocation of storage space, which can fill up over time as data and applications are added.
Running out of disk space can cause significant issues, including decreased performance, inability to run applications, and potential data loss. Ensuring enough disk space is available is crucial for the smooth operation of your virtual machines.
In the following sections, we will explore the various methods to check the current disk space usage in your virtual machine and the steps to allocate more disk space. Whether you are a system administrator, IT professional, or an individual managing your virtual environment, this guide will provide you with the knowledge and instructions you need to successfully expand your disk space.
So, let’s dive into the details and learn how to add more disk space to your virtual machine!
Understanding Disk Space in Virtual Machines
Before we proceed with increasing the disk space in your virtual machine, it is essential to have a clear understanding of how disk space works in virtual environments.
In virtual machines, disk space refers to the allocated storage capacity that the virtual machine has access to. This storage space is typically divided into two main components – the operating system disk and the data disk.
The operating system disk contains the files necessary for the virtual machine’s operating system to function. This includes the operating system files, system files, and installed software. The data disk, on the other hand, is used to store any data or files you create or upload to the virtual machine.
It is important to note that the available disk space in a virtual machine is limited and must be managed efficiently. As you install applications, create files, and store data, the disk space utilization will gradually increase. Running out of disk space can lead to performance issues and the inability to perform necessary tasks.
In addition to the allocated disk space, virtual machines also have a concept called snapshots. Snapshots are a point-in-time capture of a virtual machine’s disk state. They allow you to revert the virtual machine back to a previous state, which can be useful for testing purposes or rolling back system changes.
However, it’s important to note that snapshots can consume a significant amount of disk space. Each snapshot creates a new file that grows in size as changes are made to the virtual machine. Therefore, when planning to increase the disk space, it’s essential to consider the current disk space utilization and the impact of existing snapshots.
Now that we have a basic understanding of disk space in virtual machines, let’s proceed to the next section to learn how to check the current disk space usage in your virtual machine.
Checking Disk Space Usage
Before you can allocate more disk space to your virtual machine, it’s crucial to assess the current disk space usage. This will help you determine how much additional disk space is required and ensure an effective allocation of resources.
The process of checking disk space usage may vary depending on the virtualization platform you are using. However, the general principles and steps remain similar across different platforms. Here are some common methods:
- Operating System Tools: Most operating systems provide built-in tools to check disk space usage. For Windows, you can open File Explorer, right-click on the drive you want to check, and select “Properties” to view the disk space utilization. On Linux-based systems, you can use the “df” command in the terminal to display disk space usage for each mounted drive.
- Virtualization Management Tools: Virtualization platforms such as VMware, Hyper-V, and VirtualBox often provide management tools that allow you to monitor disk space usage. These tools provide a centralized view of your virtual machines and their resource utilization, including disk space. Consult the documentation or interface of your virtualization platform to locate the disk space monitoring features.
- Third-Party Monitoring Tools: There are also third-party tools available for monitoring disk space usage in virtual machines. These tools often offer more advanced features, such as real-time monitoring, alerts, and historical reporting. Research and select a tool that best suits your needs and integrates with your virtualization platform.
When checking disk space usage, it’s important to consider both the operating system disk and the data disk. This will give you a comprehensive understanding of the current allocation and utilization. Identify any disks that are running low on space or are close to reaching their capacity.
By regularly monitoring disk space usage, you can proactively identify potential issues and take appropriate actions before they impact your virtual machine’s performance.
Now that you understand how to check disk space usage, let’s move on to the next section, where we will explore the steps to allocate more disk space to your virtual machine.
Allocating More Disk Space to a Virtual Machine
Once you have assessed the current disk space usage in your virtual machine, it’s time to allocate more disk space to accommodate your growing needs. The process of increasing disk space will vary depending on the virtualization platform you are using. In this section, we will explore the general steps involved in expanding disk space in virtual machines.
Here are the basic steps to allocate more disk space:
- Stop the Virtual Machine: Before making any changes to the disk space, it is recommended to stop the virtual machine. This ensures that there are no active read or write operations taking place during the process.
- Backup Your Virtual Machine: It is always good practice to create a backup of your virtual machine before modifying its disk space. This ensures that you have a restore point in case any issues arise during the process.
- Adjust the Disk Size: Access the settings or configuration options of your virtual machine and locate the disk settings. Increase the size of the disk by specifying the desired capacity. Be mindful of the maximum disk size supported by your virtualization platform.
- Modify the Partition or File System: After increasing the disk size, you need to extend the existing partition or file system within the virtual machine to utilize the additional disk space. This can typically be done using operating system tools or disk management features.
- Start the Virtual Machine: Once the disk size and partitions have been adjusted, you can start the virtual machine and verify that the additional disk space is recognized.
It is important to note that the specific steps may vary depending on the virtualization platform you are using. In the following sections, we will explore the steps to increase disk size in popular virtualization platforms such as VMware, Hyper-V, VirtualBox, AWS EC2, Azure VM, and Google Cloud VM.
By following these steps, you can effectively allocate more disk space to your virtual machine and ensure that it can accommodate your growing storage needs.
Now that you have an overview of the allocation process, let’s dive into the platform-specific steps for increasing disk size in VMware.
Increasing Disk Size in VMware
If you are using VMware for virtualization, increasing the disk size of a virtual machine is a relatively straightforward process. Here are the steps to follow:
- Power Off the Virtual Machine: Ensure that the virtual machine is powered off before making any changes to the disk size.
- Open VMware vSphere Client or vmware Workstation: Launch the VMware vSphere Client or VMware Workstation application, depending on your setup.
- Select the Virtual Machine: Locate the virtual machine for which you want to increase the disk size and select it from the virtual machine inventory.
- Modify the Virtual Machine Settings: Right-click on the virtual machine and choose “Edit Settings.” In the hardware tab, select the virtual disk you want to increase.
- Specify New Disk Size: In the virtual disk properties, increase the disk size by specifying the desired capacity in gigabytes (GB).
- Apply the Changes: Once you have specified the new disk size, click on “OK” to apply the changes.
- Extend the Partition or File System: Start the virtual machine and use the operating system tools to extend the existing partition or file system to utilize the added disk space.
It is important to note that the process of extending the partition or file system may vary depending on the operating system running inside the virtual machine. Consult the operating system documentation or relevant resources for specific instructions on extending partitions or file systems.
Once you have extended the partition or file system, you can start using the increased disk space in your VMware virtual machine. Be sure to regularly monitor disk space usage to prevent future issues related to disk space limitations.
Now that you know how to increase disk size in VMware, let’s move on to the next section, where we will explore the steps for increasing disk size in Hyper-V.
Increasing Disk Size in Hyper-V
If you are using Hyper-V as your virtualization platform, increasing the disk size of a virtual machine is a relatively simple process. Here are the steps to follow:
- Power Off the Virtual Machine: Ensure that the virtual machine is powered off before making any changes to the disk size.
- Open Hyper-V Manager: Launch the Hyper-V Manager application on the host server.
- Locate the Virtual Hard Disk: In the Hyper-V Manager, locate the virtual machine for which you want to increase the disk size and right-click on it. Select “Edit Disk” to access the virtual hard disk settings.
- Select the Disk to Resize: In the Edit Virtual Hard Disk Wizard, choose the “Expand” option and browse to select the virtual hard disk (.vhdx file) that you want to resize.
- Specify New Disk Size: In the wizard, specify the new disk size by entering the desired capacity in gigabytes (GB).
- Complete the Wizard: Follow the remaining steps in the Edit Virtual Hard Disk Wizard to complete the resizing process.
- Extend the Partition or File System: Start the virtual machine and use the operating system tools to extend the existing partition or file system to utilize the added disk space.
Ensure that you follow the appropriate steps to extend the partition or file system within the guest operating system running inside the virtual machine. Consult the operating system documentation or relevant resources for specific instructions on extending partitions or file systems.
Once you have extended the partition or file system, the virtual machine will have access to the increased disk space. Regularly monitor the disk space usage to avoid future disk space limitations and ensure smooth operation of your virtual machine.
Now that you know how to increase disk size in Hyper-V, let’s move on to the next section, where we will explore the steps for increasing disk size in VirtualBox.
Increasing Disk Size in VirtualBox
If you are utilizing VirtualBox as your virtualization platform, increasing the disk size of a virtual machine can easily be done using the VirtualBox Manager. Follow the steps below to increase the disk size:
- Power Off the Virtual Machine: Ensure that the virtual machine is powered off before making any changes to the disk size.
- Open VirtualBox Manager: Launch the VirtualBox Manager application.
- Select the Virtual Machine: Locate the virtual machine for which you want to increase the disk size and select it from the list of virtual machines.
- Edit Virtual Machine Settings: Click on the “Settings” button to access the virtual machine’s settings.
- Navigate to Storage Settings: In the virtual machine settings, navigate to the “Storage” tab.
- Select the Virtual Disk: Under the “Storage Tree,” select the virtual disk that you want to increase.
- Resize the Virtual Disk: Click on the “Attributes” button next to the storage settings. In the new window, adjust the virtual disk size by entering the desired capacity in megabytes (MB) or gigabytes (GB).
- Apply the Changes: Save the changes and close the settings window.
- Extend the Partition or File System: Start the virtual machine and use the operating system tools to extend the existing partition or file system to utilize the added disk space.
Ensure that you follow the appropriate steps to extend the partition or file system within the guest operating system running inside the virtual machine. Consult the operating system documentation or relevant resources for specific instructions on extending partitions or file systems.
Once you have extended the partition or file system, your VirtualBox virtual machine will be equipped with the increased disk space. Don’t forget to regularly monitor disk space usage to avoid future disk space constraints and to ensure optimal performance of your virtual machine.
Now that you know how to increase disk size in VirtualBox, let’s move on to the next section, where we will explore the steps for increasing disk size in AWS EC2.
Increasing Disk Size in AWS EC2
If you are using Amazon Web Services (AWS) EC2 for virtualization, increasing the disk size of your EC2 instance is a straightforward process. Here are the steps to follow:
- Open the AWS EC2 Management Console: Log in to the AWS Management Console and navigate to the EC2 service.
- Select the EC2 Instance: From the EC2 Dashboard, select the EC2 instance for which you want to increase the disk size.
- Stop the EC2 Instance: Before modifying the disk size, stop the EC2 instance. You can do this by right-clicking on the instance and selecting “Stop Instance.”
- Modify the EBS Volume: After the instance is stopped, navigate to the “Volumes” section in the EC2 Dashboard and locate the EBS volume attached to the instance.
- Modify the EBS Volume: Right-click on the EBS volume and select “Modify Volume.” In the modification window, specify the new size for the volume.
- Apply the Volume Modification: Confirm the volume modification and proceed. The process may take some time to complete, depending on the size and configuration of the volume.
- Start the EC2 Instance: Once the volume modification is complete, navigate back to the EC2 Dashboard and start the EC2 instance.
- Extend the Partition or File System: Log in to the EC2 instance and use the appropriate tools for your operating system to extend the existing partition or file system to utilize the added disk space.
It is essential to follow the appropriate steps to extend the partition or file system within the guest operating system running inside the EC2 instance. Consult the documentation or relevant resources for your operating system for specific instructions on extending partitions or file systems.
After extending the partition or file system, your AWS EC2 instance will have access to the increased disk space. Regularly monitor disk space usage to prevent future disk space limitations and ensure the smooth operation of your EC2 instances.
Now that you know how to increase disk size in AWS EC2, let’s move on to the next section, where we will explore the steps for increasing disk size in Azure VM.
Increasing Disk Size in Azure VM
If you are utilizing Azure Virtual Machines (VM) for your virtualization needs, increasing the disk size is a relatively simple process. Here are the steps to follow:
- Open the Azure Portal: Sign in to the Azure Portal using your credentials.
- Select the Virtual Machine: Navigate to the Virtual Machines section and select the specific Azure VM for which you want to increase the disk size.
- Stop the Azure VM: Before making any changes, it is recommended to stop the Azure VM. You can do this from the Overview page of the VM by clicking on the “Stop” button.
- Modify the Disk Size: Once the VM is stopped, navigate to the Disks section and select the OS disk or data disk that you want to resize.
- Resize the Disk: In the disk properties, choose the “Size + performance” tab and increase the disk size by specifying the desired capacity.
- Save the Changes: Save the changes to resize the disk and wait for the operation to complete. This process may take a few minutes.
- Start the Azure VM: Once the disk resizing is complete, go back to the VM’s Overview page and click on the “Start” button to power on the Azure VM.
- Extend the Partition or File System: Log in to the Azure VM and use the appropriate tools for your operating system to extend the existing partition or file system to utilize the added disk space.
Ensure that you follow the appropriate steps to extend the partition or file system within the guest operating system running inside the Azure VM. Consult the documentation or relevant resources for your operating system for specific instructions on extending partitions or file systems.
Once you have extended the partition or file system, your Azure VM will have access to the increased disk space. Regularly monitor disk space usage to prevent future disk space constraints and ensure optimal performance of your Azure VM.
Now that you know how to increase disk size in Azure VM, let’s move on to the final section, where we will explore the steps for increasing disk size in Google Cloud VM.
Increasing Disk Size in Google Cloud VM
If you are utilizing Google Cloud Platform (GCP) for virtualization, increasing the disk size of a Google Cloud VM is a relatively straightforward process. Follow the steps below to increase the disk size:
- Open the Google Cloud Console: Sign in to the Google Cloud Console using your credentials.
- Select the Google Cloud VM: Navigate to the Compute Engine section and select the specific Google Cloud VM for which you want to increase the disk size.
- Stop the Google Cloud VM: Before making any changes, it is recommended to stop the Google Cloud VM. You can do this by clicking on the “Stop” button in the VM instance details page.
- Resize the Disk: In the VM instance details page, scroll down to the “Boot disk” section and click on the “Edit” button next to the boot disk.
- Modify the Size: In the Edit boot disk window, specify the new disk size by entering the desired capacity in gigabytes (GB).
- Save the Changes: Save the changes to resize the boot disk.
- Start the Google Cloud VM: Once the disk resizing is complete, go back to the VM instance details page and click on the “Start” button to power on the Google Cloud VM.
- Extend the Partition or File System: Log in to the Google Cloud VM and use the appropriate tools for your operating system to extend the existing partition or file system to utilize the added disk space.
Ensure that you follow the appropriate steps to extend the partition or file system within the guest operating system running inside the Google Cloud VM. Consult the documentation or relevant resources for your operating system for specific instructions on extending partitions or file systems.
Once you have extended the partition or file system, your Google Cloud VM will have access to the increased disk space. Regularly monitor disk space usage to prevent future disk space limitations and ensure optimal performance of your Google Cloud VM.
Now that you know how to increase disk size in Google Cloud VM, you have the knowledge to expand your virtual machine’s disk capacity in various virtualization platforms. Remember to plan and monitor disk space usage to avoid future issues and maintain efficient performance.
Conclusion
Increasing disk space in virtual machines is a crucial aspect of managing and scaling your virtual environment. Whether you are using VMware, Hyper-V, VirtualBox, AWS EC2, Azure VM, or Google Cloud VM, the process of allocating more disk space follows similar principles.
Understanding the concept of disk space in virtual machines and regularly monitoring disk space usage are essential for maintaining optimal performance. By assessing the current disk space usage, you can determine the appropriate amount of additional disk space required.
Following the specific steps for increasing disk size in your chosen virtualization platform, such as stopping the virtual machine, modifying the disk size, and extending the partition or file system, ensures that your virtual machine can effectively utilize the added disk space.
Remember to consult the documentation and resources provided by your virtualization platform for platform-specific instructions and recommendations.
In conclusion, with the knowledge and steps provided in this guide, you now have the tools to increase disk space in your virtual machines. Whether you need to accommodate growing storage needs or improve performance, increasing disk space is a crucial aspect of managing your virtual environment effectively.
By following best practices, regularly monitoring disk space usage, and allocating the necessary resources, you can ensure the smooth operation and scalability of your virtual machines.


