Introduction
Welcome to this guide on how to configure a preallocated virtual hard disk in VMware Workstation Player. VMware Workstation Player is a popular virtualization software that allows you to run multiple operating systems on a single host machine. One of the key components of a virtual machine is the virtual hard disk, which stores the operating system and data.
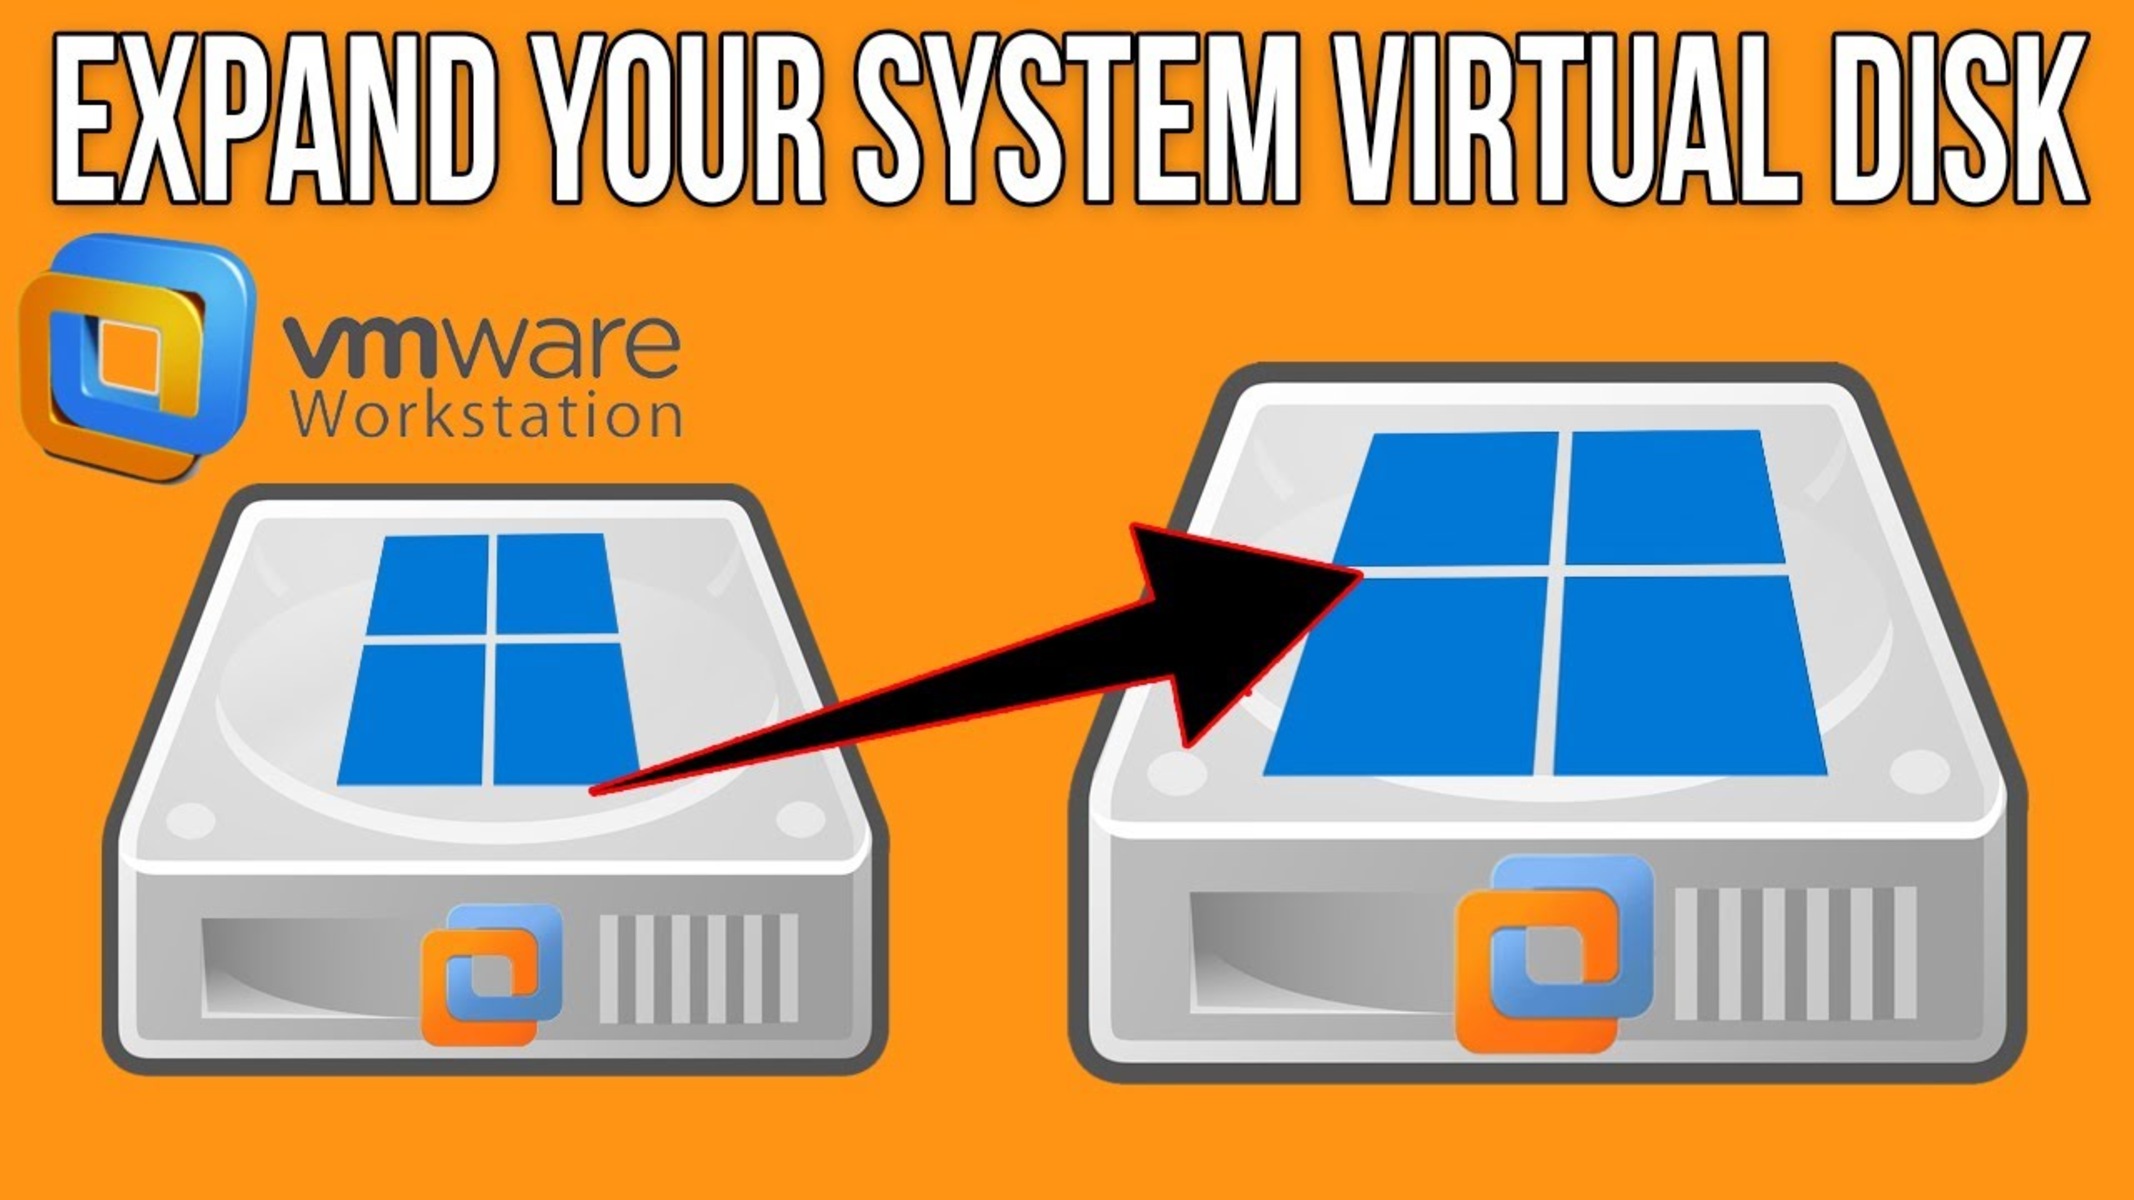
By default, VMware Workstation Player uses a dynamic virtual hard disk, which grows in size as you add files and data to the virtual machine. While this dynamic allocation provides flexibility in disk utilization, it may also lead to performance issues over time. To overcome this, you can choose to configure a preallocated virtual hard disk.
A preallocated virtual hard disk allocates the entire disk space upfront, improving the performance of the virtual machine. It also ensures that the allocated space is reserved exclusively for that virtual machine, preventing fragmentation and optimizing disk access.
In this guide, we will walk you through the steps to configure a preallocated virtual hard disk in VMware Workstation Player, enabling you to optimize your virtual machine’s performance and ensure efficient disk utilization. So, let’s dive in and get started!
Step 1: Open VMware Workstation Player
The first step in configuring a preallocated virtual hard disk in VMware Workstation Player is to open the software on your computer. If you haven’t already installed VMware Workstation Player, you can download it from the official VMware website and follow the installation instructions.
Once VMware Workstation Player is installed on your computer, you can open it by locating the shortcut icon on your desktop or by searching for it in the Start menu or the applications folder. Double-clicking on the icon will launch the software and open the main interface.
When VMware Workstation Player opens, you will be greeted with a welcome screen that provides various options for creating and managing virtual machines. Take a moment to familiarize yourself with the interface and the different features available.
If you have used VMware Workstation Player before and have existing virtual machines, they will be displayed in the “Library” section of the interface. You can select a virtual machine from the library to open it and make any necessary modifications, including configuring a preallocated virtual hard disk.
If this is your first time using VMware Workstation Player or you want to create a new virtual machine specifically for configuring a preallocated virtual hard disk, proceed to the next step to learn how to create a new virtual machine.
Step 2: Create a new virtual machine
After opening VMware Workstation Player, the next step is to create a new virtual machine. A virtual machine acts as a computer within a computer, allowing you to run different operating systems simultaneously on your host machine.
To create a new virtual machine, follow these steps:
- Click on the “Create a New Virtual Machine” option in the VMware Workstation Player welcome screen. This will open the New Virtual Machine Wizard.
- In the New Virtual Machine Wizard, you will be prompted to select the type of configuration. Choose the typical configuration option and click “Next.” This option provides a predefined set of configuration settings for the virtual machine.
- In the next step, you will need to specify the installation media. You can either install the operating system from a physical disk or choose an ISO image file. If you have a disk, insert it into your computer’s CD/DVD drive. If you have an ISO file, click on the “Use ISO image file” option and browse to locate the file on your computer. Once you have selected the installation media, click “Next.”
- Now, you will need to select the operating system you want to install on the virtual machine. Choose the appropriate option from the provided list and click “Next.”
- In the next step, enter a unique name for your virtual machine and specify the location where you want to save the virtual machine files. Click “Next” to proceed.
- You will be prompted to specify the maximum disk size for the virtual machine. Make sure to allocate sufficient space based on your requirements. Keep in mind that this is not the preallocated disk size; it is the maximum size the disk can reach as you add files and data. Click “Next” to continue.
- Lastly, review the summary of your virtual machine configuration and click “Finish” to create the new virtual machine.
Once the new virtual machine is created, you can proceed to the next step to configure a preallocated virtual hard disk for this virtual machine.
Step 3: Choose the custom option
In this step, we will select the custom option for configuring the virtual machine settings. The custom option provides more control and flexibility in customizing the virtual machine according to your specific needs and requirements.
To choose the custom option and proceed with configuring the virtual machine, follow these steps:
- After creating the new virtual machine, you will be prompted to choose an installation method. In this step, select the “I will install the operating system later” option and click “Next.” This option allows you to manually install the operating system at a later stage.
- Next, you will be asked to choose the hardware compatibility for the virtual machine. It is recommended to select the latest compatibility version available to ensure compatibility with newer operating systems and features. Click “Next” to continue.
- Now, you will be presented with the option to choose the guest operating system. Select the appropriate operating system from the provided list based on the operating system you plan to install on the virtual machine. Click “Next” to proceed.
- In the next step, you will need to provide a name for your virtual machine and specify the location where you want to save the virtual machine files. Choose a descriptive name that will help you easily identify the virtual machine. Click “Next” to continue.
- Now, you will have the option to customize the hardware settings for the virtual machine. This includes configuring the virtual machine processor, memory, and network adapters. Adjust the settings according to your requirements and click “Next” to proceed.
- In the next step, you can choose to specify the disk capacity for the virtual machine. This is where you can configure a preallocated virtual hard disk. Select the option for “Specify a virtual disk size now” and enter the desired disk capacity. Keep in mind that the disk size should be large enough to accommodate the operating system and any additional software or data you plan to install. Click “Next” to continue.
- Lastly, review the summary of your virtual machine configuration and click “Finish” to complete the custom setup. The virtual machine will be created with the specified settings and you can proceed with the installation of the operating system at a later stage.
With the custom option selected, you have more control over the virtual machine settings and can configure a preallocated virtual hard disk, which improves performance and ensures efficient disk utilization. Proceed to the next step to specify the operating system installation media for the virtual machine.
Step 4: Specify the virtual machine name and location
In this step, we will specify the name and location of the virtual machine files. This allows you to easily identify and manage the virtual machine, as well as choose a suitable location for storing the virtual machine files.
To specify the virtual machine name and location, follow these steps:
- After customizing the hardware settings for the virtual machine, you will be prompted to specify the name and location of the virtual machine.
- In the “Name” field, enter a descriptive name for your virtual machine. Choose a name that will help you easily identify the virtual machine among others.
- In the “Location” field, specify the directory or folder where you want to store the virtual machine files. It is recommended to choose a location with sufficient storage space and easy access.
- By default, VMware Workstation Player suggests a location based on the virtual machine name. However, you can choose a different location by clicking the “Browse” button and navigating to the desired directory.
Once you have entered the virtual machine name and selected the location, review the information to ensure accuracy. This step ensures that the virtual machine files are saved in the specified location and can be easily accessed for future management or modification.
After verifying the virtual machine name and location, click “Next” to proceed with specifying the operating system installation media in the next step.
By providing a clear and identifiable name for the virtual machine and choosing an appropriate location, you can easily manage and locate the virtual machine files. This step contributes to efficient organization and seamless maintenance of your virtual machines.
Step 5: Specify the operating system installation media
In this step, we will specify the installation media for the operating system that you want to install on the virtual machine. The installation media can be a physical disk or an ISO image file.
To specify the operating system installation media, follow these steps:
- After specifying the virtual machine name and location, you will be prompted to select the installation media.
- If you have a physical installation disk, ensure it is inserted into your computer’s CD/DVD drive.
- If you have an ISO image file for the operating system, select the “Use ISO image file” option.
- Click the “Browse” button to locate the ISO image file on your computer. Navigate to the directory where the ISO file is saved and select it.
- Once you have selected the installation media, click “Next” to proceed.
The operating system installation media is essential for installing the desired operating system on the virtual machine. It ensures that the necessary files and software are available during the installation process.
Ensure that you have the correct installation media available before proceeding. If you do not have the installation disk or ISO image file, you may need to acquire it separately from the operating system vendor or authorized sources.
By specifying the correct operating system installation media, you are one step closer to successfully installing the operating system on your virtual machine. Proceed to the next step to configure the virtual machine processor and memory.
Step 6: Configure the virtual machine processor and memory
In this step, we will configure the virtual machine processor and memory settings. The processor and memory allocation play a crucial role in determining the performance and efficiency of the virtual machine.
To configure the virtual machine processor and memory, follow these steps:
- After specifying the operating system installation media, you will be prompted to configure the virtual machine hardware settings.
- First, let’s configure the virtual machine processor. Specify the number of processor cores you want to allocate to the virtual machine. The number of cores should reflect the processing power required for your intended usage of the virtual machine.
- Next, configure the memory allocation for the virtual machine. Specify the amount of memory (RAM) you want to allocate. It is recommended to allocate sufficient memory to ensure smooth running of the operating system and any applications or processes within the virtual machine.
- Adjust the settings according to your requirements, keeping in mind the capabilities of your host machine. You can also choose the option to limit the execution of the virtual machine when the host system memory is constrained. This can help prevent system slowdowns or crashes due to memory over-utilization.
- Click “Next” to proceed after configuring the processor and memory settings.
The processor and memory allocation are crucial factors in determining the performance and responsiveness of the virtual machine. Allocating an adequate number of processor cores and sufficient memory will ensure that the virtual machine can handle the workloads you intend to run smoothly.
Consider the requirements of the operating system and the applications you plan to run within the virtual machine when configuring the processor and memory settings. Balancing the allocation based on your needs will help optimize the performance of the virtual machine.
Once you have configured the virtual machine processor and memory settings, click “Next” to proceed to the next step, where you can specify the virtual hard disk capacity for the virtual machine.
Step 7: Specify the virtual hard disk capacity
In this step, we will specify the capacity of the virtual hard disk for the virtual machine. The virtual hard disk is where the operating system and data will be stored, so it is important to allocate an appropriate size to accommodate your needs.
To specify the virtual hard disk capacity, follow these steps:
- After configuring the virtual machine processor and memory settings, you will be prompted to specify the virtual hard disk capacity.
- Choose the “Specify a virtual disk size” option to customize the disk capacity manually.
- Enter the desired value for the disk capacity in gigabytes (GB). The size you choose will depend on the space requirements of the operating system, software, and data you plan to store on the virtual machine.
- Keep in mind that the allocated disk space will be reserved for this virtual machine and cannot be used by other applications on your host machine.
- Consider the long-term storage needs and potential growth of data or software within the virtual machine when determining the disk capacity.
- Once you have specified the virtual hard disk capacity, click “Next” to proceed.
By specifying the appropriate virtual hard disk capacity, you ensure that the virtual machine has enough storage space to support the operating system, software, and data. Allocating sufficient disk space prevents issues related to running out of storage or experiencing performance degradation due to limited disk capacity.
Take into account the specific requirements of the operating system and the applications you plan to install within the virtual machine. A well-allocated disk size allows for smooth operation and efficient storage management within the virtual machine environment.
After specifying the virtual hard disk capacity, you are one step closer to completing the configuration of a preallocated virtual hard disk. Proceed to the next step to select the option to allocate all disk space now.
Step 8: Select the option to allocate all disk space now
In this step, we will select the option to allocate all disk space now for the virtual hard disk. Allocating all disk space upfront ensures that the entire space is reserved and dedicated to the virtual machine, improving performance and reducing the potential for fragmentation.
To select the option to allocate all disk space now, follow these steps:
- After specifying the virtual hard disk capacity, you will be presented with a choice regarding the disk allocation.
- Choose the option to “Allocate all disk space now.” This option preallocates the specified disk capacity, ensuring that the full amount of disk space is reserved for the virtual machine.
- By allocating all disk space upfront, you enhance the performance of the virtual machine, as the system does not need to dynamically allocate and adjust disk space as data is added or removed.
- Furthermore, preallocating disk space avoids fragmentation, which can occur when the disk grows and shrinks dynamically. Fragmentation can impact the virtual machine’s performance, especially with larger virtual hard disks.
- Once you have selected the option to allocate all disk space now, click “Next” to proceed.
Choosing to allocate all disk space now provides the virtual machine with a fixed and dedicated amount of storage, optimizing performance and ensuring efficient disk access. This option is especially beneficial for virtual machines that require consistent disk performance or handle large volumes of data.
Keep in mind that allocating all disk space upfront will consume the specified amount of disk space on your host machine immediately. Ensure that you have sufficient free space available on your storage device to accommodate the virtual hard disk’s size.
After selecting the option to allocate all disk space now, you are ready to proceed to the next step and customize additional hardware settings for the virtual machine.
Step 9: Customize additional hardware settings
In this step, we will customize additional hardware settings for the virtual machine. This allows you to fine-tune the virtual machine’s configuration and optimize its performance according to your specific needs and requirements.
To customize additional hardware settings, follow these steps:
- After selecting the option to allocate all disk space now, you will be presented with the option to customize additional hardware settings for the virtual machine.
- Click on the “Customize Hardware” button to access the hardware settings.
- Within the hardware settings, you can make various adjustments depending on your requirements. Some common hardware settings that you may want to customize include:
- Network adapter: Choose the type of network adapter you want to use for the virtual machine, such as NAT, bridged, or host-only.
- USB controller: Enable or disable the virtual machine’s USB controller and specify the compatibility version if necessary.
- Sound card: Add or remove a virtual sound card for the virtual machine.
- Display settings: Adjust the display settings, such as the screen resolution, graphics memory, and 3D acceleration.
- Advanced settings: Explore the advanced settings, which allow you to configure aspects such as power management, CPU virtualization, and virtual machine behavior.
- Customize the additional hardware settings according to your preferences.
- Once you have customized the hardware settings, click “OK” to save the changes and proceed.
Customizing additional hardware settings allows you to tailor the virtual machine’s configuration to your specific needs. By making adjustments to the network adapter, USB controller, sound card, display settings, and advanced options, you can enhance the virtual machine’s functionality, compatibility, and performance.
Take into consideration the specific requirements of the operating system and the applications you plan to run within the virtual machine when customizing the hardware settings. Striking the right balance between resource allocation and functionality will ensure smooth operation and optimal performance of the virtual machine.
After customizing the additional hardware settings, you are almost done with the virtual machine configuration. Proceed to the next step to finalize the virtual machine configuration and start using it.
Step 10: Finish the virtual machine configuration
In this final step, we will complete the virtual machine configuration and finalize the setup. Once this step is completed, you will be ready to start using the virtual machine.
To finish the virtual machine configuration, follow these steps:
- After customizing the additional hardware settings, click “OK” to save the changes and return to the main interface of VMware Workstation Player.
- Review the summary of your virtual machine configuration to ensure that all settings are correct and reflect your desired setup.
- If you need to make any further changes or modifications, you can click on the virtual machine in the library or navigate to the settings menu to access the configuration options.
- Once you are satisfied with the virtual machine configuration, click on the virtual machine in the library and click the “Power On” button to start the virtual machine.
- You will now be prompted to install the operating system on the virtual machine. Follow the on-screen instructions to complete the installation process.
- After the operating system installation is complete, you can start using the virtual machine as you would with a physical computer.
Finishing the virtual machine configuration marks the end of the setup process and allows you to begin using the virtual machine for various purposes, such as software development, testing, or running different operating systems.
Ensure that you have the necessary operating system installation media or ISO image file ready to proceed with the installation process. You may need to go through the operating system’s setup and installation steps, just as you would with a physical computer.
Once the virtual machine is up and running, you can install software, transfer files, customize settings, and perform any other tasks that you would typically do on a regular computer.
Congratulations! You have successfully completed the virtual machine configuration process. Enjoy using your virtual machine and take advantage of the flexibility and functionality that VMware Workstation Player provides.
Conclusion
Congratulations on completing the configuration of a preallocated virtual hard disk in VMware Workstation Player! You have learned the step-by-step process to create a new virtual machine, customize hardware settings, and optimize performance by allocating disk space upfront.
By choosing the custom option, you could tailor the virtual machine settings to meet your specific requirements, such as selecting the operating system, configuring processor and memory allocation, and specifying the virtual hard disk capacity. Allocating all disk space upfront ensures efficient disk utilization while enhancing performance and minimizing fragmentation.
Throughout the configuration process, you also had the opportunity to customize additional hardware settings, such as the network adapter, USB controller, sound card, and display settings. These adjustments further enhance the functionality and compatibility of the virtual machine.
Once the virtual machine configuration is complete, you can start using it for various purposes like software development, testing, or running multiple operating systems concurrently. Remember to have the necessary installation media or ISO image file available for installing the operating system.
VMware Workstation Player provides a powerful and versatile platform for virtualization, enabling you to create and manage virtual machines with ease. The flexibility and efficiency of preallocated virtual hard disks allow for improved performance and smoother operation.
Continue to explore the features and functionalities of VMware Workstation Player to make the most of virtualization technology. Stay updated with the latest releases and advancements to benefit from the continuous improvements and optimizations offered by VMware.
Thank you for following this guide on configuring a preallocated virtual hard disk in VMware Workstation Player. Enjoy your virtual machine experience and make the most of its capabilities!


