Introduction
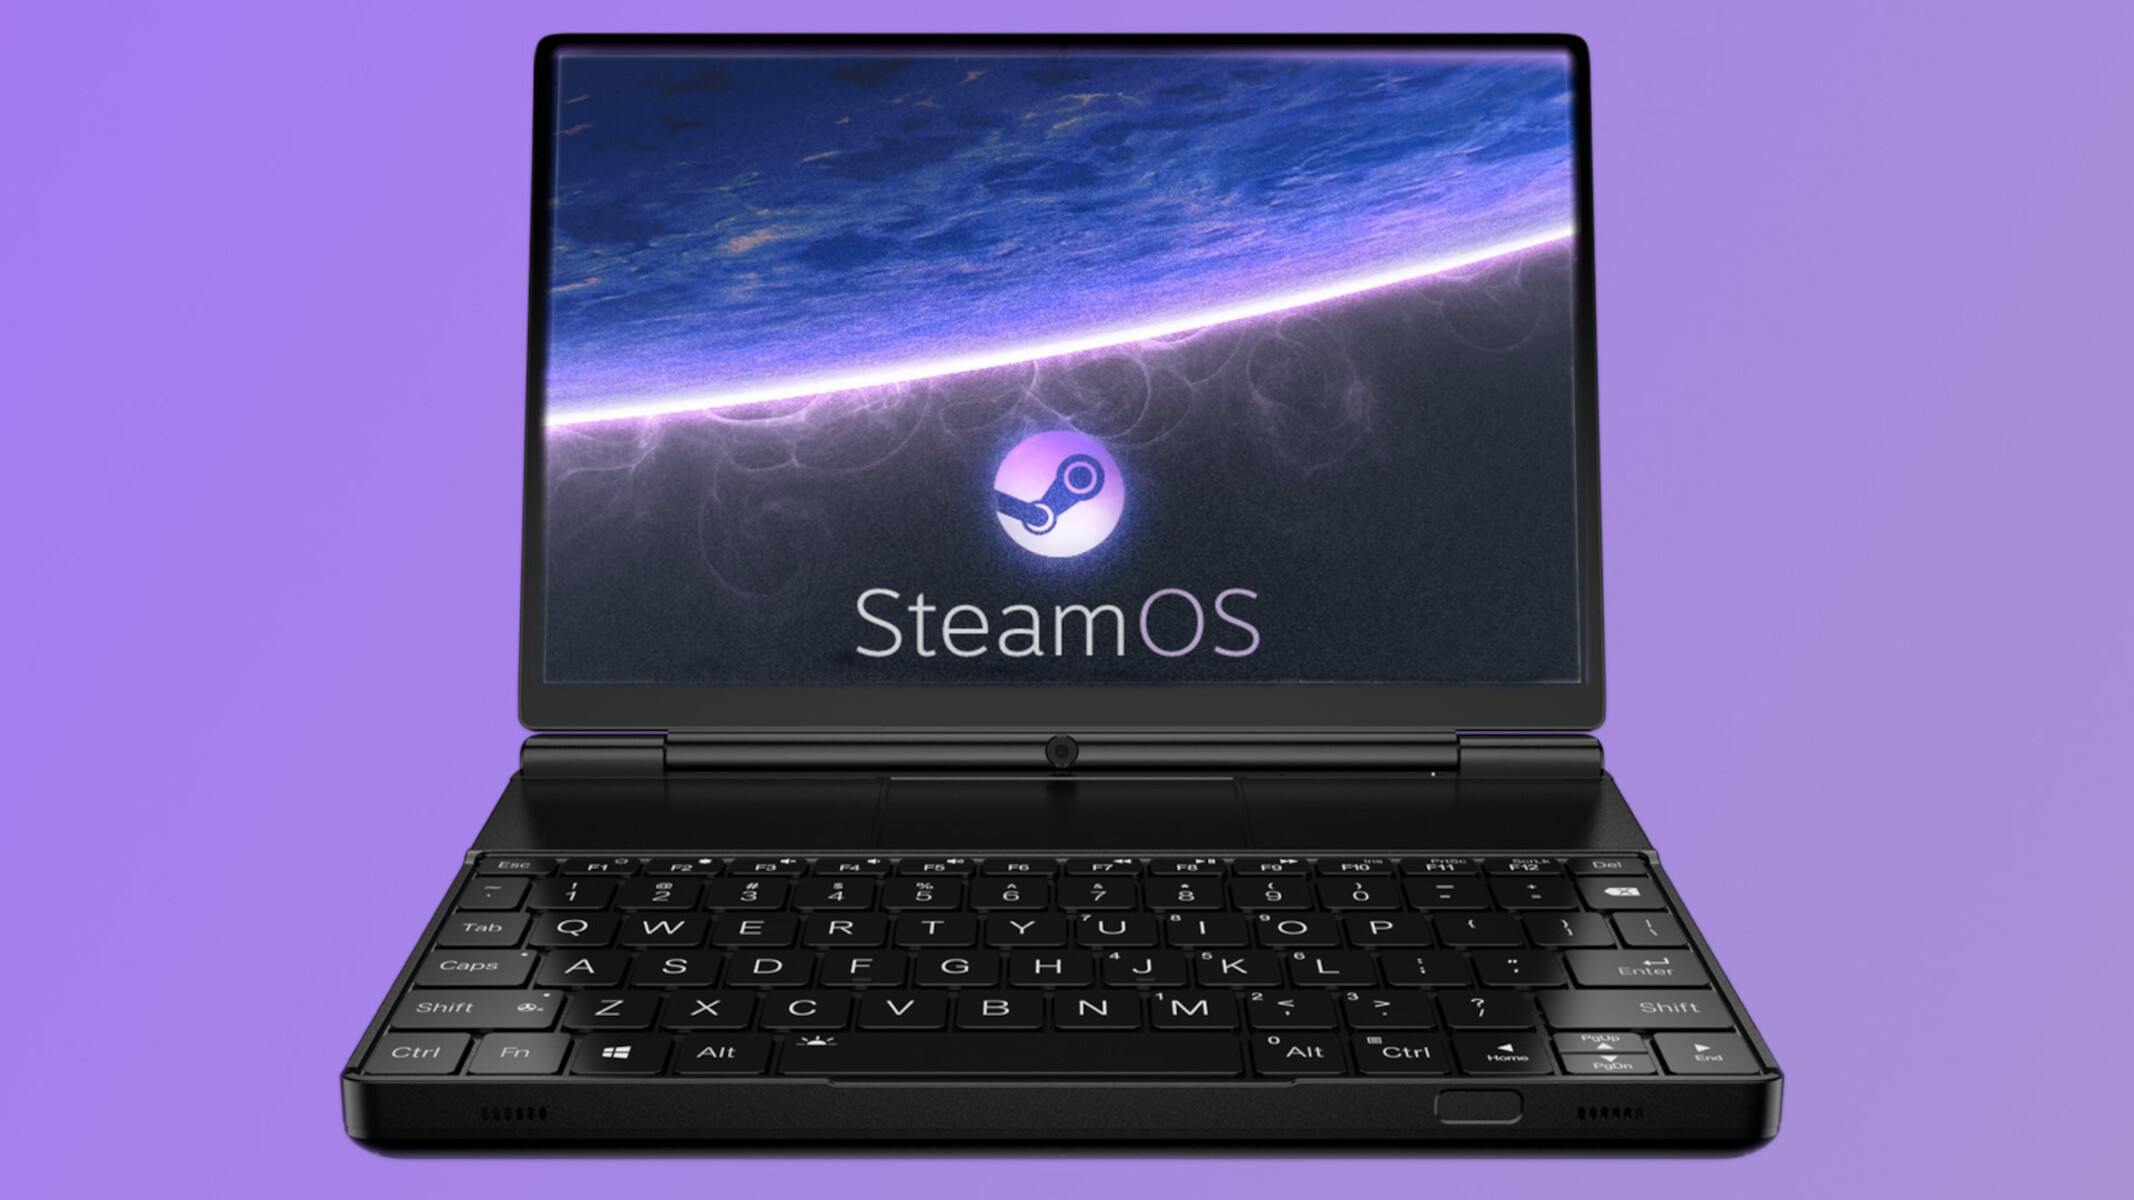
Welcome to the world of gaming on the Steam platform, where thousands of games are at your fingertips. If you are a fan of gaming, you have probably heard of Steam OS, a Linux-based operating system developed by Valve Corporation specifically for gaming purposes.
Steam OS is designed to provide an optimized gaming experience by allowing you to access and play games directly on your computer. It’s an excellent choice for gamers who want to take their gaming experience to the next level.
In this guide, we will walk you through the process of setting up Steam OS in VMware Workstation 12 Player, a popular virtualization software. By using VMware Workstation, you can run Steam OS on your existing Windows or Mac machine, without the need to install it directly on your hardware.
Before we dive into the installation process, there are a few prerequisites you need to have in place to ensure a smooth setup. Let’s take a look at what you’ll need:
– A computer running VMware Workstation 12 Player
– A stable internet connection
– A USB drive with at least 4GB of storage space
– A Steam account to access and download Steam OS
– Basic knowledge of installing and configuring operating systems
By following the steps outlined in this guide, you’ll be able to experience the gaming capabilities of Steam OS without the need for dedicated hardware. So let’s get started by downloading the Steam OS!
Prerequisites
Before you can proceed with installing Steam OS in VMware Workstation 12 Player, make sure you have the following requirements fulfilled:
1. VMware Workstation 12 Player: Ensure that you have VMware Workstation 12 Player installed on your computer. This software allows you to create and run virtual machines, including Steam OS. If you don’t have VMware Workstation 12 Player, you can download it from the official VMware website and follow the installation instructions.
2. Stable Internet Connection: A stable internet connection is crucial for downloading Steam OS and any necessary updates during the installation process. Make sure you have a reliable and fast internet connection to ensure a smooth experience.
3. USB Drive: You will need a USB drive with a minimum of 4GB of storage space. This USB drive will be used to create a bootable installation media for Steam OS. Ensure that the USB drive is empty or does not contain any important data, as it will be formatted during the process.
4. Steam Account: To download Steam OS, you will need a valid Steam account. If you don’t have one, visit the official Steam website and create a new account. Having a Steam account will also enable you to access and download games from the Steam platform once Steam OS is installed.
5. Basic Knowledge of Operating Systems: While this guide will walk you through the installation process, having some basic knowledge of operating systems will be beneficial. Familiarize yourself with concepts such as partitioning, file systems, and installation procedures to better understand the steps involved.
Ensure that you have all the prerequisites in place before proceeding with the installation of Steam OS in VMware Workstation 12 Player. Having these requirements ready will help you complete the process smoothly and enjoy a seamless gaming experience on Steam OS.
Downloading Steam OS
Now that you have met the prerequisites, it’s time to download the Steam OS image file. Follow these steps to obtain the required files:
1. Visit the Steam website: Open your web browser and go to the official Steam website (store.steampowered.com). Sign in to your Steam account using your credentials.
2. Navigate to the Steam OS page: Once you are logged in, click on the “SteamOS” option located at the top of the website. This will take you to the Steam OS page.
3. Download the Steam OS installer: On the Steam OS page, you will find the option to download the installer. Click on the “Download” button to initiate the download process. The installer file will be saved to your computer’s default download location.
4. Create a bootable USB drive: After the download is complete, you will need to create a bootable USB drive using the Steam OS installer. Insert the USB drive into your computer and ensure it is recognized.
5. Launch the Steam OS installer: Locate the Steam OS installer file on your computer and run it. Follow the on-screen instructions to create a bootable USB drive. During this process, all data on the USB drive will be erased, so make sure you have backed up any important files.
6. Complete the USB creation process: Once the USB creation process is complete, you will have a bootable USB drive with Steam OS setup files. Keep the USB drive handy, as you will need it in the next steps of the installation process.
By following these steps, you have successfully downloaded the Steam OS installer and created a bootable USB drive. With the USB drive prepared, you are now ready to create a new virtual machine in VMware Workstation 12 Player and start the installation process. Let’s move on to the next section to learn how.
Creating a New Virtual Machine
With the Steam OS installer and the bootable USB drive in hand, it’s time to create a new virtual machine in VMware Workstation 12 Player. Follow these steps to get started:
1. Launch VMware Workstation 12 Player: Open VMware Workstation 12 Player on your computer. If you haven’t installed it yet, visit the official VMware website and follow the installation instructions.
2. Click on “Create a New Virtual Machine”: In the VMware Workstation 12 Player interface, click on the “Create a New Virtual Machine” option. This will open the virtual machine creation wizard.
3. Choose the installation method: In the wizard, select the option to “Install the operating system later” and click “Next”. This will allow you to manually install Steam OS using the bootable USB drive.
4. Select the guest operating system: In the next step, choose “Linux” as the guest operating system and select the appropriate version (e.g., “Other Linux 4.x or later kernel 64-bit”). Click “Next” to proceed.
5. Name the virtual machine: Give your virtual machine a meaningful name, such as “Steam OS”. Choose a location on your computer’s hard drive to store the virtual machine files. Click “Next” to continue.
6. Configure disk size: Specify the disk size for the virtual machine. It is recommended to allocate at least 40 GB of disk space to ensure sufficient storage for Steam OS and games. Choose the “Store virtual disk as a single file” option and click “Next”.
7. Customize hardware: In the hardware customization window, you can adjust various settings for the virtual machine. Increase the memory allocation if possible to enhance performance. Ensure the USB controller is enabled to allow the virtual machine to recognize the bootable USB drive. Click “Finish” when you are done.
Congratulations! You have created a new virtual machine for Steam OS in VMware Workstation 12 Player. In the next section, we will configure the virtual machine settings and proceed with the installation of Steam OS. Let’s continue.
Configuring the Virtual Machine
Now that you have created the virtual machine for Steam OS in VMware Workstation 12 Player, it’s time to configure its settings to ensure optimal performance. Follow these steps to configure the virtual machine:
1. Power on the virtual machine: Double-click on the virtual machine you created to power it on.
2. Set up the installation media: When the virtual machine starts, it will prompt you to choose the installation media. Select the “Removable Devices” option and choose the USB drive that contains the Steam OS installer files. The virtual machine will boot from the USB drive.
3. Configure keyboard layout: Once the virtual machine has booted from the USB drive, it will ask you to select the keyboard layout. Choose the appropriate layout for your region and language.
4. Follow the on-screen instructions: The Steam OS installer will guide you through the installation process. Follow the on-screen instructions to install Steam OS on the virtual machine. You may need to partition the virtual disk and assign a primary partition for the installation.
5. Set up user account: During the installation process, you will be prompted to create a user account for Steam OS. Provide the necessary information, such as username and password, to set up the user account.
6. Complete the installation: Once the installation is complete, the virtual machine will reboot. Allow it to restart and boot into the Steam OS.
By following these steps, you have successfully configured the virtual machine for Steam OS in VMware Workstation 12 Player. In the next section, we will explore the steps to install and configure Steam OS. Let’s proceed.
Installing Steam OS
With the virtual machine configured and ready, it’s time to install Steam OS. Following these steps will guide you through the installation process:
1. Boot into Steam OS: Once the virtual machine restarts after the configuration, it will boot into the Steam OS installation.
2. Accept the Steam OS License Agreement: Read through the Steam OS License Agreement and accept it to proceed with the installation.
3. Choose the installation type: Select the installation type that suits your needs. The options include “Automated install,” which erases the entire virtual disk and installs Steam OS, or “Expert install,” which allows you to customize the installation manually.
4. Select the target disk: If you choose the “Automated install” option, it will automatically select the target disk for installation. Make sure you have selected the correct virtual disk.
5. Confirm the installation: Review the installation summary to ensure all the settings are accurate. Double-check the selected target disk and the installation type before proceeding.
6. Begin the installation: Once you are ready, initiate the installation process. Steam OS will be installed on the virtual machine. This may take a while, so be patient and avoid interrupting the process.
7. Restart the virtual machine: After the installation is complete, restart the virtual machine. It will boot into the installed Steam OS.
Congratulations! You have successfully installed Steam OS on your virtual machine. In the next section, let’s explore the configuration steps required to optimize Steam OS for gaming. Let’s continue.
Configuring Steam OS
Now that Steam OS is installed on your virtual machine, it’s time to configure it to optimize your gaming experience. Follow these steps to configure Steam OS:
1. Connect to the internet: Make sure your virtual machine is connected to the internet. This is essential for downloading updates and installing games.
2. Update Steam OS: Launch Steam from the desktop or by navigating to the “Games” menu. Steam will automatically check for updates and download any available updates for the Steam client and Steam OS. Let the updates install to ensure you have the latest features and bug fixes.
3. Log in to your Steam account: If you haven’t already done so, log in to your Steam account using your Steam credentials. This will allow you to access your library of games.
4. Customize Steam settings: In the Steam client, click on the “Steam” menu and select “Settings”. Here, you can customize various aspects of Steam, including downloads, interface, and controller settings. Adjust these settings according to your preferences and gaming setup.
5. Install games: Browse the Steam store and install your favorite games. You can search for games, view recommendations, or explore different categories. Once you find a game you want to install, click on the “Install” button to start the download and installation process.
6. Optimize graphics settings: Depending on your virtual machine’s hardware and Steam OS capabilities, you may need to adjust the graphics settings of games to optimize performance. In each game’s settings menu, look for graphics options and tweak them to achieve the desired balance between visual quality and performance.
7. Enjoy gaming on Steam OS: With Steam OS configured and games installed, you are ready to enjoy gaming on your virtual machine. Launch your favorite game from the Steam library and delve into the immersive world of gaming.
By following these steps, you have successfully configured Steam OS on your virtual machine. Remember to regularly check for updates and maintain your Steam OS installation to ensure the best gaming experience. In the next section, we will explore common troubleshooting issues that may arise. Let’s continue.
Troubleshooting Common Issues
While installing and configuring Steam OS on a virtual machine is generally a straightforward process, you may encounter some common issues along the way. Here are some troubleshooting steps to help you resolve these issues:
1. Network connectivity issues: If you are having trouble connecting to the internet within the virtual machine, ensure that the network settings in VMware Workstation are correctly configured. Check that the virtual machine is using the correct network adapter and that it is connected to the appropriate network.
2. Graphics and performance problems: If you are experiencing graphical glitches or poor performance in games, ensure that the virtual machine’s hardware resources are allocated appropriately. Increase the memory allocation and adjust the graphics settings of both Steam OS and individual games to optimize performance.
3. Controller compatibility issues: If your game controller is not working correctly or is not recognized by Steam OS, check that the virtual machine has the necessary USB controllers enabled. Also, ensure that your game controller is compatible with Steam OS and that the appropriate drivers are installed.
4. Steam client not launching: If the Steam client fails to launch or crashes frequently, try clearing the Steam client cache and restart the virtual machine. You can do this by going to the “Settings” menu in Steam, selecting the “Downloads” tab, and clicking on the “Clear Download Cache” button.
5. Game installation and downloading errors: If you encounter issues with game installations or downloads, try pausing and resuming the download, or restarting Steam. If the problem persists, it may be due to server issues on the Steam platform. Wait for a while and try again later.
6. Compatibility issues with certain games: Some games may not be fully compatible with Steam OS or virtualized environments. Check the game’s system requirements and any known compatibility issues before attempting to install and play the game on Steam OS. You may need to seek alternative solutions or use compatibility tools.
If you continue to experience problems or encounter other issues, consult the Steam community forums or Valve’s support documentation for further assistance. Remember to provide detailed information about the issue you are facing to receive accurate and helpful support.
Conclusion
Congratulations on successfully setting up and configuring Steam OS in VMware Workstation 12 Player! You’ve taken a significant step towards enjoying a gaming experience on Steam OS, even without dedicated hardware.
In this guide, we covered the prerequisites required to install Steam OS, the process of downloading the Steam OS installer and creating a bootable USB drive, creating a new virtual machine in VMware Workstation 12 Player, and configuring and installing Steam OS.
We also explored how to optimize Steam OS for gaming by connecting to the internet, updating Steam OS and the Steam client, customizing settings, and installing games. Additionally, we discussed common troubleshooting steps for issues related to network connectivity, graphics performance, controller compatibility, Steam client, game installations, and compatibility with certain games.
Remember to regularly update Steam OS and the games you install to ensure the best gaming experience and to stay up to date with bug fixes and new features. Additionally, make use of the resources available on the Steam community forums and Valve’s support documentation if you encounter any specific issues or need further assistance.
Now, it’s time to dive into the world of gaming on Steam OS. Explore the vast library of games, connect with friends, and enjoy a seamless and immersive gaming experience. Happy gaming!