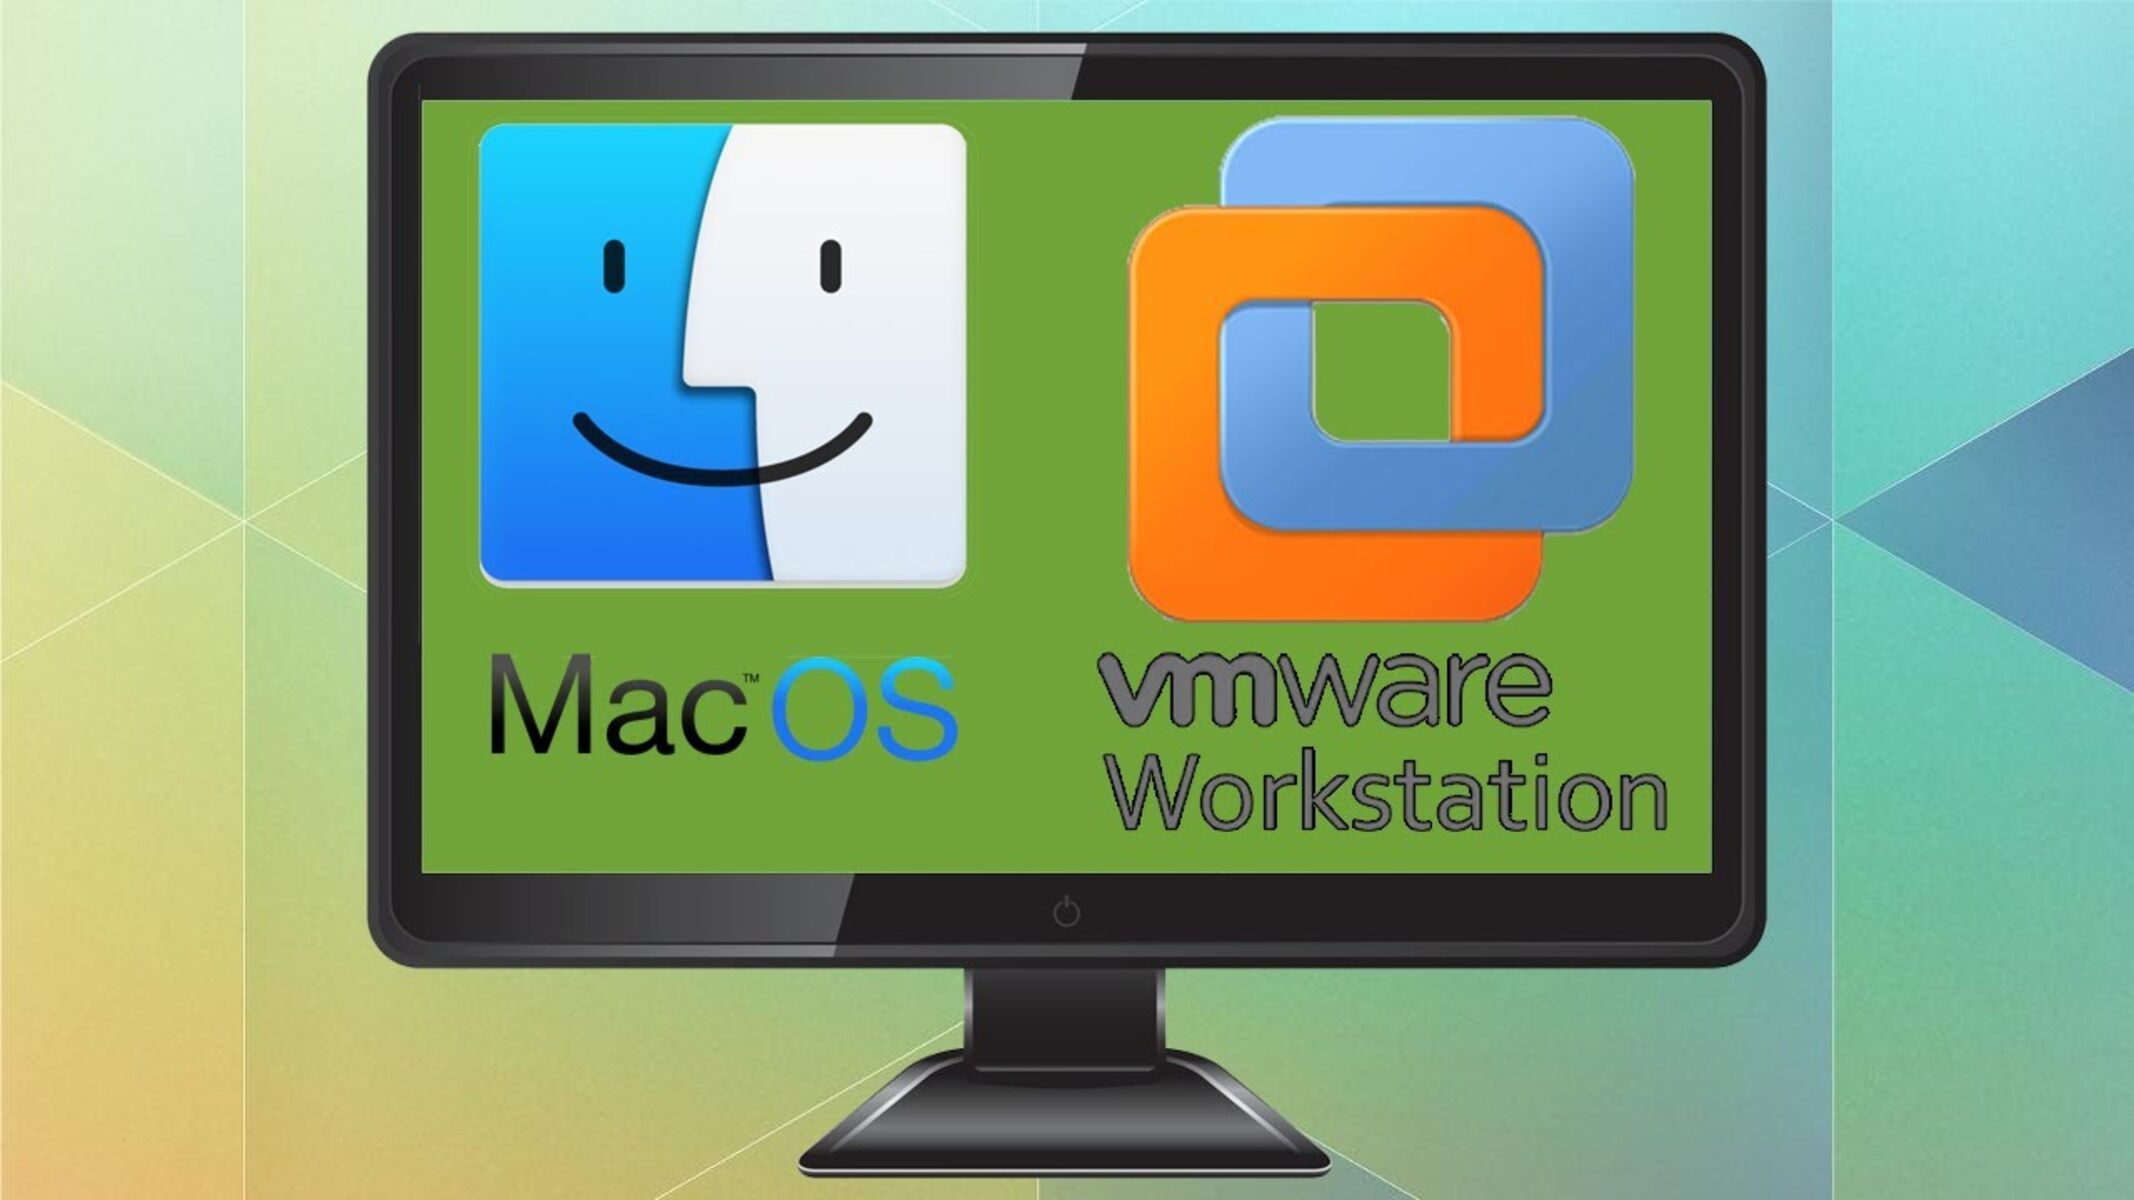
Introduction
Have you ever wanted to experience the smooth, user-friendly interface of Apple’s Yosemite operating system? With VMware Workstation 12, you can now install Yosemite on your PC or laptop and enjoy the benefits of this powerful operating system without having to purchase a Mac.
Yosemite brings a host of new features, including an updated interface, improved performance, and enhanced security. Whether you’re a developer looking to test your apps on different platforms or a Mac enthusiast curious about the Yosemite experience, this guide will walk you through the process of installing Yosemite on VMware Workstation 12.
By following these step-by-step instructions, you’ll be able to create a virtual machine on your Windows computer and install Yosemite seamlessly. It’s important to note that running macOS on non-Apple hardware is against Apple’s terms of use, so proceed with caution and use this guide for educational or testing purposes only.
Before we dive into the installation process, let’s take a look at the prerequisites you’ll need in order to successfully set up Yosemite on VMware Workstation 12.
Prerequisites
Before you begin the installation process, there are a few prerequisites you’ll need to have in place:
- A PC or laptop running Windows OS with VMware Workstation 12 installed
- An ISO image of the Yosemite operating system
- Adequate storage space for the virtual machine and the Yosemite installation
- A minimum of 4GB RAM for smooth operation
- A stable internet connection for downloading the necessary files
It’s important to ensure that your computer meets these requirements in order to avoid any compatibility issues during the installation process. Additionally, make sure you have administrative access to your computer as certain privileges may be required to set up the virtual machine and install the operating system.
If you don’t have a copy of the Yosemite ISO image, you can easily download it from the official Apple website or from other reliable sources. Just make sure to verify the integrity of the ISO file by checking its checksum value.
Once you have all the prerequisites in place, you’re ready to move on to the next step: downloading the Yosemite installer.
Step 1: Downloading the Yosemite Installer
The first step in installing Yosemite on VMware Workstation 12 is to obtain the Yosemite installer. Here’s how you can download it:
- Open a web browser on your computer and navigate to the official Apple website.
- Search for the Yosemite operating system and locate the download page.
- Click on the download link to begin downloading the Yosemite installer.
- Once the download is complete, you’ll have an installation file in the form of an ISO image.
Alternatively, if you already have a Yosemite installer ISO image, you can skip the above steps and proceed to the next section.
It’s important to ensure that you download the correct version of Yosemite that is compatible with VMware Workstation 12. The file should have a .iso extension and be specifically designed for use with VMware virtualization software.
After downloading the Yosemite installer, you’re ready to move on to the next step: setting up VMware Workstation 12.
Step 2: Setting Up VMware Workstation 12
Before you can install Yosemite on VMware Workstation 12, you need to ensure that VMware Workstation is properly set up on your computer. Follow these steps to get started:
- Double-click on the VMware Workstation 12 installer file that you previously downloaded.
- Follow the on-screen prompts to install VMware Workstation on your computer. Make sure to select the appropriate options for your system.
- Once the installation is complete, launch VMware Workstation 12 from the desktop or Start menu.
- If this is your first time using VMware Workstation, you will be prompted to enter a license key or run the software in a trial mode. Choose the appropriate option for your needs.
Now that VMware Workstation 12 is set up on your computer, you can move on to the next step: creating a new virtual machine for Yosemite.
It’s important to note that VMware Workstation is a powerful virtualization tool that allows you to run multiple operating systems on a single PC. It provides a fully functional environment for installing and running guest operating systems, such as Yosemite. By setting up VMware Workstation correctly, you can ensure a smooth installation and optimal performance of Yosemite on your computer.
Step 3: Creating a New Virtual Machine
Now that VMware Workstation 12 is installed on your computer, it’s time to create a new virtual machine to host the Yosemite operating system. Follow these steps to create a new virtual machine:
- Open VMware Workstation 12 and click on the “Create a New Virtual Machine” option.
- In the New Virtual Machine wizard, select “Typical” configuration and click “Next”.
- Choose the installer disc image file (ISO) option and browse to the location where you saved the Yosemite installer ISO image.
- Enter a name for your virtual machine, such as “Yosemite VM”, and choose a location to store the virtual machine files.
- Allocate the desired amount of memory for your virtual machine. It is recommended to allocate at least 4GB of RAM for optimal performance.
- Customize the virtual machine’s hardware by specifying the number of processors, disk size, and network adapter configuration.
- Review the summary of your virtual machine configuration and click “Finish” to create the virtual machine.
Once the virtual machine is created, it will appear in the VMware Workstation interface. You can now proceed to configure the virtual machine settings before installing Yosemite.
Creating a new virtual machine allows you to define the hardware specifications and settings that will be used to emulate the Mac environment. By allocating an appropriate amount of resources to the virtual machine, you can ensure smooth operation and performance when running Yosemite.
Step 4: Configuring Virtual Machine Settings
After creating a new virtual machine for Yosemite, it’s important to configure the virtual machine settings to ensure optimal performance and compatibility. Follow these steps to configure the virtual machine settings:
- Select the Yosemite virtual machine from the VMware Workstation interface and click on “Edit virtual machine settings”.
- In the Virtual Machine Settings window, you can modify various settings such as memory, processors, and display options.
- Under the “Hardware” tab, you can adjust the allocated memory for the virtual machine. It is recommended to allocate at least 4GB of RAM.
- Next, go to the “Processors” section. Here, you can specify the number of processor cores to allocate to the virtual machine. The more cores you allocate, the better the performance.
- Ensure that the “CD/DVD” option is set to the Yosemite installer ISO image. If not, browse to the location where you saved the ISO file and select it.
- Under the “Network Adapter” section, choose the appropriate network configuration for your virtual machine. The default option of NAT should work in most cases.
- Once you have made the necessary changes, click “OK” to save the settings.
By configuring the virtual machine settings, you are optimizing the resources allocated to the Yosemite installation. This ensures that the virtual machine has enough memory, processing power, and network connectivity to run Yosemite smoothly within the VMware Workstation environment.
Step 5: Installing Yosemite on VMware Workstation 12
With the virtual machine settings configured, it’s time to proceed with the installation of Yosemite on VMware Workstation 12. Follow these steps to install Yosemite:
- Start the Yosemite virtual machine by clicking on its name in the VMware Workstation interface.
- The virtual machine will boot up and display the VMware boot screen. Press any key to launch the Yosemite installer.
- Once the installer loads, select your preferred language and click “Continue”.
- In the next window, click on “Install OS X” and follow the prompts to proceed with the installation.
- Agree to the terms and conditions and select the disk where you want to install Yosemite.
- The installation will take some time. Once it is complete, the virtual machine will reboot.
- After the reboot, the Yosemite setup wizard will guide you through the initial setup process, including creating a user account and configuring system preferences.
- Follow the on-screen instructions to complete the setup process and finalize the installation.
Once the installation is complete, you will have a fully functional Yosemite operating system running on VMware Workstation 12. You can now explore and enjoy all the features and applications that Yosemite has to offer.
It’s important to note that during the installation process, you may encounter certain issues or errors. Make sure to follow the on-screen instructions carefully and troubleshoot any problems as needed. Additionally, be patient as the installation may take some time depending on your system’s performance and the size of the installation files.
Step 6: Post-Installation Setup
After successfully installing Yosemite on VMware Workstation 12, there are a few post-installation steps you can take to optimize your Yosemite experience. Follow these steps to complete the post-installation setup:
- Install VMware Tools: VMware Tools is a set of utilities and drivers that enhance the performance and functionality of the virtual machine. In the VMware Workstation menu, go to “VM” and select “Install VMware Tools”. Follow the on-screen instructions to complete the installation.
- Update Yosemite: It’s important to keep your operating system up to date with the latest security patches and bug fixes. Open the App Store on Yosemite and navigate to the Updates tab. Install any available updates for your system.
- Configure Network Settings: If your virtual machine is not connecting to the internet, ensure that the network settings are properly configured. Go to the VMware Workstation menu, select “Edit virtual machine settings”, and verify that the network adapter is set to the appropriate option (e.g., NAT or Bridged).
- Install Software and Customize Settings: Now that Yosemite is up and running, you can install your desired software and customize the system settings to fit your preferences. Explore the Mac App Store for a wide range of applications and utilities to enhance your Yosemite experience.
- Take Snapshots: To easily revert back to a previous state of your virtual machine, it’s a good practice to take snapshots at different stages of the installation and configuration process. This allows you to easily go back to a known working state if something goes wrong.
By completing these post-installation setup steps, you’ll ensure that your Yosemite installation is updated, optimized, and ready for use. Enjoy the seamless and user-friendly experience of the Yosemite operating system within VMware Workstation 12!
Conclusion
Congratulations! You have successfully installed Yosemite on VMware Workstation 12, allowing you to experience the power and elegance of Apple’s operating system on your PC or laptop. By following the step-by-step instructions in this guide, you have created a virtual machine, configured the settings, and installed Yosemite seamlessly.
Yosemite brings a fresh and intuitive interface, improved performance, and enhanced security features to your computing experience. Whether you’re a developer testing apps or a Mac enthusiast exploring the world of macOS, having Yosemite installed on VMware Workstation 12 opens up a whole new world of possibilities.
Remember, it’s important to ensure that you use this guide for educational or testing purposes only, as running macOS on non-Apple hardware is against Apple’s terms of use. Respect copyright laws and obtain legal copies of the operating system and other software you intend to install.
Now that Yosemite is up and running on VMware Workstation 12, take some time to customize your system, install your favorite software, and explore the vast array of applications available for macOS. Don’t forget to keep your operating system updated and take advantage of VMware Tools to optimize the performance of your virtual machine.
Thank you for following this guide and enjoy your journey with Yosemite on VMware Workstation 12!