Introduction
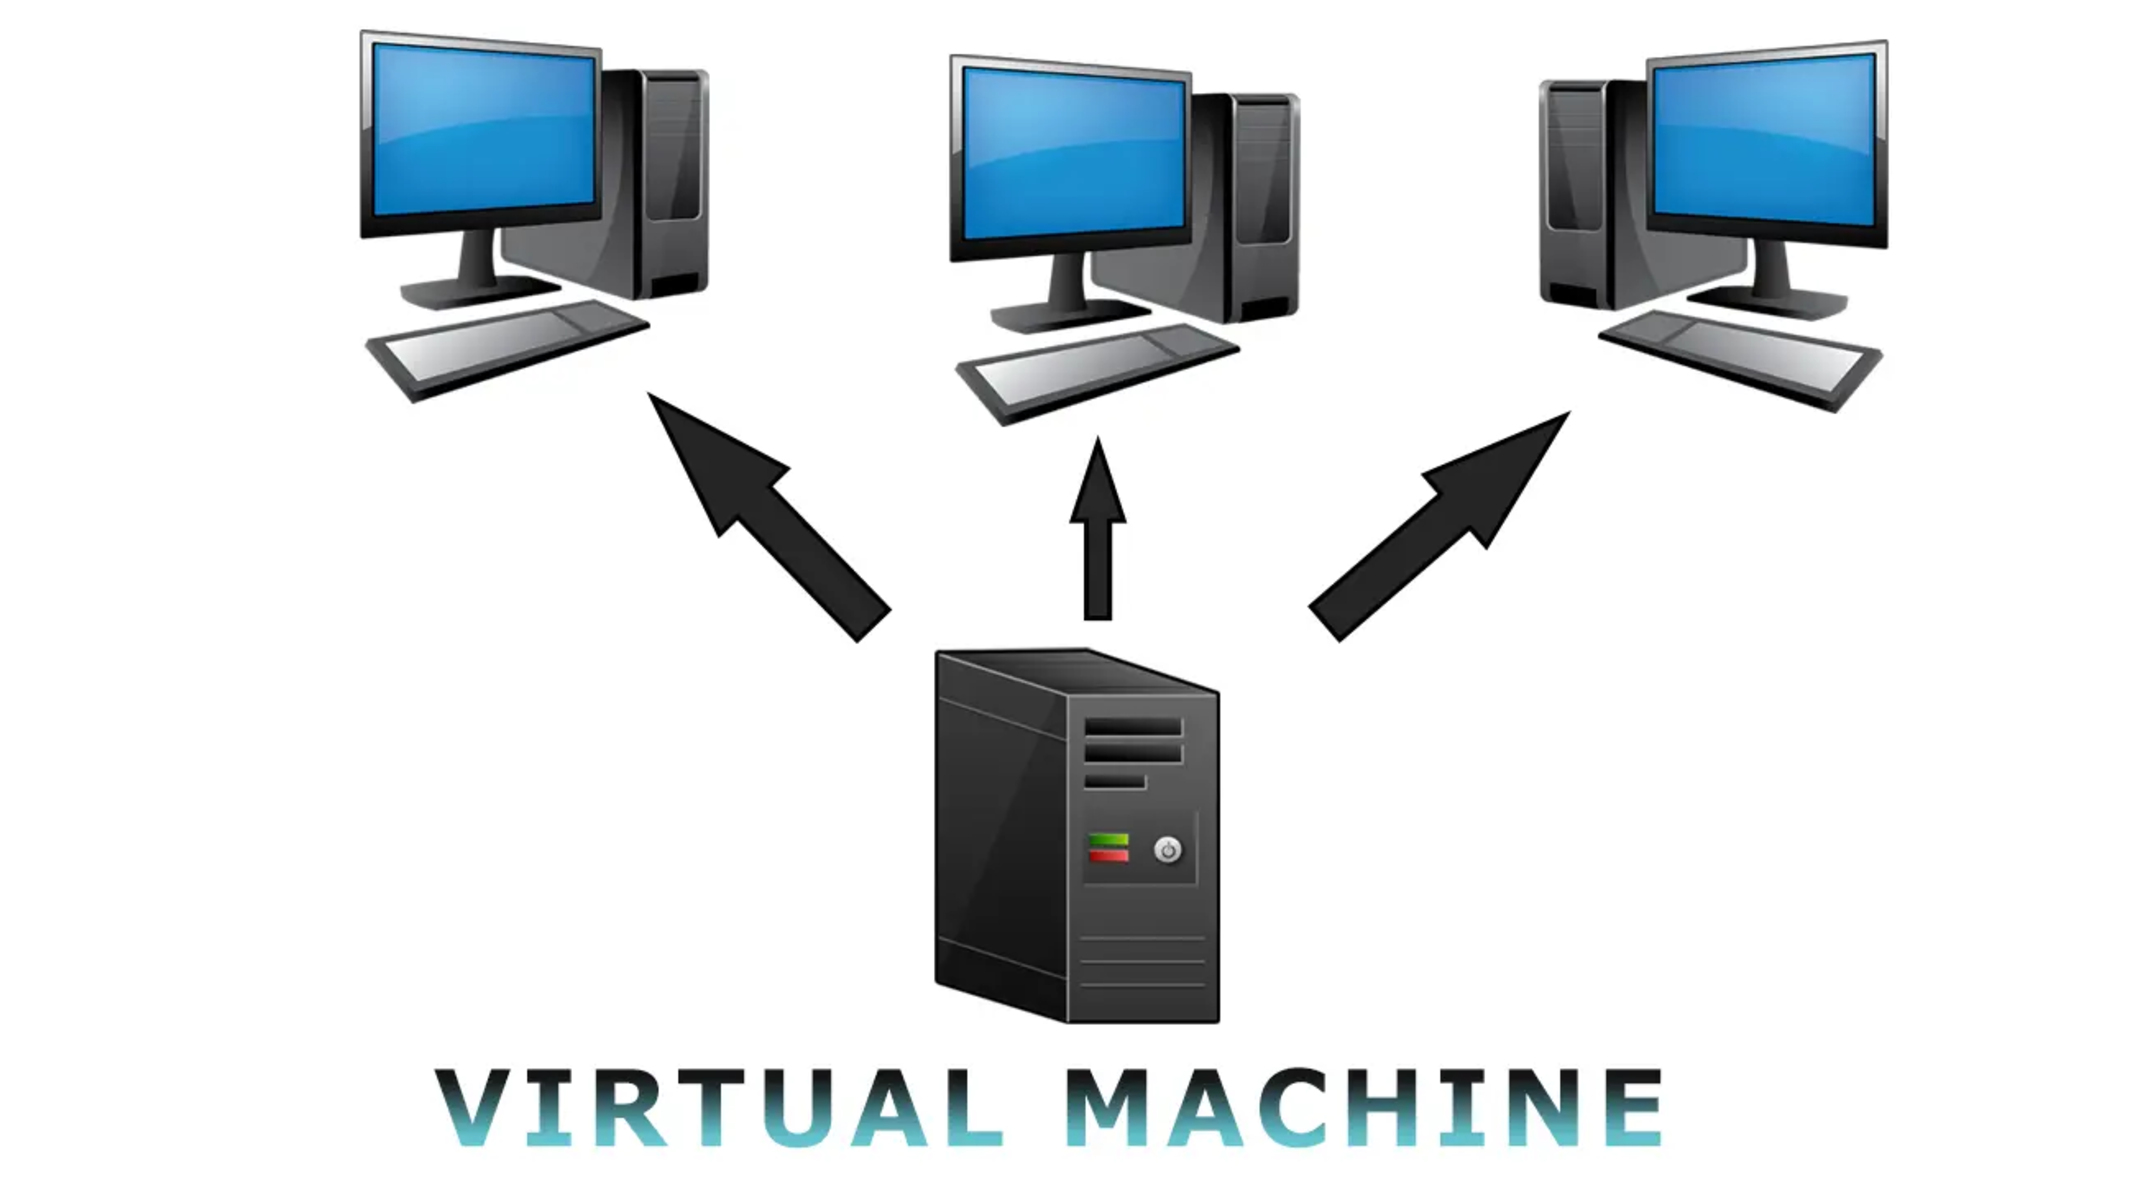
Welcome to this tutorial on how to add multiple virtual machines at once with VMware Workstation 14.0. VMware Workstation is a powerful virtualization software that allows you to run multiple virtual machines on your computer, enabling you to test different operating systems, applications, and configurations without the need for multiple physical machines.
Traditionally, creating and configuring virtual machines one by one can be a time-consuming process. However, with VMware Workstation 14.0, you can easily add multiple virtual machines simultaneously, saving you valuable time and effort.
In this tutorial, we will guide you through the step-by-step process of adding multiple virtual machines using VMware Workstation 14.0. We will cover the prerequisites, the procedure to create and configure the first virtual machine, and then clone and configure additional virtual machines. By the end of this tutorial, you will have a clear understanding of how to efficiently add multiple virtual machines, allowing you to maximize the benefits of virtualization.
Whether you are a developer, IT professional, or simply an enthusiast exploring virtualization, this tutorial is designed to help you streamline your virtual machine setup process. So, let’s dive in and discover how to add multiple virtual machines at once with VMware Workstation 14.0!
Prerequisites
Before we begin, there are a few prerequisites that you need to fulfill in order to successfully add multiple virtual machines with VMware Workstation 14.0:
1. VMware Workstation 14.0: Make sure you have VMware Workstation 14.0 installed on your computer. You can download the software from the official VMware website and follow the installation instructions provided.
2. Sufficient System Resources: Virtual machines require a significant amount of system resources, including CPU, RAM, and disk space. Ensure that your computer meets the minimum system requirements specified by VMware for running multiple virtual machines simultaneously.
3. Operating System ISO Files: You will need the ISO files for the operating systems you wish to install on the virtual machines. These ISO files contain the installation files for the operating systems and can be downloaded from the official websites of the respective operating systems.
4. Adequate Storage Space: Virtual machines require disk space to store the virtual hard disks. Make sure you have enough free disk space to accommodate the virtual machines and their associated files.
5. Basic Knowledge of Virtualization: It is recommended to have a basic understanding of virtualization concepts and terminology. Familiarize yourself with terms such as virtual machine, host machine, guest operating system, and virtualization software.
Once you have met these prerequisites, you are ready to proceed with adding multiple virtual machines using VMware Workstation 14.0. So, let’s move on to the next section and get started with creating and configuring the first virtual machine!
Step 1: Launch VMware Workstation 14.0
The first step in adding multiple virtual machines with VMware Workstation 14.0 is to launch the software. Locate and double-click on the VMware Workstation icon on your desktop or navigate to it through your Start menu.
Once VMware Workstation opens, you will be greeted with the main user interface. This interface provides you with a variety of options and features to manage your virtual machines.
If you have previously used VMware Workstation and have virtual machines already created, they will be displayed in the main window. However, if you are launching VMware Workstation for the first time or have no existing virtual machines, the window may appear empty.
To proceed with adding multiple virtual machines, you can either create a new virtual machine from scratch or use an existing virtual machine as a template for your new machines. In this tutorial, we will guide you through creating a new virtual machine from scratch, but feel free to use an existing virtual machine if you prefer.
Now that you have launched VMware Workstation 14.0 and are familiar with the user interface, you are ready to move on to the next step: creating a new virtual machine. So, let’s continue to Step 2 and get started!
Step 2: Create a New Virtual Machine
After launching VMware Workstation 14.0, the next step in adding multiple virtual machines is to create a new virtual machine. Creating a new virtual machine will provide you with the foundation for configuring and customizing your virtual environment to meet your specific needs.
To create a new virtual machine, follow these steps:
- Click on the “File” menu at the top left corner of the VMware Workstation window.
- Select “New Virtual Machine” from the drop-down menu. This will launch the New Virtual Machine Wizard, which will guide you through the process of creating a virtual machine.
- Choose the option to create a “Custom (advanced)” virtual machine and click “Next.”
- Select the installation disk image (ISO file) for the operating system you want to install. If the ISO file is not listed, click on the “Browse” button to locate it on your computer.
- Specify the operating system details, such as the name and version, and click “Next.”
- Set the maximum disk size for the virtual machine. This determines the amount of disk space allocated to store the virtual machine’s files and data.
- Review the virtual hardware settings, such as the number of processors, amount of memory, and network configuration. Adjust these settings according to your requirements.
- Click “Finish” to create the new virtual machine.
Once you have completed these steps, VMware Workstation 14.0 will create the new virtual machine based on your specified settings. The virtual machine will appear in the main window of the software, ready for further configuration.
In the next step, we will delve into the process of configuring the first virtual machine. So, let’s proceed to Step 3 and continue building our virtual environment!
Step 3: Configure the First Virtual Machine
Now that you have created a new virtual machine, it’s time to configure its settings and prepare it for installation. The configuration process involves specifying various options and parameters that define the behavior and capabilities of the virtual machine.
To configure the first virtual machine, follow these steps:
- Make sure the newly created virtual machine is selected in the VMware Workstation window.
- Click on the “Edit virtual machine settings” button at the top of the window. This will open the Virtual Machine Settings dialog box.
- In the Virtual Machine Settings dialog box, you will find various tabs that allow you to customize different aspects of the virtual machine. Explore these tabs and make changes according to your requirements.
- On the Hardware tab, you can modify the virtual machine’s hardware configuration. You can adjust the number of processors, allocate memory, add or remove virtual devices, and configure network settings to connect the virtual machine to the internet or local network.
- On the Options tab, you can specify additional settings like power management, sharing folders between the virtual machine and the host system, and setting up virtual machine isolation.
- Save your changes by clicking “OK” in the Virtual Machine Settings dialog box.
After configuring the first virtual machine, it is now ready for the operating system installation. You can either insert the operating system installation media (such as a CD or USB drive) or mount the ISO file you selected during the virtual machine creation process.
In the next steps, we will learn how to clone the first virtual machine and configure the cloned machines, allowing us to add multiple virtual machines quickly. So, let’s move on to Step 4 and continue with the process!
Step 4: Clone the First Virtual Machine
Now that the first virtual machine is configured and ready, we can proceed to clone it to create additional virtual machines. Cloning a virtual machine creates an identical copy, including all the settings and configurations, allowing you to quickly add multiple virtual machines without having to start from scratch.
To clone the first virtual machine, follow these steps:
- Ensure that the first virtual machine is selected in the VMware Workstation window.
- Click on the “Manage” tab at the top of the window.
- Under the “Manage” tab, click on the “Clone” button. This will open the Clone Virtual Machine wizard.
- Select the option to create a “Linked clone” or “Full clone” of the virtual machine. A linked clone uses the same virtual disk as the original machine, while a full clone creates a separate copy of the virtual disk.
- Choose a name and location for the cloned virtual machine. It is recommended to use a descriptive name to easily identify the cloned machines.
- Click “Clone” to start the cloning process. The time it takes to clone the virtual machine will depend on the size and complexity of the original machine.
- Repeat these steps to clone the first virtual machine as many times as needed, creating multiple virtual machines.
Once the cloning process is complete, you will see the cloned virtual machines listed in the VMware Workstation window. These machines are now independent copies of the original virtual machine, allowing you to customize their settings and configurations individually.
In the next step, we will explore how to configure the cloned virtual machines, tailoring them to your specific requirements. Let’s continue to Step 5 and continue expanding our virtual environment!
Step 5: Configure the Cloned Virtual Machines
Now that you have cloned the first virtual machine, it’s time to configure the cloned virtual machines according to your specific needs. Each cloned virtual machine can be customized individually, allowing you to create a diverse virtual environment.
To configure the cloned virtual machines, follow these steps:
- Select the first cloned virtual machine in the VMware Workstation window.
- Click on the “Edit virtual machine settings” button at the top of the window to open the Virtual Machine Settings dialog box.
- Explore the different tabs in the Virtual Machine Settings dialog box to customize various aspects of the cloned virtual machine. You can modify hardware settings, adjust memory allocation, configure network settings, and more.
- Make the necessary changes to the hardware and options settings to tailor each cloned virtual machine to your specific requirements.
- Click “OK” to save the configuration changes for the first cloned virtual machine.
- Repeat these steps for each cloned virtual machine, configuring them one by one. You can customize each virtual machine differently to create a diverse virtual environment.
By individually configuring the cloned virtual machines, you can create unique setups for different purposes, such as testing different operating systems, running multiple web servers, or simulating network environments.
In the next step, we will continue to add more virtual machines by repeating the cloning and configuration process. So, move on to Step 6 and keep expanding your virtual environment!
Step 6: Repeat Steps 4 and 5 for Additional Virtual Machines
To add more virtual machines to your virtual environment, you can repeat the cloning and configuration process. By following Steps 4 and 5, you can quickly create and configure additional virtual machines according to your needs.
Here is a summary of the steps you need to repeat for each additional virtual machine:
- Select the cloned virtual machine that you want to clone again.
- Click on the “Manage” tab at the top of the VMware Workstation window.
- Click on the “Clone” button to open the Clone Virtual Machine wizard.
- Select the clone type (linked clone or full clone) for the new virtual machine.
- Choose a name and location for the new virtual machine.
- Click “Clone” to start the cloning process.
- Once the cloning is complete, select the newly cloned virtual machine and open the Virtual Machine Settings dialog box.
- Customize the hardware and options settings of the new virtual machine to fit your requirements.
- Save the configuration changes and repeat these steps for each additional virtual machine.
By repeating this process, you can easily create multiple virtual machines with different configurations or use cases. This flexibility allows you to maximize the benefits of virtualization and tailor your virtual environment to specific scenarios.
Continue adding virtual machines by cloning and configuring as needed. Once you have successfully created and configured all the desired virtual machines, you are ready to power them on and start utilizing your virtual environment.
In the next step, we will cover how to power on the virtual machines and begin using them. So let’s move on to Step 7 and get your virtual machines up and running!
Step 7: Power on the Virtual Machines
After creating and configuring your virtual machines, the final step is to power them on and start using them. Powering on the virtual machines is as simple as a few clicks, and it allows you to experience the functionality of different operating systems and applications within a virtual environment.
To power on the virtual machines, follow these steps:
- Make sure you have all the virtual machines visible in the VMware Workstation window.
- Select the first virtual machine that you want to power on by clicking on its name.
- Click on the green “Power on” button in the toolbar at the top of the VMware Workstation window. Alternatively, you can right-click on the virtual machine and select “Power” and then “Power On” from the context menu.
- The virtual machine will start booting up, and you will see the operating system’s loading screen.
- Repeat these steps for each virtual machine that you want to power on.
Once the virtual machines are powered on, you can interact with them just like you would with physical machines. You can install software, configure settings, and run applications within the virtual environment.
Remember that each virtual machine operates independently, providing you with a sandboxed environment to experiment and work with various configurations without affecting your host machine or other virtual machines.
In this step, you have successfully powered on your virtual machines. Now you can begin exploring the possibilities and benefits of a virtual environment.
Note: It is important to ensure that your host machine has enough resources to run multiple virtual machines simultaneously. Depending on your system specifications and the resource allocation for each virtual machine, performance may vary.
Congratulations! You have completed all the steps necessary to add multiple virtual machines at once with VMware Workstation 14.0. By following this tutorial, you have expanded your virtual environment and can now leverage the power of virtualization for various purposes.
Feel free to explore and experiment with different configurations, software installations, and network setups within your virtual machines. This newfound flexibility and scalability will undoubtedly benefit your development, testing, and exploration endeavors.
Thank you for following this tutorial. If you have any questions or need further assistance, don’t hesitate to reach out to the VMware Workstation documentation or support resources.
Conclusion
Adding multiple virtual machines at once with VMware Workstation 14.0 can greatly enhance your productivity and flexibility in various scenarios. In this tutorial, we walked through the step-by-step process of creating a new virtual machine, cloning it, and configuring the cloned machines to build a virtual environment tailored to your needs.
We started by launching VMware Workstation 14.0 and ensuring that all the prerequisites, such as having the software installed and meeting system requirements, were met. We then proceeded to create a new virtual machine and configure its settings, preparing it for installation.
Next, we learned how to clone the first virtual machine and configure the cloned machines with individual settings, allowing us to create multiple virtual machines quickly and efficiently. By repeating the cloning and configuration process, we expanded our virtual environment and customized each virtual machine according to specific requirements.
Finally, we powered on the virtual machines and began utilizing our virtual environment, harnessing the benefits of virtualization for various applications, testing different operating systems, and experimenting with different configurations.
Virtualization provides a valuable tool for developers, IT professionals, and enthusiasts to create isolated environments, test software, and simulate network scenarios without the need for physical machines. With VMware Workstation 14.0, you can unleash the power of virtualization and optimize your workflows.
By following this tutorial and understanding the process of adding multiple virtual machines at once, you now have the knowledge and skills to utilize VMware Workstation 14.0 effectively. Remember to allocate sufficient system resources and explore the various features and settings offered by the software to maximize your virtual environment’s capabilities.
Thank you for joining us in this tutorial, and we hope it has been informative and helpful in your journey of virtualization. As you continue to explore and experiment with VMware Workstation 14.0, you will unlock the full potential of virtualization and open up new possibilities for development, testing, and exploration.
Enjoy your newfound virtual environment, and happy virtualizing!