Introduction
Welcome to the world of virtual machines, where you can run multiple operating systems on a single computer simultaneously. Virtual machines provide a convenient and efficient way to test different software configurations, conduct experiments, or simply explore new operating systems. One popular operating system to experiment with on a virtual machine is Ubuntu.
Ubuntu is a free and open-source operating system based on the Linux kernel. It offers a user-friendly interface, a vast collection of software packages, and a strong emphasis on security and stability. By running Ubuntu on a virtual machine, you can enjoy all the benefits of this powerful operating system without the need to install it directly on your physical computer.
This article will guide you through the process of setting up and running Ubuntu on a virtual machine using VirtualBox, one of the most popular virtualization platforms available. We will cover the steps required to download the Ubuntu ISO file, install VirtualBox, create a new virtual machine, configure its settings, install Ubuntu on the virtual machine, and customize the display and shared folder settings.
Virtual machines offer a safe and isolated environment where you can experiment and make changes without affecting your main operating system. This makes them an ideal choice for developers, system administrators, and anyone who wants to explore Ubuntu or test software compatibility. Whether you are a novice or an experienced user, this guide will take you through the process step-by-step and help you run Ubuntu on a virtual machine effortlessly.
Setting up the Virtual Machine
Before you can install Ubuntu on a virtual machine, you need to set up the virtual machine itself. This involves downloading the required software and configuring the necessary settings. Follow the steps below to get started:
- Download VirtualBox: Visit the official VirtualBox website (https://www.virtualbox.org) and download the appropriate version of VirtualBox for your operating system. VirtualBox is available for Windows, macOS, and Linux.
- Install VirtualBox: Once the download is complete, run the VirtualBox installer and follow the on-screen instructions to install it on your computer. This process may vary depending on your operating system.
- Create a new virtual machine: Open VirtualBox and click on the “New” button in the toolbar. Enter a name for your virtual machine and select the type and version of the operating system you plan to install (in this case, Ubuntu).
- Allocate memory: Choose the amount of memory (RAM) you want to allocate to the virtual machine. It is recommended to allocate at least 2GB of RAM for Ubuntu to run smoothly.
- Create a virtual hard disk: Select “Create a virtual hard disk now” and choose the hard disk file type. The default option is usually sufficient. Follow the prompts to set the storage size and location for the virtual hard disk.
- Configure the virtual machine settings: Before starting the virtual machine, you can customize its settings. This includes adjusting the display resolution, enabling shared folders, setting up network options, and more. Take some time to review and configure these settings according to your needs.
Once you have completed these steps, your virtual machine is ready to install Ubuntu. In the next section, we will cover the process of downloading the Ubuntu ISO file and installing it on the virtual machine.
Downloading Ubuntu ISO
Before installing Ubuntu on the virtual machine, you will need to download the Ubuntu ISO file. The ISO file contains the complete Ubuntu operating system that will be installed on the virtual machine. Follow these steps to download the Ubuntu ISO:
- Visit the Ubuntu website: Open a web browser and navigate to the official Ubuntu website at https://ubuntu.com.
- Go to the Downloads section: Once you are on the Ubuntu website, click on the “Downloads” tab located in the top menu.
- Choose the Ubuntu version: On the Downloads page, you will see different versions of Ubuntu. Select the version you want to download. If you are unsure, choose the LTS (Long-Term Support) version for stability and long-term software support.
- Select the operating system architecture: Ubuntu is available in different architectures, such as 64-bit and 32-bit. Choose the appropriate architecture based on your computer’s specifications. Most modern computers use a 64-bit architecture.
- Download the ISO file: After selecting the version and architecture, you will be redirected to a page where you can download the Ubuntu ISO file. Click on the “Download” button to start the download process.
- Wait for the download to complete: The download time will vary depending on the speed of your internet connection. Once the download is complete, you will have the Ubuntu ISO file ready for installation.
It is important to ensure that you download the Ubuntu ISO file from the official Ubuntu website to ensure its authenticity and security. After downloading the ISO file, you can proceed to the next section to install VirtualBox, the virtualization software required to run Ubuntu on a virtual machine.
Installing VirtualBox
The next step in running Ubuntu on a virtual machine is to install VirtualBox, the virtualization software that will host the virtual machine on your computer. VirtualBox is available for multiple operating systems and provides a user-friendly interface for managing virtual machines. Follow these steps to install VirtualBox:
- Download VirtualBox: Visit the official VirtualBox website at https://www.virtualbox.org and navigate to the Downloads section. Choose the appropriate version of VirtualBox for your operating system (Windows, macOS, or Linux) and click on the download link.
- Run the installer: Once the download is complete, locate the installer file and run it. The installation process may vary slightly depending on your operating system, but generally, you will need to follow the prompts and accept the license agreement.
- Install VirtualBox: During the installation, VirtualBox will request administrative privileges. Grant the necessary permissions to proceed with the installation. The installer will copy the required files and set up VirtualBox on your computer.
- Additional software: After VirtualBox is installed, you may be prompted to install additional software, such as device drivers or support modules. It is recommended to install these components as they enhance the performance and compatibility of VirtualBox.
- Complete the installation: Follow the remaining prompts to complete the installation. Once the installation is finished, you can launch VirtualBox from the Start menu (Windows) or Applications folder (macOS).
Congratulations! You have successfully installed VirtualBox on your computer. This powerful virtualization software will serve as the platform for running Ubuntu on a virtual machine. In the next section, we will walk you through the process of creating a new virtual machine within VirtualBox.
Creating a new virtual machine
Now that VirtualBox is installed on your computer, it’s time to create a new virtual machine that will host Ubuntu. Follow these steps to create a new virtual machine within VirtualBox:
- Launch VirtualBox: Open VirtualBox by clicking on its icon in the Start menu (Windows) or Applications folder (macOS).
- Click on “New”: In the VirtualBox Manager window, click on the “New” button located in the top-left corner. This will open the New Virtual Machine Wizard.
- Provide a name for the virtual machine: Enter a descriptive name for your virtual machine. This can be anything you want, but it’s recommended to use a name that indicates the operating system and purpose of the machine.
- Choose the operating system type and version: Select “Linux” as the type and choose the appropriate version of Ubuntu. VirtualBox supports different versions of Ubuntu, including Ubuntu 20.04 LTS and Ubuntu 18.04 LTS.
- Allocate memory: Set the amount of memory (RAM) that will be allocated to the virtual machine. It’s recommended to allocate at least 2GB or more for optimal performance.
- Create a virtual hard disk: Select “Create a virtual hard disk now” and click “Create” to continue. This will open the Create Virtual Hard Disk Wizard.
- Choose the hard disk file type: Select the file type for the virtual hard disk. The default option, VDI (VirtualBox Disk Image), should work fine.
- Allocate disk space: Choose whether to dynamically allocate the disk space or allocate a fixed amount. Dynamic allocation uses only the space required, while fixed allocation allocates the full amount upfront. Choose the option that suits your needs and available disk space.
- Set the disk size: Specify the size of the virtual hard disk. Ubuntu generally requires at least 20GB of disk space, but you can allocate more if needed.
- Create the virtual machine: Review the summary of your virtual machine settings and click “Create” to create the virtual machine.
Once the virtual machine is created, it will appear in the VirtualBox Manager window. Congratulations! You have successfully created a new virtual machine. In the next section, we will discuss how to configure the settings of the virtual machine before installing Ubuntu on it.
Configuring virtual machine settings
After creating a new virtual machine in VirtualBox, you’ll want to configure its settings to optimize the performance and functionality of your Ubuntu installation. Follow these steps to configure the virtual machine settings:
- Select the virtual machine: In the VirtualBox Manager window, select the virtual machine you just created. It will be listed on the left side of the window.
- Click on “Settings”: With the virtual machine selected, click on the “Settings” button located in the top menu. This will open the settings for the selected virtual machine.
- General settings: In the General settings tab, you can configure basic settings such as the name and operating system type. Review the information and make any necessary changes.
- System settings: In the System settings tab, you can adjust the amount of allocated memory (RAM) and the number of processors for the virtual machine. Allocate resources according to your computer’s specifications and the requirements of your Ubuntu installation.
- Display settings: In the Display settings tab, you can modify the screen resolution, enable 3D acceleration, and adjust other display-related options. Choose the screen resolution that suits your needs and enable 3D acceleration if desired.
- Storage settings: In the Storage settings tab, you can attach the Ubuntu ISO file to the virtual machine as a virtual CD/DVD drive. Click on the controller icon with a plus sign and choose “Add Optical Drive”. Browse and select the downloaded Ubuntu ISO file.
- Network settings: In the Network settings tab, you can configure the network connection for the virtual machine. By default, the network adapter is set to NAT, which allows the virtual machine to access the internet through the host computer’s network connection. If you require more advanced networking options, you can explore the other networking modes available.
- Shared folders: In the Shared Folders settings tab, you can set up shared folders between the virtual machine and the host computer. This allows you to easily share files between the two environments. Click on the folder icon with a plus sign and choose the folder you want to share.
- Other settings: Depending on your needs, you can explore other settings such as audio, USB, and more. Adjust these settings as necessary.
- Save the settings: After configuring the virtual machine settings, click “OK” to save the changes and close the settings window.
With the virtual machine settings configured, you are now ready to proceed with the installation of Ubuntu on the virtual machine. In the next section, we will walk you through the steps of installing Ubuntu on the virtual machine.
Installing Ubuntu on the virtual machine
Now that you have configured the virtual machine settings, it’s time to install Ubuntu on the virtual machine. Follow these steps to install Ubuntu on the virtual machine:
- Start the virtual machine: In the VirtualBox Manager window, select the virtual machine and click “Start” to launch it.
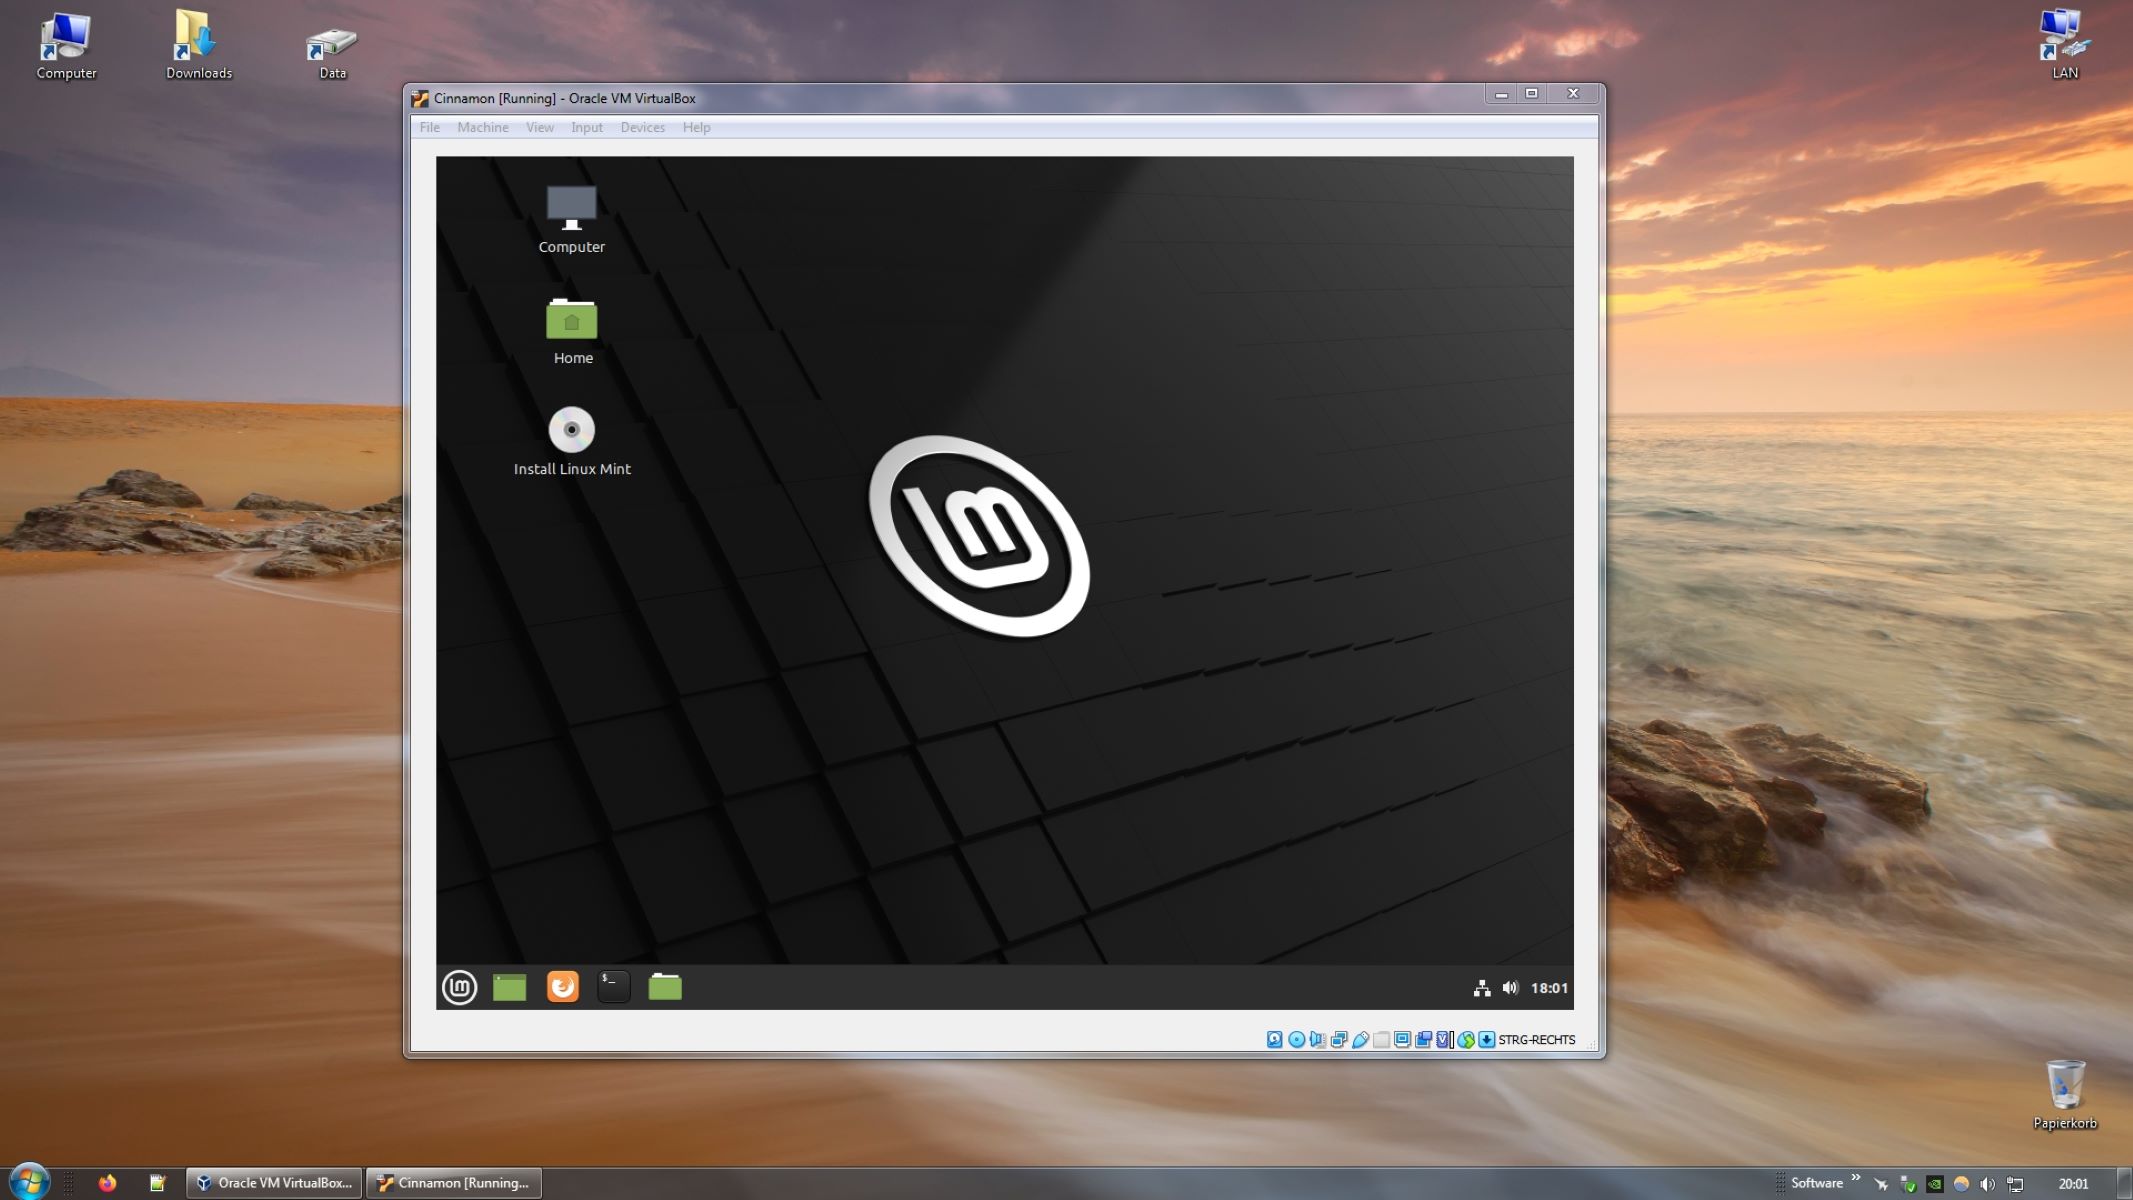
- Select the Ubuntu ISO: When the virtual machine starts, it will boot from the Ubuntu ISO file you attached in the storage settings. Use the arrow keys to navigate and press Enter to select the “Install Ubuntu” option.
- Choose the language: Select your preferred language for the installation process and click “Continue”.
- Configure keyboard layout: Set your keyboard layout and click “Continue”.
- Preparing to install: Ubuntu will perform some initial checks and preparations. You can choose to download software updates and third-party software during the installation process. Make your selections and click “Continue”.
- Installation type: Choose the installation type based on your preferences. You can select to install Ubuntu alongside your existing operating system or replace it entirely. If you are unsure, choose the “Erase disk and install Ubuntu” option.
- Set your location: Select your geographic location and click “Continue”.
- Create a user: Enter your name, a name for your computer, a username, and a strong password. Click “Continue”.
- Installing Ubuntu: Ubuntu will now begin the installation process. It will copy files, configure the system, and install the necessary packages.
- Installation complete: Once the installation is complete, you will be prompted to restart the virtual machine. Click “Restart Now” to reboot and complete the installation.
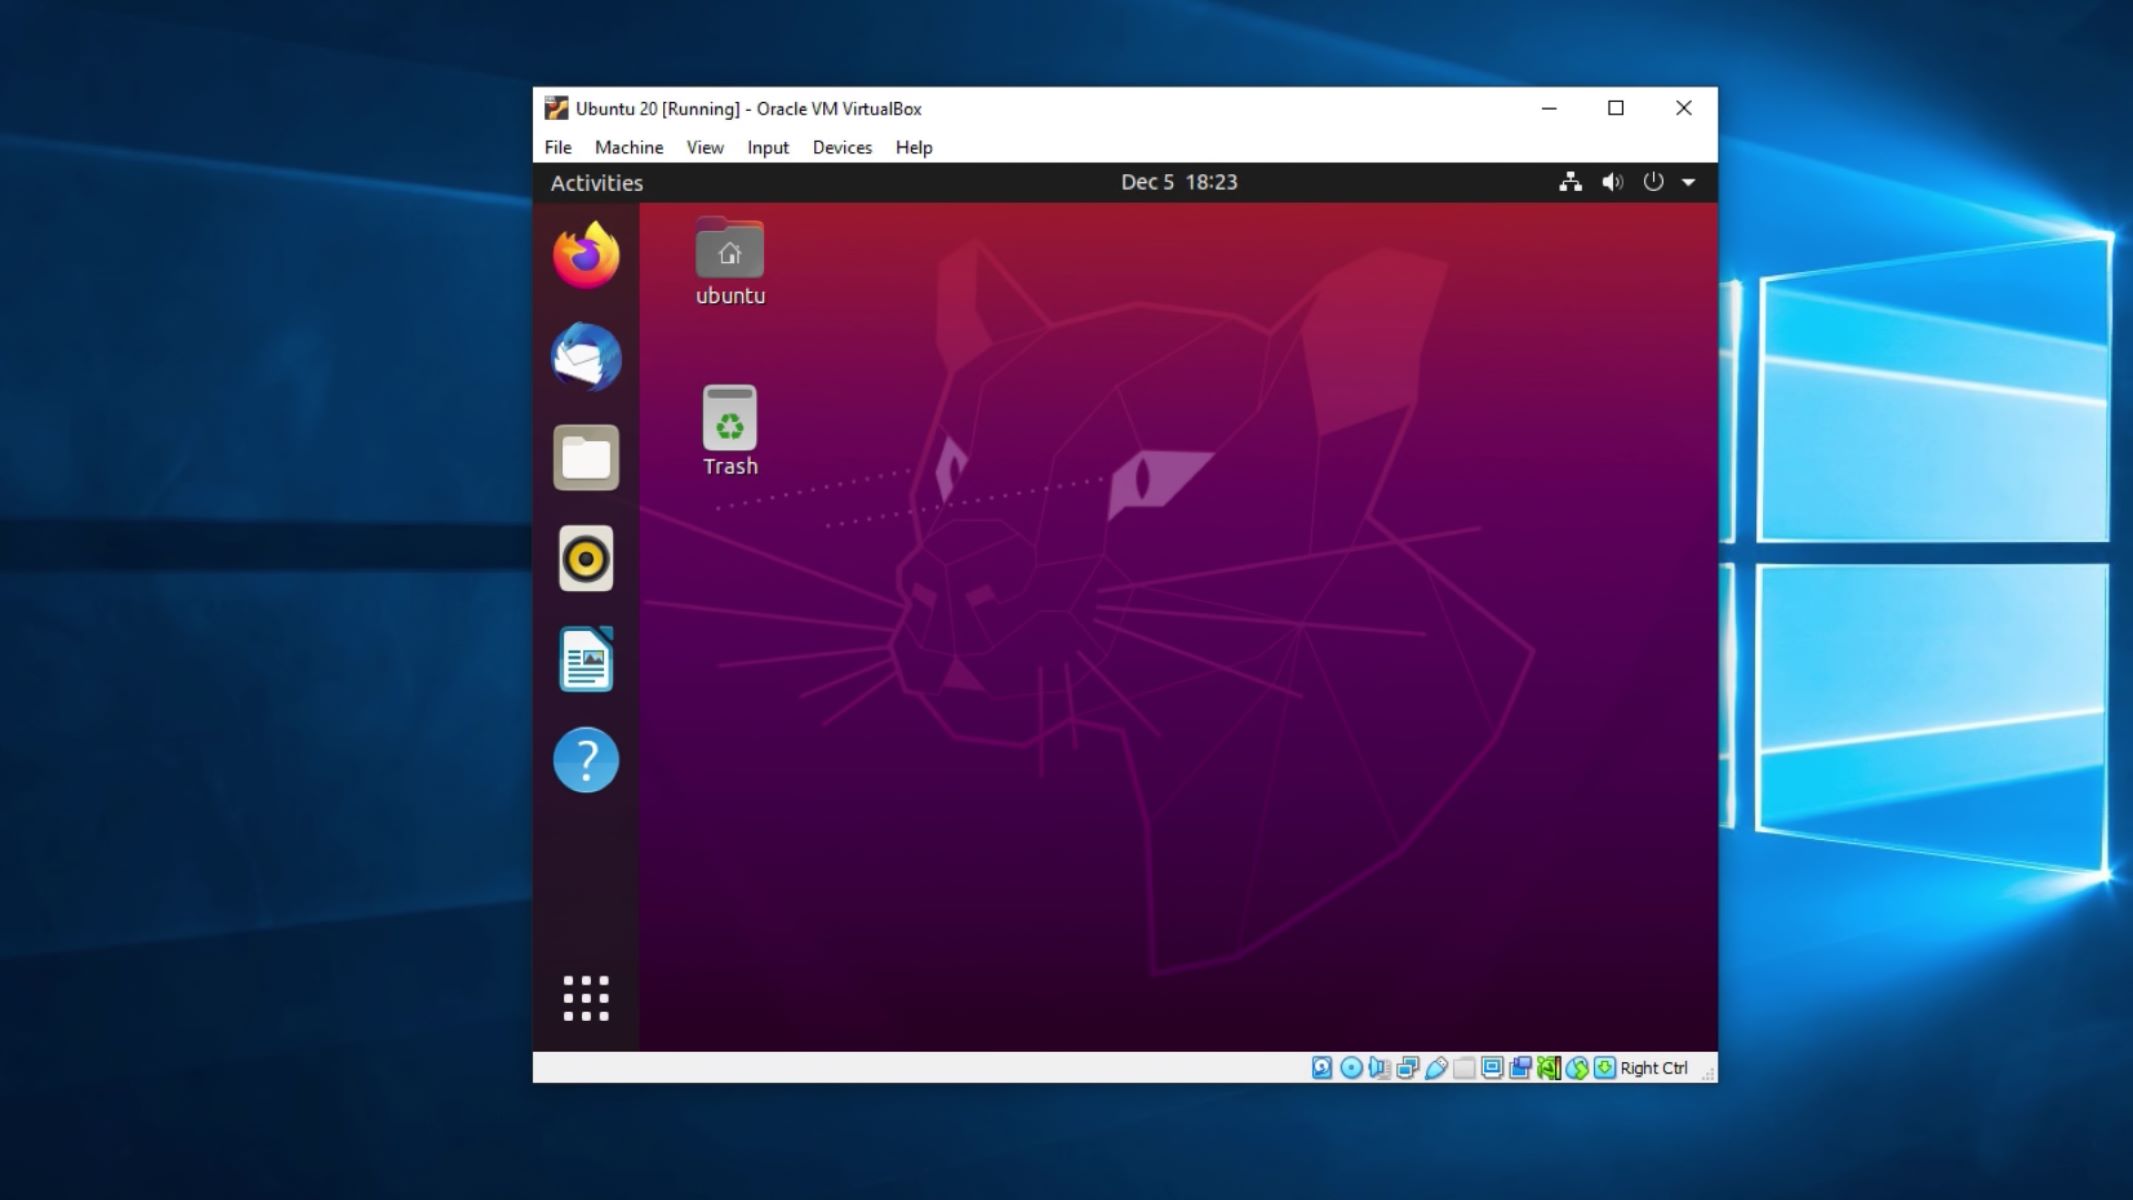
After the virtual machine restarts, Ubuntu will load from the virtual hard disk, and you will be greeted with the Ubuntu login screen. Enter the username and password you created during the installation process to access the Ubuntu desktop environment.
Congratulations! You have successfully installed Ubuntu on the virtual machine. In the next section, we will discuss how to install VirtualBox Guest Additions to enhance the functionality of the virtual machine.
Installing VirtualBox Guest Additions
To enhance the functionality and performance of your Ubuntu virtual machine, it is recommended to install VirtualBox Guest Additions. Guest Additions is a package of drivers and software that improves integration between the virtual machine and the host computer. This includes better display resolution, seamless mouse integration, shared clipboard, and more. Follow the steps below to install VirtualBox Guest Additions:
- Start the virtual machine: Launch the Ubuntu virtual machine from the VirtualBox Manager window.
- Mount the Guest Additions ISO: In the VirtualBox menu, click on “Devices” then select “Insert Guest Additions CD Image”. This will mount the Guest Additions ISO file inside the virtual machine.
- Install required packages: Open the Terminal in Ubuntu by pressing Ctrl+Alt+T. In the Terminal, run the following command to install the required packages:
sudo apt-get update && sudo apt-get install build-essential dkms linux-headers-$(uname -r) - Change to the Guest Additions directory: In the Terminal, navigate to the mounted Guest Additions directory. Run the following command:
cd /media/$USER/VBOXADDITIONS_* - Run the installer: In the Terminal, run the following command to execute the Guest Additions installer:
sudo ./VBoxLinuxAdditions.run - Follow the installer prompts: The installer will guide you through the installation process. Press Enter or type “y” when prompted to proceed.
- Reboot the virtual machine: After the installation is complete, reboot the virtual machine by running the following command in the Terminal:
sudo reboot
Once the virtual machine restarts, VirtualBox Guest Additions will be fully installed and ready to use. You can now enjoy enhanced features and performance on your Ubuntu virtual machine, such as improved screen resolution and seamless mouse integration.
It’s worth noting that to enable some of the advanced features of VirtualBox Guest Additions, you may need to adjust the settings of your virtual machine, such as enabling shared clipboard or bidirectional drag and drop. These settings can be configured in the VirtualBox Manager window by selecting your virtual machine and going to the Settings menu.
With VirtualBox Guest Additions successfully installed, you can now enjoy a more seamless and integrated experience between your Ubuntu virtual machine and your host computer.
Configuring shared folders
Shared folders allow you to easily share files between your host computer and the Ubuntu virtual machine. By configuring shared folders, you can conveniently transfer files back and forth without the need for external storage devices or network transfers. Follow the steps below to configure shared folders:
- Start the virtual machine: Launch the Ubuntu virtual machine from the VirtualBox Manager window.
- Install VirtualBox Guest Additions: Before configuring shared folders, make sure VirtualBox Guest Additions is installed on the virtual machine. Refer to the previous section on how to install Guest Additions if you haven’t done so already.
- Add a shared folder: In the VirtualBox Manager window, select your virtual machine and click on the “Settings” button. In the Settings window, go to the “Shared Folders” tab.
- Add a new shared folder: Click on the folder icon with a plus sign to add a new shared folder. Choose the folder path from your host computer that you want to share. Optionally, you can set a different folder name for reference within the virtual machine.
- Specify the folder options: You can choose to enable the “Read-only” option if you only want the shared folder to be accessible for reading in the virtual machine. The “Auto-mount” option will mount the shared folder automatically when the virtual machine starts.
- Mount the shared folder: In the Ubuntu virtual machine, open the Terminal and run the following command to mount the shared folder:
sudo mount -t vboxsf [shared_folder_name] [mount_point]Replace `[shared_folder_name]` with the name you set for the shared folder and `[mount_point]` with the directory where you want to mount the shared folder. - Access the shared folder: The shared folder will now be accessible within the virtual machine at the specified mount point location. You can browse, read, and write files to/from the shared folder.
- Automatically mount shared folder on startup: If you want the shared folder to be mounted automatically every time the virtual machine starts, you can add a command to the startup applications list. Go to “Startup Applications” in the Ubuntu system settings and add a new startup item with the mount command.
By configuring shared folders, you can easily share files between your host computer and the Ubuntu virtual machine, making it convenient for transferring documents, code files, or any other files you need. Keep in mind that the shared folder feature within VirtualBox respects file permissions, so access privileges in the virtual machine will be the same as on the host machine.
With shared folders set up, you can now enjoy seamless file transfer between your host computer and the Ubuntu virtual machine, making it easier to work with and share files between the two environments.
Customizing display settings
Customizing the display settings of your Ubuntu virtual machine can greatly improve your experience by adjusting the screen resolution, graphics acceleration, and other display-related settings. Follow these steps to customize the display settings:
- Start the virtual machine: Launch the Ubuntu virtual machine from the VirtualBox Manager window.
- Install VirtualBox Guest Additions: Before customizing display settings, make sure VirtualBox Guest Additions is installed on the virtual machine. Refer to the previous section on how to install Guest Additions if you haven’t done so already.
- Start Ubuntu and log in: After the virtual machine boots into Ubuntu, enter your username and password to log in.
- Adjust the screen resolution: By default, Ubuntu may not take full advantage of your host computer’s screen resolution. To adjust the screen resolution, go to the “Settings” or “Displays” menu within Ubuntu. Here, you can select the appropriate resolution that fits your host computer’s display.
- Enable 3D acceleration: If you require advanced graphics capabilities, you may want to enable 3D acceleration. Open the VirtualBox Manager, select your virtual machine, and click on “Settings”. In the Display settings, enable the “3D Acceleration” option.
- Adjust video memory: In the VirtualBox Manager, select your virtual machine and go to the Display settings. Increase the video memory allocation if you require better graphics performance.
- Adjust graphics controller: By default, VirtualBox uses the VBoxSVGA graphics controller. If you encounter issues with graphics performance, you can try changing the graphics controller to VBoxVGA or VBoxVMSVGA in the Display settings of your virtual machine.
- Enable seamless mode: In VirtualBox, you can enable seamless mode to seamlessly integrate the Ubuntu virtual machine’s desktop with your host desktop. Press the Host Key and “L” on your keyboard to enable seamless mode.
- Explore additional display settings: Ubuntu provides a range of display settings that can be customized to suit your preferences. These include font size, brightness, monitor arrangement, and more. Access these settings within the Ubuntu system settings or through the Display settings.
By customizing the display settings, you can optimize your Ubuntu virtual machine’s display for a better visual experience and improved usability. Adjust the screen resolution, graphics settings, and other display options to match the capabilities of your host computer and your personal preferences.
With the display settings customized to your liking, you can now enjoy using your Ubuntu virtual machine with an enhanced visual experience.
Troubleshooting common issues
While running Ubuntu on a virtual machine, you may encounter some common issues that can be resolved with a few troubleshooting steps. Here are some solutions to help you address these issues:
- Low resolution: If Ubuntu is running at a low resolution within the virtual machine, try adjusting the screen resolution settings within Ubuntu. Go to the “Settings” or “Displays” menu and select a higher resolution. If the desired resolution is not available, make sure VirtualBox Guest Additions is installed and the video memory is properly allocated.
- Mouse integration issues: If you’re experiencing problems with the mouse integration, ensure that VirtualBox Guest Additions is installed. Try toggling the mouse integration on and off by pressing the Host Key and “I” on your keyboard. If the issue persists, make sure you have the latest version of VirtualBox and the guest additions installed.
- No internet connection: If there is no internet connection within the virtual machine, check the network settings in VirtualBox. Ensure that the network adapter is configured properly, usually set to NAT by default. If necessary, try changing the network adapter type or enabling network bridging to connect the virtual machine to your host’s network.
- No sound: If you are not getting any sound in the virtual machine, ensure that the sound card is properly detected and enabled within Ubuntu. Check the sound settings in Ubuntu and make sure the correct audio output device is selected. Also, check the VirtualBox settings to ensure that audio is enabled for the virtual machine.
- Performance issues: If you are experiencing sluggish performance, try increasing the allocated memory (RAM) and video memory in the virtual machine settings within VirtualBox. Allocating more resources can improve the performance of the virtual machine. Additionally, ensure that you have the latest versions of VirtualBox and the guest additions installed.
- Shared folders not working: If you are having trouble accessing the shared folders between the host and virtual machine, ensure that the shared folder is correctly set up in VirtualBox. Double-check the folder path and permissions. If necessary, try unmounting and remounting the shared folder within the virtual machine.
If you encounter any other issues or error messages, it can be helpful to search online forums and documentation specific to your situation. The VirtualBox and Ubuntu communities have extensive resources and troubleshooting guides that can provide solutions to a wide range of issues.
Remember to keep your virtual machine and VirtualBox software up to date, as new updates often bring bug fixes and improvements that can resolve known issues. With proper troubleshooting, you can enjoy a smooth and trouble-free experience running Ubuntu on a virtual machine.
Conclusion
Congratulations! You have successfully learned how to set up and run Ubuntu on a virtual machine using VirtualBox. By following the steps outlined in this guide, you have gained the knowledge and skills necessary to create a virtual machine, customize its settings, install Ubuntu, and troubleshoot common issues.
Running Ubuntu on a virtual machine provides a flexible and efficient way to explore and work with this powerful operating system without the need to install it directly on your physical computer. Virtual machines offer a safe and isolated environment where you can experiment, test software compatibility, and make changes without affecting your main operating system.
During the setup process, you have learned how to download the Ubuntu ISO file from the official website and install VirtualBox, the virtualization software that serves as the platform for running Ubuntu. You have also become familiar with configuring virtual machine settings, installing VirtualBox Guest Additions to enhance functionality, and setting up shared folders for easy file transfer between the virtual machine and host computer.
Additionally, troubleshooting common issues along the way has equipped you with the skills to overcome challenges that may arise during the process. Whether it’s resolving low resolution, mouse integration, network connectivity, or performance issues, you now possess the ability to address these common concerns effectively.
By gaining proficiency in running Ubuntu on a virtual machine, you have opened up a world of possibilities. This knowledge can be applied to various scenarios, including development, system administration, testing software configurations, and more.
Remember to stay informed about updates for both VirtualBox and Ubuntu, as new versions often bring enhanced features, bug fixes, and security improvements. Additionally, continue exploring the Ubuntu operating system and its extensive range of software options to further expand your skills and knowledge.
Thank you for following this guide, and we hope it has been a valuable resource for your journey in running Ubuntu on a virtual machine. Good luck with your virtual machine endeavors!