Introduction
VMware Workstation is a powerful virtualization software that allows users to run multiple operating systems on a single physical machine. Whether you’re a software developer, IT professional, or a tech enthusiast, VMware Workstation provides a seamless way to create, test, and deploy virtual machines to suit your specific needs.
This versatile software is widely recognized for its robust features and user-friendly interface, making it a popular choice among professionals and hobbyists alike. With VMware Workstation, you can emulate a wide range of operating systems, including Windows, Linux, macOS, and more, all within the comfort of your existing setup.
This article will guide you through the process of installing VMware Workstation on Ubuntu, a popular Linux distribution known for its stability and versatility. Whether you’re new to Ubuntu or a seasoned user, this step-by-step guide will help you get VMware Workstation up and running in no time.
By utilizing VMware Workstation on Ubuntu, you can explore different environments, test software compatibility, create virtual networks, and even develop applications targeted for specific operating systems. The ability to run multiple virtual machines simultaneously provides a flexible and efficient workflow for various tasks such as software testing, support, and training.
In the following sections, we will cover the prerequisites, as well as the step-by-step process to successfully install VMware Workstation on Ubuntu. So without further ado, let’s dive into the exciting world of virtualization and get started with VMware Workstation on Ubuntu.
Prerequisites
Before you begin the installation process for VMware Workstation on Ubuntu, make sure you have the following prerequisites in place:
- Ubuntu operating system installed on your machine.
- Administrative access or sudo privileges to perform system-wide changes.
- Active internet connection to download necessary packages and updates.
- Adequate disk space available to accommodate the virtual machines you’ll create.
It’s important to ensure that your system meets these requirements to ensure a smooth installation process and optimal performance of VMware Workstation. If you’re unsure about any of these prerequisites, you can refer to the official Ubuntu documentation or seek assistance from the Ubuntu community forums.
In addition, it is always a good practice to update your system to the latest software packages before installing any new software. Open the terminal on your Ubuntu machine and run the following command:
sudo apt update && sudo apt upgrade
This command will update the package lists and upgrade the existing packages to their latest versions. It may take some time depending on your internet speed and the number of updates available.
Once you have fulfilled these prerequisites and ensured that your system is up to date, you’re ready to proceed with the installation of VMware Workstation on Ubuntu. In the following sections, we will guide you through each step of the installation process to help you achieve a successful installation.
Step 1: Download VMware Workstation
To begin the installation process, you first need to download the VMware Workstation package for Ubuntu. Follow the steps below to download the package from the official VMware website:
- Open your web browser and navigate to the official VMware Workstation download page.
- On the download page, locate the section that corresponds to the Linux version.
- Click on the “Download Now” button next to the VMware Workstation for Linux option.
-
You will be redirected to a login page. If you have a VMware account, enter your credentials and log in. Otherwise, click on the “Create an account” link to create a new account.
- Fill in the required fields and click on the “Register” button to create your account.
- After creating an account and logging in, you will be redirected back to the download page.
- Scroll down on the download page and locate the VMware Workstation package for Ubuntu.
- Click on the “Download” button next to the Ubuntu package.
Once the download is complete, you will have the VMware Workstation package saved on your local machine. By following these steps, you have successfully obtained the necessary package to proceed with the installation process.
In the next section, we will discuss the installation of required packages to ensure proper compatibility and functionality of VMware Workstation on your Ubuntu system.
Step 2: Install Required Packages
Before proceeding with the installation of VMware Workstation, you need to install some required packages on your Ubuntu system. These packages provide essential dependencies and libraries that VMware Workstation relies on to function properly. Follow the steps below to install the required packages:
- Open the terminal on your Ubuntu machine.
- Update the package lists by running the following command:
sudo apt update - Once the package lists are updated, install the necessary packages by running the following command:
sudo apt install build-essential linux-headers-`uname -r`This command installs the build-essential package, which includes important tools and libraries for compiling software, as well as the linux-headers package specific to your current kernel version. These packages are required for the installation of VMware Workstation.
- You may be prompted to enter your password. Type your password and press Enter.
- During the installation process, you may be asked to confirm the installation of additional packages. Type ‘Y’ and press Enter to proceed.
- Wait for the packages to be installed on your system. It may take a few moments depending on your internet speed and the size of the packages.
Once the installation process is complete, you have successfully installed the necessary packages for VMware Workstation on your Ubuntu system. These packages ensure that VMware Workstation has the required dependencies to function properly and provide a stable virtualization environment.
In the next section, we will give execute permissions to the VMware Workstation installer, allowing us to run the installer and proceed with the installation.
Step 3: Give Execute Permissions to the Installer
Before launching the VMware Workstation installer, we need to give the installer file execute permissions. This will allow us to run the installer and proceed with the installation process. Follow the steps below to give execute permissions to the VMware Workstation installer:
- Open the terminal on your Ubuntu machine.
- Navigate to the directory where the VMware Workstation installer file is located. For example, if the installer is in the Downloads directory, run the following command:
cd ~/Downloads - Once you are in the appropriate directory, give execute permissions to the installer file by running the following command:
chmod +x VMware-Workstation-*.bundleThis command uses the chmod command to change the permissions of the installer file, allowing it to be executed.
- The installer file now has execute permissions, enabling us to launch the installer and proceed with the installation process.
Now that we have given execute permissions to the VMware Workstation installer, we can move on to the next step and launch the installer. In the next section, we will guide you through launching the installer and agreeing to the license terms.
Step 4: Launch the Installer
With the execute permissions granted, we can now proceed to launch the VMware Workstation installer. Follow the steps below to start the installation process:
- Open the terminal on your Ubuntu machine, if it’s not already open.
- Navigate to the directory where the VMware Workstation installer file is located. For example, if the installer is in the Downloads directory, run the following command:
cd ~/Downloads - Launch the installer by running the following command:
sudo ./VMware-Workstation-*.bundleThis command executes the VMware Workstation installer using superuser privileges, which allows the installer to make necessary system-level changes during the installation process.
- A graphical installer window will appear, indicating that the installer has been launched.
By following these steps, you have successfully launched the VMware Workstation installer on your Ubuntu system. In the next section, we will guide you through the process of agreeing to the license terms.
Step 5: Agree to License Terms
When installing VMware Workstation on Ubuntu, you are required to review and accept the license terms before proceeding with the installation. Follow the steps below to agree to the license terms:
- After launching the VMware Workstation installer, you will be presented with the End User License Agreement (EULA). Read through the license terms to familiarize yourself with the terms and conditions of using VMware Workstation.
- Scroll down to the bottom of the license agreement using the arrow keys or the scroll wheel of your mouse.
- Press ‘Enter’ to continue reading the license agreement until you reach the end.
- After reaching the end of the license agreement, you will be asked to accept the terms and conditions. Type ‘yes’ to accept the license terms and proceed with the installation.
- Press ‘Enter’ to continue with the installation process.
By agreeing to the license terms, you acknowledge and accept the terms and conditions set forth by VMware for using their Workstation software. It is important to review the license terms to understand your rights and obligations as a user of VMware Workstation.
In the next section, we will guide you through the process of choosing the installation mode for VMware Workstation.
Step 6: Choose Installation Mode
After accepting the license terms, you’ll need to choose the installation mode for VMware Workstation. There are two options available: Typical and Custom. Follow the steps below to select the installation mode that suits your needs:
- In the installer window, you will be prompted to select the installation mode.
-
- Typical Installation: This mode installs VMware Workstation with default settings, including the recommended settings and features.
- Custom Installation: This mode allows you to customize the installation settings and choose additional features according to your preferences.
-
If you prefer the default settings and features, select the “Typical” installation mode by pressing the corresponding key, usually ‘t’, and then press ‘Enter’ to proceed.
If you want to customize the installation and choose additional features, select the “Custom” installation mode by pressing the corresponding key, usually ‘c’, and then press ‘Enter’ to proceed.
Choose the installation mode that aligns with your requirements and preferences. The default “Typical” installation mode is suitable for most users, while the “Custom” installation mode allows you to tailor the installation to your specific needs.
In the next section, we will guide you through selecting the user interface (UI) skin for VMware Workstation.
Step 7: Choose UI Skin
After selecting the installation mode, the next step is to choose the user interface (UI) skin for VMware Workstation. The UI skin determines the appearance of the VMware Workstation interface. Follow the steps below to choose the UI skin:
- In the installer window, you will be presented with a list of UI skins to choose from.
- Use the arrow keys to navigate through the options and highlight the UI skin that you prefer.
- Once the desired UI skin is highlighted, press ‘Enter’ to select it.
There are several UI skins available, each with its own visual style and layout. Choose the UI skin that you find most visually appealing or suits your personal preferences.
In the next section, we will guide you through configuring the installation options for VMware Workstation.
Step 8: Configure the Installation
After selecting the UI skin, you will have the option to configure the installation settings for VMware Workstation. This step allows you to customize various aspects of the installation according to your requirements. Follow the steps below to configure the installation:
- In the installer window, you will be presented with the installation configuration options.
-
- Use the arrow keys or the tab key to navigate through the options.
- Press the spacebar to toggle the options on or off.
-
Customize the installation settings based on your preferences, such as:
- Select the installation directory where VMware Workstation will be installed.
- Choose whether to enable or disable the VMware Workstation update feature.
- Select additional features or components to install, such as VMware Player.
- Once you have made your desired configuration changes, navigate to the “Next” button and press ‘Enter’ to proceed.
By configuring the installation settings, you can tailor the installation to your specific needs and preferences. The options may vary depending on your version of VMware Workstation.
In the next step, you have the option to enter a license key. If you have a license key, you can proceed to Step 9. Otherwise, you can skip to Step 10 to install VMware Workstation without a license key.
Step 9: Enter License Key (Optional)
In this step, you have the option to enter a license key for VMware Workstation. If you have a valid license key, you can activate it during the installation process. Follow the steps below to enter a license key:
- In the installer window, you will be prompted to enter a license key.
- If you have a license key, type it in the provided text field.
- If you do not have a license key or want to skip this step, leave the text field blank.
- Once you have entered the license key or left it blank, navigate to the “Next” button and press ‘Enter’ to proceed.
Entering a valid license key will activate the full functionality of VMware Workstation. If you do not have a license key, you can still proceed with the installation and use VMware Workstation in a trial mode, which provides limited functionality.
In the next section, we will guide you through the actual installation of VMware Workstation on your Ubuntu system.
Step 10: Install VMware Workstation
Now that you have configured the installation settings, it’s time to proceed with the actual installation of VMware Workstation on your Ubuntu system. Follow the steps below to install VMware Workstation:
- In the installer window, review the installation settings and ensure they match your preferences.
- Once you are satisfied with the settings, navigate to the “Install” button and press ‘Enter’ to start the installation process.
- Wait for the installation to complete. The progress bar and status messages will indicate the installation progress.
- During the installation, you may be prompted to enter your administrative password. Type your password and press ‘Enter’ to continue.
- After the installation is complete, you will see a completion message indicating the successful installation of VMware Workstation.
The installation process may take a few minutes, depending on your system’s performance and the selected installation options. Once the installation is finished, you will have VMware Workstation installed and ready to use on your Ubuntu system.
In the next step, we will guide you through completing the installation process and verifying the installation of VMware Workstation.
Step 11: Complete the Installation
After the installation of VMware Workstation is finished, there are a few final steps to complete the installation process and verify that VMware Workstation is installed correctly on your Ubuntu system. Follow the steps below to complete the installation:
- In the installer window, click on the “Finish” or “Exit” button to close the installer.
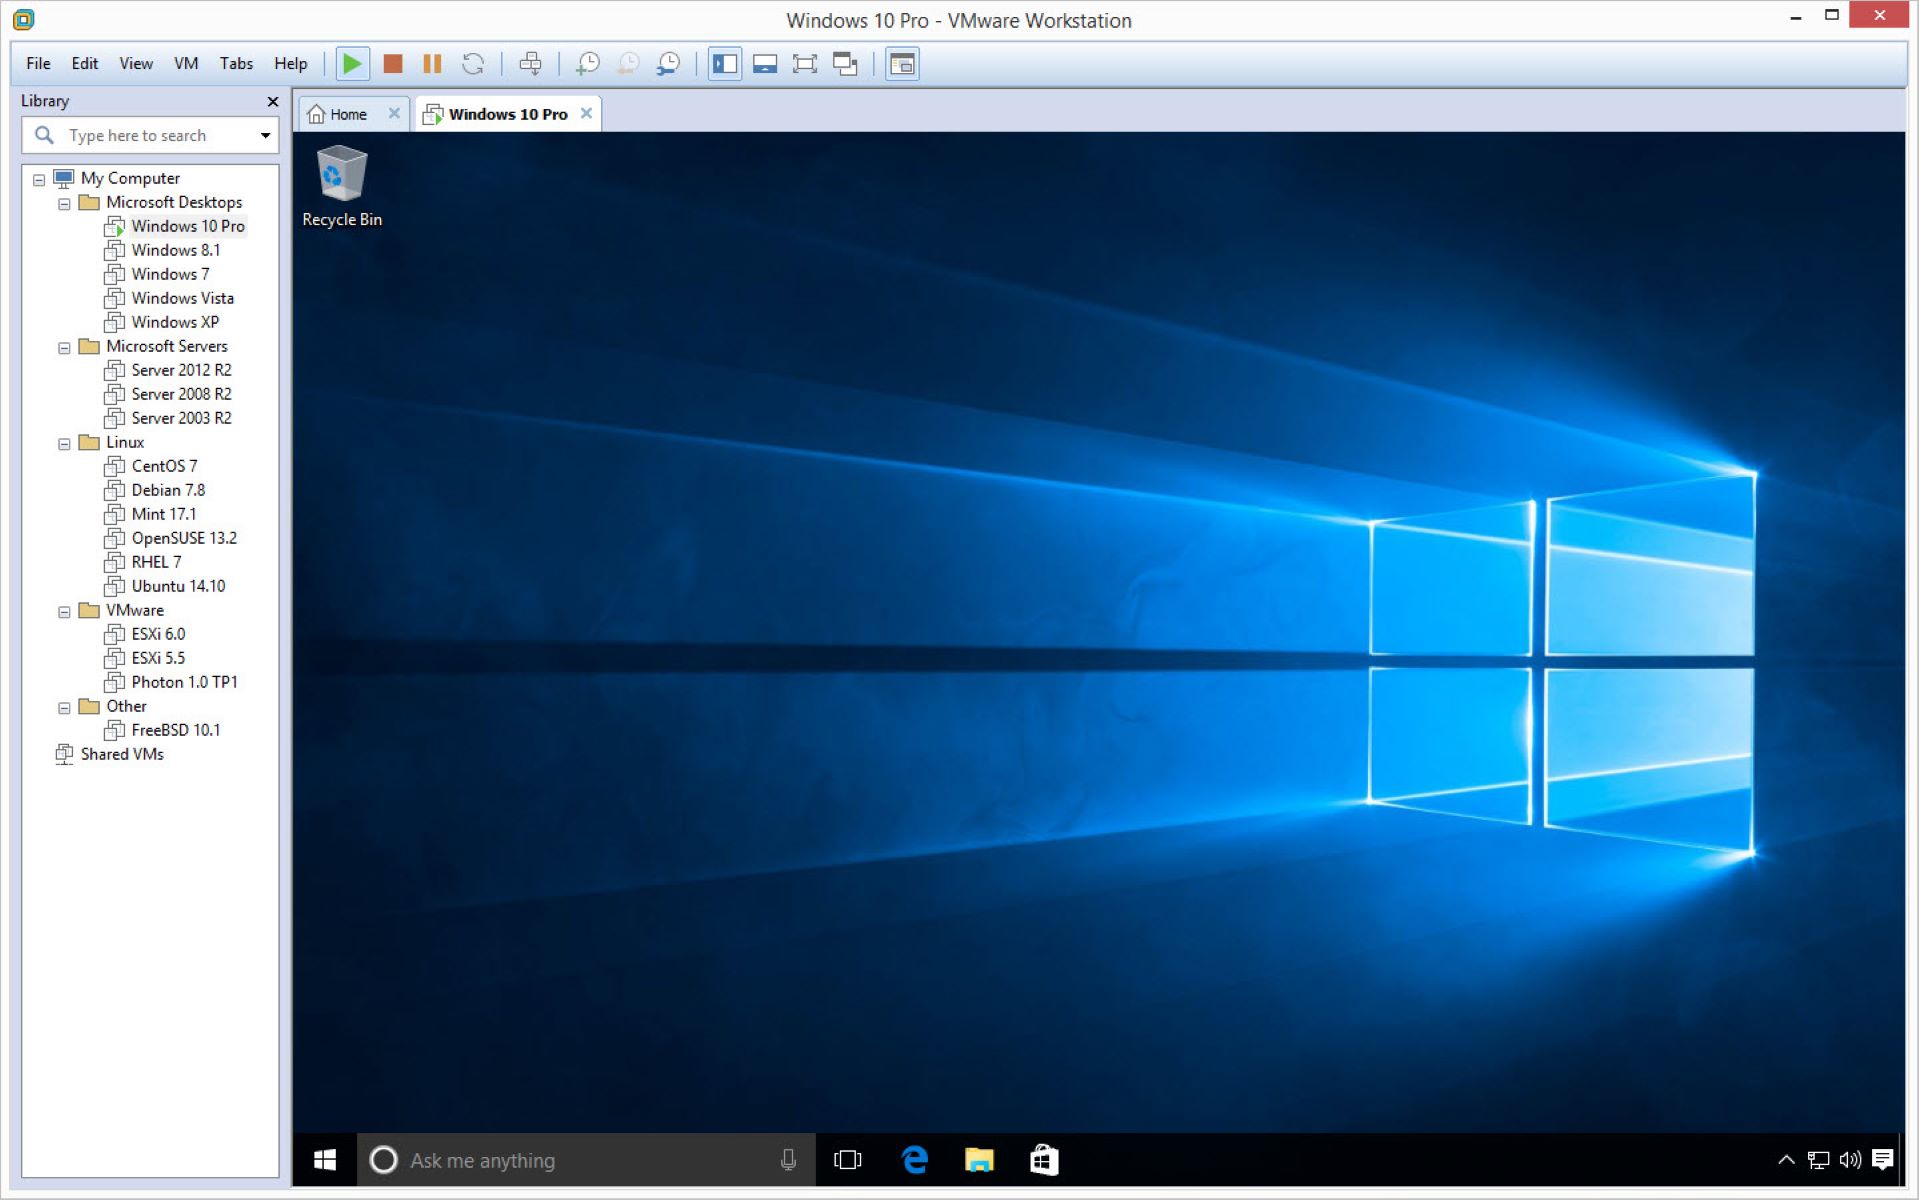
- Once the installer is closed, you can launch VMware Workstation by searching for it in the application menu or by running the command “vmware” in the terminal.
- When you launch VMware Workstation for the first time, you may be prompted to enter your administrative password. Enter your password to continue.
- VMware Workstation will start and present you with a welcome screen or a registration window. You can choose to register your product or skip this step to continue with the trial version.
- Verify that VMware Workstation is functioning correctly by creating a new virtual machine or opening an existing one.
Congratulations! You have successfully completed the installation of VMware Workstation on your Ubuntu system. You can now use VMware Workstation to run multiple virtual machines and explore a variety of operating systems and software environments.
In this tutorial, we have covered the step-by-step process of installing VMware Workstation on Ubuntu. Remember to refer to the official VMware documentation or seek assistance from the VMware community if you encounter any issues or have specific configuration requirements.
Now that VMware Workstation is installed, you can enjoy the flexibility and power of virtualization on your Ubuntu system. Whether you’re a software developer, IT professional, or simply curious about different operating systems, VMware Workstation provides a robust platform for testing, development, and exploration.
Conclusion
In this guide, we have walked you through the step-by-step process of installing VMware Workstation on Ubuntu. By following these instructions, you should now have VMware Workstation up and running on your Ubuntu system, ready to create and manage virtual machines.
VMware Workstation offers a powerful and flexible virtualization platform that allows you to run multiple operating systems on a single machine. Whether you’re a developer testing software compatibility, an IT professional managing virtual server environments, or a tech enthusiast exploring different operating systems, VMware Workstation provides the tools and features you need.
Throughout the installation process, we covered important steps such as downloading VMware Workstation, installing required packages, giving execute permissions to the installer, launching the installer, agreeing to the license terms, choosing the installation mode and UI skin, configuring the installation options, entering a license key (if applicable), and completing the installation.
After completing the installation, you can start using VMware Workstation to create and manage virtual machines. You can run various operating systems simultaneously, test software compatibility, simulate networking environments, and much more. VMware Workstation provides a user-friendly interface and a range of features that make it a popular choice for professionals and enthusiasts alike.
Remember to consult the official VMware Workstation documentation and resources for further information on features, advanced configuration, and troubleshooting. Additionally, check for any updates or patches released by VMware to ensure the security and optimal performance of your VMware Workstation installation.
With VMware Workstation on your Ubuntu system, you have the ability to harness the power of virtualization, explore new technologies, and enhance your productivity. Enjoy the convenience and flexibility that VMware Workstation brings to your computing experience.