Introduction
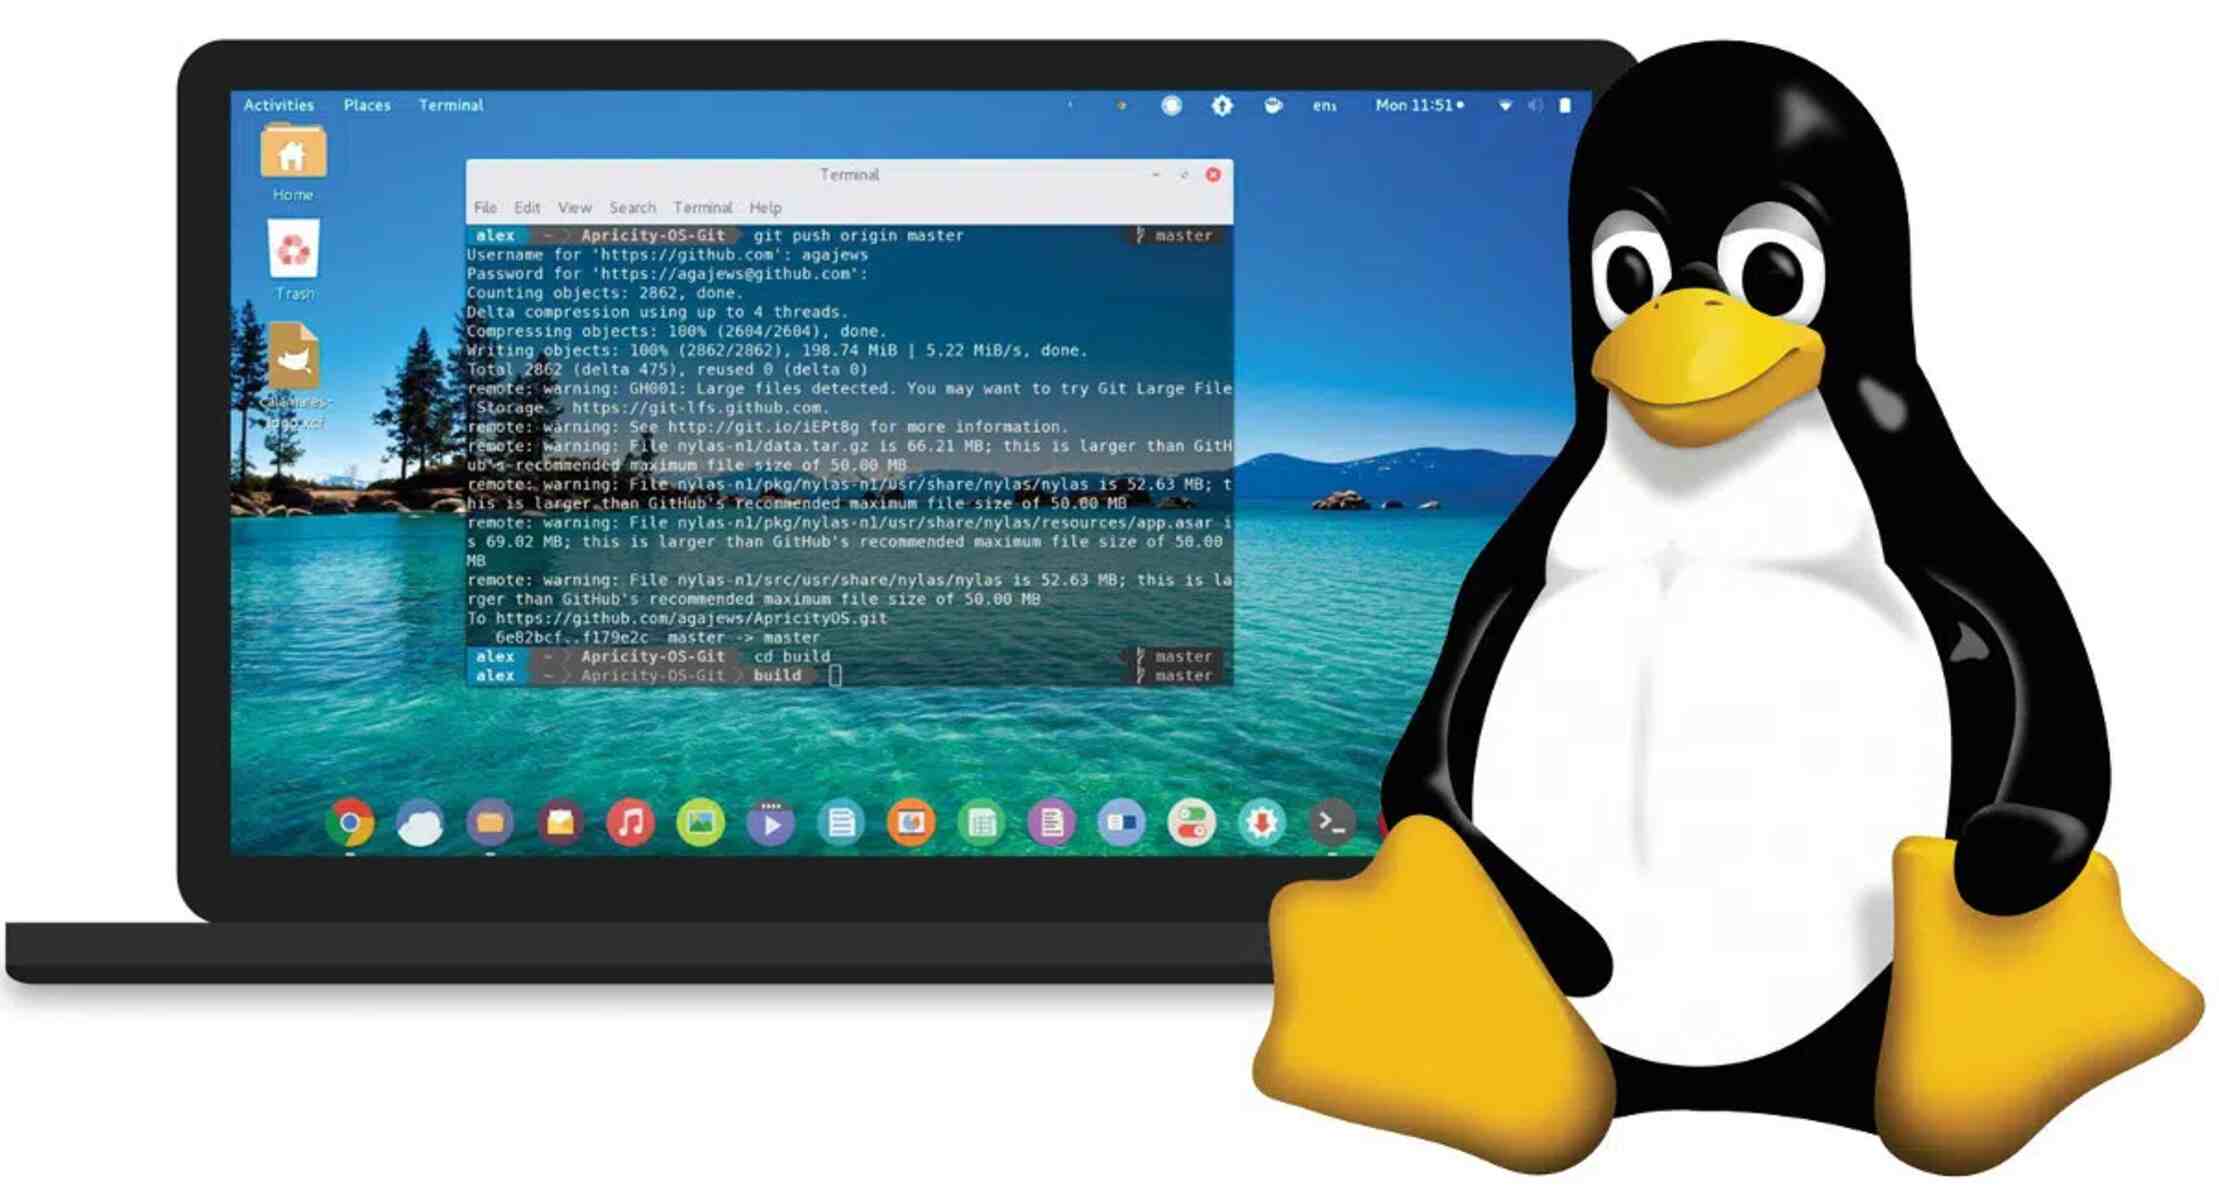
Welcome to the world of Linux on VMware Workstation! VMware Workstation is a powerful virtualization software that allows you to run multiple operating systems on a single machine. By installing Linux on VMware Workstation, you can experience the flexibility and power of this open-source operating system while enjoying the convenience of running it within a virtual environment.
Whether you are a developer, a system administrator, or simply curious about Linux, this guide will walk you through the process of getting Linux up and running on VMware Workstation. We will cover everything from downloading and installing VMware Workstation to configuring Linux settings and installing VMware Tools for optimal performance.
By virtualizing Linux on VMware Workstation, you can experiment with different Linux distributions, test software, develop applications, and even create a virtual laboratory for learning and practicing system administration tasks. Furthermore, with VMware Workstation’s advanced features such as snapshots and cloning, you can easily create and manage multiple virtual machines running Linux.
Whether you are a novice or a seasoned IT professional, we will provide step-by-step instructions to ensure a smooth and seamless installation process. So, if you are ready to dive into the world of Linux, let’s get started with downloading and installing VMware Workstation.
Prerequisites
Before you begin installing Linux on VMware Workstation, make sure you have the following prerequisites:
1. A computer with VMware Workstation installed: Ensure that you have VMware Workstation installed on your computer. If you don’t already have it, you can download the latest version from the official VMware website.
2. Adequate system resources: Check that your computer meets the minimum system requirements to run VMware Workstation and the Linux distribution you intend to install. This includes having enough RAM, processor power, and disk space to accommodate both the host operating system and the virtual machine.
3. Linux ISO image: Download the Linux distribution ISO file that you want to install. There are various Linux distributions available, such as Ubuntu, CentOS, Fedora, and more. Make sure to download the appropriate version for your needs.
4. Valid license or product key (if applicable): Some Linux distributions require a license or product key during the installation process. Ensure that you have the necessary details to complete the installation smoothly.
5. Internet connectivity: While not mandatory, having an internet connection during the installation process can be beneficial. It allows you to download updates, software packages, and additional drivers, enhancing the overall functionality and performance of the Linux distribution.
Once you have met these prerequisites, you are ready to move on to the next step: downloading and installing VMware Workstation. Now that you have the necessary tools and resources at your disposal, let’s proceed with setting up your Linux virtual machine!
Step 1: Downloading VMware Workstation
The first step in getting Linux on VMware Workstation is to download and install the VMware Workstation software. Follow these steps:
- Go to the official VMware website (https://www.vmware.com/products/workstation-pro.html) to download the latest version of VMware Workstation.
- Click on the “Download Now” button to start the download process.
- Depending on your operating system, you will be prompted to choose between the Windows or Linux version. Select the appropriate option.
- After selecting the version, you may be requested to create or log in to your VMware account. If you don’t have an account, you can create one for free.
- Once you log in, the download will begin. Be sure to save the installation file to a location on your computer that is easily accessible.
- Once the download is complete, navigate to the location where the installation file is saved.
- Double-click on the installation file to initiate the installation process.
- Follow the on-screen prompts to complete the installation. You may be asked to accept the license agreement and choose the installation location.
- After the installation is complete, VMware Workstation will be ready to use on your computer.
By following these steps, you have successfully downloaded and installed VMware Workstation on your computer. You are now one step closer to running Linux on this virtualization software. In the next step, we will guide you through the process of downloading a Linux ISO file.
Step 2: Installing VMware Workstation
Now that you have downloaded the VMware Workstation software, it’s time to install it on your computer. Follow these steps to complete the installation:
- Navigate to the location on your computer where the VMware Workstation installation file is saved.
- Double-click on the installation file to launch the setup wizard.
- Choose your preferred language for the installation and click “Next.”
- Read and accept the end-user license agreement, and then click “Next.”
- Choose the installation location for VMware Workstation. The default location is usually fine, but you can change it if desired. Click “Next” when ready.
- Select whether you want to participate in the VMware Customer Experience Improvement Program and click “Next.”
- Choose whether you want to enable or disable automatic updates and click “Next.”
- Review the installation settings and click “Install” to begin the installation process.
- Wait for the installation to complete. This may take a few minutes.
- Once the installation is finished, click “Finish” to exit the setup wizard.
Congratulations! You have successfully installed VMware Workstation on your computer. Now you can proceed to the next step, which involves downloading a Linux ISO file, to continue setting up Linux on VMware Workstation.
Step 3: Downloading a Linux ISO
With VMware Workstation installed, it’s time to obtain the Linux distribution ISO file that you want to install. Follow these steps to download a Linux ISO:
- Choose the Linux distribution of your choice. Popular options include Ubuntu, CentOS, Fedora, and Debian. Visit the official website of the Linux distribution to download the ISO file. For example, if you’re interested in Ubuntu, go to https://ubuntu.com/download to access the Ubuntu ISO download page.
- On the download page, select the version of the Linux distribution that you want to install. You may see different flavors or releases depending on the distribution.
- Choose the appropriate ISO file based on your computer’s architecture. Most modern computers are 64-bit, but if you have an older system, you may need to choose the 32-bit version.
- Click on the “Download” button to begin the ISO file download. The file size can vary depending on the distribution and version, so it may take some time to complete the download.
- Once the download is finished, save the ISO file to a location on your computer where it’s easily accessible.
That’s it! You have successfully downloaded the Linux ISO file. In the next step, we will guide you through the process of creating a new virtual machine in VMware Workstation to install Linux.
Step 4: Creating a New Virtual Machine
With the Linux ISO file downloaded, you can now create a new virtual machine in VMware Workstation to install Linux. Follow these steps to create a new virtual machine:
- Open VMware Workstation on your computer.
- Click on the “Create a New Virtual Machine” option in the welcome screen. If you are already in the VMware Workstation interface, go to “File” and select “New Virtual Machine.”
- The New Virtual Machine Wizard will appear. Choose “Typical” and click “Next.”
- In the next window, select “Installer disc image file (iso)” and browse to the location where you saved the Linux ISO file. Click “Next.”
- Choose the Linux distribution you are installing from the drop-down menu. If it’s not listed, select “Other Linux 5.x kernel 64-bit.” Click “Next.”
- Enter a name for your virtual machine and specify the location where you want to save it. Click “Next” to proceed.
- Specify the disk capacity for the virtual machine. The recommended size is typically sufficient, but you can adjust it based on your needs. Click “Next” when ready.
- Choose whether you want to store the virtual disk as a single file or split it into multiple files. The default option is usually fine. Click “Next.”
- Review the summary of the virtual machine settings. If everything looks good, click “Finish” to create the virtual machine.
Congratulations! You have successfully created a new virtual machine in VMware Workstation. In the next step, we will guide you through the process of installing Linux on the virtual machine.
Step 5: Installing Linux on VMware Workstation
Now that you have created a new virtual machine, it’s time to install Linux on VMware Workstation. Follow these steps to complete the installation:
- Power on the virtual machine by clicking on the “Play virtual machine” button in VMware Workstation.
- Once the virtual machine starts, you will be prompted to select the language you want to use for the installation. Choose your preferred language and click “Continue.”
- Next, you will see the installation options. Select “Install” to begin the installation process.
- Follow the on-screen prompts to configure the installation settings, such as keyboard layout, timezone, and network configuration. Click “Continue” after each step.
- When you reach the disk partitioning step, choose the appropriate option based on your preference. You can either select the default option to use the entire disk or manually partition the disk. Click “Continue” when ready.
- Enter your user details, including your name, username, and password. You may also be prompted to create a password for the root/administrator account. Click “Continue” to proceed.
- Wait for the installation process to complete. This may take some time depending on your system’s speed and the Linux distribution you are installing.
- Once the installation is finished, you will be prompted to restart the virtual machine. Click “Restart Now” to restart the virtual machine.
- After the restart, Linux will be up and running on VMware Workstation. You can now log in using the username and password you set during the installation process.
Congratulations! You have successfully installed Linux on VMware Workstation. In the next step, we will guide you through the process of configuring Linux settings to optimize your virtual machine configuration.
Step 6: Configuring Linux Settings
After installing Linux on VMware Workstation, it’s important to configure certain settings to optimize your virtual machine and ensure a smooth experience. Follow these steps to configure Linux settings:
- Before proceeding with any configuration changes, make sure that you have installed any available updates for your Linux distribution. This will ensure that you have the latest bug fixes and security patches.
- Customize the desktop environment and appearance to your liking. Most Linux distributions offer various options for themes, wallpapers, and other customization options.
- Check and configure your network settings. Ensure that your virtual machine has internet connectivity by verifying the network settings or configuring a network adapter in VMware Workstation.
- Install any necessary drivers or additional software packages required for specific hardware or functionality.
- Set up user accounts and access privileges, including creating additional user accounts or managing existing ones.
- Configure software repositories to enable easy installation and updates of software packages.
- Set up firewall and security settings to protect your Linux virtual machine.
- Install necessary software tools and applications based on your requirements, such as development tools, office suites, or media players.
- Customize the system preferences, including language settings, time and date formats, keyboard layouts, and system notifications.
- Configure power management settings to optimize energy consumption and set screen saver options.
Remember to save any changes made to the Linux settings and test the system thoroughly to ensure that everything is working as expected. By properly configuring the Linux settings, you can enhance the performance and usability of your virtual machine running on VMware Workstation.
In the next step, we will guide you through the process of installing VMware Tools, which will improve the integration and performance of Linux on VMware Workstation.
Step 7: Installing VMware Tools
To optimize the performance and integration of Linux on VMware Workstation, it is essential to install VMware Tools. Follow these steps to install VMware Tools:
- Start your Linux virtual machine on VMware Workstation.
- In the virtual machine menu, navigate to “VM” and select “Install VMware Tools.”
- A virtual CD/DVD drive will be mounted with the VMware Tools installation files.
- Open a terminal window in your Linux virtual machine and navigate to the mounted CD/DVD drive.
- Extract the contents of the VMware Tools archive by running the appropriate command. This command may vary depending on the Linux distribution. For example, in Ubuntu, you can run the command
tar -xzf VMwareTools-version.tar.gz, replacing version with the actual version number. - Once the extraction is complete, navigate to the extracted directory.
- Run the VMware Tools installer by executing the command
sudo ./vmware-install.pl. - Follow the on-screen prompts to complete the VMware Tools installation. You can choose the default options or customize the installation as per your requirements.
- Once the installation is finished, reboot your Linux virtual machine to apply the changes.
After booting back into your Linux virtual machine, VMware Tools will be installed and running. This enhances the performance of the virtual machine and provides features like better video resolution, mouse integration, and improved file sharing between the host and the guest operating systems.
In the next step, we will guide you through customizing VMware Workstation preferences to enhance your overall experience with Linux on this virtualization software.
Step 8: Customizing VMware Workstation Preferences
After installing Linux on VMware Workstation, you can further enhance your experience by customizing the preferences of the virtualization software. Follow these steps to customize VMware Workstation preferences:
- Launch VMware Workstation on your computer.
- Go to the “Edit” menu and select “Preferences.”
- In the Preferences window, you will find various categories to customize, such as General, Workspace, Virtual Machines, Input, and more.
- In the General category, you can modify options like the default location for virtual machines, the working directory, or the behavior of VMware Workstation.
- In the Workspace category, you can customize the appearance and layout of the VMware interface, including the color scheme, toolbar settings, and sidebar options.
- In the Virtual Machines category, you can configure settings related to virtual machine behavior, display options, power management, and resource allocation.
- In the Input category, you can configure preferences for keyboard and mouse behavior, such as the handling of special keys, cursor speed, and scroll wheel settings.
- Browse through the different categories and customize each preference to suit your needs and preferences.
- Once you have made the desired changes, click “Apply” or “OK” to save the preferences.
Customizing the VMware Workstation preferences allows you to personalize the virtualization software according to your workflow and preferences. By customizing settings related to virtual machines, input devices, appearance, and more, you can optimize your experience with Linux on VMware Workstation.
Now that you have successfully customized the VMware Workstation preferences, you are ready to explore and utilize the powerful features of Linux virtualized within this software.
Conclusion
Congratulations! You have successfully learned how to get Linux up and running on VMware Workstation. By following the steps outlined in this guide, you have downloaded and installed VMware Workstation, downloaded a Linux ISO file, created a new virtual machine, installed Linux, configured settings, installed VMware Tools, and customized VMware Workstation preferences.
Virtualizing Linux on VMware Workstation offers numerous benefits, including the ability to run multiple operating systems on a single machine, experiment with different Linux distributions, develop applications, and create virtual labs for learning and testing purposes. VMware Workstation’s features like snapshots and cloning also provide flexibility and convenience in managing virtual machines.
Remember to regularly update your Linux distribution and VMware Workstation to ensure you have the latest security patches and bug fixes. Additionally, explore the various features and options offered by VMware Workstation to optimize your virtual machine performance and productivity.
Now that you are equipped with the knowledge and skills to run Linux on VMware Workstation, you can dive into the world of Linux and explore its vast possibilities for development, system administration, and learning.
Enjoy your journey with Linux on VMware Workstation!


