Introduction
When using VMware Workstation to run a Linux virtual machine, you may find yourself wanting to make the most of your screen real estate by opening the virtual machine in full screen mode. Full screen mode allows the Linux operating system to span the entire display, providing a more immersive experience and making it easier to work with multiple applications simultaneously.
In this article, we will guide you through the steps to open Linux in full screen mode in VMware Workstation. Whether you’re using Linux for development, testing, or just exploring the operating system, opening it in full screen mode will enhance your productivity and give you a better view of the Linux environment.
Before we start, please ensure that you have VMware Workstation installed on your computer and have a Linux virtual machine set up within the VMware Workstation environment. If you need assistance with these prerequisites, refer to the VMware Workstation documentation or any relevant tutorials available online.
Requirements
Before proceeding with the steps to open Linux in full screen mode in VMware Workstation, you need to ensure that you meet the following requirements:
- VMware Workstation: Make sure you have VMware Workstation installed on your computer. VMware Workstation is a virtualization software that allows you to run multiple operating systems on a single physical machine. If you don’t have VMware Workstation installed, you can download the latest version from the VMware website and follow the installation instructions.
- Linux virtual machine: Set up a Linux virtual machine within the VMware Workstation environment. This requires having a Linux distribution installation ISO file or an existing virtual machine image. If you don’t have a Linux distribution, you can download one from the respective Linux distribution websites. Follow the VMware Workstation documentation or online tutorials to create a new virtual machine or import an existing one.
- Adequate system resources: Ensure that your computer has sufficient resources to run both VMware Workstation and the Linux virtual machine smoothly. This includes having enough RAM, CPU power, and disk space available. Check the system requirements for VMware Workstation and the specific Linux distribution you’re using to determine the minimum recommended system specifications.
- Updated VMware Tools: Make sure you have VMware Tools installed and up to date in your Linux virtual machine. VMware Tools is a set of utilities that enhances the performance and functionality of the virtual machine. It provides features such as seamless mouse integration, time synchronization, and enhanced graphics. You can install or update VMware Tools by following the instructions provided in the VMware Workstation documentation.
By meeting these requirements, you’ll have the necessary components in place to open Linux in full screen mode in VMware Workstation and enjoy a more immersive and productive experience with your Linux virtual machine.
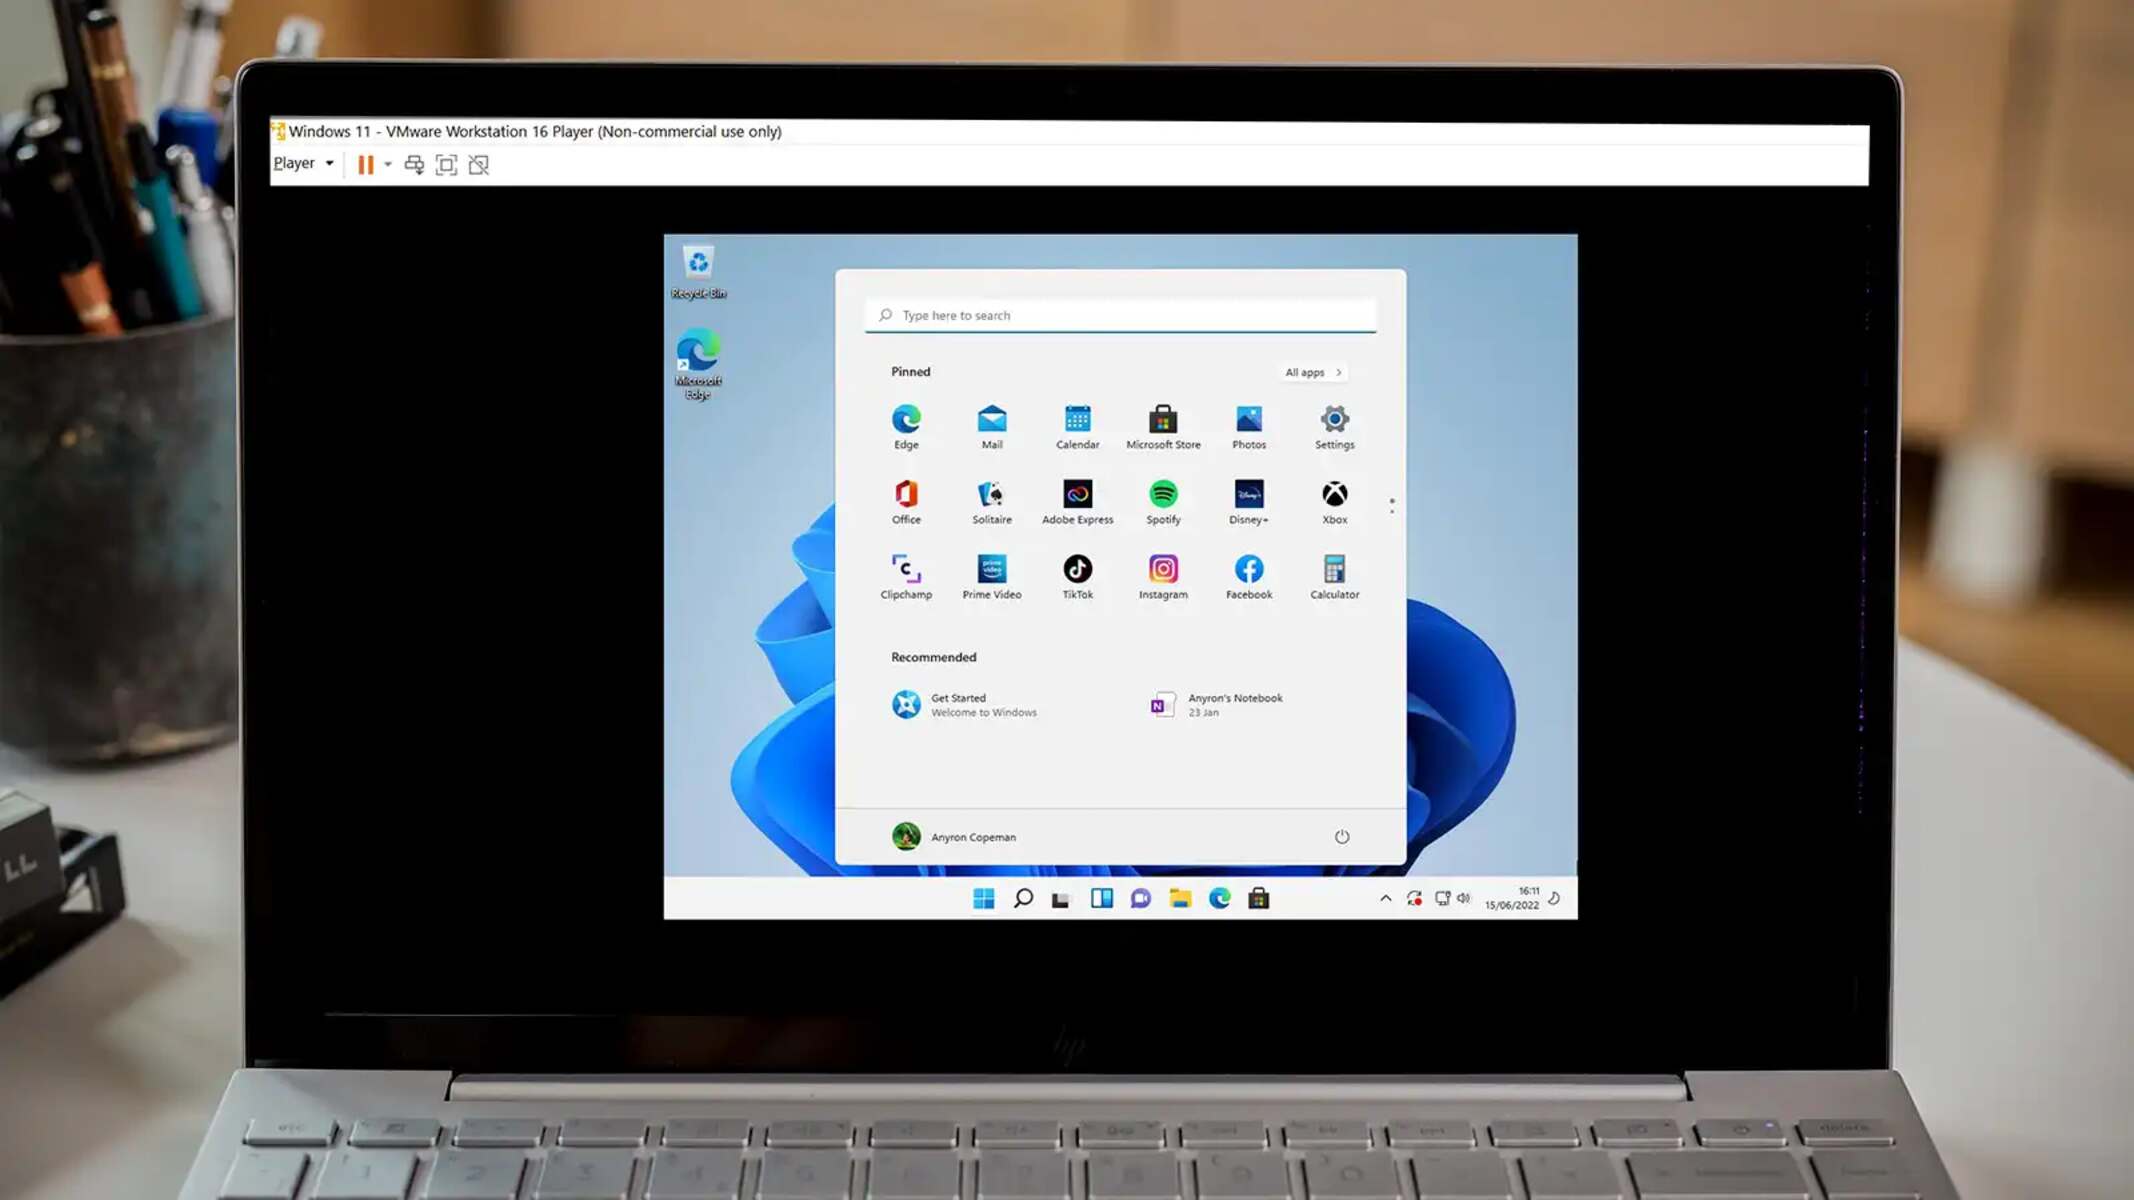
Step 1: Launch VMware Workstation
To begin the process of opening Linux in full screen mode in VMware Workstation, you first need to launch the VMware Workstation software on your computer. Locate the VMware Workstation icon on your desktop or in the Start menu, and double-click to open it.
Once VMware Workstation is launched, you’ll be greeted with the main interface, where you can manage your virtual machines and perform various tasks related to virtualization. If you have previously used VMware Workstation and have virtual machines available, they will be listed in the library view.
If this is your first time using VMware Workstation or you don’t have any virtual machines set up yet, you can follow the VMware Workstation documentation or online tutorials to create a new virtual machine or import an existing one. It’s important to have at least one Linux virtual machine available in order to proceed with opening it in full screen mode.
Once you have launched VMware Workstation and have at least one Linux virtual machine set up, you’re ready to move on to the next step: opening the virtual machine settings.
Note: If you already have VMware Workstation open and running, ensure that you have saved and closed any other virtual machines before proceeding with the steps to open Linux in full screen mode. This will help avoid any conflicts or issues that may occur.
Step 2: Open the Virtual Machine Settings
Once you have launched VMware Workstation and are on the main interface, it’s time to open the settings for the Linux virtual machine that you want to open in full screen mode. The virtual machine settings allow you to configure various aspects of the virtual machine, including its hardware, networking, and display settings.
To open the settings, locate the Linux virtual machine in the library view or the left-hand panel of the VMware Workstation interface. Right-click on the virtual machine and select “Settings” from the context menu that appears. Alternatively, you can select the virtual machine and click on the “Edit virtual machine settings” icon in the toolbar.
Clicking on “Settings” or “Edit virtual machine settings” will open a new window dedicated to the virtual machine settings. This window is divided into multiple tabs, each representing a specific category of settings. Look for the “Display” or “Hardware” tab, depending on the version of VMware Workstation you are using.
Within the display or hardware settings, you can customize various aspects of the virtual machine’s display, such as the resolution, monitor count, and graphics memory. These settings determine how the Linux operating system is displayed within the VMware Workstation window or in full screen mode.
It’s important to note that the specific steps to open the virtual machine settings may vary slightly depending on the version of VMware Workstation you are using. However, the general process remains the same, and you will be able to access the virtual machine settings through the interface.
Once you have opened the virtual machine settings, you’re ready to proceed to the next step: adjusting the display settings to enable full screen mode for the Linux virtual machine.
Step 3: Adjust the Display Settings
After opening the virtual machine settings in VMware Workstation, the next step is to adjust the display settings to enable full screen mode for the Linux virtual machine. This will allow the Linux operating system to span the entire display, providing a more immersive experience.
In the virtual machine settings window, navigate to the “Display” or “Hardware” tab, depending on the version of VMware Workstation you are using. Here, you will find various options related to the virtual machine’s display configuration.
Look for the “Display” or “Screen” section within the settings. In this section, you will typically find options to adjust the resolution, monitor count, and graphics memory allocated to the virtual machine. These options may vary slightly depending on the version of VMware Workstation you are using.
To enable full screen mode for the Linux virtual machine, make sure the resolution is set to the native resolution of your display. This will ensure that the Linux operating system utilizes the entire screen space. If the resolution options provided do not match your display’s native resolution, select the option closest to it.
Additionally, check if there is an option to enable multiple monitors if you have a multi-monitor setup. Enabling this option will allow the Linux virtual machine to span across multiple displays in full screen mode.
If available, you can also allocate more graphics memory to the virtual machine. This can help enhance the graphics performance within the virtual machine, resulting in smoother rendering and better overall display quality.
Once you have adjusted the display settings to your preference, you’re ready to move on to the next step: enabling full screen mode for the Linux virtual machine.
Step 4: Enable Full Screen Mode
Once you have adjusted the display settings for the Linux virtual machine in VMware Workstation, the next step is to enable full screen mode. Enabling full screen mode will allow the Linux operating system to span the entire display, maximizing your screen real estate and providing a more immersive experience.
To enable full screen mode, locate the toolbar at the top of the VMware Workstation window when the virtual machine is running. Within the toolbar, you should see a button or option that represents the full screen mode. This button is typically represented by two overlapping rectangles or displays.
Click on the full screen mode button or select the full screen mode option to activate it. Once enabled, the VMware Workstation window will automatically adjust to fit the display resolution, and the Linux virtual machine will open in full screen mode.
Depending on the version of VMware Workstation you are using, you may have additional options or settings related to full screen mode. For example, some versions allow you to choose whether to hide or display the VMware Workstation toolbar in full screen mode.
To exit full screen mode and return to the VMware Workstation window, you can press the “Esc” key on your keyboard or use the keyboard shortcut specific to your operating system. This will restore the VMware Workstation window to its original size, and the Linux virtual machine will no longer be in full screen mode.
Enabling full screen mode allows you to make the most of your screen space and provides a seamless experience when working with the Linux virtual machine. Whether you’re coding, testing software, or simply exploring the Linux environment, full screen mode can enhance your productivity and immerse you in the virtual machine’s environment.
Now that you have enabled full screen mode for the Linux virtual machine, you’re ready to proceed to the final step: applying the changes and starting the virtual machine.
Step 5: Apply the Changes and Start the Virtual Machine
Once you have adjusted the display settings and enabled full screen mode for the Linux virtual machine in VMware Workstation, it’s time to apply the changes and start the virtual machine in full screen mode.
In the virtual machine settings window, ensure that you have made all the necessary adjustments to the display settings according to your preferences. Take a moment to review the changes you have made, double-checking the resolution, monitor count, and any other display-related settings.
Once you’re satisfied with the display settings, click on the “Apply” or “OK” button to apply the changes and close the virtual machine settings window. VMware Workstation will save the updated settings for the Linux virtual machine.
Now, start the Linux virtual machine by either double-clicking on it in the library view or using the toolbar icon that represents the play or power button. VMware Workstation will begin the process of starting the virtual machine, and you will see it boot up within the VMware Workstation window.
As the Linux virtual machine starts, it will automatically enter full screen mode if you enabled it before starting. The Linux operating system will span the entire display, utilizing your screen real estate to provide an immersive experience.
Once the Linux virtual machine has fully booted up, you can navigate, work, and interact with it just as you would in a physical Linux environment. Enjoy the seamless full screen experience and make the most of your Linux virtual machine within VMware Workstation.
To exit full screen mode and return to the VMware Workstation window, press the “Esc” key on your keyboard or use the appropriate keyboard shortcut for your operating system. This will restore the VMware Workstation window to its original size, and the Linux virtual machine will no longer be in full screen mode.
Congratulations! You have successfully opened Linux in full screen mode in VMware Workstation. Take advantage of the expanded screen space to enhance your productivity and explore the Linux environment easily.
Conclusion
Opening Linux in full screen mode in VMware Workstation allows you to maximize your screen real estate and create a more immersive and productive working environment. By following the steps outlined in this guide, you can easily adjust the display settings and enable full screen mode for your Linux virtual machine.
By launching VMware Workstation, opening the virtual machine settings, adjusting the display settings, enabling full screen mode, and applying the changes, you can enjoy a seamless and immersive experience with your Linux virtual machine. This feature is particularly beneficial for developers, testers, and Linux enthusiasts who want to make the most of their virtualized environment.
Remember to ensure you meet the prerequisites, including having VMware Workstation installed, setting up a Linux virtual machine, and allocating adequate system resources. It is also important to keep your VMware Tools up to date to benefit from enhanced performance and functionality.
Opening Linux in full screen mode not only provides more screen real estate but also enhances your ability to multitask and work with multiple applications simultaneously. This can significantly improve your productivity and efficiency while working with the Linux operating system.
By following the steps in this guide, you can easily configure and enjoy full screen mode in VMware Workstation, creating a more immersive and enjoyable Linux virtual machine experience. Embrace the full potential of your Linux environment and make the most of your virtualization software to elevate your workflow and achieve your goals.