Introduction
VMware Workstation is a powerful virtualization software that allows you to run multiple operating systems on a single machine. It is commonly used by software developers, IT professionals, and system administrators for various purposes such as testing software on different operating systems, creating virtual labs, and running legacy applications.
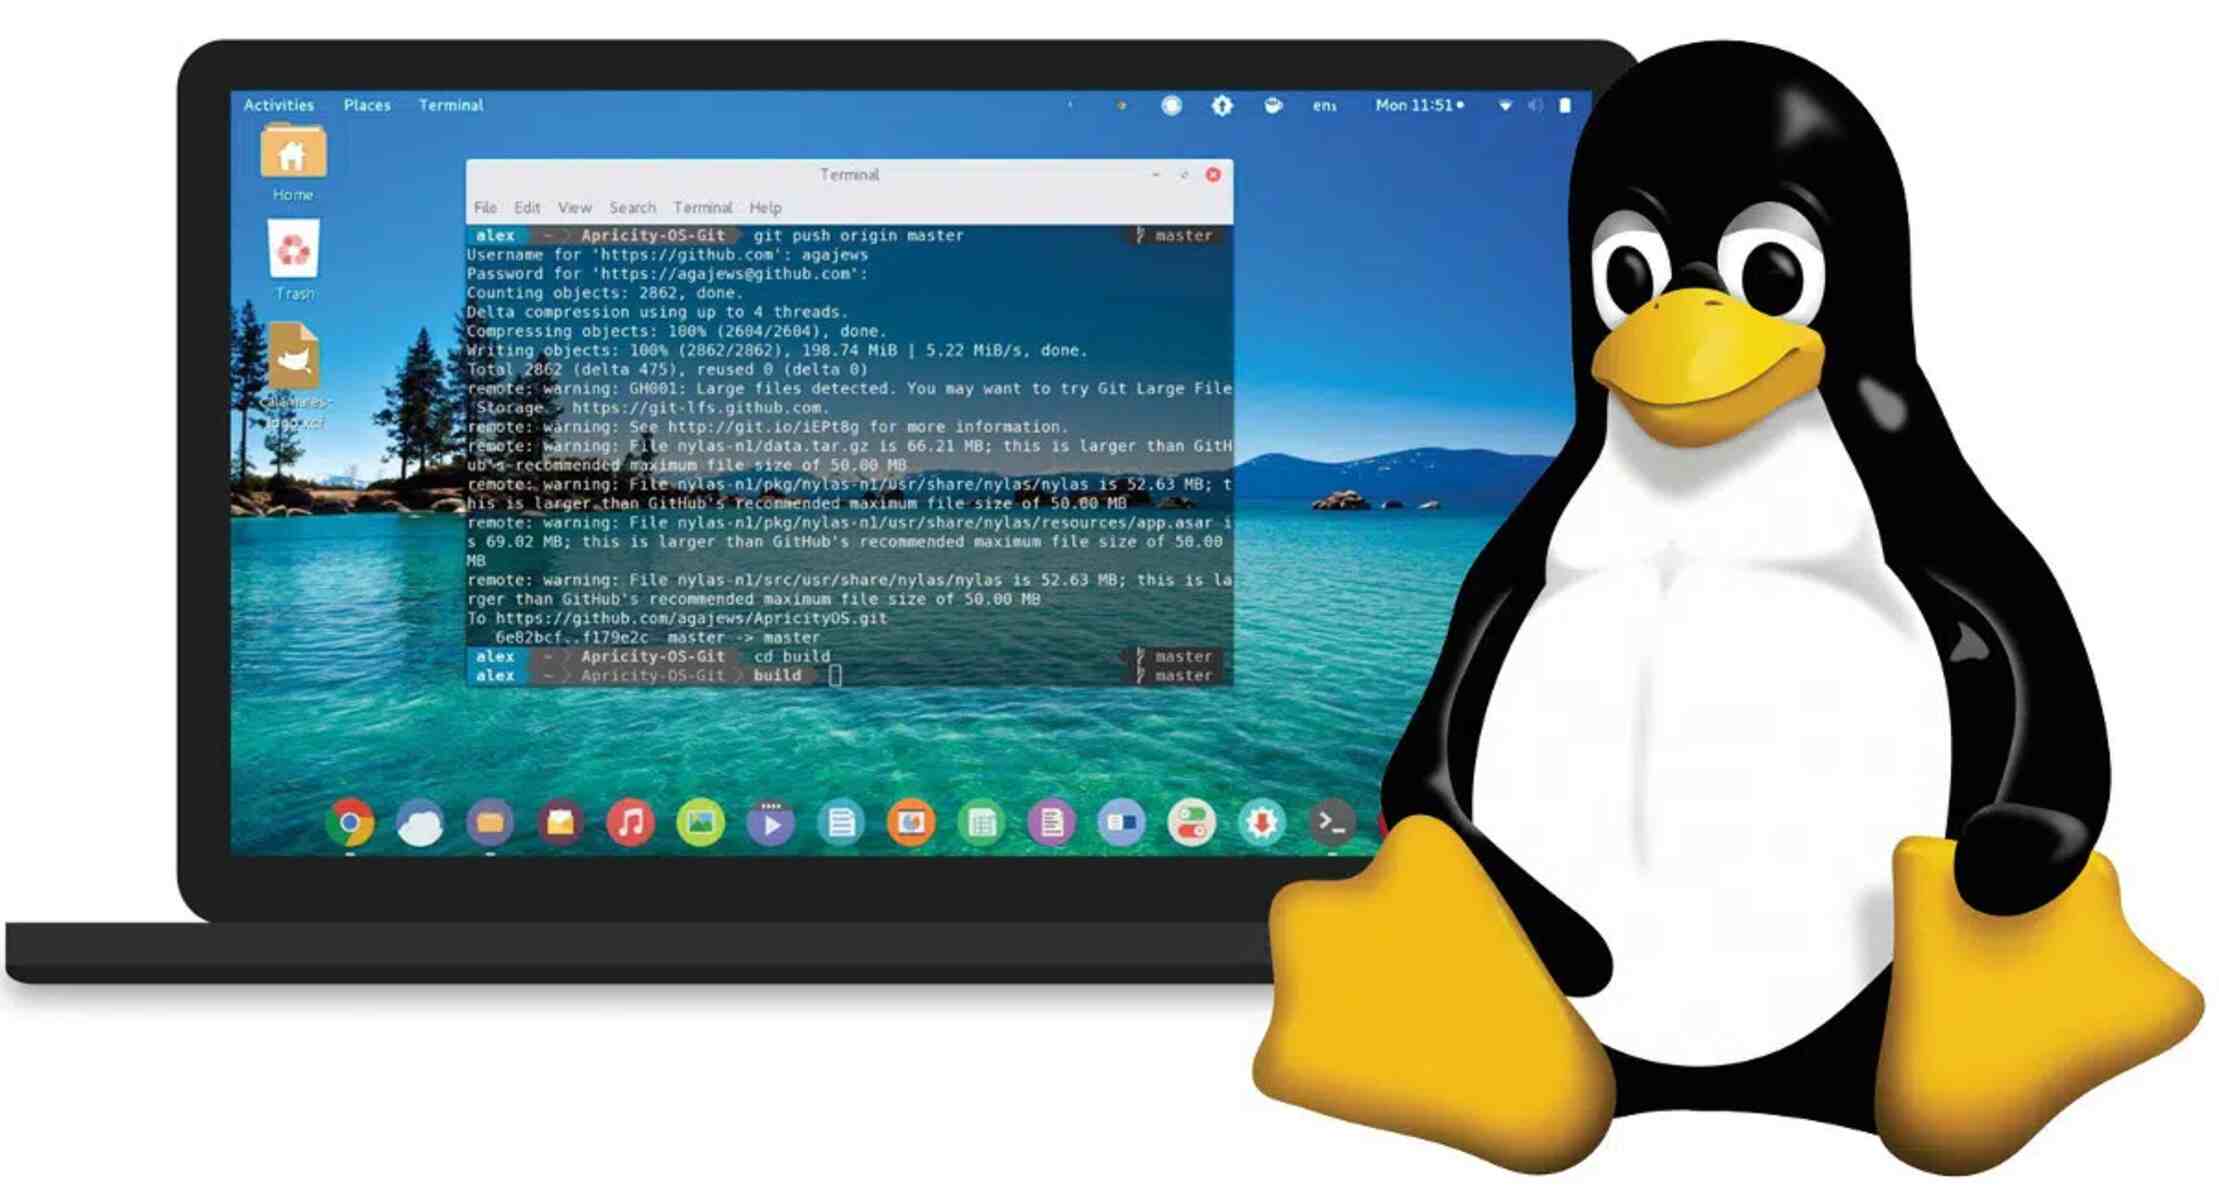
Installing VMware Workstation on a Linux system is a straightforward process that can greatly expand your capabilities and productivity. This article will guide you through the step-by-step installation process, ensuring that you have the necessary packages and dependencies before proceeding.
By following this guide, you will be able to benefit from the features and functionalities offered by VMware Workstation, including the ability to create virtual machines, manage snapshots, and simulate complex network environments. Whether you are a seasoned Linux user or just getting started, this article will provide clear instructions to help you successfully install VMware Workstation on your Linux system.
Before we dive into the installation process, it is important to ensure that your system meets the necessary prerequisites. This will help to avoid any compatibility issues and ensure a smooth installation experience. Let’s take a look at the prerequisites in the next section.
Prerequisites
Before installing VMware Workstation on your Linux system, make sure that you have the following prerequisites:
- A Linux distribution – VMware Workstation supports various versions of Linux such as Ubuntu, CentOS, Fedora, and Debian. Ensure that your Linux distribution is up to date and running the latest stable release.
- A compatible processor – VMware Workstation requires a 64-bit x86 compatible processor with hardware virtualization support. Most modern processors meet this requirement, but it’s always a good idea to double-check.
- Sufficient system resources – Make sure your system has enough RAM, disk space, and CPU power to accommodate the virtual machines you intend to run. VMware Workstation has different system requirements based on the number of virtual machines and their configuration.
- Internet connectivity – An active internet connection is recommended to download the necessary packages and updates during the installation process.
- Root or sudo access – You will need administrative privileges to install packages and make system-wide changes.
Once you have confirmed that your system meets these prerequisites, you are ready to proceed with the installation of VMware Workstation. In the next section, we will guide you through the process of downloading VMware Workstation onto your Linux system.
Step 1: Downloading VMware Workstation
The first step in installing VMware Workstation on your Linux system is to download the installation package. Follow these steps to download VMware Workstation:
- Open your preferred web browser and go to the official VMware website (www.vmware.com).
- Navigate to the VMware Workstation product page.
- Click on the “Download Now” button to start the download.
- Choose the appropriate version of VMware Workstation for your Linux distribution. Make sure to select the version that matches your system architecture (32-bit or 64-bit).
- The download should begin automatically. If it doesn’t, click on the provided link to start the download manually.
Depending on your internet connection speed, the download may take some time to complete. Once the download is finished, you are ready to proceed to the next step: installing the required packages.
It’s worth noting that VMware Workstation is a proprietary software that requires a license to use. You can choose to use the 30-day free trial or purchase a license for extended use. During the installation process, you will be prompted to enter your license key or proceed with the trial version.
Now that you have successfully downloaded the VMware Workstation installation package, let’s move on to the next step: installing the required packages.
Step 2: Installing Required Packages
Before installing VMware Workstation on your Linux system, you need to ensure that all the required packages and dependencies are installed. Here’s a step-by-step guide on installing the required packages:
- Open the terminal on your Linux system. You can usually find the terminal application in the “Utilities” or “Accessories” section of your application menu.
- Update the package lists by running the following command:
sudo apt updateThis command will refresh the package manager’s cache and ensure that you are installing the latest versions of the required packages.
- Install the build-essential package, which contains a collection of commonly used development tools, by running the following command:
sudo apt install build-essentialThis package is necessary for compiling and building kernel modules, which are required for the proper functioning of VMware Workstation.
- Install the Linux kernel headers by running the following command:
sudo apt install linux-headers-$(uname -r)The Linux kernel headers provide the necessary files and definitions required for compiling kernel modules.
Once the installation of these packages is complete, you have fulfilled the prerequisites for installing VMware Workstation. You are now ready to proceed to the next step: the installation of VMware Workstation itself.
It’s important to note that the package names and installation commands may vary depending on your Linux distribution. Ensure that you substitute the correct package names and commands based on your system configuration.
In the next section, we will guide you through the process of installing VMware Workstation on your Linux system.
Step 3: Installing VMware Workstation
Now that you have downloaded VMware Workstation and installed the required packages, you can proceed with the installation process. Follow these steps to install VMware Workstation on your Linux system:
- Navigate to the directory where you downloaded the VMware Workstation installation package. If you downloaded the package to your Downloads folder, the command would look something like this:
cd ~/Downloads - Make the installer executable by running the following command:
chmod +x VMware-Workstation-*.bundleThis command grants execute permissions to the installation bundle.
- Start the installation process by running the following command:
sudo ./VMware-Workstation-*.bundleThe sudo command is used to run the installer with administrative privileges, allowing it to make system-wide changes.
- Follow the on-screen prompts to complete the installation. Review and accept the license agreement, enter your license key if applicable, and choose the installation directory. The default options should work for most users.
- Once the installation is complete, you will see a confirmation message. VMware Workstation is now installed on your Linux system.
Congratulations! You have successfully installed VMware Workstation on your Linux system. You can now launch VMware Workstation and start using its powerful virtualization features.
In the final step, we will guide you through launching VMware Workstation and getting started with your virtual machines.
Step 4: Launching VMware Workstation
After installing VMware Workstation on your Linux system, you’re just a few steps away from exploring the world of virtualization. Follow these steps to launch VMware Workstation and start using its features:
- Open the applications menu on your Linux desktop environment.
- Navigate to the VMware Workstation icon or search for it in the search bar.
- Click on the VMware Workstation icon to launch the application.
- Once VMware Workstation is open, you will be greeted with a Welcome screen where you can choose to create a new virtual machine, open an existing one, or connect to a remote server.
- Explore the various options and features available in VMware Workstation. You can create virtual machines, import existing ones, configure network settings, and much more.
- To create a new virtual machine, click on the “Create a New Virtual Machine” option in the Welcome screen. Follow the guided wizard to set up your virtual machine with the desired operating system, virtual hardware, and storage options.
- Once your virtual machine is set up, you can power it on and start using it just like a physical machine.
VMware Workstation provides a user-friendly interface that allows you to manage and interact with virtual machines effortlessly. You can switch between virtual machines, take snapshots for easy recovery, and even simulate complex network environments for testing purposes.
Remember to save your work and shut down your virtual machines properly to avoid any data loss. VMware Workstation provides options to save and suspend virtual machines, as well as the ability to power them off.
You have now successfully launched VMware Workstation and are ready to explore its vast array of features. Enjoy the benefits of running multiple operating systems simultaneously and unleash the full potential of virtualization on your Linux system.
That concludes the installation and launching process of VMware Workstation on Linux. You are now equipped to enjoy the benefits of virtualization and explore new possibilities with your Linux system.
Conclusion
Installing VMware Workstation on your Linux system opens up a world of possibilities for virtualization, allowing you to run multiple operating systems on a single machine. Throughout this guide, we walked you through the step-by-step process of downloading, installing, and launching VMware Workstation.
We started by ensuring that your system meets the necessary prerequisites, including having a compatible Linux distribution, processor, and sufficient system resources. We then guided you through downloading the VMware Workstation installation package from the official website.
Next, we installed the required packages, such as build-essential and Linux kernel headers, to ensure a smooth installation process. Following that, we launched the installer and completed the installation by accepting the license agreement and specifying the installation directory.
After successfully installing VMware Workstation, we detailed the process of launching the application and getting started with creating and managing virtual machines. We emphasized the importance of properly saving and shutting down virtual machines to avoid data loss.
With VMware Workstation up and running on your Linux system, you now have the power to experiment with different operating systems, test software, and create complex network environments. Take advantage of the features provided by VMware Workstation, such as snapshot management and virtual machine customization, to optimize your virtualization experience.
Remember, VMware Workstation is a versatile tool with a wide range of applications for software developers, IT professionals, and system administrators. By leveraging the capabilities of virtualization, you can enhance productivity, streamline testing processes, and simplify software deployment.
Thank you for following this guide to install and launch VMware Workstation on your Linux system. Embrace the possibilities offered by virtualization and enjoy exploring new realms with VMware Workstation.