Introduction
Welcome to this step-by-step guide on how to install Ubuntu in VMware Workstation. Ubuntu is a popular Linux-based operating system renowned for its stability, security, and user-friendly interface. By running Ubuntu in a virtual machine using VMware Workstation, you can experience the power and flexibility of this operating system without the need for a separate physical machine.
Whether you’re a beginner or an experienced user, this tutorial will walk you through the installation process, ensuring a smooth and successful setup. By following these steps, you’ll have Ubuntu up and running in no time, ready to explore its vast array of features and applications.
Before we dive into the installation, let’s take a moment to ensure you have the necessary prerequisites. These include a working copy of VMware Workstation, a stable internet connection, and a downloaded copy of the Ubuntu ISO file. Having these in place will guarantee a seamless installation process.
Now that you’re familiar with the purpose of this guide and the prerequisites, let’s move on to the next section: downloading the Ubuntu ISO file.
Prerequisites
Before proceeding with the installation of Ubuntu in VMware Workstation, it’s important to ensure that you have the necessary prerequisites:
- VMware Workstation: Make sure you have a licensed or trial version of VMware Workstation installed on your computer. VMware Workstation is a virtualization software that allows you to run multiple operating systems on a single machine.
- System requirements: Check the system requirements for VMware Workstation to ensure that your computer meets the minimum specifications. This includes having enough RAM, disk space, and a supported operating system.
- Ubuntu ISO: Download the Ubuntu ISO file from the official Ubuntu website (https://ubuntu.com/download). Choose the appropriate version (e.g., Ubuntu Desktop, Server, etc.) and make sure to select the correct architecture (32-bit or 64-bit), depending on your computer’s capabilities.
- Stable Internet Connection: A stable internet connection is necessary for downloading the Ubuntu ISO file and for updating the system during the installation process.
Once you have these prerequisites in place, you’re ready to proceed to the next section: downloading the Ubuntu ISO file.
Step 1: Download Ubuntu ISO
The first step in installing Ubuntu in VMware Workstation is to download the Ubuntu ISO file. The ISO file contains the installation files for the operating system.
To download the Ubuntu ISO file, follow these steps:
- Go to the official Ubuntu website: https://ubuntu.com/download.
- Choose the version of Ubuntu you want to install. If you’re new to Ubuntu, it is recommended to download the latest LTS (Long-Term Support) version.
- Select the architecture that matches your computer’s capabilities. Most modern computers are 64-bit, but if you’re unsure, you can check by going to “Settings” > “System” > “About” on Windows or “Apple Menu” > “About This Mac” on macOS.
- Click on the “Download” button to start the download.
Once the download is complete, you will have the Ubuntu ISO file ready for the installation process.
It is important to note that the download size of the ISO file may vary depending on the version and edition of Ubuntu you choose. Ensure that you have a stable internet connection to avoid any interruptions during the download process.
Now that you have successfully downloaded the Ubuntu ISO file, you can proceed to the next step: installing VMware Workstation on your computer.
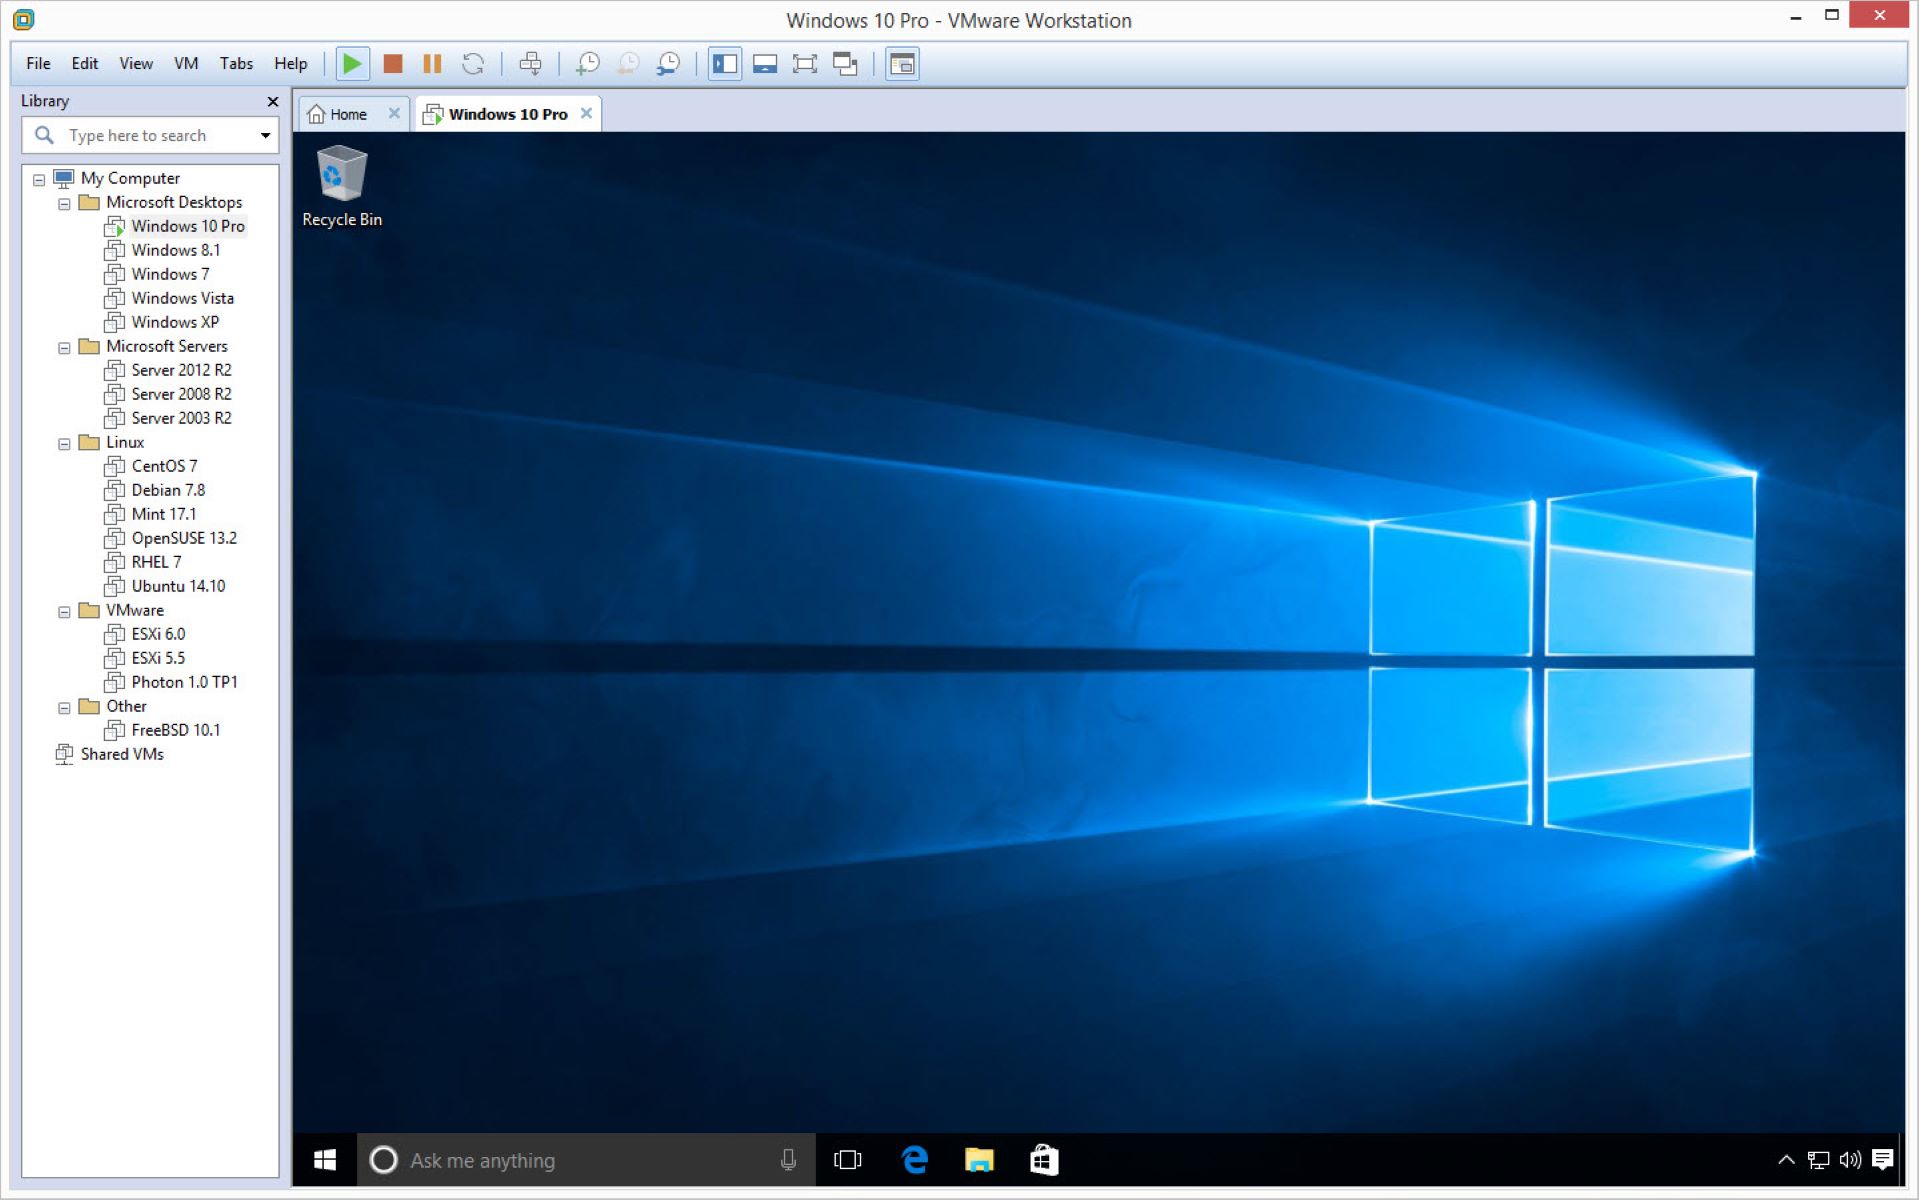
Step 2: Install VMware Workstation
Now that you have the Ubuntu ISO file ready, the next step is to install VMware Workstation on your computer. VMware Workstation is a powerful virtualization software that allows you to run multiple operating systems on a single machine.
To install VMware Workstation, follow these steps:
- Locate the downloaded VMware Workstation installer on your computer.
- Double-click on the installer file to start the installation process.
- Follow the on-screen instructions to proceed with the installation.
- Read and accept the end-user license agreement.
- Choose the installation directory and click “Next” to continue.
- Select the installation type (Typical or Custom) based on your preferences.
- Review the installation settings and click “Install” to begin the installation.
- Wait for the installation process to complete.
- Once the installation is finished, click “Finish” to exit the installer.
After successfully installing VMware Workstation, you will have the virtualization software ready to create and manage virtual machines.
It’s worth noting that during the installation, VMware Workstation may prompt you to restart your computer. If prompted, save any unsaved work and restart your computer as directed.
Now that you have VMware Workstation installed on your computer, you’re ready to move on to the next step: creating a new virtual machine.
Step 3: Create a new virtual machine
With VMware Workstation installed, it’s time to create a new virtual machine to install Ubuntu. A virtual machine acts as a separate computer within your existing system, allowing you to run different operating systems simultaneously.
To create a new virtual machine, follow these steps:
- Open VMware Workstation on your computer.
- Click on “File” from the top menu and select “New Virtual Machine”.
- In the New Virtual Machine Wizard, select “Typical” and click “Next”.
- Choose the “Installer disc image file (iso)” option and click “Next”.
- Click on the “Browse” button and navigate to the location where you downloaded the Ubuntu ISO file.
- Select the Ubuntu ISO file and click “Open”.
- Click “Next” and enter a name for your virtual machine in the “Virtual machine name” field.
- Choose a location to save the virtual machine files and select the disk space allocation. Recommended disk space is at least 20 GB.
- Click “Next” and specify the maximum disk size for your virtual machine.
- Review the summary of the virtual machine settings and click “Finish”.
VMware Workstation will create the virtual machine with the specified settings and attach the Ubuntu ISO file to the virtual CD/DVD drive. You are now ready to start the installation process.
In the next step, we will specify the Ubuntu ISO file in the virtual machine settings and customize any additional settings before installing Ubuntu. Stay tuned!
Step 4: Specify Ubuntu ISO file
Now that you have created a new virtual machine in VMware Workstation, the next step is to specify the Ubuntu ISO file in the virtual machine settings. This will ensure that the virtual machine boots from the Ubuntu ISO and initiates the installation process.
To specify the Ubuntu ISO file, follow these steps:
- Select the newly created virtual machine in the VMware Workstation interface.
- Click on “Edit virtual machine settings”.
- In the Virtual Machine Settings window, select the “CD/DVD (IDE)” option from the left pane.
- On the right side, select the “Use ISO image file” option.
- Click on the “Browse” button and navigate to the location where you downloaded the Ubuntu ISO file.
- Select the Ubuntu ISO file and click “Open”.
By specifying the Ubuntu ISO file in the virtual machine settings, you are instructing VMware Workstation to boot the virtual machine from the ISO image during startup.
Once you’ve specified the Ubuntu ISO file, you have the option to customize additional settings in the Virtual Machine Settings window. These settings include allocating CPU cores, adjusting memory, configuring network adapters, and more. Feel free to modify these settings according to your requirements. However, keep in mind that the default settings should be sufficient for a basic installation.
In the next step, we will explore how to customize the virtual machine settings and prepare it for the installation of Ubuntu. Stay tuned!
Step 5: Customize virtual machine settings
After specifying the Ubuntu ISO file for the virtual machine, the next step is to customize the virtual machine settings in VMware Workstation. This will allow you to configure various aspects of the virtual machine to optimize its performance and ensure a smooth installation of Ubuntu.
To customize the virtual machine settings, follow these steps:
- Select the virtual machine in the VMware Workstation interface.
- Click on “Edit virtual machine settings”.
- In the Virtual Machine Settings window, you will see a range of configuration options. Here are some key settings that you may want to customize:
- Memory: Adjust the allocated memory for the virtual machine. Consider allocating a sufficient amount of memory to ensure smooth operation of Ubuntu.
- Processors: Specify the number of CPU cores that can be used by the virtual machine. Allocating multiple CPU cores can improve performance.
- Network Adapter: Configure the network settings for the virtual machine. You can choose from various network connection options, such as bridged, NAT, or host-only.
- Display: Customize the display settings, including screen resolution and graphics memory allocation.
- Storage: Adjust the virtual hard disk size or add additional storage devices if needed.
- Other settings: Explore other settings based on your requirements, such as USB support, sound card configuration, and shared folders.
- Once you have customized the desired settings, click “OK” to save the changes.
By customizing the virtual machine settings, you can optimize the performance and functionality of the virtual machine for running Ubuntu.
In the next step, we will proceed with the installation of Ubuntu on the virtual machine. Stay tuned!
Step 6: Install Ubuntu
With the virtual machine settings customized, it’s time to proceed with the installation of Ubuntu. This step will guide you through the installation process, allowing you to set up and configure Ubuntu on the virtual machine.
To install Ubuntu on the virtual machine, follow these steps:
- Ensure that the virtual machine is selected in the VMware Workstation interface.
- Click on the “Power on this virtual machine” button to start the virtual machine.
- The virtual machine will now boot from the Ubuntu ISO file.
- Once the boot process is complete, you will see the Ubuntu installation screen. Select your desired language and click “Install Ubuntu”.
- On the next screen, choose your keyboard layout and click “Continue”.
- On the “Updates and other software” screen, you have the option to enable automatic updates and install additional software. Make your selections and click “Continue”.
- In the “Installation type” screen, choose the installation option that suits your needs. For most users, the default option of “Erase disk and install Ubuntu” is recommended. Click “Install Now” to proceed.
- Follow the on-screen instructions to select your time zone, create a user account, and set up your password.
- Once all the required information is provided, Ubuntu will begin the installation process.
- After the installation is complete, click “Restart Now” to reboot the virtual machine.
Allow the virtual machine to restart, and you will now have Ubuntu successfully installed on your VMware Workstation.
Congratulations! You have completed the installation of Ubuntu on your virtual machine. In the next steps, we will configure some essential settings in Ubuntu and install VMware Tools for enhanced functionality.
Step 7: Configure Ubuntu settings
After successfully installing Ubuntu on your virtual machine, it’s time to configure some essential settings to enhance your Ubuntu experience. These settings will help you customize the appearance, adjust system preferences, and optimize the functionality of your Ubuntu installation.
To configure the Ubuntu settings, follow these steps:
- Log in to your Ubuntu virtual machine using the username and password you created during the installation process.
- Once logged in, you will be greeted with the Ubuntu desktop. Take a moment to familiarize yourself with the desktop environment and the available default applications.
- Click on the power icon located in the top-right corner of the screen. From the drop-down menu, you can access various system settings, including network connections, display settings, and sound preferences.
- Explore the system settings and make any necessary adjustments based on your preferences. This may include configuring your Wi-Fi network, adjusting the screen resolution, or customizing the sound settings.
- Next, you can personalize the appearance of your Ubuntu desktop by changing the wallpaper, theme, and other visual settings. Right-click on the desktop and select “Change Background” to access the customization options.
- Open the Ubuntu Software Center (now called the Software) from the Applications menu. Here, you can browse and install additional software and applications to further enhance your Ubuntu experience.
By configuring these settings, you can tailor Ubuntu to suit your preferences and optimize it for your specific needs.
In the next step, we will install VMware Tools to enable additional functionalities and improve the performance of Ubuntu within VMware Workstation. Stay tuned!
Step 8: Install VMware Tools
VMware Tools is a set of utilities and drivers that enhance the performance and functionality of Ubuntu when running inside VMware Workstation. It provides seamless integration between the virtual machine and the host system, allowing for features like drag-and-drop file transfer, automatic screen resizing, and improved graphics performance.
To install VMware Tools in Ubuntu, follow these steps:
- Ensure that the virtual machine is powered on and logged in to the Ubuntu desktop.
- In the VMware Workstation menu, go to “VM” > “Install VMware Tools”.
- The VMware Tools ISO file will be mounted to the virtual CD/DVD drive of the Ubuntu virtual machine.
- Open the file manager, and you should see the VMware Tools mounted as a virtual CD/DVD drive.
- Right-click on the VMware Tools CD icon and select “Open” to explore the contents of the ISO file.
- Inside the VMware Tools folder, right-click and choose “Open in Terminal” to open a terminal window.
- In the terminal window, run the command
tar -xvf VMwareTools-[version number].tar.gzto extract the contents of the VMware Tools archive. - Navigate to the extracted directory by running
cd vmware-tools-distrib. - Run the command
sudo ./vmware-install.plto start the installation script. - Follow the on-screen instructions to complete the installation of VMware Tools.
- Once the installation is finished, restart the Ubuntu virtual machine for the changes to take effect.
After restarting the virtual machine, VMware Tools will be installed and fully operational. You can now enjoy enhanced features and performance when working with Ubuntu in VMware Workstation.
By following these steps, you have successfully installed Ubuntu in VMware Workstation and configured it with VMware Tools. Start exploring and utilizing the features and capabilities of Ubuntu to maximize your productivity and achieve your goals!
Conclusion
Congratulations on successfully installing Ubuntu in VMware Workstation! You have followed a step-by-step guide to download the Ubuntu ISO, install VMware Workstation, create a new virtual machine, specify the Ubuntu ISO file, customize virtual machine settings, install Ubuntu, configure Ubuntu settings, and install VMware Tools.
With Ubuntu running smoothly on your virtual machine, you now have access to a powerful and versatile operating system. Ubuntu offers a plethora of features, a vast range of open-source software, and a supportive community, making it an excellent choice for both beginners and experienced users.
Remember to keep your VMware Workstation and Ubuntu system updated by applying the latest software updates and security patches. Regularly check for updates and take advantage of the Ubuntu Software center to install additional software and applications as per your needs.
Exploring Ubuntu’s extensive software repositories and engaging with the Ubuntu community will help you discover new tools, applications, and tips to enhance your Ubuntu experience. You now have a platform to explore and experiment with Linux-based systems in a virtual environment without impacting your primary operating system.
Feel free to continue exploring and expanding your knowledge of Ubuntu in VMware Workstation. Whether you’re using Ubuntu for development, testing, or personal use, you’ll find it to be a reliable and feature-rich operating system.
Thank you for following this guide, and we hope you enjoy your journey with Ubuntu in VMware Workstation!