Introduction
Azure, Microsoft’s cloud computing platform, provides a range of services and solutions to help businesses scale and grow their operations. One of the key features of Azure is the ability to create and manage virtual machines – powerful, scalable computing resources that can be utilized for various purposes. Whether you need a virtual machine for testing new software, hosting websites, or running complex applications, Azure offers a user-friendly interface and robust infrastructure to get you up and running quickly.
In this guide, we will walk you through the process of creating a virtual machine in Azure. We will cover everything from signing in to the Azure portal, choosing a virtual machine image, configuring settings, and launching your virtual machine. By following these steps, you will have a fully functional virtual machine running in the cloud, ready to support your business needs.
Creating a virtual machine in Azure offers several benefits. Firstly, it eliminates the need for on-premises hardware, reducing costs and maintenance efforts. Secondly, Azure provides a highly secure and reliable environment for your virtual machine, ensuring that your data is protected. Additionally, Azure offers scalability, allowing you to easily upgrade or downgrade your virtual machine resources as your needs change.
Whether you are a small business owner, a developer, or an IT professional, creating a virtual machine in Azure can empower you with the flexibility, scalability, and reliability needed to propel your business forward. So, let’s dive into the step-by-step process and create your virtual machine in Azure.
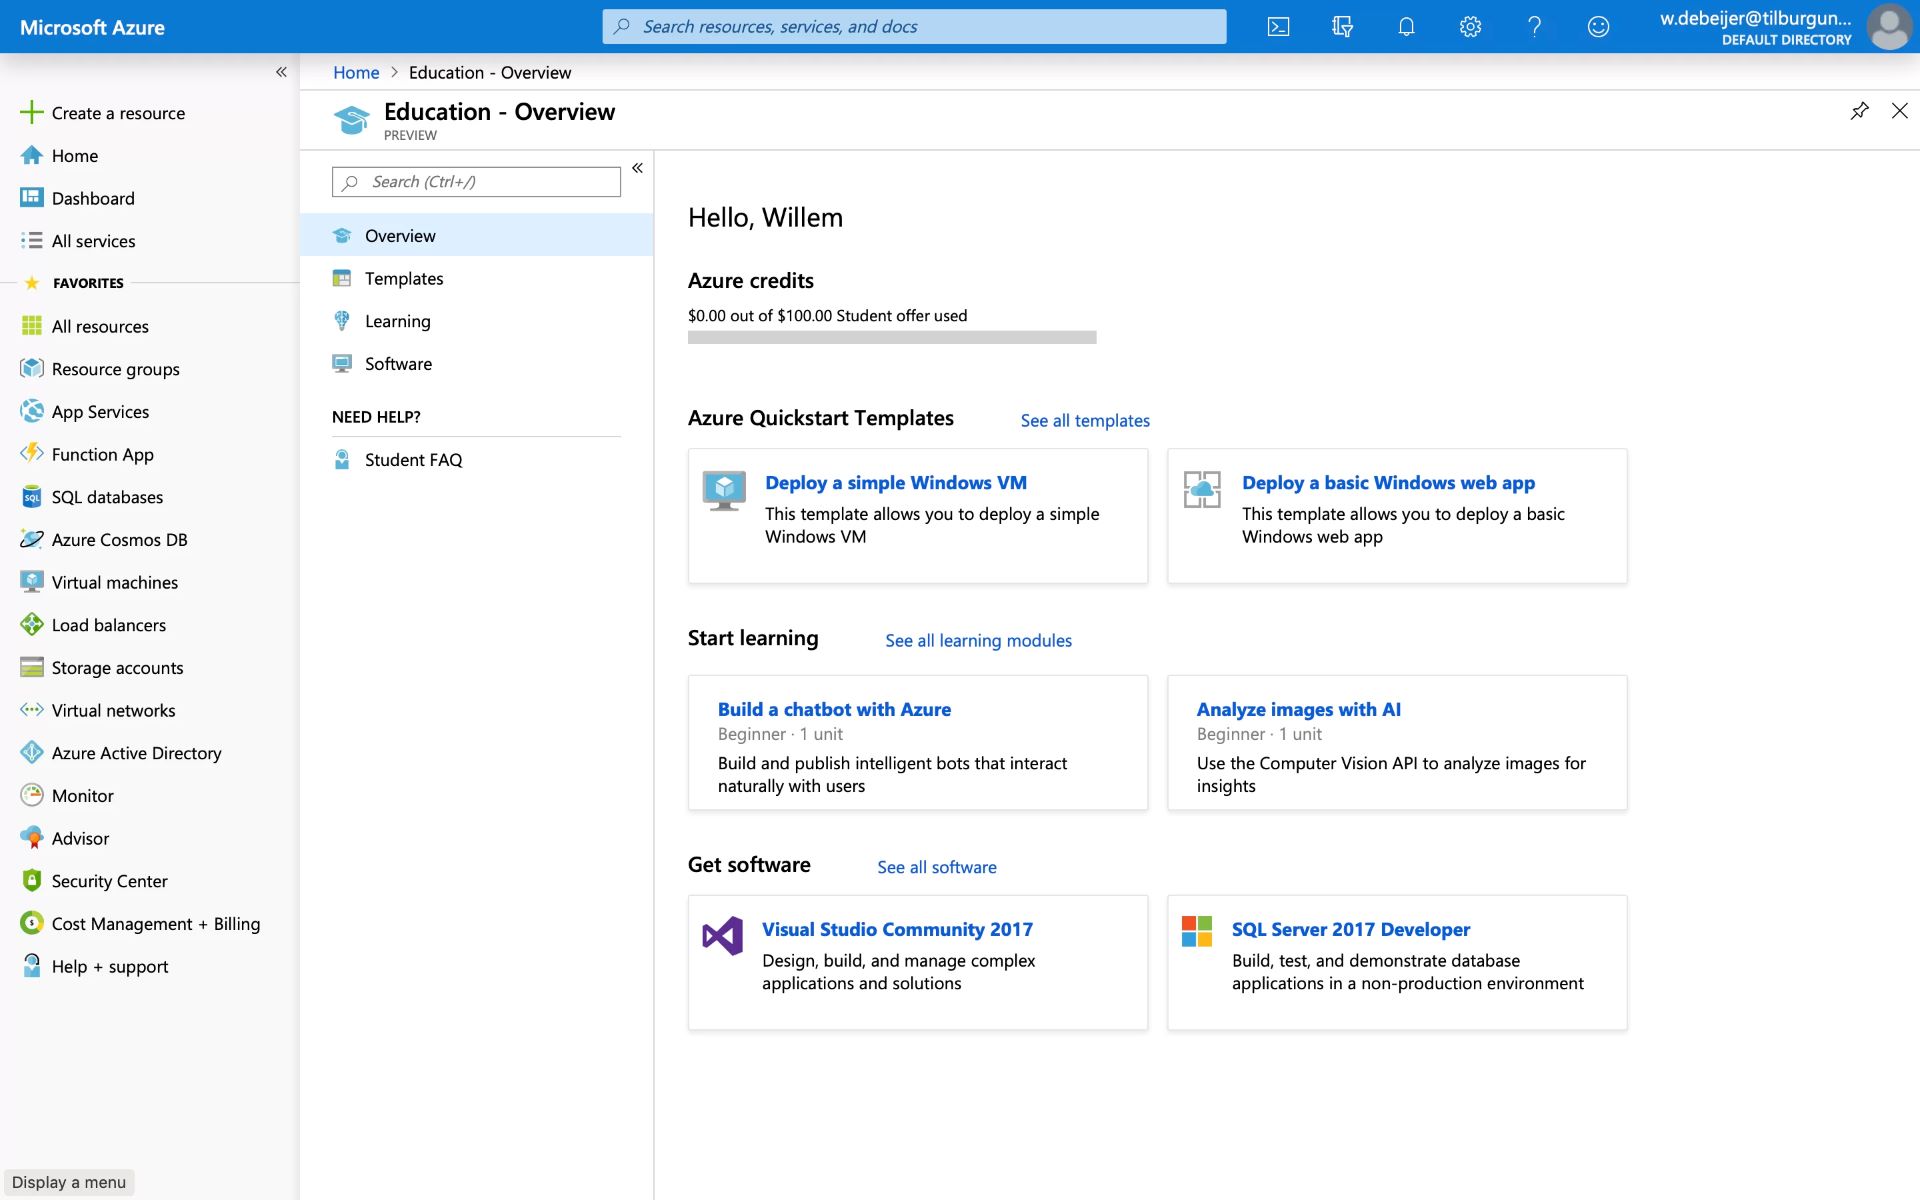
Step 1: Sign in to Azure portal
To begin creating a virtual machine in Azure, you first need to sign in to the Azure portal. If you don’t have an Azure account yet, you can sign up for a free trial or a paid subscription.
Here are the steps to sign in to the Azure portal:
- Open a web browser and go to the Azure portal website (https://portal.azure.com).
- Click on the “Sign In” button at the top right corner of the page.
- Enter your Azure account email address and password in the respective fields.
- Click on the “Sign In” button to log in to your Azure account.
After signing in, you will be directed to the Azure portal dashboard, where you can access and manage all your Azure resources and services.
It is important to note that you should sign in using the Azure account that has the necessary permissions to create and manage virtual machines. If you are using an Azure subscription provided by your organization, ensure that you have the required access rights or consult with your Azure administrator.
Once you have successfully signed in to the Azure portal, you are ready to move on to the next step: creating a virtual machine resource.
Step 2: Create a virtual machine resource
With Azure portal open and signed in, you can now proceed to create a virtual machine resource. The virtual machine resource will serve as the foundation for your virtual machine and allow you to define its configuration and settings.
Follow these steps to create a virtual machine resource:
- In the Azure portal dashboard, click on the “Create a resource” button (+) located on the left-hand side of the page.
- In the search bar at the top of the New tab, type “virtual machine” and press Enter.
- From the search results, click on “Virtual machine” to start the creation process.
- You will be presented with a series of step-by-step options to configure your virtual machine. Begin by selecting the appropriate subscription and resource group. If you need to create a new resource group, click on the “Create new” link and provide a unique name and location.
- Choose a name for your virtual machine and select the region or availability zone where you want it to be located. Consider factors such as proximity to your target audience or data compliance requirements.
- Next, choose the desired operating system image for your virtual machine. Azure provides a wide range of pre-configured images for various operating systems, including Windows, Linux, and specialized distributions.
- Based on your requirements, select the appropriate Virtual Machine Size. The size determines the number of CPUs, memory, and disk space allocated to the virtual machine.
- Configure additional settings, such as username, password, or SSH key for authentication, and any optional features or extensions you want to enable.
- Review the summary of your virtual machine configuration and click on the “Create” button to initiate the creation process.
The creation process may take a few minutes as Azure provisions and sets up the virtual machine. Once the creation is complete, you will have a virtual machine resource ready for use.
Keep in mind that the actual cost of running the virtual machine will depend on the selected size, disk type, and usage. It is advisable to review the pricing details and estimate the cost before proceeding with the creation.
Now that you have successfully created a virtual machine resource, it’s time to move on to the next step: choosing a virtual machine image.
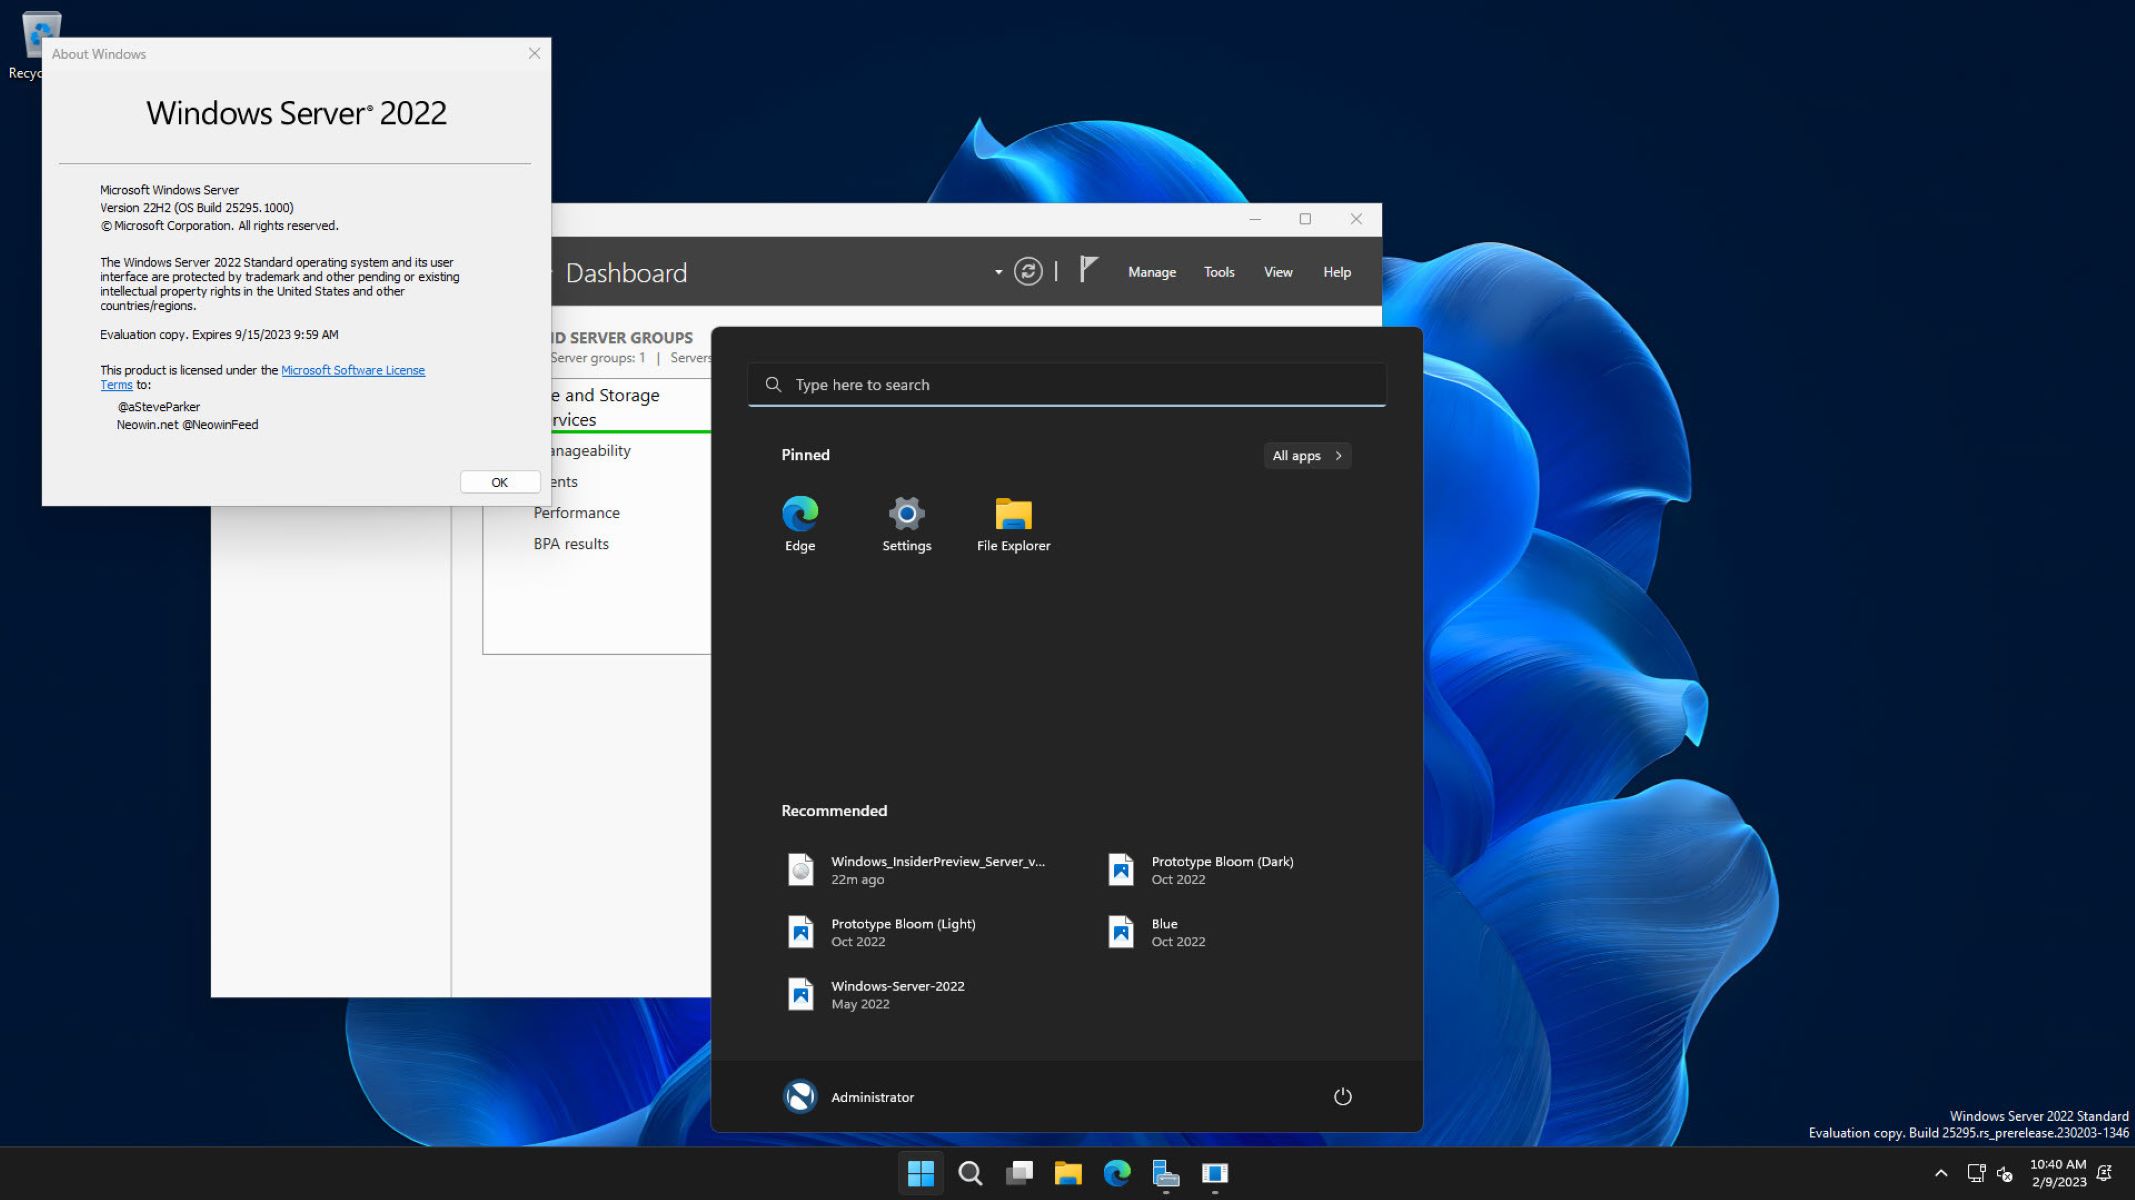
Step 3: Choose a virtual machine image
After creating a virtual machine resource in Azure, the next step is to choose a virtual machine image. The image serves as the base template for your virtual machine and determines the operating system and software configuration.
Follow these steps to choose a virtual machine image:
- In the Azure portal, navigate to the page of your virtual machine resource.
- Under the “Settings” section, click on “Image” or “OS disk” to access the image options.
- You will be presented with a list of available images based on the selected operating system. Azure provides a variety of images, including both Windows and Linux distributions, with different versions and editions.
- Choose the image that best fits your requirements. Consider factors such as the version, supported applications, and any specific features or configurations needed.
- Click on the selected image to view more details, such as the publisher, SKU, and description. This information can help you evaluate the suitability of the image for your virtual machine.
- Once you have chosen the image, click on the “Select” button to confirm your choice and proceed with the configuration.
It is worth noting that Azure also offers the ability to bring your own custom image or utilize Azure Marketplace images. Azure Marketplace provides a wide range of pre-configured images with various software applications and tools, making it easier to deploy specific solutions.
By carefully selecting the virtual machine image, you can ensure that your virtual machine is equipped with the necessary operating system and software stack to support your desired workload and applications.
Now that you have chosen a virtual machine image, it’s time to move on to the next step: configuring virtual machine settings.
Step 4: Configure virtual machine settings
Configuring the settings of your virtual machine is an important step to ensure that it meets your specific requirements in terms of performance, security, and management. Azure provides a range of options to customize your virtual machine settings.
Follow these steps to configure virtual machine settings:
- In the Azure portal, navigate to the page of your virtual machine resource.
- Under the “Settings” section, click on “Configuration.”
- Here, you can modify various settings such as the size of the virtual machine, the number of virtual machine instances, and the availability set.
- Adjust the virtual machine size based on your workload requirements. You can scale up or down the CPU, memory, and disk capacity to optimize performance.
- If you need high availability and fault tolerance, consider placing the virtual machine in an availability set. This ensures that your virtual machine is distributed across multiple fault domains and update domains.
- Configure additional settings such as system diagnostics, boot diagnostics, or extensions to enhance the monitoring and management capabilities of your virtual machine.
- Review and validate the settings to ensure they align with your needs.
- Click on the “Save” button to apply the configuration changes.
Furthermore, Azure provides advanced networking options such as Virtual Network (VNet), Network Security Group (NSG), and Load Balancer. These enable you to control network traffic, secure communications, and distribute workloads across multiple virtual machines.
It is important to carefully consider the settings to optimize the performance, security, and scalability of your virtual machine. Prioritize aligning the settings with your workload requirements and best practices.
Now that you have successfully configured the virtual machine settings, it’s time to move on to the next step: configuring networking settings.
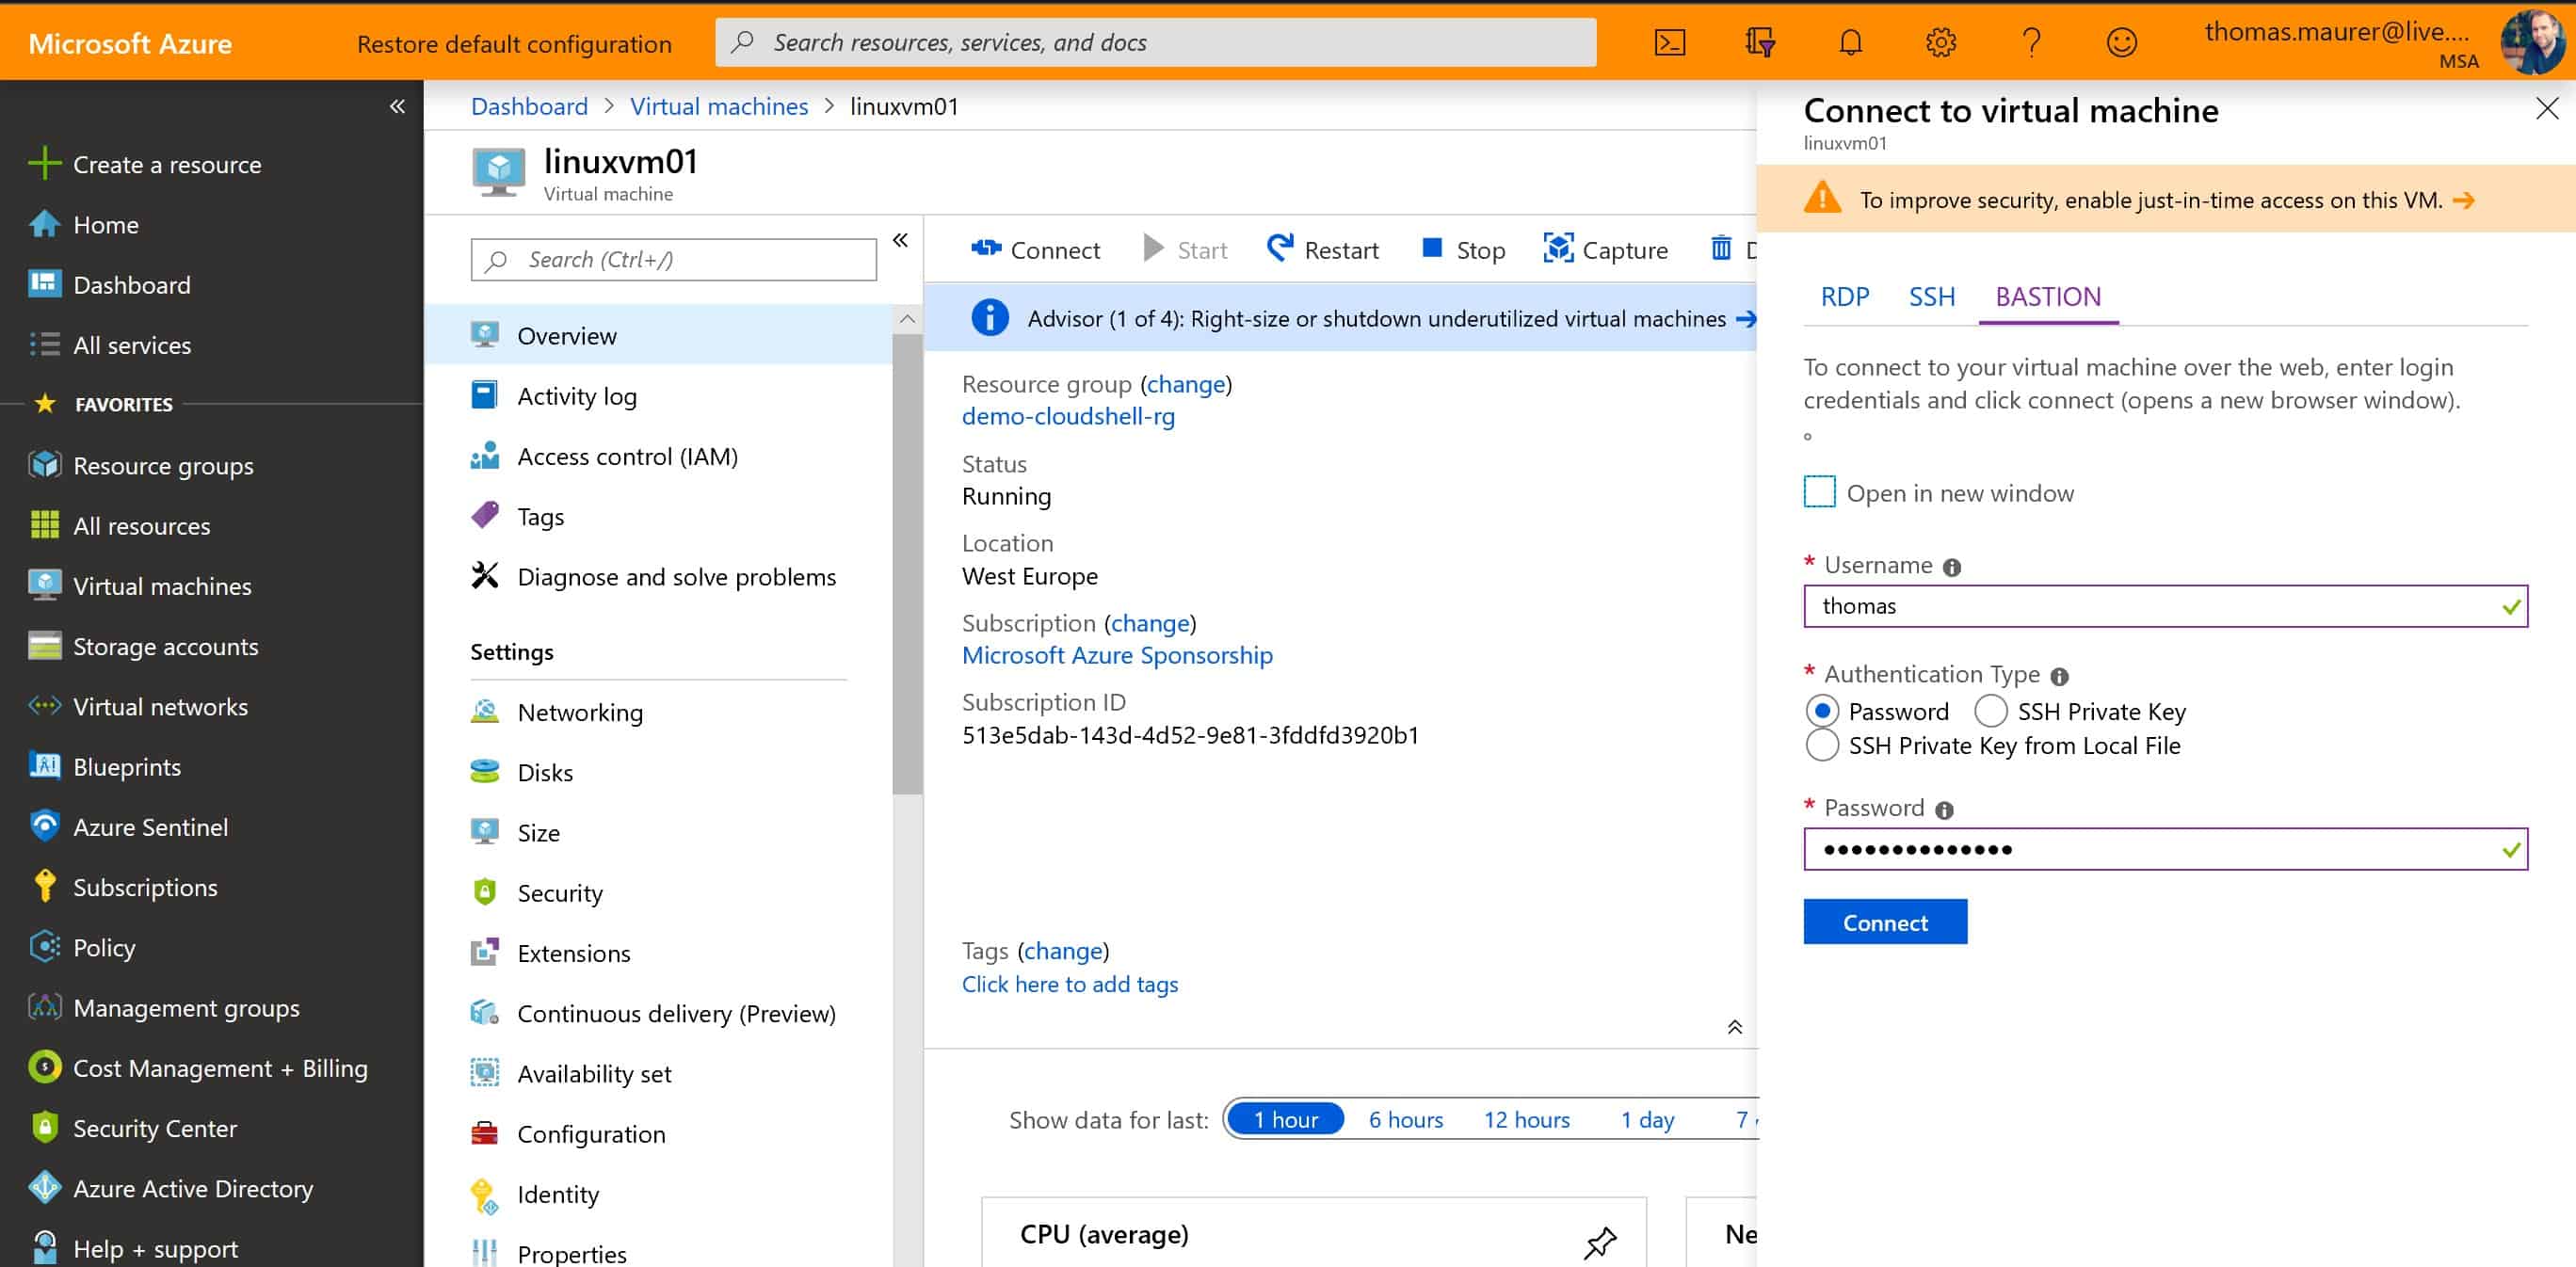
Step 5: Configure networking settings
Configuring the networking settings for your virtual machine in Azure is a crucial step to enable communication and connectivity with other resources both within and outside your Azure environment. Azure provides a flexible and robust networking infrastructure that allows you to customize and secure your virtual machine’s network connections.
Follow these steps to configure networking settings for your virtual machine:
- In the Azure portal, navigate to the page of your virtual machine resource.
- Under the “Settings” section, click on “Networking”.
- Here, you can configure various networking options such as network interfaces, public IP addresses, and virtual networks.
- Start by ensuring that the virtual machine is connected to the appropriate virtual network. If you haven’t created a virtual network yet, you can either create a new one or select an existing virtual network from the list.
- Managed disks or availability sets can be assigned to the virtual machine for better performance and availability.
- Assign a public IP address if you require public access to the virtual machine. Azure allows you to choose between dynamic and static IP addresses.
- Configure network security groups (NSGs) to control traffic flow to and from the virtual machine. NSGs act as firewalls, allowing you to define inbound and outbound rules based on protocols, ports, and source or destination IP addresses.
- Review and validate the networking settings to ensure they align with your networking requirements.
- Click on the “Save” button to apply the configuration changes.
Configuring the networking settings correctly helps in creating a secure and highly available virtual machine. By utilizing features such as virtual networks and NSGs, you can control network traffic, secure communications, and isolate your virtual machine from unauthorized access.
Now that you have successfully configured the networking settings, it’s time to move on to the next step: configuring storage settings.
Step 6: Configure storage settings
Configuring the storage settings for your virtual machine in Azure is essential to ensure efficient and reliable data storage and management. Azure provides various storage options that offer durability, performance, and scalability to meet your specific needs.
Follow these steps to configure storage settings for your virtual machine:
- In the Azure portal, navigate to the page of your virtual machine resource.
- Under the “Settings” section, click on “Disks”.
- Here, you can manage the disk configuration options for your virtual machine.
- Choose the appropriate storage account type based on your requirements. Azure offers different types of storage accounts, such as Standard HDD, Standard SSD, and Premium SSD, each with its own performance characteristics and pricing.
- Decide whether you want to use managed disks or unmanaged disks. Managed disks provide a simplified and scalable way to manage your virtual machine’s disks, while unmanaged disks allow for more granular control over storage.
- Configure disk caching options to optimize read and write operations. Azure offers options like None, Read-only, and Read/Write caching.
- Consider utilizing Azure Backup to create backups of your virtual machine’s disks. This provides an extra layer of protection against data loss.
- Review and validate the storage settings to ensure they align with your storage requirements.
- Click on the “Save” button to apply the configuration changes.
By configuring storage settings appropriately, you can optimize the performance, reliability, and cost-effectiveness of your virtual machine. Choosing the right storage account type and managing disk caching can significantly impact the overall performance of your applications and workloads.
It’s important to note that Azure provides additional storage services, such as Azure Blob storage and Azure File storage, which can be integrated with your virtual machine for specific use cases like storing and sharing files or hosting web applications.
Now that you have successfully configured the storage settings, it’s time to move on to the next step: configuring management settings.
Step 7: Configure management settings
Configuring the management settings for your virtual machine in Azure allows you to streamline operations, enhance security, and monitor your virtual machine’s performance. Azure provides a range of management options to help you effectively manage and maintain your virtual machine.
Follow these steps to configure management settings for your virtual machine:
- In the Azure portal, navigate to the page of your virtual machine resource.
- Under the “Settings” section, click on “Monitoring” or “Management”.
- Here, you can configure various management options and features.
- Enabling Azure monitoring allows you to collect and analyze performance metrics and logs, giving you insights into the health and performance of your virtual machine.
- Consider configuring alerts and notifications to proactively monitor your virtual machine and receive alerts when certain conditions are met, such as high CPU usage or low disk space.
- Implement Azure Security Center to enhance the security of your virtual machine. This provides recommendations, threat analysis, and advanced threat protection to safeguard your virtual machine from potential security risks.
- Configure automation options, such as Azure Automation or Azure Virtual Machine Scale Sets, to streamline tasks and optimize resource utilization.
- Review and validate the management settings to ensure they align with your management requirements.
- Click on the “Save” button to apply the configuration changes.
Properly configuring management settings ensures that you have the necessary tools and features to monitor, secure, and automate the management of your virtual machine. It allows you to proactively address potential issues, optimize performance, and streamline operations.
Azure offers additional management services, such as Azure Automation, Azure DevOps, and Azure Logic Apps, which can be integrated with your virtual machine to further enhance management capabilities based on your specific needs.
Now that you have successfully configured the management settings, you are ready to move on to the final step: reviewing and creating the virtual machine.
Step 8: Review and create the virtual machine
After configuring all the necessary settings for your virtual machine in Azure, it’s important to review and validate your choices before creating the virtual machine. This final step ensures that everything is in order and that your virtual machine will be provisioned correctly.
Follow these steps to review and create your virtual machine:
- In the Azure portal, navigate to the page of your virtual machine resource.
- Double-check the configured settings under each section, such as virtual machine resource, image, networking, storage, and management.
- Pay specific attention to the chosen virtual machine size, operating system image, networking configuration, storage account type, and desired management features.
- Validate that all the necessary configurations and customizations have been applied correctly based on your requirements.
- If any changes are needed, navigate to the respective settings sections and make the necessary adjustments.
- Once you are satisfied with the configurations, click on the “Create” or “Deploy” button to initiate the creation of your virtual machine.
- Azure will now begin provisioning the virtual machine based on your specifications. The exact time for provisioning may vary depending on the chosen configurations and Azure’s workload.
- During the provisioning process, you can monitor the progress and status of your virtual machine creation from the Azure portal.
- Once the provisioning is complete, you can verify the successful creation of your virtual machine.
It is worth noting that Azure provides deployment templates, also known as Azure Resource Manager (ARM) templates, which allow for automated and consistent deployment of virtual machines with predefined configurations. Using templates can streamline the creation process and simplify future deployments.
Now that you have reviewed and created your virtual machine successfully, you can start utilizing and managing your virtual machine to fulfill your desired workloads and applications.
Conclusion
Creating a virtual machine in Azure is a powerful and essential step in leveraging the benefits of cloud computing for your business or personal needs. Azure provides a user-friendly interface and a robust infrastructure to make the process of creating and managing virtual machines seamless.
In this guide, we walked through the step-by-step process of creating a virtual machine in Azure. Starting with signing in to the Azure portal, we covered selecting the virtual machine image, configuring settings for networking, storage, and management, and finally reviewing and creating the virtual machine.
By following these steps, you can establish a virtual machine environment that is tailored to your specific requirements. With Azure’s scalability, security, and reliability, you have the flexibility to expand and adjust your virtual machine resources as your needs evolve.
Remember to consider factors such as performance, security, and cost when configuring your virtual machine settings. Take advantage of Azure’s additional services and tools such as monitoring, security, automation, and deployment templates to enhance the management and efficiency of your virtual machine.
Creating a virtual machine in Azure empowers you to run applications, host websites, perform testing, and much more, all in a cloud-based environment. It eliminates the need for on-premises hardware and provides the scalability and flexibility required for modern businesses.
Now that you have a solid understanding of the process, start exploring Azure and create your virtual machine today. Experience the agility, reliability, and performance that Azure offers and unlock the potential of cloud computing for your business.