Introduction
Welcome to this guide on how to edit USB microphone settings to reduce or eliminate echo. If you use a USB microphone for recording audio or engaging in voice chats, you may have encountered issues with echo or reverberation. This article will walk you through the process of accessing and adjusting the microphone settings on your Windows computer to help minimize or eliminate the echo problem.
When it comes to USB microphones, the settings can vary depending on the specific model and software you are using. Understanding and utilizing these settings effectively can significantly improve the audio quality and eliminate unwanted echoes in your recordings or conversations.
In the following sections, I will provide step-by-step instructions on how to access your audio settings on Windows, adjust microphone levels, enable echo cancellation, and optimize microphone enhancements. I will also discuss advanced options for further reducing echo, as well as provide some tips for testing and fine-tuning your microphone settings.
Whether you are a podcaster, gamer, streamer, or simply someone who uses a USB microphone for voice recordings, this guide will help you optimize your microphone settings and ensure high-quality, echo-free audio output.
Let’s dive in and discover how to edit USB microphone settings for echo reduction!
Understanding USB Microphone Settings
Before we delve into the step-by-step process of editing USB microphone settings, it’s essential to have a basic understanding of the different settings and their impact on audio quality. USB microphones come with various settings that can be adjusted to optimize the sound capture and minimize background noise and echoes.
One of the key settings you will encounter is the microphone gain or sensitivity. This determines how much sound the microphone captures. Adjusting the gain allows you to control the volume of your voice or the source you are recording. A higher gain setting can result in louder audio, but it can also increase the chances of picking up unwanted background noises and echoes.
Another important setting is the sample rate. The sample rate determines how many digital samples are taken per second in order to capture the sound. A higher sample rate typically results in better audio quality, but it also requires more processing power. Most USB microphones have a default sample rate of 44.1 kHz, which is suitable for most audio recording needs.
Additionally, USB microphones may come with built-in features such as echo cancellation and microphone enhancements. Echo cancellation is particularly useful in reducing echo and reverberation caused by the sound bouncing off walls or surfaces in your recording environment. Microphone enhancements, on the other hand, can help adjust the audio to achieve a clearer and crisper sound.
It’s important to note that the available settings may vary depending on the brand and model of your USB microphone. Some microphones may have dedicated control panels or software where you can fine-tune advanced settings such as noise reduction, equalization, or even virtual surround sound. Familiarizing yourself with your specific microphone’s manual or online resources can help you make the most out of its features.
Now that we have a basic understanding of USB microphone settings, let’s move on to the step-by-step process of accessing and adjusting these settings on a Windows computer to reduce or eliminate echoes.
Step 1: Accessing Audio Settings on Windows
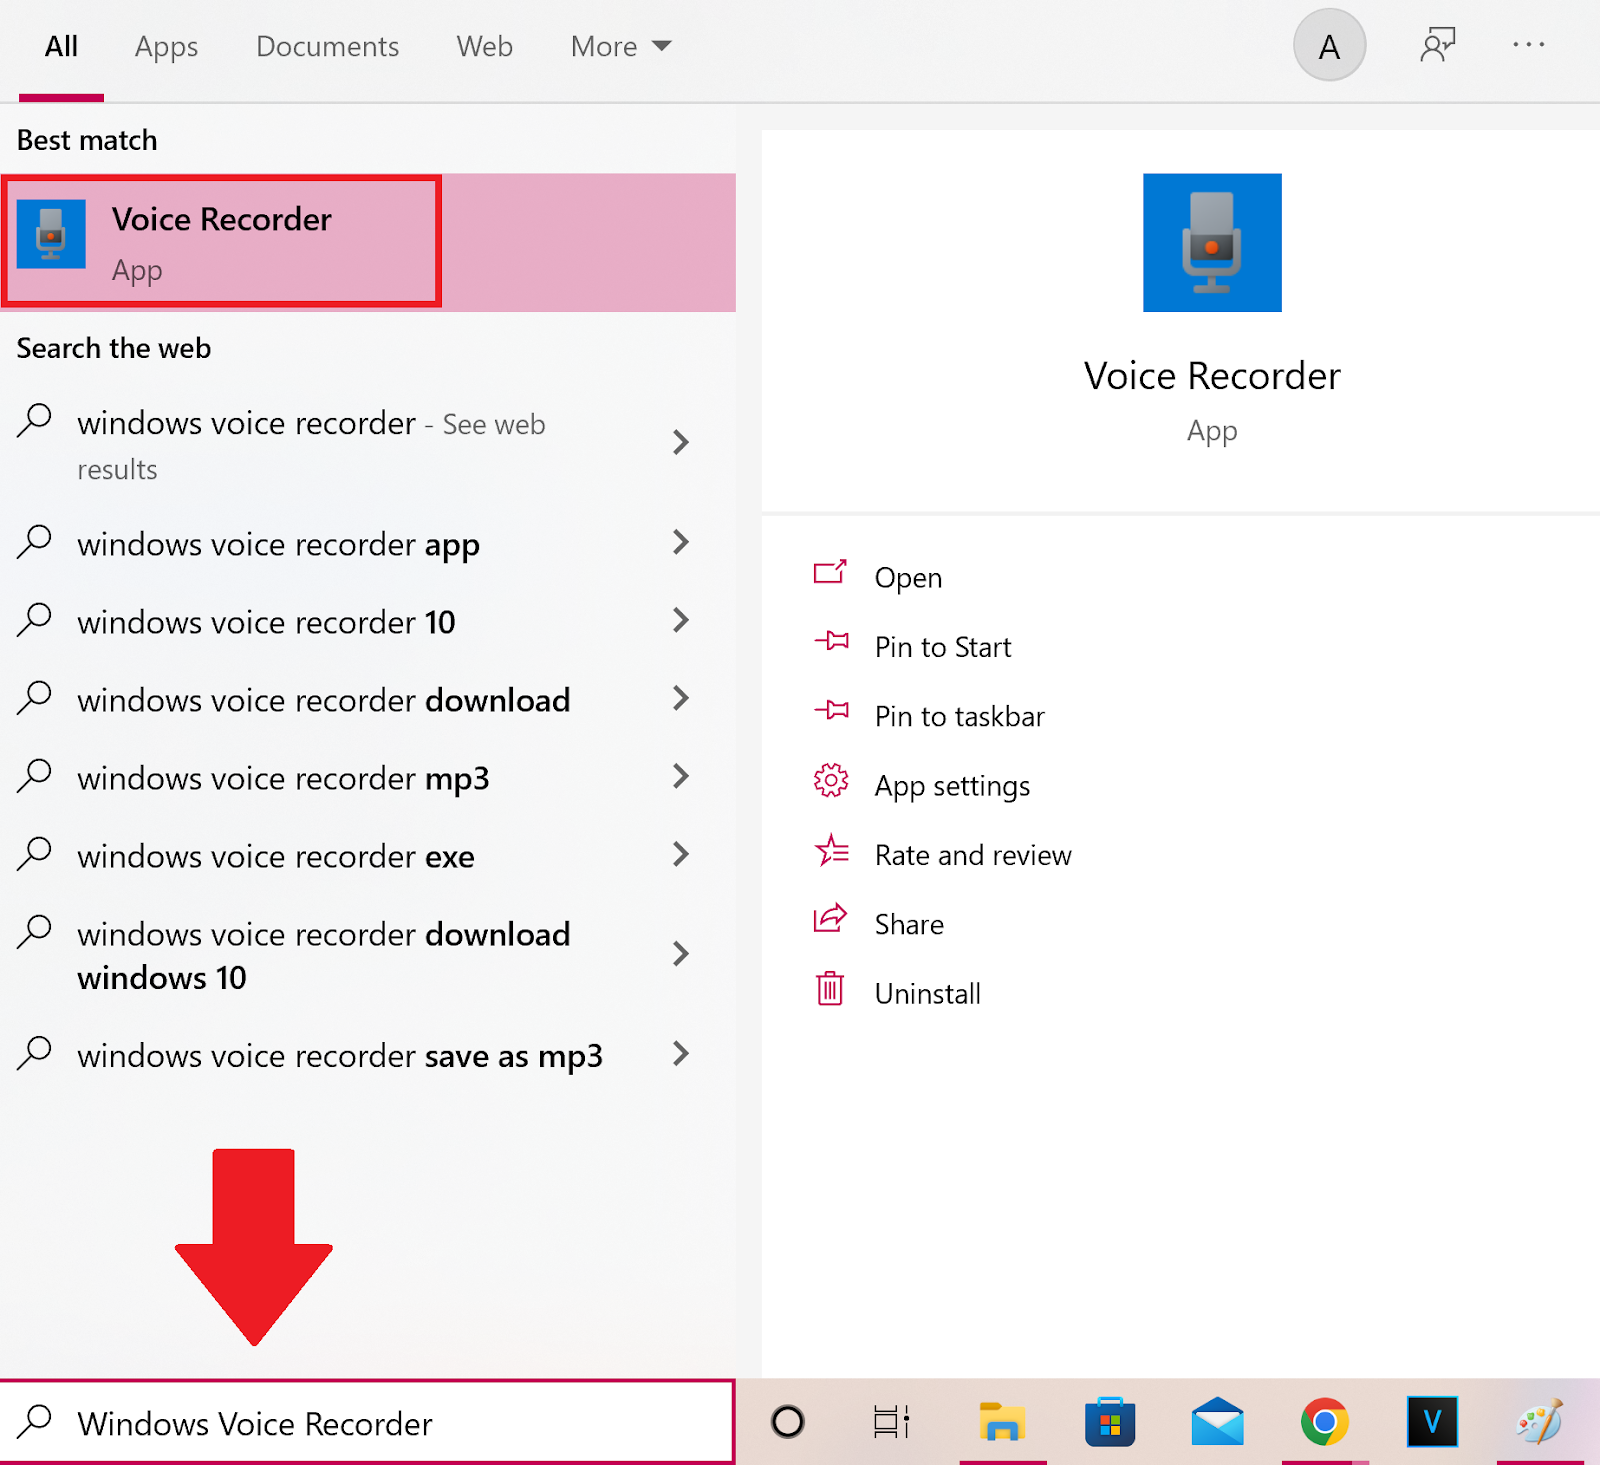
The first step in editing USB microphone settings for echo reduction is accessing the audio settings on your Windows computer. Here’s how to do it:
-
Right-click on the volume icon in the system tray located at the bottom right corner of the screen. This will open a menu of audio options.
-
Select “Sounds” from the menu to open the Sound settings window.
-
In the Sound settings window, navigate to the “Recording” tab. This tab displays all the input devices, including your USB microphone, that are available for recording audio.
-
Select your USB microphone from the list of available devices and click on the “Properties” button at the bottom right corner of the window. This will open the Properties window specific to your USB microphone.
-
In the Properties window, navigate to the “Levels” tab. This tab allows you to adjust the microphone volume or gain.
-
Move the slider under the “Microphone” or “Microphone Boost” option to adjust the microphone volume. It is recommended to set the volume to a level where your voice is clear and audible without being too loud.
-
Click on the “OK” or “Apply” button to save the changes and exit the Properties window.
By following these steps, you can easily access the audio settings on your Windows computer and make adjustments to the microphone volume. Remember, finding the right balance between volume and background noise is crucial to achieving optimal sound quality while minimizing echo.
In the next section, we’ll explore how to adjust the microphone levels to further enhance audio quality and eliminate echoes.
Step 2: Adjusting Microphone Levels
Once you have accessed the audio settings and opened the Properties window for your USB microphone, the next step is to adjust the microphone levels. Follow these instructions:
-
In the Properties window, navigate to the “Levels” tab if you are not already on it.
-
Locate the microphone volume slider. You can usually find it labeled as “Microphone” or “Microphone Boost.”
-
Drag the slider up or down to adjust the microphone volume. Start by moving it to the middle position and test your voice to see if it is clear and audible. If it’s too low, raise the volume gradually. If it’s too loud and capturing background noise, lower the volume accordingly.
-
Keep in mind that the optimal microphone volume depends on various factors such as your distance from the microphone, the noise level in your recording environment, and the sensitivity of your specific microphone model.
-
As you make adjustments, it’s a good idea to monitor your voice using headphones or speakers to ensure the volume is at a suitable level without any distortion or background noise.
-
Once you are satisfied with the microphone volume, click on the “OK” or “Apply” button to save the changes and exit the Properties window.
By adjusting the microphone levels, you can fine-tune the sensitivity of your USB microphone to capture your voice accurately while minimizing the pickup of unwanted background noise and echoes. It’s important to experiment with different levels and test the audio output to find the optimal setting for your specific recording needs.
In the next section, we’ll explore how to enable echo cancellation to further enhance the quality of your recordings or voice chats.
Step 3: Enabling Echo Cancellation
In order to reduce or eliminate echo on your USB microphone, you can enable the echo cancellation feature. Here’s how you can do it:
-
In the Properties window of your USB microphone, navigate to the “Enhancements” tab.
-
Check the box next to the “Echo Cancellation” option to enable it.
-
If you have multiple enhancements available, make sure to only enable the “Echo Cancellation” option. Enabling unnecessary enhancements may result in an artificial or altered sound.
-
Click on the “OK” or “Apply” button to save the changes and exit the Properties window.
Enabling echo cancellation can help mitigate the reverberation caused by sound bouncing off walls or surfaces in your recording environment. This feature analyzes the incoming audio and identifies and reduces any echoes present, resulting in clearer and more focused sound.
Keep in mind that not all USB microphones have built-in echo cancellation capabilities. If you do not see the option in the Properties window, it may be because your microphone model does not support this feature. In such cases, you can focus on other settings and adjustments to minimize echoes, as we will discuss in the upcoming steps.
With echo cancellation enabled, you are one step closer to achieving echo-free audio output. In the next section, we’ll explore how to configure additional microphone enhancements to further optimize the sound quality.
Step 4: Configuring Microphone Enhancements
In addition to adjusting microphone levels and enabling echo cancellation, configuring microphone enhancements can further optimize the sound quality of your USB microphone. Follow these steps to configure microphone enhancements:
-
In the Properties window of your USB microphone, navigate to the “Enhancements” or “Effects” tab.
-
Check the available options for enhancing the microphone audio. These options may vary depending on your specific microphone model or drivers installed on your computer.
-
Common enhancements you may come across include noise suppression, equalization, and voice clarity settings.
-
Experiment with different enhancement settings by checking or unchecking the corresponding boxes or using sliders to adjust the parameters.
-
While enhancers can help improve the sound quality, it’s essential to strike a balance and avoid excessive enhancement that may result in artificial or distorted audio.
-
Always listen to the output audio using headphones or speakers to assess the impact of the enhancements and make adjustments accordingly.
-
Once you are satisfied with the configuration of microphone enhancements, click on the “OK” or “Apply” button to save the changes and exit the Properties window.
Configuring microphone enhancements can help fine-tune the audio output to achieve a clearer and more professional sound. However, it is important to note that not all USB microphones may have advanced enhancement features, and the available options can vary. Refer to your microphone’s manual or online resources for specific details regarding the enhancement settings for your device.
In the next step, we’ll discuss how to test and fine-tune the microphone settings to ensure optimal audio quality with minimal echoes.
Step 5: Testing and Fine-tuning
Once you have adjusted the microphone levels, enabled echo cancellation, and configured any available microphone enhancements, it’s time to test and fine-tune your settings to ensure optimal audio quality with minimal echoes. Follow these steps:
-
Open a recording or voice chat application on your computer, such as Audacity or Skype.
-
Select your USB microphone as the input device in the application’s settings.
-
Start recording or engage in a voice conversation and speak or perform as you would typically.
-
Listen to the recorded output or have a conversation partner provide feedback on the audio quality.
-
Assess the clarity of your voice and listen for any echoes or unwanted background noise.
-
If echoes are still present, consider making further adjustments to the microphone volume, echo cancellation, or other available settings.
-
Continue testing, making small incremental changes, and listening to the output until you are satisfied with the results.
-
Remember that achieving the perfect audio quality may require some trial and error, and it’s important to find the right balance for your specific microphone and recording environment.
By testing and fine-tuning your USB microphone settings, you can ensure that the audio is clear, echo-free, and suitable for your intended purpose, whether it’s recording podcasts, streaming, or engaging in high-quality voice chats.
In the next section, we’ll explore some advanced options that can further help in reducing echoes and improving the overall sound quality.
Step 6: Advanced Options for Echo Reduction
If you are still experiencing echoes or if you want to further enhance the echo reduction capabilities of your USB microphone, there are some advanced options you can explore. Keep in mind that these options may require additional software or settings specific to your microphone model. Here are a few advanced options:
-
Use a noise gate: A noise gate is a feature that allows you to set a minimum volume threshold. Any sound below this threshold will be automatically muted or suppressed. By using a noise gate effectively, you can minimize the pickup of background noise and echoes during silent moments.
-
Apply post-processing effects: After recording your audio, you can use post-processing software such as Audacity or Adobe Audition to further reduce echoes and enhance the overall sound quality. These software programs provide advanced features like noise reduction, equalization, and audio normalization.
-
Consider acoustic treatment: If you consistently encounter echoes in your recordings, it might be worth exploring acoustic treatment options for your recording space. Adding sound-absorbing materials like foam panels or bass traps can help minimize echoes caused by sound bouncing off walls and surfaces.
-
Explore virtual audio cables: Virtual audio cables allow you to route audio from one application to another, enabling you to apply additional effects or filters in real-time. This can help in reducing echoes or enhancing audio quality by applying specialized software or plugins.
These advanced options can provide further control and customization for echo reduction and audio enhancement. However, they may require more technical knowledge or additional software installations. It’s important to research and understand the specific functionalities and requirements of each option before implementing them.
With these advanced options, you have the opportunity to fine-tune your USB microphone settings and achieve optimal echo reduction for your specific recording or communication needs.
Now that we have explored various steps and advanced options, you are well-equipped to edit USB microphone settings for echo reduction. Remember, achieving the best audio quality with minimal echoes may require some experimentation and adjustments. Regularly test and listen to the output to ensure that your microphone settings meet your expectations.
Conclusion
Editing USB microphone settings for echo reduction is a crucial step to achieve high-quality audio recordings and clear voice chats. By following the steps outlined in this guide, you can optimize your USB microphone settings and minimize or eliminate echoes effectively.
We began by understanding the various USB microphone settings and their impact on audio quality. Adjusting microphone levels, enabling echo cancellation, and configuring microphone enhancements can significantly enhance the sound output and reduce echoes.
Testing and fine-tuning the settings is essential to ensure optimal audio quality. By using recording or voice chat applications, you can assess the clarity of your voice and make small adjustments as needed. Remember, achieving the best results may require some trial and error.
For those seeking further control over echo reduction, we explored advanced options such as using noise gates, applying post-processing effects, considering acoustic treatment for your recording space, and exploring virtual audio cables.
Regardless of your purpose, whether you are a podcaster, gamer, streamer, or someone who uses a USB microphone for voice recordings, these steps and advanced options will help you optimize your microphone settings and achieve a professional sound output with minimal echoes.
So, go ahead and apply these techniques to edit your USB microphone settings and enjoy crystal-clear, echo-free audio for your recordings and voice chats.